Archive for the ‘Uncategorized’ Category

SUPER-GARLICKY CHICKEN

Posted: August 27, 2018 in Uncategorized
Tags: , , ,

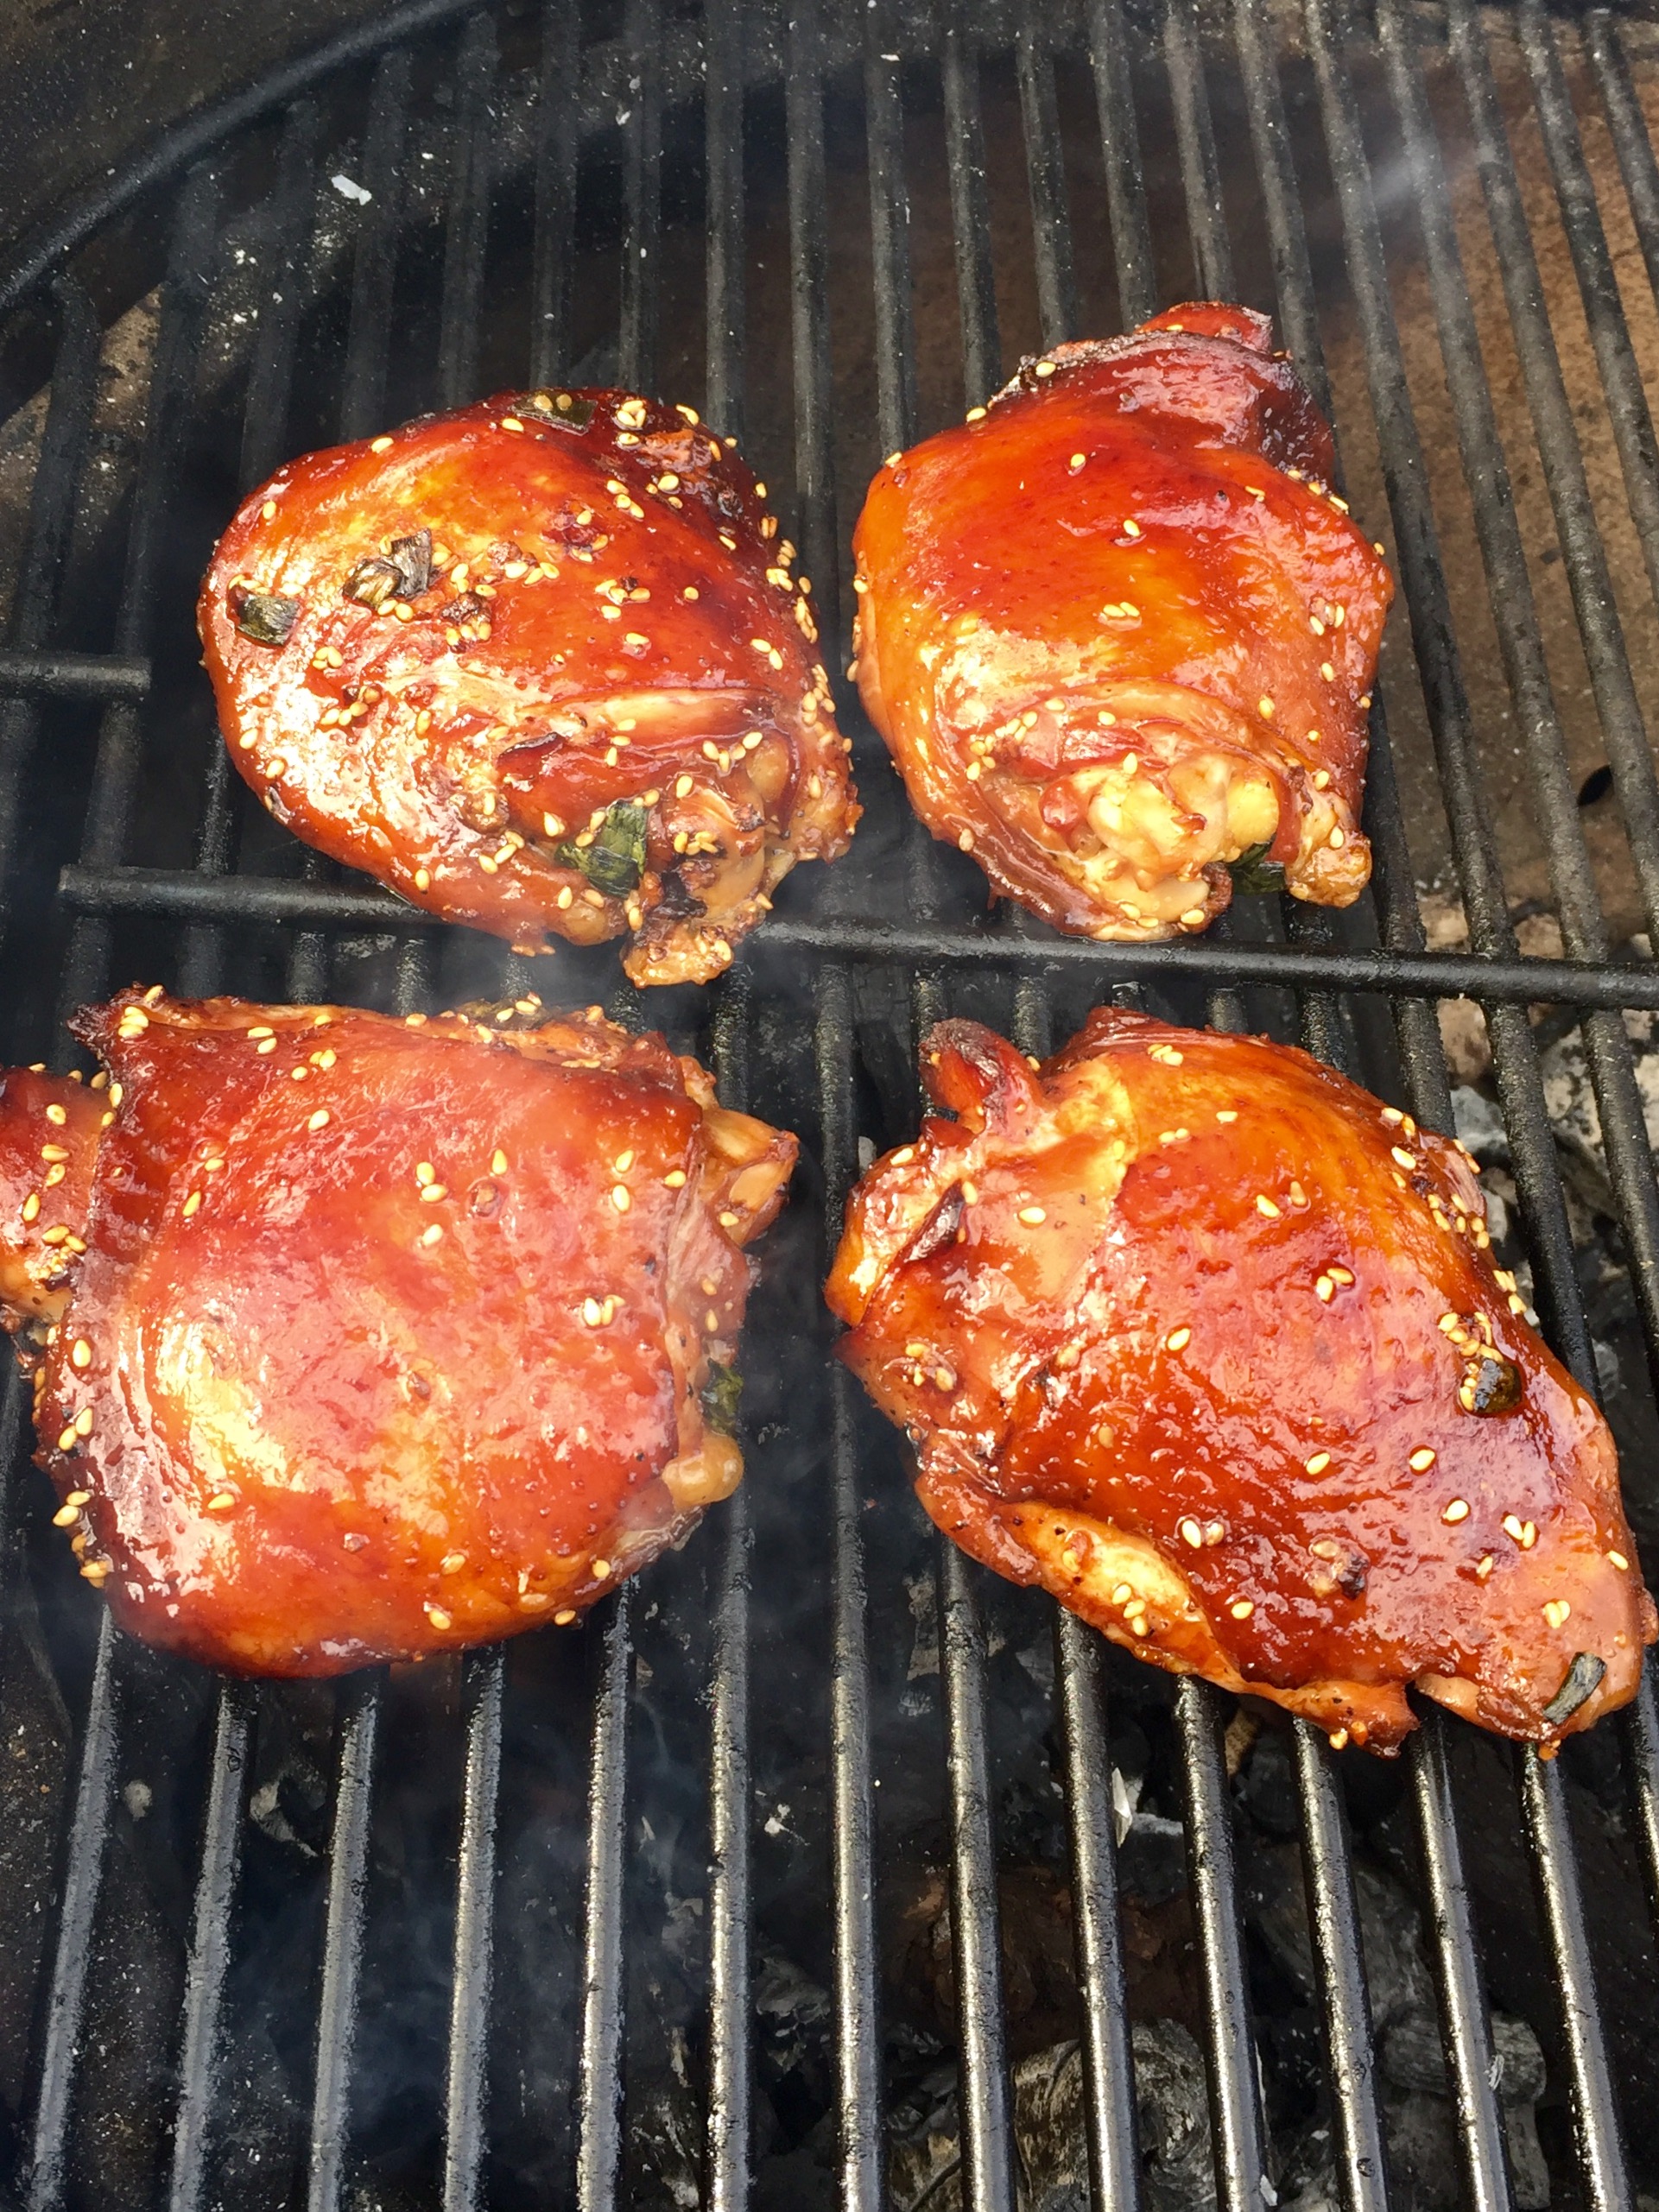
I love garlic, and I spend a lot of time trying to figure out how I can up the garlic in any particular dish. Now, this piece of chicken may look pretty harmless to you, but it is a garlic bomb…and it’s delicious. I tried to think of ways I could increase the garlic quotient without simply adding more granulated  garlic to the breading…and then it came to me: add fresh garlic to the egg wash! Brilliant!


3 lbs. chicken pieces
1 cup all-purpose flour ( I use Cup4Cup GF flour if I want this dish to be gluten-free)
2 teaspoons granulated garlic (add more if you like!)
1 teaspoon granulated onion
1 teaspoon oregano
1 teaspoon parsley
1 teaspoon basil
1 teaspoon black pepper
1 teaspoon salt
2 eggs
1 tablespoon (or more) fresh finely chopped garlic
oil for frying


I use the oven-fried method for my chicken. That means I fry the pieces until golden brown, then place them on a baking sheet and finish cooking them in the oven.

Pre-heat the oven to 350 degrees. Heat the oil in the pan to 350 degrees.

In a bowl, combine the flour, granulated garlic and onion, oregano, parsley, basil, pepper and salt. Mix well and set aside.

In another bowl, whisk the eggs together. Finely chop the fresh garlic, making it into a paste either by squishing it with the side of a chef’s knife or, my preferred method, pushing it through a garlic press. Add the garlic to the egg and mix well.

Take the chicken pieces and coat them in the egg and garlic mixture. Then place them in the flour mixture, coating well and shaking off the excess. You can place them in the hot oil at this point…or…dip them back in the egg/garlic mix again, then back into the flour, for a double-coating of crunchy garlic.

Fry the chicken pieces until they’re golden brown, but not cooked all the way through. Place them on the baking sheet. When all the pieces have been fried, place the baking sheet in a 350-degree oven to finish cooking.


Although my daughter and I love any foods that are heavy on the garlic, my wife can’t eat them. She also needs to maintain a gluten-free diet, so garlic bread is a special treat we make when Mom’s not around. It’s buttery, it’s garlicky, it’s carby, and it’s absolutely delicious!

I use 2 kinds of garlic in my garlic bread: fresh and granulated. I think it adds a richer flavor than either one alone. And passing the fresh garlic through a press ensures that it will cook quickly and not leave you with that raw garlic taste in your mouth.

Although I love French baguettes, they’re too thin and crisp for garlic bread. I buy that long, soft, Italian loaf you can find in just about any bakery. When it bakes, the outside edges have a crisp bite to them, while the inside of the loaf stays soft…exactly what you want! The Italian loaf is big, so not only do I cut it lengthwise, I then cut each piece in half. This will make enough for us to enjoy one evening, and still store some in the freezer for a future craving.

This recipe makes enough for 1 garlic bread, 1 cheesy garlic bread, and also the bread you’ll be putting in the freezer for another time.


The delicious final product…but I digress…


2 sticks (8 oz.) unsalted butter
2 large cloves garlic, squeezed through a press
1 teaspoon granulated garlic
1 teaspoon salt
1 teaspoon oregano
1 teaspoon parsley
grated mozzarella cheese…a few ounces


In a bowl, let the butter soften to room temperature. Once it’s soft, squeeze the fresh garlic cloves through a garlic press and add them to the butter. Then add the granulated garlic, salt, oregano and parsley. Using a fork, mix the ingredients really well until you have a beautiful garlic and herb butter. (Once it’s mixed, I find it’s easier to spread with a spatula.)

Spread the garlic butter evenly on all 4 pieces of bread you’ve cut. Use it all up! Going thin on the butter serves no purpose here!

Place one of the loaves on a baking sheet. Add the grated mozzarella to one of the other loaves, and place it on the baking sheet as well.


Regular garlic bread on the left, cheesy garlic bread on the right…ready to go into the oven.


Pre-heat the oven to 400 degrees.


With the other two pieces of bread, I simply put them together…with cheese inside or not…

…and wrap them in aluminum foil. I place that in a freezer bag and keep it frozen until we have another craving. When it’s time to cook, I pre-heat the oven to 350, and bake the loaf in the foil for about 25 minutes. I take it out of the foil at the very end and bake another 5 minutes to get it to crisp up.


Ready to be devoured!


With the oven at 400, I bake my garlic bread and cheesy garlic bread for about 10 minutes, or until the edges of the bread start to turn a golden brown and the cheese on the cheesy side starts to melt.


I cut each piece in half so my daughter and I share in the 2 breads. There’s never any leftovers!


Just because you’ve got a garden full of fresh veggies, it doesn’t mean you have to gorge on nothing but salads! Sometimes, a refreshing cocktail is just what you need after a long day of yard work. With a ton of cucumbers crankin’ out of the garden right now, and with this seemingly never-ending heat wave going on in New England, this is the perfect Friday-get-the-weekend-started cocktail!

If you’ve got a juicer that’s sitting in the corner of the kitchen unused because the “juice kick” you were on became tiresome, here’s a great excuse to bring it out again.


4 fresh cucumbers, peeled and seeded
Small ice cubes
1 cup loosely packed fresh mint leaves
2 teaspoons granulated organic cane sugar
3 tablespoons fresh lime juice
1/2 cup vodka (I like Tito’s)
1 oz. orange liqueur (I like Cointreau)


Peel and seed the cucumbers. Juice them to extract the liquid. If you don’t have a juicer, use a food processor. Coarsely chop them and then purée in a food processor until smooth. Strain through a fine sieve, pressing the solids to extract as much liquid as possible. You’ll need at least 3/4 of a cup of juice, so use more cukes if you don’t have enough. Set the cucumber juice aside.

To a large glass pitcher, add the mint leaves, sugar and lime juice. Muddle the ingredients so that the mint leaves release their oils. Add 3/4 cup (at least) of the cucumber juice. Add the vodka and Cointreau. Muddle again briefly.

Fill tall drinking glasses with ice cubes. Strain the cocktail into glasses. Garnish with a cucumber spear or mint.

What do you do when the hot weather kicks in and the cucumbers start taking over your garden? I make soup!

The original cucumber soup recipe comes from Ikies Traditional Houses, a wonderful hotel in the beautiful town of Oia in Santorini, Greece. After a long, hot day of exploring the island, we would settle down to a refreshing bowl of cucumber soup. They were nice enough to share the recipe with us, and a few tweaks later, it’s my definition of perfect.


cuke soup


3 English cucumbers or 5 regular cucumbers, peeled, seeded and roughly chopped
1 clove garlic, crushed
1 cup vegetable stock, preferably home-made
4 cups plain full-fat yogurt
1/2 cup fresh mint leaves
Juice of 1 lemon
Fleur de Sel and pepper


Peel, seed and chop the cucumbers and place them in a blender with the garlic, stock, 2 cups of the yogurt, mint leaves, lemon juice, 2 teaspoons Fleur de Sel, and a grating of fresh black pepper.

Turn on the blender and mix well. Stop the blender and then add remaining 2 cups of yogurt and mix it by hand.

Pour the cucumber soup in bowls. Garnish with diced cucumber or radish.


To make the vegetable stock: rough-chop a few carrots, a few stalks of celery, and an onion, and put them in a pot with 4 cups of water. Boil until the liquid has reduced by half. by half. Strain the veggies before using the stock. You can also roast the veggies on a sheet pan in a hot oven for a bit before adding them to the water for an even richer flavor.


My raspberry plants are producing a ton of fruit, and my mint plants are taking over the yard! It’s time to make mojitos!

Very often, I’ll use raspberries alone, but mojitos are even better when you combine the raspberries with blueberries. Though I have a few blueberry bushes in my yard, it seems that the birds get to them before I even get a chance. Fortunately, I have several neighbors that put little farm stands up in front of their homes, selling blueberries, so I stock up on them, rinsing them and placing them in plastic bags that go in the freezer until I’m ready to make my mojitos.

Store-bought frozen fruit works well, too, so if you don’t have a farm stand down the road, don’t feel like you can’t make this fabulous cocktail. Make mojitos by the pitcher and you’ll never have them any other way!

The ingredients


Make ahead of time…
1 1/2 cups fresh squeezed lime juice
1 1/3 cups turbinado sugar (Sugar in the Raw)

Mix both ingredients together, letting it stand at room temperature for a few minutes. I like to combine them in a Mason jar, then shake really hard until the sugar has dissolved. I keep it in the fridge, and it’s good for up to 3 weeks…ready to use any time. Shake it well again before using.


mojito pitcher

For the Mojitos…
1 cup sugar/lime mixture
1 cup mint leaves, packed
1/2 pint blueberries (fresh or frozen)
1/2 pint raspberries (fresh or frozen)
3 or 4 cups white rum (I use Don Q Cristal rum)
3 or 4 cups club soda

Combine the mint leaves and 1/2 cup of the sugar/lime mixture in bottom of a pitcher. Muddle the mint up very well to release mint oils. Add the blueberries and continue to muddle.

Add the remaining sugar/lime mixture, rum and raspberries. Mix well. Just before serving, add the club soda and ice. Stir. Pour into tall glasses.

Or…for drinks one at a time, don’t add the club soda to the pitcher. Instead, fill a tall glass with ice. Fill it one-third to halfway with club soda, then top with the mojito mix. Garnish it with a mint leaf.


Cheers!

Cheers!

Newport, Rhode Island is a great old town to explore…and we’re lucky that we live just a half-hour away. But Newport gets ridiculously crowded in the summertime, so we visit before the season starts or wait until the season is over before we even dare to set foot anywhere near its historic waterfront. But when we heard that one of our favorite restaurants, Fluke, hired a new chef, we broke our own rules and made a special trip to check things out.

The first change is the name: formerly Fluke Wine Bar & Kitchen…now Fluke Newport. Straight to the point, emphasizing its location: one of the oldest cities in the country, founded in 1639. Their philosophy is simple: the freshest locally caught fish and seafood when possible.

Jeff and Geremie Callaghan, owners of Fluke, have been in the biz for a long time, and we’ve been fortunate to know them for over a decade. We met one cold winter night, when my radio station Christmas party, being held at one of the mansions on Bellevue Avenue in Newport, went horribly wrong when they insisted on playing that lame “murder mystery theater” thing in the middle of dinner. My wife and I, being new parents at the time, and cherishing our very rare date night alone, ditched the Christmas party the moment we saw what was going on and made our way quite randomly to the bar on the third floor of Fluke, where Jeff introduced us to many wonderful sipping rums. I consider Jeff my mentor in this area, showing me there was far more to rum than a Captain and Coke.


The bar at Fluke Newport.

The bar has changed a little bit at Fluke Newport…where rums used to dominate, now there are bourbons…a sign of the times. But the creative bartenders use top quality spirits and hand-pressed juices in their cocktails.


Chef Eddie Montalvo, hands-on in the kitchen.


The new chef at Fluke is Eddie Montalvo, a graduate of Johnson & Wales University in Providence. He worked at the highly respected Al Forno in Providence before moving to New York City, where he worked for many years for restaurant legends like David Bouley, Daniel Boulud, Danny Meyer and others. Once Eddie became a family man, and he realized he didn’t want to raise a child in the city, it was obvious that a change of venue was needed, and he left New York for Newport. It’s clear that the move was not only great for him, but for Fluke as well (it was due for an injection of fresh ideas) and even the Fluke owners and staff, who seem re-energized by a talented new chef at the helm.

Eddie came to our table and we talked at length about food and life, and how the two play a crucial role in our existence. We instantly realized this was not only a talented chef, but a nice guy, not something you always find in one person!


Foie gras Paris-brest.


He started us off with an appetizer of foie gras Paris-brest. Paris-rest is a popular sweet pastry. They add local strawberry jam and foie gras to make little sandwiches that are sweet and so rich and satisfying. So good as an appetizer, I was already planning to have it again as dessert!


Striped bass crudo.


Next came an experimental plate. Chef Montalvo had some fresh-caught striped bass, and made a beautiful plate that was not yet on the menu. I’m not usually a fan of striped bass, but cutting it super-thin, and serving it crudo-style was brilliant. We told him he shouldn’t change a thing. Perhaps it’s on the menu by now.


Lobster with spinach angel hair pasta.

We don’t usually order chicken at a restaurant, but my wife’s local Baffoni farm chicken, cooked in a cast iron pan and served with morels and an artichoke puree, was perfect. Chef Eddie told me he prides himself in his pasta making, so I went with the poached lobster on pillowy-soft spinach angel hair pasta with mushrooms. Both of our selections were delicious, and the plates were beautiful. And I was too stuffed to have another order of the foie gras Paris-brest! Maybe next time…


An after dinner sip of Blanton’s made the meal complete.


Every bit of seafood at Fluke Newport is right off the boat. Produce and meats are from farms just up the road. And now, a chef that excels in putting them together for a fabulous meal.

I’m a wuss. I can’t do heat. But I’ve always been fascinated by jerk chicken: it looks amazing and smells fantastic. So I decided to try making a kinder, gentler version by eliminating the number one high-heat ingredient: Scotch bonnet peppers.

On the scale of hotness known as the Scoville scale, Scotch bonnets reach anywhere between 100,000 to 350,000 Scoville units. To give you an idea how hot that is, jalapenos only reach 2,500 to a maximum of 8,000 Scoville units! That means those suckers are 40 times hotter than jalapenos! And that’s why I left them out of my recipe.

I found that when I left the Scotch bonnets out, there was still plenty of fragrant, hot and smoky flavor in my jerk chicken.


Jerkalicious.


1 medium onion, coarsely chopped
3 medium scallions, chopped
2 garlic cloves, chopped
1 tablespoon Chinese five-spice powder
1 tablespoon allspice berries, coarsely ground
1 tablespoon black pepper, coarsely ground
1 teaspoon dried thyme
1 teaspoon freshly grated nutmeg
1 teaspoon salt
1/2 cup soy sauce
1 tablespoon olive oil
8 lbs. chicken, parts or whole birds quartered


In a food processor, combine the onion, scallions, garlic, five-spice powder, allspice, pepper, thyme, nutmeg and salt. Process it into a coarse paste.

With the machine on, add the soy sauce and olive oil in a steady stream.

Place the chicken pieces in a large Ziploc bag, and pour the marinade in. Zip the bag up and squish it around to make sure the marinade touches all parts of the chicken. Place the bag in a bowl (to prevent accidental leaks) and place the bowl in the fridge overnight.

Bring the chicken to room temperature before cooking.

Indoors: Place the chicken on a baking sheet and bake in a 350-degree oven for about 30 minutes. At the end, move the baking sheet under the broiler and cook a few minutes more, to get some caramelization going.

Outdoors: Light a grill and cook the chicken over a medium fire, turning it so it doesn’t burn. Cover the grill if you like, for smokier flavor. Make sure the chicken is cooked through before serving.


This is a great side dish for any special occasion. And you can substitute to suit your needs. Goat cheese not your speed? Try Gruyère or smoked gouda. Need it to be gluten-free? Use GF breadcrumbs. Don’t like mushrooms? Okay…I can’t help you there…


image


1 package large white mushrooms
olive oil
1/2 shallot, finely chopped
1 clove garlic, through a press
1 tablespoon fresh thyme, finely chopped
pinch of red pepper flakes
salt and pepper
fresh goat cheese
bread crumbs
1 tablespoon fresh parsley, finely chopped


Pre-heat the oven to 400 degrees.

Rinse the mushrooms in cold water to clean them. Remove the stems of the mushrooms and set them aside. Rub the mushroom caps with olive oil and place them on a baking sheet, open side-down, in a 400-degree oven for a few minutes.

In a pan, sauté the shallot and garlic in a little olive oil. Chop the mushroom stems finely and add them to the pan. Add the thyme and pepper flakes.

Reduce the oven temp to 350 degrees after removing the mushroom caps. Flip the mushroom caps over so that they look like little bowls. Break off a small piece of goat cheese and place it in each mushroom. Top each with the sautéed shallot mixture. Sprinkle breadcrumbs on top and sprinkle parsley over that.

Return the baking sheet to the oven, cooking the mushrooms until they are lightly golden in color, and the cheese has melted.


image


Mushroom myth: Soaking mushrooms in cold water makes them mushy. Not true! Alton Brown, on an old episode of “Good Eats” on the Food Network, showed that mushrooms do not soak up any water when left to soak for even 30 minutes. So use your mushroom brush…use your kitchen towel…whatever you like. But I prefer to get them clean simply with cold water.


Bulgogi is the name given to the most common form of Korean barbecue. Unlike the daeji bulgogi that I cooked in a previous blog, this one is not based on a chili sauce that can take the roof of your mouth right off.

I used chicken, though this would work with pork as well, and for the best flavor, it’s best to marinate the meat in the fridge overnight.

FullSizeRender (12)

2/3 cup soy sauce
1/2 cup chopped scallions
6 tablespoons sugar (I use organic cane sugar)
5 tablespoons fresh garlic, grated or through a garlic press
5 tablespoons sesame oil
1 tablespoon sesame seeds
1 teaspoon black pepper
5 lbs. chicken pieces (skin-on thighs work best)


Combine all the ingredients except for the chicken in a bowl and mix well.

Place the chicken pieces in a large Ziploc bag and pour the marinade in. Seal the bag well and squish it around to make sure the marinade makes contact with the chicken. Place the bag in a bowl (to prevent accidental leakage) and keep it in the fridge overnight. Squish the bag around every few hours to make sure the marinade does its job.

When ready to cook the next day, pre-heat the oven to 350 and remove the bag from the fridge and let it come to room temperature. Place the chicken on a sheet pan (discard the remaining marinade) and bake for an hour.

Light a hot grill and push the coals to one side of the grill. Place the chicken pieces on the cool side of the grill and close the lid, opening the vents. Every few minutes, turn the chicken pieces over so they get nice grill marks but
don’t burn.


FullSizeRender (11)

There are very few sandwiches more perfect than the BLT, and I would be a fool to try to improve on it. Freshly toasted bread, a slathering of mayo (Hellman’s only, of course), crisp lettuce, fresh juicy sliced tomato, and my own homemade bacon. What could be better?

I recently tried my hand at smoking and slow-roasting a huge slab of grass-fed beef brisket, and it came out beautifully. Rich and smoky, there was far too much of it for a mere mortal like myself to polish it off, even if I ate it for days in a row. So I cut the brisket into more manageable sized slabs, wrapped them and placed them in the freezer.


beef brisket


I took one of those slabs out of the freezer the other day, and noticed that, with the grain of the meat and fat, it resembled bacon. And then it dawned on me: I could slice it like thick-cut bacon, fry it in a pan, and make my own BLT with it: a Brisket, Lettuce and Tomato Sandwich!


steakon!


The end result was fantastic. Quite different than the infamous BLT, but a beefy winner in its own right.


Alz BLT: Brisket, Lettuce and Tomato

Alz BLT: Brisket, Lettuce and Tomato