It takes a few weeks for this limoncello recipe to be ready, so I usually start up a batch around Thanksgiving to have it ready for Christmas. But even if you start now, you’ll be able to enjoy it around the holidays!
Many years ago, my wife and I visited the Amalfi coast, and we spent several nights on the beautiful island of Capri. On our last night, we dined at the legendary Grand Hotel Quisisana, and our incredible meal ended with a glass of the most delicious limoncello I had ever had.
I asked the waiter if it was possible to get the recipe of the limoncello, and he made a big deal about the recipe being a “secret.” Though disappointed, I understood, and I left Capri thinking that I would never taste that limoncello again.
Two weeks later, now back at home, I was reading the latest issue of Conde Nast Traveler, and there in black and white, was the Quisisana limoncello recipe! WTF?
After making many batches of this limoncello, I started experimenting with other citrus, and the most successful by far was with grapefruit. Now I make a batch of each every year. Note: the recipe calls for 100-proof vodka. Most vodka is 80-proof, so you’ll need to go to a liquor store with a better selection to find it.
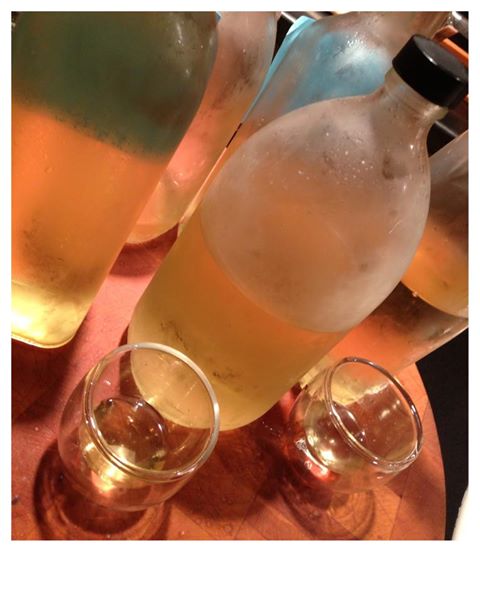
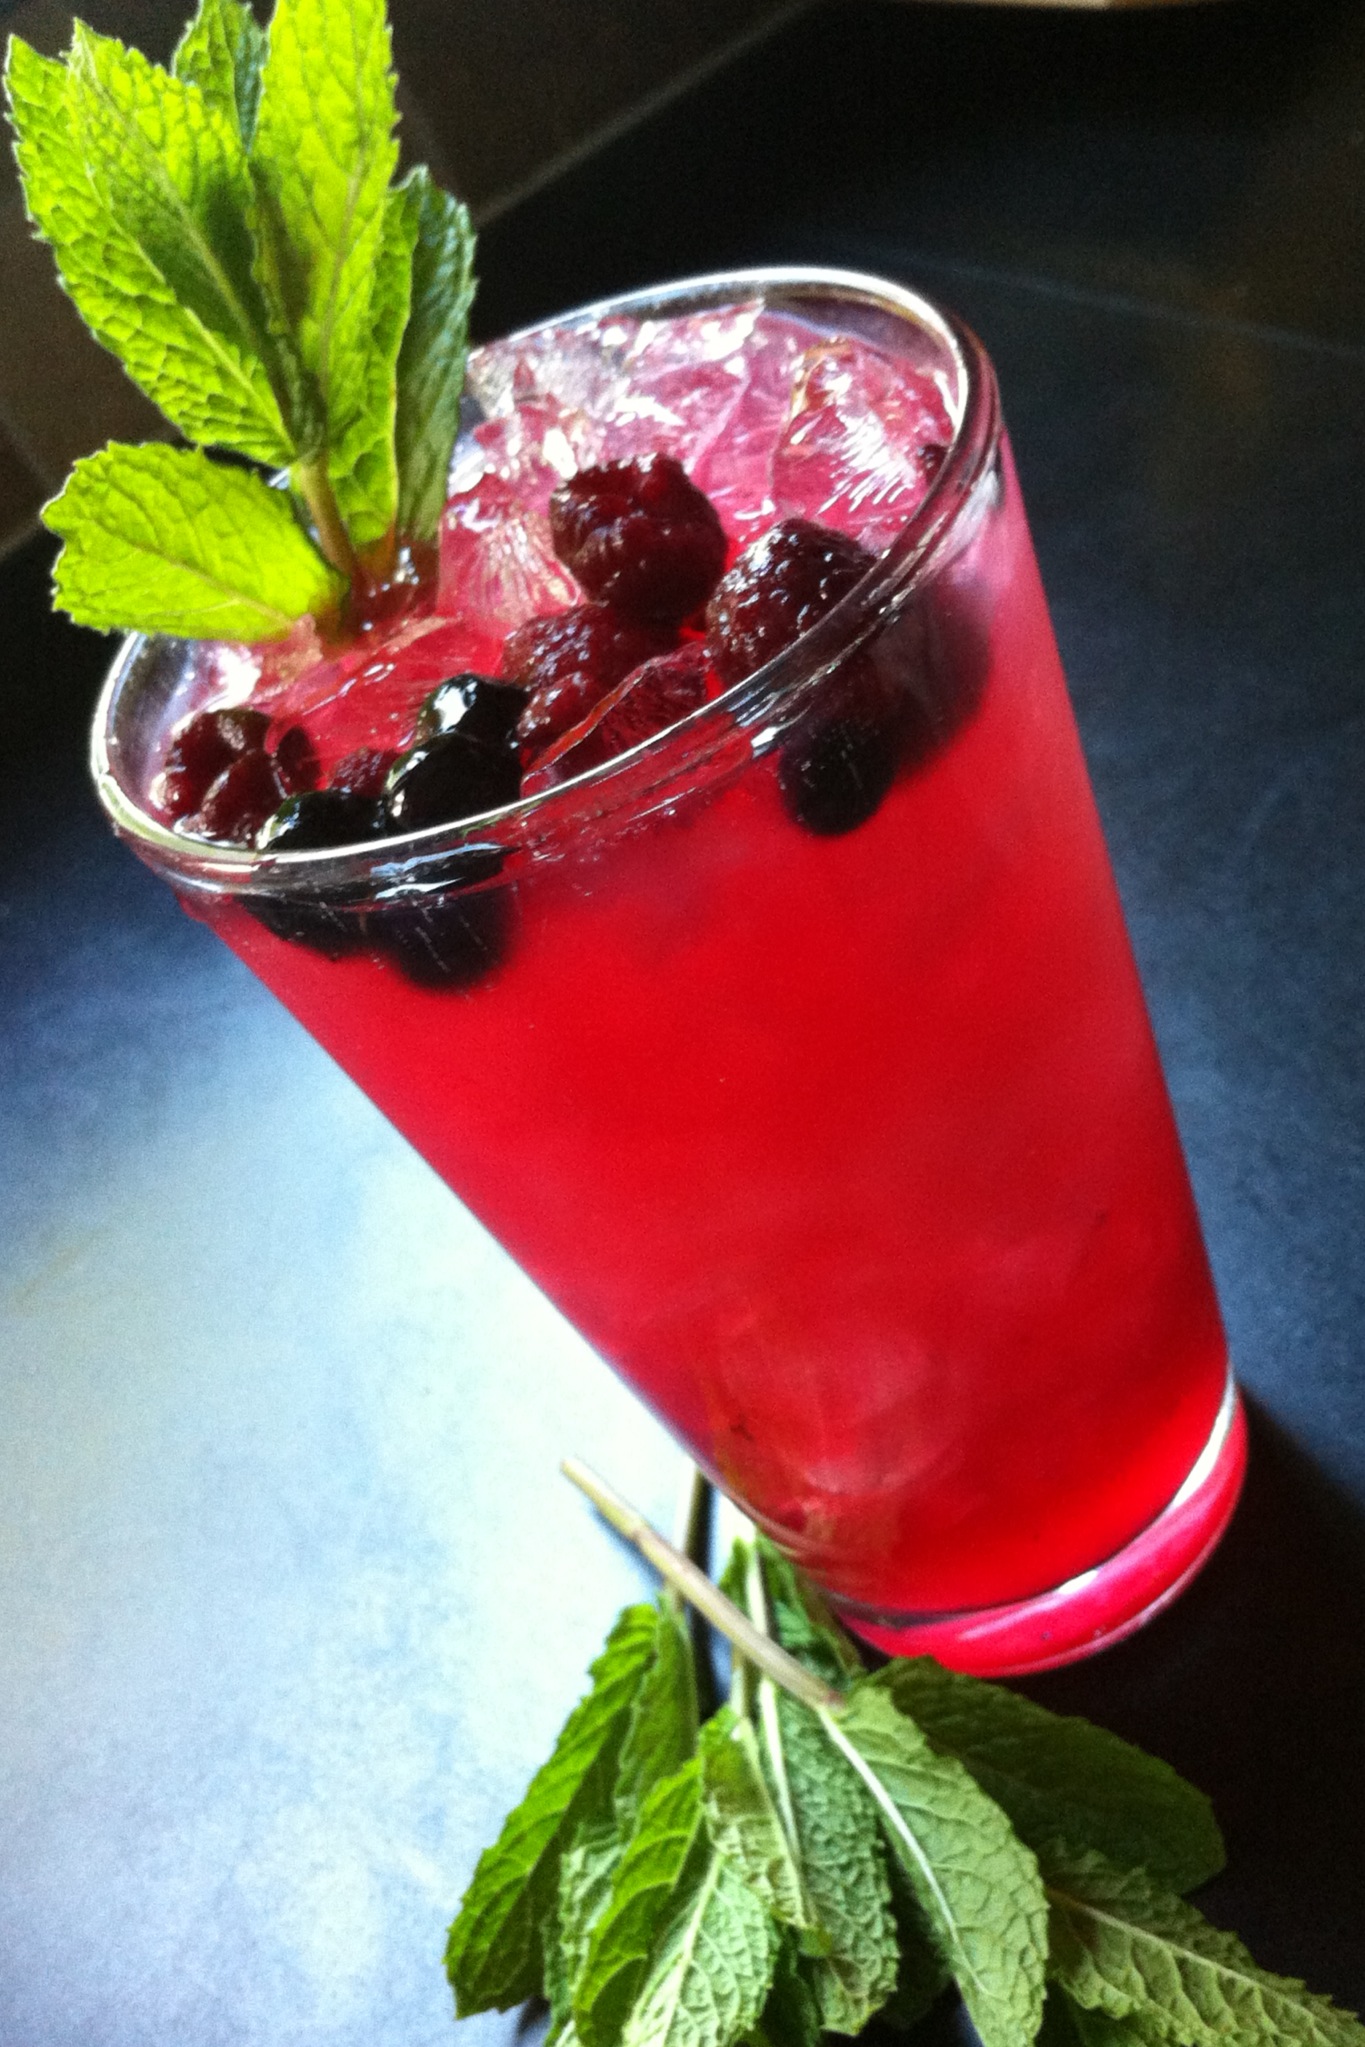
Sampling vintage limoncello and grapefruit-cello, aged 2 years or more
Four ingredients, easy to make. The toughest part is waiting for it to mellow a bit.
4 lbs. lemons, zest only
2 750-ml bottles 100 proof vodka (I prefer Absolut)
5 1/2 cups sugar
6 cups filtered water
Peel the zest off all the lemons, making sure you don’t get any of the white pith that could make the limoncello bitter. Place all the zest in the bottom of a glass jar with a lid that can hold all the vodka.
Pour the vodka on top of the lemon zest pieces, seal the container, and keep at room temperature for a week, swirling the jar around gently once a day.
On the sixth day, combine the sugar and water in a pot over medium-high heat, and stir until all the sugar completely dissolves. Remove from the heat, cover, and let it thoroughly cool to room temperature (overnight is best.)
On day seven, strain the lemon zest, pouring the infused vodka into a clean glass jar. Discard the lemon zest.
Pour the sugar/water mixture into the vodka and mix well.
At this point, you can pour the finished product into individual bottles, but let it mellow for about a month before drinking.
I keep my limoncello refrigerated.