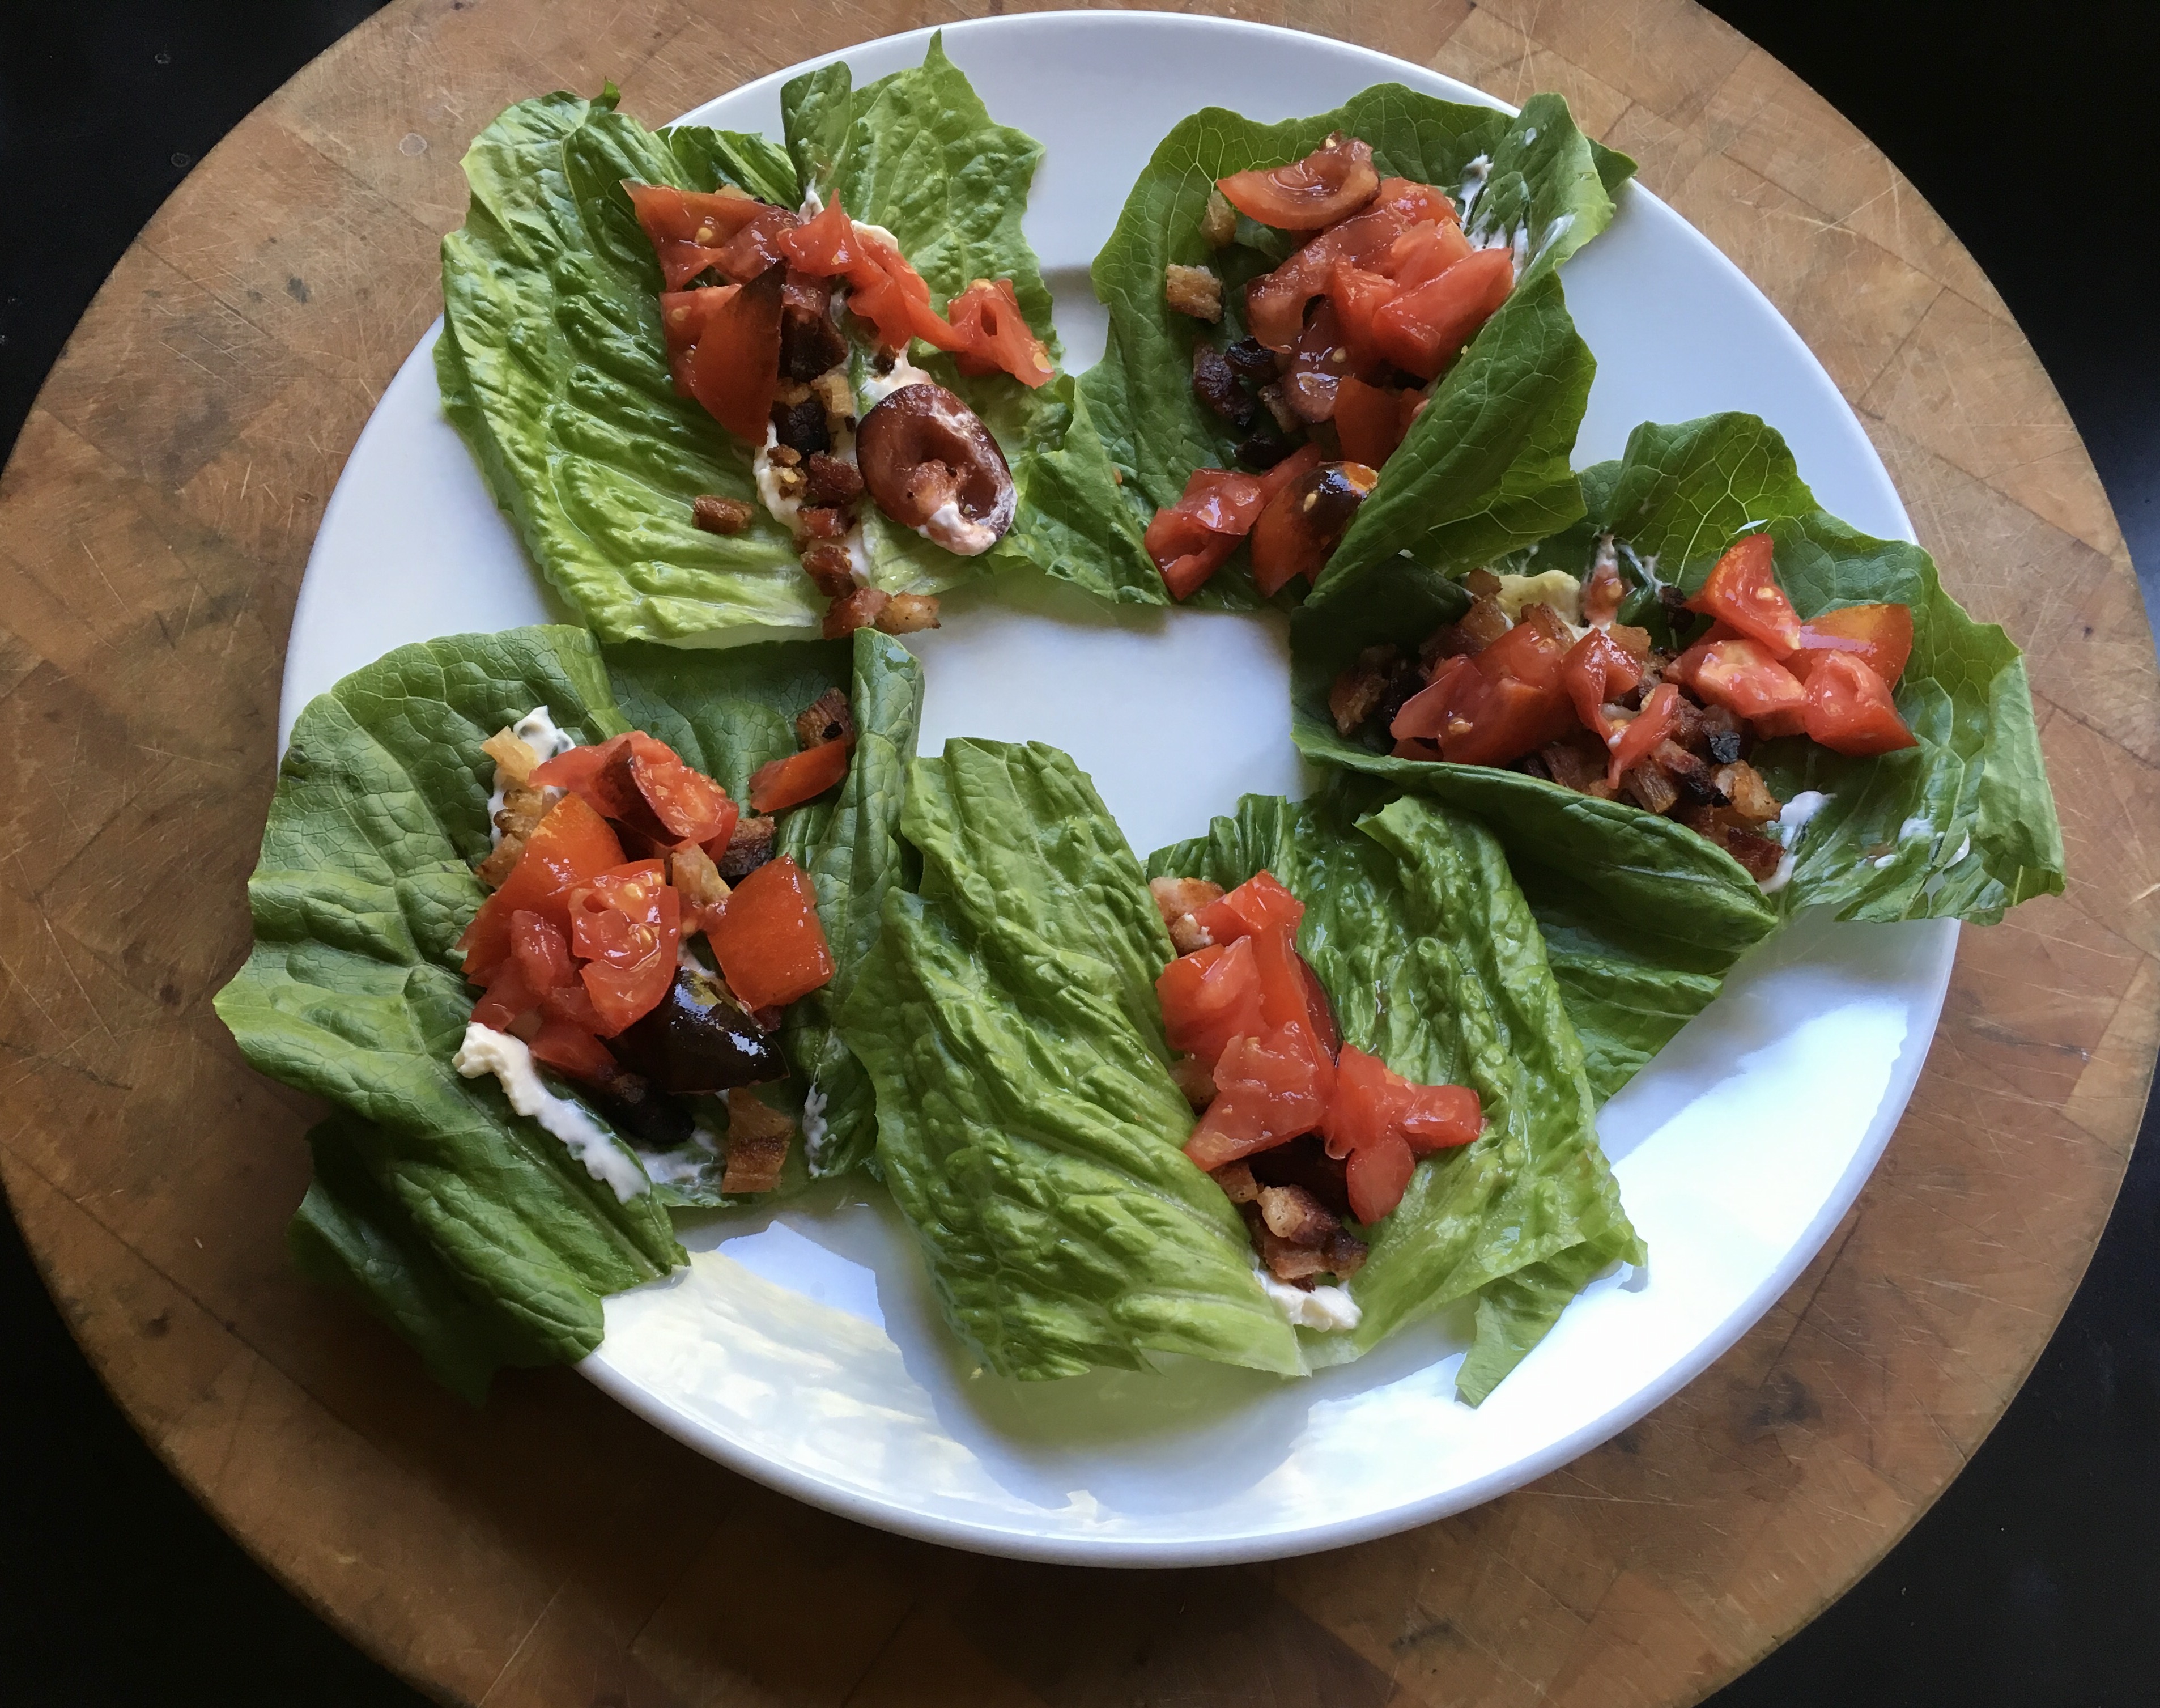
Let’s face it: there are few foods as magical as bacon. Add bacon to just about any dish you’re preparing, and it elevates it to incredible new heights of flavor. The BLT is possibly the greatest food combination ever invented: just a few simple, fresh ingredients, when placed together, transforming into one of the greatest sandwiches on planet Earth.
If I’m buying bacon, I go on-line to Burger’s Smokehouse, a family run business in Missouri that has made great bacon for decades. The prices are good, and they include shipping. (smokehouse.com) I buy in quantity and freeze what I don’t need right away. My favorite is the thick-sliced country bacon “steaks.”
But nothings beats making your own.
Bacon comes from the pork belly, and they’re easy to find in any good butcher shop. But to get something a notch above, I’ll buy a heritage breed, like Berkshire pork, from Heritage Pork International. (heritagepork.com) I follow the simple curing techniques outlined in “Charcuterie,” a great book written by Michael Ruhlman and Brian Polcyn.
To cure bacon, all you really need is salt and sugar, and what they in the curing biz call “pink salt,” which is not to be confused with salt that happens to be pink, like Himalayan salt you would find in a gourmet store. Pink curing salt is bright pink to let you know that it’s a special salt that should only be used in small quantities for curing. The reason is: nitrites. Nitrites delay the spoilage of the meat, and help keep the flavors of spices and smoke. They also keep the meat nice and pink instead of an unappetizing gray. That’s good. However, nitrites can break down into nitrosamines, which have been known to cause cancer in lab animals. But let’s face it: you would need to eat a ton of cured meat to really worry about this. (I buy uncured deli meats and hot dogs at the supermarket, because processed meats are a different story. But since I know exactly what goes into my own bacon, I’m not worried about the level of nitrites.)
To make the basic dry cure:
1/2 lb. kosher salt (I use Diamond Crystal Kosher salt)
1/2 cup light brown sugar or turbinado sugar
1 oz. pink curing salt
Mix the ingredients well. An important note: all salts do not all weigh the same, so go by the weight and not a cup measurement. (Morton’s Kosher salt, for example, is heavier than Diamond Crystal.) I keep this basic dry cure stored in my pantry, ready to use when I need it.
When it’s time to be makin’ the bacon, I combine this dry cure with other ingredients to make my bacon rub.
My bacon rub:
1/2 cup basic dry cure
1/2 cup brown sugar or turbinado sugar
1 tablespoon fresh cracked black pepper
1 tablespoon granulated garlic
1 tablespoon granulated onion
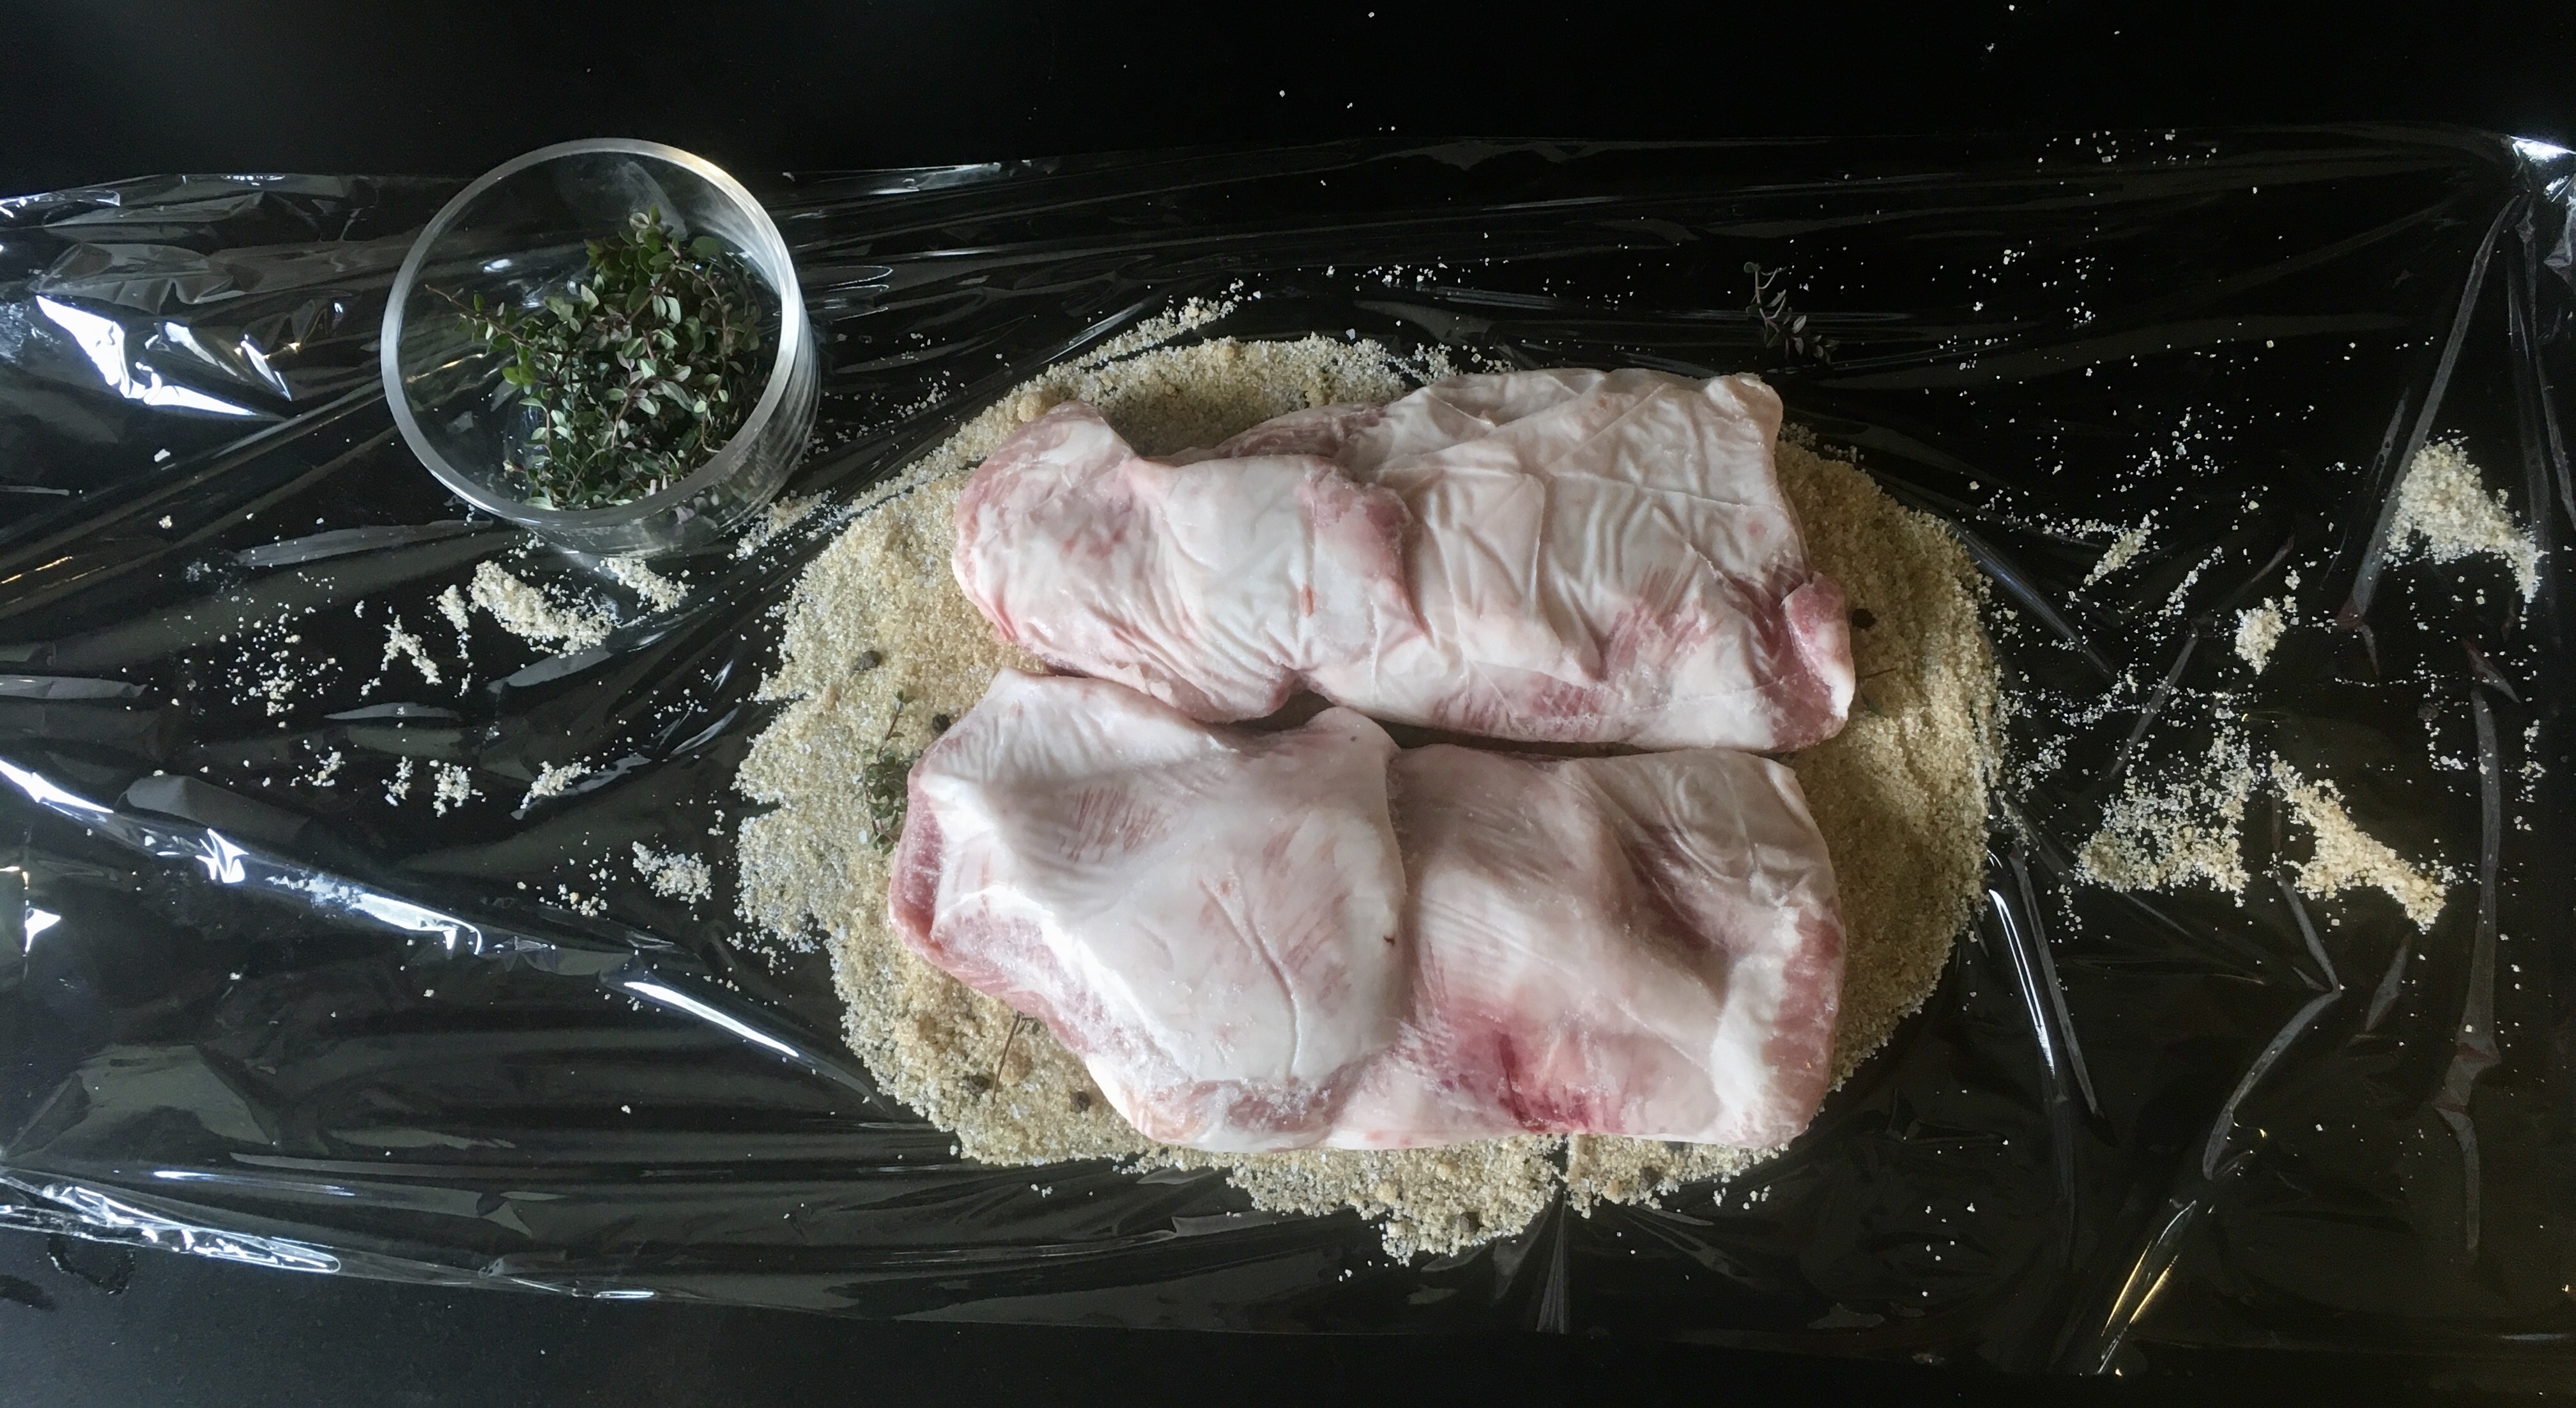
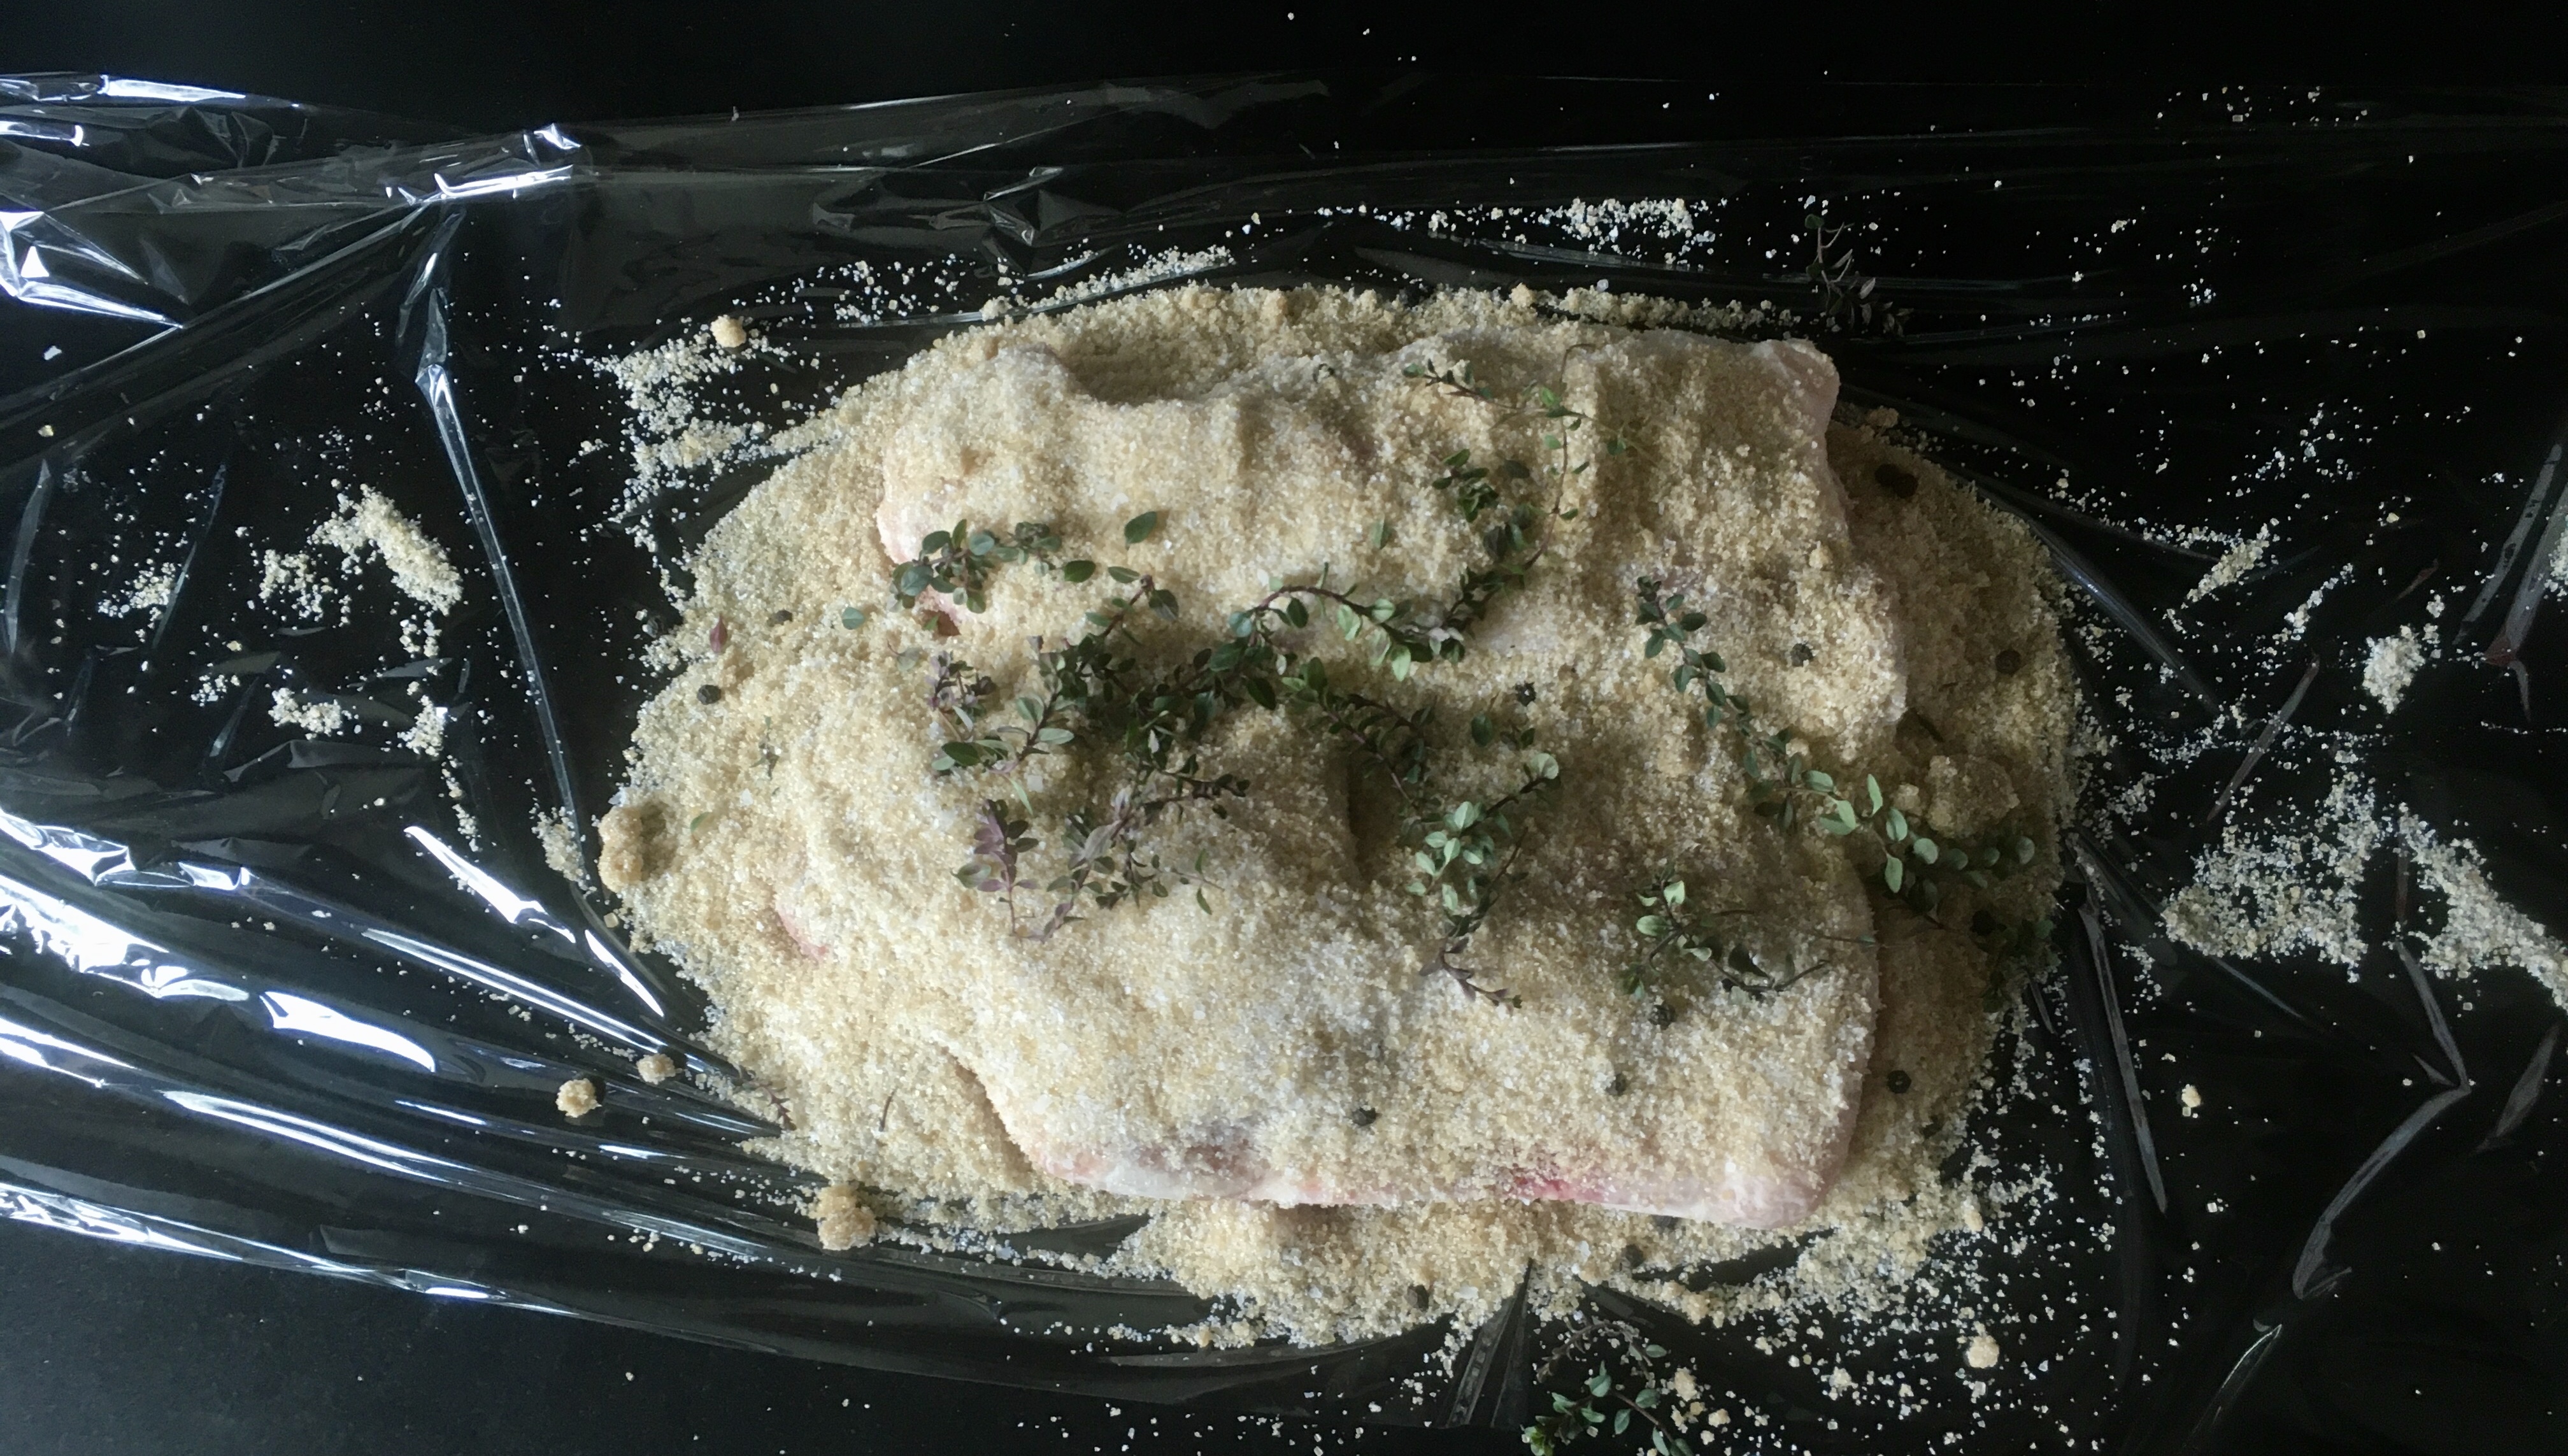
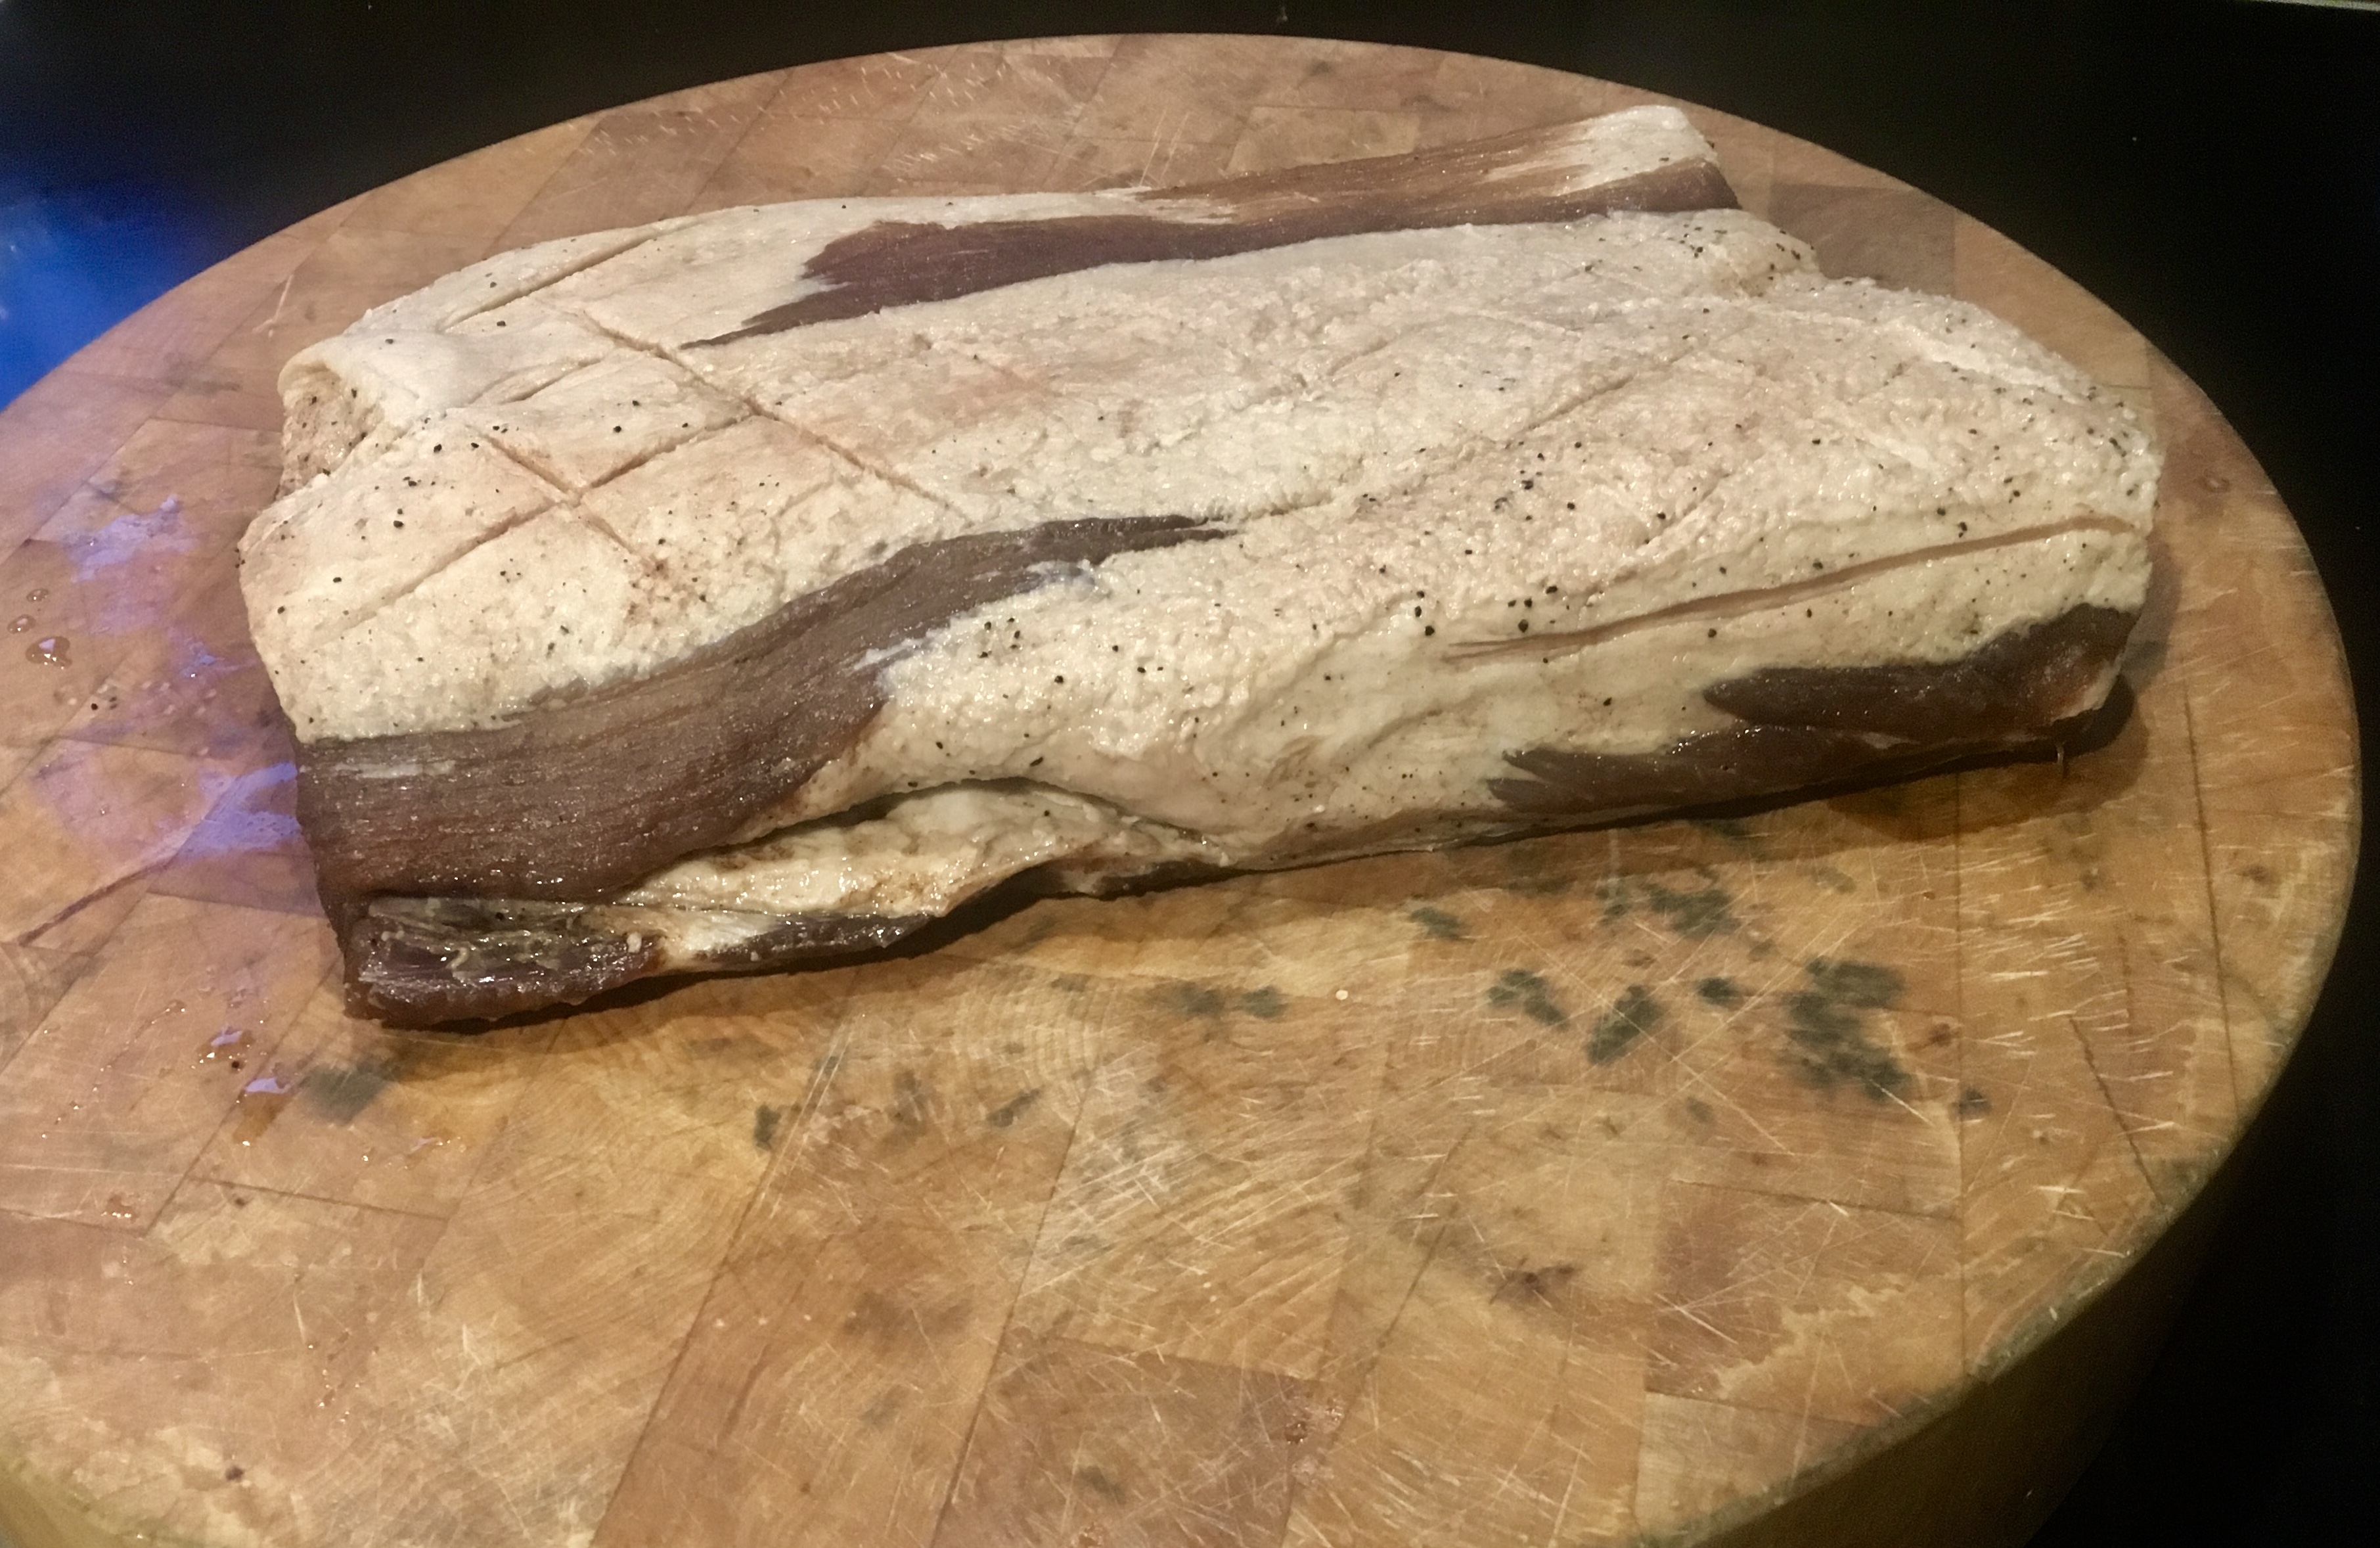
Mix these ingredients well (yes, there’s quite a bit of sugar there, but I like my bacon a little sweet!) Rub it generously all over the pork belly.
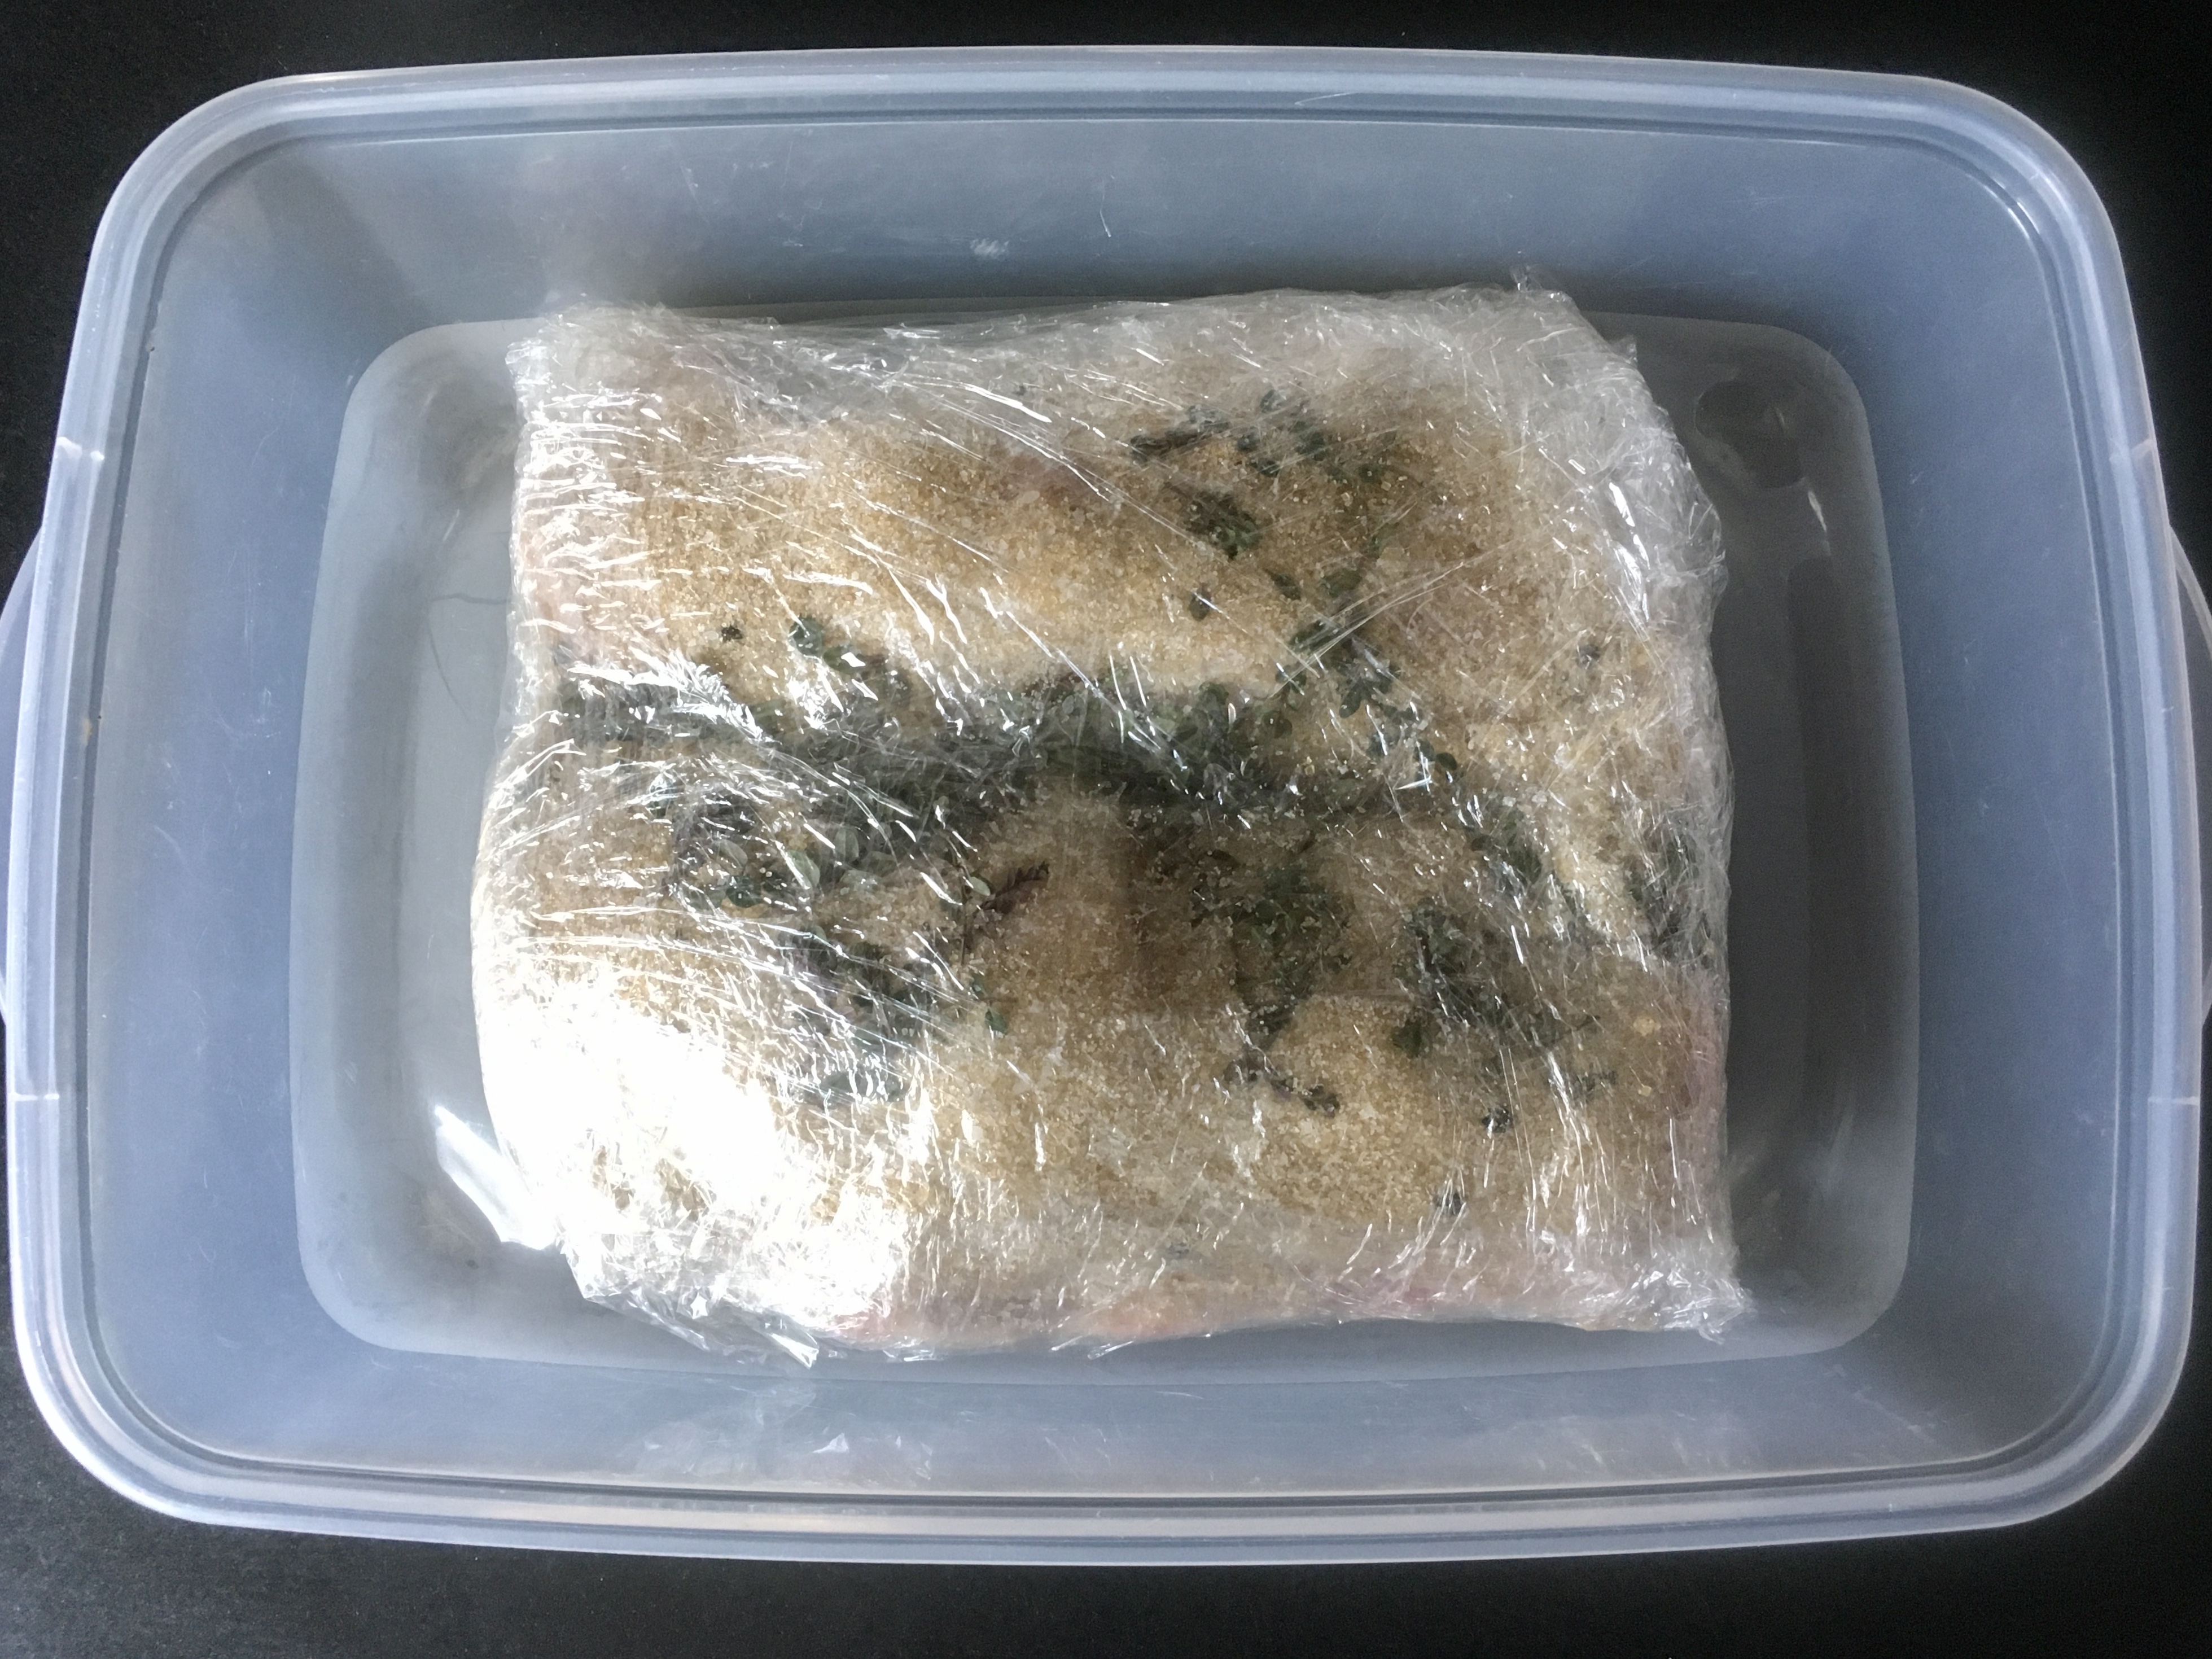
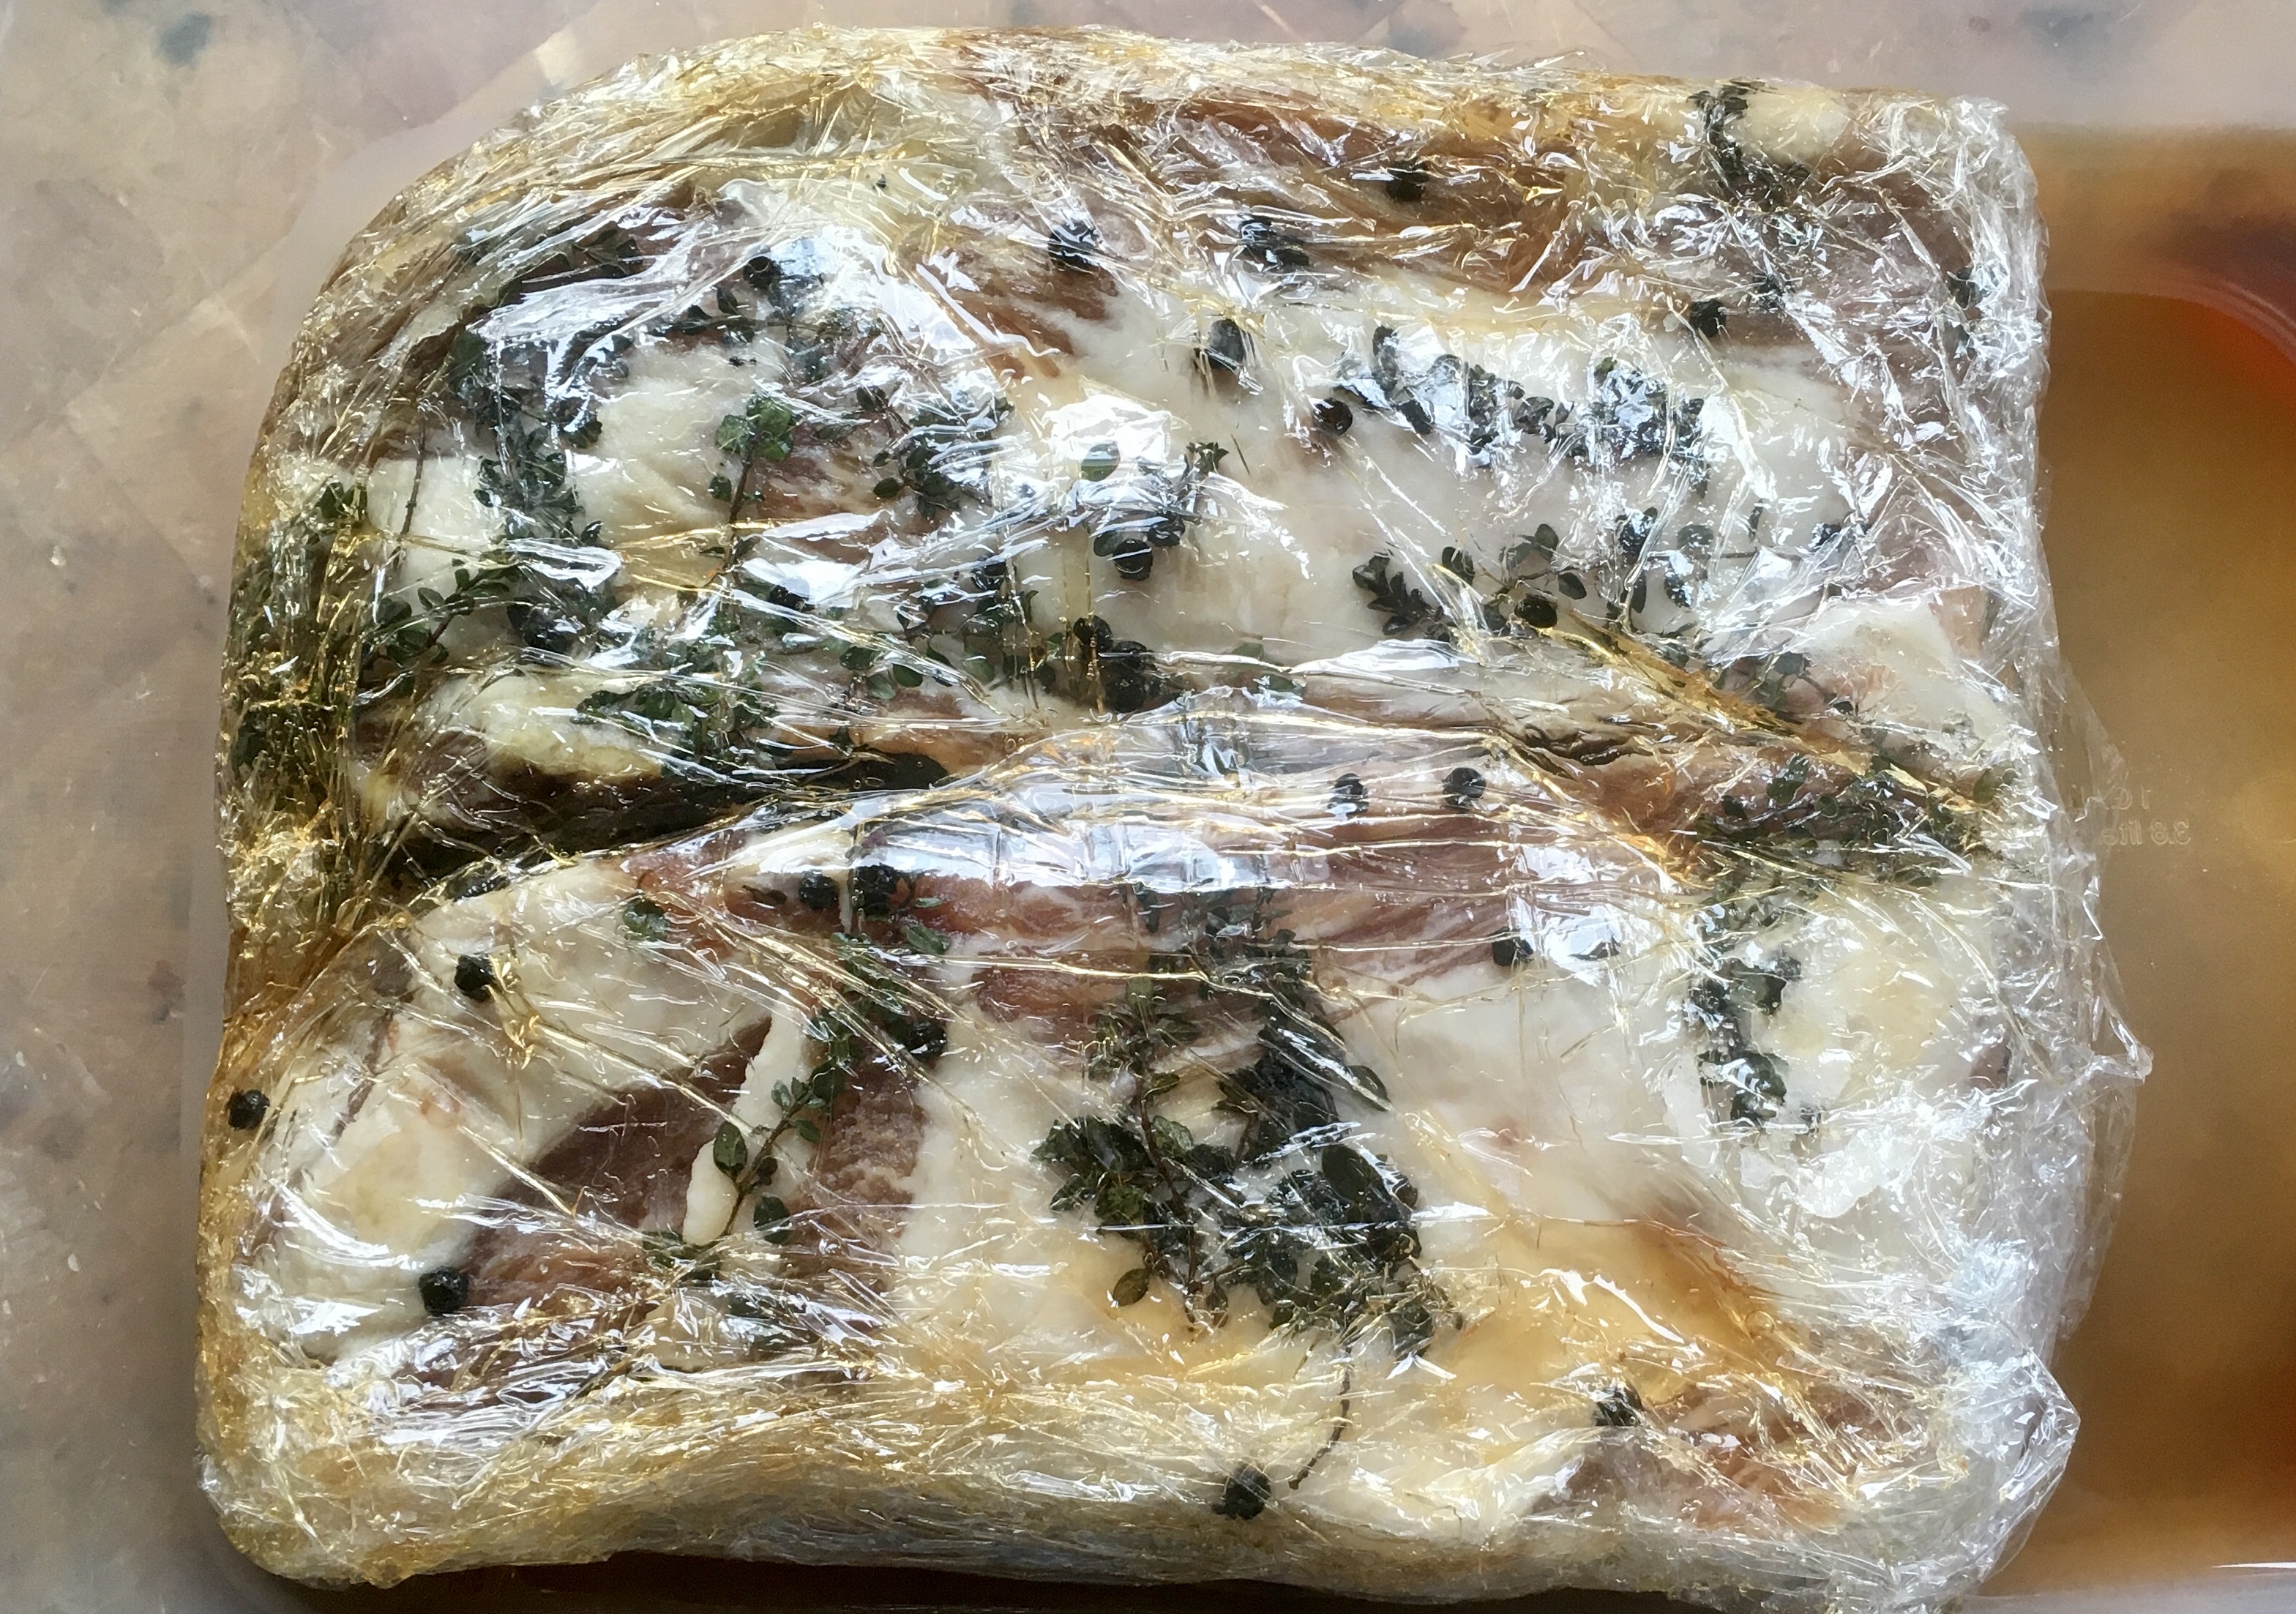
I have a large plastic container with a lid that fits one average (4-lb.) slab of pork belly perfectly. I place the belly inside it, put the lid on, and place the container in the fridge. (Sometimes, I’ll season the belly and wrap it tightly with plastic wrap before putting it in the container. Optional.) The pork belly stays there for at least a couple of weeks, maybe three. I flip the belly every few days. You’ll see that the salt will draw moisture out of the meat and form a gooey brine. This brine will continue to cure your pork belly, so leave it in there. Just flip it, put the lid back on the container, and back in the fridge.
In two or three weeks, you’ll be able to tell the pork belly has cured because it feels firm. Wash the brine off the meat well with cold water, and pat it dry with paper towels. Place the belly in the fridge for an hour or so and it will develop a tackiness to the touch. This is a thin layer of proteins known as a pelicle, and it helps the smoke stick to the meat.
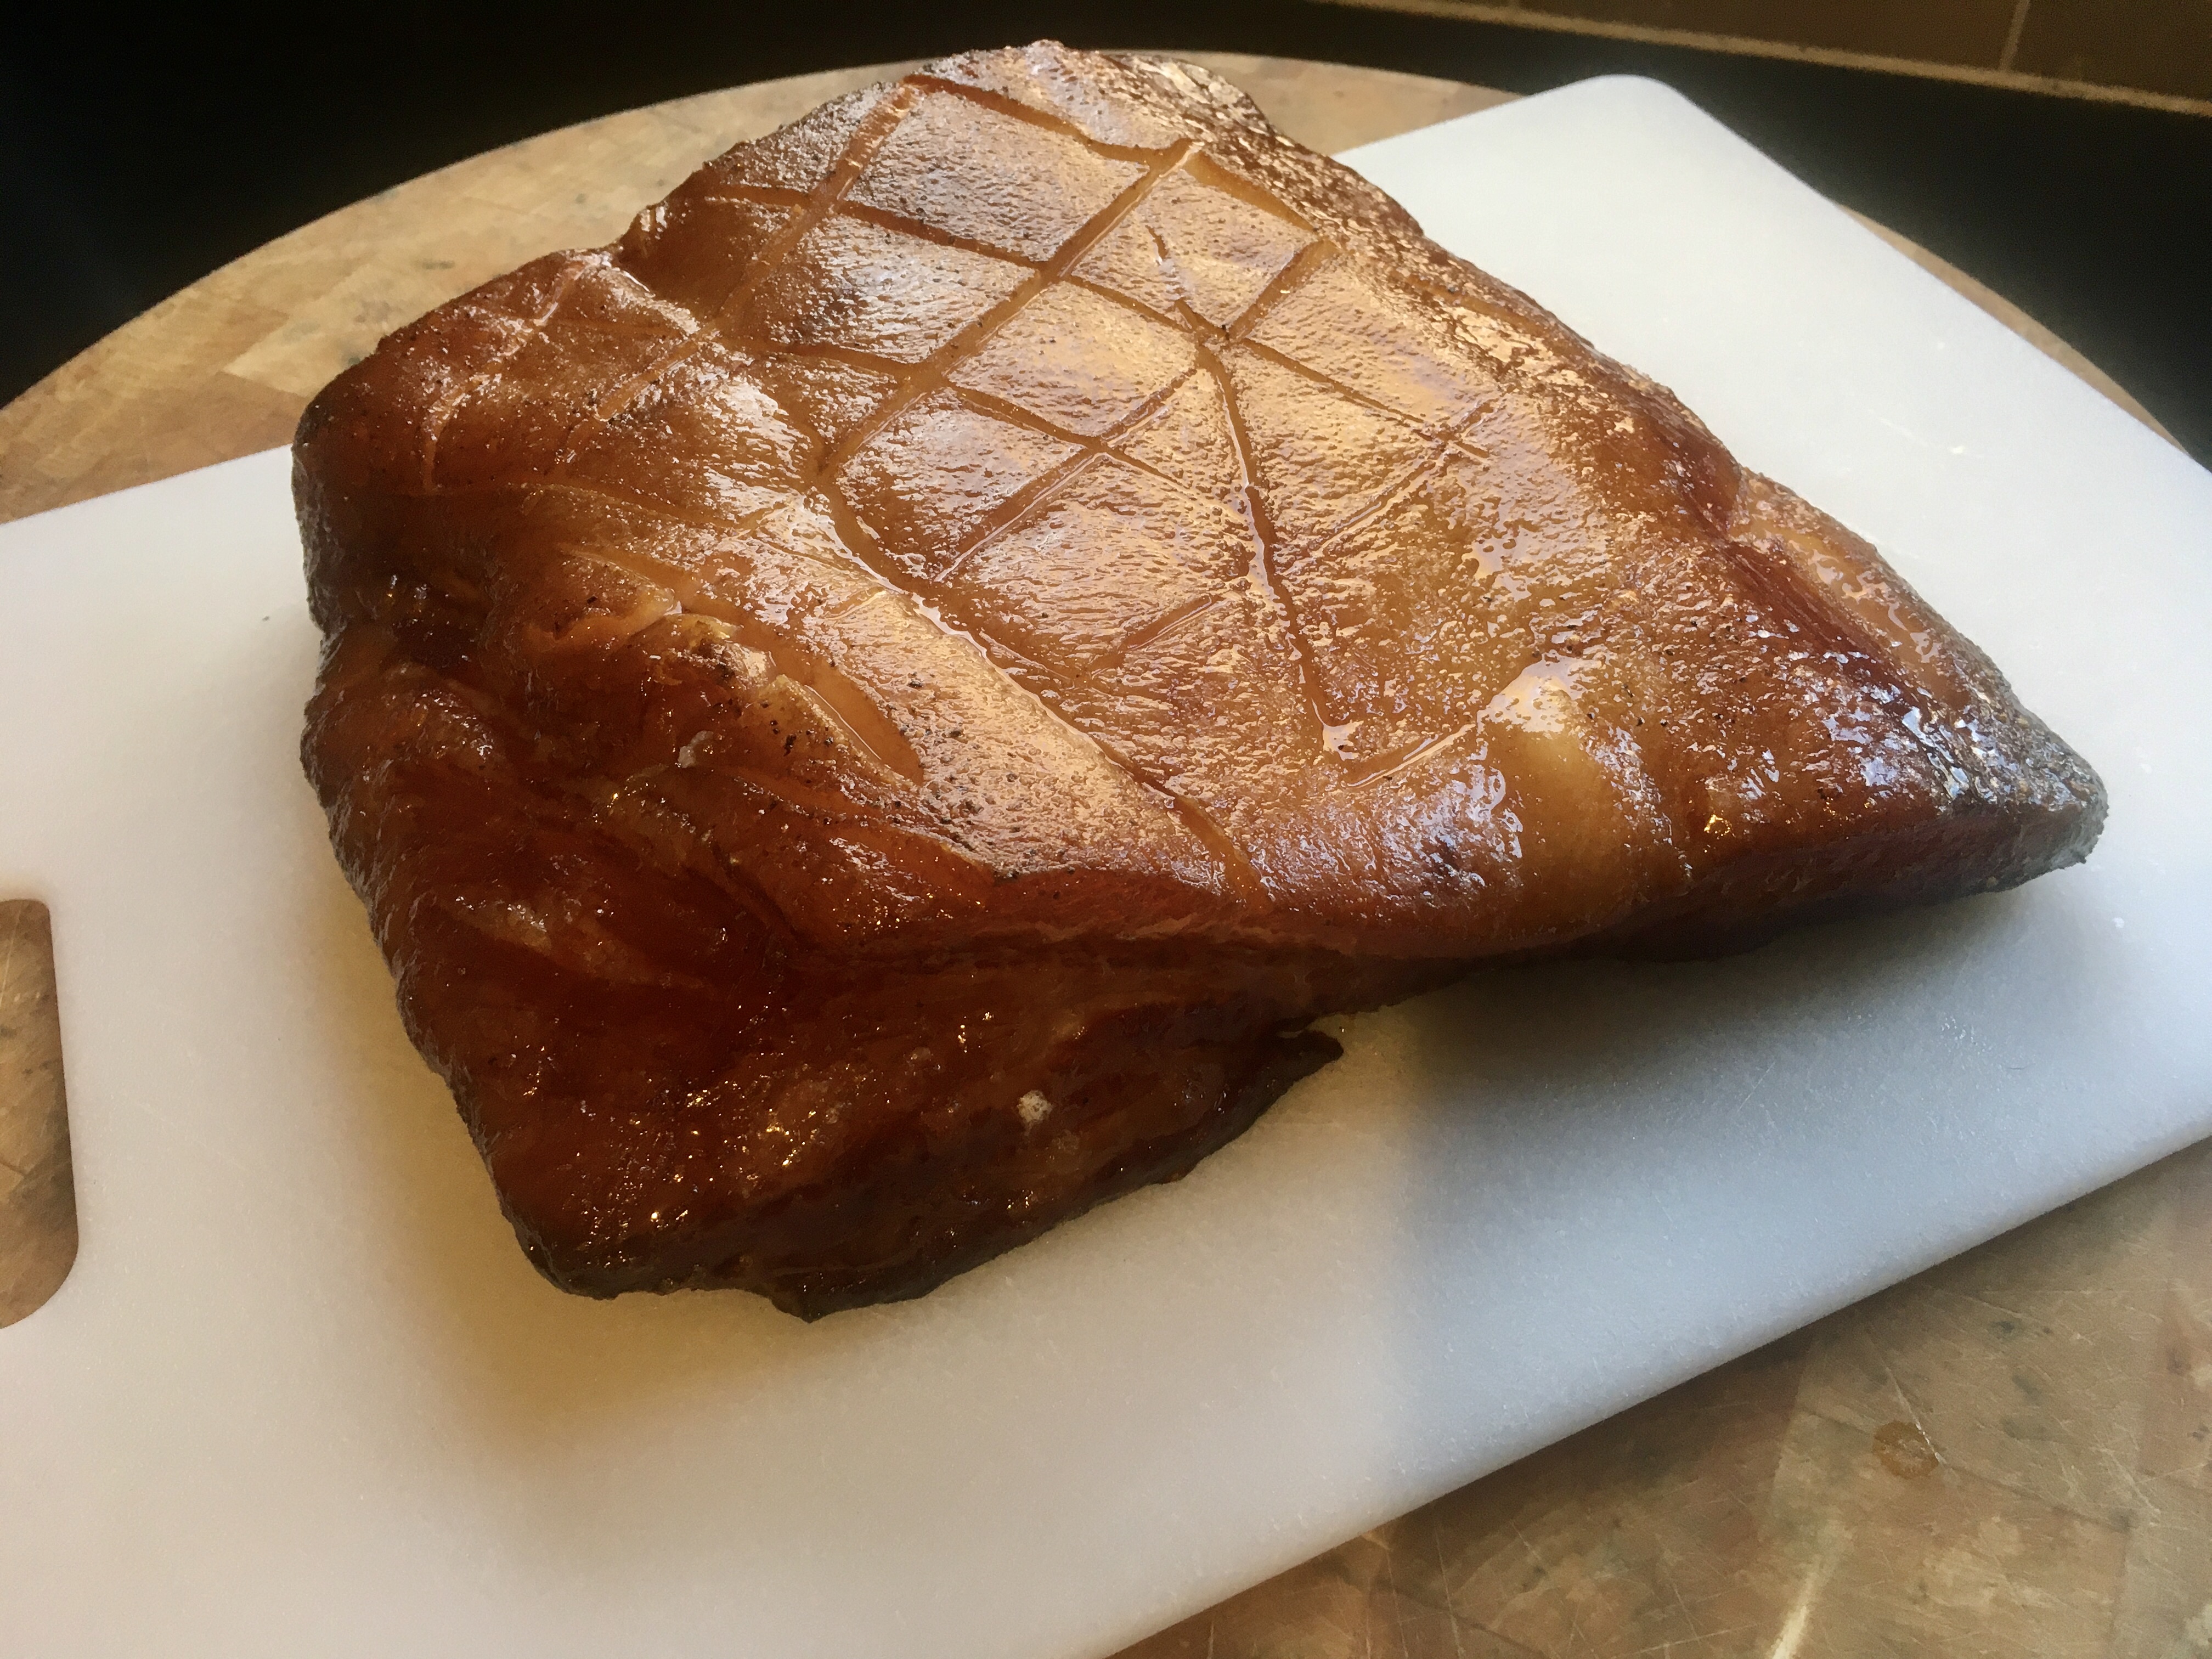
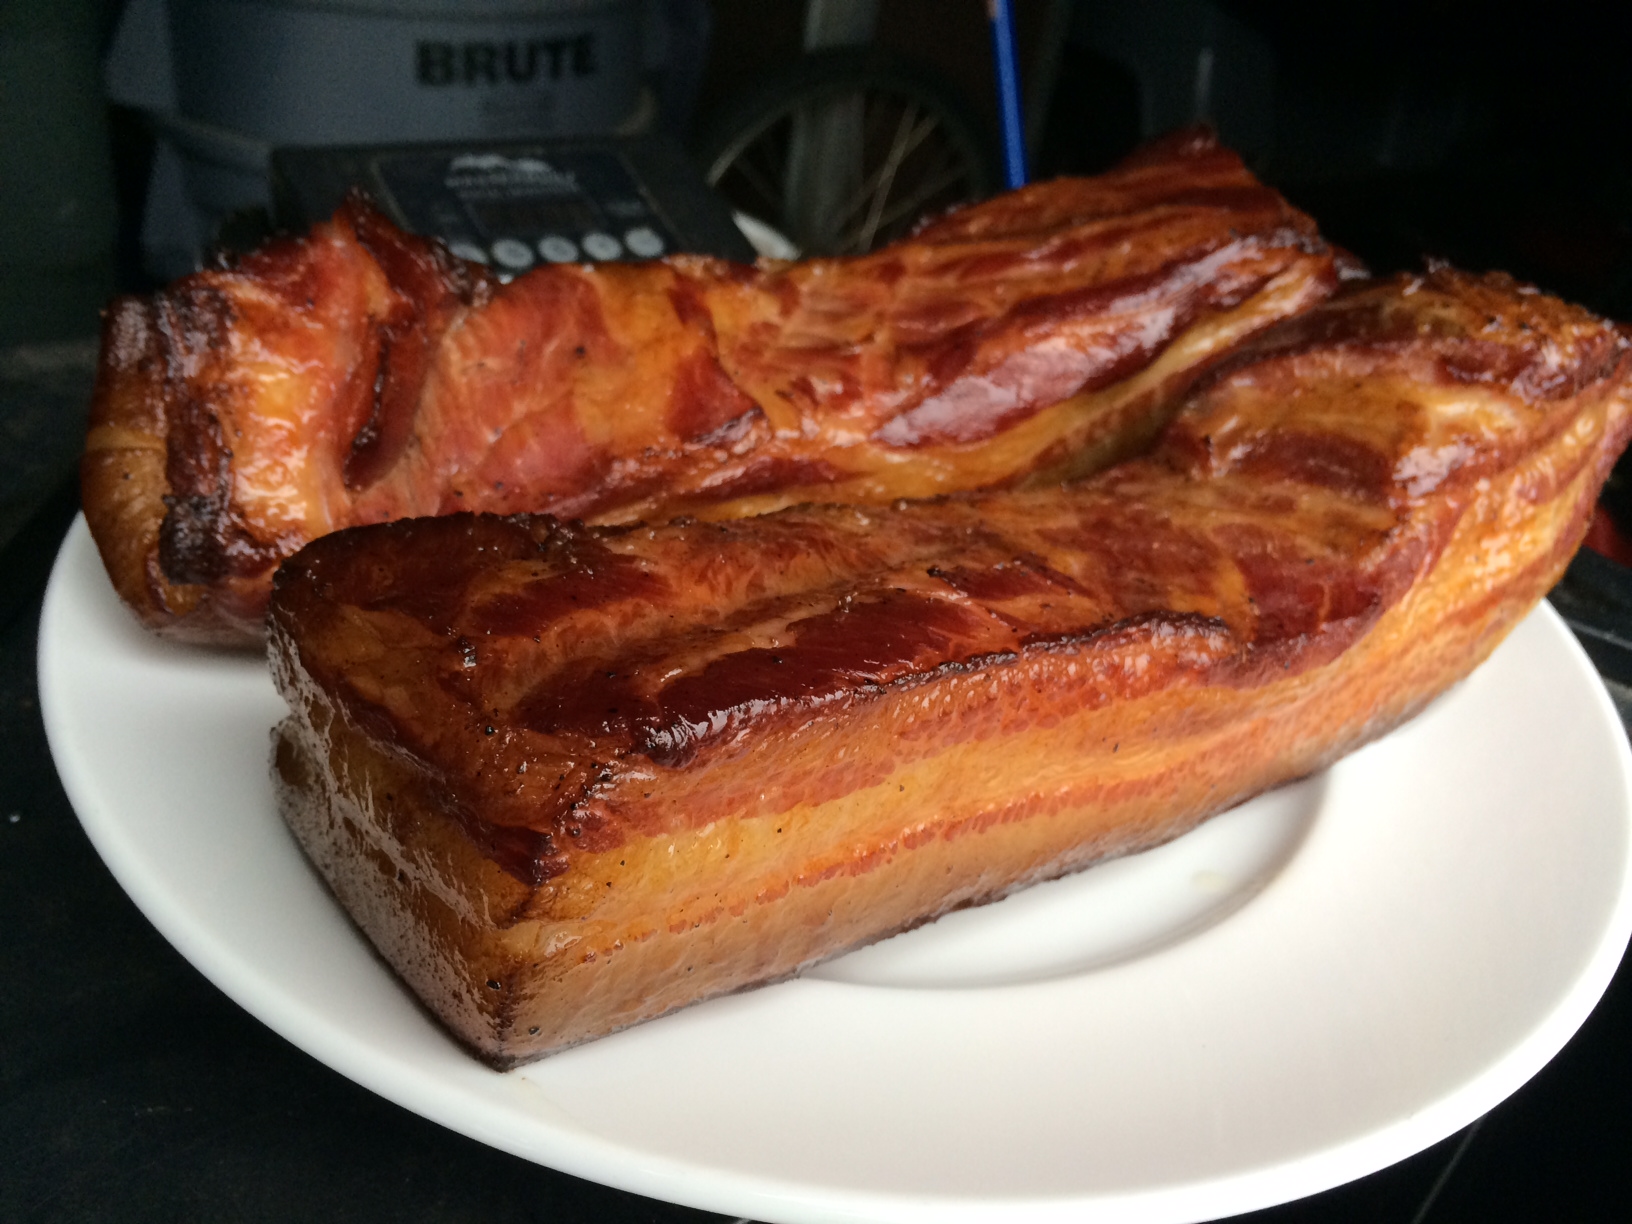
Now it’s time to cook. You can simply cook the pork belly (without smoking it) at 200° for about 2 hours, until the internal temperature reaches 160°. This isn’t bacon…it’s pancetta. Or you can simply slice it and fry it up in a pan. (Also delicious.) But it’s the smoke that makes it bacon.
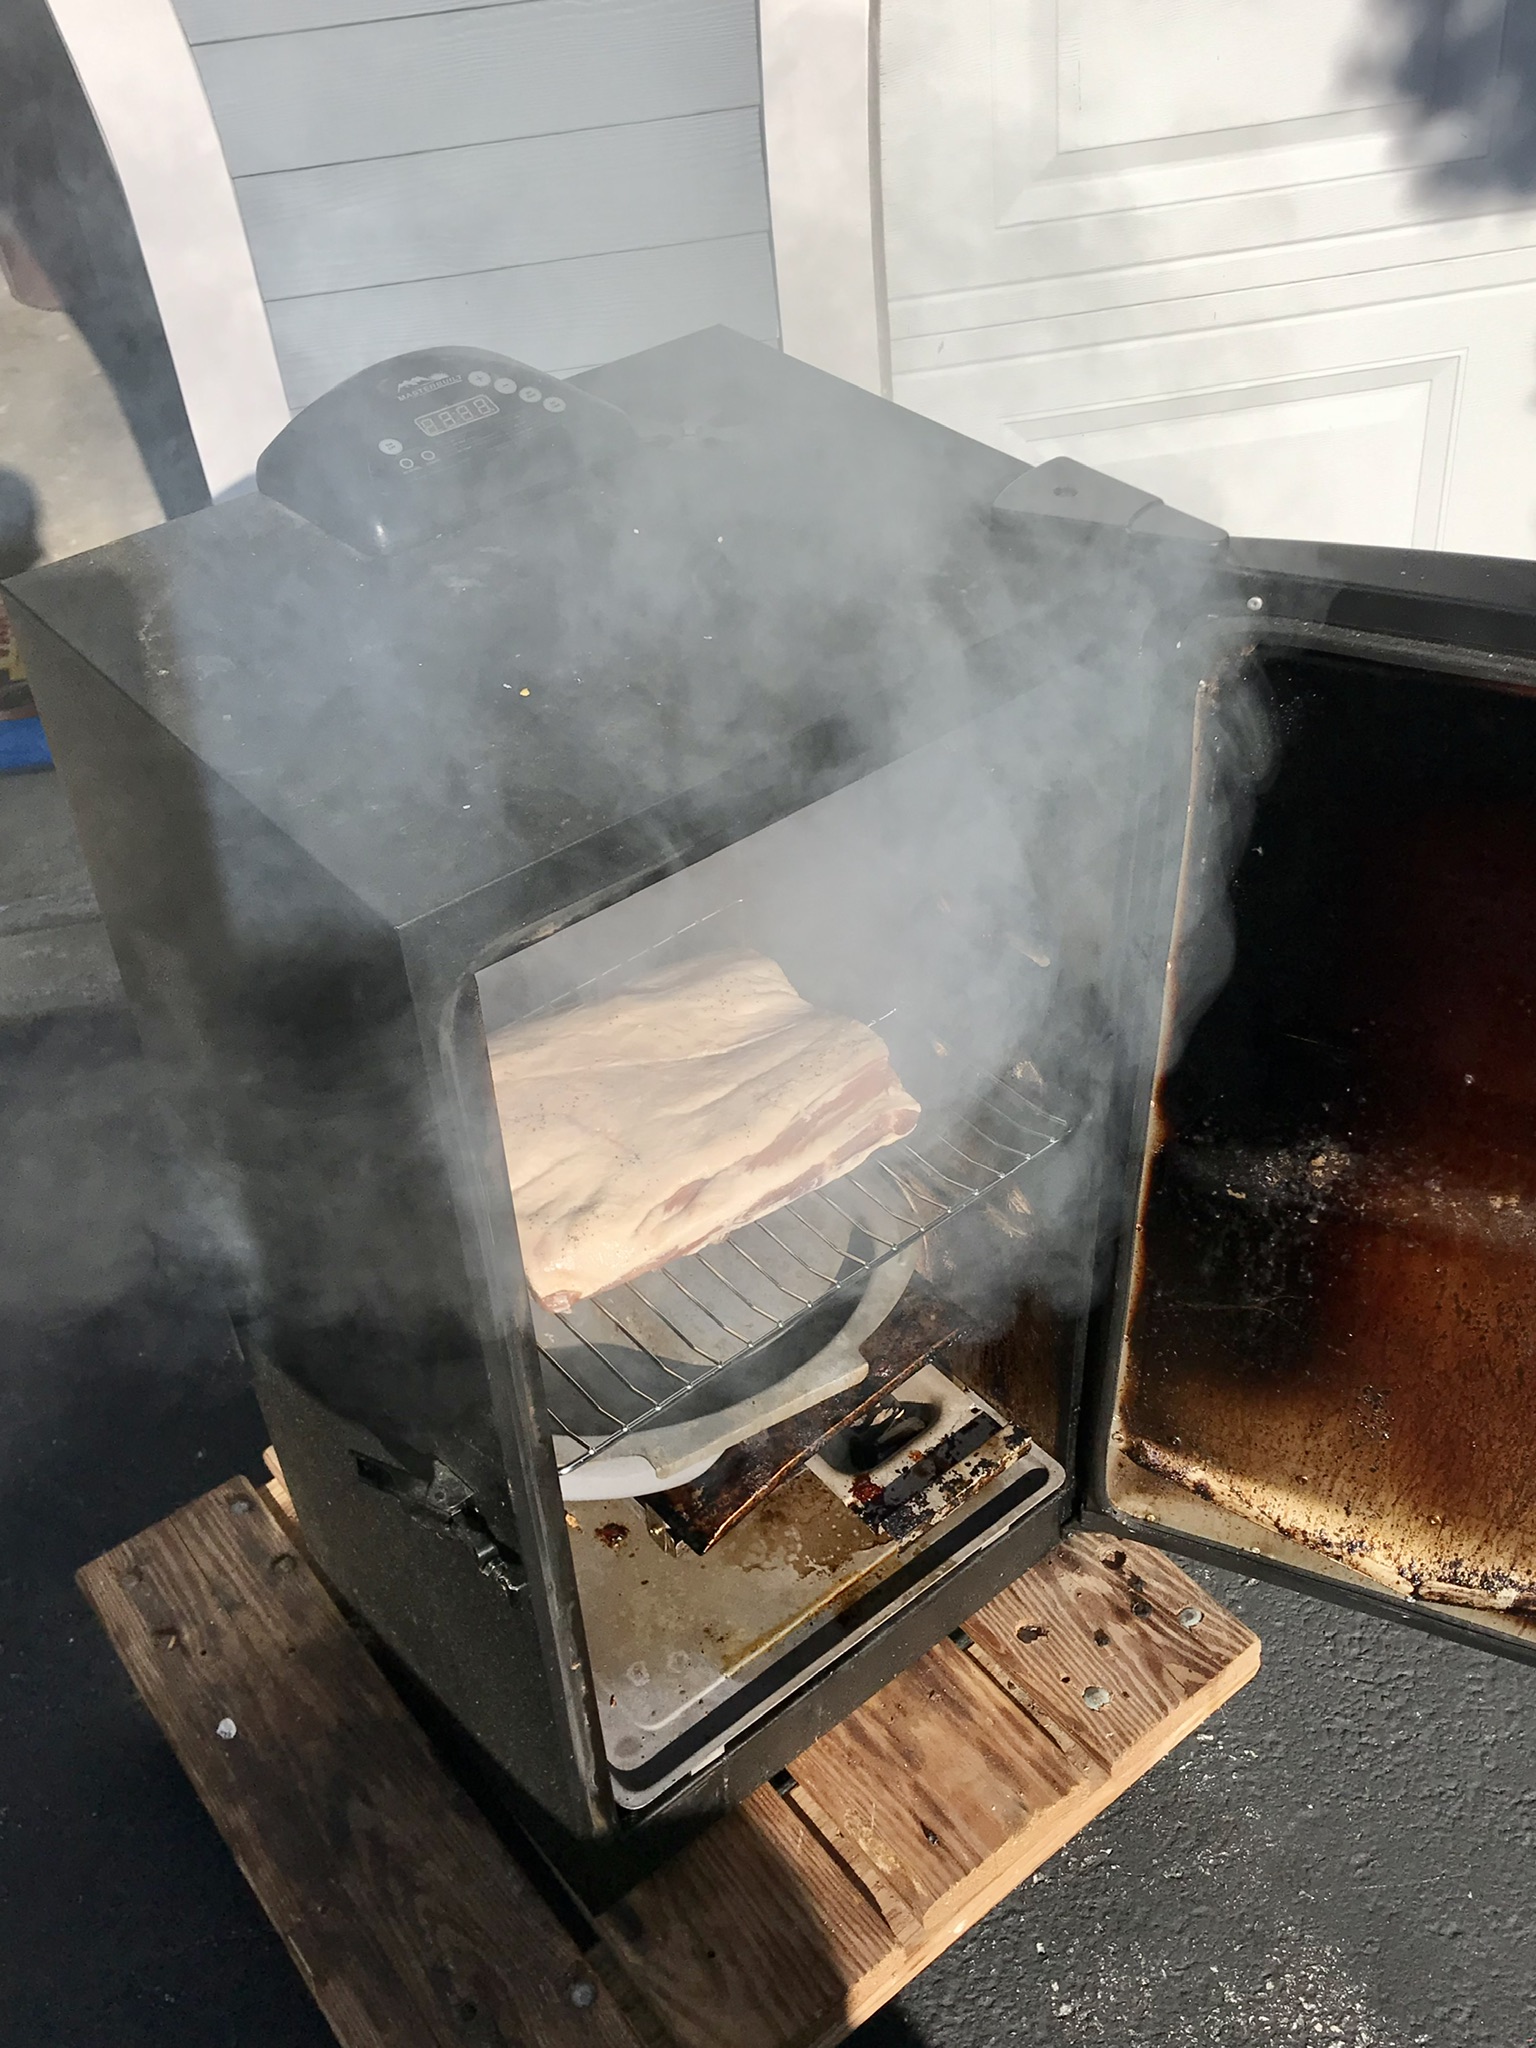
Smoking foods can be a challenge to many, so a great alternative to the traditional charcoal smoker is an electric one. It allows you to control the exact temperature inside the smoker without checking on it constantly (a real luxury when you’re slow smoking brisket or pork shoulder for many hours), and it offers a tray where you place your wood chips or pellets to give your food that authentic smoky flavor.
My electric smoker has a digital readout, which allows me to set an exact temperature. I smoke my pork belly at 250° for 2 hours, using hickory chips. (I’m not a fan of applewood, the other commonly used smoking wood for bacon.)

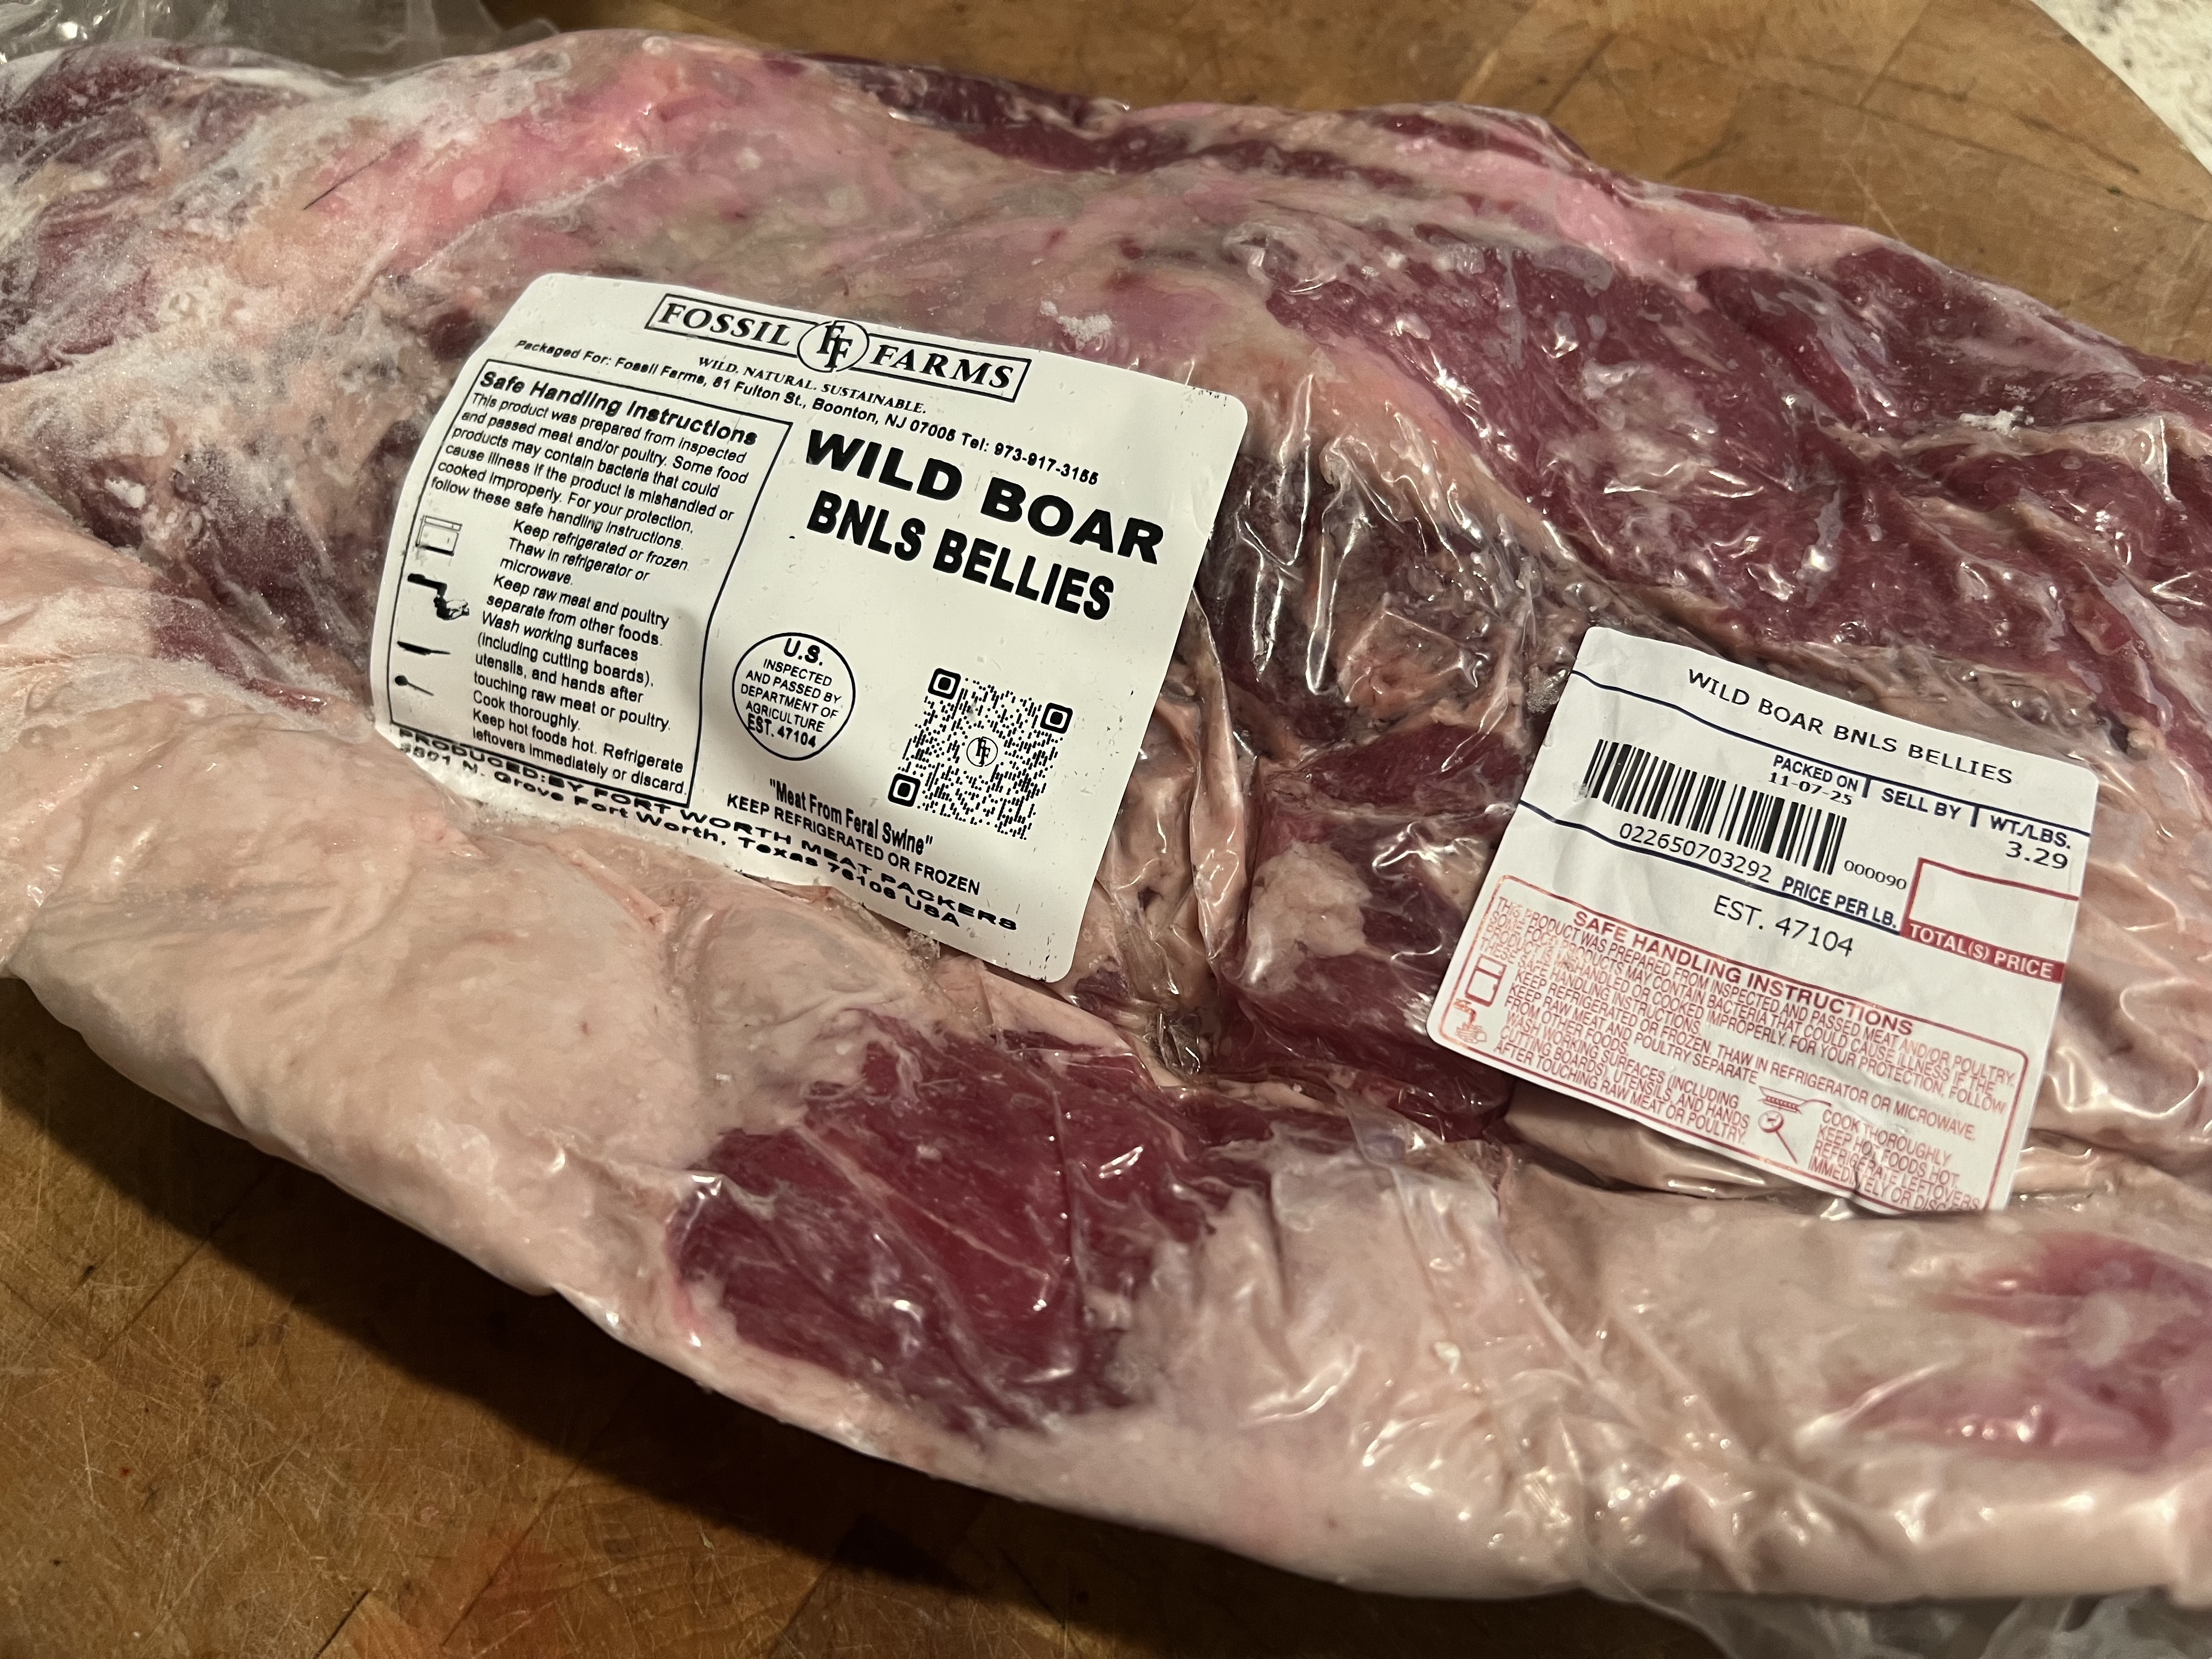
I recently received this wonderful gift from my buddy, Dr. Chezwick. I’ll be using the same techniques that I would for a regular slab of bacon, only I’ll cure it for less time, since it weighs less, and is thinner. I’m thinking it will be delicious!