HOMEMADE MUSTARD

Posted: April 17, 2024 in Food, mustard, Recipes, spicy
Tags: , , ,

It’s so easy to make your own mustard. And really good mustard. Mustard that hasn’t been sitting on the store shelf for a year. Mustard with real flavor.

Once the mustard is made, you’re supposed to wait a few weeks before using, letting its heat mellow a bit. But I enjoy it right from the start. Feel the burn!


mustard

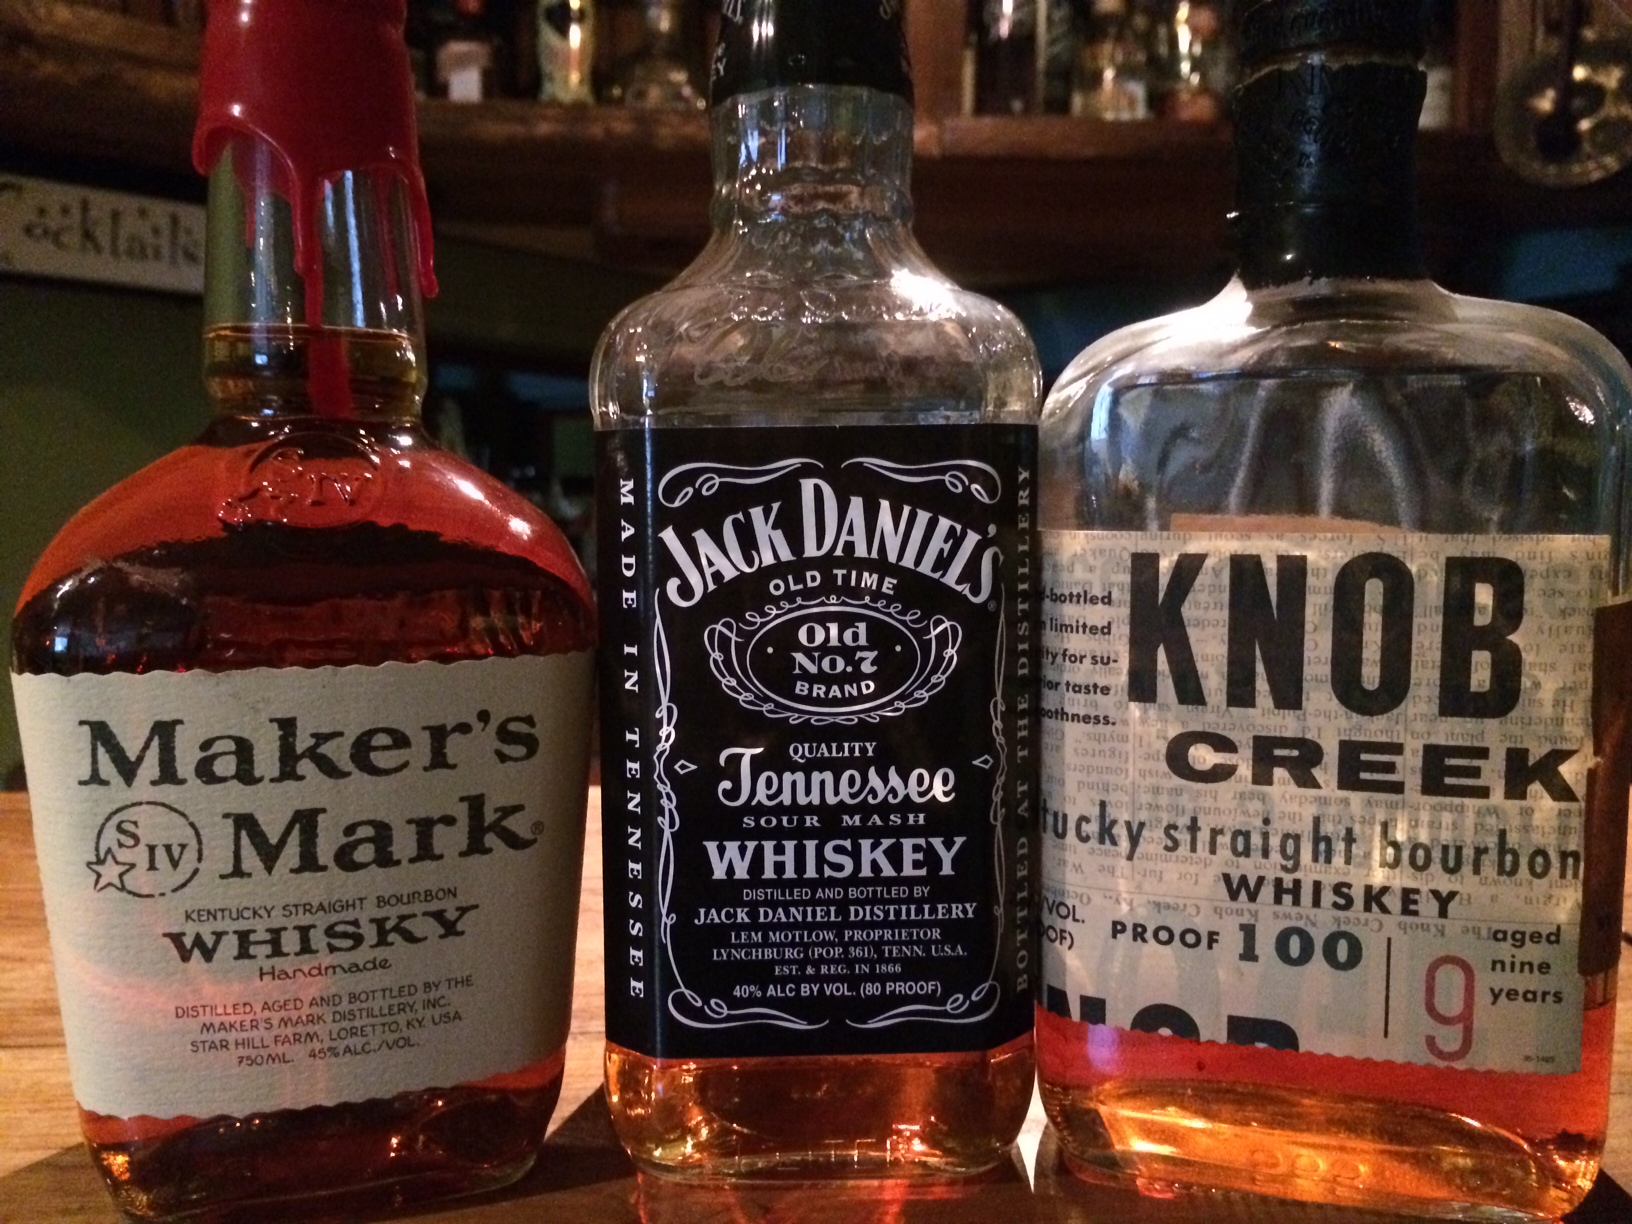
The great thing about this recipe is that you make it with your favorite beer, so use what you drink and you’ll have a mustard like no one else. I used Samuel Adams Boston Ale for this recipe.

1/4 cup yellow mustard seeds
1/4 cup brown mustard seeds
3/4 cup Sam Adams Boston Ale
1/4 cup apple cider vinegar
2 tbsp. honey
2 tbsp. brown sugar, firmly packed
2 garlc cloves, smashed
1 bay leaf
2 tsp. sea salt
1/8 tsp. freshly ground pepper

Put the yellow and brown mustard seeds in a bowl and pour in 1/2 cup of the beer. Push the mustard seeds down to submerge them in the beer. (I lay a sheet of plastic wrap down on top to keep them submerged.) Cover and refrigerate them for 24 hours.

Combine the remaining 1/4 cup of beer, the vinegar, honey, brown sugar, garlic, bay leaf, salt and pepper in a small saucepan. Bring the mixture to a boil over medium-high heat, stirring to dissolve the honey and the sugar. Boil for 1 minute, the immediately remove the pan from the heat and let it cool to room temperature.

Toss the garlic and the bay leaf in the trash and pour the liquid into a blender.

Pour off any remaining beer left in the bowl with the mustard seeds. Add 3/4’s of the plumped mustard seeds to the blender and blend them to break the seeds. Add the remaining 1/4 of the mustard seeds and pulse just once to mix. You want the mustard thick, with some whole seeds remaining.

Put the mustard in an airtight container in the fridge for at least 3 days and up to a week, depending on how mellow you want it and how much waiting you can tolerate! After about 3 weeks, the mustard will be at its peak…but it will keep in the fridge for several months. (I can’t imagine it will last that long.)

SWEET POTATO CORNED BEEF HASH

Posted: April 14, 2024 in Uncategorized

Corned beef hash is actually a very simple thing to make. The most difficult part is the corned beef, especially if you’re curing it yourself. That process takes about three weeks…a long time to wait for a plate of hash!


If you have a package of already prepared corn beef that you bought at the supermarket, thaw it, and rinse it in clean, cold water.

If you follow my corned beef recipe (I posted it a couple of weeks ago…you can search for it on my home page), do the same after three weeks of curing: wash the slab of brisket well, removing any seeds and spices that have wedged themselves into the meat.


A beautiful slab of corned beef, after 3 weeks of curing. I trim large pieces of fat and gristle off before cooking.


At this point, many people choose to boil the corned beef, but I don’t. Instead, I place the piece of brisket in a container large enough to hold it covered with more cold, clean water. I let it sit in this cold water for about 12 hours. I dump some ice into it to keep everything cold.  I change the water a couple of times over the 12 hours. Much of the salt will be washed away by this process. I pat the meat dry with paper towels.

Preheat the oven to 325°.


I lay a couple of sheets of foil down on a baking pan, and then add chopped carrots, celery and onions to it. I place the brisket on top of the veggies.


I wrap the brisket tightly in the foil, and place the pan on the center rack of the oven.


I let it cook for about 3 1/2 hours for a 8-pound piece of meat. Cook it less if yours is smaller.


I let the meat cool to room temperature in the foil, then unwrap it, and cut it into manageable sized pieces for future use. I wrap each piece tightly in plastic wrap once it has cooled, and I place the wrapped pieces in a sealed bag and into the freezer. 


Of course, you have to slice off a few pieces to taste your masterpiece!


Once the corned beef has cooked, it’s ready for sandwiches, and of course, hash! (Pastrami is another series of steps, discussed in another blog.)


A piece of cooked corned beef, about 1 lb., cubed
1 medium onion
2 lbs. sweet potatoes 
olive oil
salt and pepper

Preheat the oven to 350°. If the corned beef is frozen, remove it from the freezer, and let it come to room temperature.


Peel and cube the sweet potatoes. Make the cubes about a half-inch around. Placed them in a single layer on a large sheet pan, sprinkling them with olive oil, and seasoning them with salt and pepper. Toss the sweet potatoes to coat them with the seasonings and then place the sheet pan in the oven, baking for about 25 minutes, until the sweet potatoes are fork-tender and have tasty caramelized, slightly charred edges.


A few minutes before the sweet potatoes are done cooking, finely chop the onion and sauté it in a large pan with some olive oil.

Cut the corned beef into small cubes, about a quarter-inch in size.


Once the onions are translucent, add the cubed corned beef to the pan, and warm it through.

Now add the sweet potatoes to the pan and mix thoroughly to combine.


Your sweet potato corned beef hash is ready to serve! It also freezes well, so don’t be afraid to make extra!

This is the most amazing fish sandwich I ever made.


There’s no other way to describe this sandwich, something that shouldn’t work in some ways and yet is absolutely perfectly crunchy and delicious. It starts with the cole slaw, ideally made a day in advance…

1 medium cabbage, sliced thinly
2 medium carrots, peeled, and finely chopped
1/2 cup mayonnaise
1 tablespoon Kosher dill pickle juice
1 teaspoon celery seed (not salt)

You can use a machine, but I like to finely slice my cabbage with a chef’s knife, cutting as thin as possible. Place the chopped cabbage in a large bowl.

For the carrots, peel them to remove the outer skin, and throw that away. Continue to peel the carrots into paper-thin slivers until there’s no carrots left. Finely chop those slivers and add them to the cabbage.

Add the mayonnaise, pickle juice, and celery seed, mixing thoroughly. Keep it in the fridge, covered with plastic, until ready to use.  The next day, before using, taste it and decide whether you want more mayo or pickle juice, salt or pepper. Mix it well before using.

Like a classic pulled pork sandwich, the slaw will go inside! But it needs a sauce to tie it all together. Make this a day ahead as well.

1/2 cup ketchup
1/2 cup mayonnaise
1 tablespoon dill pickle relish
1/4 teaspoon Tony Cacherre’s Original Creole Seasoning (optional)
1/4 teaspoon salt (skip if using Creole seasoning)
1/8 teaspoon pepper (skip if using Creole seasoning)

Tony Cacherre’s Original Creole Seasoning is a personal favorite, and it works well in this sandwich. You can find it in many stores, and online. But if you don’t have it handy, salt and pepper do the job.

Combine all the ingredients in a bowl, mixing well. Keep it in the fridge, covered, until ready to use.


Cod or other white fish, preferably fresh, cut into sandwich-sized pieces (about 4″ square)
1 cup all-purpose flour (or Cup4Cup gluten-free flour, see below)
1 teaspoon celery seed (not salt)
1 teaspoon salt
1/2 teaspoon black pepper
1/8 teaspoon cayenne (optional)
2 eggs
1 cup corn flakes, crumbled (or Corn Chex for gluten-free, see below)
avocado oil or other oil for frying

I had some grouper the last time I made this sandwich, and the results were fantastic. I suggest you use whatever white fish is your favorite.

Cut the fish into pieces that will fit the bread you’re using, and make sure the filets are the same thickness. Don’t make them thicker than 1/2″ or they’ll stay raw in the middle when you fry them. Set them aside.

In a bowl, combine the flour, celery seed, salt and pepper and cayenne (if you’re using it). Mix well.

In another bowl, crack the eggs and scramble them.

Put the corn flakes (or Corn Chex) in a plastic bag, squeezing the air out of it. Crush them into oatmeal-sized pieces, then pour them into a third bowl.

Heat a heavy pan with a couple of inches of oil. One by one, take the fish pieces and dredge them in the flour mixture, then into the egg, and then into the corn flakes, pressing into the corn flakes to make sure they stick to the fish.

When the oil in the pan is hot enough, fry the fish pieces on both sides, until cooked through and golden brown. Place them on paper towels to drain.


Pepperidge Farm Marble Swirl Rye Bread (or gluten-free bread)
Swiss cheese, sliced
Melted butter

Pre-heat an oven to 350 degrees.

To assemble the sandwiches, take a slice of the rye bread and spread some of the sauce on it. Place a piece of the fried fish on top, then cover it with some of the cole slaw. Place a few thin slices of Swiss cheese on top of the cole slaw. Take another slice of rye, slather it with the sauce, and place it on top of the slaw, sauce-side down.

Brush the top of the sandwich with the melted butter, and place the sandwich on a sheet pan. Do the same with the rest of the sandwiches.

Place the sandwiches in the oven and bake them until the cheese melts. Cut the sandwiches in half and serve.


The gluten-free sandwich in the front.


What I changed to make this sandwich gluten-free…


My go-to all-purpose gluten-free flour is Cup4Cup. It works really well in any dish that requires all-purpose flour.


Not all corn flakes are gluten-free, and the ones that are can be hard to find. I found that Corn Chex cereal is a good substitute. It’s gluten-free, and has a nice crunch.


The Pepperidge Farm Marble Swirl Rye Bread is the ideal bread to use for this sandwich. But I made a pretty darn tasty gluten-free version using this Schar bread, found in many supermarkets.


A CHEATER’S “CHIZZA”

Posted: April 10, 2024 in Uncategorized

Maybe you’ve seen the latest KFC creation that’s a worldwide hit. It’s called the “Chizza,” (rhymes with pizza) and it’s basically a pizza where the so-called “crust” is made from chicken.

This was too good of an idea for me to pass up trying to copy at home!


In a previous blog, I posted my version of KFC’s original recipe chicken. I decided that I would use that seasoning mix as the basis for my chicken in this recipe. Then simply adding sauce, cheese and pepperoni to that would complete the treat!

2 cups all-purpose flour
3 tablespoons paprika
1 tablespoon celery salt
1 tablespoon dried mustard
1 tablespoon garlic salt
1 tablespoon ground ginger
2 teaspoons black pepper
1/2 teaspoon white pepper
1 1/2 teaspoons thyme
1 1/2 teaspoons basil
1 1/2 teaspoons oregano
1 teaspoon salt
2 chicken breasts
2 eggs
tomato sauce (homemade is always best)
grated mozzarella cheese
pepperoni (optional)
cooking oil (I like grapeseed or avocado oil)


I combined the flour and seasonings in a bowl, and set it aside.


I butchered the chicken breasts, removing any fat or skin and cleaning up the edges. Then I sliced the breasts in half lengthwise so that I got two breasts half as thick.  Using the flat side of my tenderizing mallet, I gently pounded out the breasts under wax paper to make them as thin as I wanted. 

I cracked the two eggs into a bowl, and scrambled them. I put the breasts in that bowl, coating them with the egg.

I took one chicken breast at a time out of the egg bowl, and placed it into the seasoned flour, coating it well, then placed it on a sheet pan. I did the same with the rest of the breasts.


I preheated a pan with some oil, and when it came to temperature, I fried the chicken breasts, making sure not to overcrowd them in the pan, cooking in batches. I placed the cooked breasts on a metal grid over a sheet pan so the fat would run off.


I preheated my oven to 350° and placed the chicken breasts on a sheet pan, then put some sauce on top of them, then the mozzarella, and then the pepperoni. A sprinkling of oregano is always a good idea.


I baked my “cheater’s chizzas” until the cheese was melted and gooey.


Our 5th annual BOYZ weekend has just come to an end, and it’s always a big deal. Three of us live in Rhode Island, two in New Jersey, and one in Florida, so getting together is no easy task, and it seems to get tougher every year.

So we celebrate our friendship every year with excellent food and drink.

This is a rich, delicious, and unusual surf-and-turf I cooked as the featured dinner, using heritage Berkshire pork belly and beautiful sea scallops. Berkshire pork is usually only found online, so substituting a regular pork belly from your local butcher will do. But the fat and flavor of Berkshire pork is the stuff of legends! I buy my Berkshire pork from heritage pork.com, and the belly comes in an 8-lb. slab that I cut in half. I was cooking for 6 hungry dudes, and so a 4-lb. piece was needed. (The other 4-lb. piece will become amazing bacon later on.)


FullSizeRender (9)

For the pork belly…
3–4 lbs. fresh pork belly
salt and pepper
1–2 tablespoons leaf lard or olive oil
1 carrot, coarsely chopped
1 celery stalk, coarsely chopped
1 onion, roughly chopped
1 fennel bulb, quartered
2 sprigs fresh thyme
1 teaspoon black peppercorns
4 cups beef stock
1 cup hard cider or apple juice

I cook the pork belly a couple of days ahead of time.

Pre-heat the oven to 350.

Season the belly with salt and pepper. On medium-high heat, melt the leaf lard, then sear the meat on all sides in an oven-proof pot big enough to hold it in one layer. Add the carrot, celery, onion, fennel, thyme and peppercorns and continue cooking for another 5 minutes, until caramelized.

Add the beef stock and the cider. Cover the pot with a lid or seal it with aluminum foil, and braise the belly in the oven for 3 hours, until tender.

Remove the pot from the oven, carefully remove the pork belly, and put it on a plate. Cover it with foil, ;eating it cool. When it has cooled completely, wrap it well in plastic and place it in the fridge.

Strain the leftover braising liquid from the pot and discard the vegetables and thyme. Place the liquid in a container in the fridge. The fat will float to the top and harden, making it easier to remove. (I save the fat and use it for cooking later–not only for this dish, but others, as well. Berkshire pork fat is too valuable to just throw away!)

But now that the fat has been removed, the braising liquid is all flavor, and no fat.


FullSizeRender (8)

For the glaze…
braising liquid, strained
1 tablespoon espresso
1 tablespoon honey

When you’re ready to cook for your guests, reduce the brazing liquid by half in a small saucepan, then add the espresso and honey. (Feel free to substitute maple syrup for the honey. This time around, I used some shagbark hickory syrup that I bought in Vermont earlier in the year.) Cook a few more minutes until the sauce thickens. When it coats the back of a spoon, it’s ready. Set it aside.

For the scallops…
Fresh scallops
salt and pepper

About an hour before cooking the scallops, remove the pork belly from the fridge to let it come to room temperature.

When you’re ready to serve, heat a large pan on high heat, using leaf lard or the fat from the braising liquid. Cut the belly into equal pieces and sear them on all sides for about a minute, making sure it’s warmed through. Place the scallops in the same pan, seasoning with salt and pepper, and sear them on both sides, being careful not to overcook them.

To serve, place the belly on a plate. Top it with a scallop or two. Drizzle the glaze over the top. Season with Fleur de Sel or other finishing salt and serve it immediately.


The boyz were happy!

Years ago, at Le Saint-Amour, a restaurant in Quebec City, the dish I ordered had these small strange-looking root vegetables sitting next to my roasted duck entrée. They resembled tiny twisted parsnips…or caterpillars! I needed to know what these things were, and so I asked my French waiter, who came back with a piece of paper that had the word “crosne” written on it. He said: “I don’t know how they say it in English.”
Back at the hotel room, I went right to the laptop and started a search online and discovered that crosnes (pronounced crones) are also known as Chinese artichokes, and although they are somewhat common in European gardens, they’re really difficult to find in the states.

The leaves look like mint, but don't have a fragrance.

The leaves look like mint, but don’t have a fragrance.


The plant is a relative of mint (though the leaves have no aroma), a perennial, is easy to grow, spreads on its own, and has those small, convoluted and delicious root clumps (known as tubers to gardeners.) So what’s not to like? Well, apparently, it’s not the gardeners that don’t want to deal with them…it’s the chefs! The tubers are very small and need a little extra effort to make sure they’re washed clean before cooking. They don’t need to be peeled (now that would be a pain) but to many chefs, even the washing is too much of a hassle.
image
As a Master Gardener and food nerd, I found all of this pretty interesting so I searched for sources to buy crosnes plants. It took a while (most growers were in Europe or Great Britain), but I finally found a source in Oregon that sold the plants and I bought a few for my home garden.
image

Much like mint, crosnes are pretty hardy and are tough to remove once well established, so they need to be planted in an area where you don’t mind if they take over. The tubers are ready to harvest October through November, and as long as I leave some in the ground over the winter, the crosnes will be back again the next year. Seems pretty low-maintenance for such a unique and delicious treat!


image

As for preparation, a light saute in olive oil and butter (or lard), and a little salt and pepper, is all they need. They also go well with a deep, rich demi glace reduction like I had with my duck at Le Saint-Amour.

This is not only our family’s favorite pancake recipe, but it’s the one I always make when guests are spending the night. They are absolutely delicious–the pancakes, not the guests–and unlike any other pancakes you’ve had.
If you need to go with a gluten-free diet, no worries: my favorite all-purpose GF flour, “Cup 4 Cup,” worked so well in this recipe, there was no difference in taste or texture. Now this is the only way I make ’em and no one notices the difference!
I use organic lemons, if I can find them, because all the nasty sprays used with non-organics are absorbed by the skin, which is used in this recipe. (They don’t wash off.)
 image
1 cup all-purpose flour (or Cup 4 Cup original multi-purpose flour)
1 1/2 cups stone-ground yellow cornmeal
2 tablespoons organic cane sugar
2 teaspoons baking powder
1/2 teaspoon baking soda
1/2 teaspoon salt
2 cups buttermilk (or 1 1/2 cups milk and the juice of 1 large organic lemon)
zest of 1 organic lemon
1 large egg
3 tablespoons melted unsalted butter, slightly cooled
1–2 teaspoons avocado oil
1 cup fresh or frozen blueberries, preferably wild, rinsed and dried
Whisk the flour, corn meal, sugar, baking powder, baking soda, and salt in a medium bowl to combine.
In a separate bowl, whisk the egg, lemon zest, and melted butter into the buttermilk (or milk and lemon mixture) to combine. (Hint: zest the lemon first, then juice it.)
Make a well in the center of the dry ingredients in the bowl. Pour in the milk mixture and whisk very gently until just combined. Do not over-mix. A few lumps are OK.
Heat a non-stick skillet over medium heat. Add 1 teaspoon of oil and use a brush to coat the skillet bottom evenly. Pour 1/4 cup of the batter into 3 spots on the skillet. Sprinkle 1 tablespoon of the blueberries over each pancake.
Cook the pancakes until large bubbles begin to appear, about 1 1/2 to 2 minutes. Using a thin, wide spatula, flip the pancakes and cook until they’re golden brown on the other side, 1 to 1 1/2 minutes longer.
Chow down immediately!
image
Our 5th annual BOYZ weekend happens next weekend, and so I’m sure we’ll have intellectual conversations as we sample my collection of bourbons and whiskeys, especially after we taste a few bottles!
There seems to be a lot of confusion about the spelling of whiskey and/or whisky, but the use of the letter “e” (or the lack thereof) is not random. Here’s the best explanation I’ve found…
whiskeywhisky
The spelling whisky (plural whiskies) is generally used for those distilled in Scotland , Wales , Canada , and Japan. Whiskey (with an e; plural whiskeys) is used for the spirits distilled in Ireland and in the United States as well. The BATF (Bureau of Alcohol, Tobacco and Firearms) in 1968 specified “whisky” as the official U.S. spelling, but allowed labeling as “whiskey” in deference to tradition.  Most U.S. producers still use the “whiskey” spelling, though as you can see, Maker’s Mark chooses not to.
International law reserves the term “Scotch whisky” to those whiskies produced in Scotland. Scottish law specifies that the whisky must be aged for a minimum of three years, in oak casks. Whiskies produced in other countries in the Scotch style must use another name. Similar conventions exist for “Irish whiskey,” “Canadian whisky,” and “Bourbon whiskey.” In North America, as well as in Continental Europe, the abbreviated term “Scotch” is usually used for “Scotch Whisky.” In England, Scotland, and Wales, the term “whisky” almost always refers to “Scotch Whisky”, and the term “Scotch” is rarely used by itself.
And while we’re on the topic, what is bourbon?
Bourbon is a type of whiskey.
Today, ‘bourbon’ has a specific legal meaning that has little to do with its geographic origins.That definition, now federal law, has existed in its present form only since about the end of the 19th century. According to federal law, bourbon must be at least 51% corn, distilled at less than 160 proof, and aged for at least two years in new, charred oak barrels. (There are some other requirements, but those are the main ones.) Bourbon also must be made within the borders of the United States. In other words, a foreign product that meets all the other requirements still cannot be sold in the U.S. as bourbon.
Contrary to popular belief, there has never been a legal requirement that bourbon be made in Kentucky, which is why most Kentucky producers call their product “Kentucky Bourbon.” Today there are very few examples of non-Kentucky bourbon left: Virginia Gentleman, Bowman’s, and Woodstone Creek Straight Bourbon are a few.
Still confused? My advice is to sit back with your favorite glass of whisky, whiskey or bourbon…and just enjoy. Cheers!

PRETZEL BREAD

Posted: March 29, 2024 in Food, Recipes, Uncategorized
Tags: , , , ,

As much as I’m a fan of sourdough–or any great bread for that matter–pretzel bread has a special place in my heart.

I found a pretzel bread recipe that uses baking soda, a much milder and safer alkaline alternative to lye (which is what many bakeries use) an ingredient that I could safely pour down my drain after using.


image


½ cup water
½ cup milk
2 tablespoons butter, softened
3 cups all-purpose flour
2 tablespoons brown sugar
1 tablespoon yeast
2 teaspoons salt
1 egg, separated
Cooking spray
¾ cup baking soda
Kosher salt or pretzel salt for sprinkling

Combine the water, milk and butter in a glass container and microwave it about 45 seconds to melt the butter and warm the milk. Set it aside.

In a mixing bowl, combine the flour, brown sugar, yeast, salt and egg yolk. Slowly add the milk mixture and mix until the dough comes together. If it seems too dry, add small amounts of water. Knead the dough until it is smooth and springy, about 5 minutes.

Place the dough in a bowl sprayed with cooking spray. Flip it over so all sides get oiled, and then wrap the bowl with plastic wrap. Place it in a warm place until the dough has doubled in size, about an hour.

Pre-heat the oven to 375 degrees.

Turn out the risen dough on a floured surface and divide it into equal pieces. You can make 15 small slider-sized buns, 8 burger buns, 8 hot dog buns or any other shape you like. Once all the pieces have been rolled, cover them with a clean dish towel and set them aside to rest.

While the dough is resting, heat about 12 cups of water in a large pot. When it comes to a gentle boil, carefully pour the baking soda into it. It will foam and bubble vigorously.

Add the rested pieces of dough to the simmering water and poach them for about 30 seconds and then flip them over for another 30 seconds. Don’t overcrowd the pot; you need to do this in batches.

With a slotted spoon or spatula, lift the poached buns onto a Silpat baking sheet (or a baking sheet sprayed with oil, then sprinkled with cornmeal.)

Froth the egg white with a fork, then brush each bun with the egg white.

Using a sharp knife, make a few slits on the top of the buns, about ¼-inch deep. Sprinkle them with Kosher salt, then bake for 20 minutes until they’re golden brown.

Almost 95% of all shrimp sold in the United States comes from farmed shrimp in countries like China, Thailand, Vietnam and India…as well as Latin America. The stuff you buy at the supermarket comes frozen (since shrimp is highly perishable) and then is thawed out and placed on ice to make the display look nice. But the shrimp you’re getting is not “fresh” (unless you’re lucky enough to get some wild caught local shrimp) and it’s from countries where the methods of farming are questionable at best.
Shrimp farming in Asia and Latin America is destroying mangrove forests and because of that, coastal villages as well. Disease is commonplace in shrimp farms, so they’re pumped full of antibiotics and pesticides. Slavery is common in the Asian shrimp business, and there even have been accounts of shrimp injected with jelly to plump them up for buyers. Just. Don’t. Buy. Them.
Imported wild shrimp are also a problem because of bycatch. For every pound of wild shrimp caught, several pounds of other animals such as turtles die needlessly in the trawler nets.
Wild American shrimp is the best way to go for your health and the environment. American shrimp fishermen are required by law to reduce bycatch. For example, they’re required to use Turtle Exclusion Devices to stop turtles from being caught in their nets.
I stopped eating tiger shrimp and other farmed shrimp from foreign countries a long time ago, because wild-caught American shrimp from the Gulf of Mexico, the Carolinas, or the Florida Keys is readily available at supermarkets and membership stores where I live…and the price is right.
And on top of everything else, wild caught American shrimp tastes better. And why shouldn’t it? The shrimp are eating their natural foods found in the wild…not some pellets thrown at them that contaminate the water around them, not to mention the shrimp themselves.
Before I could find shrimp locally, I used to order it in 5 lb. frozen boxes online, and even with shipping, the price was affordable. My favorite website for wild caught American gulf shrimp was www.cajungrocer.com. I’ve also ordered my favorite Cajun foods, like Turduckens and alligator sausage, from these people for many years.
The basics of this recipe come from my friend, Lee, a chemist who also enjoys creating in the kitchen. What I found interesting about his recipe was the touch of sugar that doesn’t really add sweetness but rather helps create the light, tasty caramelized crust that forms on the shrimp when you sear it. I tweaked a few things in this recipe, but the essence of it remains the same.

Seasoned shrtimp.

1 pound large peeled and deveined wild-caught American shrimp
Salt
Freshly ground pepper
Sugar
4 tablespoons softened butter
1 clove of garlic, squeezed through a press
1 tablespoon freshly squeezed lemon juice
2 tablespoons chopped parsley
1 teaspoon oregano
Extra Virgin olive oil
Toss the shrimp, 1/4 teaspoon salt, 1/4 teaspoon pepper, and 1/4 teaspoon sugar in a bowl.
In a separate bowl, mash the butter with a fork, folding in the garlic. Add the lemon juice, parsley, oregano, and 1/4 teaspoon salt.
Heat a tablespoon of olive oil in a large skillet over high heat. Add half the shrimp in a single layer to the pan and cook at high heat until they’re caramelized on one side, about 1 minute. Flip the shrimp over and cook them for another 30 seconds. Don’t overcook them!
Remove the cooked shrimp to a covered bowl and similarly sear the other half of the shrimp, then return the first half of the shrimp back to the skillet. Turn down the heat to medium and add the butter/garlic/lemon/parsley/oregano/salt mixture, occasionally tossing the shrimp around in the pan to evenly coat them with the glaze.
If you’re serving the shrimp over pasta, increase the amount of butter and olive oil to just lightly coat the pasta. Toss the cooked pasta into the pan of shrimp to combine.
I like to season lightly at the end with a tiny pinch of Fleur de Sel. Serve immediately.