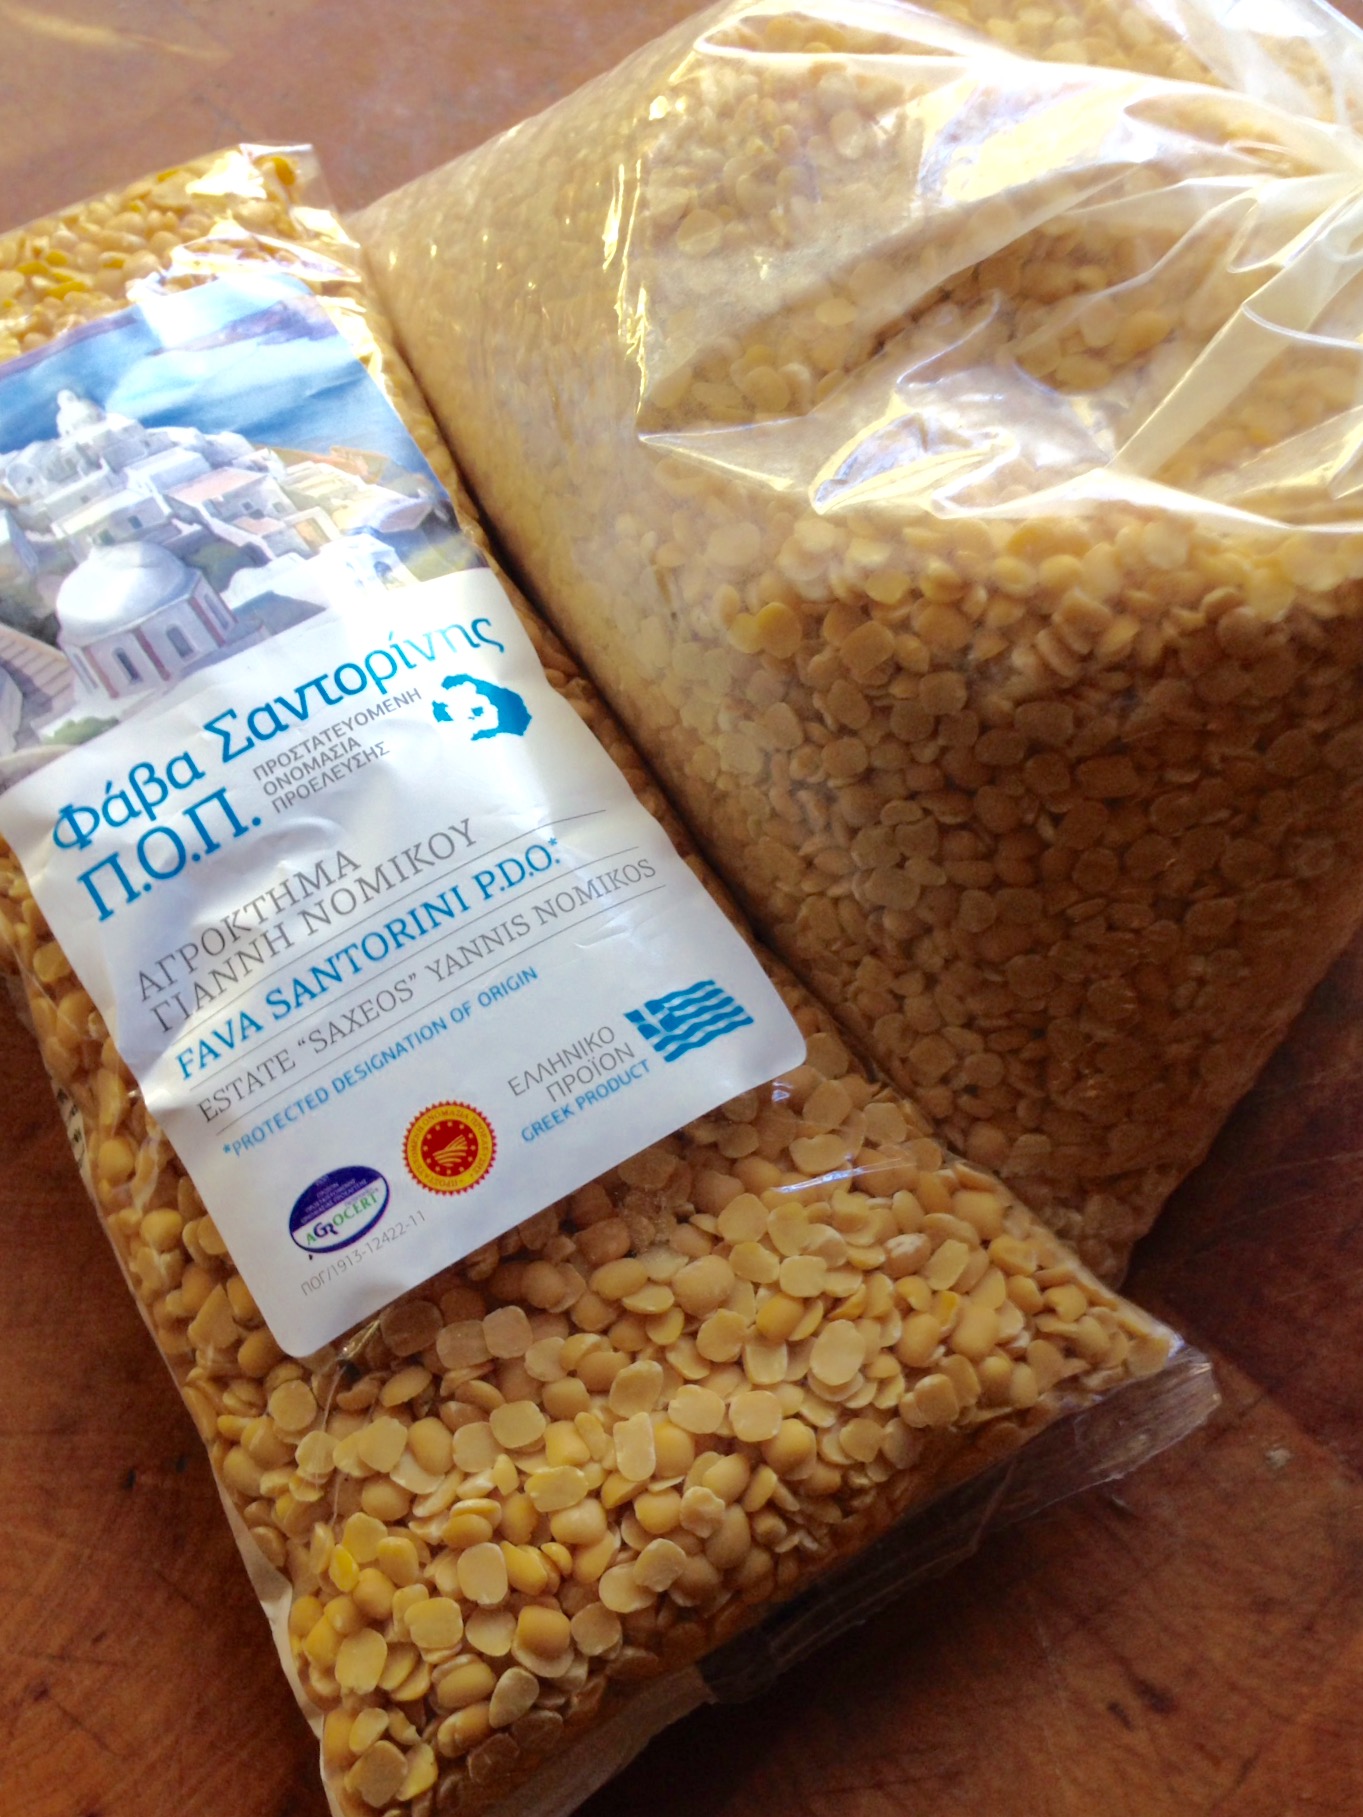
They call it fava, but it’s not the bean we usually associate with that name. Originally, broad beans were used in this dish, but quickly it changed to a type of yellow shelled lentil that is much smaller and flavorful than its American counterpart, the yellow split pea, no doubt due in part to the dry, volcanic Santorini soil it grows in. The lentil is smaller and the art of turning this simple gem into a sublime porridge is worth learning.
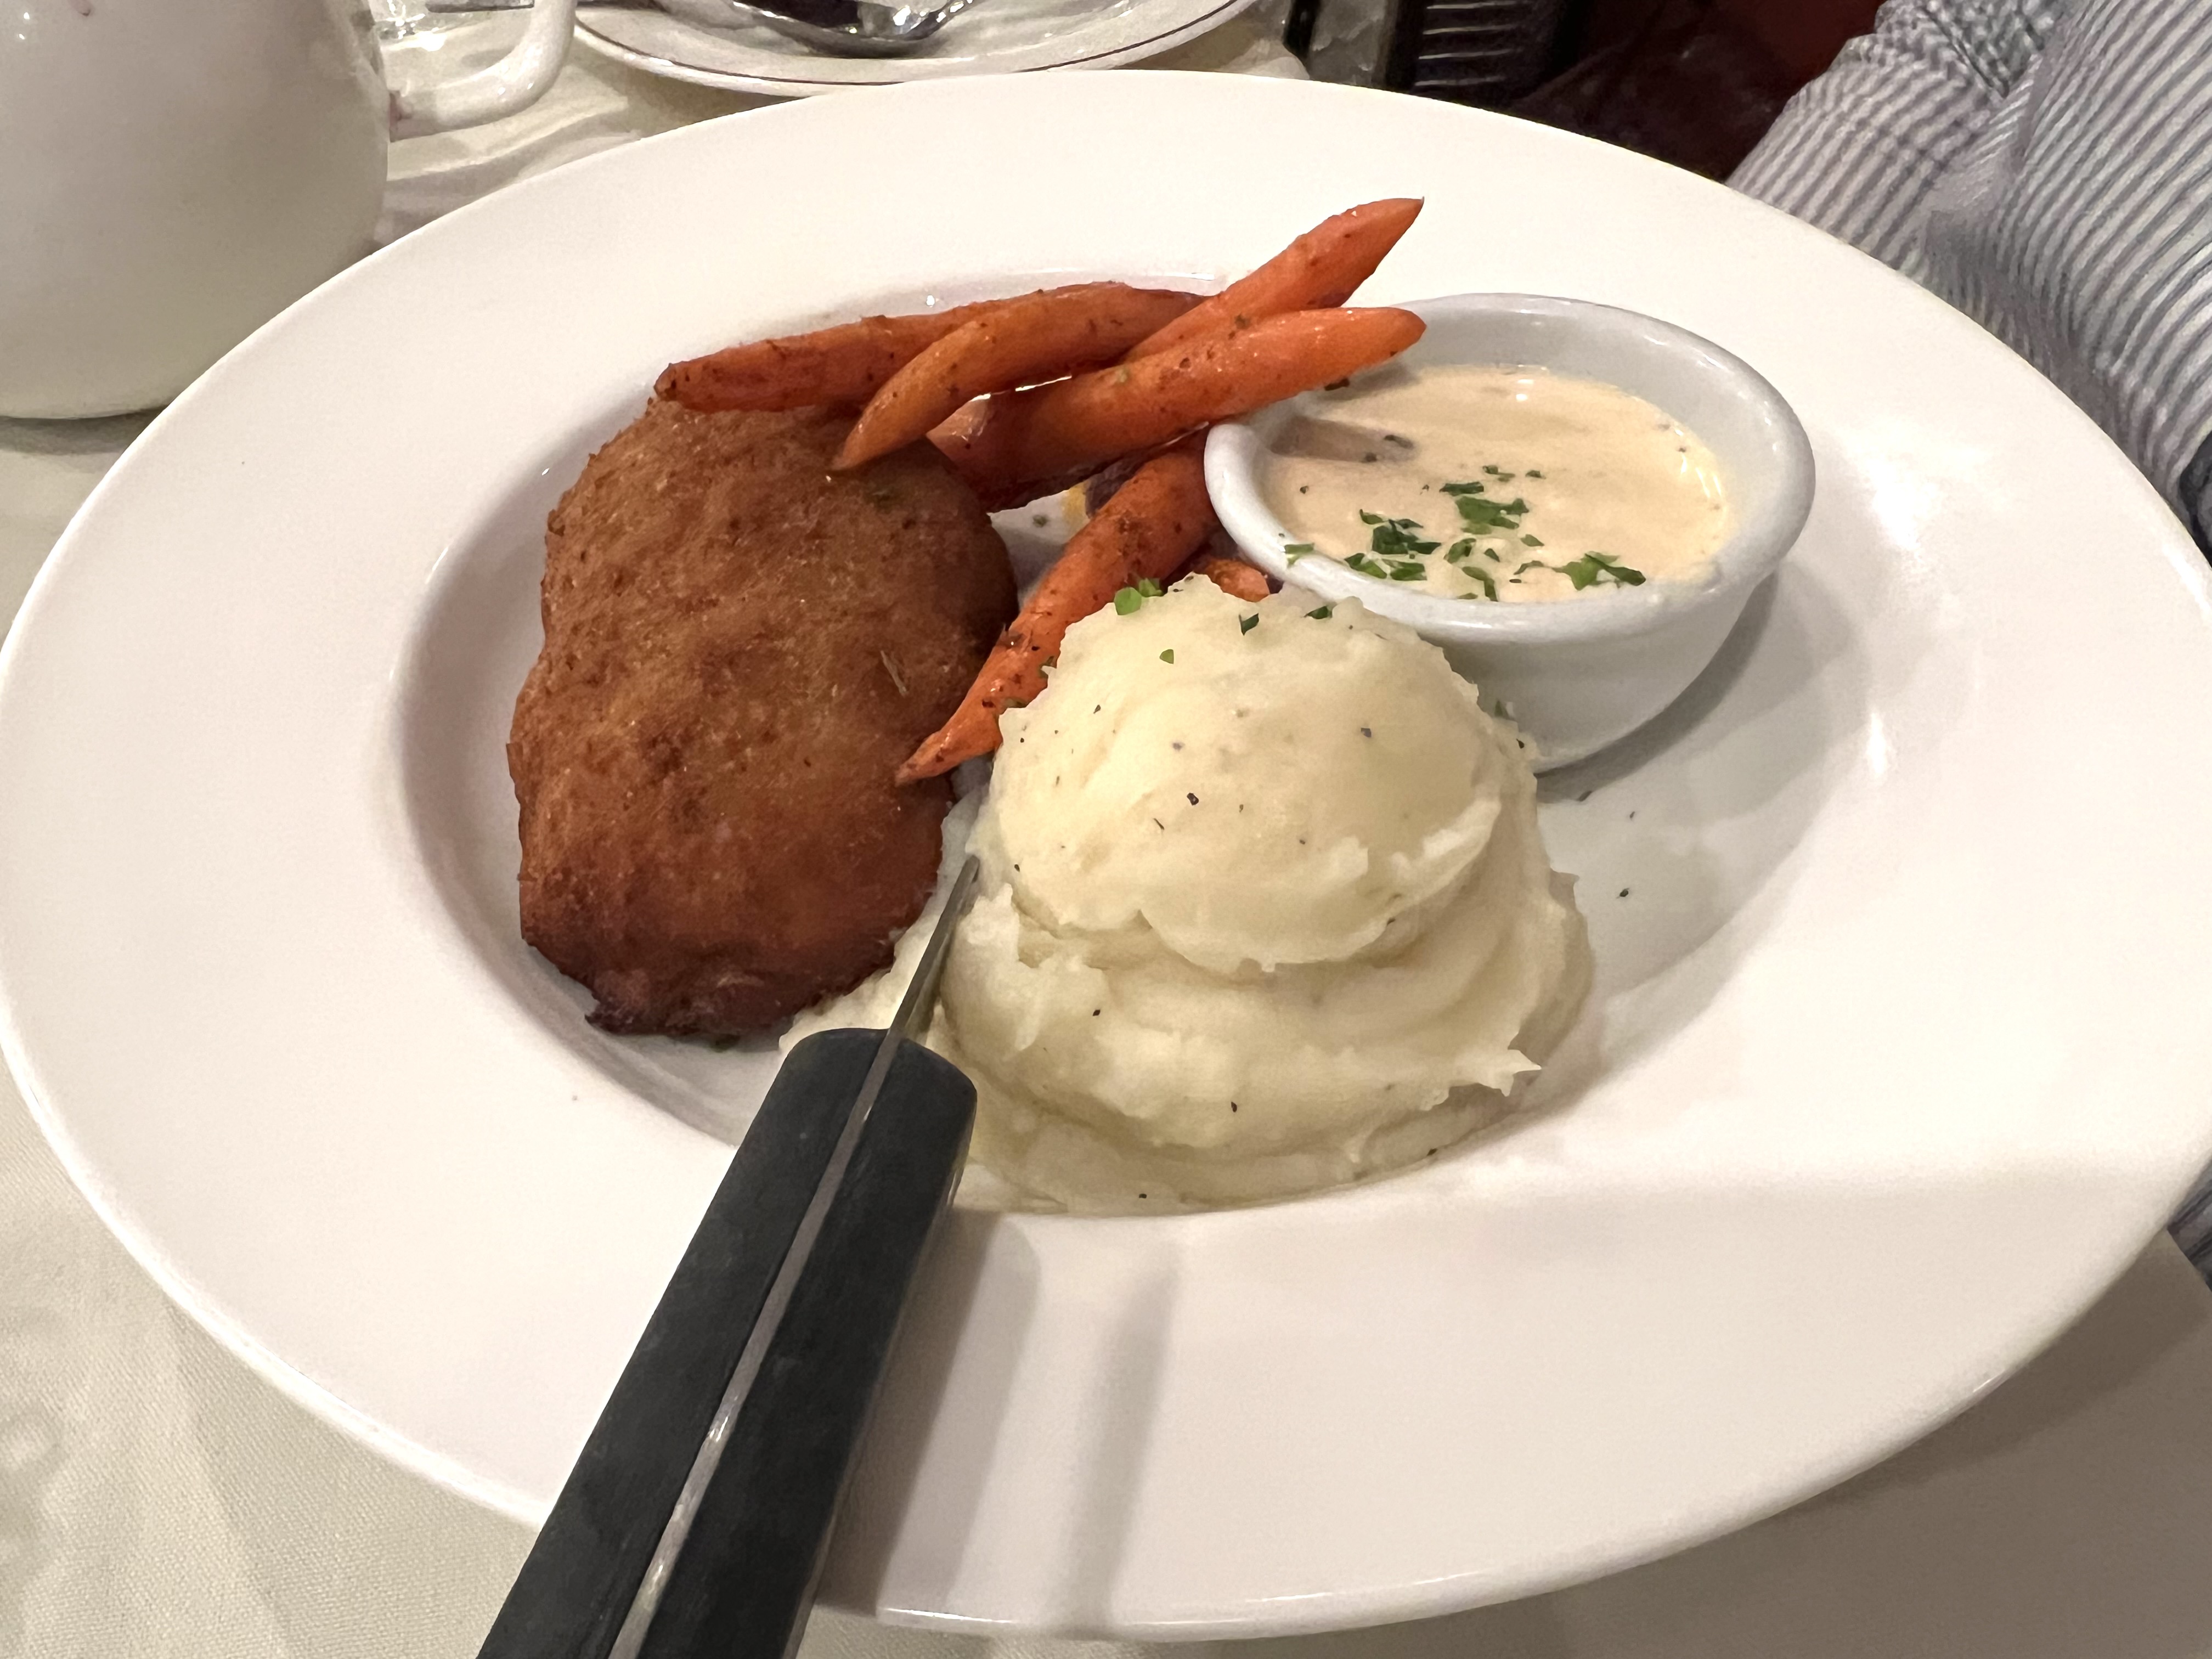
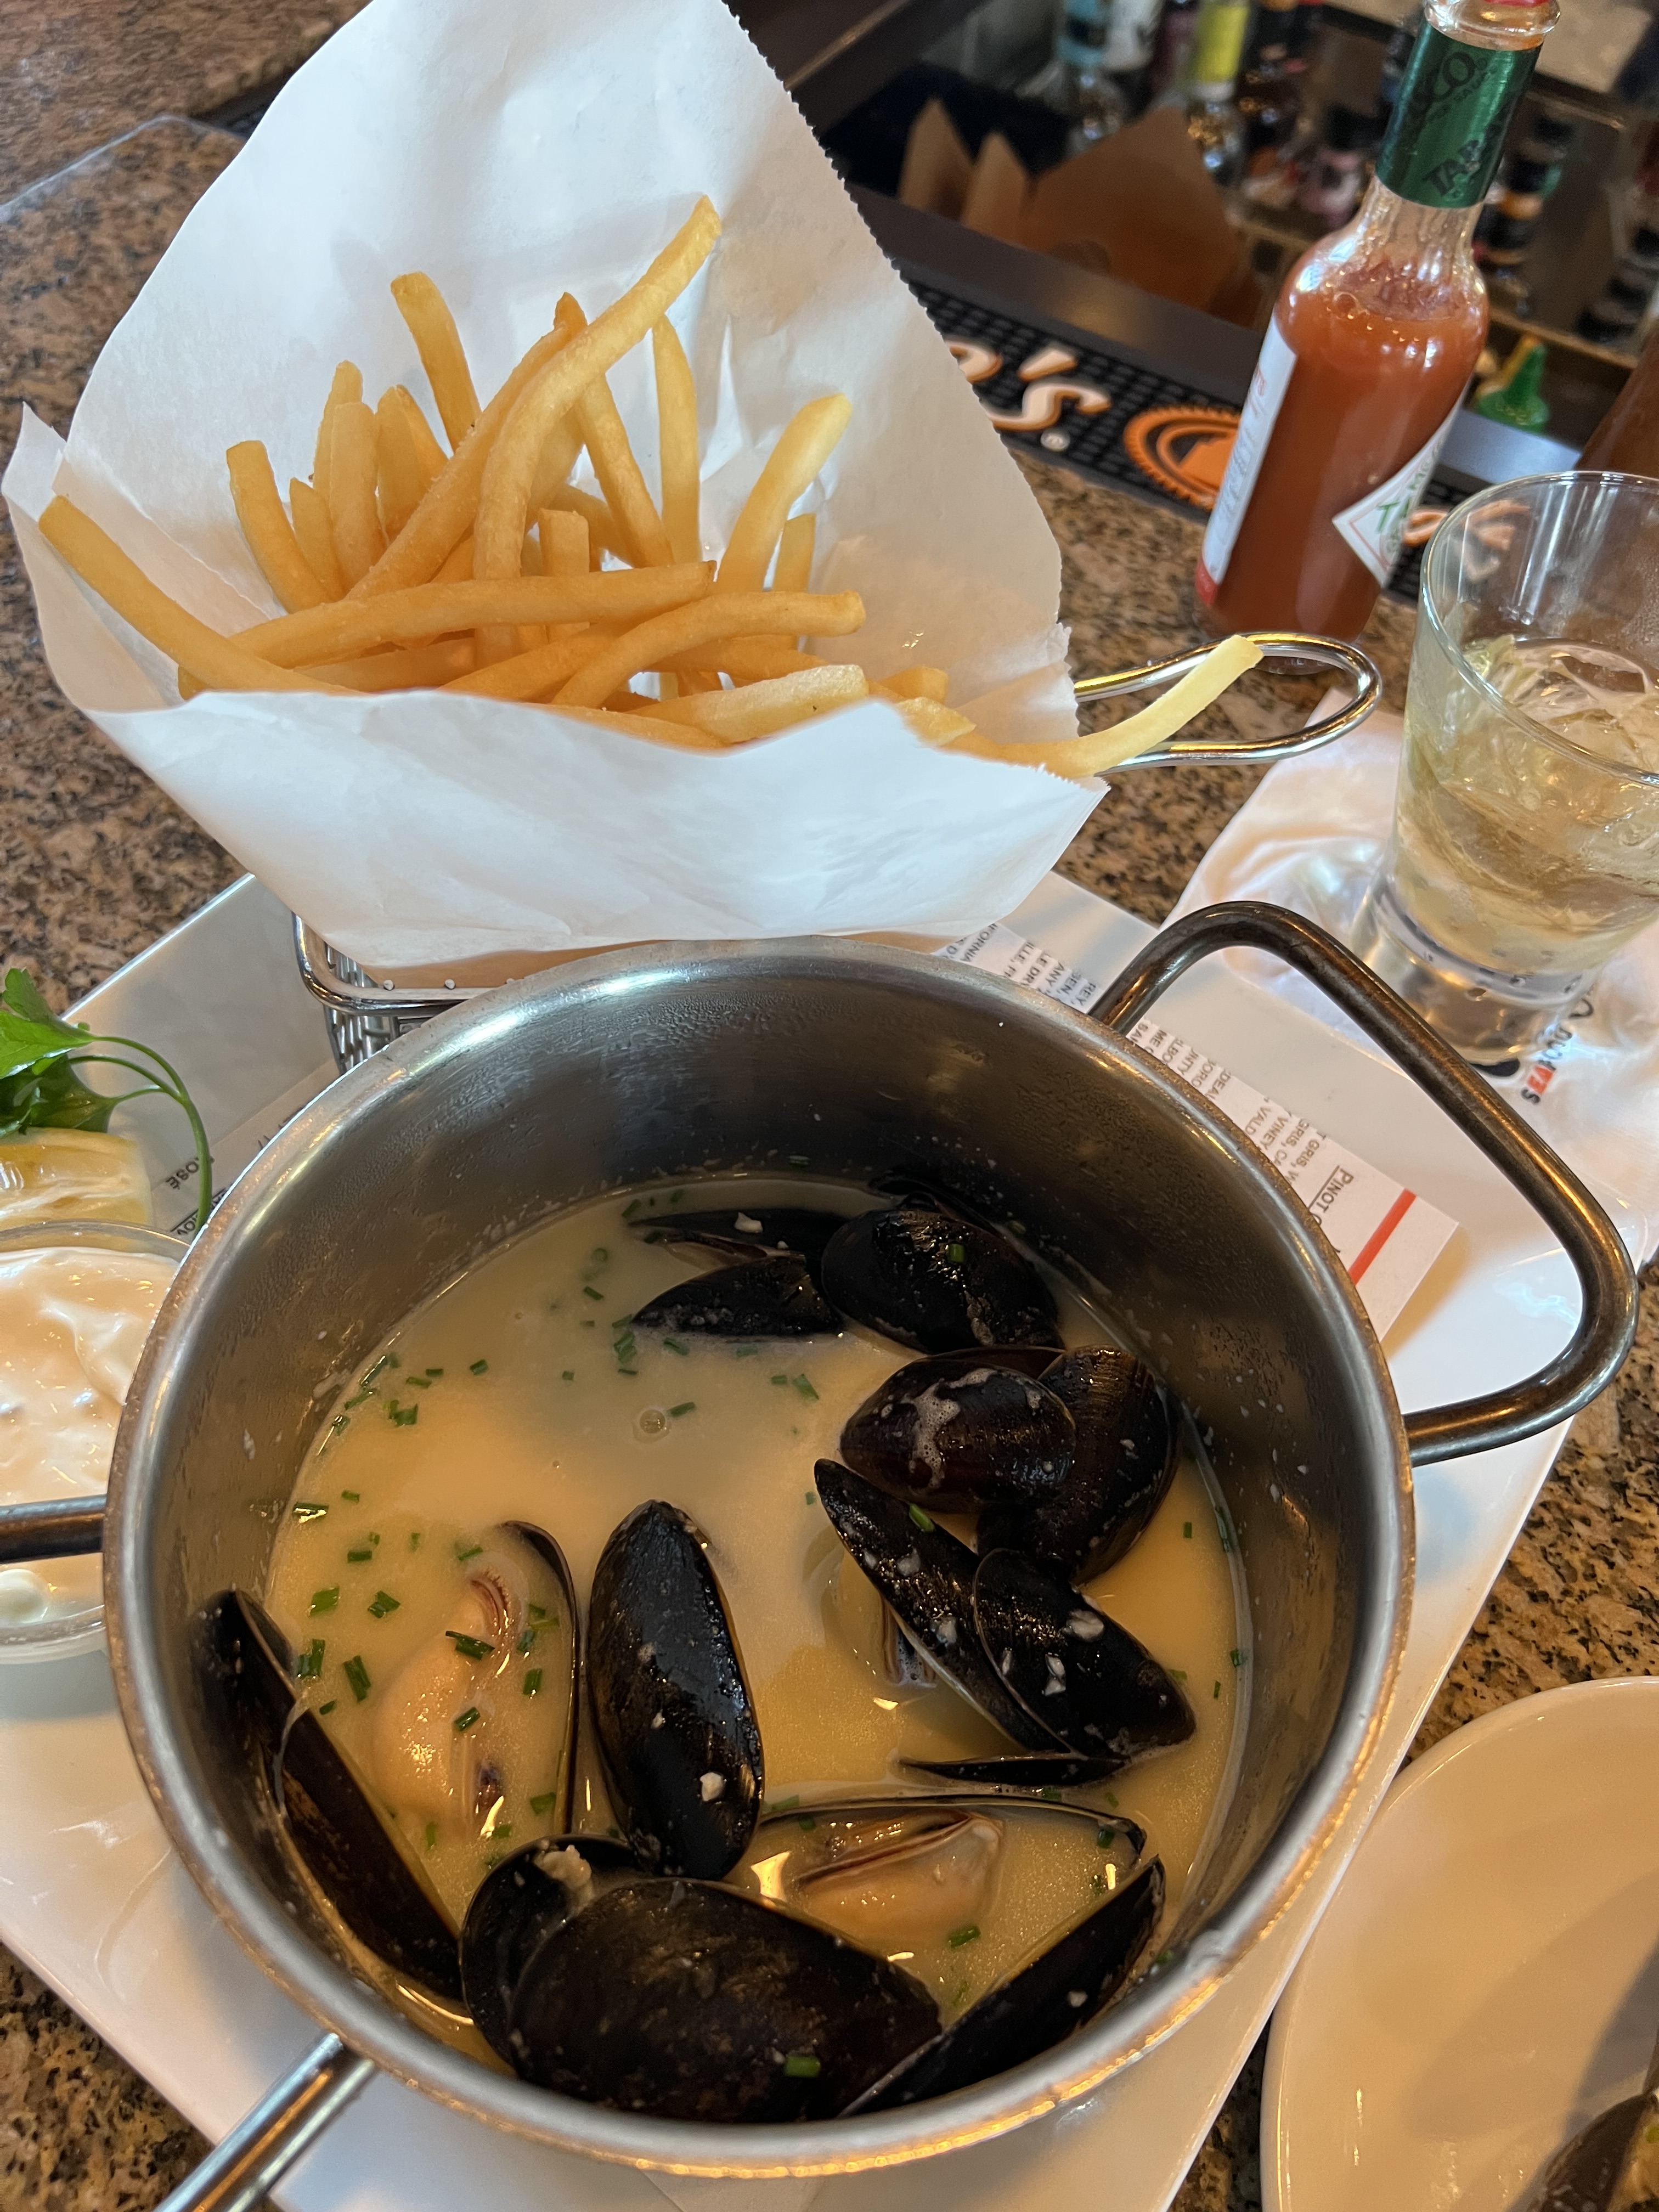
The fava at Dimitris Amoudi Taverna
As common in Santorini as pasta is in Italy, grains of fava have been found in archaeological sites in the ancient city of Akrotiri (on the southern side of Santorini) dating as far back as 3500 years ago. Every taverna on the island offers their own version of fava, and though the differences are subtle, they can be significant.
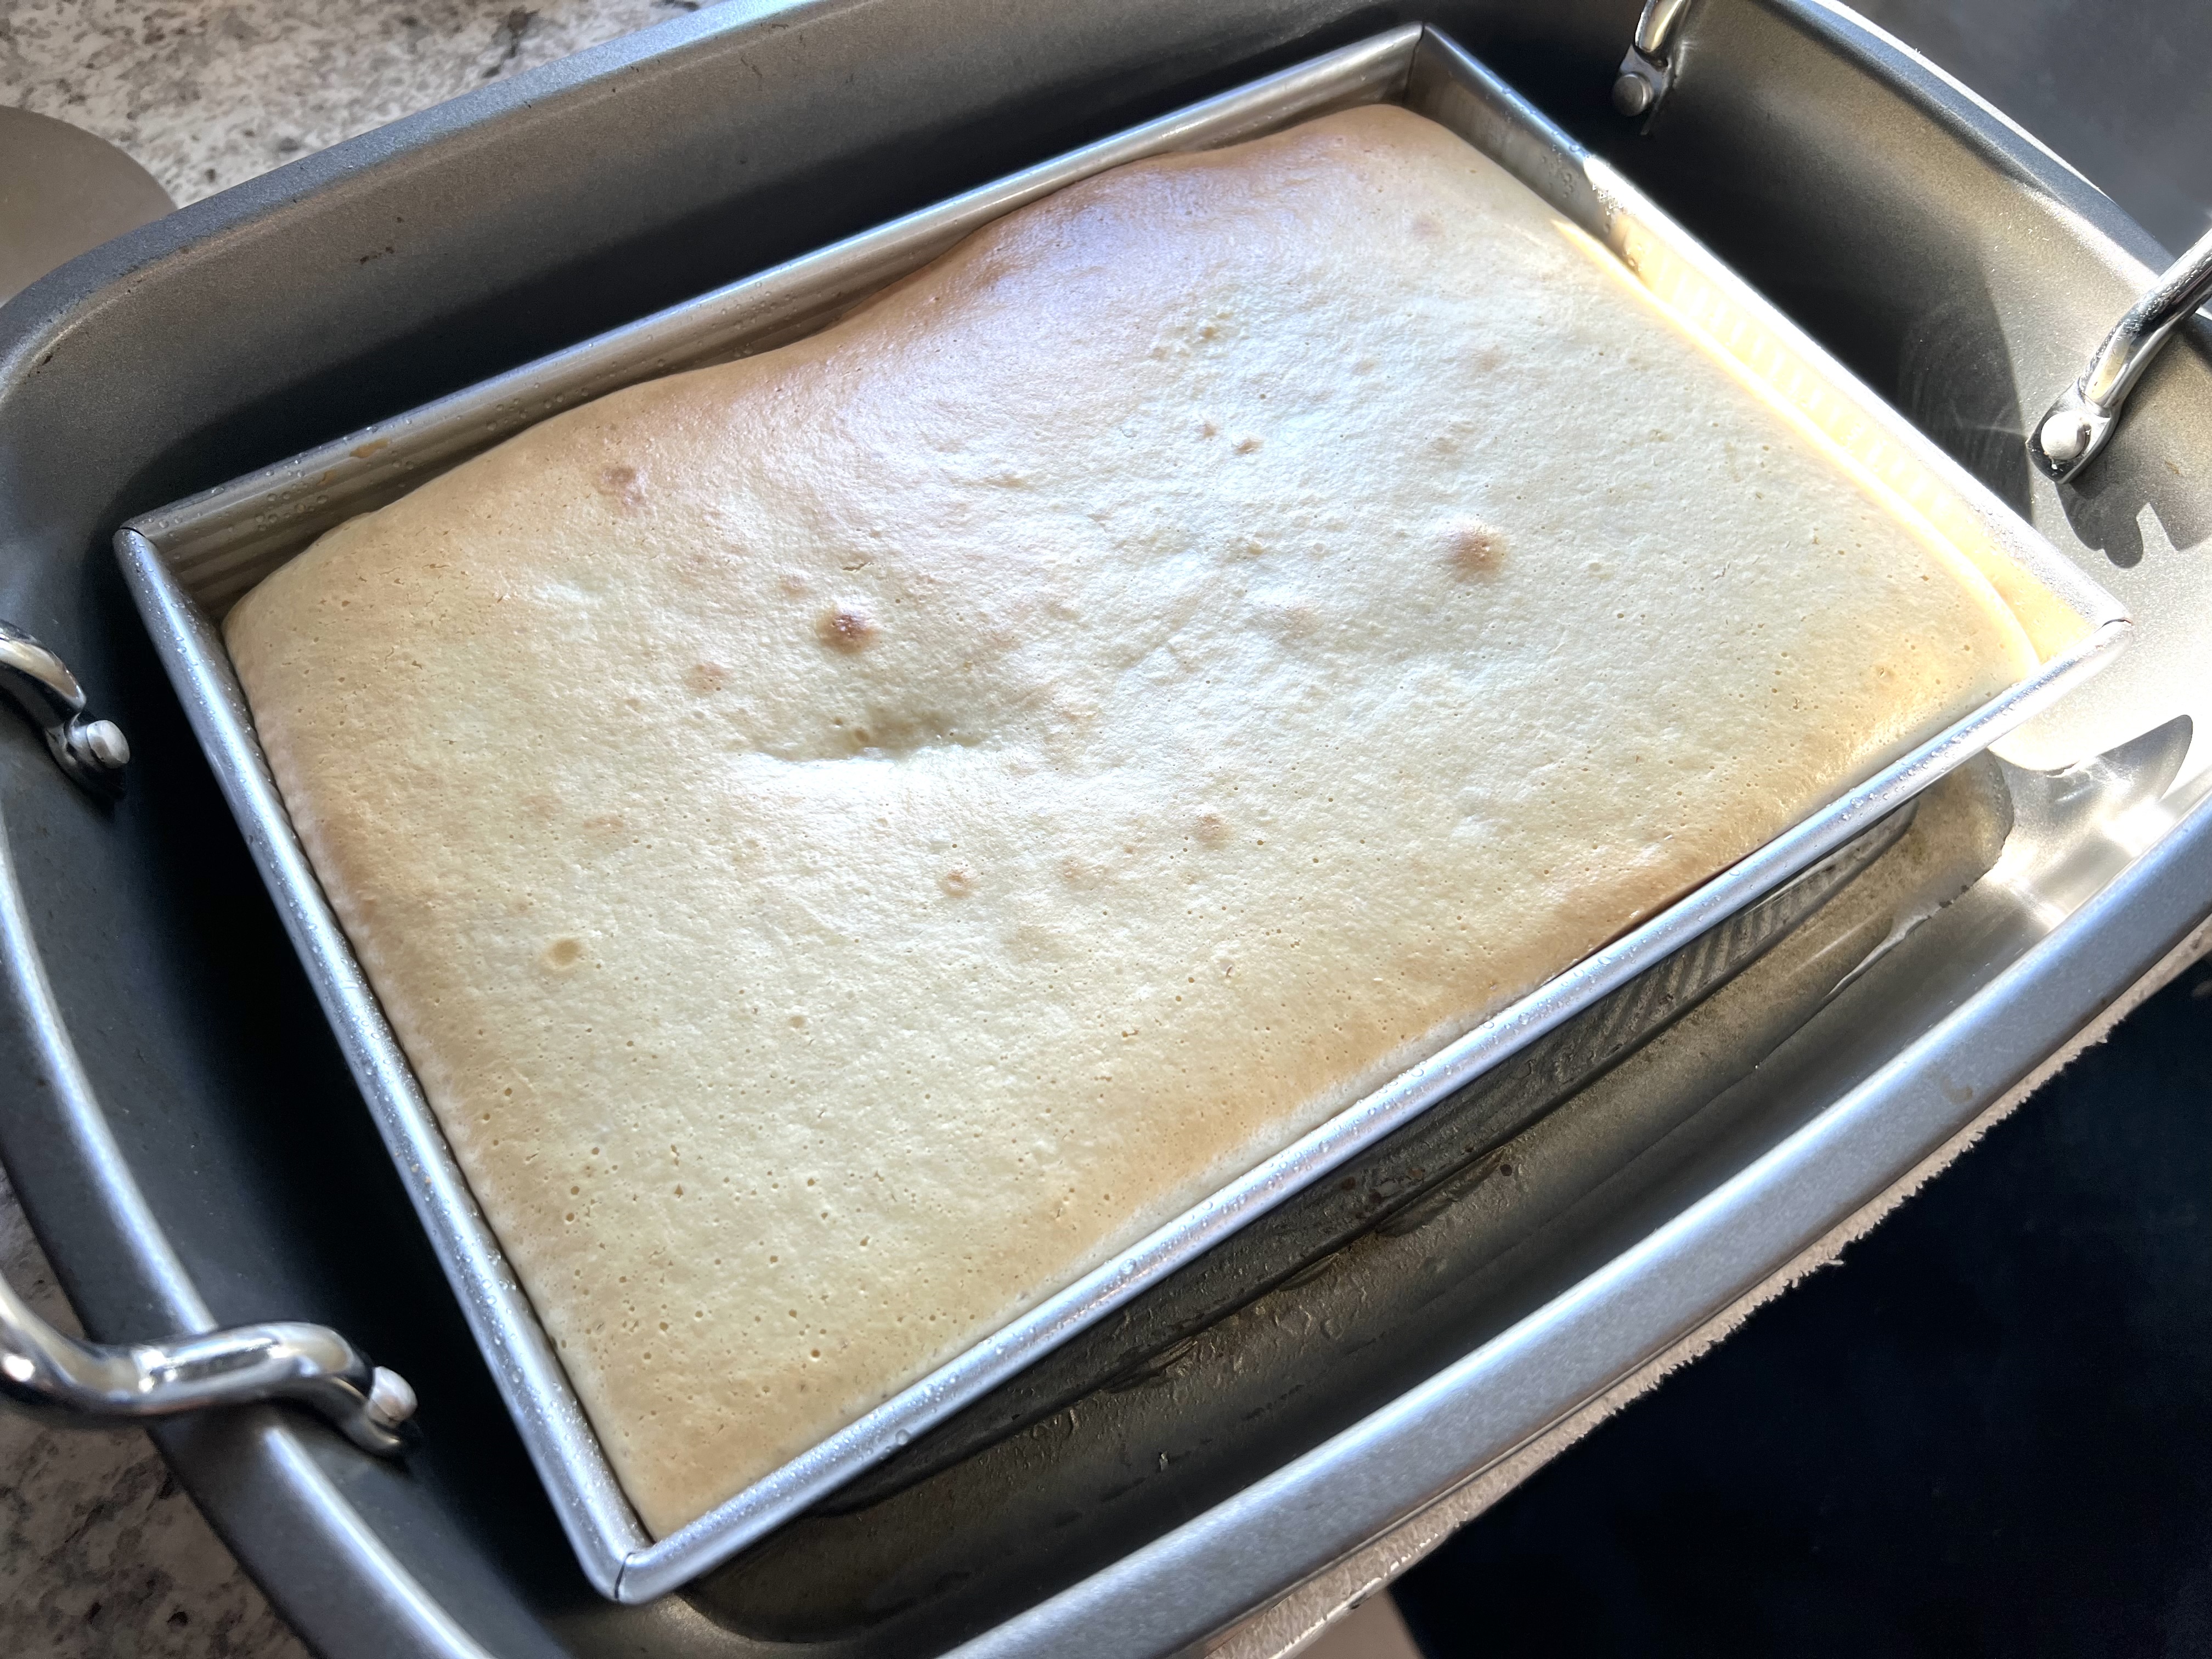
Most recipes start with the dried lentils, which are washed thoroughly. They are added to a pot of fresh water and then boiled until the water reduces and the lentils slowly absorb the liquid and soften into a porridge. Often chopped onion is added to the pot of water in the very beginning, so that it completely dissolves and flavors the fava. Some recipes call for a subtle mixture of local dried herbs, similar to oregano and thyme, to be wrapped in cheesecloth and added to the pot to infuse flavor.
Like making a great Italian tomato sauce, cooking fava is a labor of love. It requires low heat and constant stirring to make it perfectly smooth. Often it is pureed in a blender at the end.
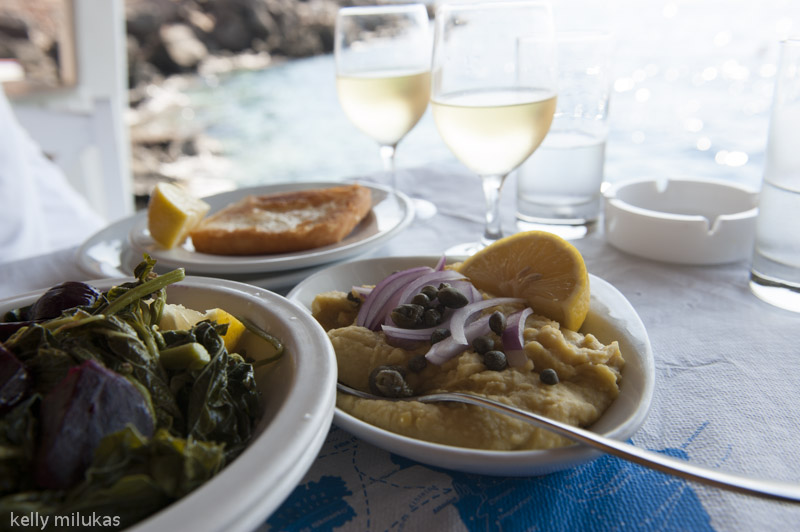
When the fava is ready to serve, the toppings can vary. Thin slices of red onion and a liberal drizzle of Greek olive oil are common. Sometimes it’s topped with locally harvested and brined caper berries or caper berry leaves, or a few kalamata olives.

Proud of his fava
On one trip to Santorini, our most memorable fava dish was a simple, rustic version with onion, capers, olive oil and a side of lemon at Dimitris in Amoudi, and a light-as-a-cloud creamy fava topped with caper berry leaves and olive oil at Roka in Oia.
Finding real Santorini fava can be difficult and expensive on line, but it is possible. You can easily find dried yellow split peas in local US supermarkets, but it’s not quite the same.
Whether you use the real fava from Santorini, or yellow split peas, you’ll find it’s a great side dish to replace the usual potatoes or rice. My personal touch–no surprise here–bacon!
1/2 cup olive oil
4 strips bacon, finely chopped
1/2 onion, finely chopped
4 cups water
2 cups chicken stock (I use homemade)
2 cups fava or yellow split peas, rinsed in a colander
salt and pepper
In a large saucepan over medium heat, heat the olive oil and the bacon until the fat renders and the bacon is crispy. Add the onions and cook until they’re translucent. Add the water, the chicken stock and the fava. Stir well. Season with salt and pepper.
Bring the pot to a boil, then reduce to medium. Using a large spoon, scoop off any foam that appears.
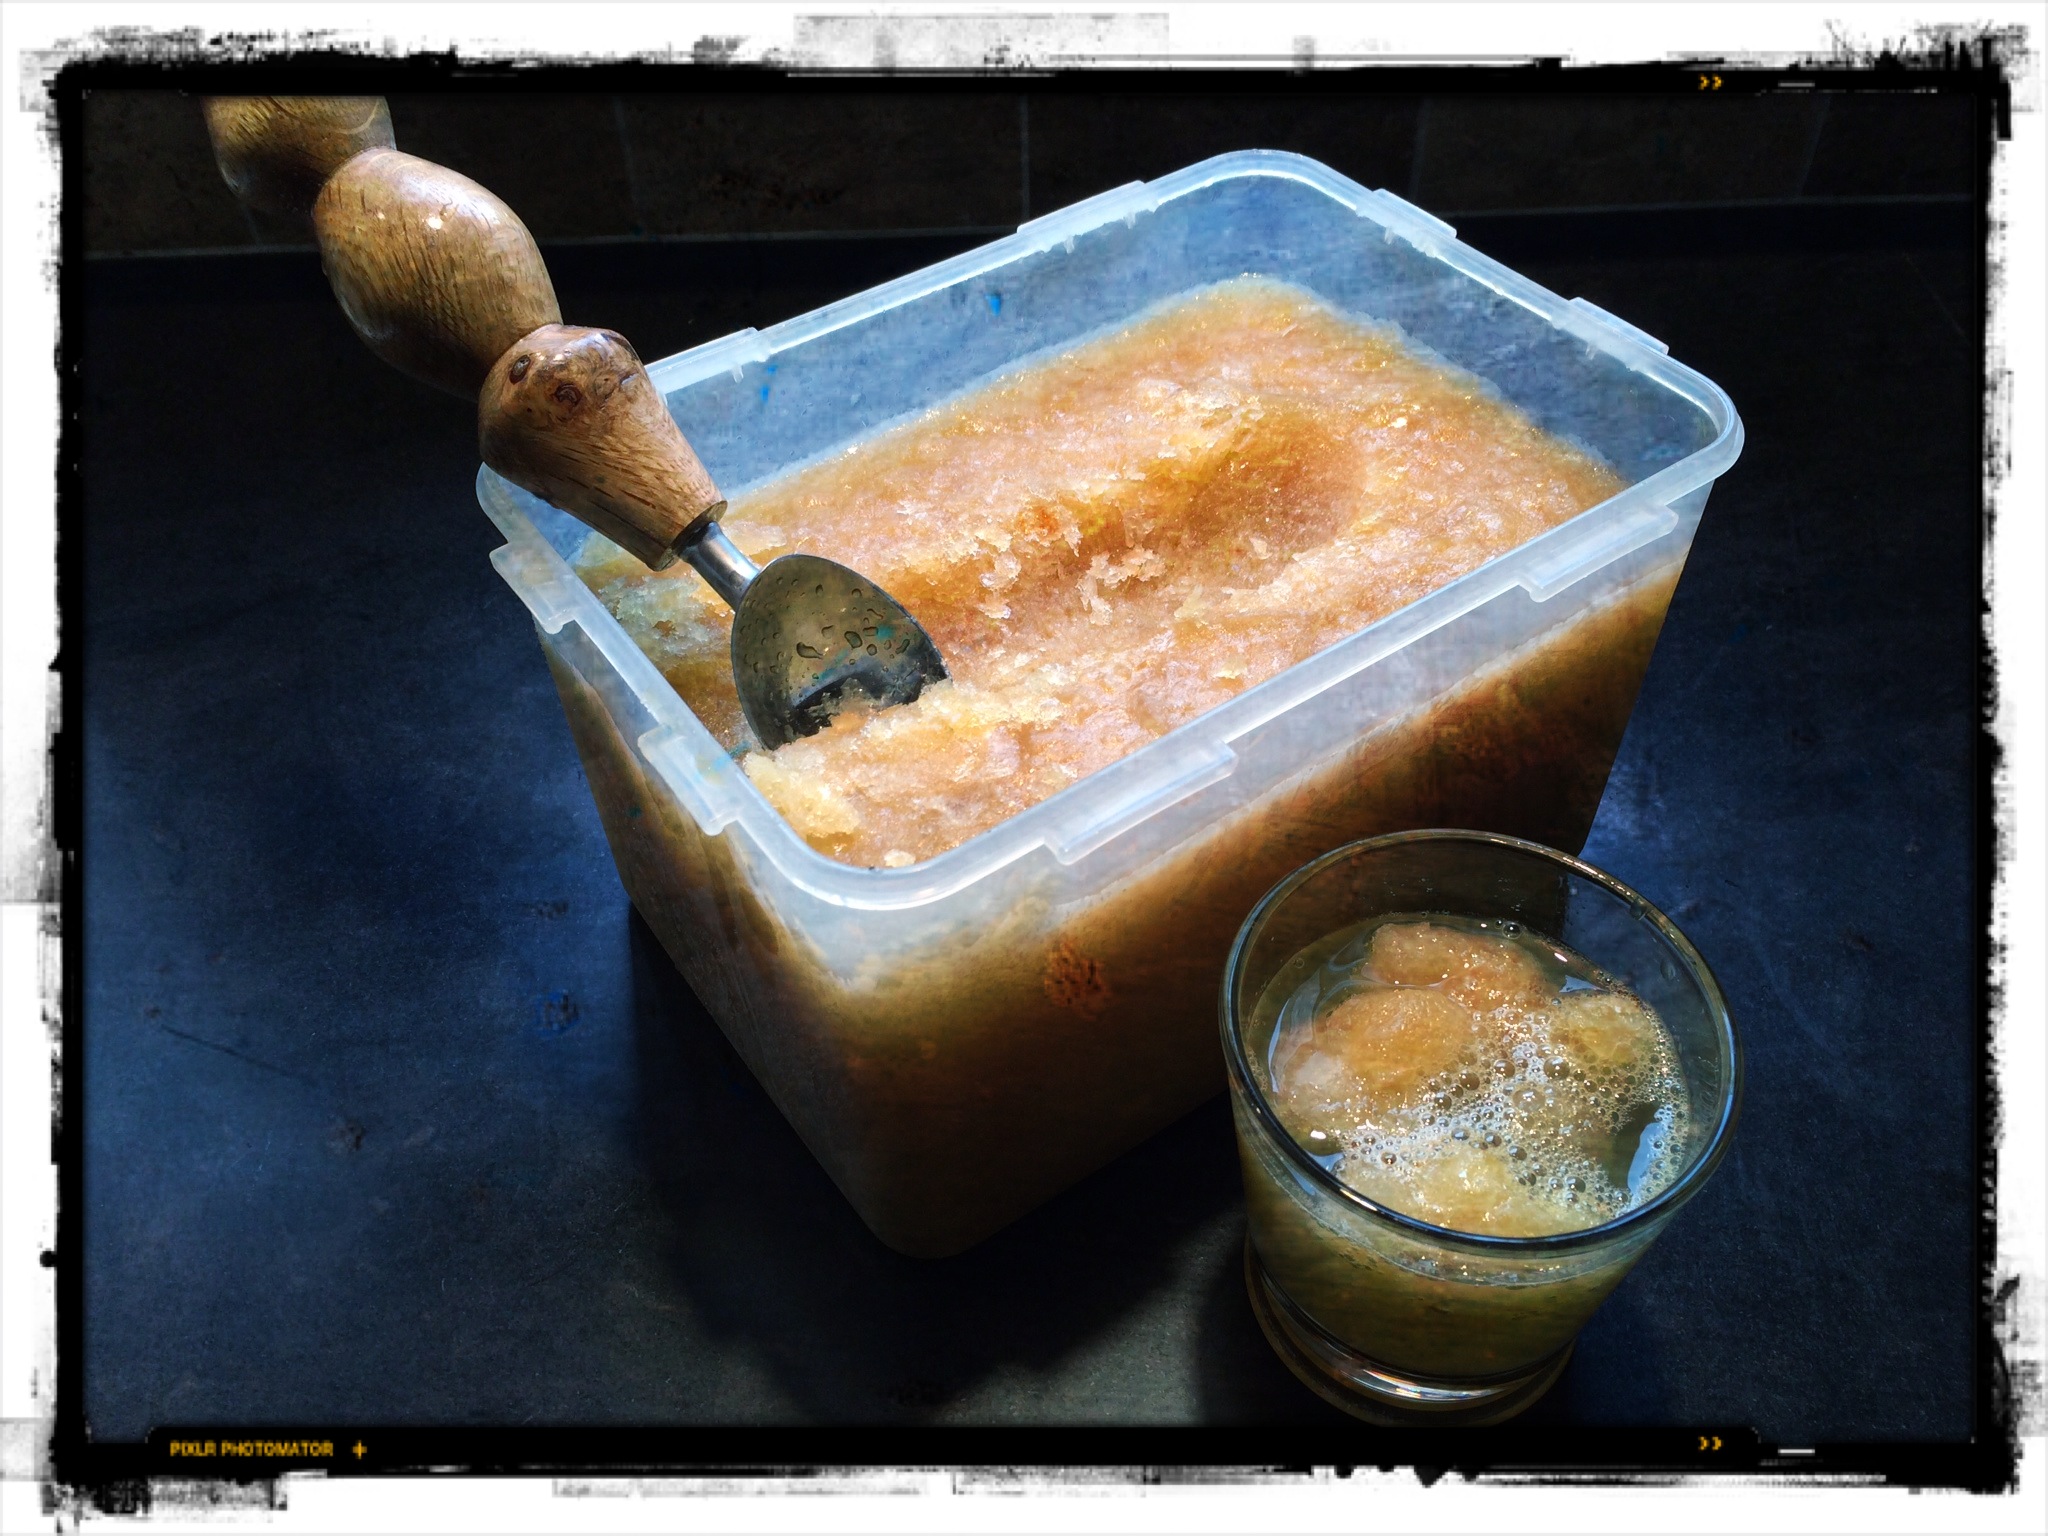
Stir often, and cook until the fava absorbs the liquid and becomes a creamy porridge. Lower the heat as you cook to prevent burning. You may need to add water while cooking if you see that it’s getting too dry.
The fava will be done when it’s creamy and smooth. (Optional: zap it in a blender to make it really creamy.) Serve with finely chopped onions, a sprinkling of capers, and a drizzle of good quality olive oil.