I think half my childhood was spent in the kitchen, watching my Mom and grandmother make koldūnai (kohl-doo-nayh), the Lithuanian version of a pierogi, by hand at lightning speed. Some Lithuanian cooks would make the dough, roll it out into a large flat sheet with a rolling-pin, then cut circles out with a glass or a cookie cutter. But my Mom and grandmother used a different method: they’d roll the dough into a log, cut it into 1″ pieces, and then twirl each piece in their hands to make a flat pancake that they would then fill with a spoonful of meat or mushrooms. It blew my mind that they could crank out over a hundred of these perfectly shaped dumplings in no time, placing them on a cookie sheet and freezing them until it was time to cook them.
One of the main reasons koldūnai beat pierogis every time is the filling. My Mom would mix ground beef with chopped onions sautéed in butter, a couple of eggs, and milk crackers soaked in milk. She’d add salt and pepper, then take a spoonful of the raw meat mixture and plop it in my mouth. “Enough salt?” she’d ask. My sisters and I loved the taste of the raw beef like that…probably why I always order beef tartare when I see it on a restaurant menu.
The other stuffing, usually reserved for special holidays like Christmas and Easter, was made from mushrooms. Italy may lay claim to the porcini, but the fact of the matter is, Lithuania is porcini heaven. And when they’re dried and reconstituted, their incredible flavor is so intense, you don’t need many of them to flavor a large amount of cheaper button mushrooms. We’d get our dried boletes from relatives in Lithuania every year…the real deal. Mom would place a handful in some boiling water and let them steep until they swelled up and could easily be chopped and added to the other mushrooms. She’d then pour the mushroom liquid into the pan as well, not wasting a bit of that magical porcini flavor. The mushrooms were simply sautéed in butter, cooled, then used to fill the koldūnai.
Common pierogi fillings are potatoes or sauerkraut. I think the Lithuanians got this round.

Not perfect, but not bad for a first attempt. And the GF dough was tough to deal with at first. I made sure the exposed meat was covered by dough before placing in the freezer. Otherwise, they would open up in the boiling water and make a mess.
So this past Christmas Eve, I decided it was time to try my hand at making koldūnai. As I recall, my Mom simply mixed water with flour and a little salt to make the dough, kneaded it into a log, and off she went. My challenge was a bit more daunting: I needed to make them gluten-free as well. My sister, whose family lives the GF lifestyle, told me that they simply exchange all-purpose flour for gluten-free flour and it works fine. But my experience in trying to bake bread or make pizza dough with gluten-free flour told me that the dough would be tough to work with and would lack the elasticity found in dough made with gluten, so I wanted another option. I found an old recipe on-line that still used the individual GF ingredients (rice flour, potato starch, tapioca flour, etc.) before the advent of Cup 4 Cup, the all-purpose gluten-free flour I now use religiously. I decided I’d substitute my go-to flour for those ingredients and add it to the rest of the recipe. What I got was a soft dough that was relatively easy to work with, just a little sticky.
The biggest challenges I had with making my koldūnai was my own clumsiness and lack of experience. Once I got the hang of it, things moved along steadily, and it didn’t take long for me to make 24 gluten-free koldūnai–not all perfect, but not bad for a first try.
Since my wife is allergic to mushrooms, I had to skip them this time around and used a ground beef filling instead. And, by my daughter’s special request, I also made 4 mac-and-cheese koldūnai, also gluten-free using GF mac-and-cheese.
The ground beef filling was easy…
1/2 onion, finely chopped
1 pat of butter
1 lb. ground beef
1 egg
1/2 cup breadcrumbs (I use gluten-free)
1/4 cup milk
Finely chop the onion and saute it in a little butter until translucent. Let it cool, then add it to 1 lb. of thawed ground beef. Add the egg, the breadcrumbs, and the milk. Season with salt and pepper. Mix ingredients thoroughly and keep the meat in the fridge until ready to use.

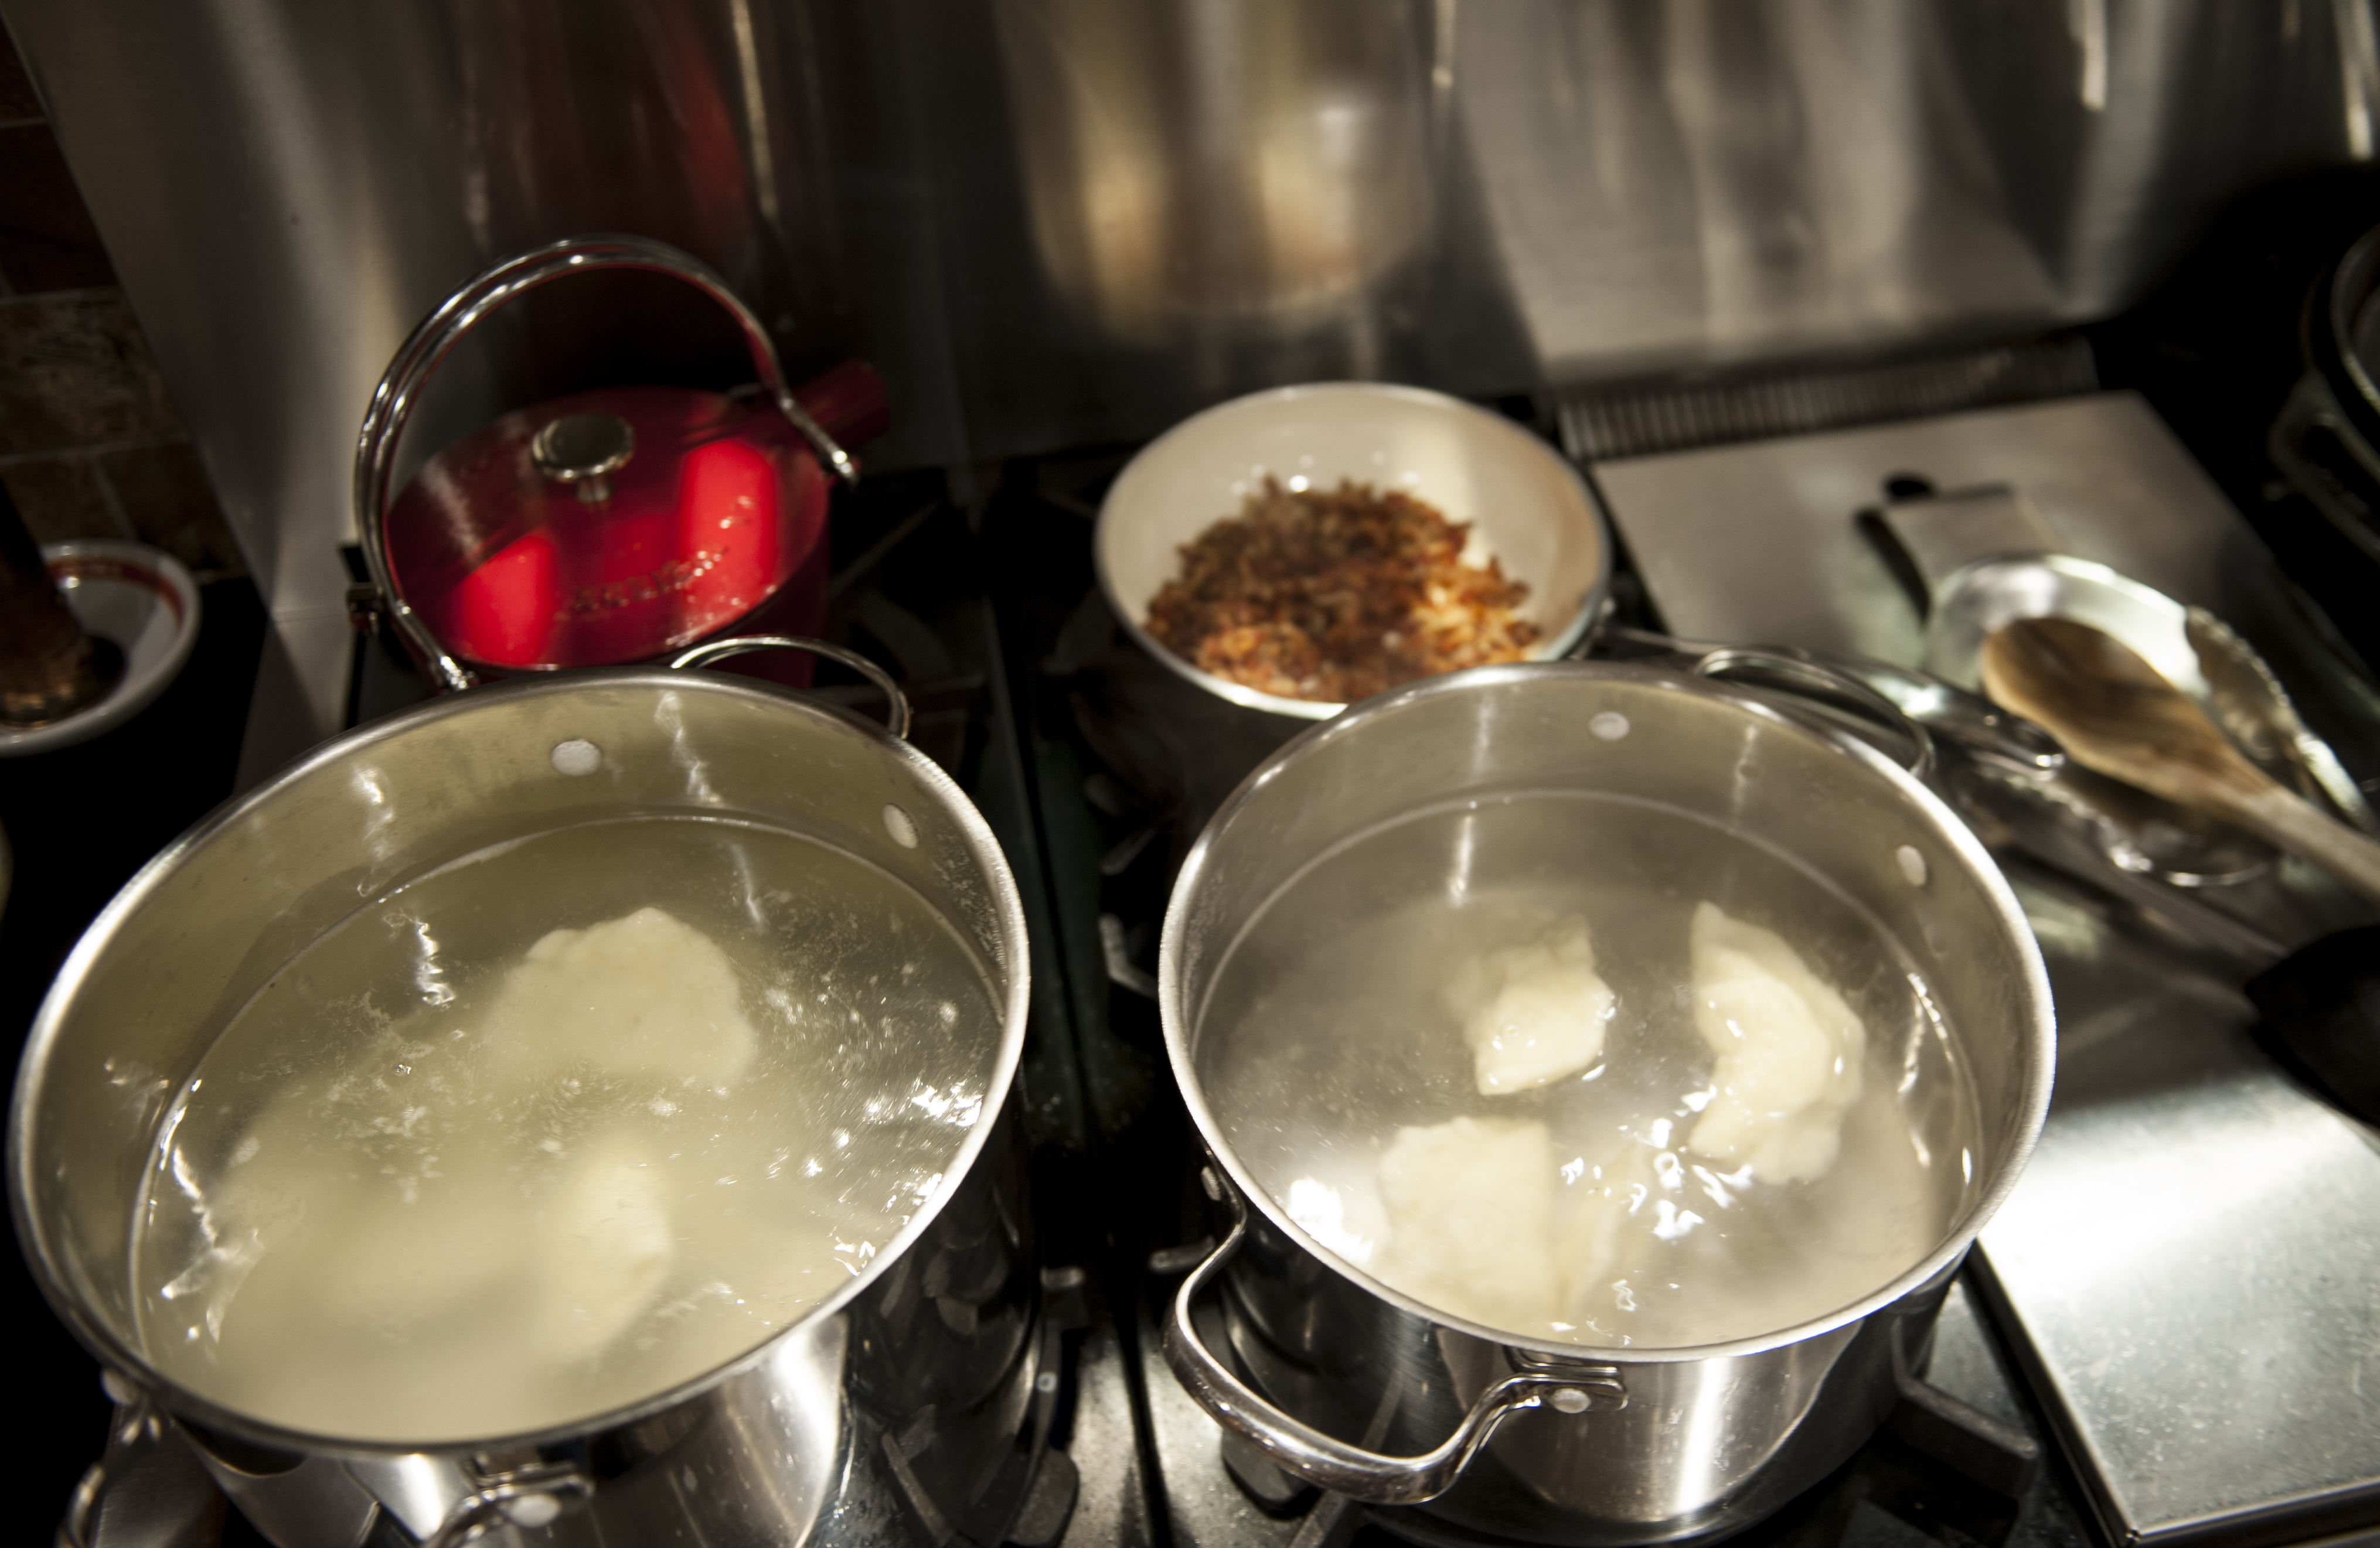
Two pots of boiling salted water: one for the meat-filled koldūnai, and one for the mac-and-cheese filled koldūnai.
1 lb. bacon, finely chopped
1 large onion, finely chopped
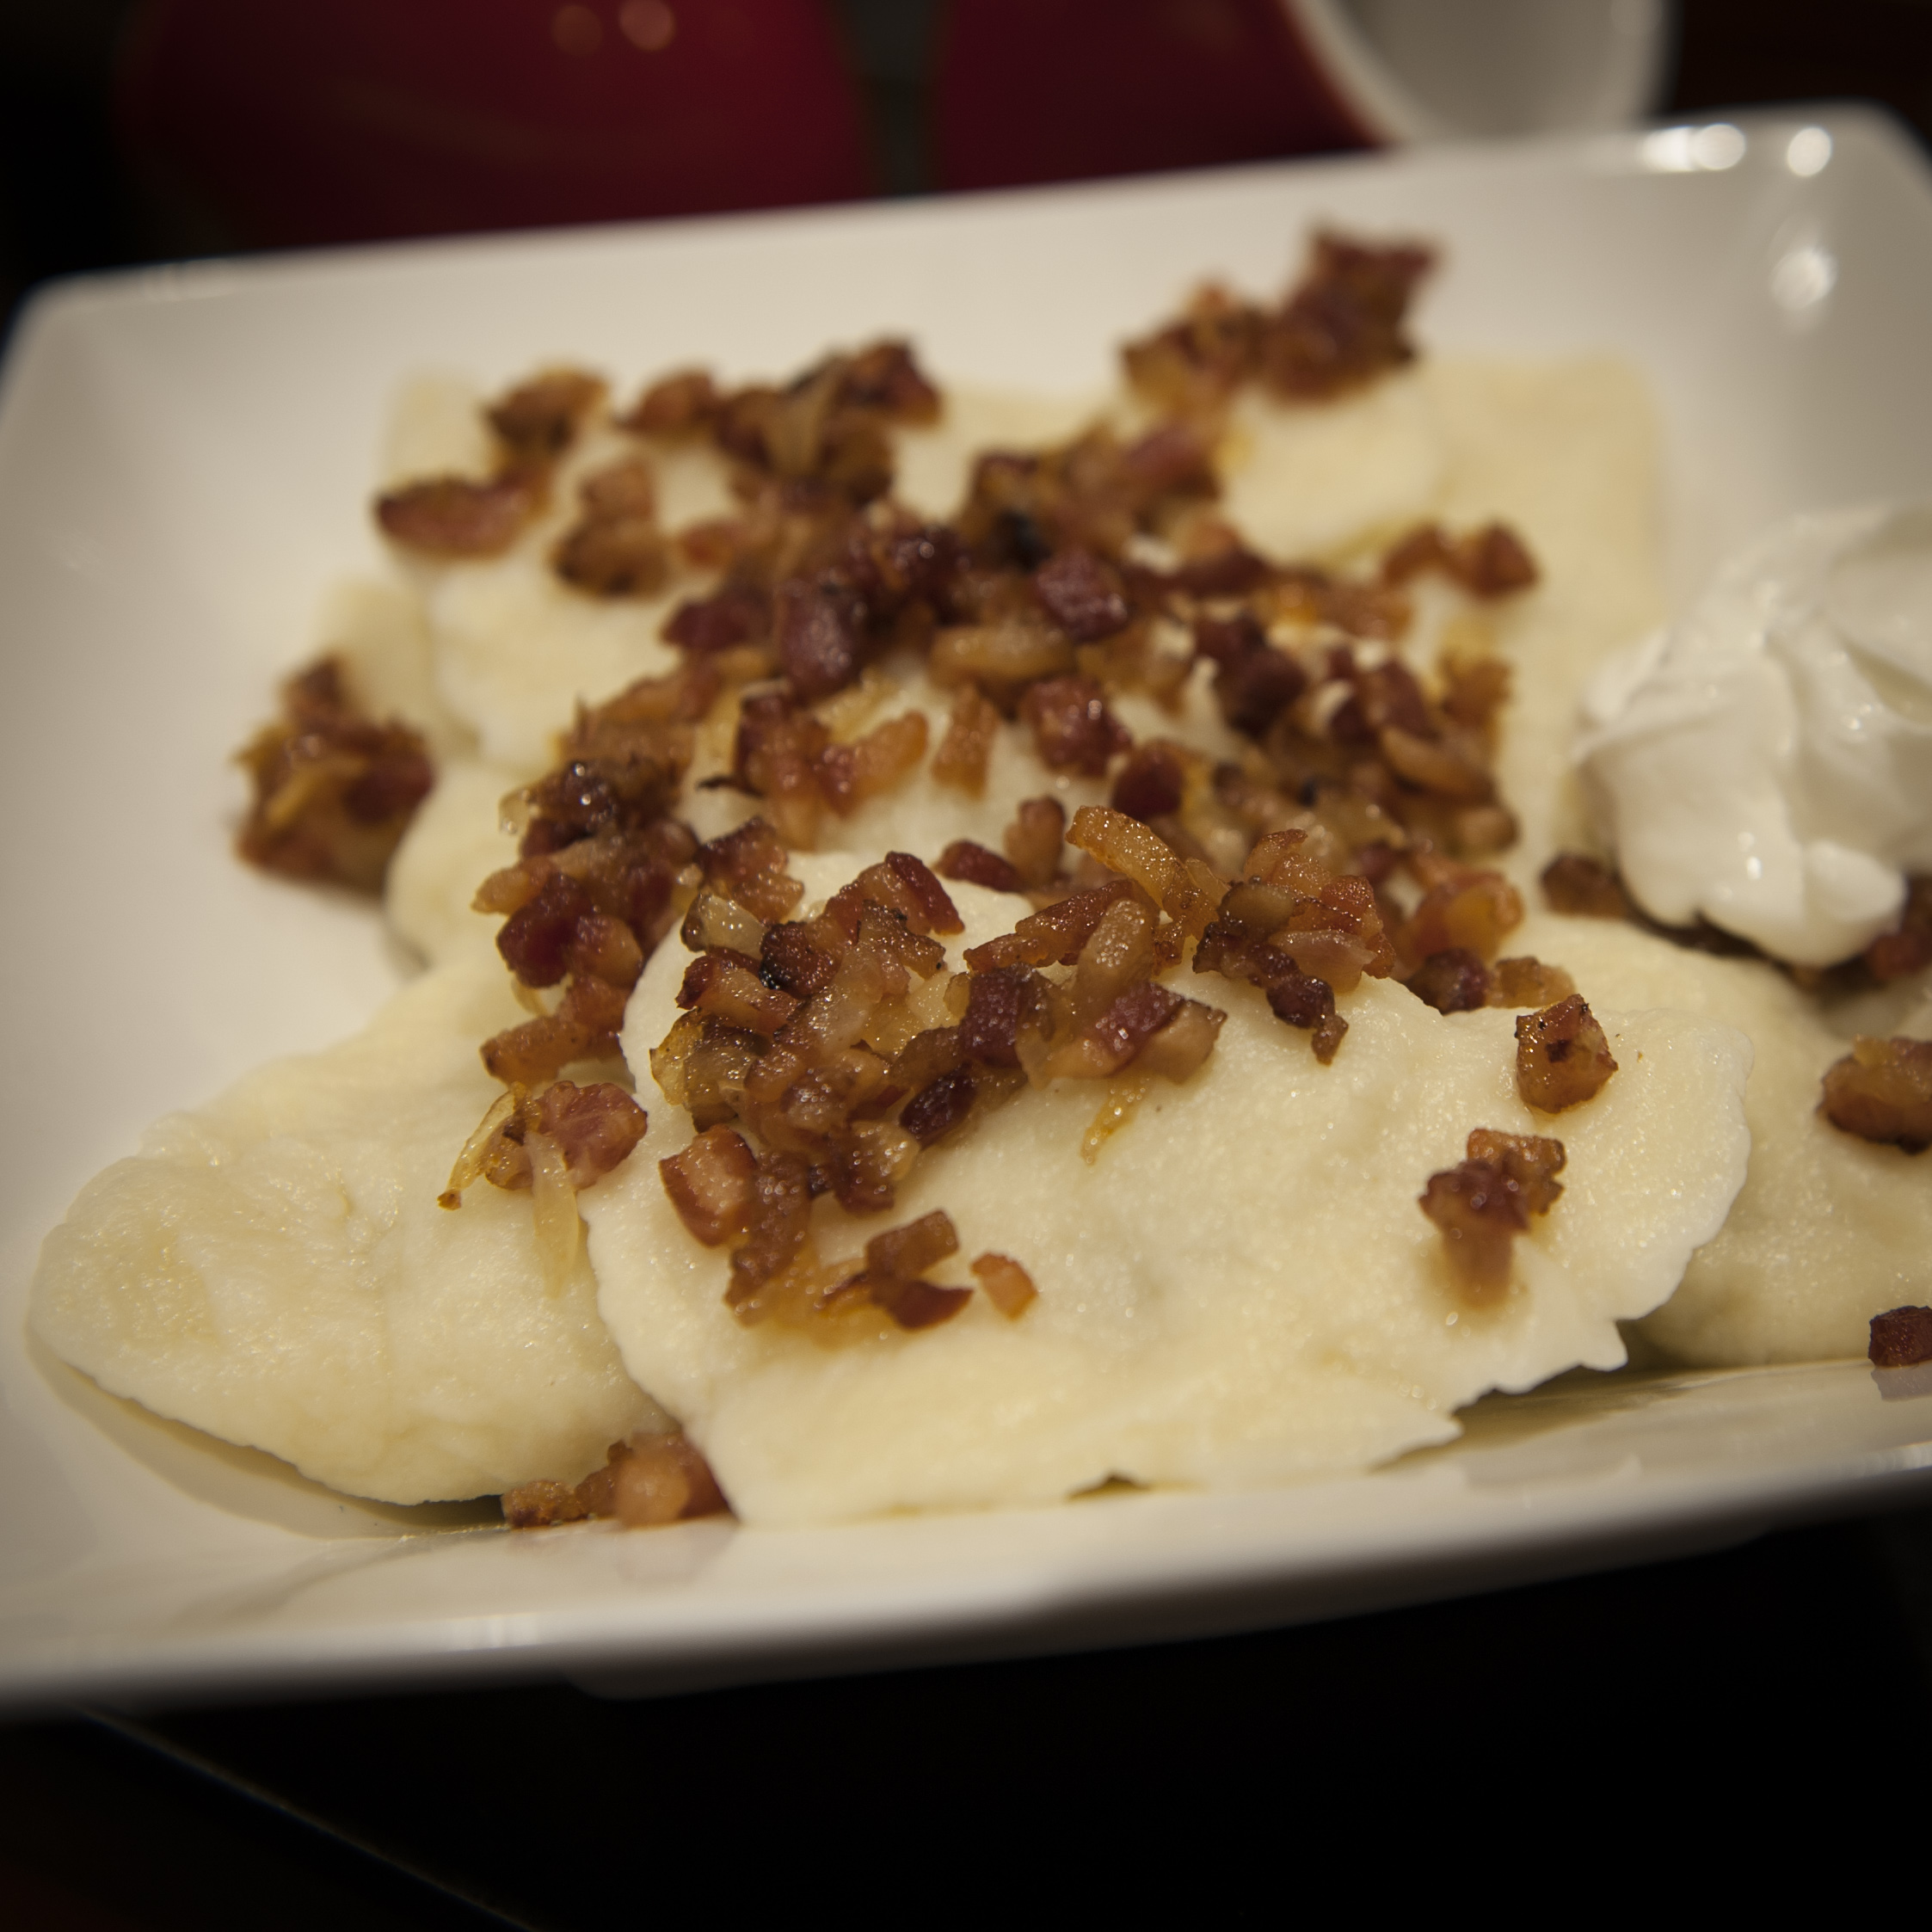
In a large pan, fry the chopped bacon until it’s almost crisp. I don’t drain the fat, but you can if you’re a wuss. Add the chopped onions and cook until they are soft. Set aside. These are called spirgučiai, (spir-guh-chay) and they are sprinkled on top of the finished koldūnai, just before serving. (My Mom always kept a stash in a container in the fridge, and sprinkled them on anything and everything.)

1/2 cup cottage cheese
1 large egg
1/4 cup milk
1 tablespoon olive oil or avocado oil (I don’t ever use canola or vegetable oils)
1/2 teaspoon salt
1 cup gluten-free flour (I use Cup4Cup)
Place the flour in a bowl. In a blender, combine the cottage cheese, egg, milk olive oil and salt. Blend until smooth. Pour the liquid ingredients into the bowl with the flour and knead by hand, forming a dough.
Dust a board with more flour, and move the flour from the bowl onto the board. Knead it into a long log, about a foot long and 1 1/2″ thick. Cut it into 12 equal pieces, about 1″ wide.
Take one cut piece, and using your thumbs, twirl the dough around, flattening it into a small pancake. (Feel free to use a small rolling-pin, if that’s easier.) Place a teaspoon of filling in the center of the pancake, then fold one side over so that it meets the edges of the other side. Press with your fingers to make the two halves stick together and form a seal. (You may need to dab a little water on one edge with a small pastry brush to help make it sticky enough to seal it.)
Place the koldūnai on a sheet pan lined with parchment paper, and when you’re done, place the sheet pan in the freezer.
Get a large pot of salted water boiling. Drop the koldūnai in gently, being careful not to overcrowd them…about 6 at a time. If the dough is thin, the koldūnai will be ready when they float up to the surface. A thicker dough will need longer cooking. The best way to know if they’re done is by taking one out, cutting it open and having a look (and taste!)
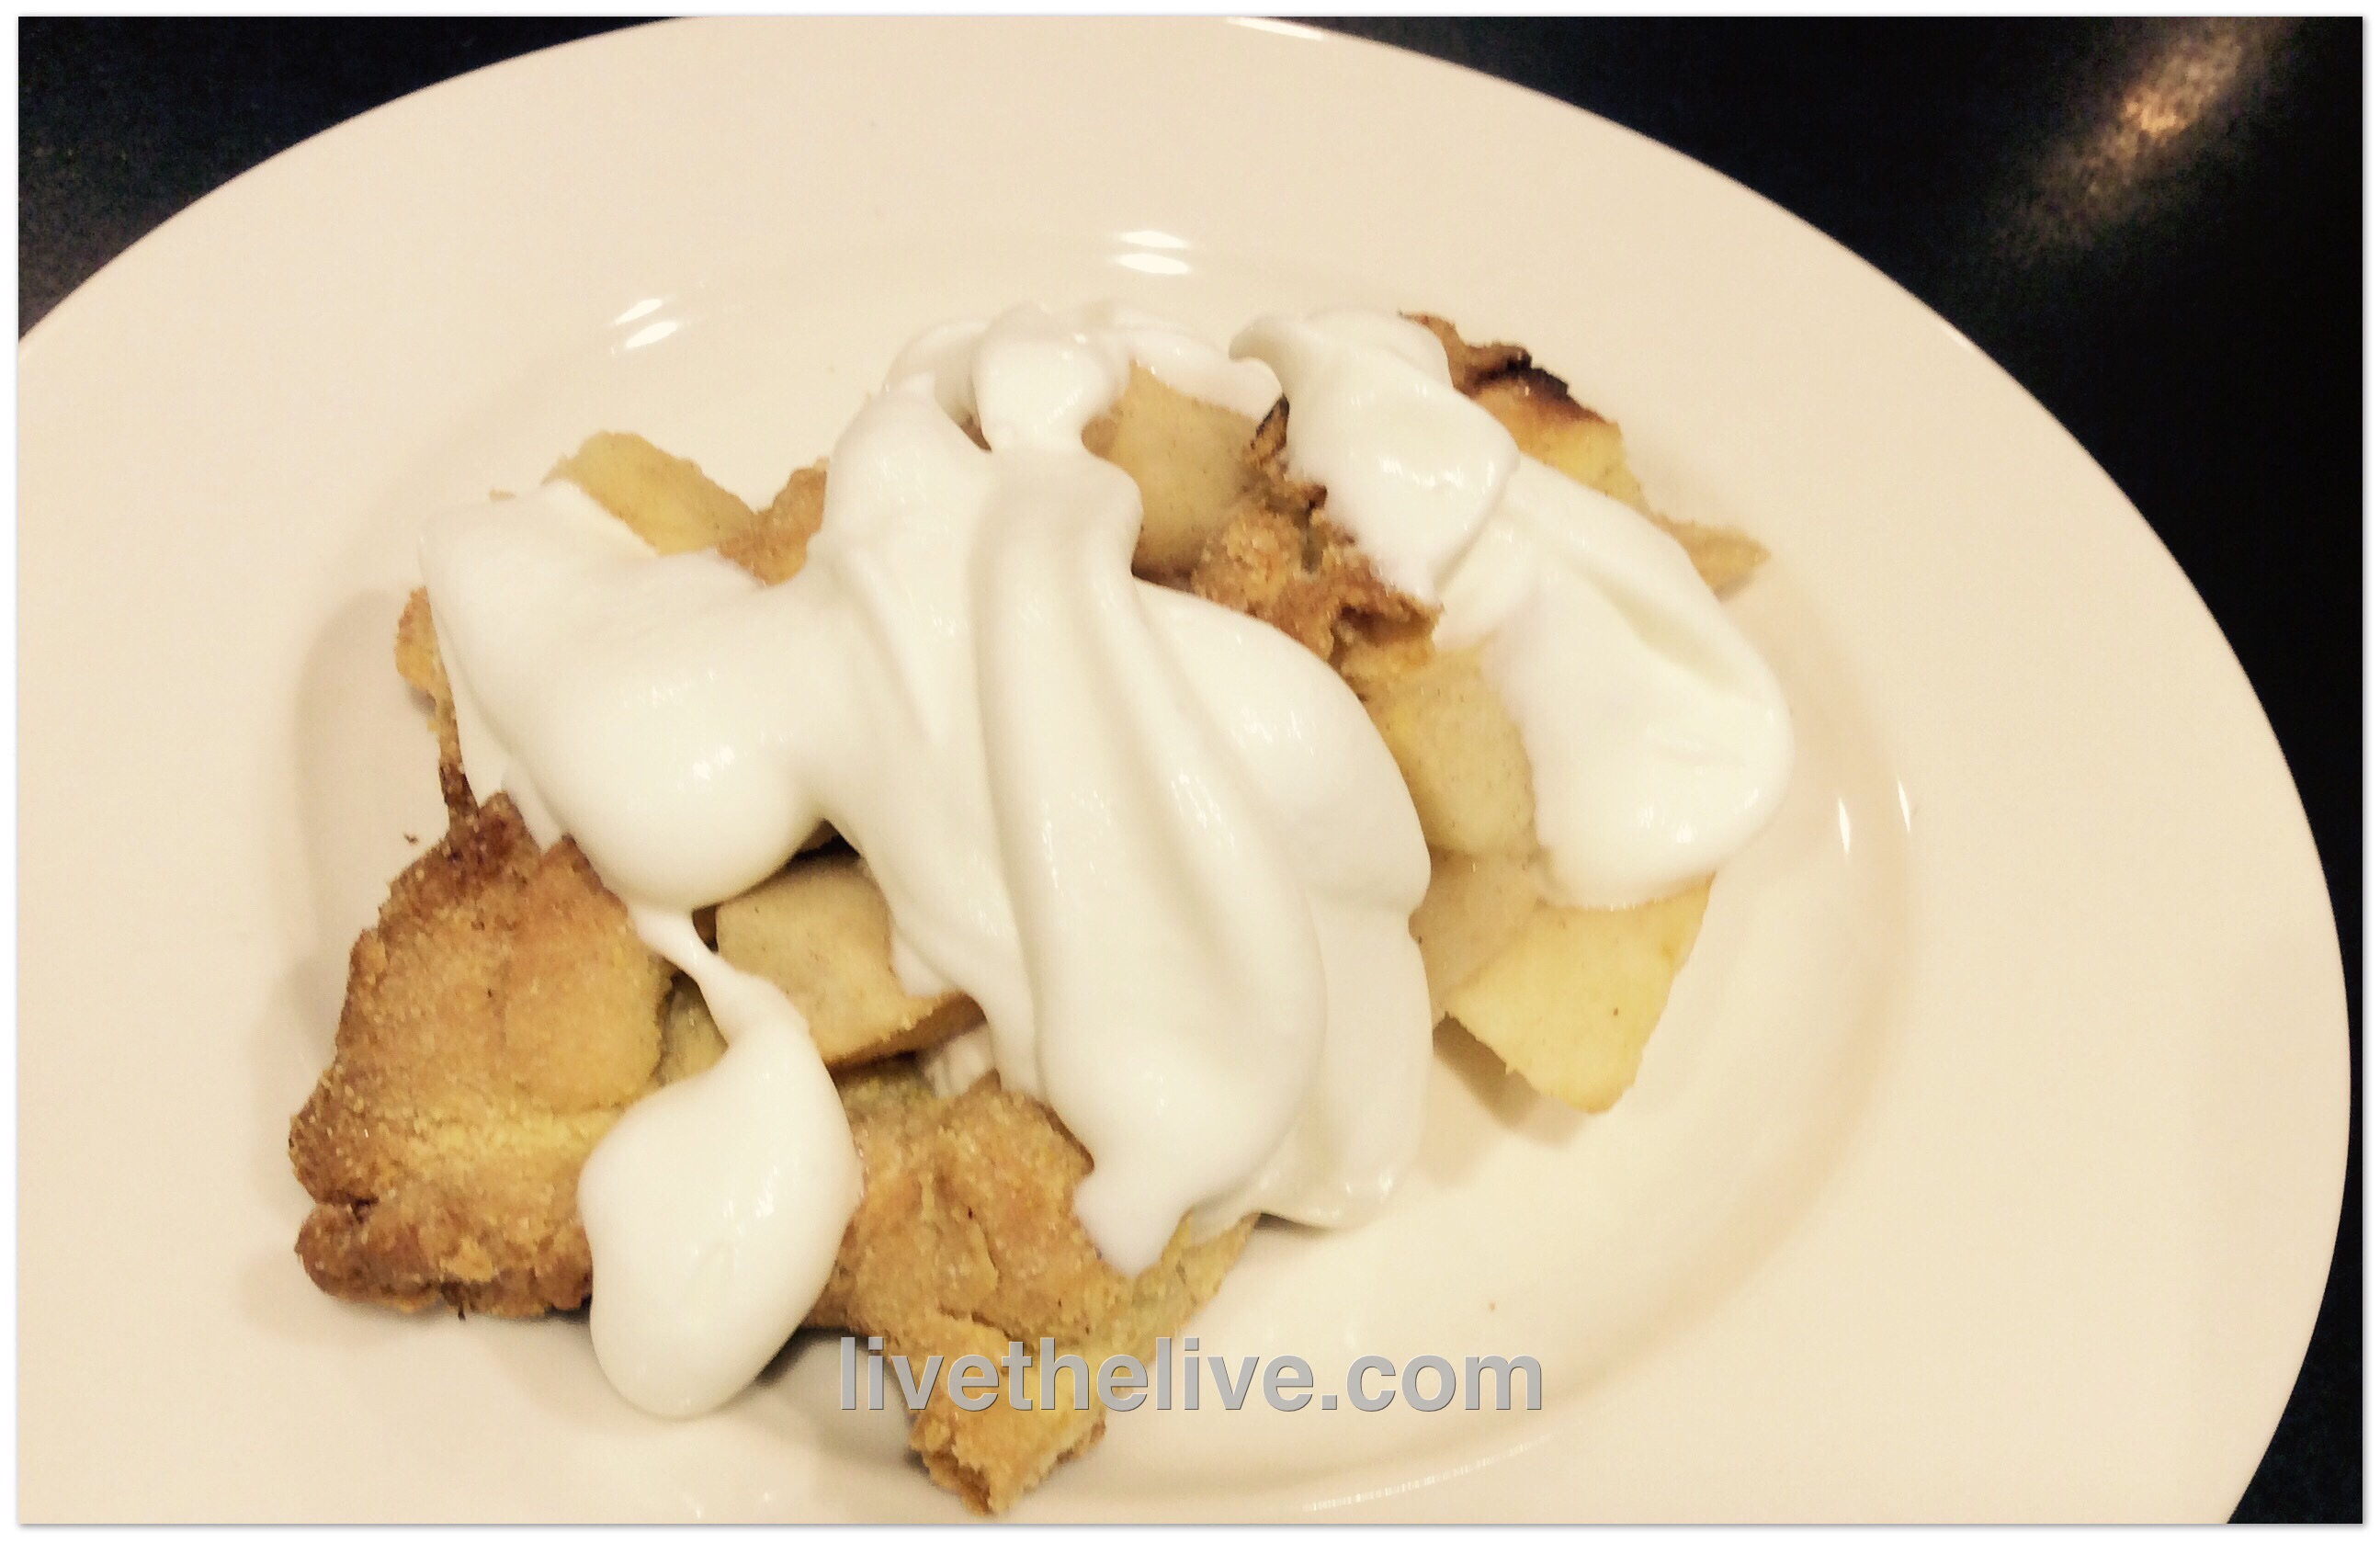
When plating, sprinkle generously with spirgučiai, and serve with sour cream.

Mac-and-cheese koldūnai!