There’s something about Asian noodle dishes that make them incredibly addictive. They’re great hot or cold, and easy to make at home. I store an arsenal of basic Asian ingredients in my pantry, so slapping this together is no effort at all. And if you don’t have Asian noodles around, chances are you’ve got a box of pasta, which works just as well.
Next time you’ve got a bunch of people coming over, cook a batch a few hours beforehand and let it come to room temperature. It’s great with anything, really. Grab a bag of frozen egg rolls or some potstickers, and you’ve got great munchies for your guests.
Adding boiled and chilled shrimp to these noodles makes it a cool meal. I usually double the sauce recipe when I do that.
If you need to go gluten-free, use GF pasta or rice noodles…and you can find gluten-free hoisin sauce in the Asian food section of many supermarkets.

4 tablespoons creamy peanut butter
1 tablespoon hoisin sauce
2 teaspoons sesame oil
1 teaspoon Chinese chili garlic sauce (more, if you like it spicy!)
16 oz. package Chinese noodles or pasta
Combine the peanut butter, hoisin sauce, sesame oil, and chili garlic sauce in a bowl. Set it aside. I keep my peanut butter in the fridge once the jar is open, so sometimes it’s a bit thick. So I just zap it in the microwave for about 10 seconds to soften it up.
Boil the noodles or pasta until al dente. Drain it and place it in a large bowl.
Mix the noodles with the sauce.
It’s easy to make this recipe a meal by adding meat and veggies, which is what I did recently.

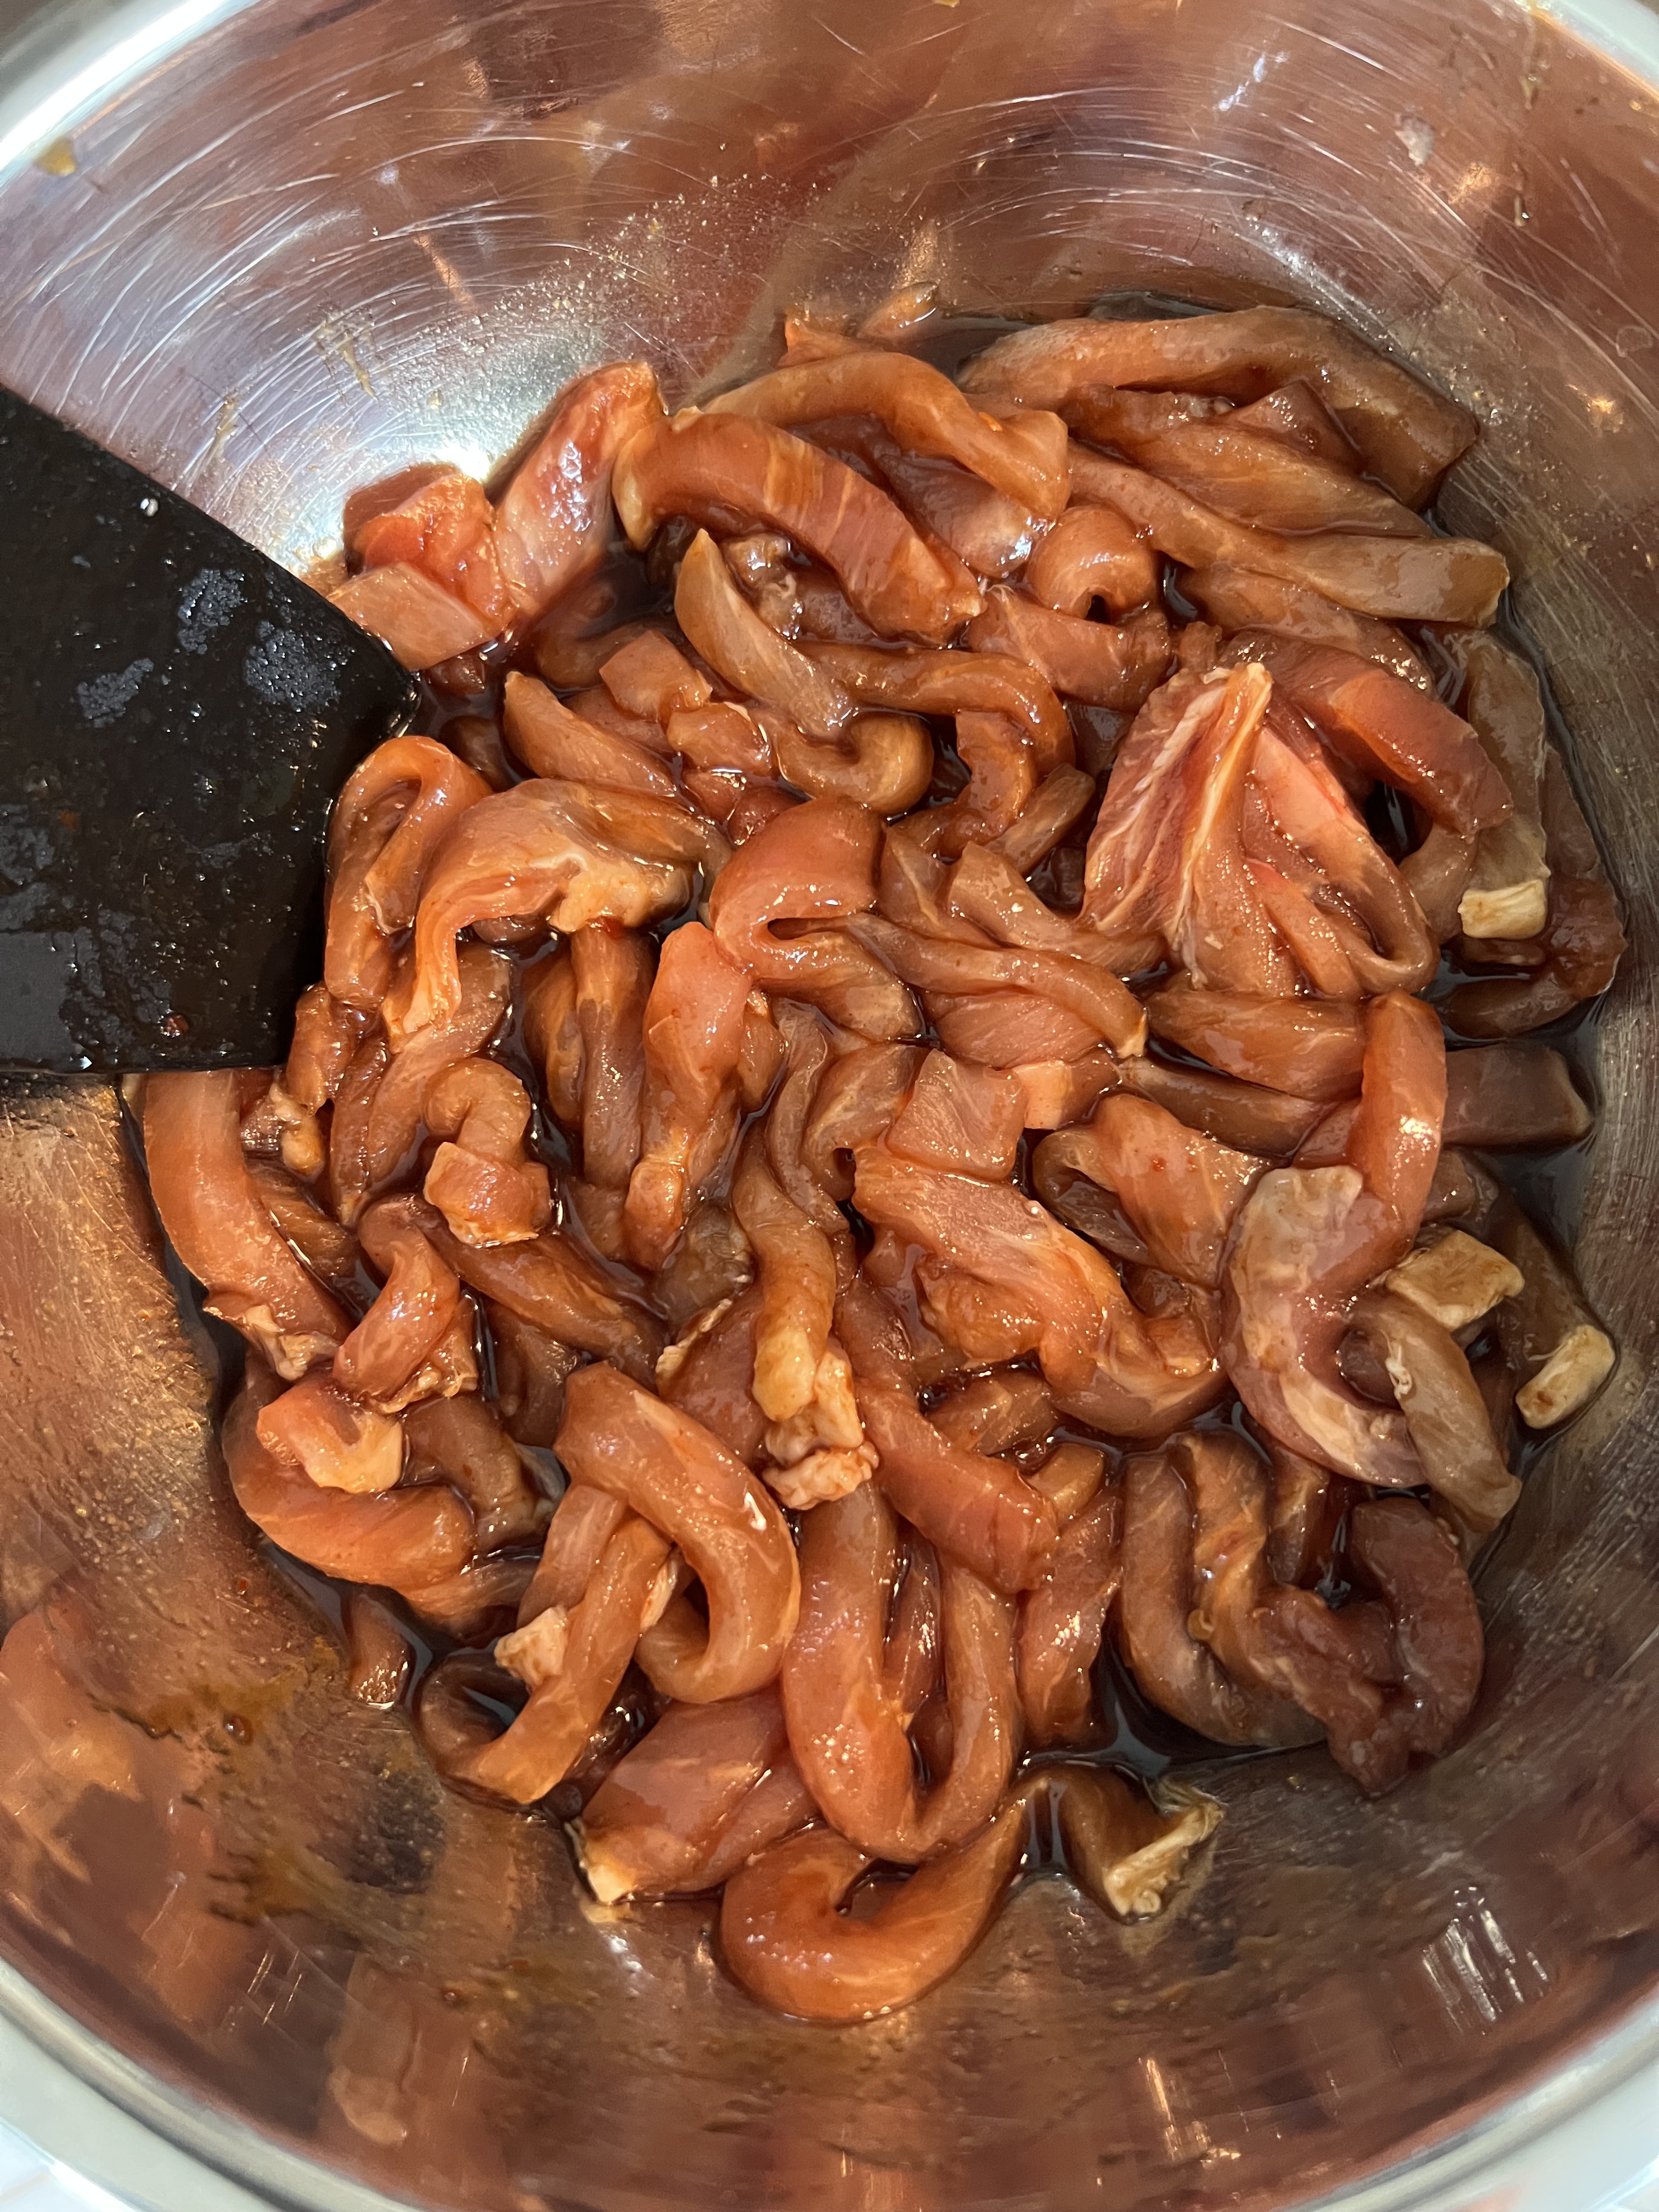
I took about a pound of chicken breasts, and sliced them thin, into strips, placing them in a bowl. I added a little soy sauce (go gluten-free soy sauce if you need to…La Choy is the brand I use) and a little rice vinegar, and I let the chicken marinate in the fridge for a few hours.
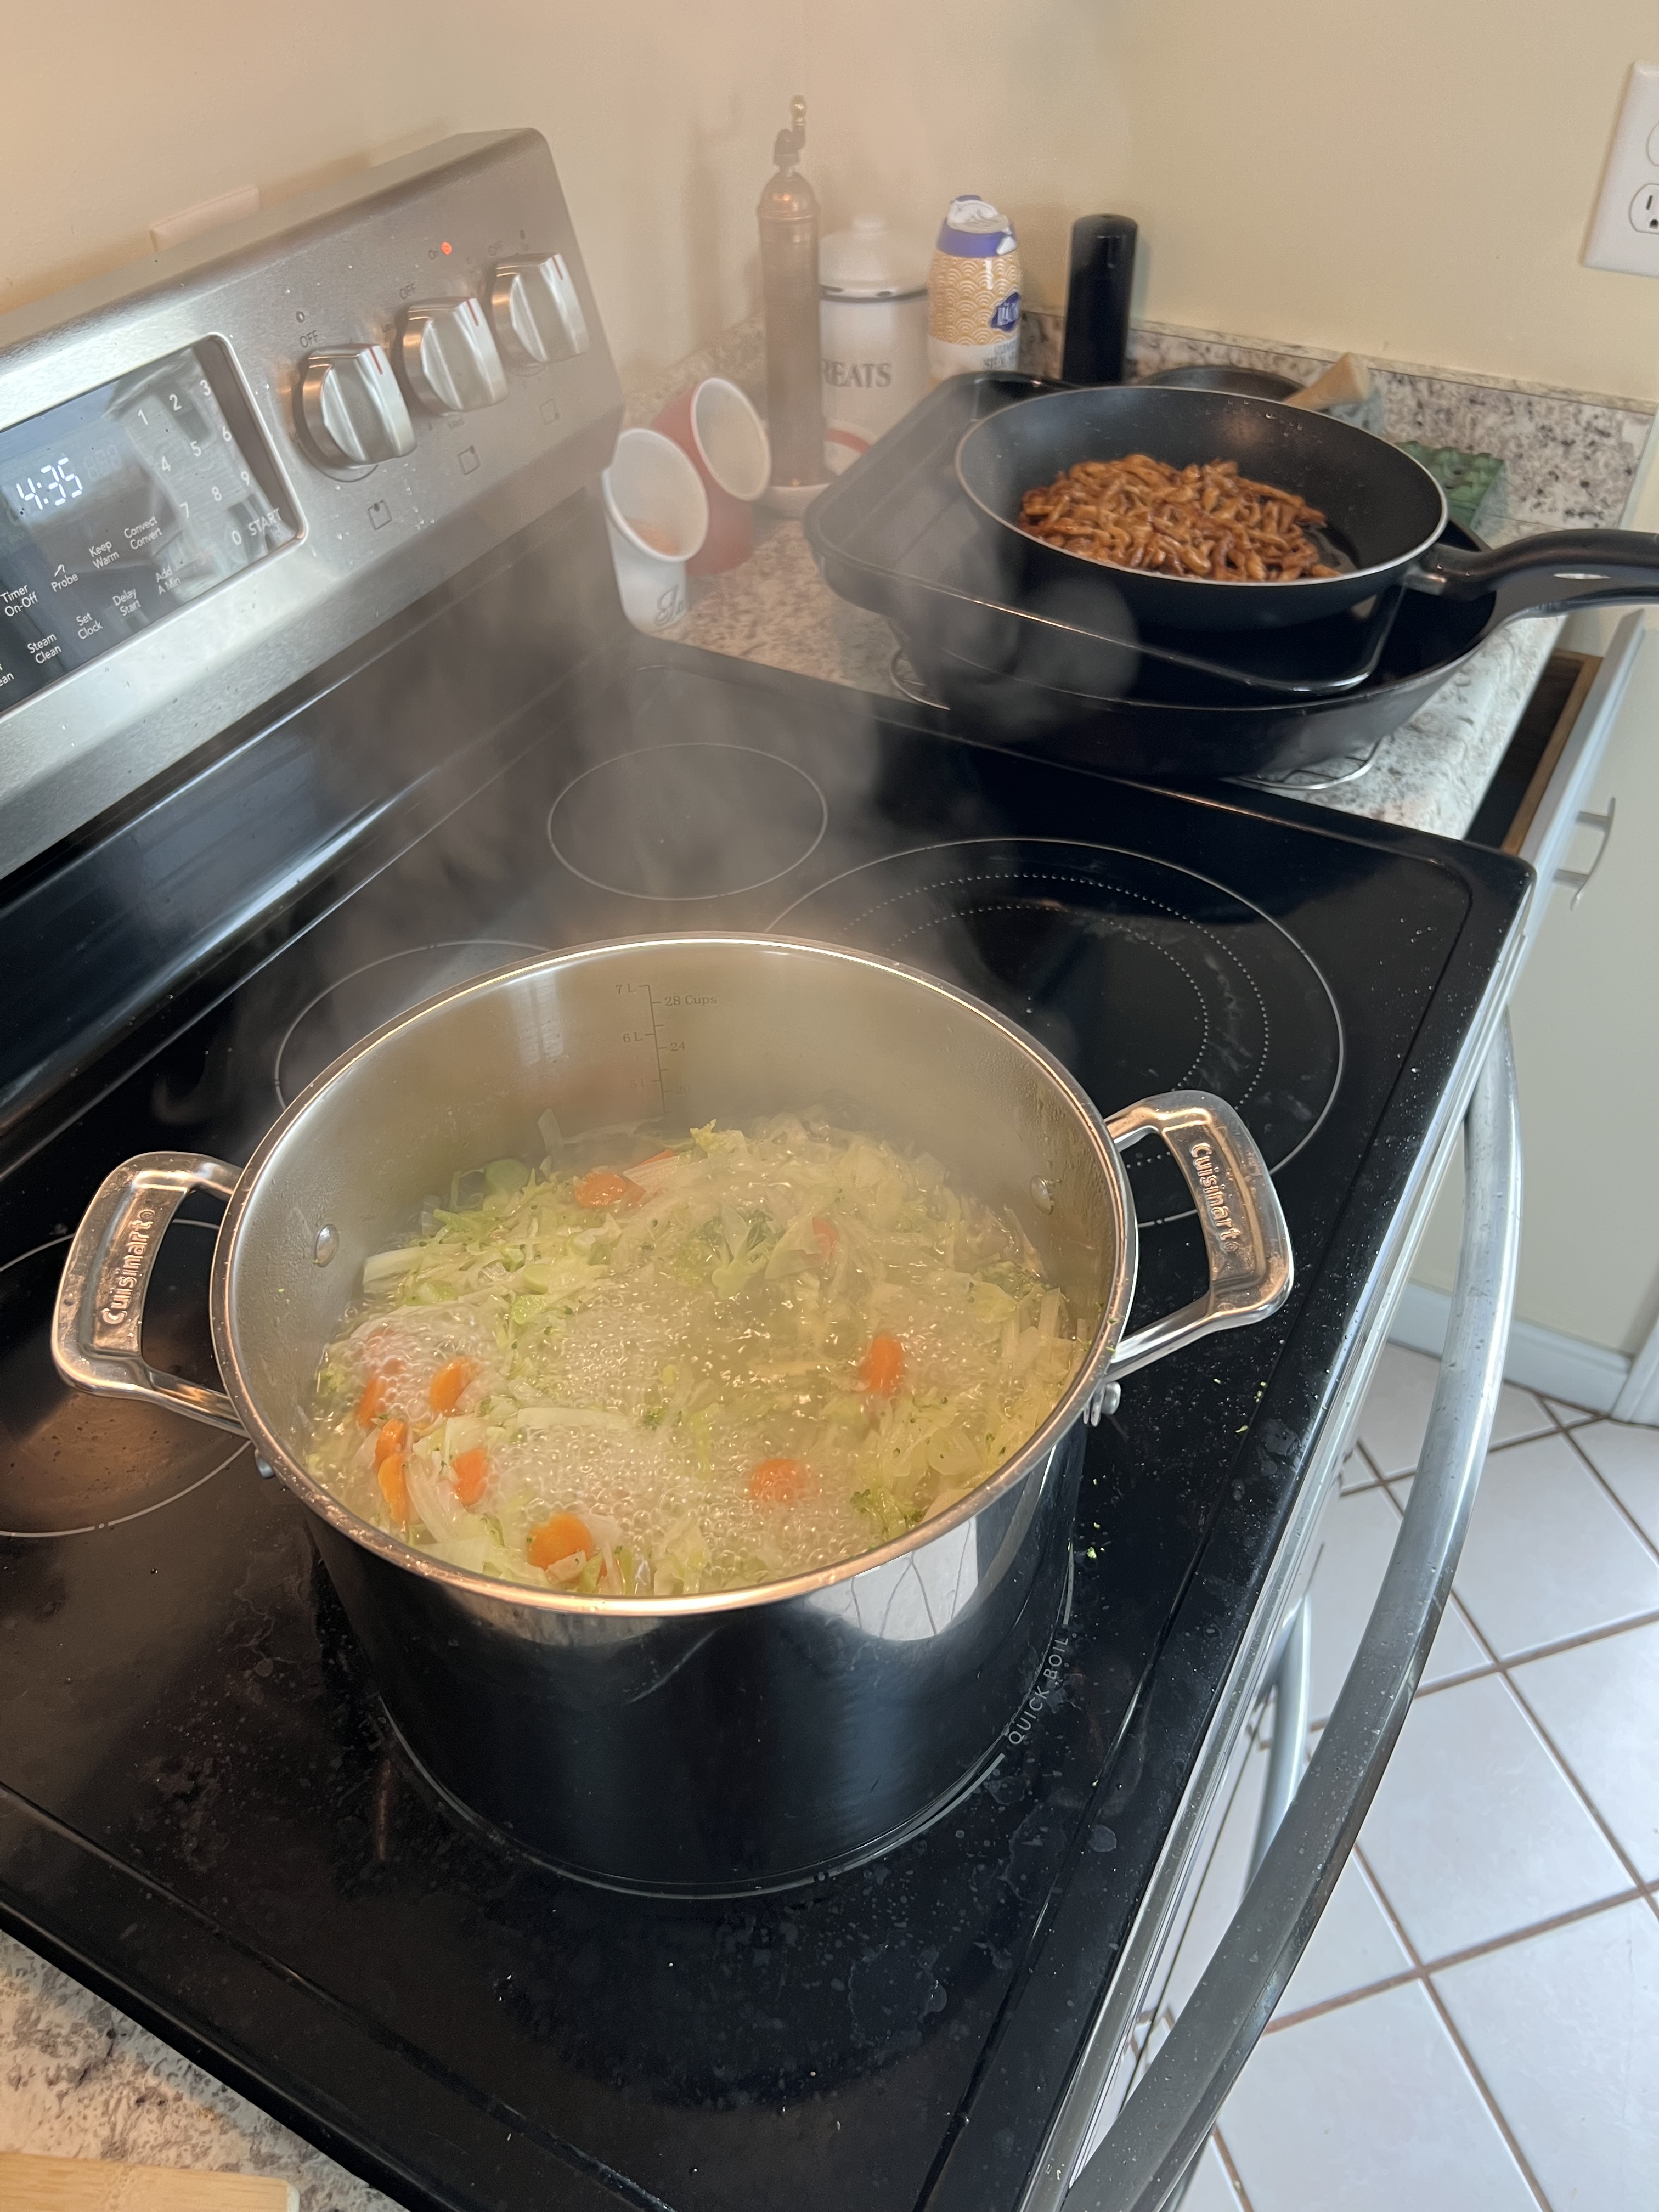
Meanwhile, I chopped up some broccoli and blanched it in boiling water, just to cook it a little. I drained the water and set the broccoli aside.
I chopped some sugar snap peas on the bias, and set them aside. And I had a bag of mung bean sprouts purchased, ready to go.
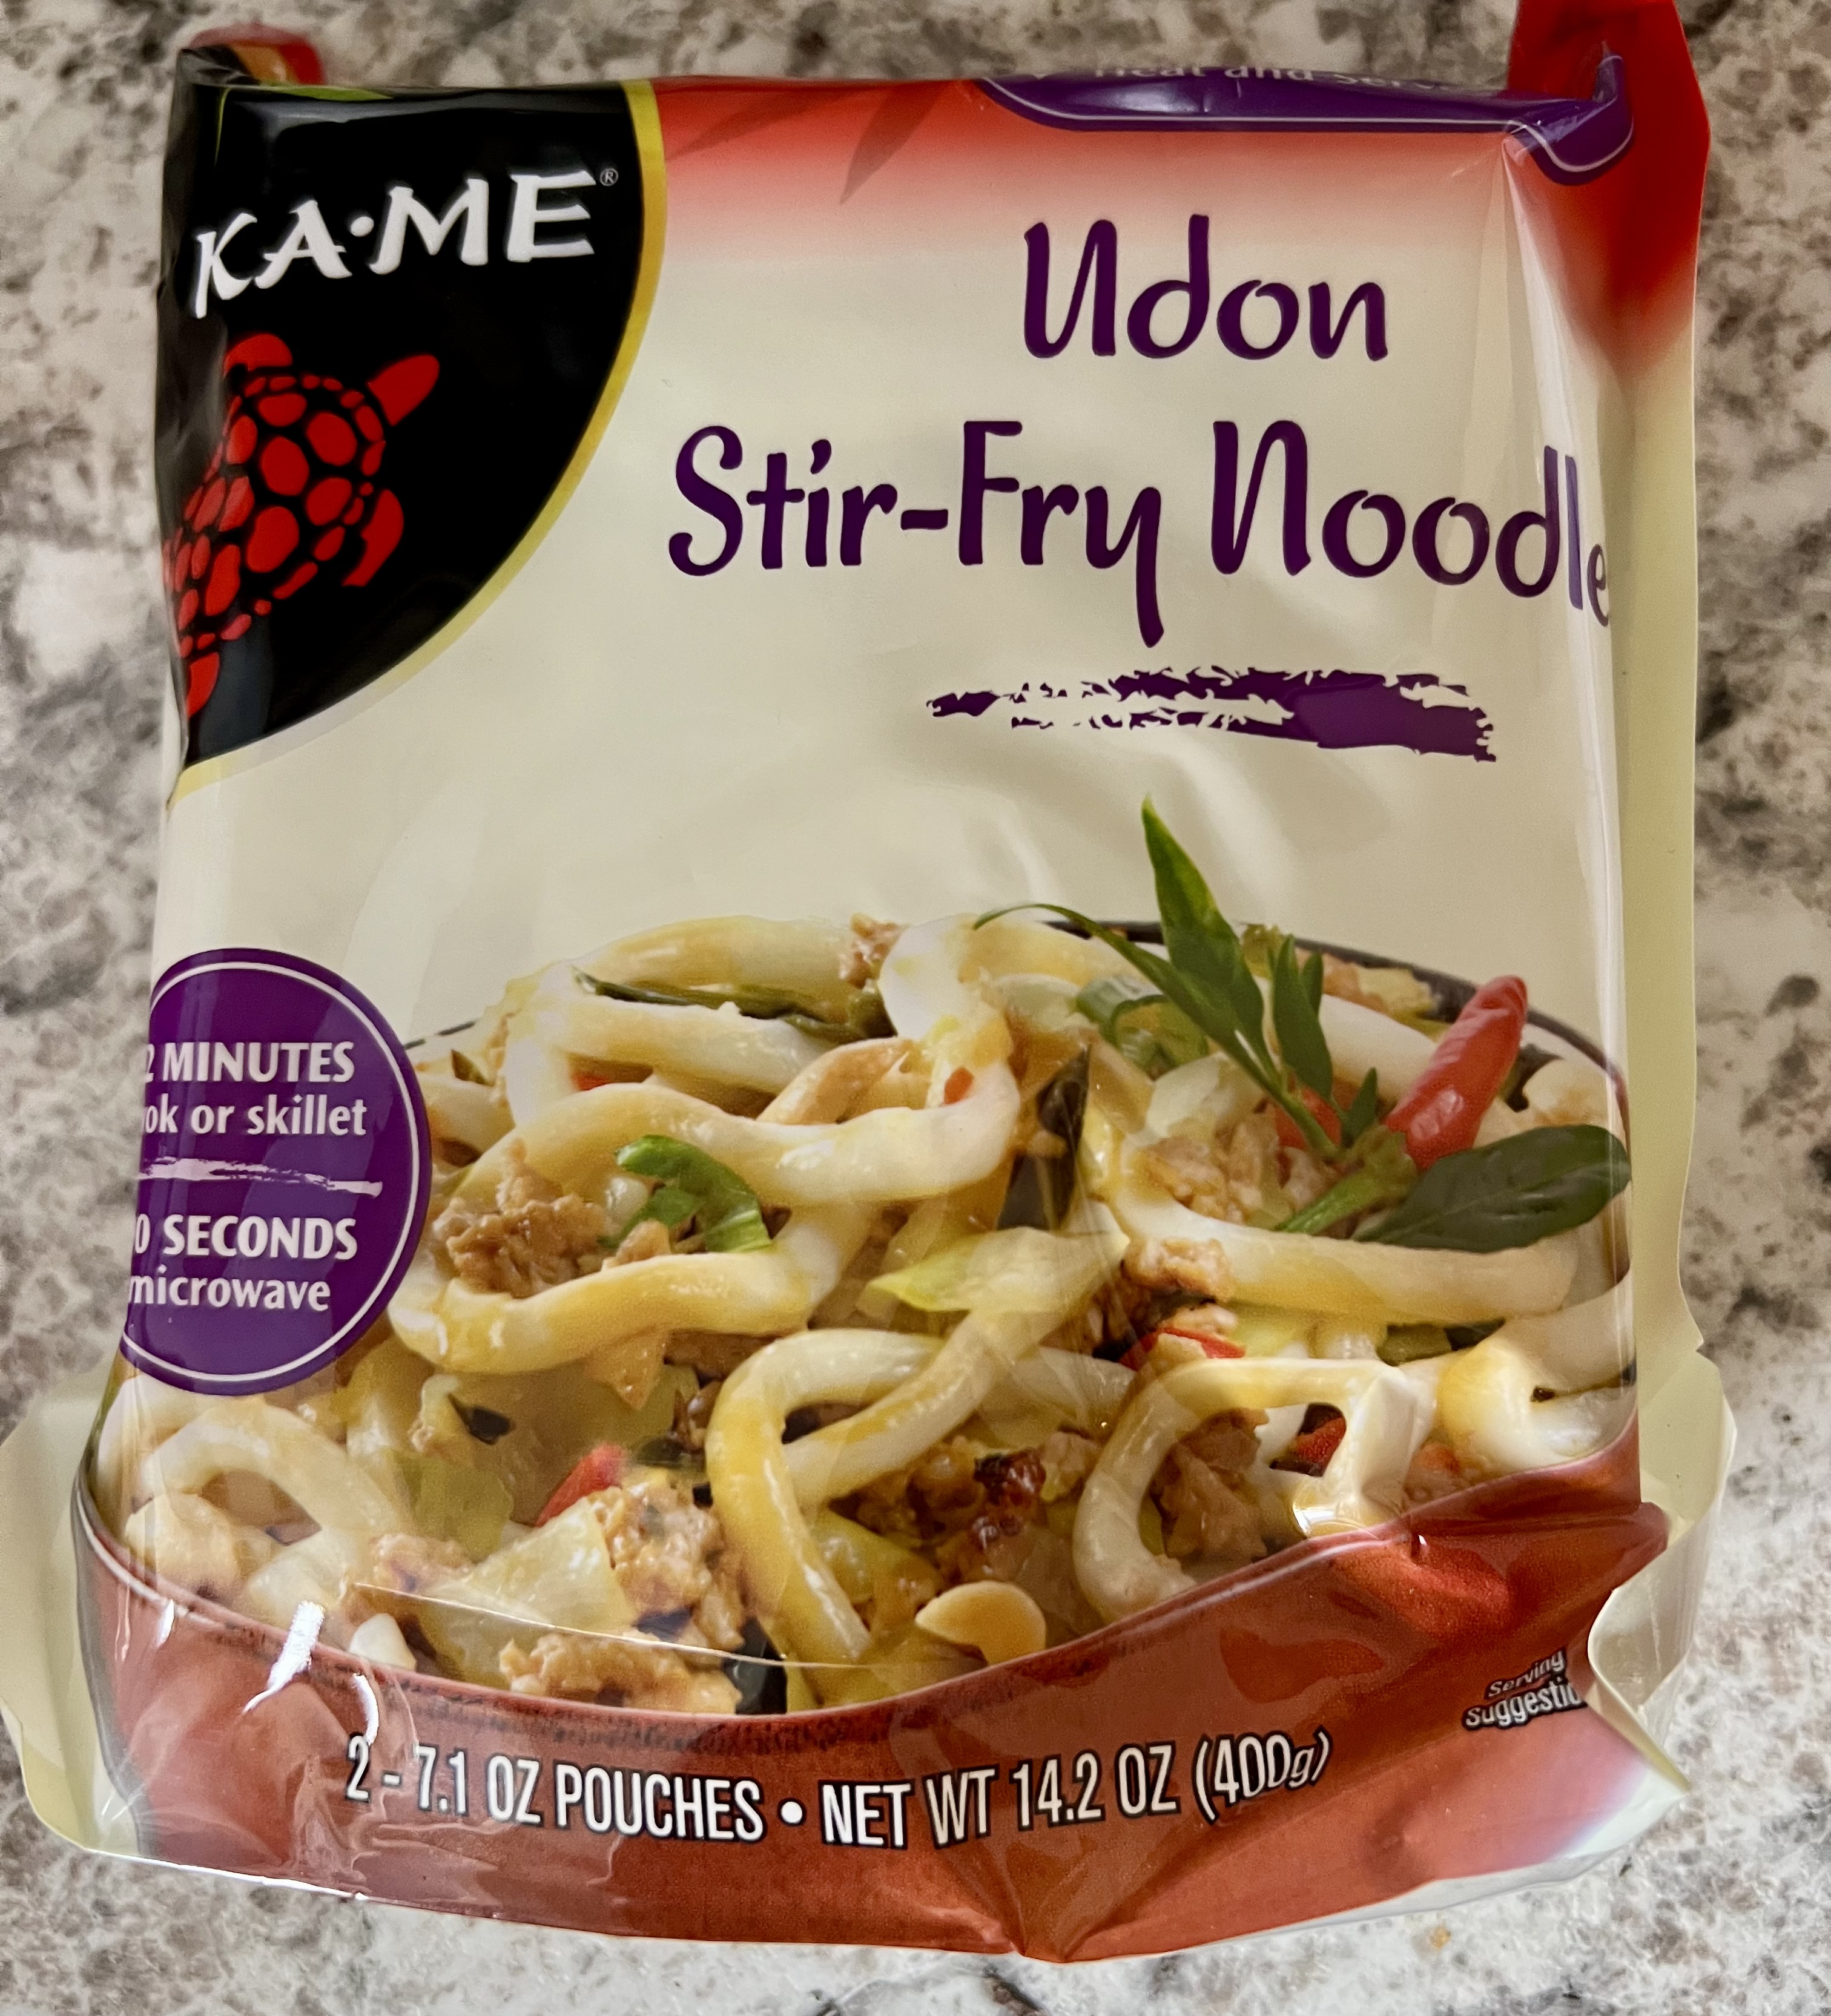
This time, I used Udan noodles for this dish (by my daughter’s request) and I found a brand that simply needed to be microwaved for 90 seconds before using.
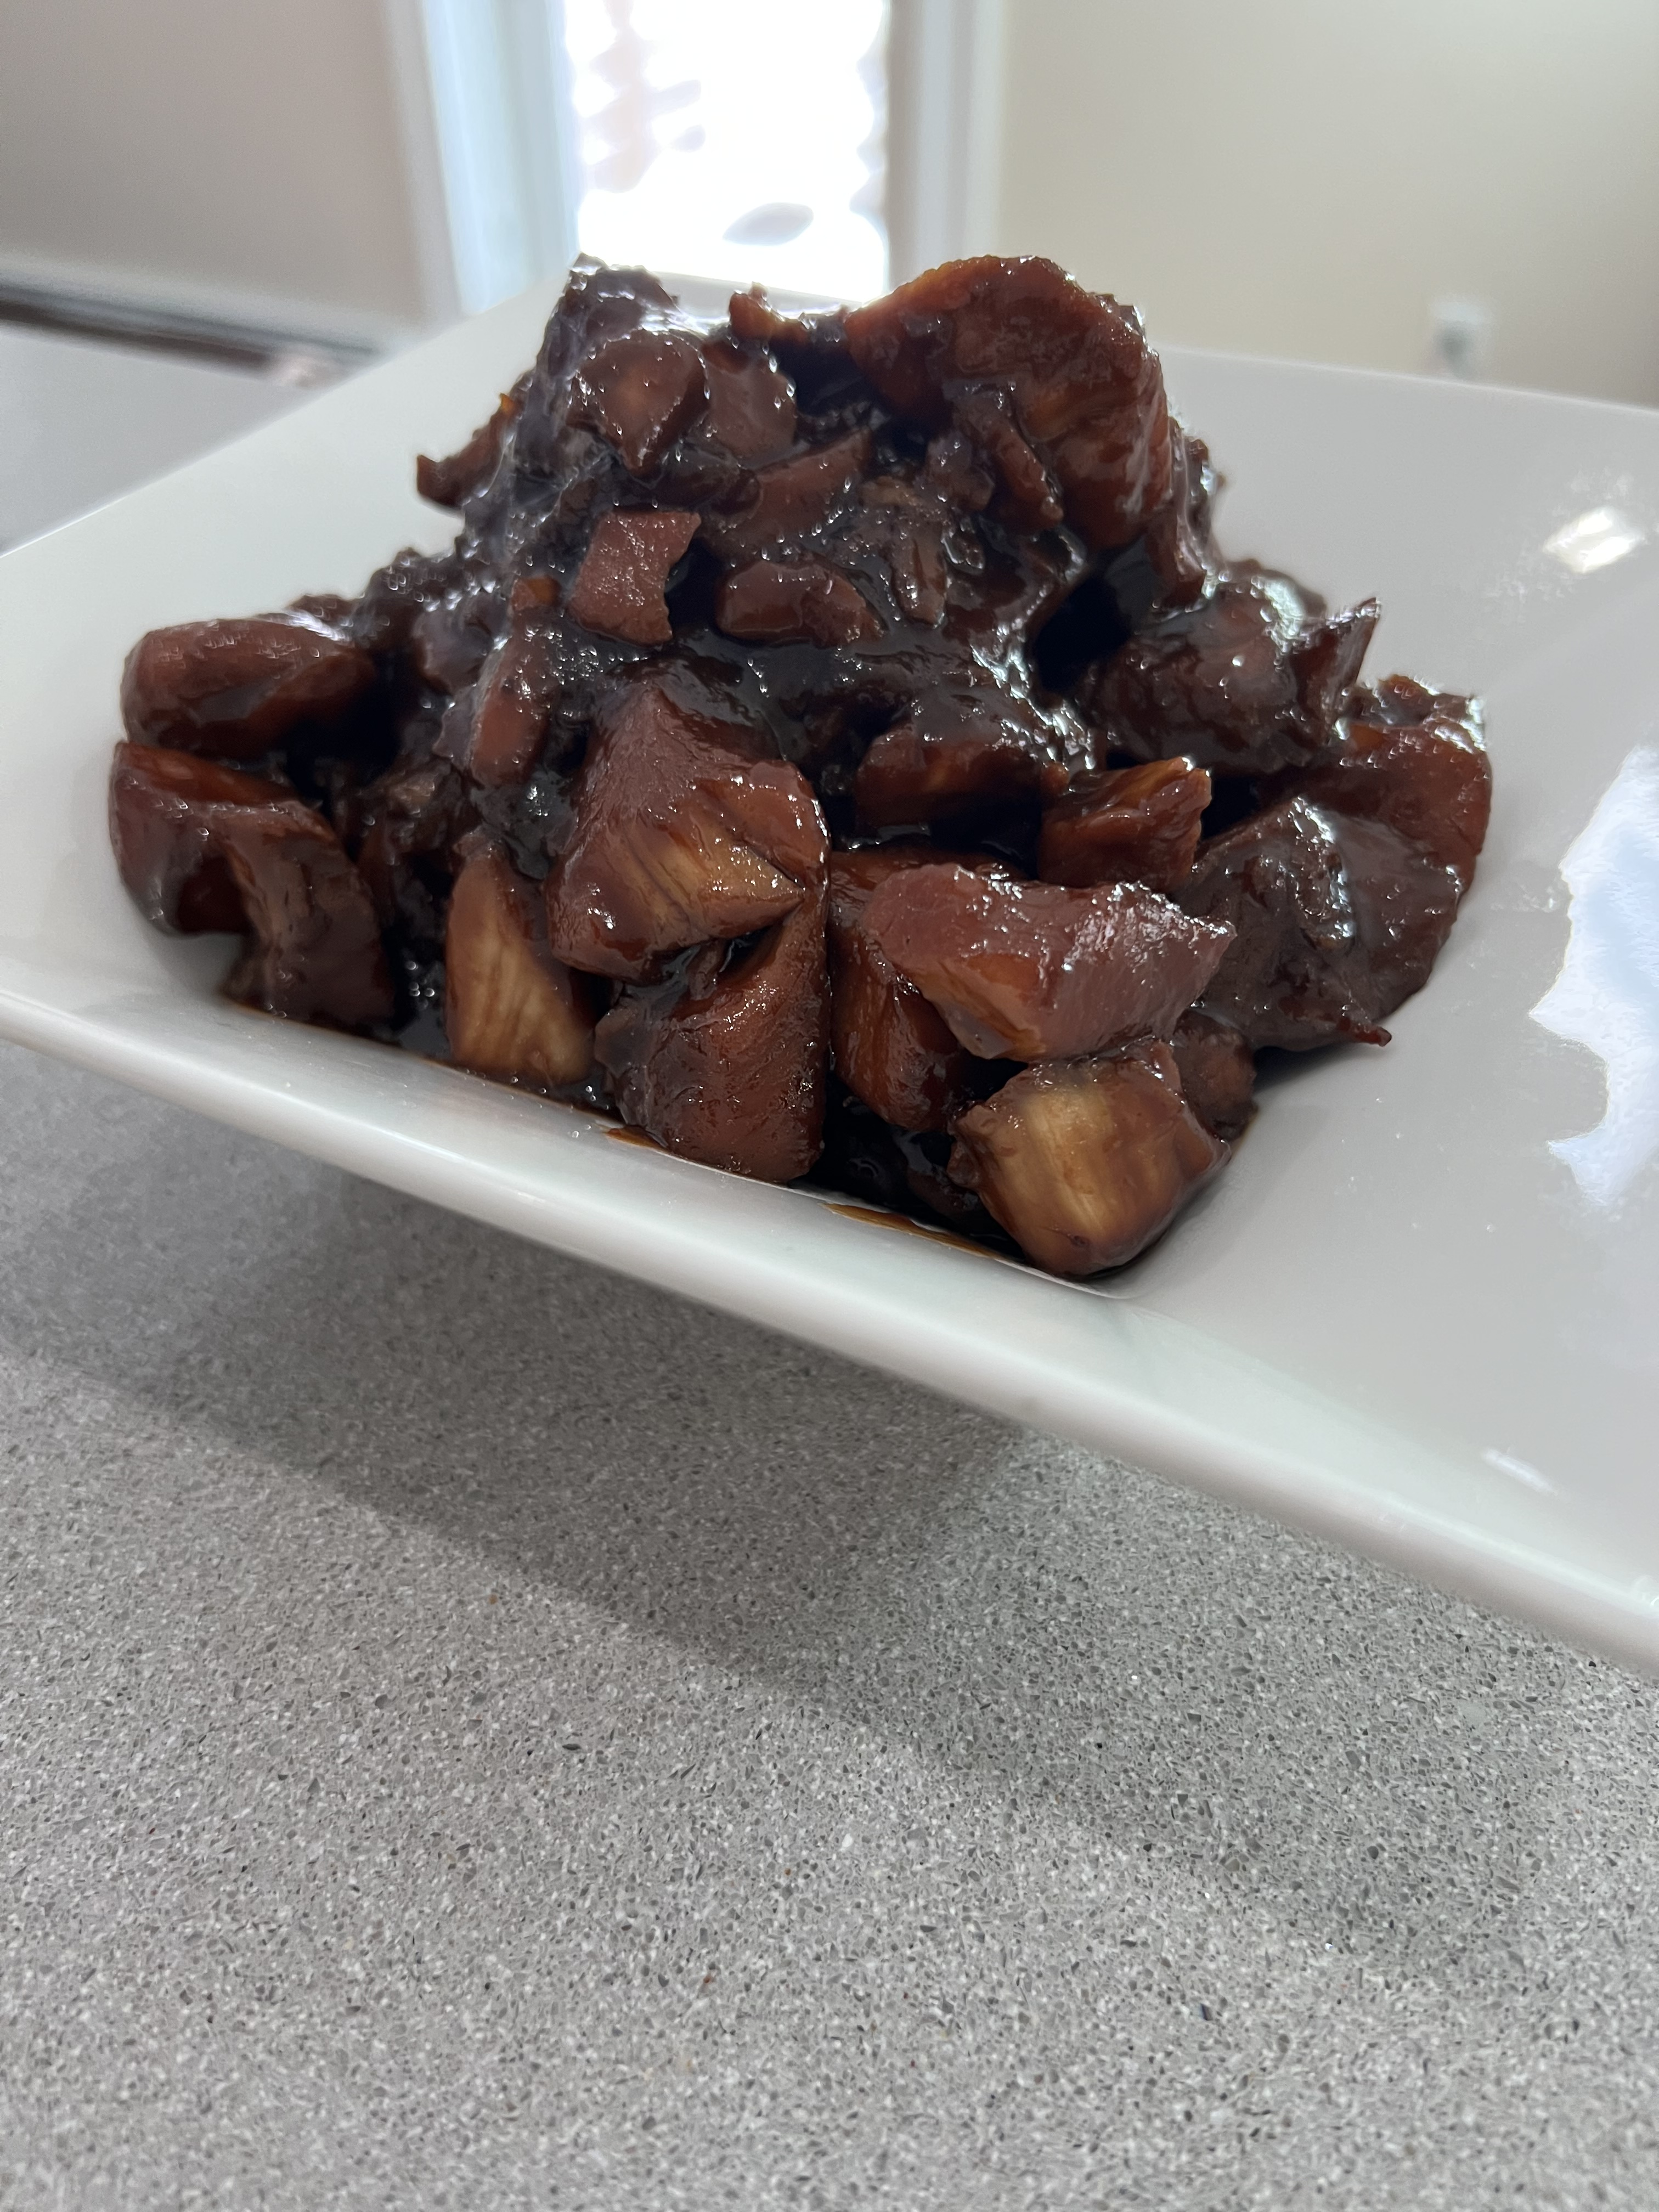
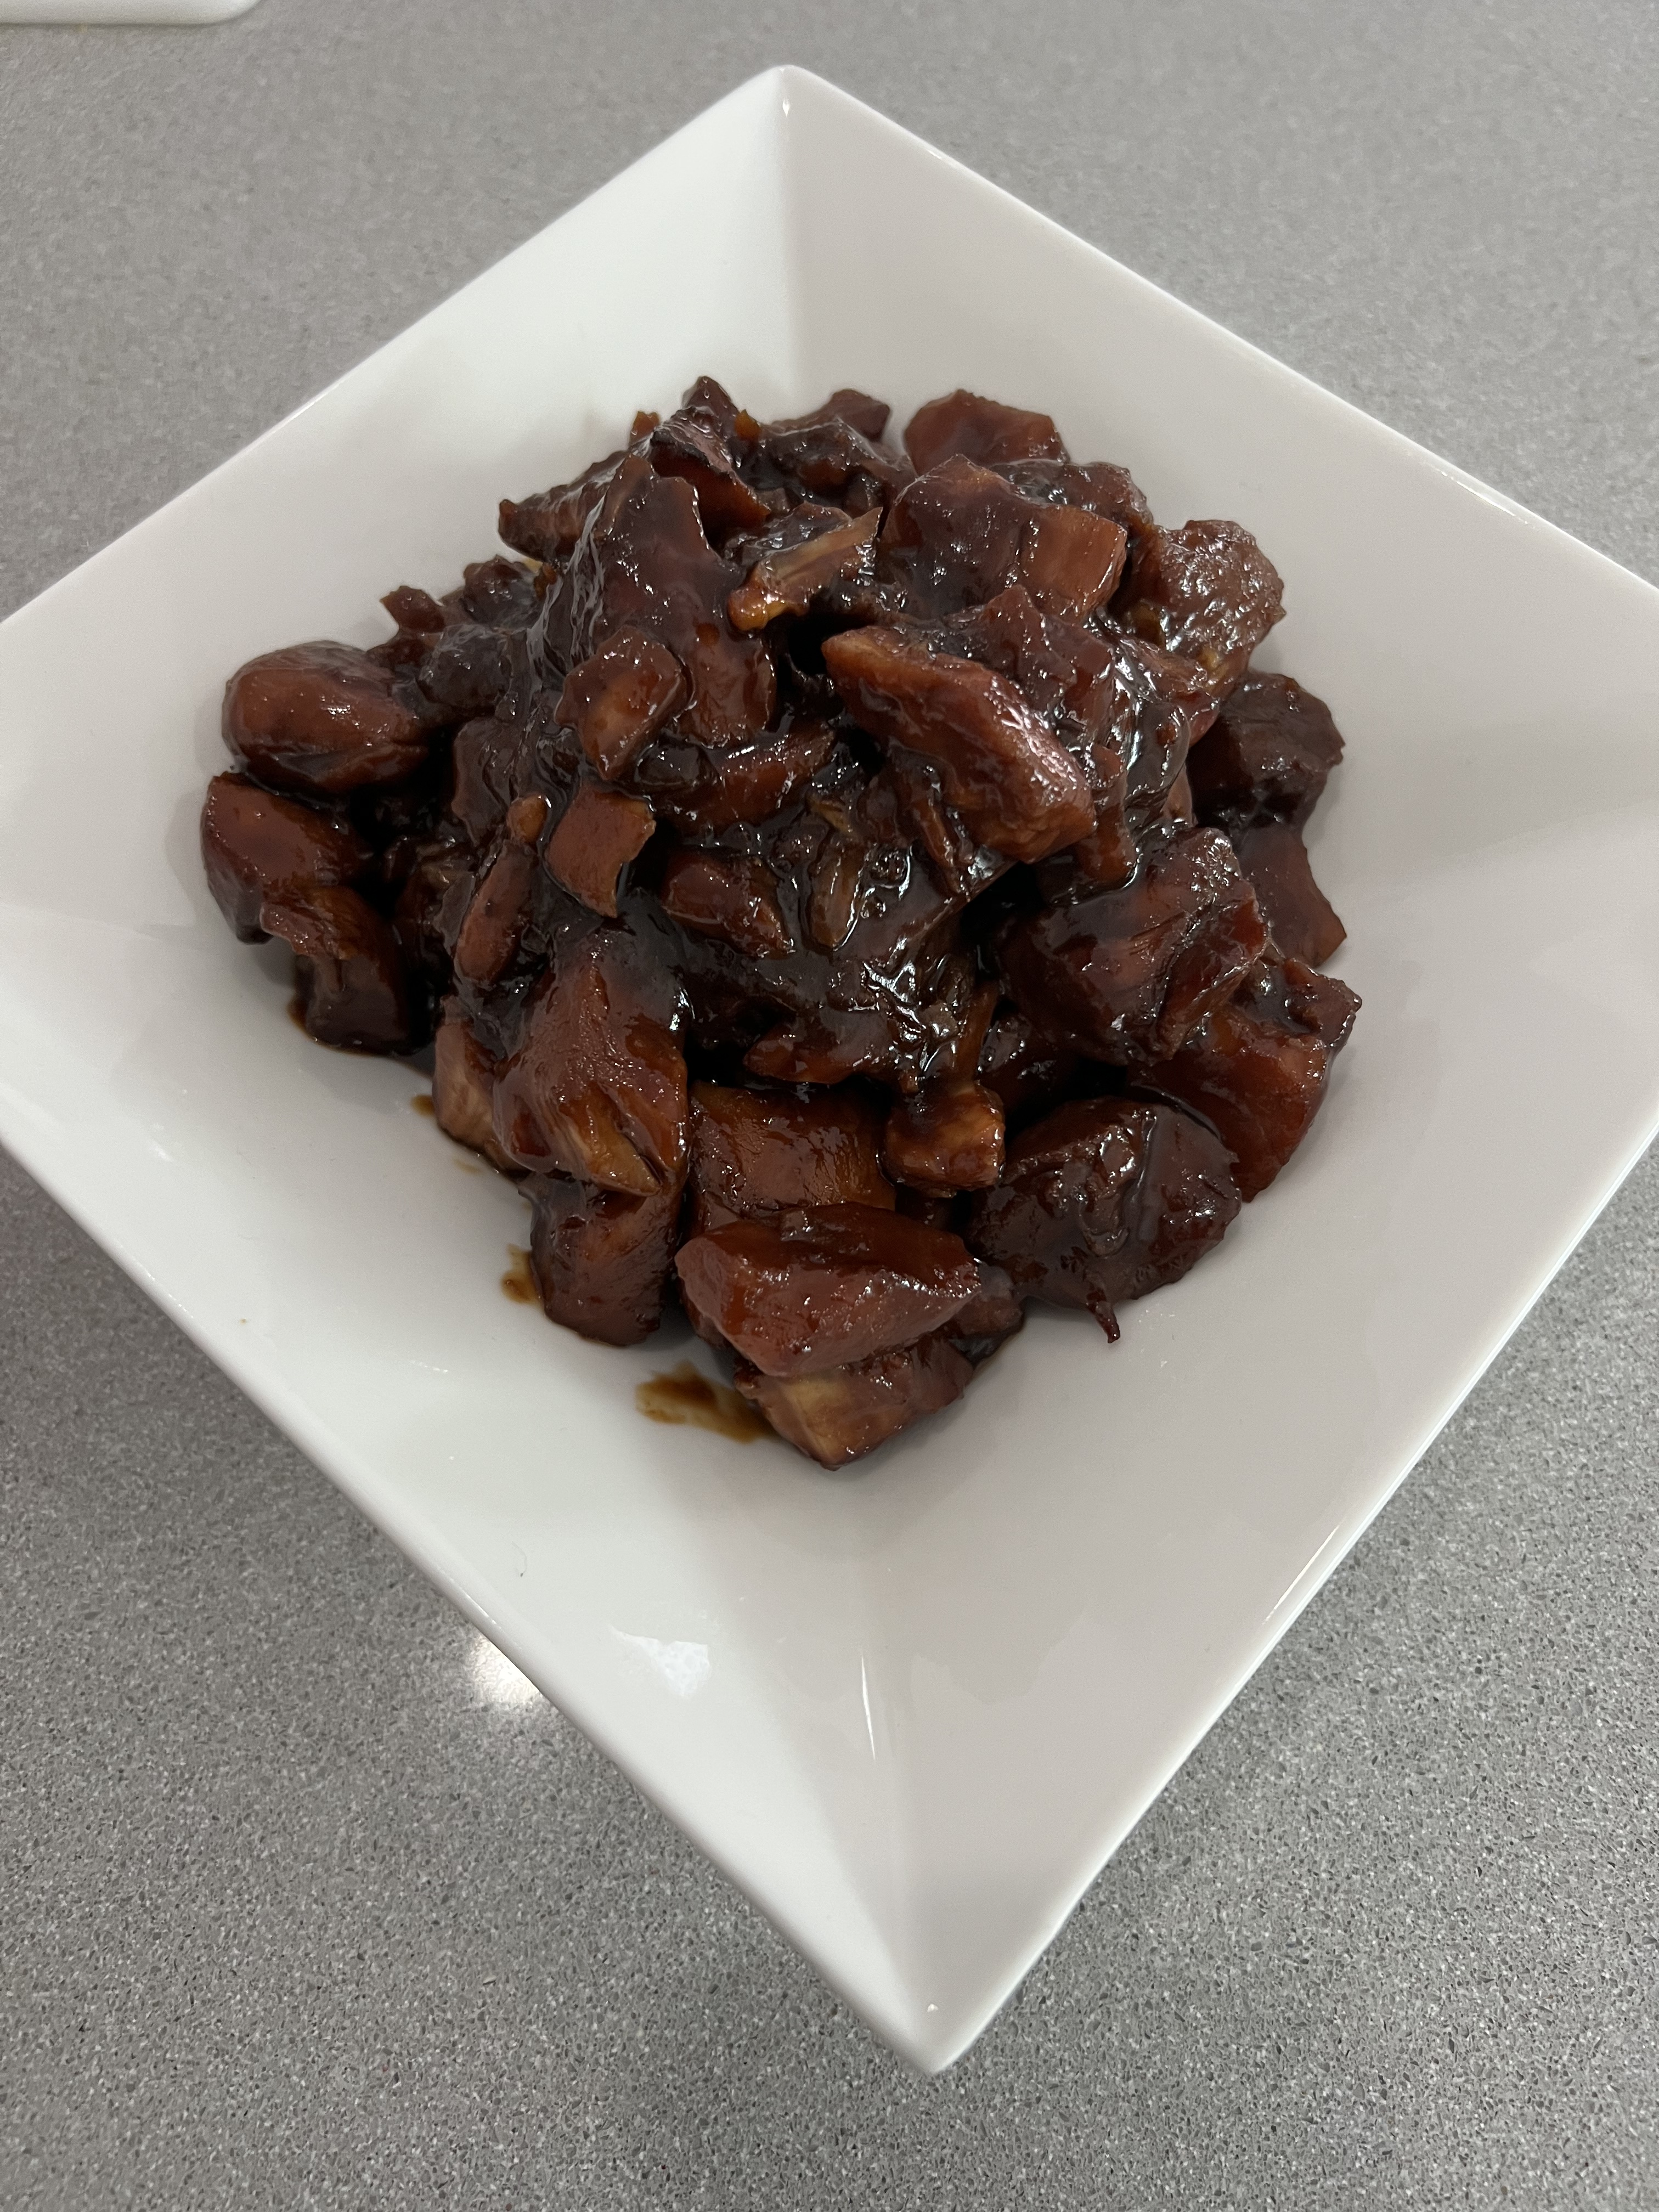
So once we were ready to eat, I put a little avocado oil in a hot pan and seared the chicken that was marinating, getting some nice caramelization on the meat. Toward the end, I threw in the snap peas and broccoli just to heat them up. I tossed it all into a large bowl.

I heated the Udon noodles in the microwave and tossed them in the bowl.
I added the bean sprouts to the bowl, and then a generous supply of the peanut sauce mixture, as above.
I really gave it all a good mix before serving it in bowls, with a garnish of fresh cilantro on top.