Posts Tagged ‘recipes’

It’s been a few years since I visited New Orleans, and it was great to see that many of the old food destinations were still there: the Napoleon House, Café Dumonde, Acme Oyster House, and across the street from it: Felix‘s Oyster House.

My friend, Rick, told me I had to try the char-grilled oysters at Felix‘s. He hadn’t been there, but he read a lot about them and they were supposed to be amazing.  Well, that’s all the encouragement I needed, and I made a beeline to Felix’s that very day.

When you think about it, it’s no great culinary feat to grill an oyster. But yet, I never thought of doing it on my own. The dozen oysters I devoured that day were buttery, garlicky, with a hint of char and smoke that made them absolutely delicious, quite easily the best oysters I’ve ever had in my life.

I knew that as soon as I came home from this trip, I would have to try to make these myself. I have to say I came pretty darn close!

If you don’t use a charcoal or wood fire to make these, you’re simply leaving out one of the most important ingredients to the entire recipe. A gas grill or a kitchen stove can cook an oyster, but the only way you can take it to the next level is by putting it on open flame, a wood-burning flame.

This recipe is good for about a dozen oysters. Using gluten-free breadcrumbs makes this recipe gluten-free.

The first step is to get your hardwood charcoal fire started. I use a charcoal chimney and newspaper–never any lighter fluid.

Once the coals are lit, head to the kitchen…

4 tablespoons salted butter
2 tablespoons minced garlic
2 tablespoons fresh Italian parsley, finely chopped
2 tablespoons Parmesan cheese, grated (I use Parmigiano Reggiano)
4 tablespoons breadcrumbs


Combine the butter, garlic, parsley, and cheese in a sauté pan over medium heat. All you’re looking to do is to melt the butter, so once it’s melted, take the pan off the heat and this mix is ready to use.

Shuck your dozen oysters. Remember: they will shrink a little bit while cooking, so don’t be afraid to go for bigger ones.

Lay the opened oysters in a pan, carefully trying to preserve as much of the oyster liquor (liquid) in each shell as possible.

When the hardwood charcoal has heated up, and you’ve spread the coals evenly on your grill, you are ready to cook the oysters. You want the grill to be hot.

You don’t need to put the oysters directly on the hardwood charcoal. Putting a grill over the coals is fine, and it keeps the oyster shells from tipping over.


Before placing the oysters on the grill, sprinkle each one with some of the breadcrumbs. Then place the oysters on the grill, being careful not to burn your hands! 


Using a spoon, pour some of the butter mixture into each oyster shell. It will flame up! That’s OK. Use up the entire butter mixture for all 12 oysters.


The oysters are ready when you see that golden brown color all around the edges of the oyster shell, when most of the liquid in the shell has evaporated. Don’t let them dry out completely.

Using tongs, remove the oysters from the flame and enjoy! Just be careful…they can be lava hot!

When my daughter hangs out with me, I always ask her what she wants me to cook for her, and there are a few “Dad” recipes that are her favorites. This is one of them, especially when fresh asparagus is available. And as any parent will tell you, if your kid is craving a dish that has vegetables in it, count yourself lucky–and make it!!
Prepping asparagus is easy, and you don’t need a knife to cut off the woody bottoms of the stalks. Simply bend the stalks at the bottom and they will naturally snap off at the right point.
4 mild Italian sausages, sliced into pieces 1/2″ thick
1 lb. penne pasta
1/2 onion, finely chopped
1 cup chopped fresh trumpet mushrooms (white button mushrooms work, too), optional
2 cups fresh asparagus, sliced into 1-inch pieces
1 clove garlic, passed through a garlic press
1 cup homemade chicken broth
6 fresh sage leaves, finely chopped
1/2 cup freshly grated Parmigiano Reggiano cheese
extra virgin olive oil
salt and pepper
Have the pasta water salted and boiling, and add the pasta, cooking until just a bit more undercooked than al dente.
Heat a large pan, and drizzle in some olive oil. Sauté the sausage pieces until browned and cooked through, but not overcooked. Remove the sausages from the pan and place them in a separate bowl. Remove all but 2 tablespoons of the fat left behind in the pan.
Place the pan back on stove and sauté the onion until translucent. Add the garlic, and sauté for 10 seconds. Add the sage, and saute for 10 seconds, stirring. Add the chopped mushrooms and saute for a few minutes, then add the chicken broth, and simmer until almost all the liquid has evaporated. Pour the contents of the pan into the bowl with the sausages.
Return the pan to the stove, add a little more olive oil, and on medium heat, sauté the asparagus pieces. Cook them until they are al dente, not too soft. Once the asparagus has reached this stage, return all the contents of the sausage/mushroom bowl to the pan to heat through. Drain the pasta, and add it to the pan as well, combining all the ingredients. If it looks too dry, add a little pasta water to the pan. Season with salt and pepper.
Make sure you serve this hot, with grated Parmigiano Reggiano on top, and drizzle lightly over the top with extra virgin olive oil.

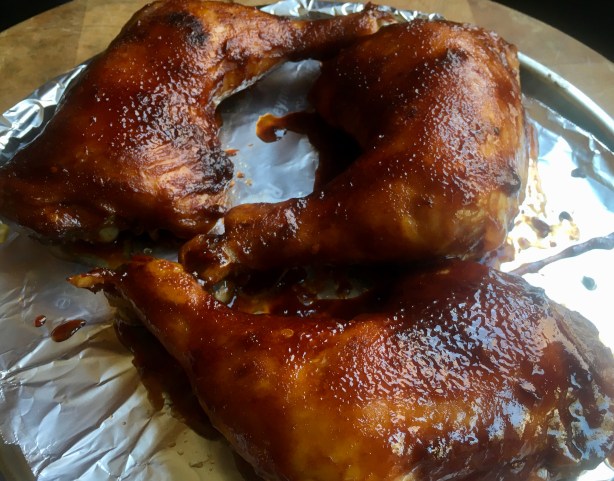
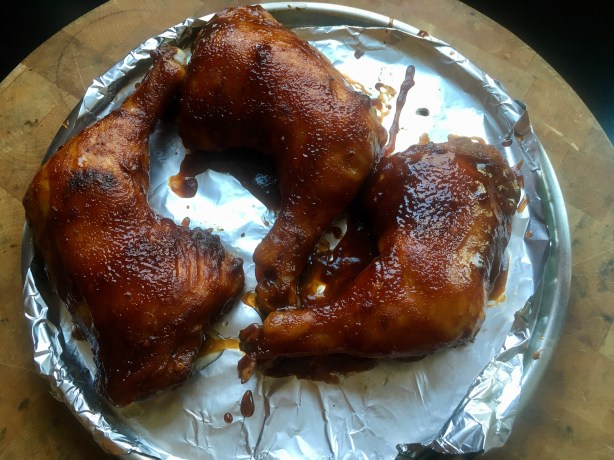
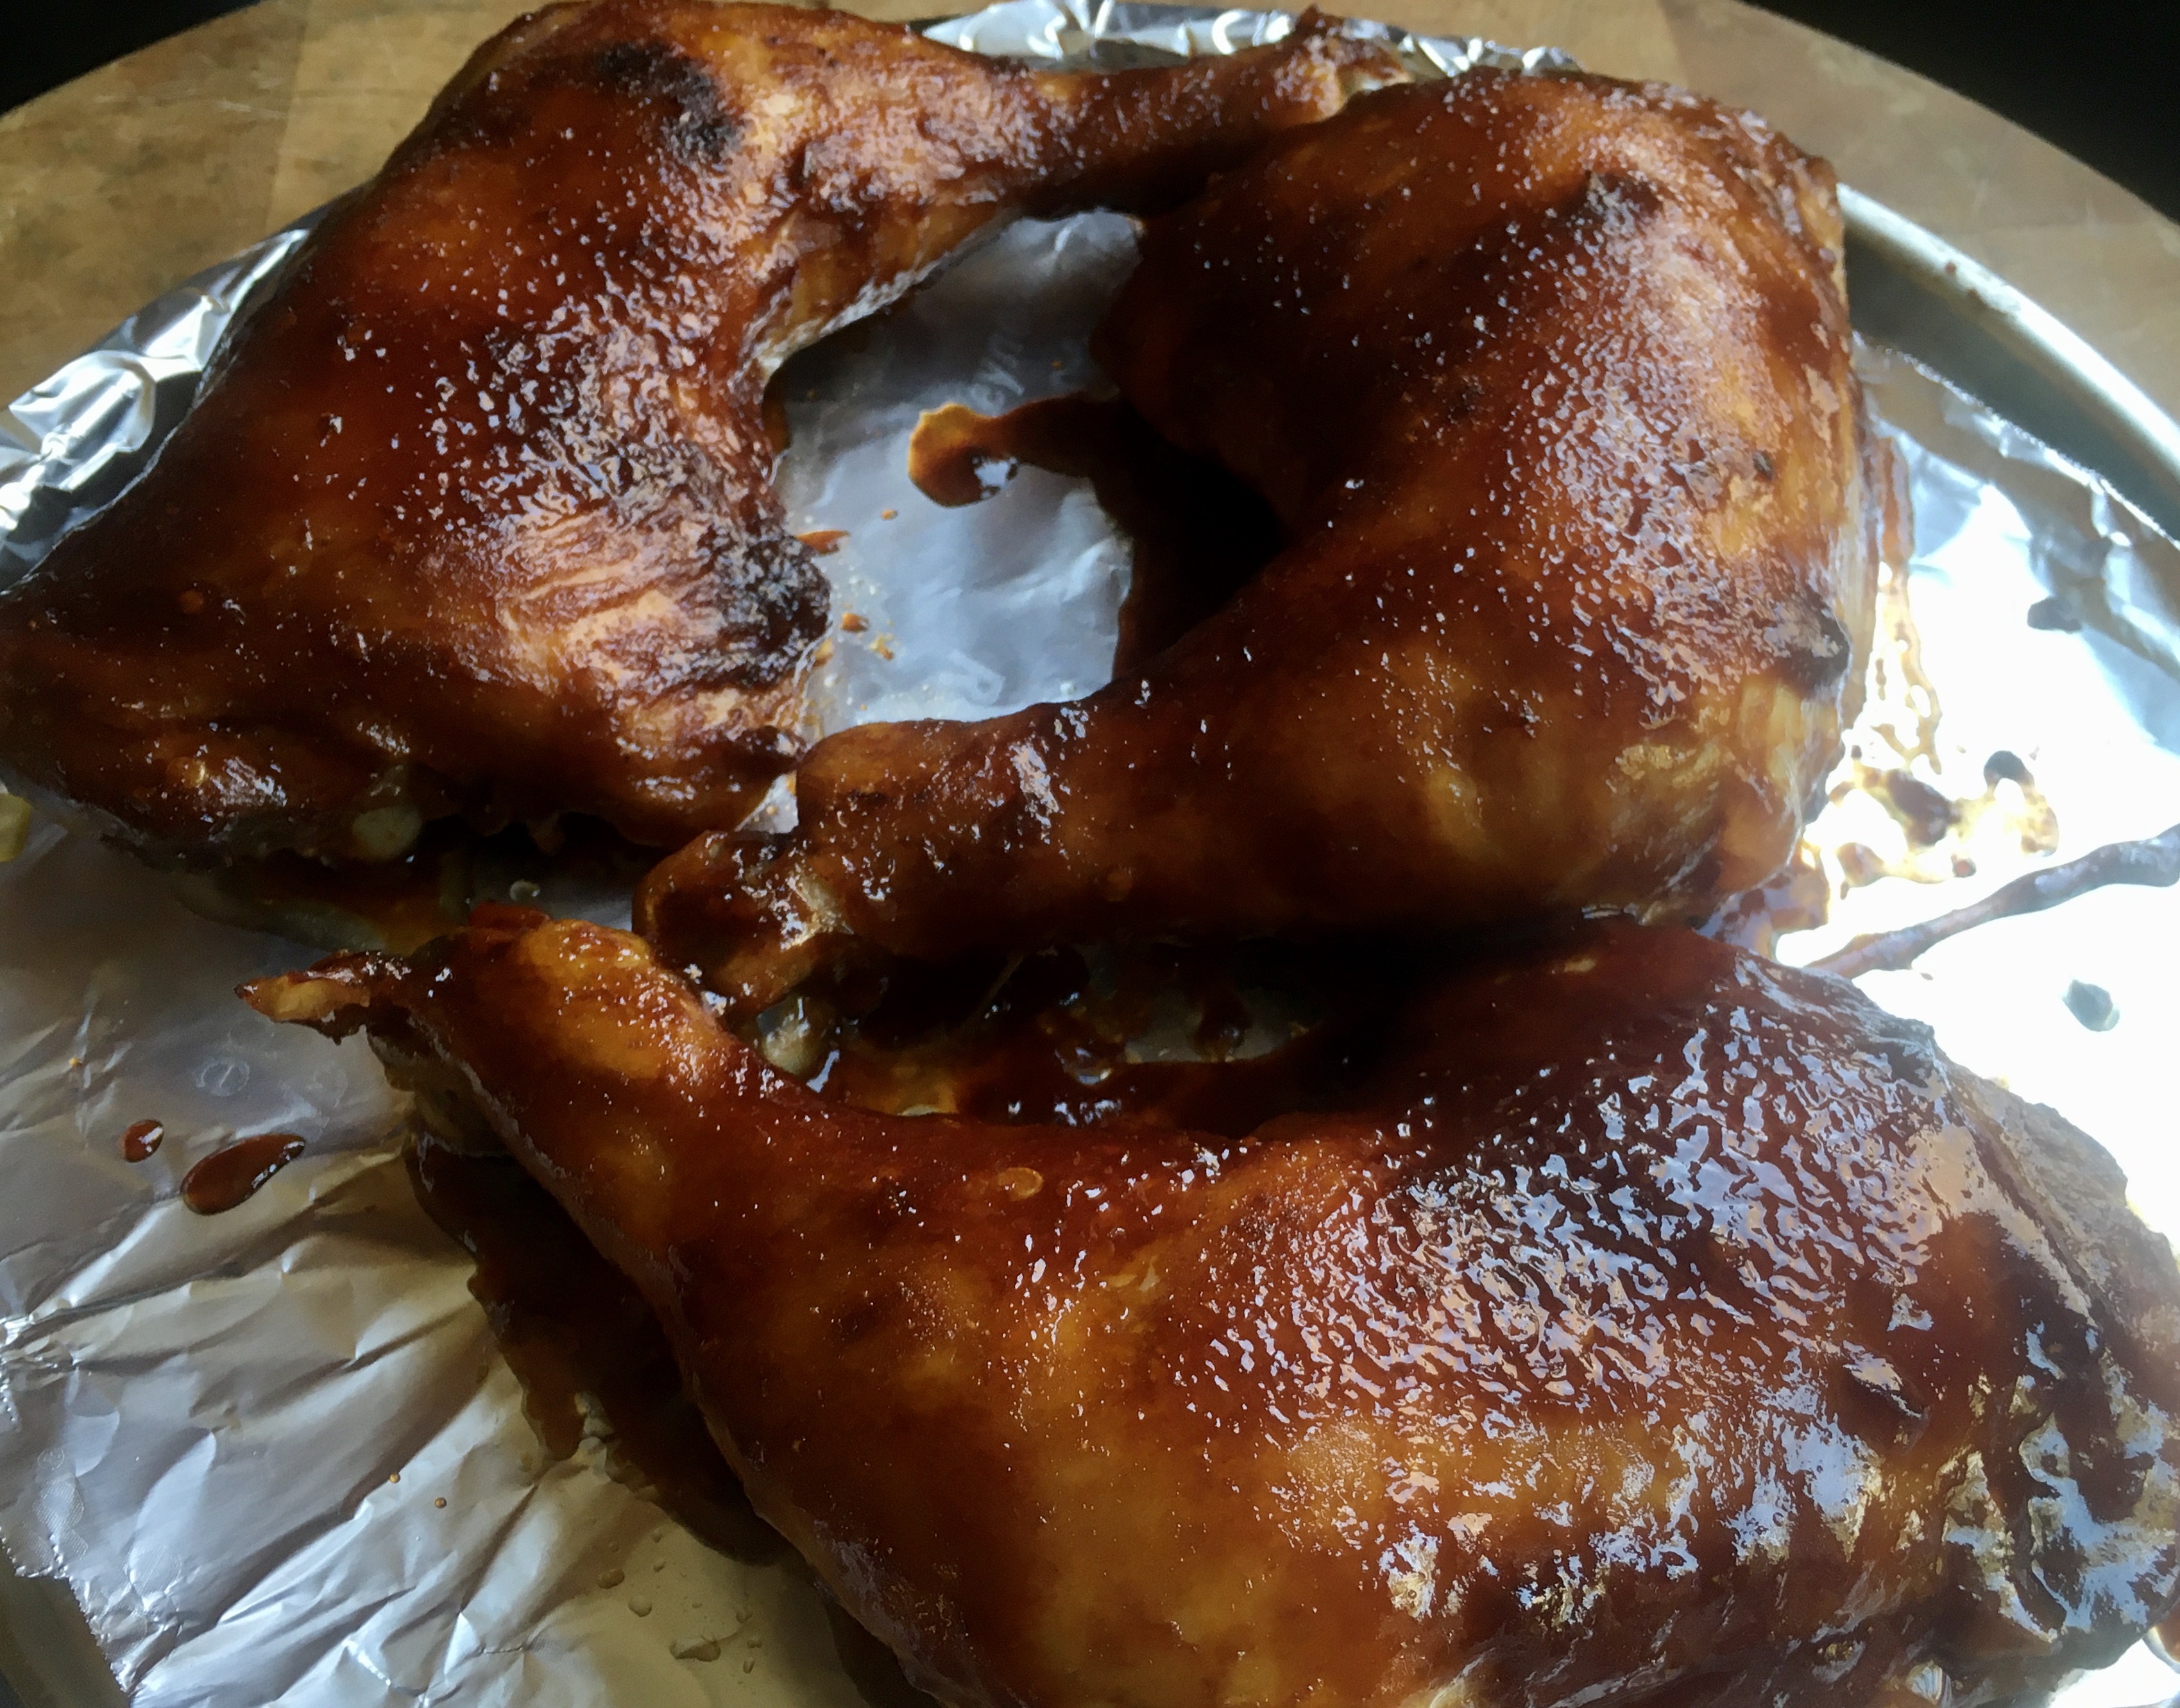
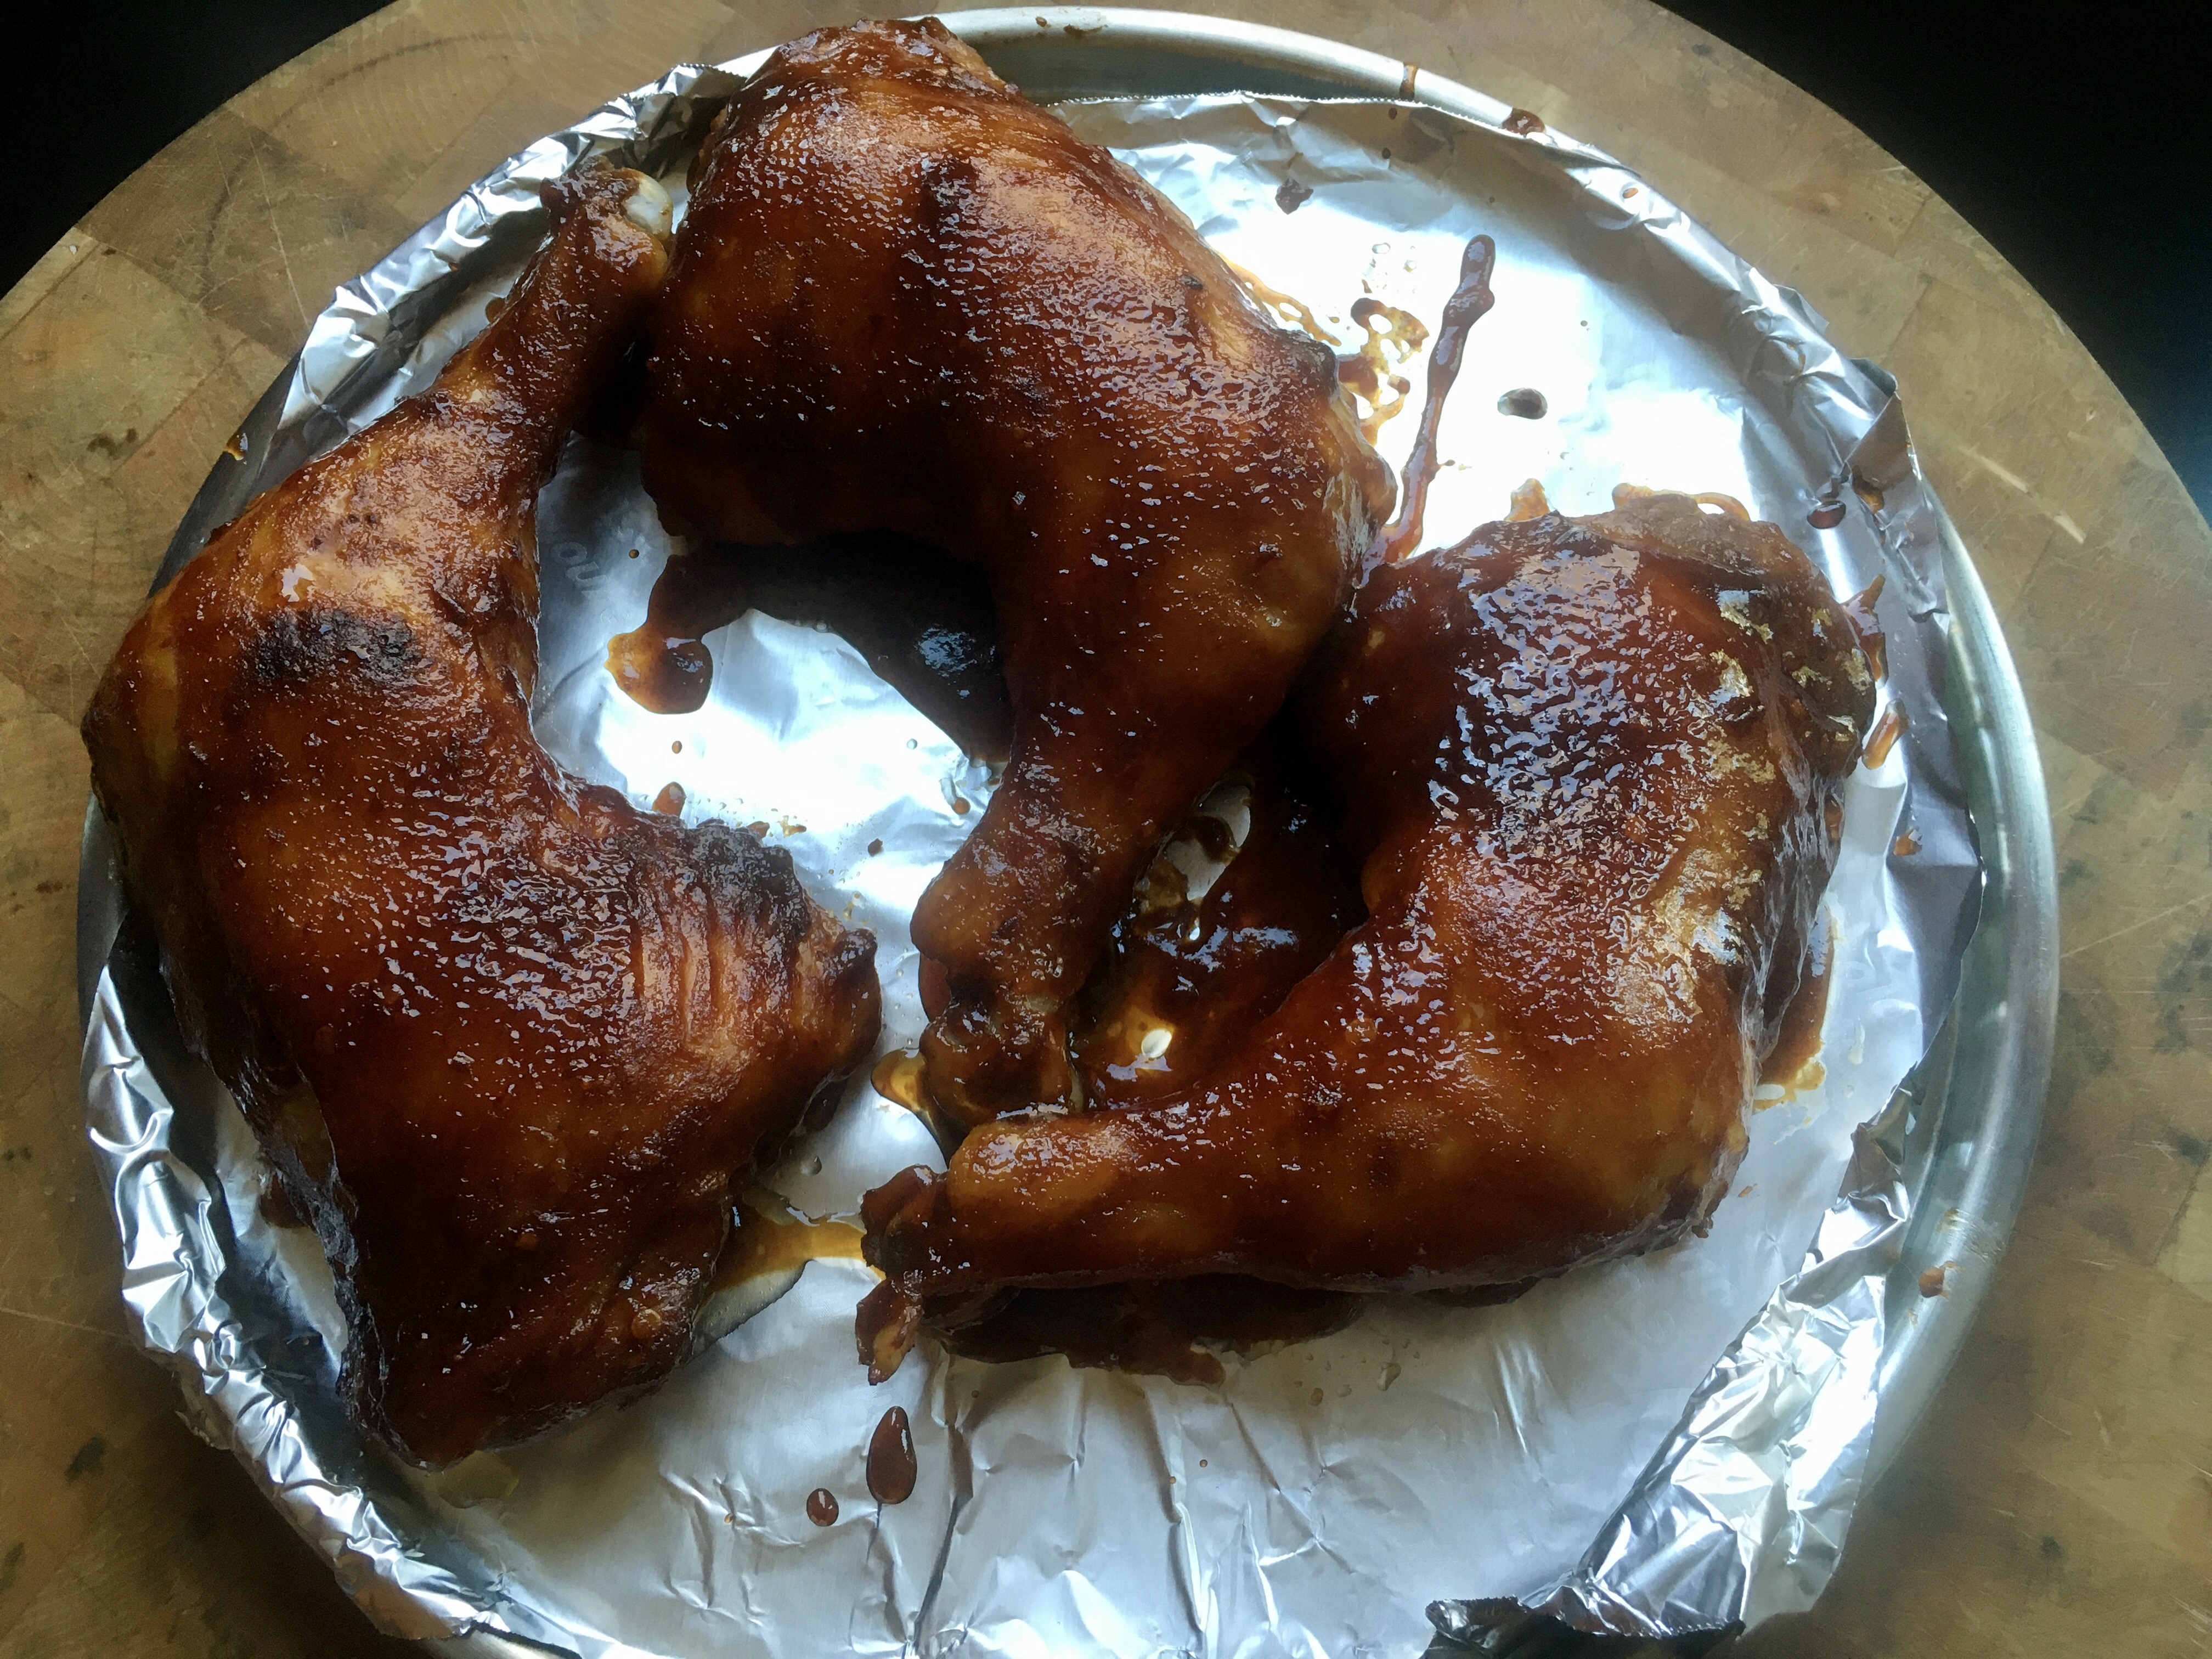
Chicken thighs are the best: their fat content makes them perfect for the grill because they don’t dry out like chicken breasts do. And I always leave the skin on for extra crispy flavor. I bought a package of chicken thighs the other day and decided to go Asian with my flavors, baking them in the oven so that they cook evenly, and then finishing them off on the grill to get that delicious smokey flavor and char.

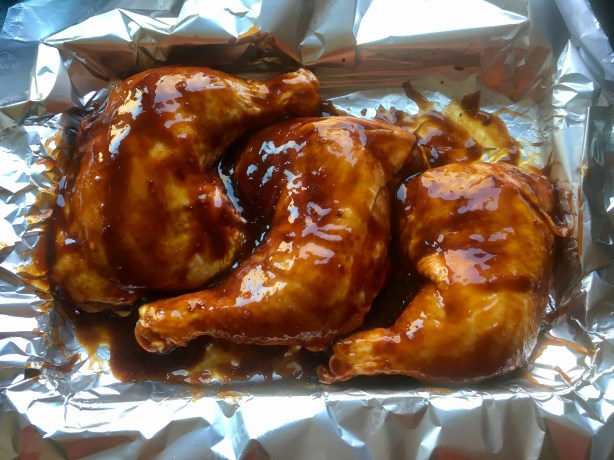
I marinated the chicken thighs in the sauce for several hours before cooking. If you have the opportunity to marinate them overnight in the fridge, that’s even better. Just remember that if you want to use the marinade as a dipping sauce later on, divide it in half from the very beginning. Use half to marinate the chicken, and save the other half for later. If any of the marinade touches raw chicken, you can’t use it as a dipping sauce. (Salmonella!) So keep them separated.


3/4 cup ketchup
1/2 cup soy sauce
1/2 cup hoisin sauce
1/2 cup maple syrup
1/4 cup Chinese chili garlic sauce
1/4 cup brown sugar
1 tablespoon rice vinegar
2 garlic cloves, minced

Combine all the ingredients in a bowl, mixing well. Use half of it to marinate the chicken, and save the other half for dipping sauce or brushing on to the chicken later.

The Bell & Evans chicken thighs that I bought came in a package that works perfectly for marinating. One less thing to clean up!

If you’re cooking the same day, let the chicken marinate at room temperature for three hours. If you’re marinating overnight in the fridge, let the chicken come to room temperature before cooking.


Preheat the oven to 325°.


Place the chicken thighs on a sheet pan and bake until they are cooked through.…but not overcooked. If you’re not using the grill, place them under the broiler and watch them carefully, as the sugars in the marinade could burn. Give them some nice char.

If you’re using the grill, light a fire and spread the coals so that you have a medium-hot flame. Grill the chicken thighs until they have a beautiful char on them, being careful not to burn them. Brush more of the marinade on them as they cook, if you like.

Serve the chicken thighs with the dipping sauce on the side.

When I was a kid, no visit to a Chinese restaurant was complete without an order of those sweet, greasy and radioactive red spare ribs. They came in that foil-lined bag that barely kept them warm until my dad got us home to devour them along with the other classics: fried dumplings, and won ton soup with fried won tons on the side. I still see those ribs on menus even today, and despite my cravings, I just don’t eat fire-engine-red-dyed food anymore.

Imagine my excitement when I saw a recipe for those classic spare ribs in a food magazine. I figured I’d just make them without the food coloring. It totally worked.

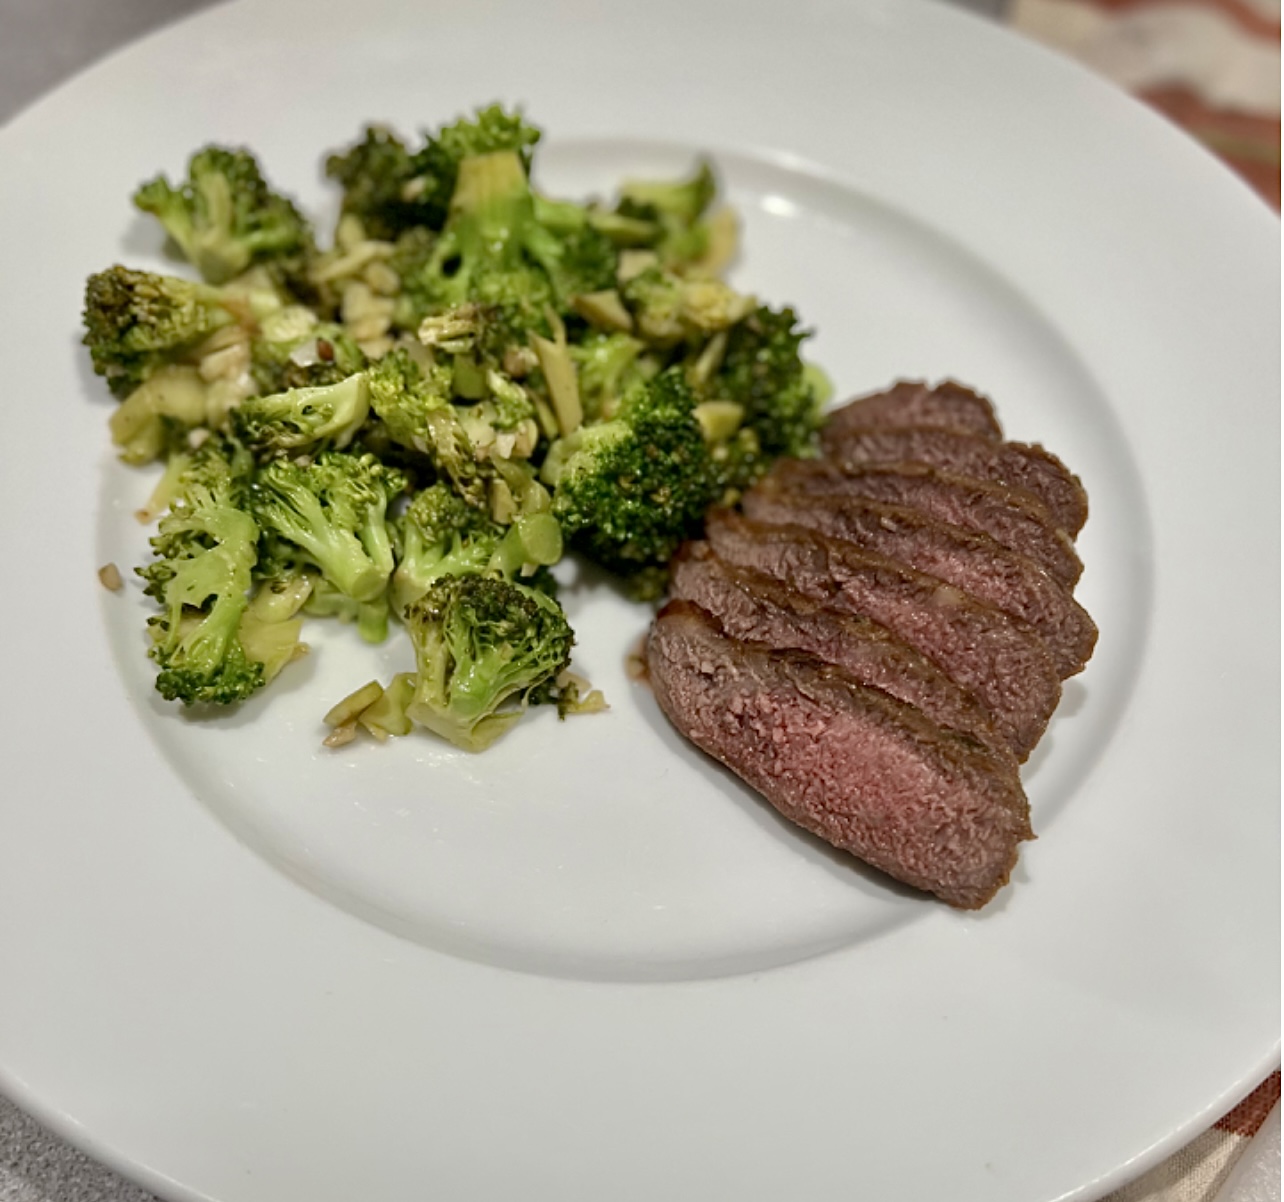
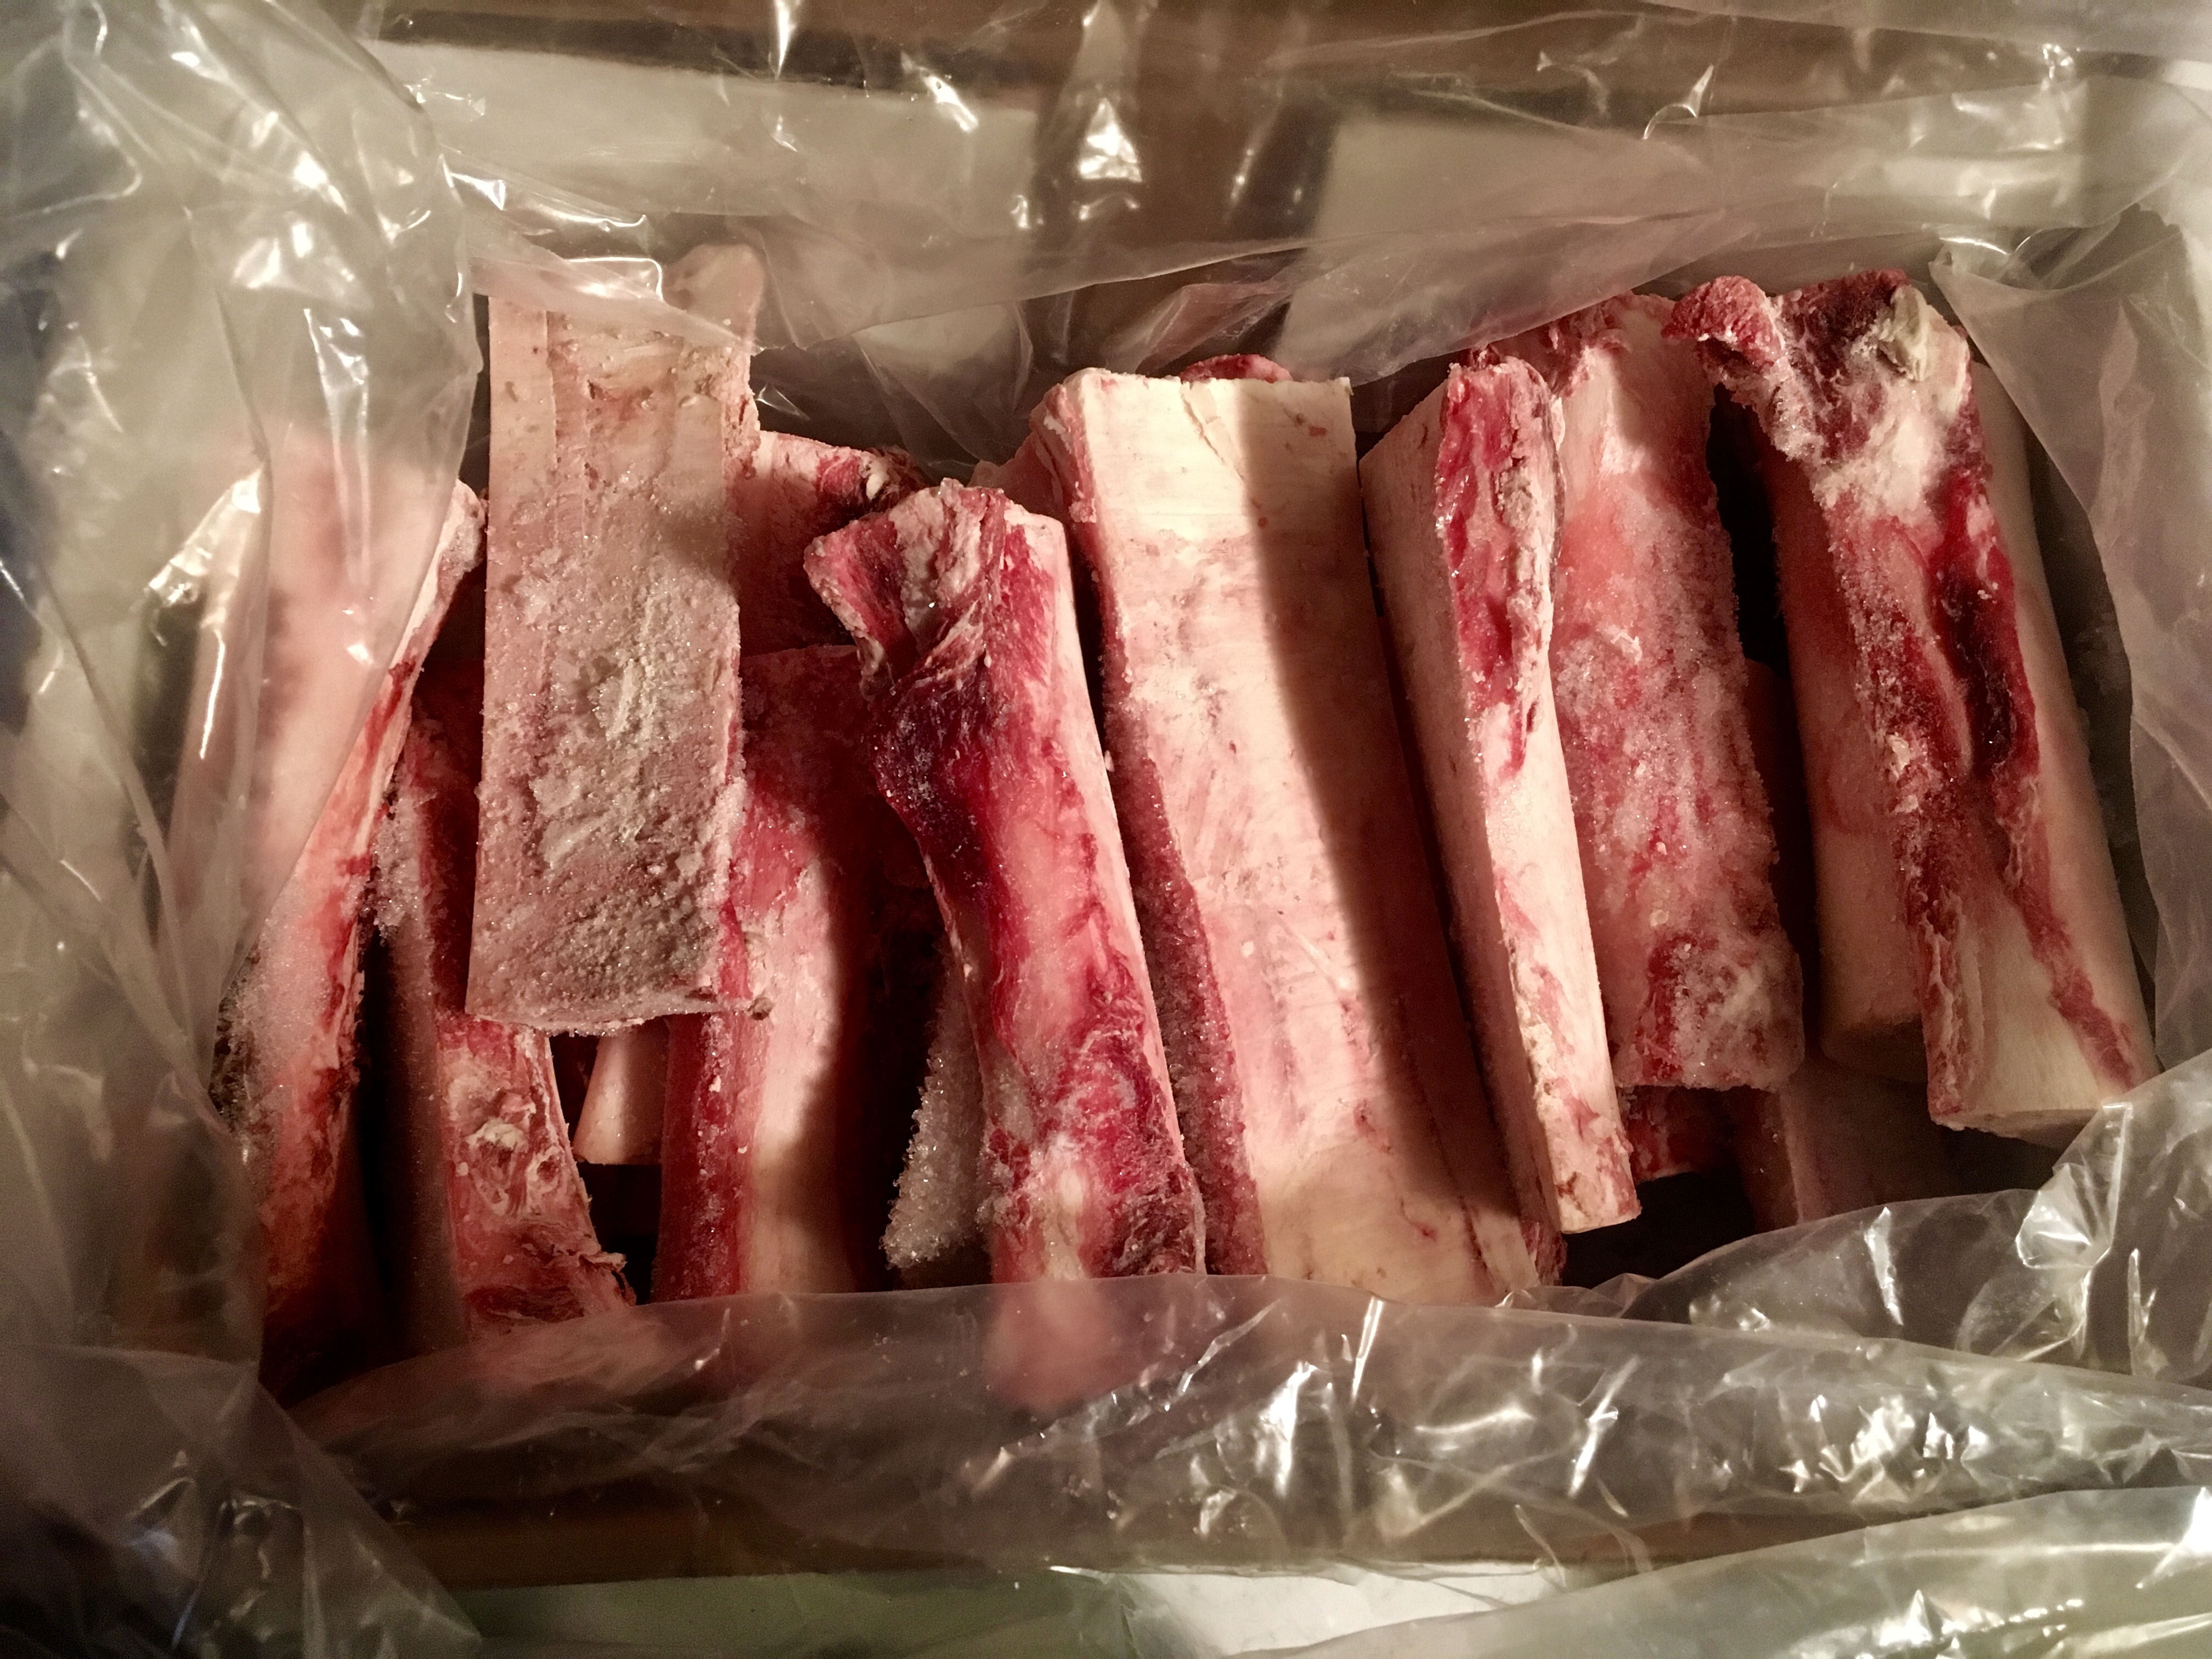
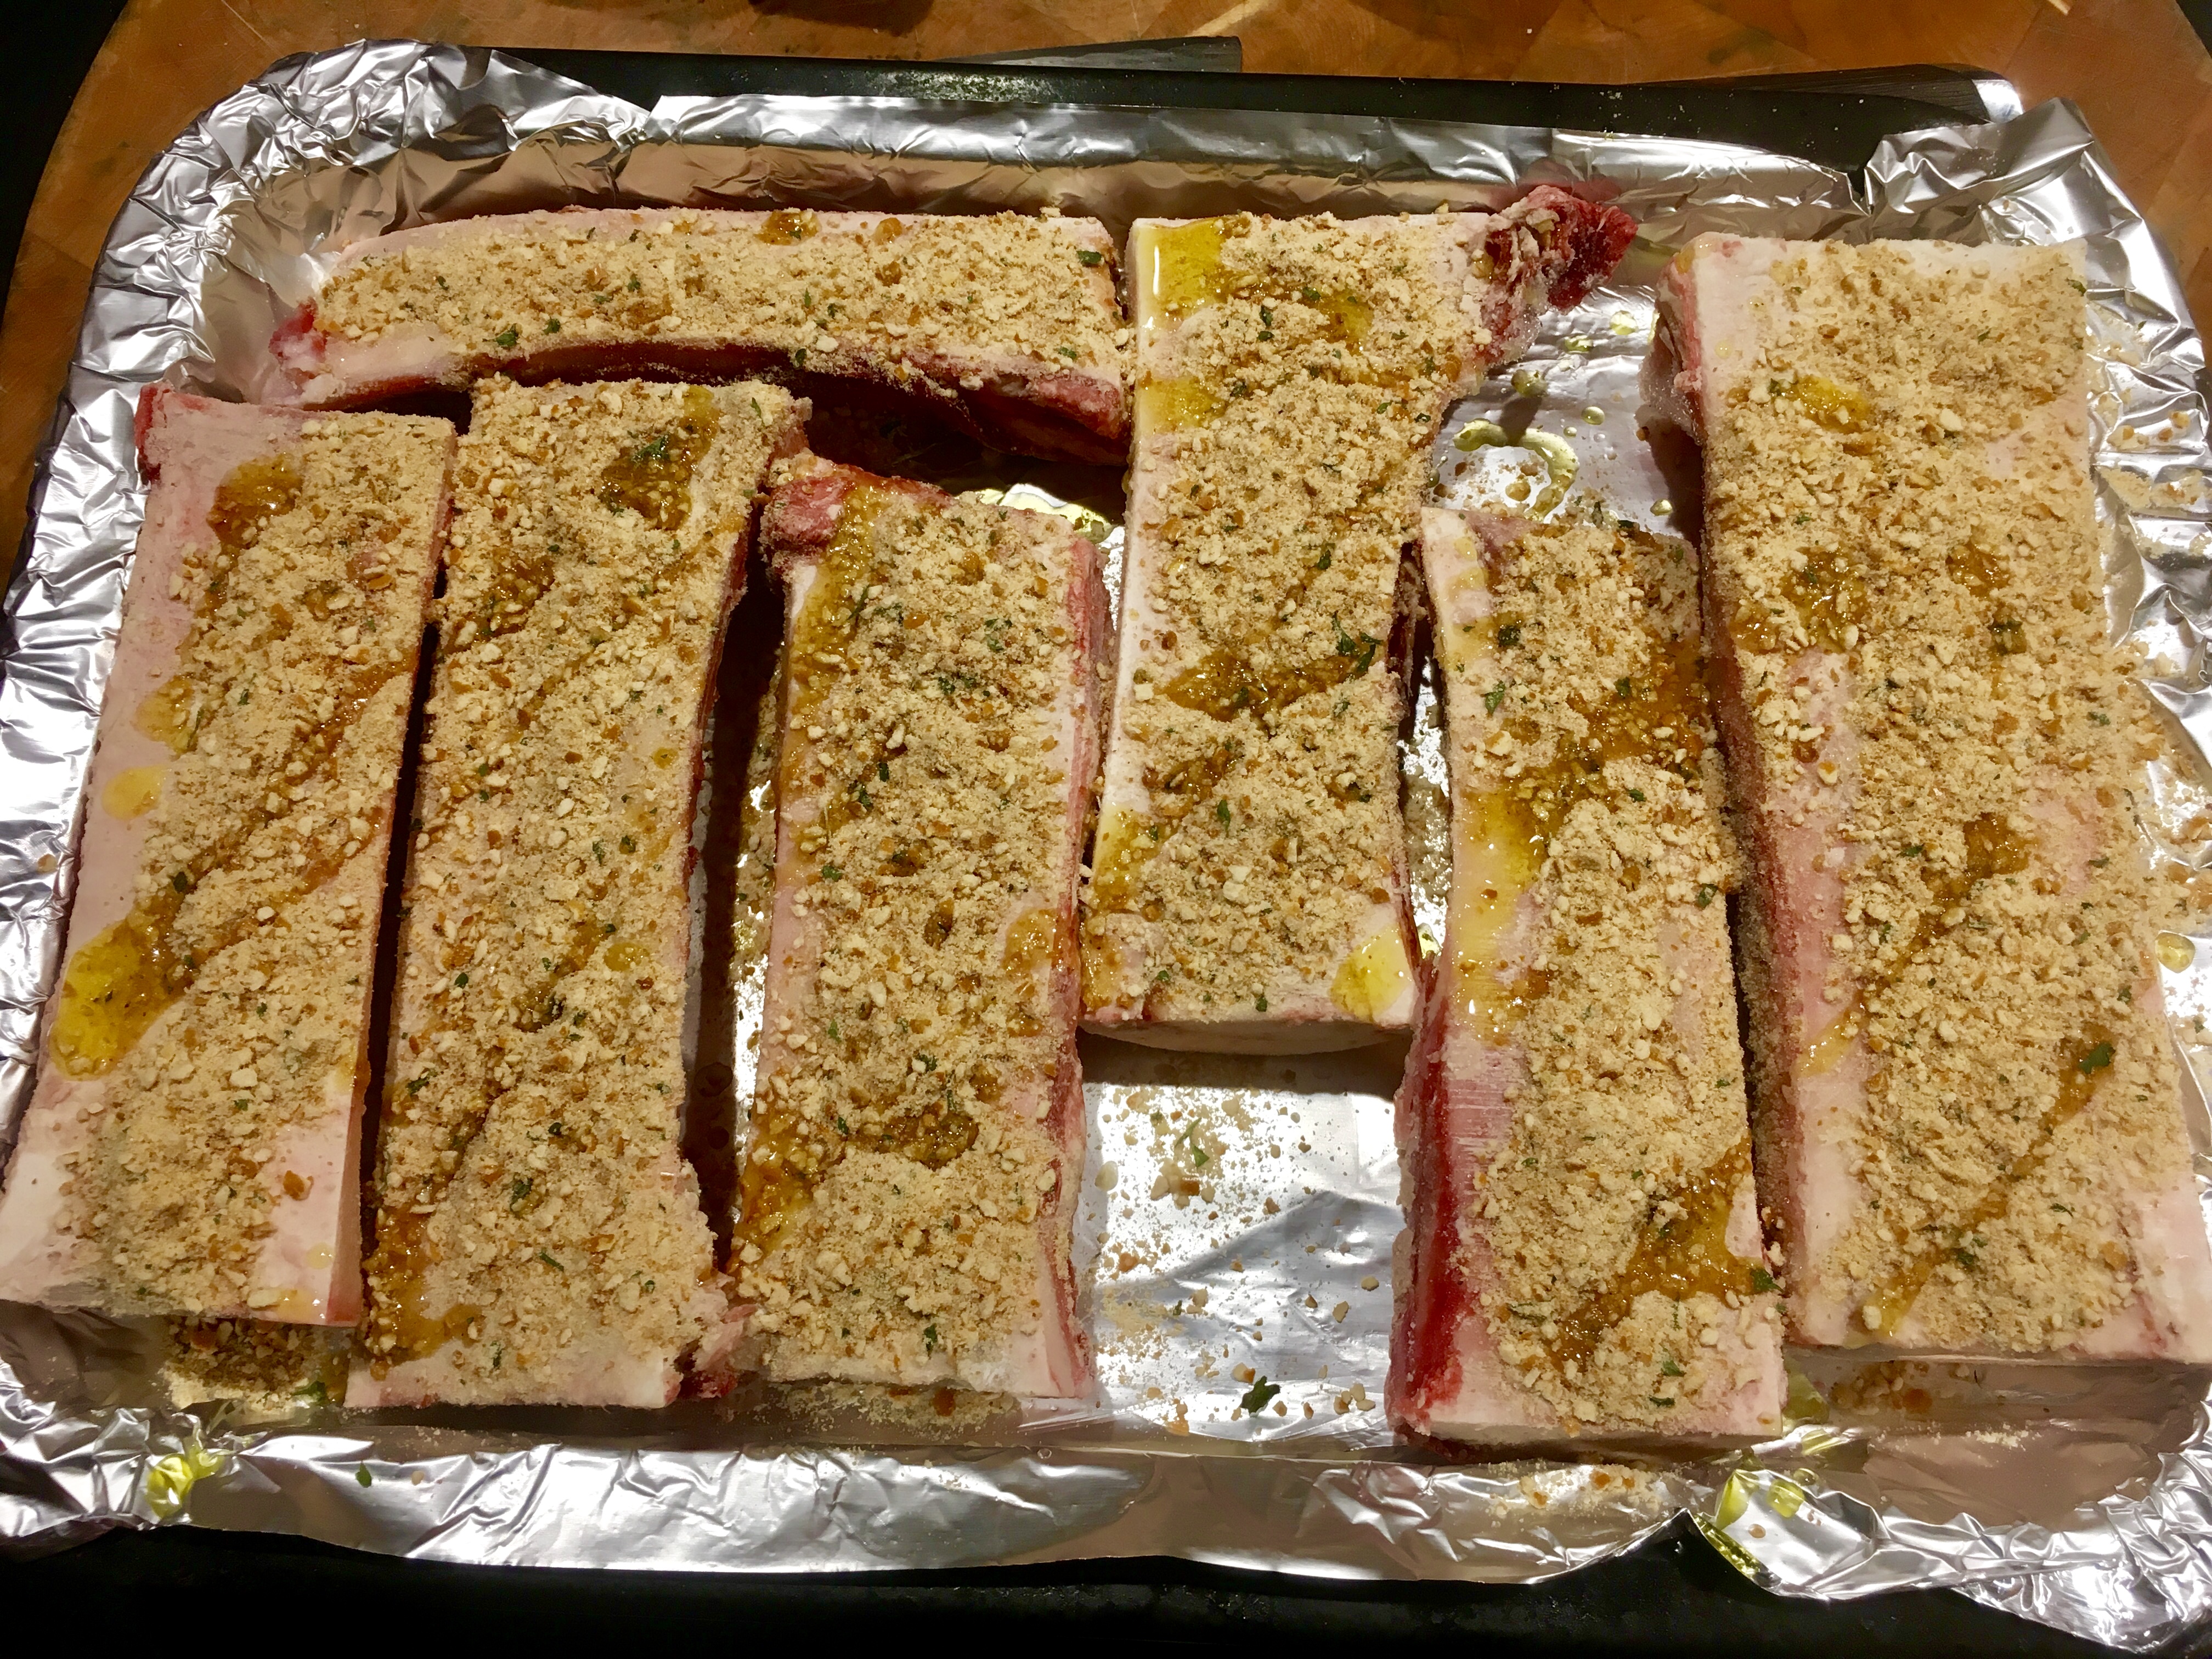
I don’t think I’ve ever made a recipe exactly as written, and this was no exception. For one thing, it called for dry sherry. I didn’t have it so, I used dry marsala wine. I didn’t even have the pork ribs, so I substituted a beautiful slab of grass-fed beef flap. It was awesome. But using pork ribs and dry sherry in the same quantities you see here will totally work.

1/3 cup hoisin sauce
1/4 cup soy sauce
3 tablespoons dry marsala wine
2 cloves garlic, finely chopped or through a press
2 tablespoons sugar
1/2 teaspoon Chinese five spice powder
2 lbs. beef flap (skirt steak or hanger steak works, too)


To make the marinade, combine the hoisin sauce, soy sauce, marsala, garlic, sugar and Chinese five spice in a bowl. Mix well.

Trim the excess fat and silver skin off the beef flap, and if it’s thick, slice it lengthwise to make a thinner piece of meat about 1/4″ to 1/2″ thick.

Place the meat in the marinade, making sure it gets well coated on all sides. Marinate the meat at room temperature for about 30 minutes. If you have a thicker cut of meat, you can marinate it longer.

Drain and discard the marinade.

Heat a cast iron pan and add a little lard or oil. Place the beef flap pieces in the pan, searing well on one side before flipping over to the other. If the meat is thin, you can cook it to a medium-rare right there on the stove top. You might need to finish the beef in a 350-degree oven if you’re using a thicker cut.


To make the Chinese ribs with this marinade: simply place the ribs and the marinade in a Ziploc bag at room temperature for 30 minutes. Pre-heat the oven to 350 degrees, and place the ribs on a baking sheet with a wire rack on top. Save the marinade…and baste the ribs with it every 30 minutes, turning the ribs over as you do so. Cook until the ribs are done, about 2 hours.


Summer’s approaching and we slurp down more clams and oysters in the summer here in New England than at any other time of year. Freshly shucked oysters and clams–or in this case–beautiful boiled wild-caught American shrimp, call for an equally amazing cocktail sauce…and this sauce kicks butt! And it features a key ingredient that you might not expect: vodka. The small amount of vodka in the mix keeps the cocktail sauce from freezing solid when stored in the freezer. Just scoop out what you need, let it thaw, and put the rest back in the freezer.


image

2 cups ketchup
4 tablespoons prepared horseradish
1 tablespoon fresh lemon juice
1 teaspoon Worcestershire sauce
1/2 teaspoon Frank’s Red Hot, or other hot pepper sauce
5 grinds of fresh black pepper
1/4 teaspoon salt
1 teaspoon good quality vodka, like Tito’s

Combine all the ingredients. Store in a tight plastic container in the freezer. Scoop and thaw whenever you need it!

Sometimes the happiest of cooking accidents happen with bacon. My original plan was to make Chinese-style honey ribs for dinner. But instead of pulling a nice rack of ribs out of the freezer, I accidentally took out a slab of pork belly. I only realized my mistake after I thawed it, so I decided to use it! The results were pretty damn tasty.

I like maple syrup instead of honey, but use what you like!

image

Marinade:
¾ cup light soy sauce
6 Tablespoons hoisin sauce
5 lbs. pork belly
Zest and juice of 1 lemon
2 whole star anise
2 cinnamon sticks (3”)
1/2 cup honey or maple syrup
4 cups chicken broth (preferably homemade)
image
Pre-heat the oven to 350 degrees.
Mix the marinade ingredients. Set them aside.
Cut the pork belly into pieces that are about 2 inches square. Place them in a large pot. Cover them with water and bring the pot to a boil. Boil it for 5 minutes. Drain the water.
Place the warm pork belly pieces on a sheet pan lined with non-stick aluminum foil. Coat them with the marinade. Let them sit for 10 minutes.
Bake the pork belly pieces on the sheet pan in the oven for 30 minutes.
While the pork belly is baking, start the sauce in a large non-stick pan or pot: combine the lemon zest and juice, star anise, cinnamon sticks, maple syrup or honey, and chicken broth. Bring it to a boil, then reduce it to a simmer.
When the pork belly pieces have finished baking, add them to the sauce pot, lowering the heat to a simmer. Simmer (covered) for about 15 minutes or until meat is tender.
Turn the heat back on high, uncover the pot and cook until the sauce has reduced to a glaze that coats the meat. Reduce the heat as the sauce thickens to avoid the sugars in the syrup or honey from burning. When the pieces are sticky and gooey, they are ready!
Devour them just like that!
If you have leftovers, let the pork belly cool, then slice the pieces it to your desired thickness and fry them like regular bacon. They’re great with eggs!
image

It takes a few weeks for this limoncello recipe to be ready, but it’s worth it!


It starts with beautiful lemons…


Many years ago, we visited the Amalfi coast, and spent several nights on the beautiful island of Capri. On our last night, we dined at the historic Grand Hotel Quisisana, and our meal ended with a glass of the most delicious limoncello I ever had.

I asked the waiter if it was possible to get the recipe of the limoncello, and he made a big deal about the recipe being a “secret.” Though disappointed, I understood, and I left Capri thinking that I would never taste it again.


Sure, you can buy limoncello from Capri in a bottle, but what fun is that?


Two weeks later, back at home, I was reading the latest issue of Conde Nast Traveler, and there in black and white, was the Quisisana limoncello recipe! WTF?

After making many batches of this limoncello, I started experimenting with other citrus, and the most successful by far was with grapefruit. Now I make a batch of each: lemon and grapefruit. It’s important to use 100-proof vodka in this recipe. Most vodka is 80-proof, so you’ll need to go to a liquor store with a better selection to find it. Absolut makes a good one, as does Stoli.

Four ingredients, easy to make. The toughest part is waiting for it to mellow a bit.


4 lbs. of lemons, but you only use the zest!


4 lbs. lemons, zest only
2 750-ml bottles 100 proof vodka
5 1/2 cups sugar
6 cups filtered water

Just the zest!


Peel the zest off all the lemons, trying not to get any of the white pith that could make the limoncello bitter. (There will always be some…that’s OK.) Place all the zest in the bottom of a one-gallon glass jar with a lid.

Pour the vodka on top of the lemon zest pieces, seal the jar, and keep it at room temperature for a week, swirling the jar around gently once a day.


Vodka and zest.


On the sixth day, combine the sugar and water in a pot over medium-high heat, and stir until all the sugar completely dissolves. Remove it from the heat, cover it, and let it thoroughly cool to room temperature (overnight is best.)

On day seven, strain the lemon zest, pouring the infused vodka into a clean glass jar. Discard the lemon zest.

Pour the sugar/water mixture into the vodka and mix it well.

At this point, you can pour the finished product into bottles. I like to let it mellow for about a month before drinking. (It’s worth the wait…although nobody says you can’t take a few “cheating sips” every now and then!)

I keep my limoncello refrigerated.

This is a real comfort food we discovered on a trip to Spain in 2014. Croquettes are the Spanish equivalent of chicken nuggets: they’re found on every kids’ menu…and my daughter ordered them just about everywhere we went! So it’s no surprise that I “got the order” to make a batch of croquettes once we got home…and I’ve been making them ever since.

You can make these days ahead of time and then freeze them, re-heating them whenever you have guests. These are way better than your average snacks when your favorite game is on!


image


I found a great recipe for croquettes in Saveur magazine, and decided to try it out. I was a bit clumsy at making them at first–they do need a bit of finesse–but by the end of the batch, I got the hang of it. And to make them gluten-free, I simply substituted GF flour and breadcrumbs for the all-purpose flour and Panko. (The best tasting GF breadcrumbs are the ones you make yourself. Buy a loaf of frozen gluten-free bread, like Udi’s, and toast it in your toaster oven. Crumble the slices into a food processor, processing them until the breadcrumbs are the size you like.)


image


2 lbs. raw potatoes, peeled and cut into 1″ cubes
4 tablespoons unsalted butter
1 onion, minced
1/4 to 1/2 cup heavy cream
6 oz. cheddar cheese, grated
6 oz. ham, finely chopped
salt and pepper
1 cup all-purpose flour (or gluten-free flour like Cup4Cup)
2 eggs
2 cups Panko breadcrumbs (or gluten-free breadcrumbs)
avocado oil for frying


image


Peel the potatoes, cutting them into 1″ cubes. Boil them in salted water until tender. Drain them and set them aside.

Melt the butter in the same pot the potatoes were in, then add the onions and sauté them until they’re translucent. Put the potatoes back in the pot and add 1/4 cup of the heavy cream. Mash the potatoes with a potato masher until smooth. Add more cream, if needed, but be careful not to make it mushy.

Add the cheese and mix until it has melted in. Add the ham and mix again. Season with salt and pepper.

Pour the contents of the pot into a metal bowl and place it in the freezer to cool, stirring every 10 minutes until the mashed potato mix is cold, but not frozen.

Line up three bowls: all-purpose flour (or GF flour) in the first bowl, eggs (scrambled) in the second bowl, Panko (or GF breadcrumbs) in the third.

Remove the mashed potato mix from the freezer, and with floured hands, grab enough to gently roll a small meatball in your hands. (I’ve found that starting with a round shape makes it easier to work with.)

Roll the ball in the flour, then the egg, then drop in the Panko and roll again. With the ball in your hand, gently squeeze into a tubular (or small football) shape, and then place it on a sheet pan lined with non-stick aluminum foil. Continue with the rest of the potato mixture. (You may need to add another scrambled egg or two if you run out.)

Once you’ve rolled all the croquettes, place the sheet pan in the freezer for 20 minutes to firm up.

Heat a pan with 2″ of oil to 350 degrees. Remove the croquettes from the freezer, and working in small batches, fry them until golden brown. Place them on paper towels, and quickly season lightly with salt while hot.


image


The croquettes freeze really well, so this batch goes a long way. Once they’ve been fried, let them cool completely to room temp. Place them in freezer bags and store them in the freezer. When it’s time to cook them, let them thaw for about 15 minutes, then place them in a pre-heated 325 degree oven and cook for 15 minutes.


Making spinach pizza dough, as featured in a previous blog, was a fun and tasty recipe idea. But I still had some spinach left over. So I decided to add it to my Chicken Rollatini recipe, and it was delicious!

Chicken Rollatini was one of the first dishes I learned how to make back in my teenage days on Long Island, working at a local Italian restaurant called Pizza City East. (The original Pizza City was in Ozone Park, Queens.) It was a simple dish: a chicken breast rolled up with prosciutto and mozzarella, and baked in a mushroom cream sauce. My version these days substitutes ham for the prosciutto, provolone for the mozzarella, and an Alfredo-like sauce instead of  the mushroom cream sauce.

This time I added the frozen spinach to the mix, and I have to say, I think I’ll always cook it this way from now on.

4 chicken breasts cut lengthwise to make 8 thin breasts, about 2 pounds
8 slices sliced ham
8 slices of provolone cheese
6 oz. frozen spinach, finely chopped

Place the chopped spinach in a bowl and add granulated garlic and oregano to taste. Set it aside.

Remove the chicken tender portion of the chicken breasts and set those aside for another day.
I usually don’t like to pound out my chicken breasts. I like the texture of “real meat.” So I take a large breast, and slice it lengthwise to make 2 thinner breasts. I lay the breast down on the cutting board, add a slice of ham, then a slice of provolone, (and this time, some of the spinach mix), and carefully roll it up, securing it with toothpicks, if necessary. Place the rollatinis on a baking sheet. Set aside, preferably in the fridge, until ready to cook.

The addition of spinach, this time, to the old recipe.

Rolled and ready!

1/2 cup breadcrumbs
1 teaspoon parsley
1/2 teaspoon oregano
1/2 teaspoon salt
1/4 teaspoon pepper
1/4 teaspoon granulated onion
1/4 teaspoon granulated garlic
Combine these ingredients in a bowl. Set it aside.
2 carrots
2 celery stalks
1/2 medium onion
Olive oil
Peel and chop the carrots into quarters. Peel and chop the onion in half. Chop the celery into quarters as well. Place all the vegetables on a sheet pan and drizzle olive oil over the top, tossing them in the oil. Roast the vegetables in a 400° oven until caramelized, and the carrots are fork-tender, about 20 minutes. Remove the sheet pan from the oven and let the vegetables cool. Once the veggies have cooled, chop them finely with a knife or food processor. Set them aside.
3 cups your favorite rice, cooked
Cook the rice according to package directions. Once the rice is cooked, mix it with the chopped carrots, parsnips, celery and onion. Set it aside.
1 cup cream or half-and-half
3 tablespoons butter
1/2 cup freshly grated Parmigiano Reggiano
salt and pepper
For the Alfredo-like sauce, heat a saucepan over medium heat, melting the butter and then adding the cream or half-and-half. Once it’s warmed through, add the cheese and whisk until it has melted and the sauce is smooth. Season with salt and pepper. Set it aside, to re-warm later.
Take the pan of rollatinis out of the fridge to warm to room temperature, and reduce the heat of the oven to 350°.
Drizzle a little olive oil over the top of the rollatinis and rub it in. Sprinkle the breadcrumb mixture over the top, pressing them into the chicken, and bake them for 30-45 minutes, until the chicken has cooked through.
To serve, remove the chicken rollatinis from the pan and plate them on a bed of arugula (optional) with the rice on the side. (Be sure to remove the toothpicks.) Serve with the sauce.

The 150th running of the Kentucky Derby is Saturday, May 4th, 2024, and although I’m not a big horse racing fan, I am a huge fan of the official drink: the Mint Julep!

The Mint Julep is such a perfect, classic and historic bourbon drink, it seems silly to wait until Derby Day to have one. Of course, as any aficionado of spirits will tell you, there are as many right ways as wrong ways of making one.

The first step in my Mint Julep is making the simple syrup. Learning from one of my old radio buddies, my pal Rick O’B, I infuse mint into my simple syrup to take my cocktail to the next level. I use the standard ratio of 1 cup of clean, filtered water to 1 cup of sugar. I place the sugar and water in a saucepan and heat until just boiling. I’ve found that it needs to reach this stage for the sugar to really dissolve.

Waiting for the sugar to dissolve.

As soon as it starts to boil, I remove the saucepan from the heat, and throw in a handful of freshly picked mint leaves, stirring to make sure the mint gets in there, and then I leave the saucepan to cool to room temperature.


Once it’s at room temp, I strain the simple syrup into a bottle with a tight sealing lid, and place it in the refrigerator to cool. It will keep for about a week.

An equally important ingredient for a perfect Mint Julep is the ice: specifically, crushed ice from clean, filtered water. Don’t even think of using tap water for any cocktail much less this one. Why ruin an expensive bottle of bourbon by going cheap on the ice? I make my own ice cubes, then put them in an untreated canvas ice bag and bash them with a mallet to the perfect crushed size. But if you don’t want to go through all the trouble, just buy a bag of good ice. Untreated canvas bags for crushing ice can be purchased online from bar supply companies for about $30. I got an untreated canvas tool bag (the exact same shape and size) at Home Depot for 3 bucks.


Da bag.


The next step is a little tougher: which bourbon to choose. The explosion of choices on the bourbon market has made it all but impossible for the average imbiber to know which bourbon is best for their tastes. If you’re a beginner, I suggest you go to a trusted bartender and explain that you’re new to the bourbon world, and could you have the tiniest of tastes and sniffs of what he’s got at his bar. Chances are, you’ll get a sampling of some of the better known brands: Maker’s Mark, Woodford Reserve, perhaps Buffalo Trace or Bulleit, and the standard Jim Beam. This is a very good start. (Also, hinting to wife and friends that “I’m trying new bourbons” around your birthday or Father’s Day inevitably gets you a few bottles as well!)

My go-to bourbon for Mint Juleps used to be Eagle Rare 10-year-old when it was around $32.99 a bottle. Now it’s up to $80! My latest go-to bourbon is 1792 Small Batch. At $29, it’s almost unbelievable, like someone made a mistake in the stock room! Very tasty on its own and great for mixing. Others that work well and are around the same price range include Buffalo Trace, and Larceny.

Finally, a Mint Julep needs a metal–not glass– Julep cup. Made of pewter or aluminum, it frosts on the outside as you stir your drink, keeping your beverage ice-cold on even the hottest of days.


3 oz. bourbon
1 oz. mint-infused simple syrup
crushed ice
Julep cup
Fresh mint for garnish

Crush the ice and pack it into the Julep cup, even letting it dome slightly over the top. Don’t worry…the alcohol will melt it.

I like to add 1.5 ounces of bourbon, then the ounce of simple syrup, another 1.5 ounces of bourbon on top, and then a quick squirt of simple syrup to top it off. Break off a few mint leaves from the stem and push them into the ice. A beautiful layer of frost will form on the outside of the cup. Add more ice, if necessary, and garnish with a sprig of mint.


A nice selection of bourbons. This is an old photo: that Pappy Van Winkle is long gone…but I saved the bottle!


So much bourbon, so little time!