Posts Tagged ‘seafood’

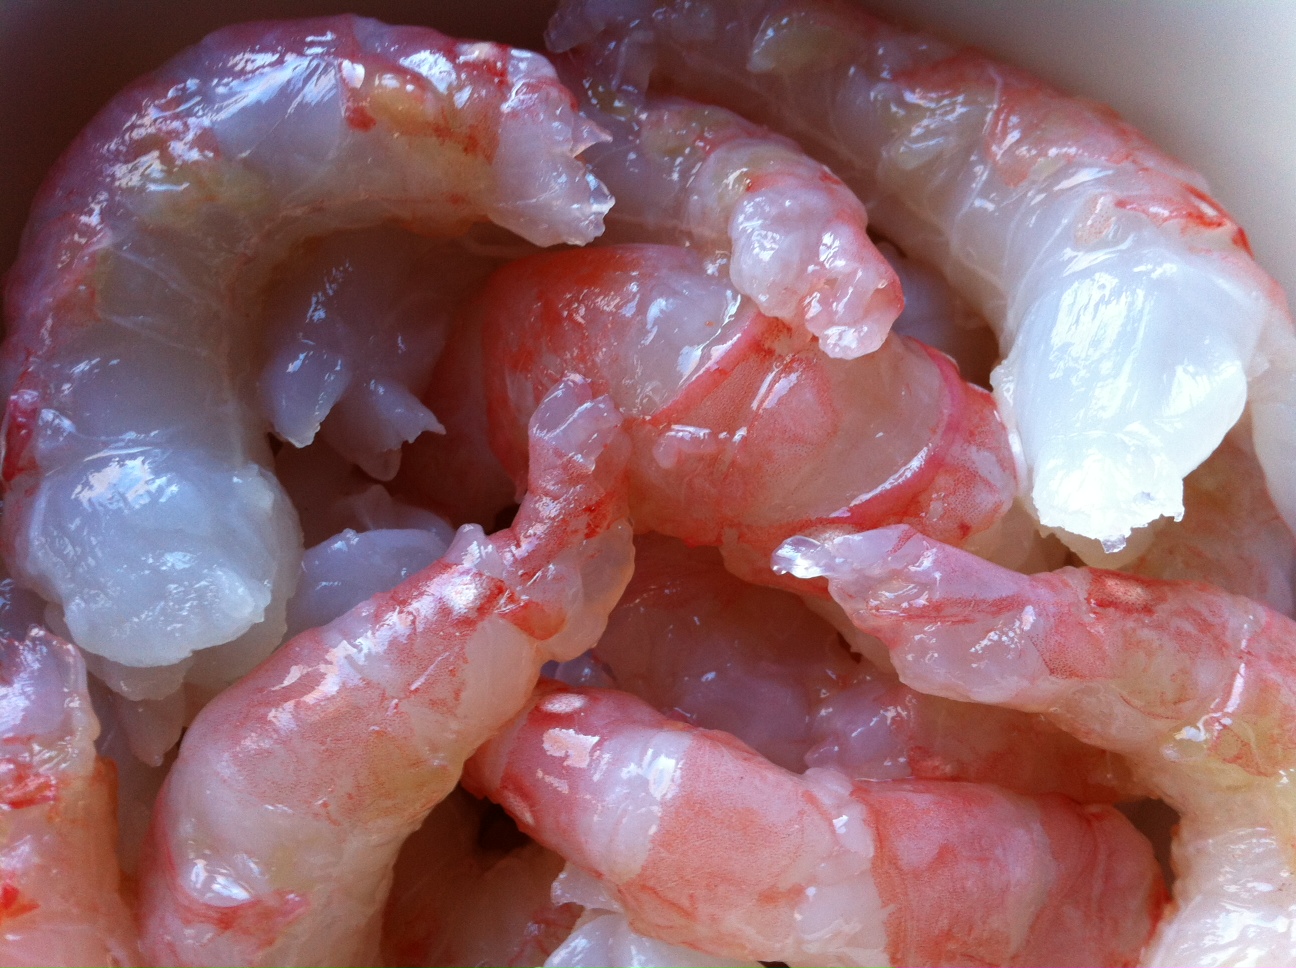
This is not your average shrimp! Found in the Pacific, from Southern California all the way up to Alaska, as well as Japan and Korea, these beauties, identified by the white spots on the sides of their first and fifth abdominal segments, live up to 11 years. And here’s the crazy part: each spot prawn (or spot shrimp) spawns once as a male and one or more time as a female!

prawns 1

Having read so much about them, I ordered a pound and decided that I would get full use of the shrimp by peeling them and making an intensely flavored sauce out of the shells.

Peeling and de-veining was easy: the shells slipped right off the shrimp, and they were so beautifully clean, their were no veins to remove!

If you can’t get  hold of Wild Pacific spot prawns, shrimp or lobster will certainly do. Just remember to ask your fishmonger for wild caught American shrimp, and not that horrible farmed stuff from Asia. If he doesn’t have it, shop elsewhere.

prawns 2


For the stock:

1 lb. wild Pacific spot prawns, thawed, peeled, and de-veined. Save shells and container water, if any.
1 tablespoon extra virgin olive oil
1/2 carrot
1/2 celery stalk
1/4 onion
1 smashed clove garlic
4 whole peppercorns
2 teaspoons ketchup
1/2 sprig rosemary
1/2 sprig thyme
6 cups water


For the shrimp:

1/4 teaspoon salt
1/4 teaspoon freshly ground black pepper
1/4 teaspoon sugar
4 Tablespoons butter, room temperature
1 Tablespoon extra virgin olive oil


The final touch:

1 Tablespoon extra virgin olive oil
1 shallot, finely chopped
2 garlic cloves, pushed through a garlic press
2 Tablespoons butter, room temperature
1/8 cup fresh chives or scallions, finely chopped


1 lb. pasta


For the stock:

Peel and de-vein the shrimp. Keep the peeled shrimp in the fridge, covered.

In a pot, heat the olive oil and add the carrot, celery, onion, garlic, peppercorns, ketchup, rosemary, thyme and shrimp shells. Saute for a few minutes to get the flavors going. Add the container water, if any, and 6 cups water. Bring it to a boil and let it simmer for 2 hours.

Strain the solids out and discard them. Place the stock in a smaller pot, and continue reducing it until about 1 cup of the stock remains.

Boil the pasta well-salted water and remove it from the water before al dente stage. (It will cook more later.) Strain it and set aside.


For the shrimp:

Combine the salt, pepper and sugar with the prawns in a bowl and toss to coat them evenly.

In a large saute pan, heat the butter and olive oil on medium-high heat. Add the shrimp and cook until lightly caramelized and almost cooked all the way through. Do not overcook! Set them aside.


The final touch:

In the same large saute pan that you cooked the shrimp, heat 1 tablespoon of olive oil and add the shallot. Saute for 1 minute, then add the garlic. Saute for 2 more minutes, then add some of the stock, the shrimp, the pasta, and the butter, and mix well. If it’s dry, add more of the stock until the pasta is coated, but not dripping. Salt and pepper to taste. Garnish with the chives.

prawns 3

Serve immediately!


Here in New England, oysters are plentiful. We don’t just slurp ’em down: we go out and dig our own…we have our favorite buck-an-oyster bar for any given day of the week…and we debate over the best variety, from east coast to west, north to south.

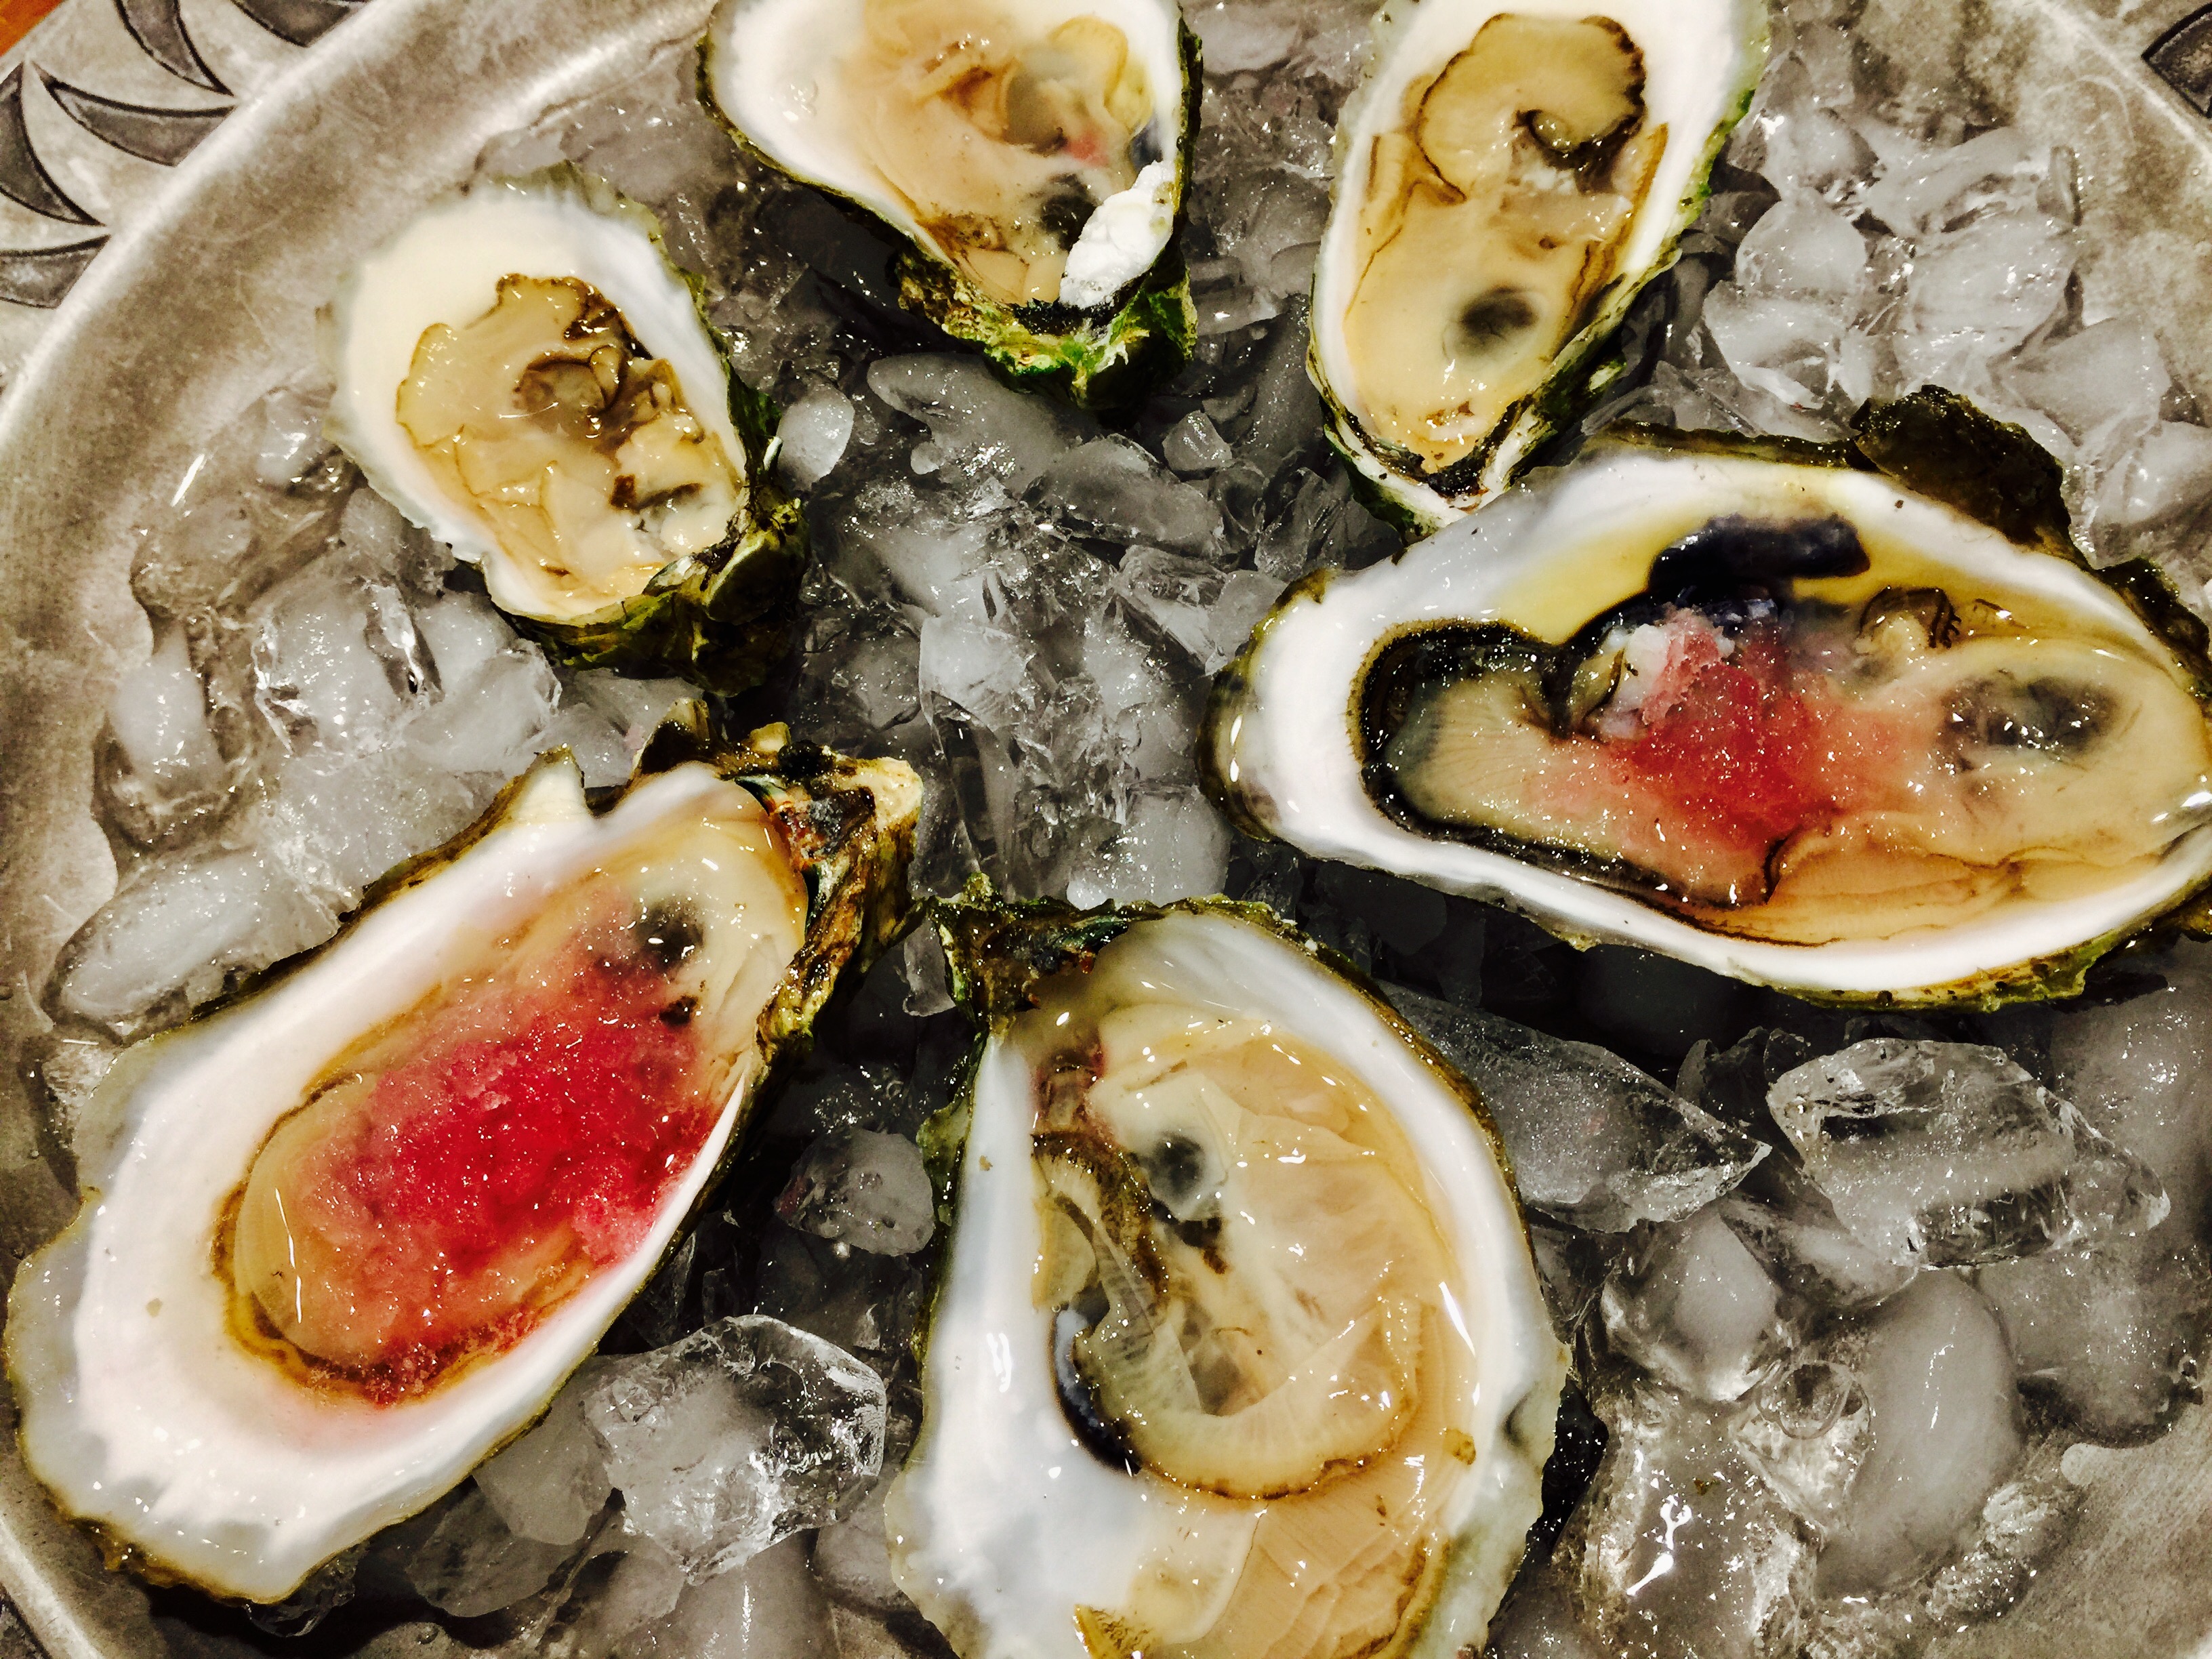
So when a friend of ours who lives on Cape Cod dropped off about 5 dozen Barnstable oysters she just dug that morning, it was cause to celebrate.

oysters

Fresh oysters deserve an amazing cocktail sauce, and my recipe kicks butt: lots of horseradish, lots of flavor, and a secret ingredient: vodka. Not only does it give it a kick, it keeps it from freezing solid, so I can keep the cocktail sauce in the freezer until I need it.

2 cups ketchup
4 tablespoons prepared horseradish
1 tablespoon fresh lemon juice
1 teaspoon Worcestershire sauce
1/2 teaspoon Frank’s Red Hot, or other hot pepper sauce
5 grinds of fresh black pepper
1/4 teaspoon salt
1 teaspoon good quality vodka, like Tito’s

Combine all the ingredients. Store in a tight plastic container in the freezer.

Fresh shucked oysters with pickled red onion ice.

Freshly shucked oysters with pickled red onion ice.


When I’m in Portland, Maine, I visit one of the best oyster bars in the country: Eventide. Besides some wickedly creative dishes, they consistently have a fantastic variety of fresh oysters to choose from. And they offer a variety of “accoutrements” to go with them: anything from a red wine mignonette to kimchee ice. My favorite is the pickled red onion ice. All you need is a shot glass with a freshly shucked oyster inside, a half-shot of chilled vodka on top, and some pickled red onion ice, and you’ve got the best oyster shooter on planet Earth. I even suggested the shooter to the manager at Eventide. It has yet to make it to the menu. (But I remain hopeful!)


An oyster shooter with pickled red onion shaved ice. Bottoms up!

An oyster shooter with pickled red onion ice. Bottoms up!


I’ve managed to come up with a pretty good version of the pickled red onion ice at home, and I serve it alongside my cocktail sauce.

2 large red onions
1 tablespoon sugar
3 tablespoons apple cider vinegar


Peel and quarter the onions. Drop them in a medium-sized pot and cover with about a quart of water. Bring it to a boil and cook it down until it has reduced to a cup of concentrated onion water after straining.

Bring the strained onion water back to the stove, and on medium heat, add the sugar and vinegar, stirring. When the sugar dissolves, remove it from the heat and let it cool to room temperature before pouring it into a container and placing it in the freezer.

When it’s time to eat oysters, remove the block of red onion ice from its container, and, using a fine cheese grater, shave the ice over the top of the freshly shucked oysters and devour immediately!

fullsizerender-5


For years, I’ve made a simple fritter recipe using mussels that everybody raved about. But when the dietary needs of our family changed, and we had to start a gluten-free lifestyle, it seemed that fritters would have to be taken off the menu. I had nothing to lose by trying GF alternatives, and I was shocked at how delicious they were: crispy on the outside, soft and chewy on the inside.

Here in Rhode Island, fresh mussels are everywhere. But if you live in an area where they’re not easily found, frozen mussel meats are sometimes available in better seafood stores. Just make sure they come from the USA…I saw one package that had farm-grown Chilean mussels that were packed in Thailand. That’s about as nasty as it gets.

My original recipe calls for fritter flour, which you can usually find in any supermarket. If you’re using that, you can skip the baking powder. I added the baking powder to give a little lightness to the dough. My favorite beer for this recipe is Sam Adams Boston Lager, but again, I had to go gluten-free.

If you don’t have to worry about gluten, just use the regular versions of the ingredients.

fritter3

1 cup water
1 lb. fresh mussels
1 cup gluten-free flour (I use Cup4Cup)
1 teaspoon baking powder
1/3 cup gluten-free beer
oil, for frying (I use a combination of avocado and olive oils)
sea salt (I like Fleur de Sel)

Place the cup of water in a large pot and add a steamer basket. Pour in the mussels, turn the heat on high, and place a lid on top. Steam the mussels just until they open. Throw away any mussels that don’t open.

Remove the meats from the shells and chop them into very small pieces. Reserve about 1/4 to 1/3 cup of the steam water, which now has some mussel flavor. Try to avoid any grit. Let the mussels and broth cool a bit until they’re warm.

In a large bowl, add the flour, the baking powder, the mussels and the broth. Add the beer little by little as you stir gently. As soon as the dough is sticky and mixed, stop! Don’t over-mix. Let it rest about 15 minutes.

fritter1

Heat the oil in a pan to 340. Working in small batches, drop 2″ blobs of dough into the oil, turning once when they are golden. Remove them from the oil when they’re done, placing them on paper towels, and sprinkling them immediately with salt.

You can enjoy them as is, or you can make a quick dipping sauce using mayonnaise and Ponzu sauce. I haven’t found a gluten-free Ponzu yet, so I combine mayo with GF soy sauce, and a squeeze of lemon juice.

fritter2


We slurp down more clams and oysters in the summer here in New England than at any other time of year. Freshly shucked oysters and clams–or in this case–beautiful boiled wild-caught American shrimp, call for an equally amazing cocktail sauce…and this sauce kicks butt! And it features a key ingredient that you might not expect: vodka. The small amount of vodka in the mix keeps the cocktail sauce from freezing solid when stored in the freezer. Just scoop out what you need, let it thaw, and put the rest back in the freezer.

image


2 cups ketchup
4 tablespoons prepared horseradish
1 tablespoon fresh lemon juice
1 teaspoon Worcestershire sauce
1/2 teaspoon Frank’s Red Hot, or other hot pepper sauce
5 grinds of fresh black pepper
1/4 teaspoon salt
1 teaspoon good quality vodka, like Tito’s

Combine all the ingredients. Store in a tight plastic container in the freezer.

Nothing says summer here in New England like a lobster roll. But I don’t go to a clam shack to get one. The prices are ridiculous, the meat can be overcooked, and they often add ingredients I don’t want.

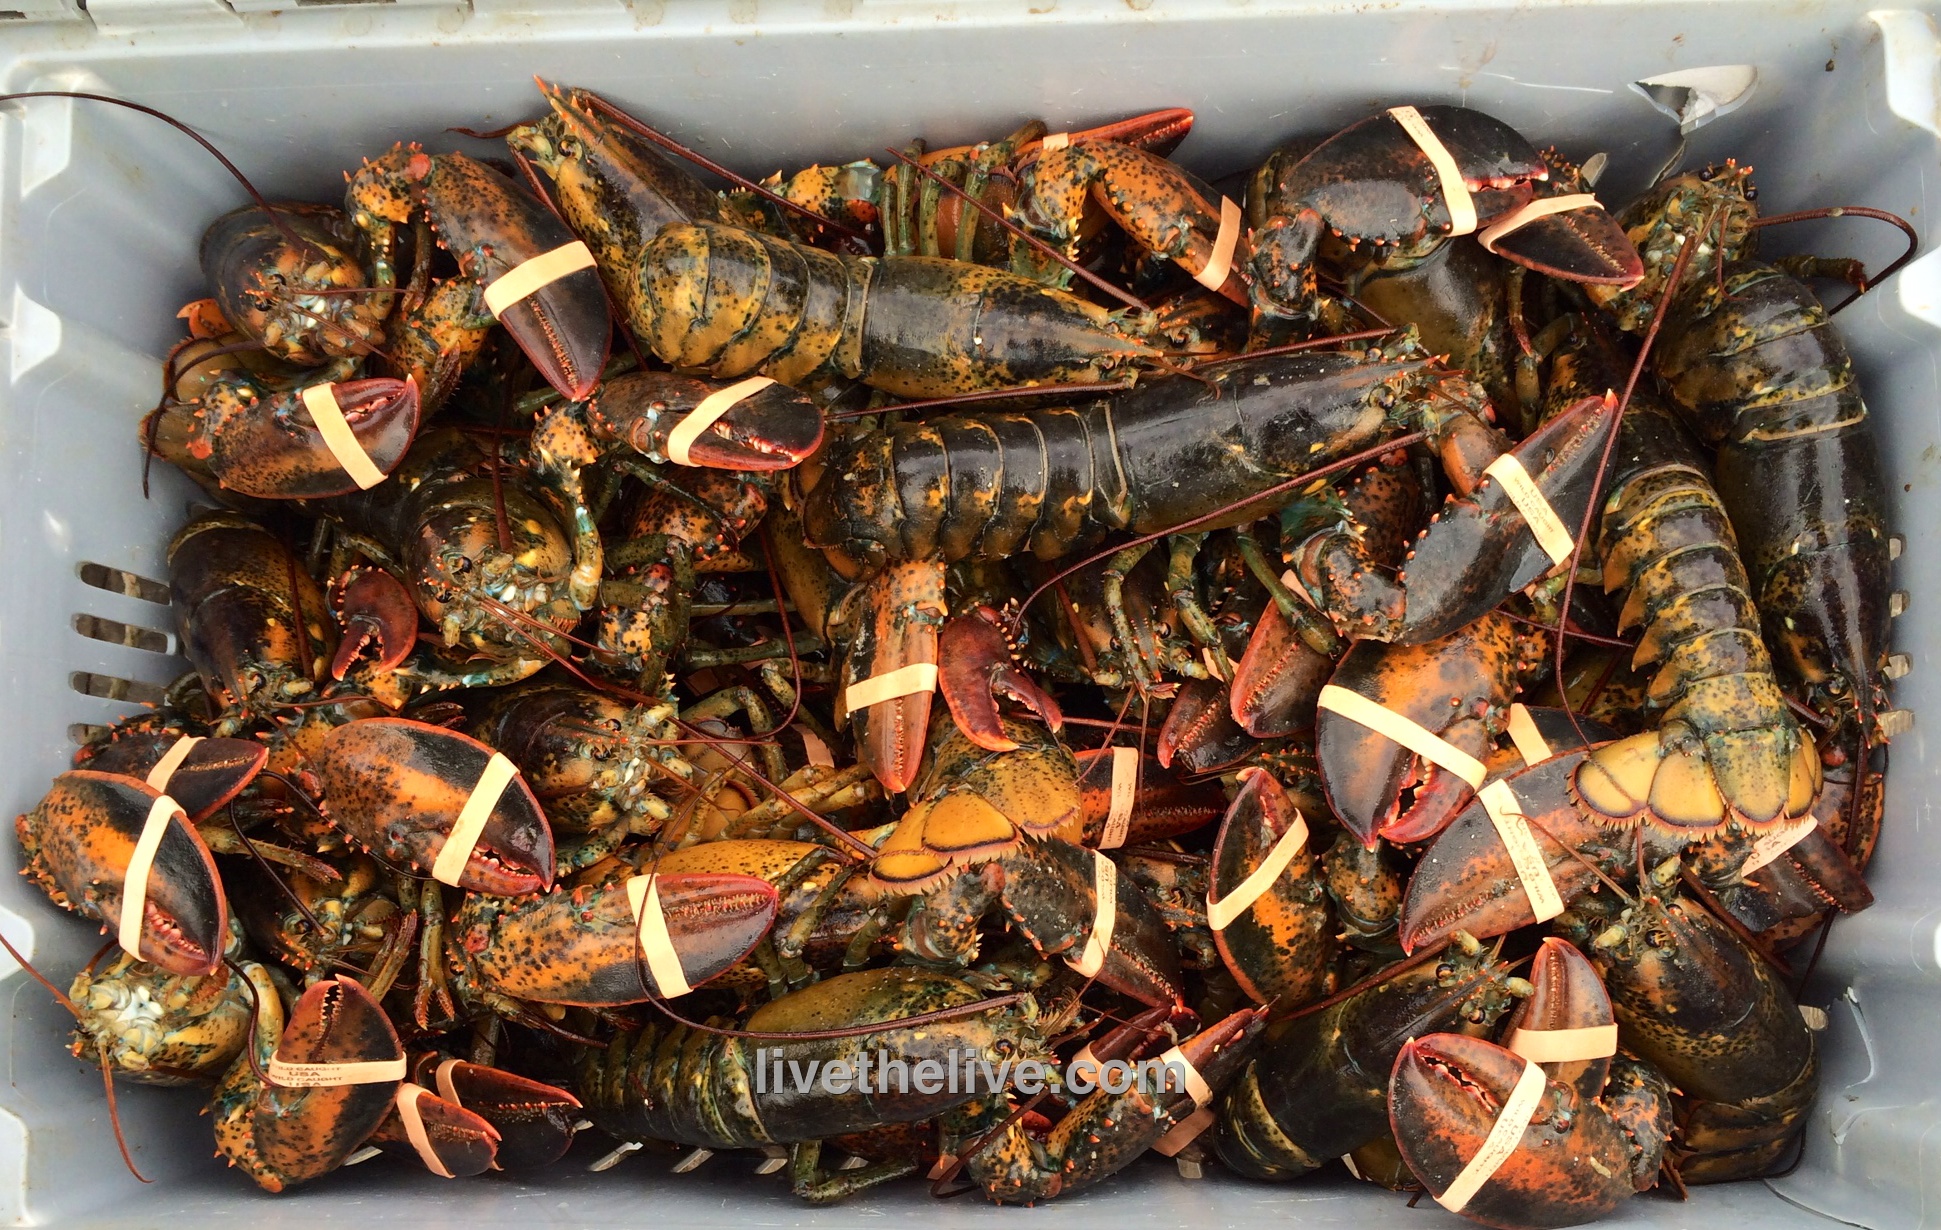
I start with fresh lobster. I get it from my lobster man buddy, Gary, just down the street at his dock in Tiverton, RI.

A view of the Sakonnet River from the back of Gary's lobster boat, the Edna Mae

A view of the Sakonnet River from the back of Gary’s lobster boat, the Edna Mae

The next step is to cook it right. I use sea salt in a large pot of boiling water. I make sure the water is at a rolling boil before the lobsters go in. And I cook them for no more than about 8 minutes.

Lobster catch LTL

After the lobsters have been removed from the pot and have cooled for a few minutes, I get to work: cracking the claws and tail and removing every bit of beautiful meat I can find. I even take the legs off and push a rolling pin over them to extract the meat inside. The tomalley (the green liver and pancreas) and roe (eggs) are delicacies not to be missed, but for the purpose of making lobster salad, I don’t use these parts. I save them for a separate treat. And I use the legs and cleaned empty shells to make lobster stock. Nothing goes to waste!

Lobster roll LTL

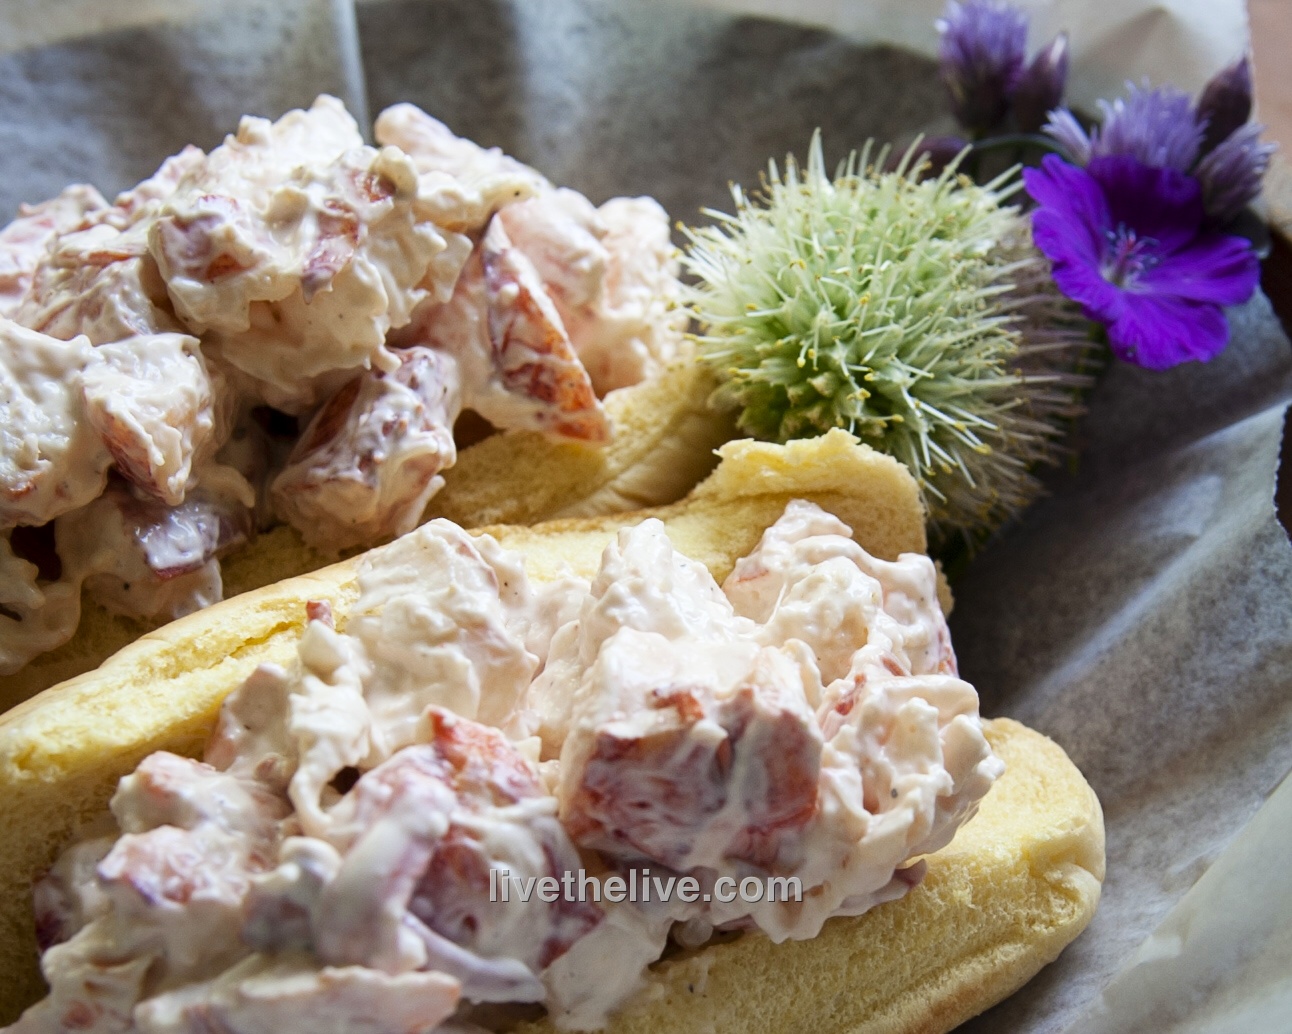
Everyone has their own opinion about lobster rolls: what goes in ‘em…and perhaps more importantly, what doesn’t. I am no exception. For me, no veggies whatsoever: no chopped celery, no lettuce, no pickle. No paprika or Old Bay seasoning. A pinch of celery salt? Sure. Mayonnaise? Only Hellman’s. White pepper, not black, and just a touch. Salt? A pinch of Fleur de Sel. And the secret weapon to bring out all the flavors: the tiniest squeeze of fresh lemon juice…not enough to give it a lemon flavor…just to brighten the taste.

I prefer those long Martin’s potato rolls: straight out of the bag or lightly grilled with a little melted butter brushed on.


Sure, most people will be grilling this weekend. But this is a great dish for those that want to pass on the beef. This is a delicious salad that you can serve warm or cool. You can make this the day before. Wrap it in plastic, and keep it in the fridge. Then, when your guests arrive, let it warm to room temperature. Taste for seasoning before serving. If you’re not a fan of quinoa, brown basmati rice works well, too.

FullSizeRender (8)


1 1/3 cup dry quinoa (or 1 cup basmati rice)
Chicken stock
Juice of 1 lemon
2 pounds wild-caught American shrimp, peeled and de-veined (16 to 18 count)
1 cup of asparagus stalks, cut into 1″ lengths
1/2 cup minced scallions, green part only
1 cup chopped fresh dill
1 cup chopped fresh flat-leaf parsley
1 English cucumber, peeled, seeded and medium-diced
1/4 cup red onion, small diced
1/2 cup seeded and chopped tomatoes
3/4 pound good feta cheese, crumbled
Extra virgin olive oil
Salt and pepper


Prepare the quinoa according to the package directions, using chicken stock instead of water. Once it’s cooked, place it in a large bowl.

Place the shrimp on a sheet pan, drizzle with olive oil, and sprinkle with salt and pepper. Toss to combine and spread out in a single layer. Roast for 5 to 6 minutes in a pre-heated 350 degree oven, until the shrimp are cooked through. Don’t overcook!

Add the shrimp to the quinoa, then add the lemon juice, scallions, dill, parsley, cucumber, onion, tomatoes, 2 teaspoons salt, and 1 teaspoon pepper. Add the feta and stir carefully. Set aside at room temperature for 1 hour to allow flavors to blend.


When one of your favorite restaurants (I won’t name names) removes a profitable, bestselling dish from its menu, and the reason you’re given is that “the chef is tired of making it,” you kind of have to scratch your head and ask yourself: “What’s wrong with this picture?”

In this particular case, I decided to make it on my own. It’s really not hard to do…just takes a little time. But the end result is totally worth it.

FullSizeRender (5)

6 hard-boiled eggs
1/4 cup + extra mayonnaise
8 oz. high quality raw tuna
3 tablespoons soy sauce (I use gluten-free)
1/2 teaspoon chili oil
1/4 cup finely chopped scallions
1 teaspoon sesame seeds
fish roe (optional, see below)
handful fresh spinach, or cucumbers (see below)


The best way to hard-boil eggs is to put them in a pot of cold water. Turn the heat on high and bring to a boil. As soon as the water boils, turn the heat off and place a lid on the pot. Let it sit for 15 minutes. Perfect eggs every time. Remove the eggs from the water and cool them in the fridge.

If the tuna is frozen, let it thaw a little. If it’s fresh, you might need to place it into the freezer for about 10 minutes to firm up. That makes it easier to cube up. Slice the tuna carefully into the smallest cubes you can make. Once done, place the tuna in a bowl and put it back in the fridge until ready to use.

In a separate small bowl, combine the soy sauce and the chili oil. Set aside.

Finely chop the scallions. Set aside.

Once the eggs have cooled, peel them and cut them in half. Scoop out the yolks and place them in a bowl, starting with 1/4 cup of the mayonnaise. Add more mayo if needed. Mix well. I use a fork and try to get as many of the lumps out as possible. If you want to go crazy, you can put them in a blender or food processor to make a creamy puree. And again, you can place the puree in a piping bag and carefully squeeze out the puree into each egg half. I simply use a spoon.

Once all the egg halves are filled, place them on a spinach leaf-covered dish and put them back in the fridge until ready to serve.

When you’re ready to serve, take the tuna out of the fridge. Pour the soy sauce/chili oil mix into the bowl and mix well. Let the tuna marinate for just 2 minutes. Then pour off the excess marinade, or it’ll get too salty.

Remove the plate of eggs from the fridge and carefully put a small spoonful of tuna on top of each one. Garnish with the sesame seeds and the chopped scallions and serve immediately.

FullSizeRender

Optional: Instead of the bed of spinach, here’s another way to serve that works just as well: Peel a cucumber and cut the ends off. Slice the cuke into 1/2″ slices. Then carefully remove the seeds from the center to make a “cuke donut.” Use these as little stands to hold your eggs on the plate. When ready to serve, remove the eggs from the fridge and top them with the raw tuna without marinating it first. Drizzle the soy sauce/chili oil over the top of the eggs, garnishing with the sesame seeds, scallions, and a touch of fish roe.


Here in Rhode Island, we have access to amazing seafood year-round. My friend, Gary, is a lobster man. My neighbor farms oysters. And for anything else, the Aquidneck winter farmers’ market at Newport Vineyards in Middletown is a great place to pick up veggies, bread, pasture-raised meats from local farmers, and freshly caught seafood.
IMG_3031
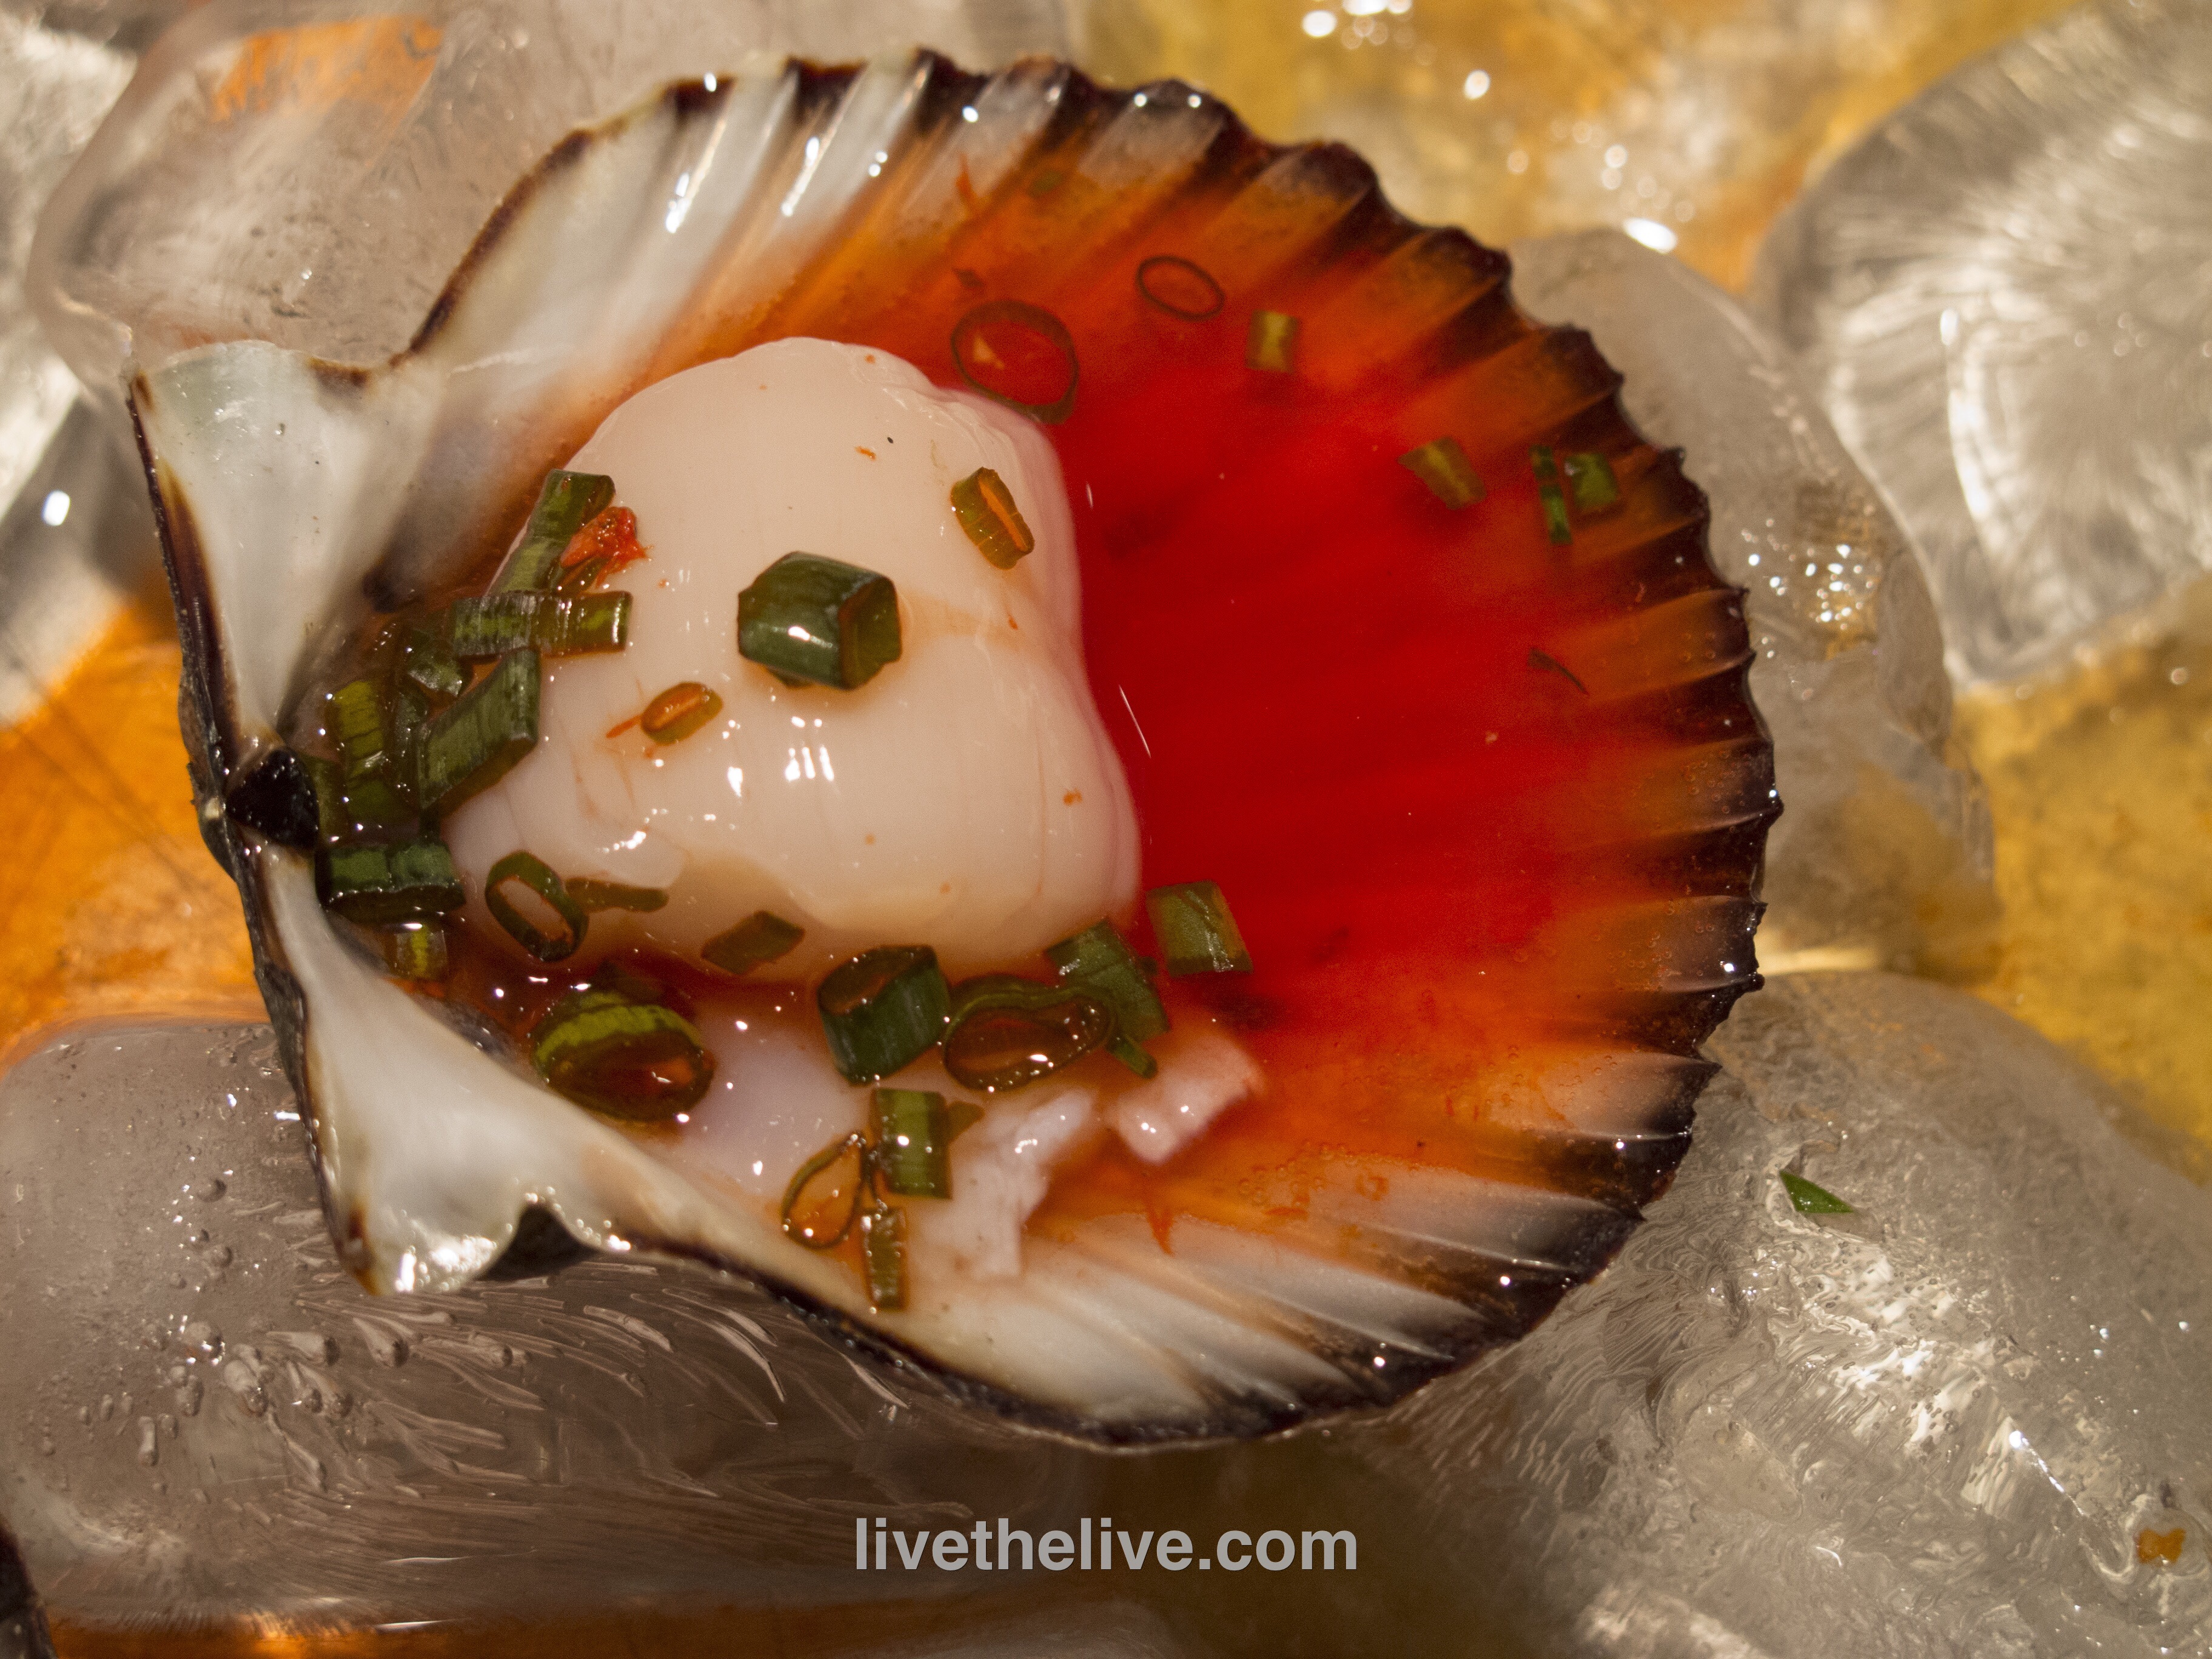
As far as I’m concerned, there is no better way to eat a fresh scallop than right out of the shell with just a little marinade on top, popping these beauties into my mouth literally as they’re still pulsing on the shell.
(Channeling Clint Eastwood) “So I gotta ask just one question: Would ya eat it if it twitches? Well, would ya, punk?”  youtu.be/b4eCXZUQkNY
Scallops are a bit trickier to open and clean than clams or oysters (at least for me) but all it took was a little practice while sipping a Chopin martini and I got the hang of it in no time.
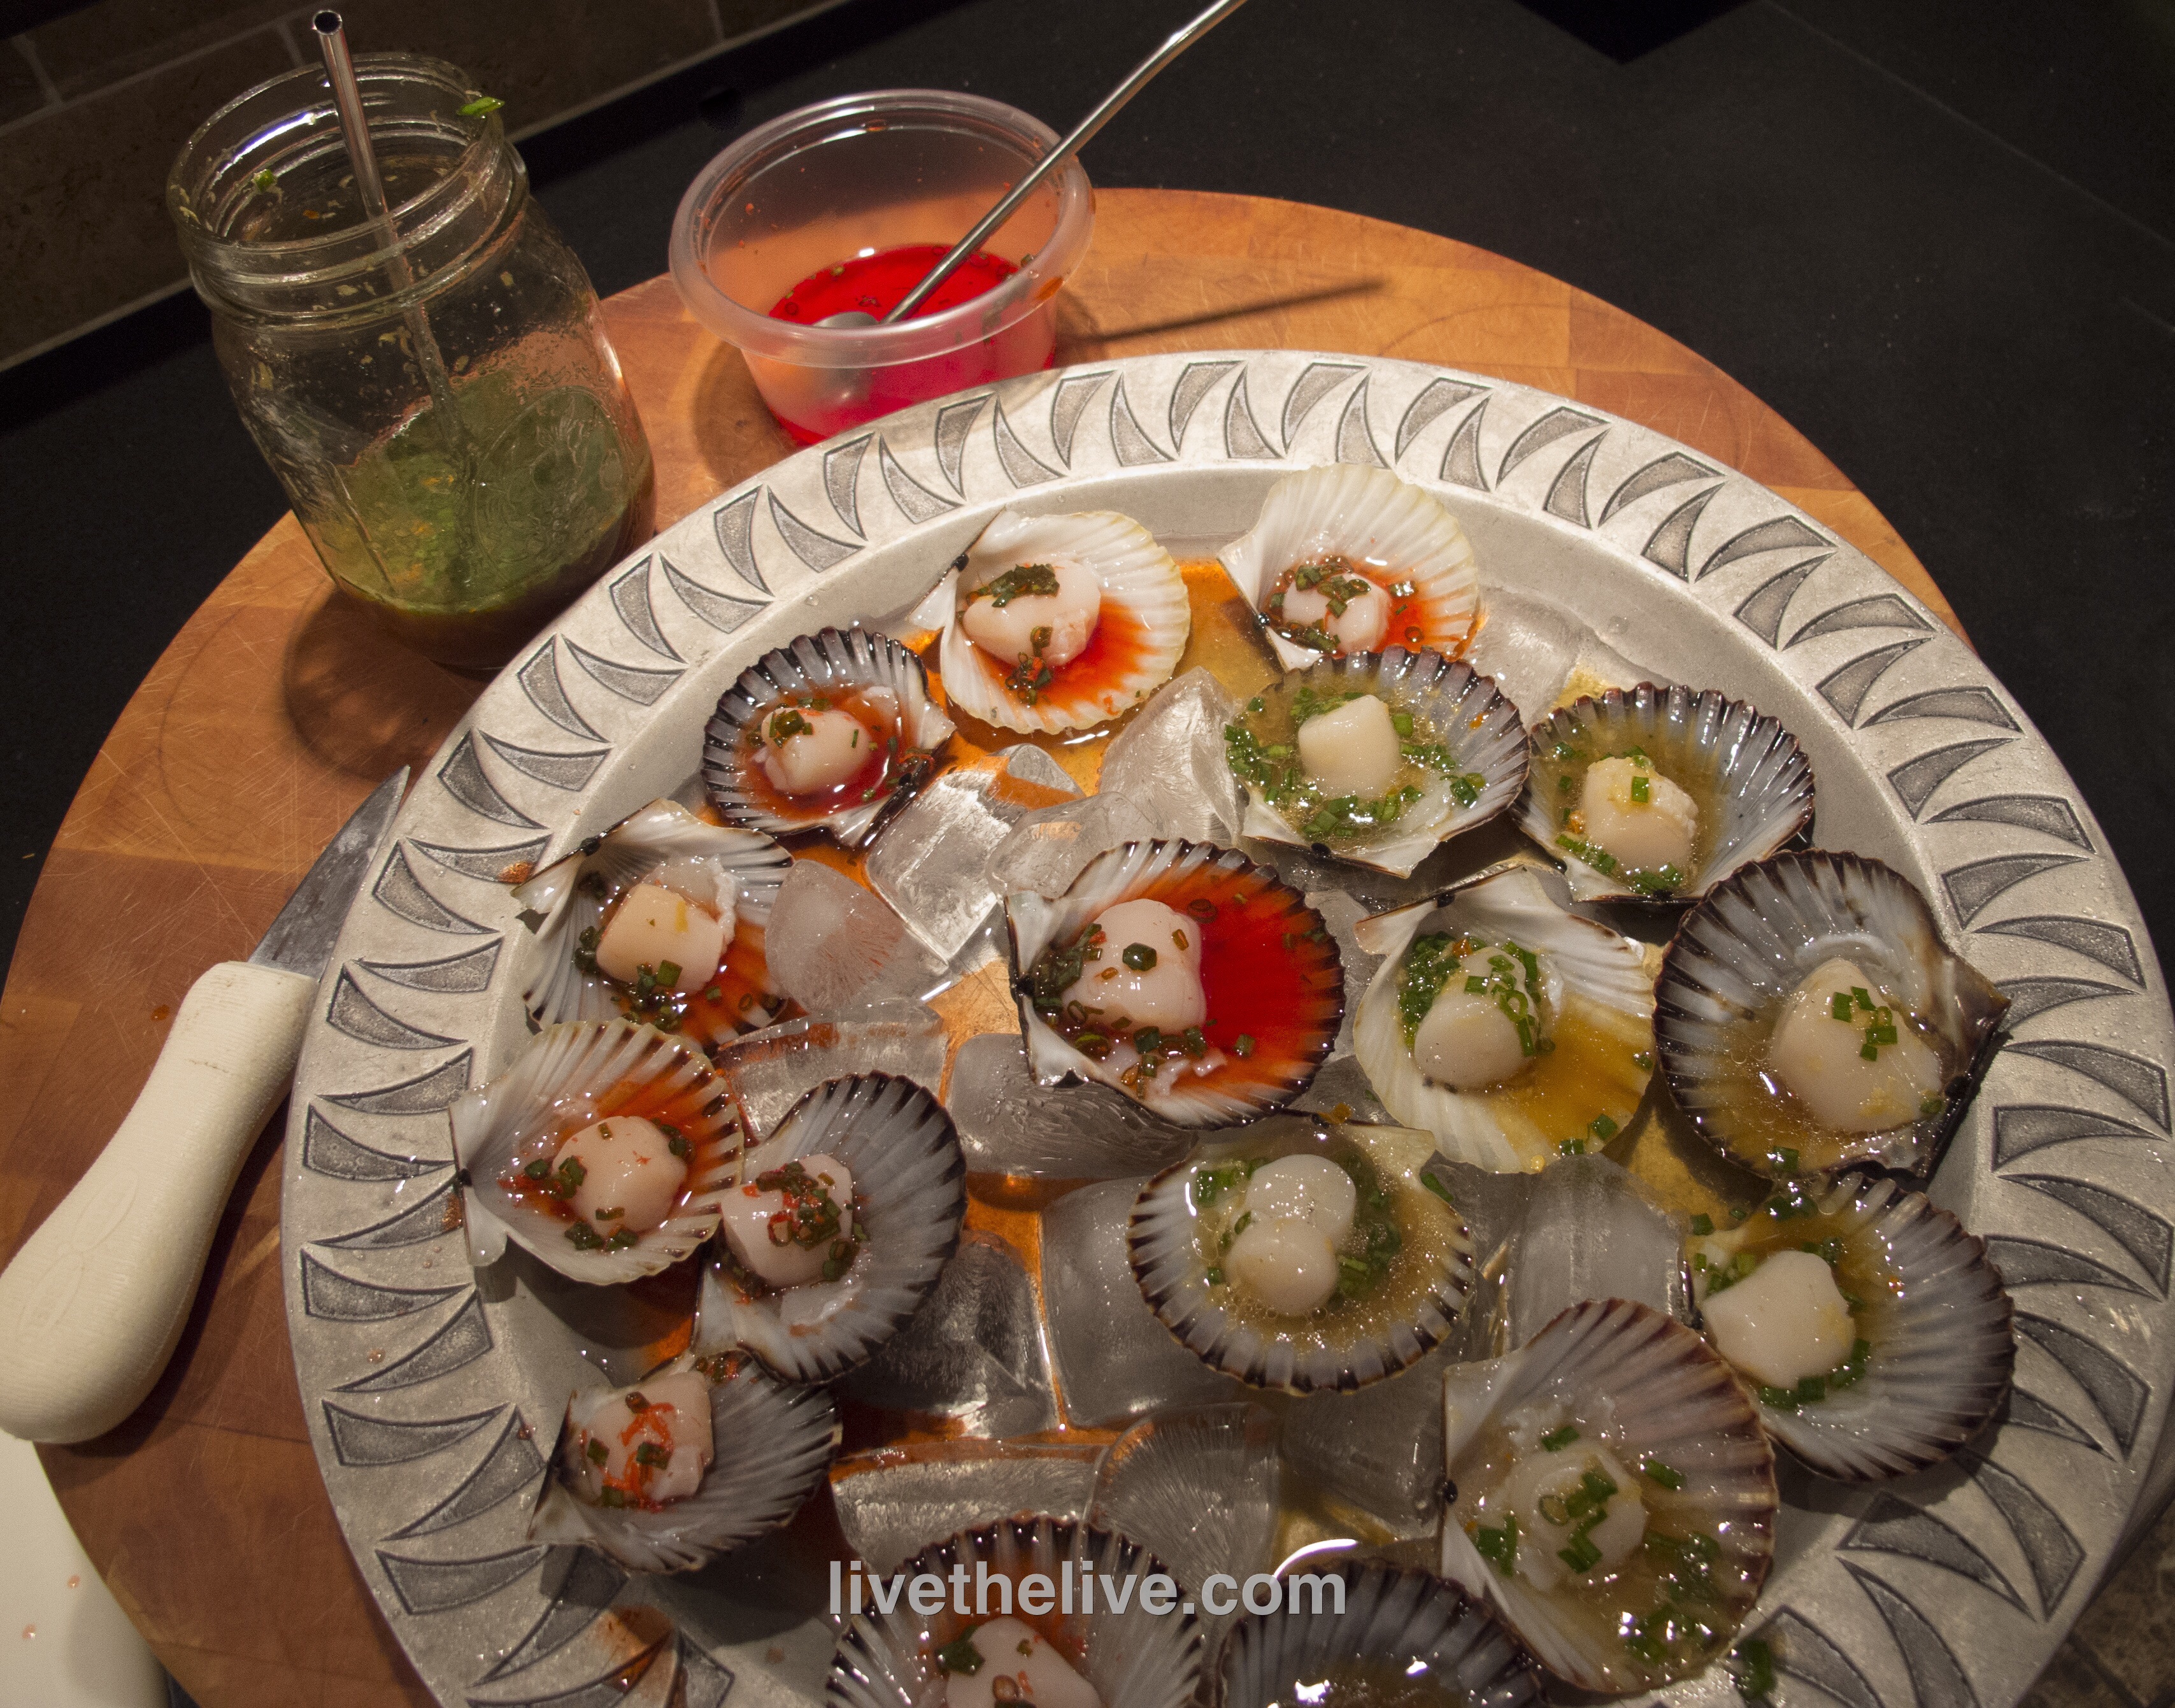
There are two marinades that I use when serving up raw scallops. The acidity in these marinades will cook the scallop a little, like in ceviche.
“MILLS TAVERN” MARINADE
The first place my wife and I ever had a raw scallop was at Mills Tavern, in Providence, RI. Freshly shucked scallops (in large flat shells) were served on ice with a tangy red marinade. We never got the recipe from the restaurant, but this is our version of that marinade.
3 tablespoons rice wine vinegar
2 tablespoons Grenadine
1/2 teaspoon fresh finely grated ginger
2 teaspoons finely chopped scallions
Combine all the ingredients and chill before using.
IMG_3037
And here’s one I came up with that also works really well with raw seafood…
1/4 cup freshly squeezed orange juice
1 1/2 tablespoons freshly squeezed lemon juice
1 1/2 tablespoons freshly squeezed lime juice
2 tablespoons soy sauce
1 tablespoon + 1 teaspoon peanut oil
1/2 teaspoon honey
1 1/2 teaspoons fresh finely grated ginger
2 tablespoons finely chopped scallion
2 small dried chili peppers, finely chopped

Combine all the ingredients and chill before using.
IMG_3033


Clam fritters, conch fritters, lobster fritters…I suppose you could fritter anything. But the first time I had them with mussels, I knew that I would never fritter my life away with any other!

It was a fall afternoon in Newport, Rhode Island, at the Newport Yachting Center’s annual Oyster Festival. We’re gorging on freshly shucked oysters and clams, boiled shrimp, and…what have we here? I had never heard of a mussel fritter before, but once I took a bite, there was no turning back.

They couldn’t be easier to make, but it is crucial to have the right fritter batter. And that starts with a Rhode Island product called Drum Rock fritter mix. If you live in New England, you can find it in just about any seafood department at Whole Foods. If you live further away, you can check out their website (www.drumrockproducts.com) or try your luck with a local brand of fritter mix.

fritter ingredients


If you’re using fresh mussels, be sure to clean them well and remove the beards. Steam them in a pot over a small amount of water. As they open, they will release their flavorful juices and you want to save every drop of that broth for the fritters. Here in New England, frozen mussel meats are available in some seafood stores. All you need to do is thaw them, steam them saving the broth, and you’re ready to go.

For the fritters:
1 lb. fritter mix
2 cups cooked mussel meats
1/2 cup mussel broth (saved from steaming mussels)
1/4 to 1/2 cup good quality beer (I use Sam Adams Boston Lager)
Avocado oil for frying (I don’t use canola or vegetable oils)


Steam the mussel meats until they’re just cooked. Remove the mussel meats, and reserve 1/2 cup of the broth. Pulse the mussel meats in a food processor, but leave ’em chunky…or chop by hand.

Put the fritter mix in a large bowl. Add the mussel meats, mussel broth, and beer. Stir gently until just mixed. Let it sit for 10 to 15 minutes and do not stir again. (If you’ve got guests coming, you can prepare up to this part ahead of time, covering the bowl with a wet towel, and leaving at room temperature.)

Using a thermometer, heat the oil to 350 degrees, and using a small spoon or scoop, drop fritters in the hot oil, turning gently, cooking 3 to 4 minutes until golden.

Drain on absorbent paper, and season with salt and pepper immediately. Serve right away!

IMG_3043


For the dipping sauce:
1 cup mayonnaise
1/4 cup Ponzu sauce

The perfect dipping sauce for these mussel fritters is made from two ingredients: mayo and Ponzu sauce, a citrus-based soy sauce. Combine both ingredients in a bowl. Keep in the fridge until you’re ready to use it.