Posts Tagged ‘seafood’

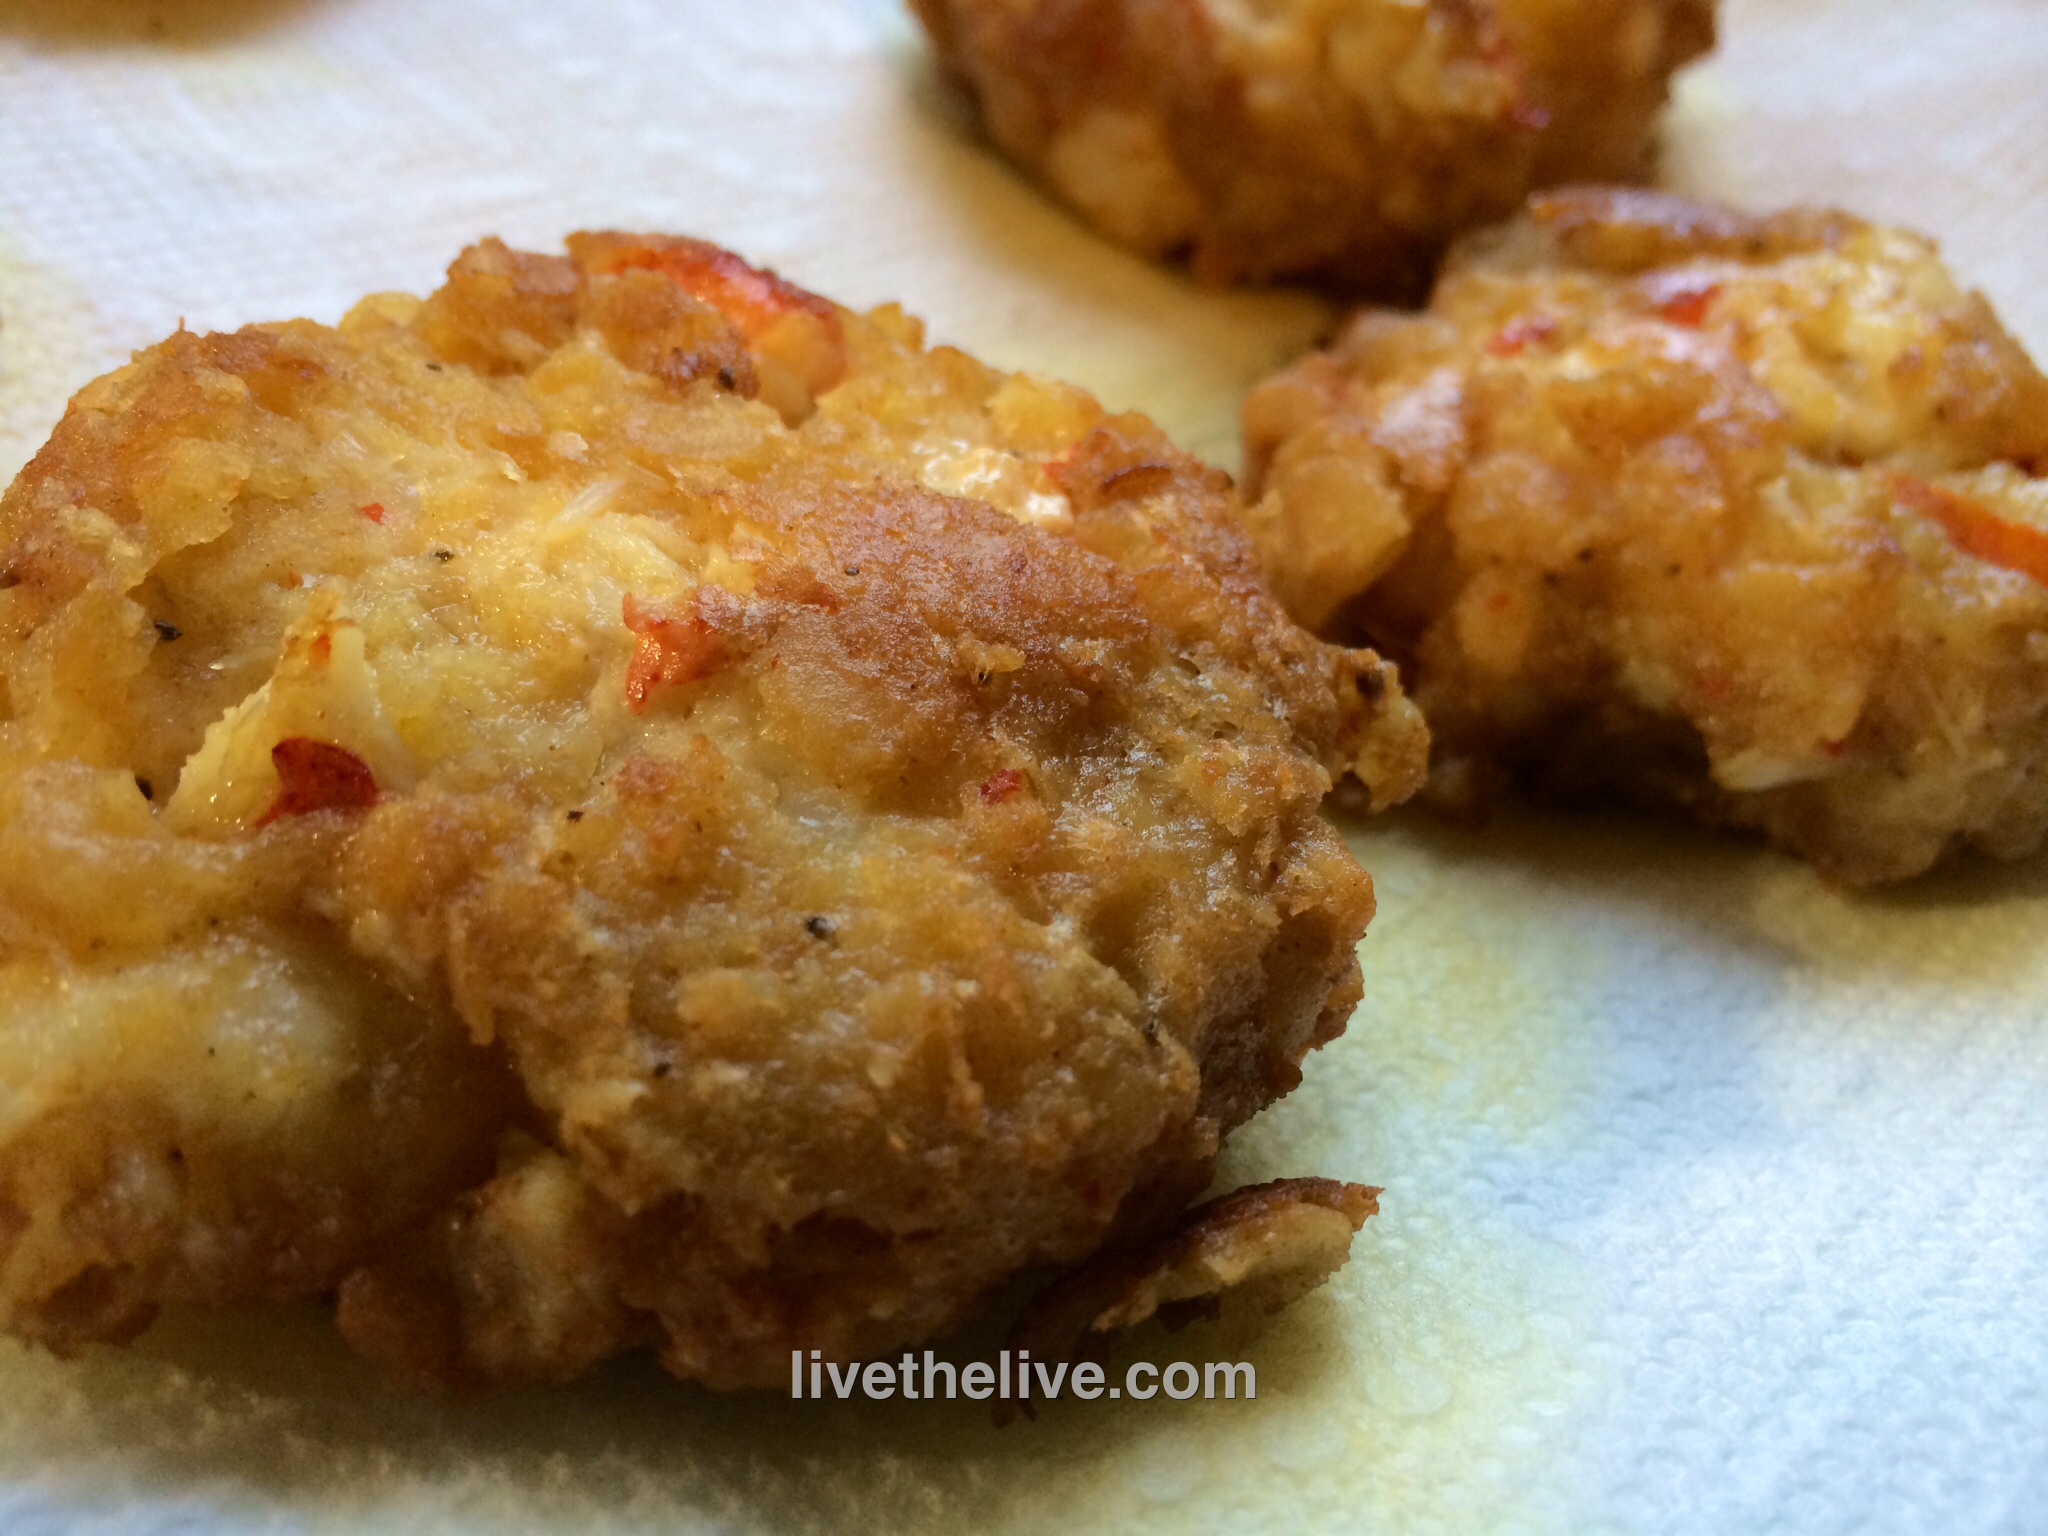
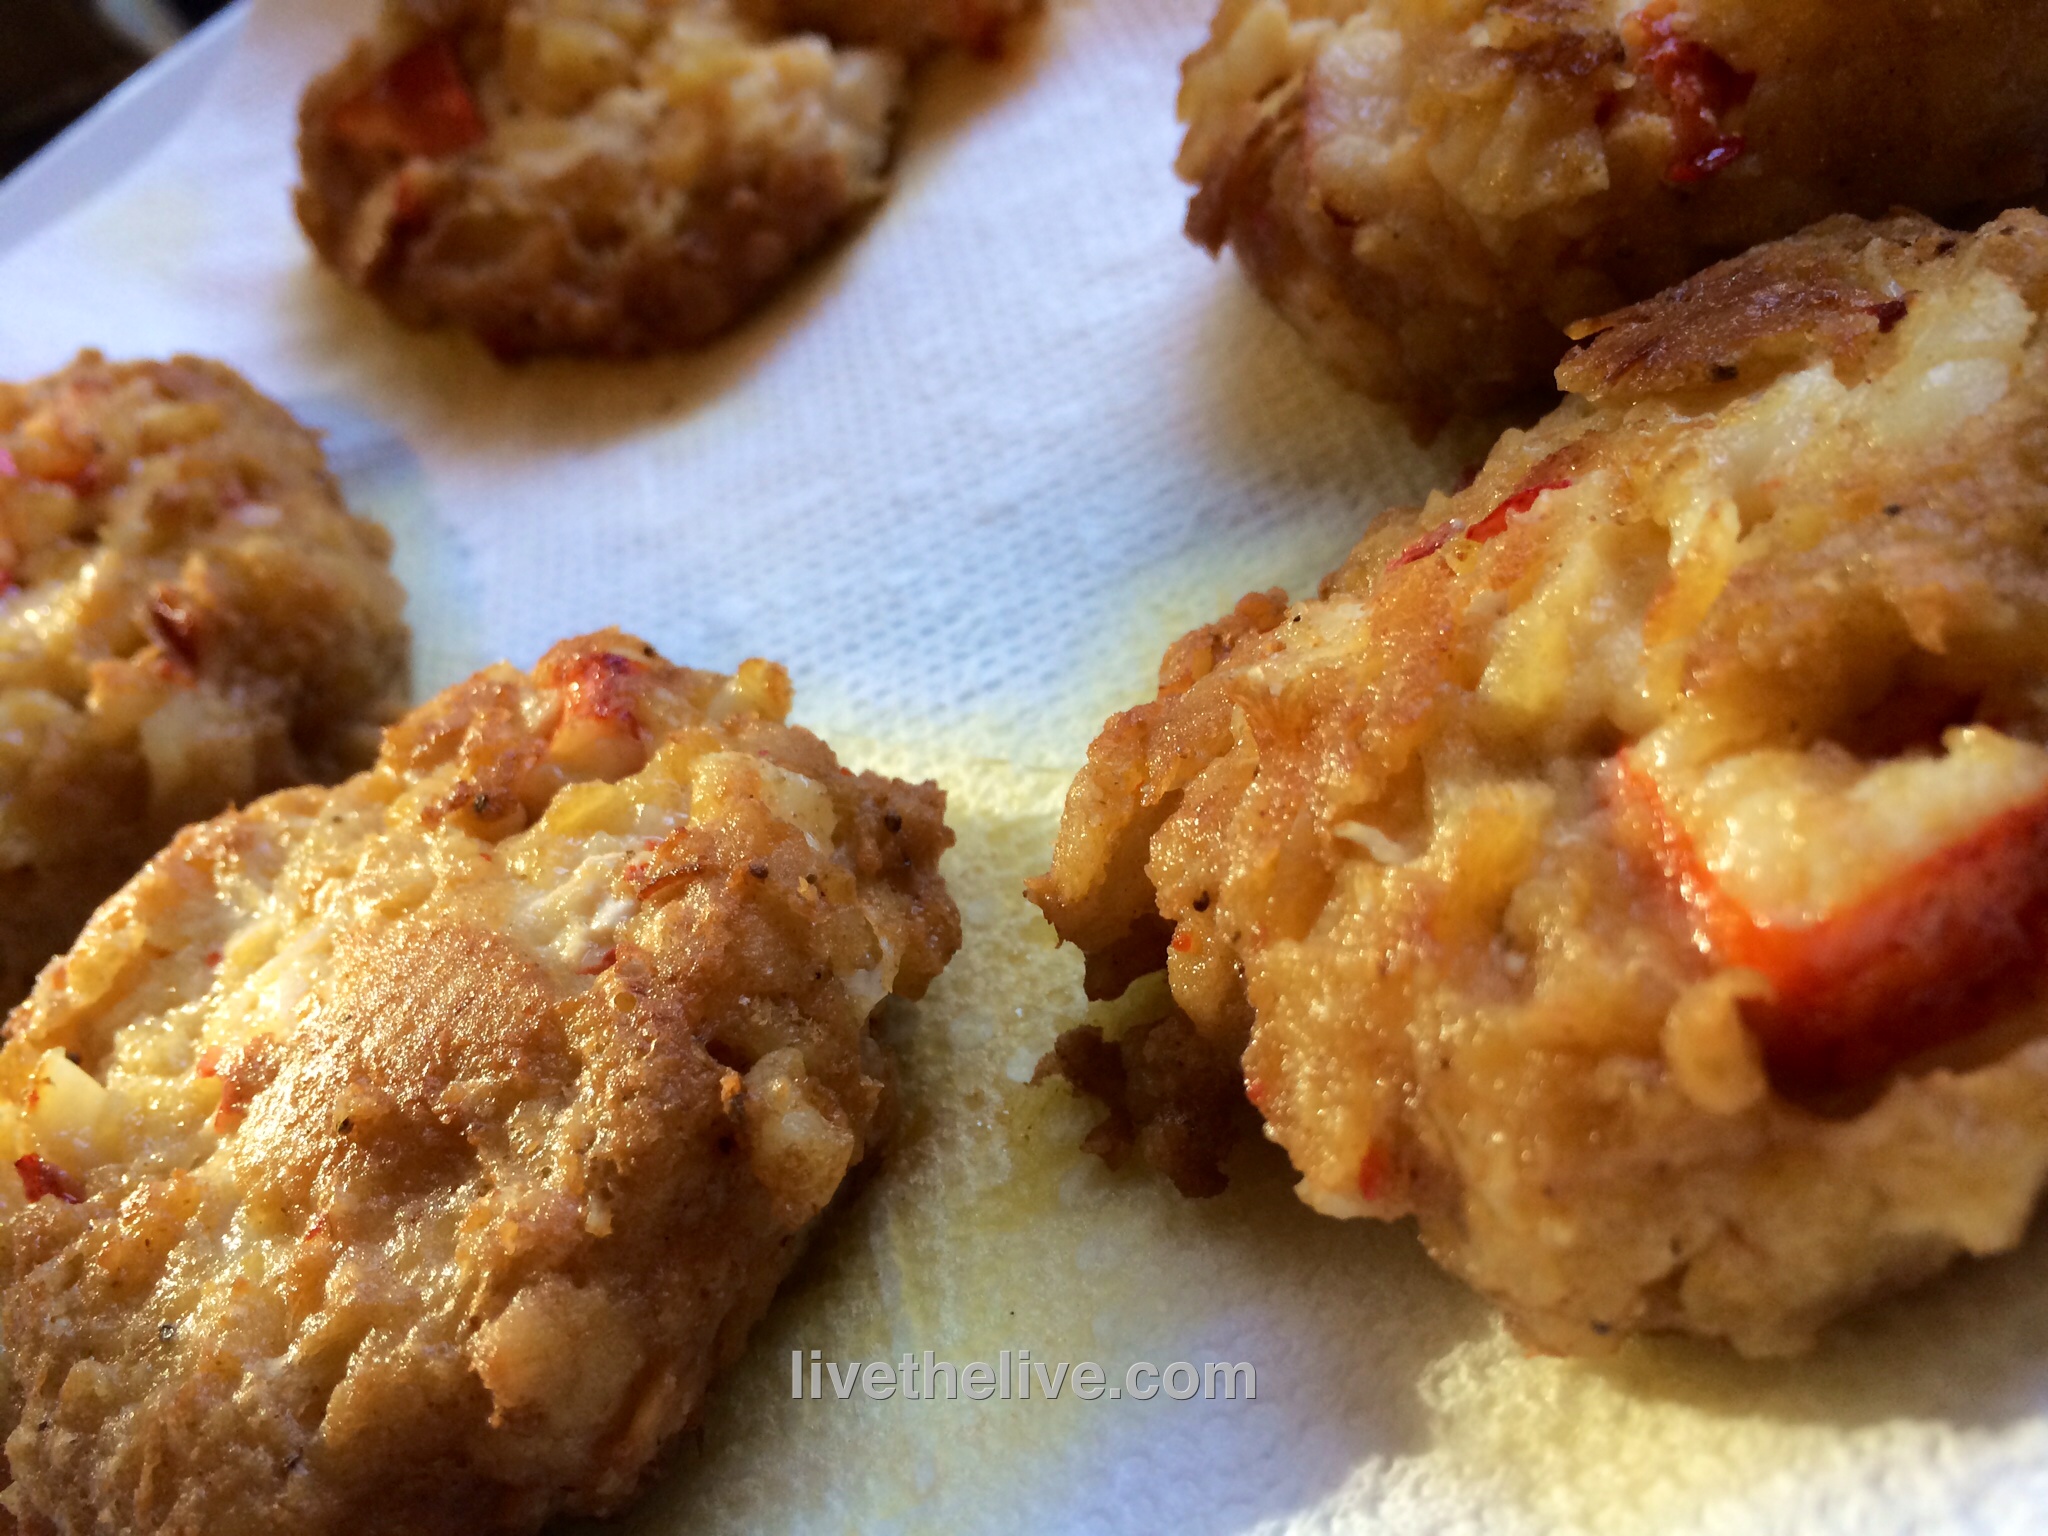
I had a pound of leftover lobster meat (I know, I know…how could you ever have leftover lobster?!) So I wrapped it tightly and kept it frozen. When I had a craving for crab cakes, I figured I’d try my recipe out with lobster instead. So good, I sprained my arm patting myself on the back!

lobstercake2

1 cup mayo (I like Hellman’s)
1/4 cup Dijon mustard (I like Maille)
1 teaspoon Old Bay seasoning
1 lb. cooked lobster meat (thawed, if frozen)
3/4 cup saltine crackers or oyster crackers
Olive oil

In a bowl, combine mayo, mustard and Old Bay Seasoning.

Chop the lobster into small pieces and add it to the mayo/mustard mix.

Pulse the crackers in a food processor until it resembles oatmeal. Add it to the bowl and gently combine the ingredients.

Form small patties. I use either a small beef slider mold or the lid from a small mouth Mason jar. I won’t kid you: it gets messy, but it’s worth it! Place the patties on a sheet pan lined with Reynold’s non-stick aluminum foil.

Place the sheet pan in the freezer for about 15 minutes to stiffen up the patties.

Heat some olive oil in a pan. Cook the patties on both sides until golden brown.

lobstercake1

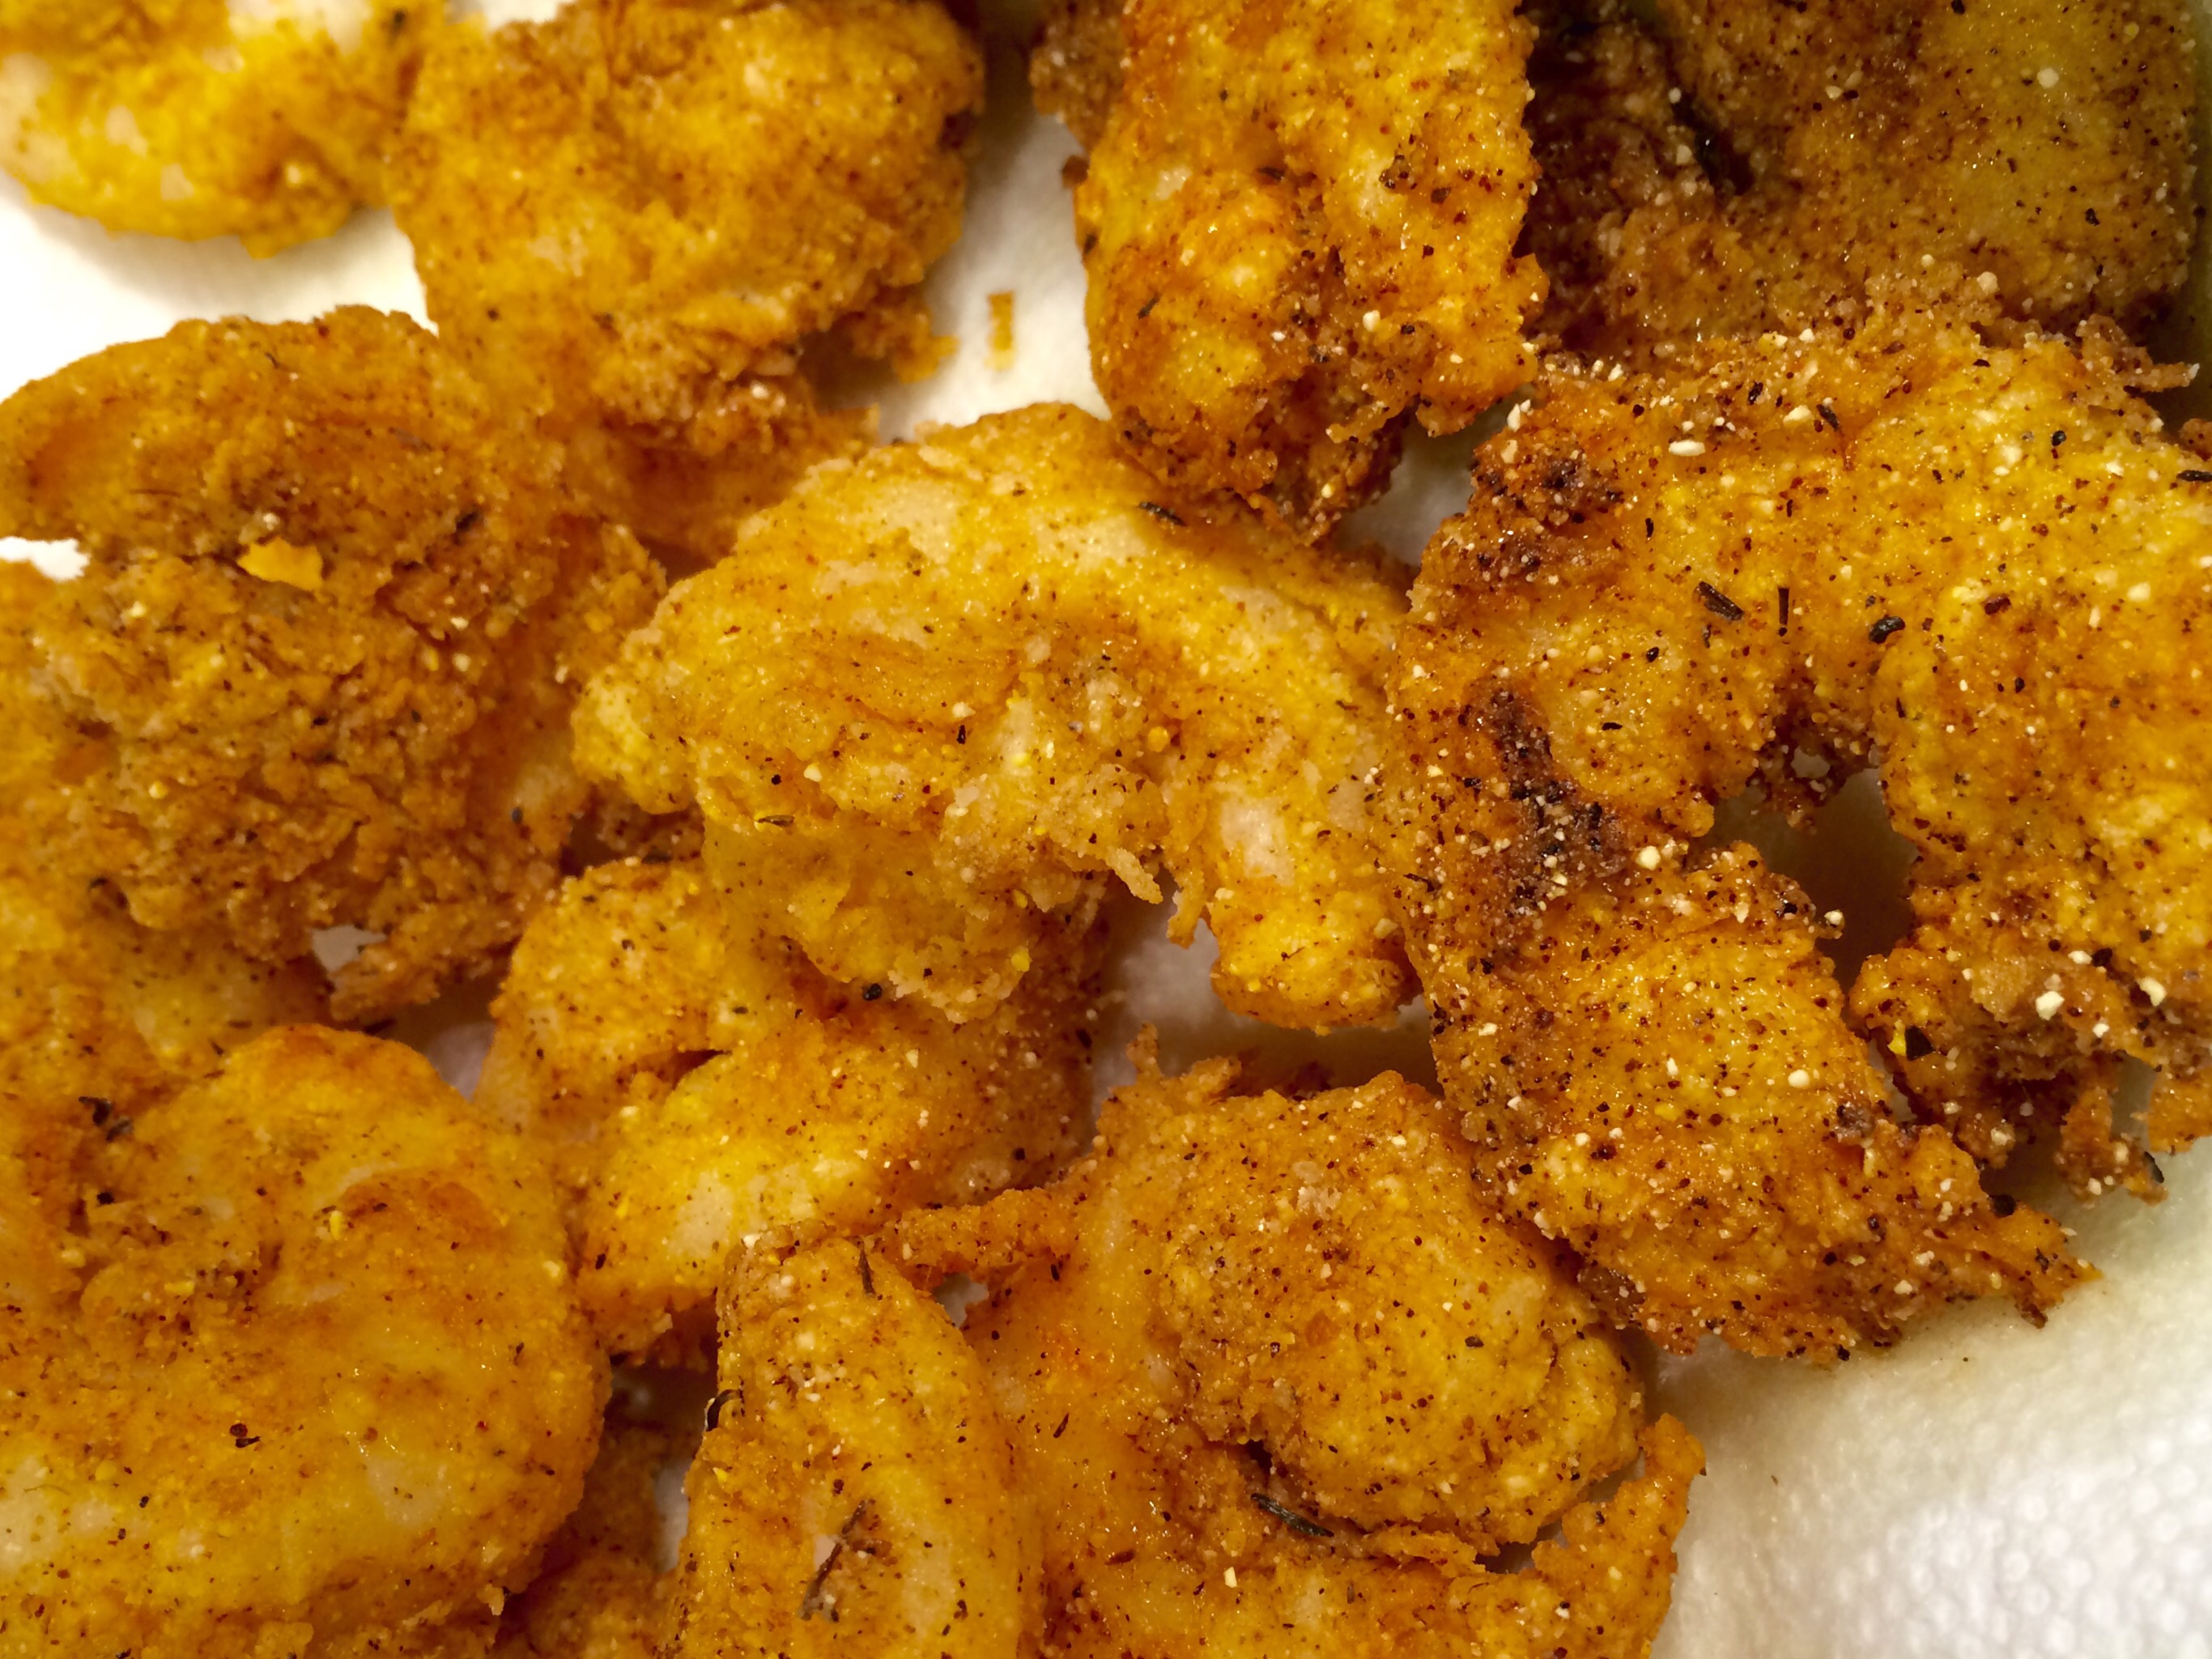
Great fried shrimp is like sea candy…you just can’t get enough. This recipe is easy and really delicious. Never use anything but wild-caught American shrimp!

image


1 lb. wild-caught USA shrimp
1/2 cup all-purpose flour
1/2 cup yellow corn meal
2 tablespoons Paul Prudhomme Seafood Magic seasoning
1 teaspoon sea salt
1 raw egg, scrambled
avocado oil or pork fat, for frying

image

Combine the flour, corn meal, Prudhomme seasoning (see below) and salt in a bowl. Set aside.

Scramble the egg in another bowl and set aside.

Peel and de-vein the shrimp. Remove the entire shell, or leave the tip of the tail, depending on your preference.

Heat a pan with an inch of the oil. When it reaches 325 degrees, it’s ready for frying.

Dip the shrimp in the egg, and shake off any excess. Then toss the shrimp in the flour mixture, shaking off any excess. Carefully place the shrimp in the pan of oil.

Cook the shrimp for about 45 seconds, flip them over, and cook for another 45 seconds, until they’re golden brown. Don’t crowd the pan and never overcook shrimp!

Drain on paper towels and serve immediately!

It takes less than a minute to fry the shrimp. Don't overcook!

It takes less than a minute to fry the shrimp. Don’t overcook!


The shrimp are delicious by themselves, but here’s an easy remoulade to make along with them…

1 cup mayo
1/4 cup Gulden’s mustard
1/4 teaspoon granulated garlic
1 tablespoon dill pickle relish
1/2 teaspoon Frank’s Red Hot
Pinch cayenne pepper
1/2 teaspoon salt
1/4 teaspoon white pepper

Combine the ingredients and keep in the fridge until ready to use.


It’s a bit of a cheat, but I find the Paul Prudhomme Seafood Magic seasoning has great flavor and works really well for this. I also use it on fish: simply pan saute a filet in butter, and sprinkle on the seasoning. I originally started with the small jar found in most supermarkets, but then quickly graduated to the jumbo size can found online!

image


Freshly shucked oysters and clams–or in this case–beautiful boiled wild-caught American shrimp, call for an equally amazing cocktail sauce…and this sauce kicks butt! And it features a key ingredient that you might not expect: vodka. The small amount of vodka in the mix keeps the cocktail sauce from freezing solid when stored in the freezer. Just scoop out what you need, let it thaw, and put the rest back in the freezer.

image


2 cups ketchup
4 tablespoons prepared horseradish
1 tablespoon fresh lemon juice
1 teaspoon Worcestershire sauce
1/2 teaspoon Frank’s Red Hot, or other hot pepper sauce
5 grinds of fresh black pepper
1/4 teaspoon salt
1 teaspoon good quality vodka, like Tito’s

Combine all the ingredients. Store in a tight plastic container in the freezer.

Though it may sound Japanese, the word “saganaki” refers to a small frying pan used in Greek cooking. The most famous of these dishes, simply called saganaki, is a fried cheese, often flamed at the end with a little ouzo.

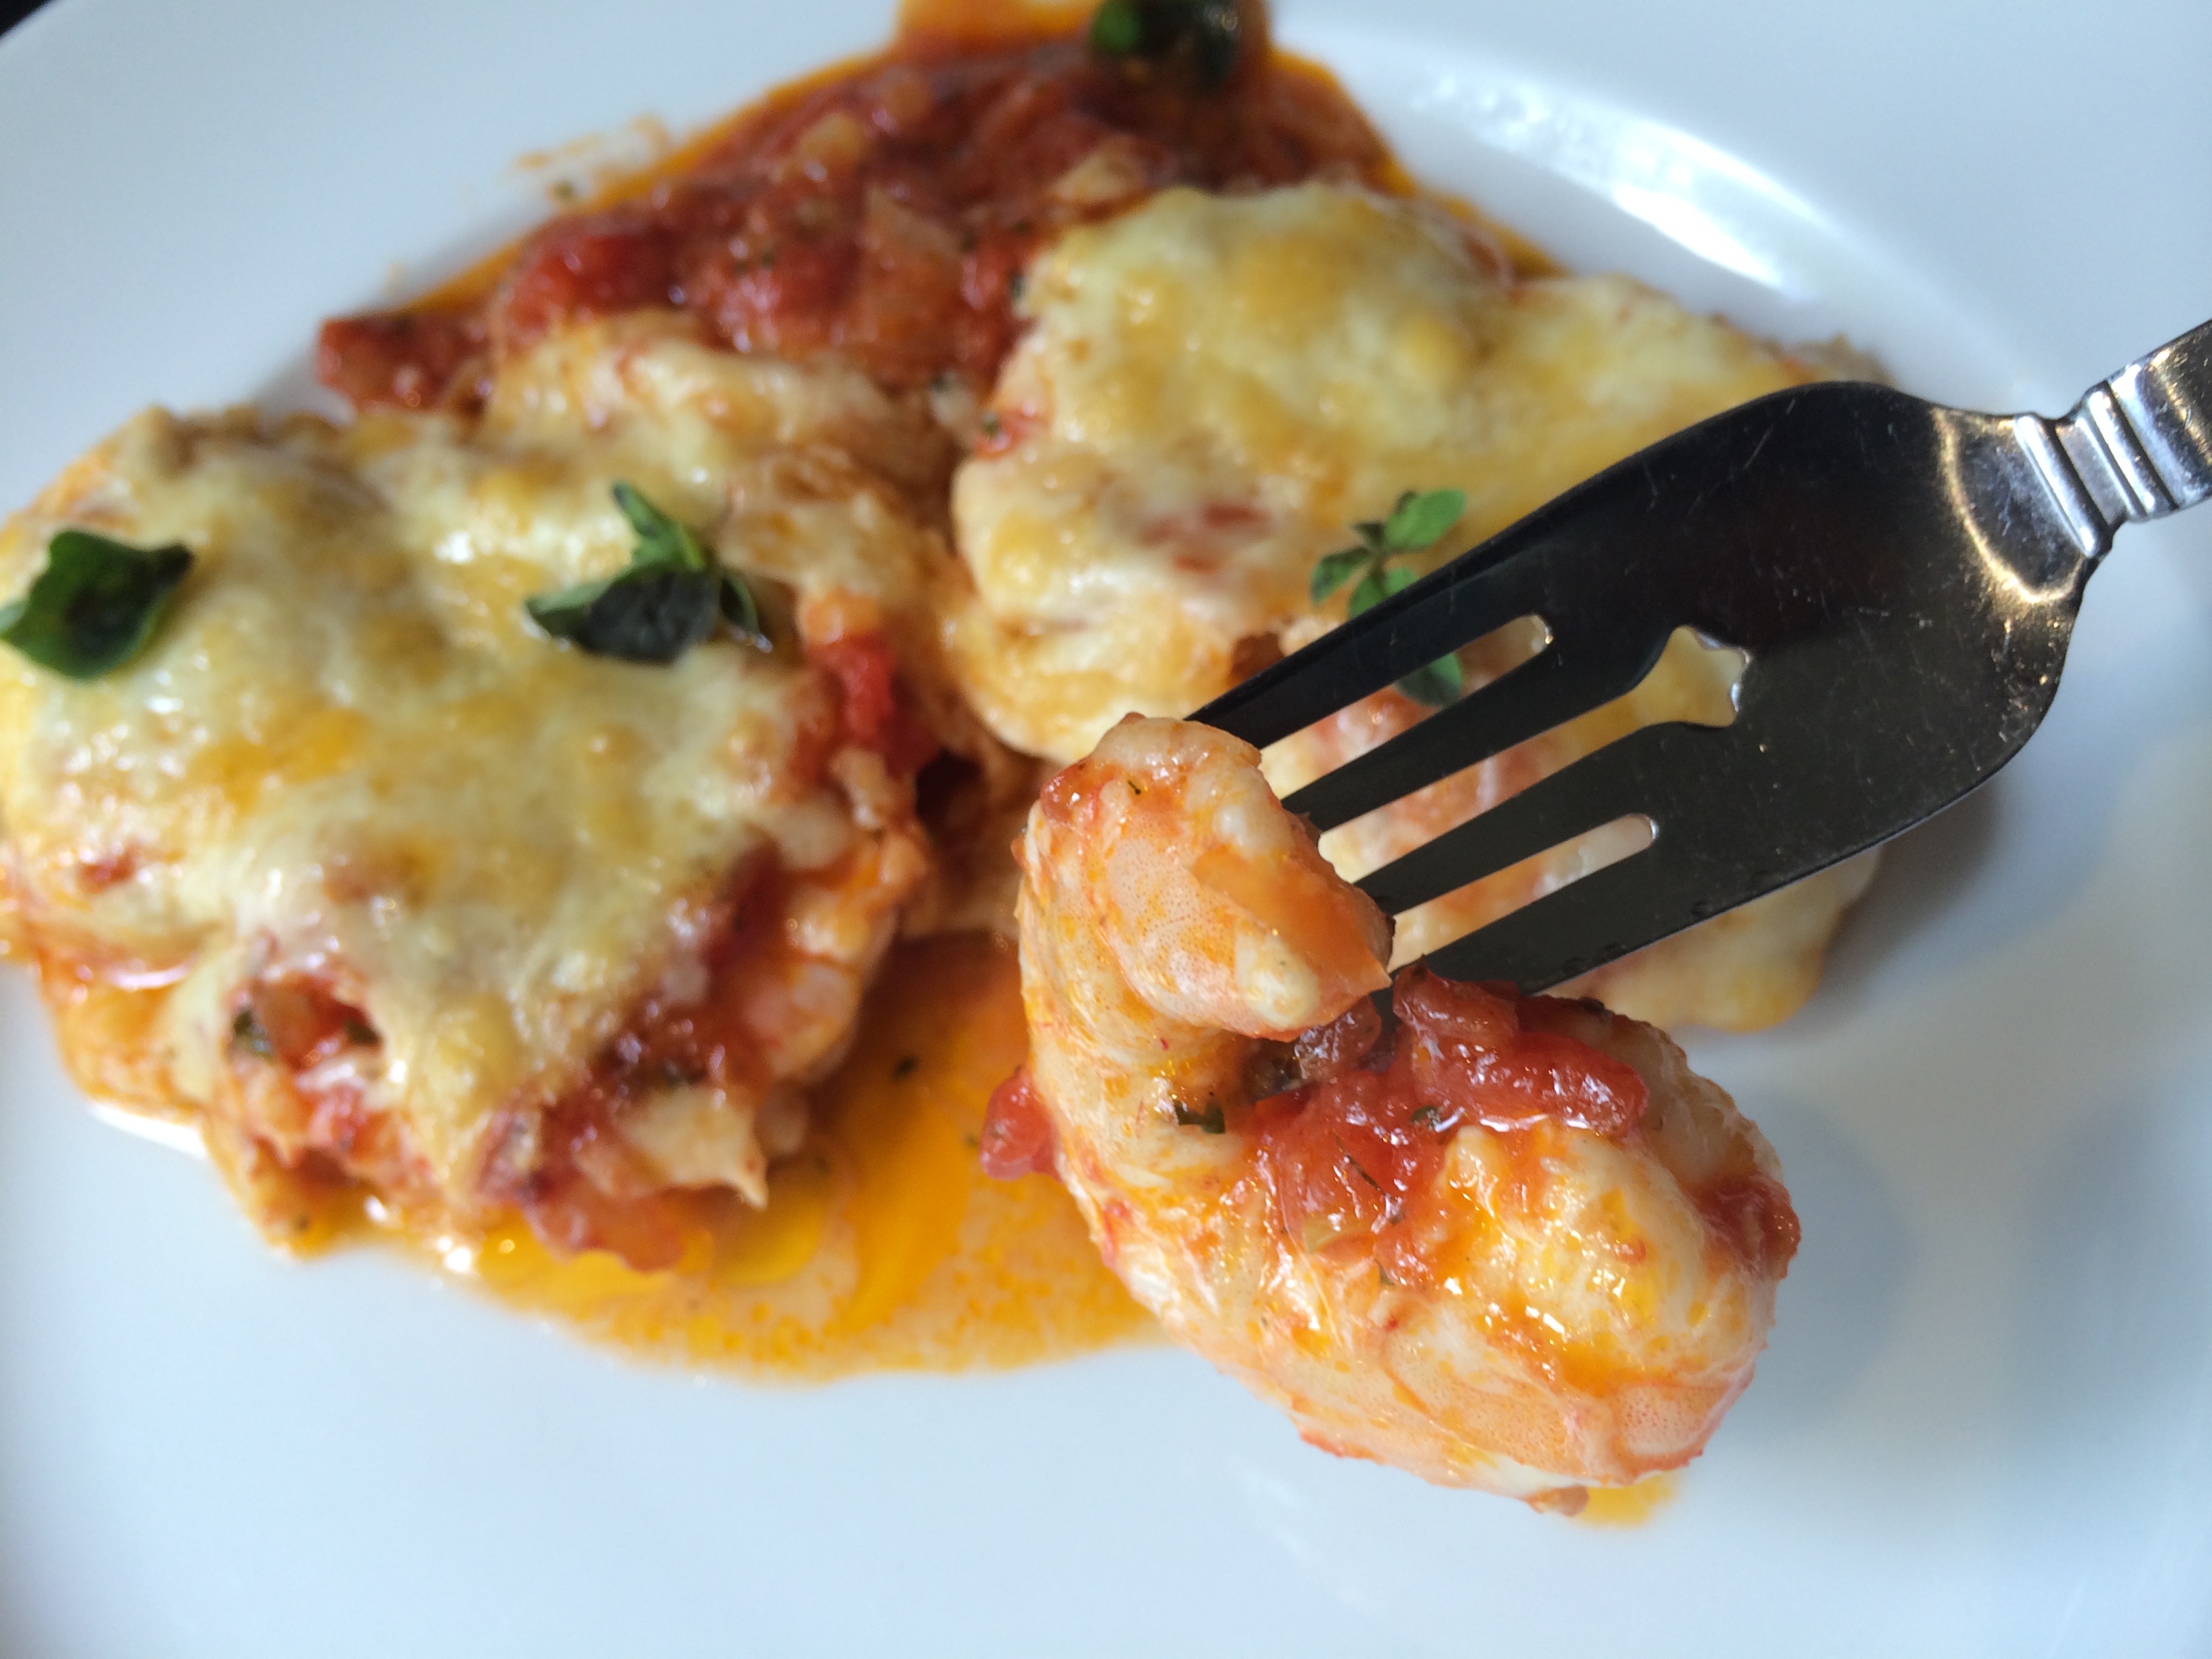
Shrimp saganaki is one of my favorite Greek dishes, and it usually involves cooking shrimp in a tomato-based sauce with plenty of feta cheese sprinkled in. It’s a simple yet fantastic dish if the ingredients are fresh. Doesn’t hurt to be sitting in a taverna on the beautiful island of Santorini while eating it, either!

Graviera cheese

Graviera cheese

I had a slab of Graviera cheese from my most recent trip to Santorini, and decided to recreate shrimp saganaki using that instead of feta. It was pretty damn amazing…

Melty, gooey, delicious!

Melty, gooey, delicious!


300 g grated Graviera cheese
1 can (28 oz) whole tomatoes
1 lb (about 24) shrimp, peeled and deveined
1 medium onion, chopped
juice of 1/2 lemon
1/4 cup olive oil
2 cloves garlic, through a press
pinch red pepper flakes
1 1/2 tablespoons fresh dill, finely chopped
1 tablespoon fresh oregano, finely chopped
1 1/2 tablespoons Ouzo
salt and pepper


Peel and de-vein the shrimp. Squeeze the juice of  1/2 of a lemon on to the shrimp and toss. Set aside.

In a large pan, saute the onions in the olive oil until translucent. Add garlic and cook for a few seconds more.

Crush or puree tomatoes and add to the pan. Add red pepper flakes, dill and oregano, and salt and pepper. Add Ouzo.

Let this sauce cook down for a bit until all the flavors have blended together.

Pour a layer of the sauce on the bottom of a metal broiler-proof pan. Lay the shrimp in a single layer into the sauce. Cover the shrimp with the rest of the sauce and sprinkle the grated Graviera on top.

Place the pan in the broiler and cook until the cheese is brown and bubbly.

shrimp saganaki


Nothing says summer here in New England like a lobster roll. But I don’t go to a clam shack to get one. The prices are ridiculous, the meat can be overcooked, and they often add ingredients I don’t want.

I start with fresh lobster. I get it from my lobster man buddy, Gary, just down the street at his dock in Tiverton, RI.

A view of the Sakonnet River from the back of Gary's lobster boat, the Edna Mae

A view of the Sakonnet River from the back of Gary’s lobster boat, the Edna Mae

The next step is to cook it right. I use sea salt in a large pot of boiling water. I make sure the water is at a rolling boil before the lobsters go in. And I cook them for no more than about 8 minutes.

Lobster catch LTL

After the lobsters have been removed from the pot and have cooled for a few minutes, I get to work: cracking the claws and tail and removing every bit of beautiful meat I can find. Lobster lovers will tell you that the legs have some meat in them and that the tomalley (the green liver and pancreas) and roe (eggs) are delicacies not to be missed. For the purpose of making lobster salad, I don’t use these parts. But I do save the tomalley and roe for a separate treat…and I save all the legs and cleaned empty shells for lobster stock.

Lobster roll LTL

Everyone has their own opinion about lobster rolls: what goes in ‘em…and perhaps more importantly, what doesn’t. I am no exception. For me, no veggies whatsoever: no chopped celery, no lettuce, no pickle. No paprika or Old Bay seasoning. A pinch of celery salt? Sure. Mayonnaise? Only Hellman’s. White pepper, not black, and just a touch. Salt? A pinch of Fleur de sel. And the secret weapon to bring out all the flavors: the tiniest squeeze of fresh lemon juice…not enough to give it a lemon flavor…just to brighten the taste.

I prefer those long Martin’s potato rolls: straight out of the bag or lightly grilled with a little melted butter brushed on.


Who says you have to cook a burger on the grill for Memorial Day? This is one of my favorite ways to enjoy clams…and without the clam knife! I always use hardwood charcoal.

Although I live on the opposite side of Rhode Island, I love visiting my friends at American Mussel Harvesters in North Kingstown. The quality of their seafood is second to none, which is why they supply so many area restaurants with their products. They feature “restaurant ready” mussels, meaning they’ve been cleaned and de-bearded. And their “restaurant-ready” clams mean they’ve been purged to perfection! (www.americanmussel.com) I use ’em whenever I can.

image


A couple of dozen (or more) little neck clams, washed and purged
1 stick (8 oz) of unsalted butter
1/4 cup extra virgin olive oil
1/4 cup chopped parsley
1 teaspoon dried oregano
1/2 teaspoon dried basil
1 teaspoon minced garlic
1/2 teaspoon sea salt

image


The clams should be stored cold and dry until ready to use…not in water, not on ice. Place the clams in a bowl and cover with a wet dish towel in the fridge.

Because my clams have already been purged, I don’t have to do it at home. But here’s what to do if they haven’t been purged: Fill a large bowl with cold water, add sea salt and some corn meal to it, and mix it around. Add the clams to this bowl and let them purge in this liquid for at least an hour. They will suck up the corn meal and spit out sand and grit. After an hour, pour off the water/salt/meal/grit mix, and thoroughly wash the clams.

Start your hardwood charcoal grill and divide it in half: coals on one side, no coals on the other.

While the coals are heating up, grab a disposable aluminum foil tray and place it on a burner on your stove over medium heat. Add the butter, olive oil, parsley, oregano, basil, garlic and salt, and stir to combine. Once the butter has melted and everything has blended, bring the tray over to the charcoal grill and place on the side of the grill without coals. It will stay warm.

Once the coals are hot, just place the clams directly on the grill. (Use tongs, unless you want to remove all of your knuckle hair.) When they start to open, carefully flip them over, trying not to lose any of the precious juices inside the clam. Cook them for as long as you like, from raw, to more thoroughly cooked. As each one reaches its desired doneness, place it in the aluminum tray, making sure it gets swished around in the butter and herb mix.

When all the clams have been cooked and are in the tray, serve with on top of pasta…or simply eat with a fresh baguette. A glass of great white wine is a must.

image

I love shrimp scampi, and had the need to satisfy my cravings the other day. But what started as a simple scampi recipe, turned into something a bit more. I may never make scampi the same way again!

image

1 lb. wild-caught American shrimp, peeled and de-veined
4 tablespoons butter
4 tablespoons olive oil
2 teaspoons parsley
1 teaspoon garlic salt
1 teaspoon oregano
1/2 teaspoon granulated onion
1/4 teaspoon black pepper
3 tablespoons Spirgučiai (see below)
1/2 lb. fresh mozzarella, sliced
oregano, for sprinkling


Thaw the shrimp under cold water. Place in a colander to drain.

Spirgučiai is a Lithuanian favorite: chopped bacon and onions, fried until crisp and usually sprinkled over anything and everything in Lithuanian cooking. I always have some in my fridge, already prepared and just waiting to be used.

In a saucepan on medium heat, combine the butter, olive oil, parsley, garlic salt, oregano, onion, pepper and Spirgučiai.  Heat only until everything melts and combines. Don’t let it burn.

In a small sheet pan lined with foil, lay the shrimp in a single layer and cook them halfway in a pre-heated 400-degree oven to remove the moisture from the shrimp.

Take the pan out of the oven, and drain off the moisture, if any. Pour the butter mix from the saucepan all over the shrimp and toss to coat. Return the shrimp to the oven for a few minutes, until they’ve heated through and are almost completely cooked. (Careful: never over-cook shrimp!)

Take the pan out of the oven, and place pieces of mozzarella on top, garnishing with a little oregano. Set the oven on broil and cook until the cheese has melted.

Slice with a spatula and serve on top of pasta, making sure you get some of that buttery scampi sauce.

image

As a low-carb option, you can serve this on broccoli or roasted spaghetti squash.

The inspiration for this sauce was my attempt to replicate the “Shack Sauce” they use at Shake Shack , a high-end burger joint owned by restaurateur Danny Meyer. Since it opened in New York City’s Madison Square Park in 2004, Shake Shack has expanded to many other locations around the world.

I don’t know if I captured the Shack Sauce secret. But I do know that my Awesomesauce makes every burger I grill taste amazing. It’s also fantastic for shrimp, crab or lobster salad…a dip for veggies or boiled shrimp…a dressing for tacos…and great on salads.

Awesomesauce

1/2 cup mayonnaise
1 tablespoon ketchup
1 tablespoon yellow mustard
1 tablespoon dill pickle relish
1/4 teaspoon garlic powder
1/4 teaspoon paprika
Pinch cayenne pepper

Combine all the ingredients in a bowl. Mix well. Refrigerate covered for a few hours to blend the flavors.

Calamari is the official appetizer of the state of Rhode Island. And for good reason. Squid means big business, and what we catch in Rhode Island accounts for up to 50% of the east coast’s quota every year! Squid have a lifespan of 12 to 18 months, reproduce twice a year, and can be caught year-round, with very few catch limitations, making it lucrative for fishermen.

Great fried calamari is an art form. It may seem like a simple dish, but to make it light and crispy, you need to be on your game. That’s why it can be a real hit-or-miss item on most restaurant menus. And there’s nothing worse than getting what would have been a great plate of calamari had the chef not decided to pour sauce all over it, turning the crispy cephalopod into mush.

What makes great fried calamari are three basic elements: it needs to be wild caught in the US (preferably Rhode Island!) and properly cleaned…it needs to be fried at the right temperature for the right amount of time so that it’s perfectly cooked and not greasy…and the coating needs to be light and crispy.

calamari


1 lb. wild caught cleaned squid (thaw if frozen)

1 cup flour (I use gluten-free these days)

1 teaspoon dried oregano

1  teaspoon paprika

1 teaspoon dried parsley

1/2 teaspoon granulated garlic

1 1/2 teaspoons salt

1/2 teaspoon black pepper

1 cup milk

1 large egg

oil, for frying (I use avocado oil)

Thaw the squid and slice into bite-sized rings. In a bowl, whisk the milk and the egg together. Toss in all the squid pieces into the bowl to coat. Place the bowl in the fridge for at least 15 minutes.

In another bowl, combine flour, oregano, paprika, parsley, garlic, salt and pepper. Set aside.

Fill a large pan halfway with oil…or use a deep fryer if you have one. Heat the oil to 350 degrees.

Working in small batches, remove the squid from the milk and egg mixture, let some of it drip off, then place the squid in the flour mixture and toss to coat. Shake off any excess flour and place immediately into the hot oil. Fry until golden brown, about 4 minutes. Serve immediately with tartare sauce, tomato sauce, hot peppers, whatever you like. (But keep the sauces on the side for dipping.)

About the oil: I cook almost exclusively with olive oil. But for hot frying like this recipe requires, I go with avocado oil, which can take higher temperatures.

It’s always a challenge when you’re on a diet. I’m going no alcohol and low-carb to lose some weight. (Down 6 lbs. in 5 days so far.) My wife needs to include gluten-free food in her diet, though she can have a few carbs. Fish is a great source of protein, and we love it sauteed in a little butter and olive oil with Paul Prudhomme’s Seafood Magic seasoning on it. But let’s face it, that gets old after a while, and we all know there’s nothing tastier than fried fish.

Rather than using a heavy beer batter like I used to do (damn good and easy to do:http://wp.me/p1c1Nl-en), I came up with a very light gluten-free-flour-based seasoning that gave the fresh-caught local fish we bought incredible flavor and crunch without a carb overload and without gluten. Damn good, and I have to say, you’d never know the difference.

There are many gluten-free flours out there now, and all you need to do is substitute them cup-for-cup in any recipe you have. I’ve tried Bob’s Red Mill (OK), King Arthur (better), and Pamela’s (very good–what I used for this recipe.) I’ve just ordered the latest: Cup 4 Cup, created by chefs that include the famous Thomas Keller, which we tasted at Mario Batali’s Del Posto restaurant in New York City recently. They have about 12 different pasta dishes on their menu, and each one has a gluten-free option using the Cup 4 Cup flour. They were fantastic!

image


1 cup flour (all-purpose or gluten-free)

2 teaspoons salt

1/2 teaspoon pepper

1 tablespoon dried parsley

1 teaspoon oregano

1 teaspoon granulated onion

1/2 teaspoon granulated garlic

1 teaspoon paprika

2 eggs

fresh locally caught fish fillets of your choice (I used fluke and ocean perch)

Organic GMO-free canola oil or avocado oil for frying


In a flat bowl you will use to dredge the fish fillets, combine the flour, salt and pepper, parsley, oregano, granulated onion and garlic, and paprika.

In a separate flat bowl, scramble the 2 eggs.

Pour about 1/2″ of the oil in a pan and heat to medium-high heat.

Dip the fish fillets first in the eggs, coating well. Then dredge in the flour mixture, pressing down on both sides, so the flour mixture really sticks to the fish. Then shake the fillet lightly to remove the excess flour and gently lay the fillet in the hot oil. Fry until golden.

We made a quick and delicious tartare sauce using mayonnaise, dill pickle relish and Maille sauterne mustard.