Posts Tagged ‘seafood’

I’m not a big beer drinker, but I do like to cook with it. One of my favorite things in the world is beer-battered fish. And it doesn’t have to be greasy if you do it right. (Scroll down to the bottom to see how to make this gluten-free!)

When you fry at home, you can do things the right way: start with clean oil, heat it to the right temperature, and then throw it out when it’s done. When you go to a fast-food place, that oil has been sitting there all day (if not all week)…it’s been used hundreds of times…it absorbs the flavors of whatever was fried before your food got dropped in there…and quite frankly, it’s beat up.

What got me started with this whole beer-batter-at-home process was stumbling upon some amazing fresh local cod at my neighborhood seafood store: Bridgeport Seafood in Tiverton, Rhode Island. My buddy, Dave, said that the cod came from just off Sakonnet Point that day. Good enough for me!

I use a high smoke point oil like grapeseed oil and, using a thermometer, heat it to 350 degrees. I always watch the temp of my oil…it can get too hot very quickly…and by the same token, the temp can drop quickly if I throw in a whole bunch of fish into the pot all at once. Using one of those deep fryers made for home use is also a good way of cooking and controlling temperature. If I’m using a pot to fry, I’m careful not to put too much oil in my pot (halfway up is fine) or it could spill over, since oil expands as it gets hotter.

Here’s all you need for great beer batter:

1 1/2 cups all-purpose flour (I use King Arthur)
12 oz. bottle of beer (Sam Adams Boston Lager works for me)
1 teaspoon salt

Combine all the ingredients in a bowl and beat until smooth. Cover loosely with plastic wrap and place in the fridge for 3 hours.

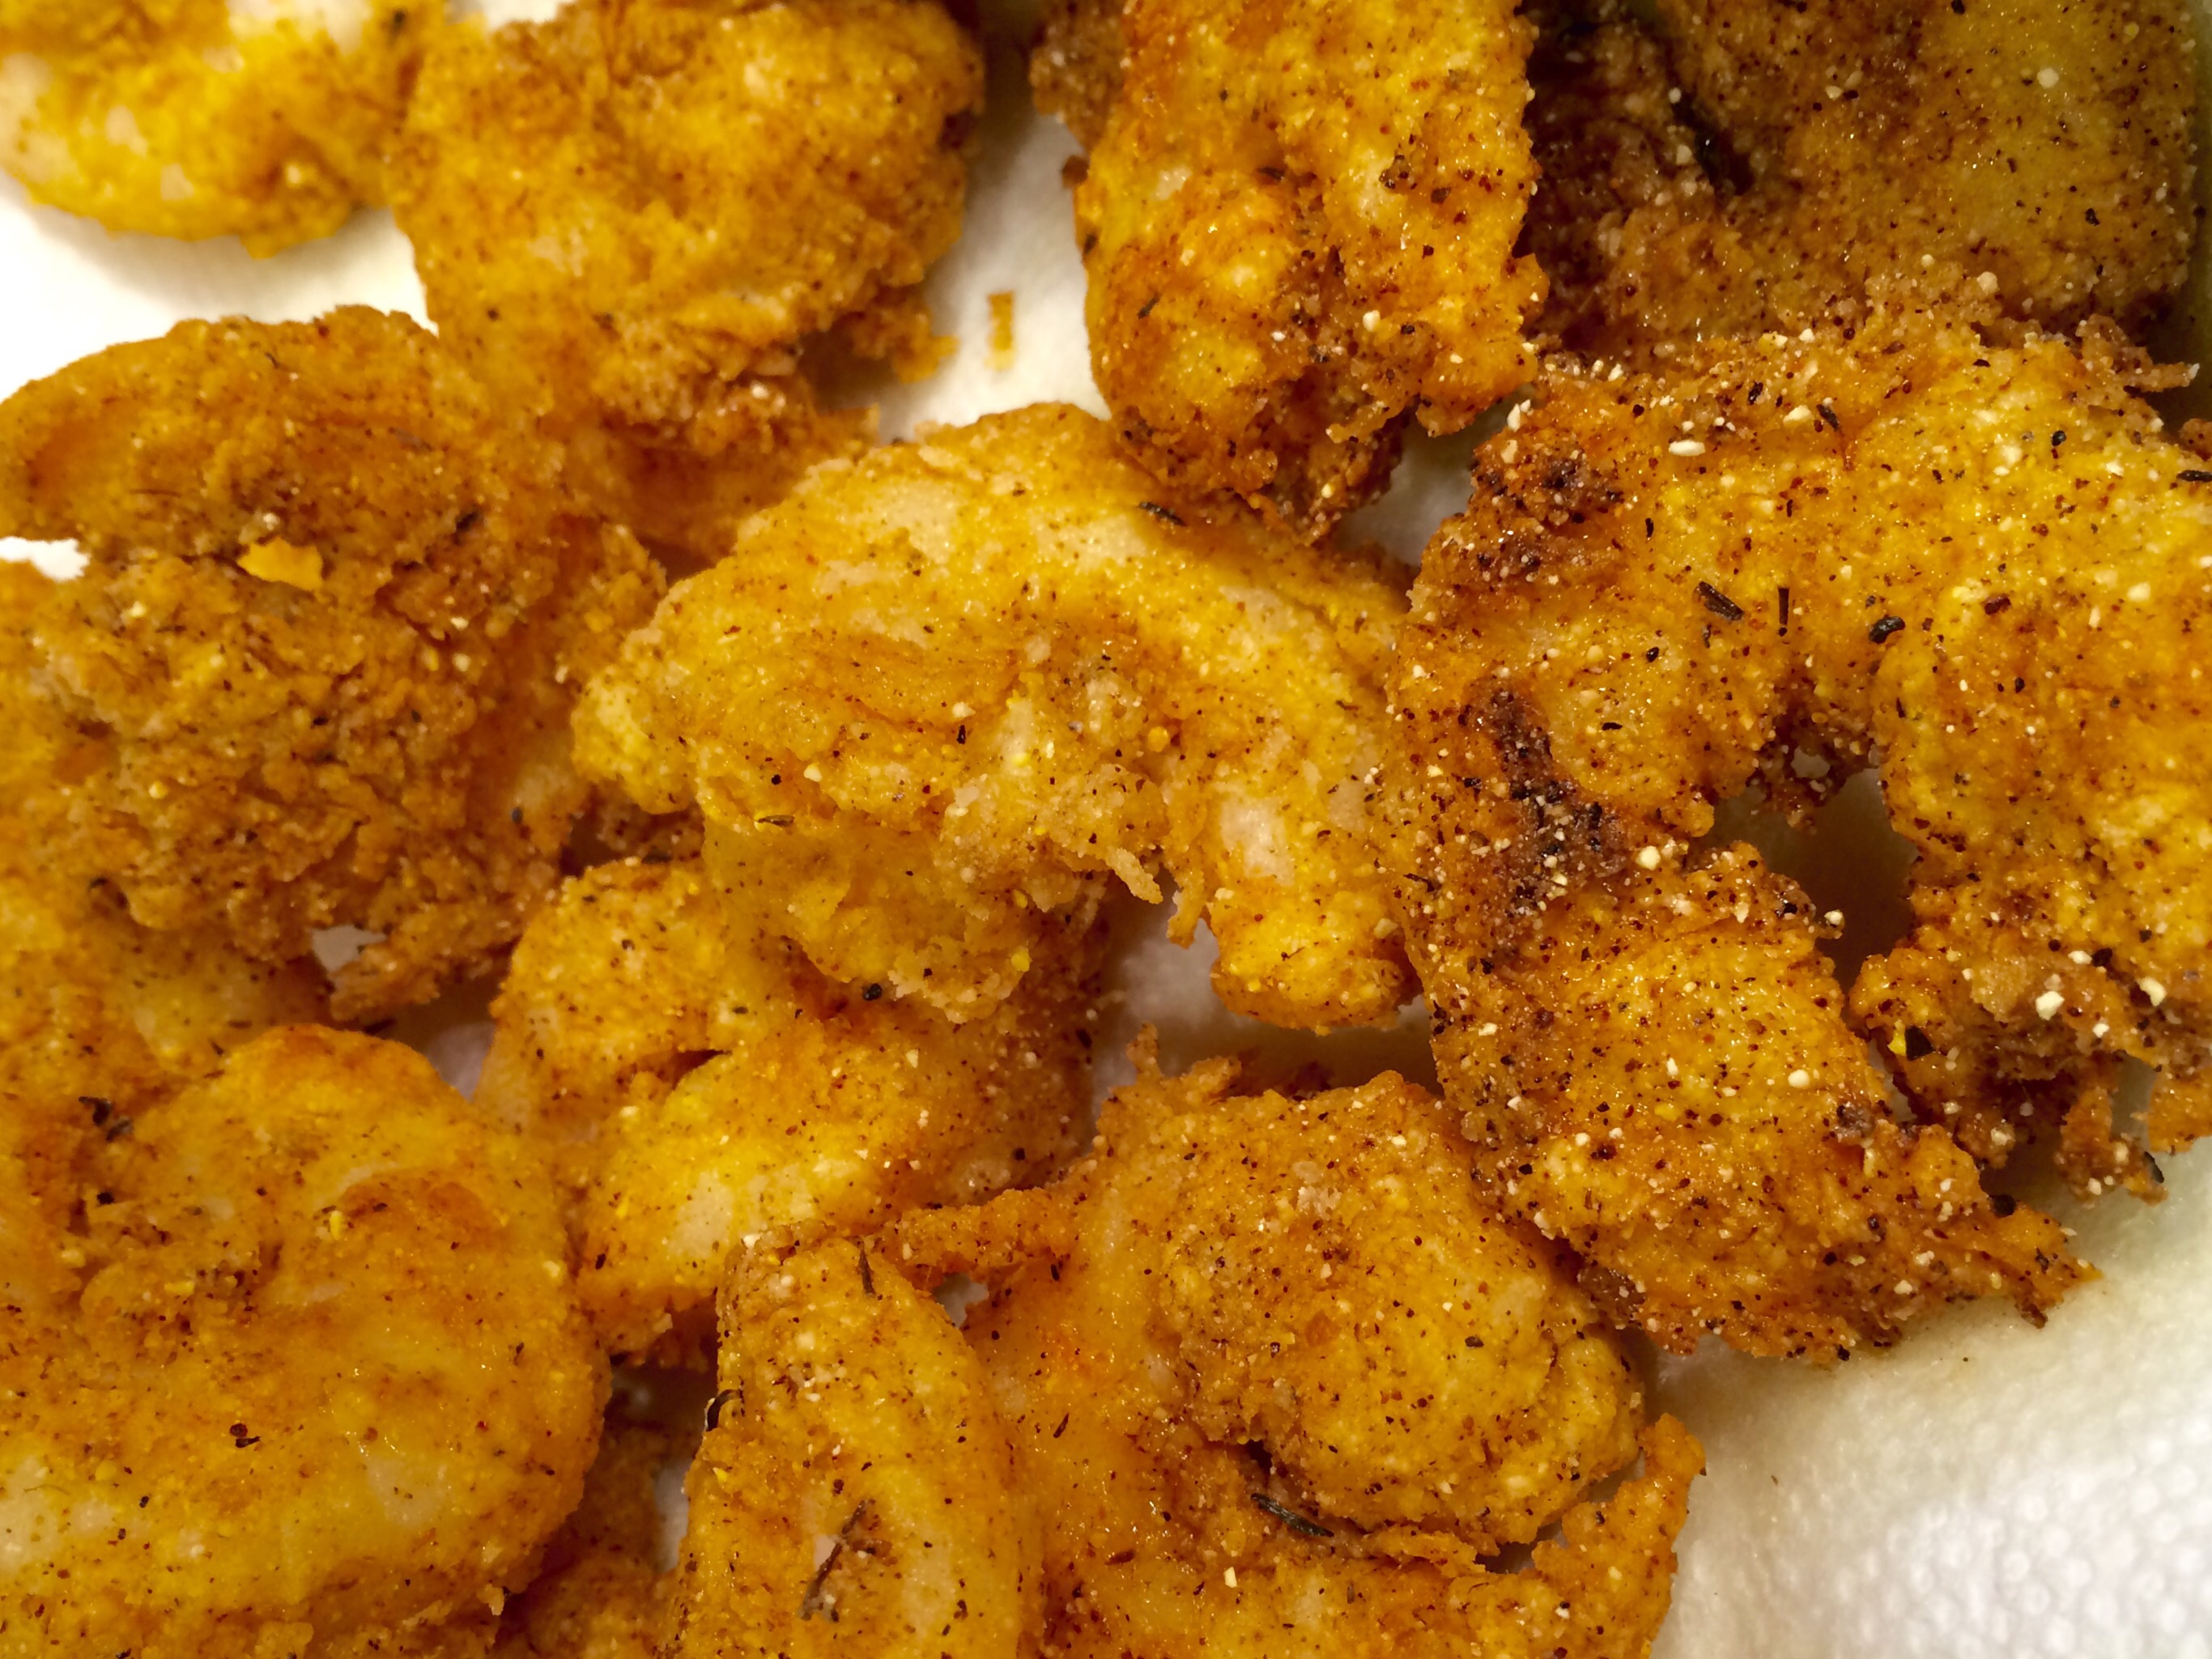
Cut your fish into pieces that aren’t too big and will fit in your pot easily. The thickness of the fish may vary and so may the cooking times of each piece. When the oil reaches 350, simply dip the fish into the batter and let as much batter drip off as you like before you carefully place the fish into the oil. Fry until golden brown.


beer batter


What good is fried fish without tartare sauce, right? Don’t tell me you’re using the stuff in a jar after frying the fish yourself!

1/2 cup mayo
Dash of Worcestershire sauce
Dash of Frank’s Red Hot cayenne sauce
Grinding of black pepper
1 tablespoon finely chopped capers
1 teaspoon lemon zest, using micro plane zester

Combine all the ingredients in a bowl, cover with plastic and refrigerate for an hour before using.


To make beer-batter gluten-free, simply substitute GF flour for the all-purpose flour. (I like Cup4Cup.) And now, you can get gluten-free beer as well. Use it instead of regular beer, and you’ve got a beer batter that’s gluten-free!

Grilling makes food taste great, but sometimes you don’t want to stand out there in a cloud of smoke while your friends are at the table, sipping wine and having a good time without you.

This is a great dish for those that want to pass on the grill for a day. It’s a delicious salad that you can serve warm or cool. You can make it the day before. Wrap it in plastic, and keep it in the fridge. Then, when your guests arrive, let it warm to room temperature. Taste for seasoning before serving. If you’re not a fan of quinoa, brown basmati rice works well, too. And use what’s fresh and in season. If you can’t find asparagus, some chopped and lightly sautéed squash works just as well.


FullSizeRender (8)


1 1/3 cup dry quinoa (or 1 cup basmati rice)
Chicken stock
Juice of 1 lemon
2 lbs. wild-caught American shrimp, peeled and de-veined (16 to 18 count)
1 cup of asparagus stalks, cut into 1″ lengths
1/2 cup minced scallions, green part only
1 cup chopped fresh dill
1 cup chopped fresh flat-leaf parsley
1 English cucumber, peeled, seeded and medium-diced
1/4 cup red onion, small diced
1/2 cup seeded and chopped tomatoes
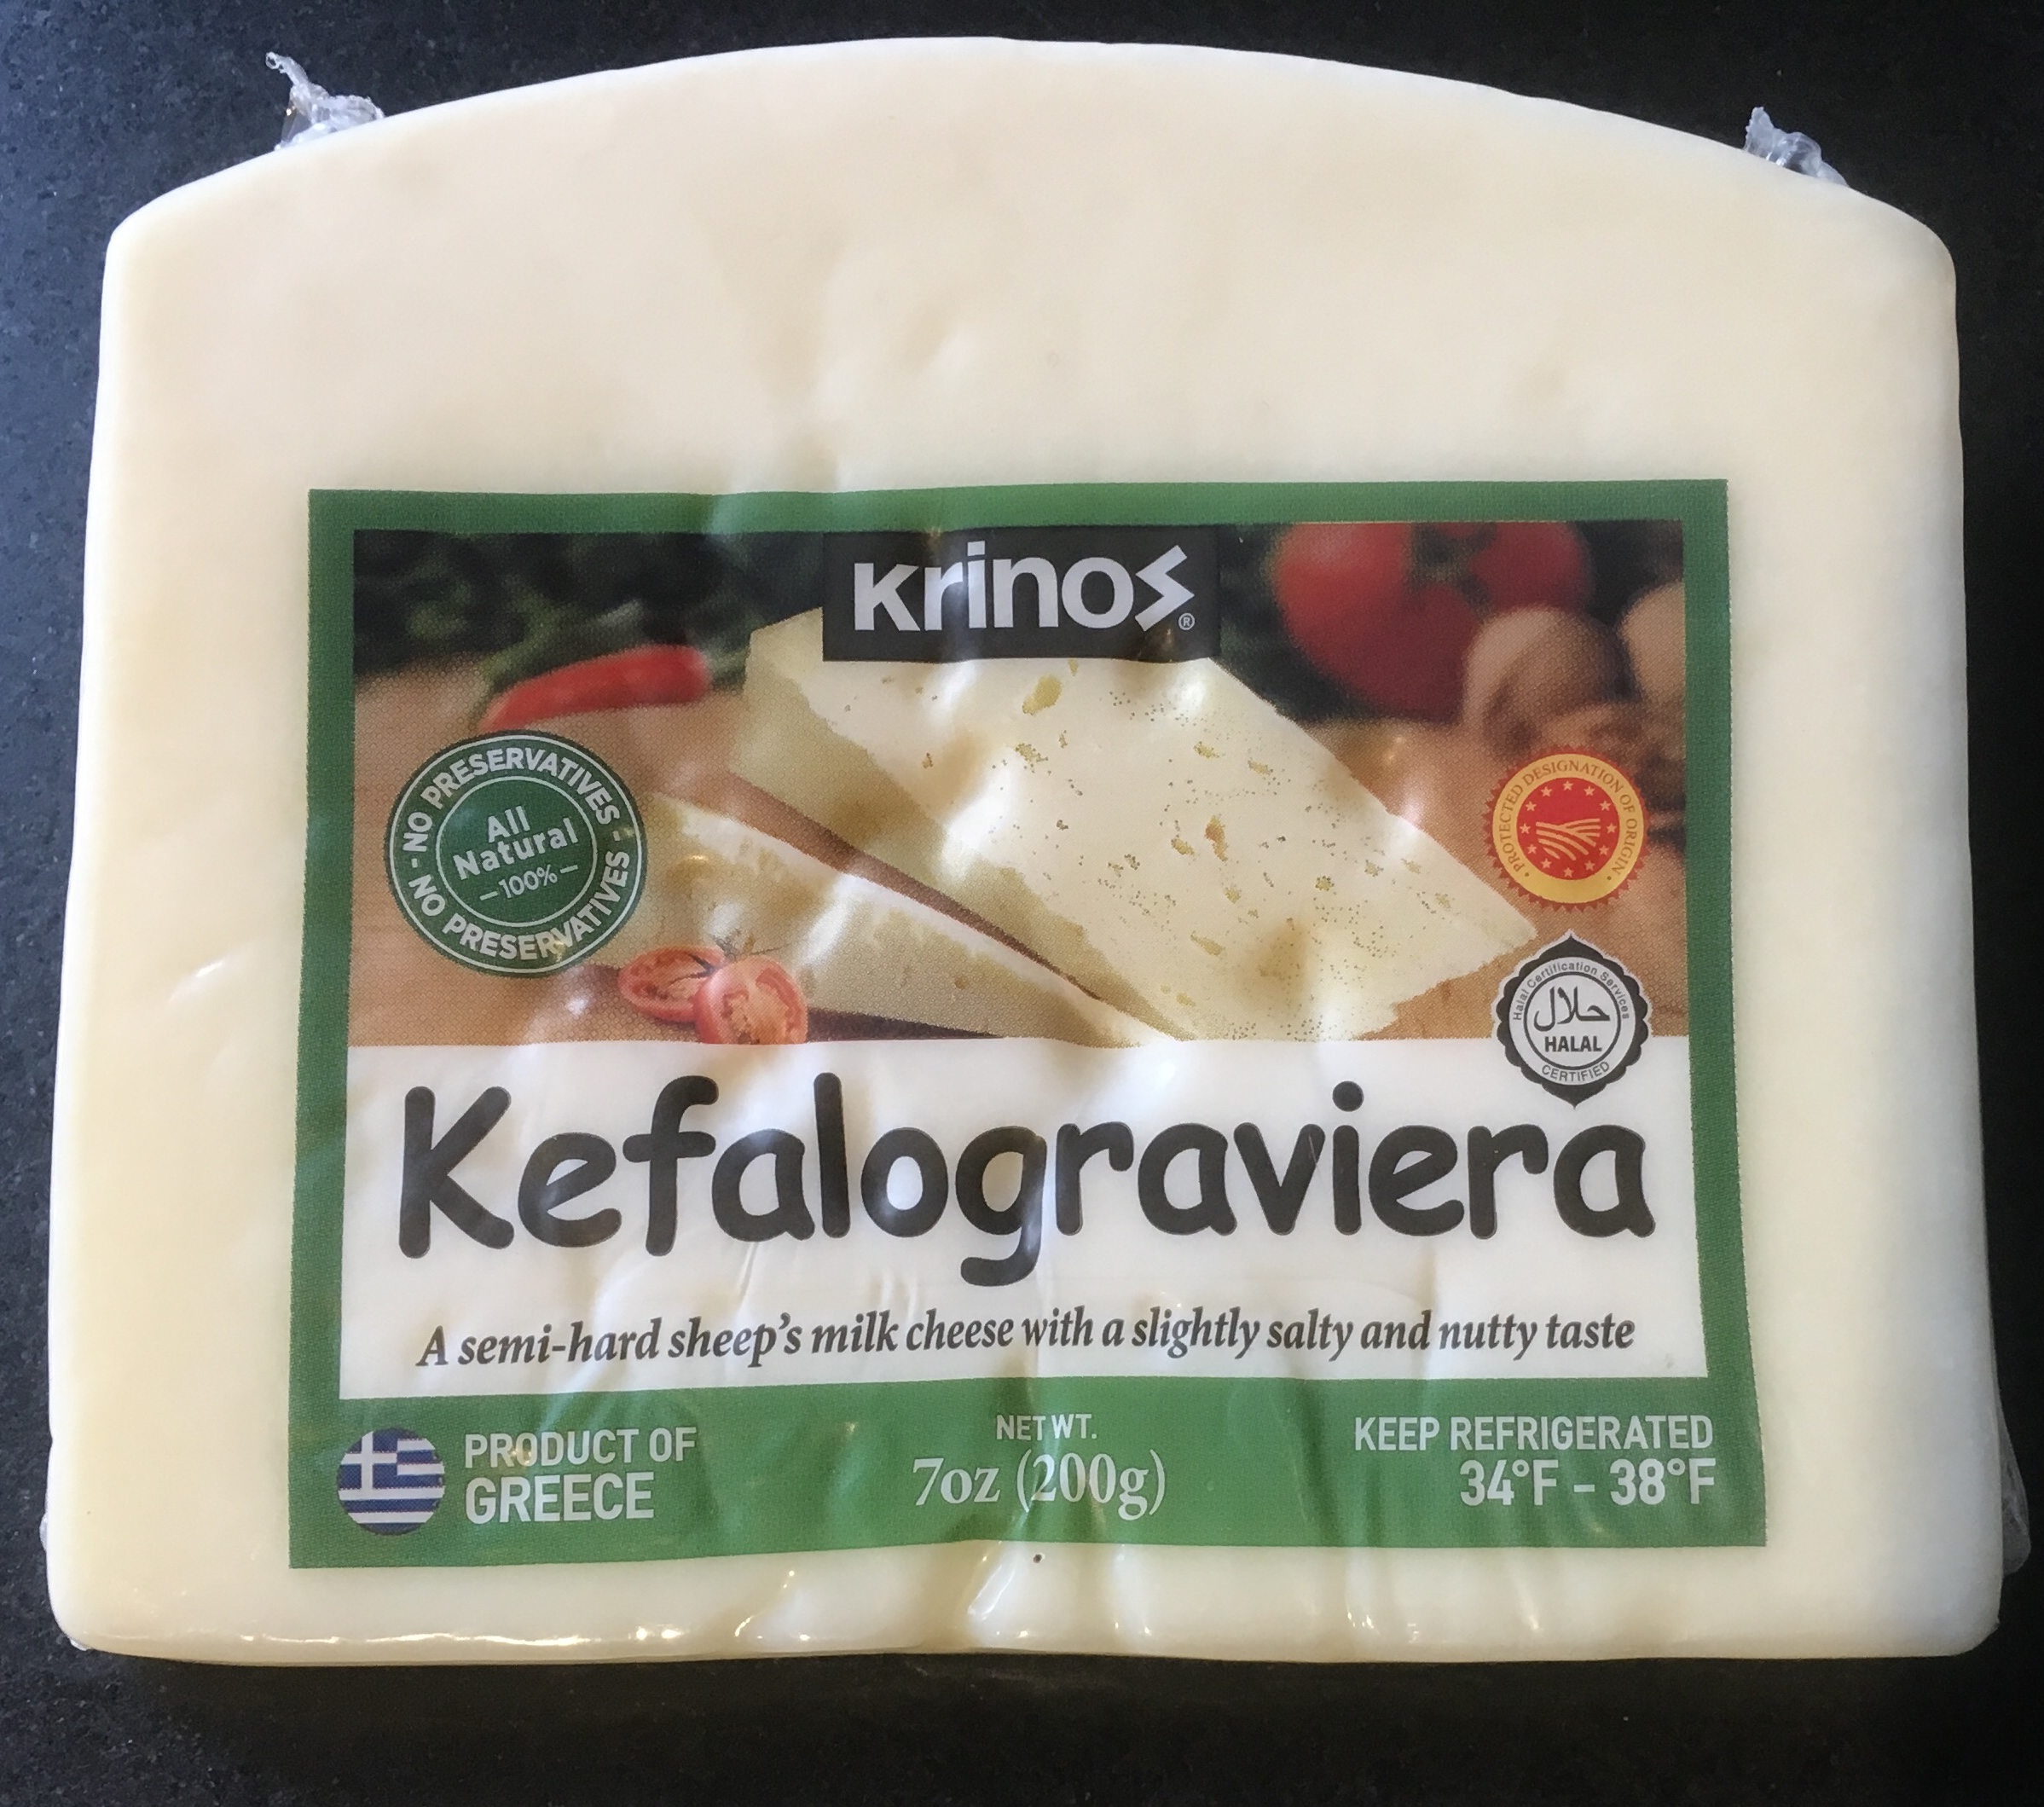
3/4 lb. good feta cheese, crumbled
Extra virgin olive oil
Salt and pepper


Prepare the quinoa according to the package directions, using chicken stock instead of water. Once it’s cooked, place it in a large bowl. (1 1/3 cups dry quinoa should give you about 3 cups of cooked quinoa.)

Place the chopped asparagus on a sheet pan, drizzle with olive oil, and sprinkle with salt and pepper. Toss them to combine and spread them out in a single layer. Roast them for just a few minutes at 350 degrees. Set them aside to cool to room temperature. (You can also simply saute the asparagus in a pan on the stove top with olive oil, salt and pepper.)

Place the shrimp on the same sheet pan, drizzle with olive oil, and sprinkle with salt and pepper. Toss them to combine and spread them out in a single layer. Roast for 5 to 6 minutes at 350 degrees, until the shrimp are cooked through. Turn them once while cooking. Don’t overcook them! (again…you can simply saute the shrimp in a pan on the stove top with olive, salt and pepper.)

Add the shrimp to the quinoa, then add the asparagus, lemon juice, scallions, dill, parsley, cucumber, onion, tomatoes, 2 teaspoons salt, and 1 teaspoon pepper. Add the feta and stir carefully.

Set it all aside at room temperature for 1 hour to allow the flavors to blend…or, if you’re not serving soon, place the bowl in the fridge. Before serving, allow it to warm almost to room temperature. Taste it and season again, if needed, before serving.


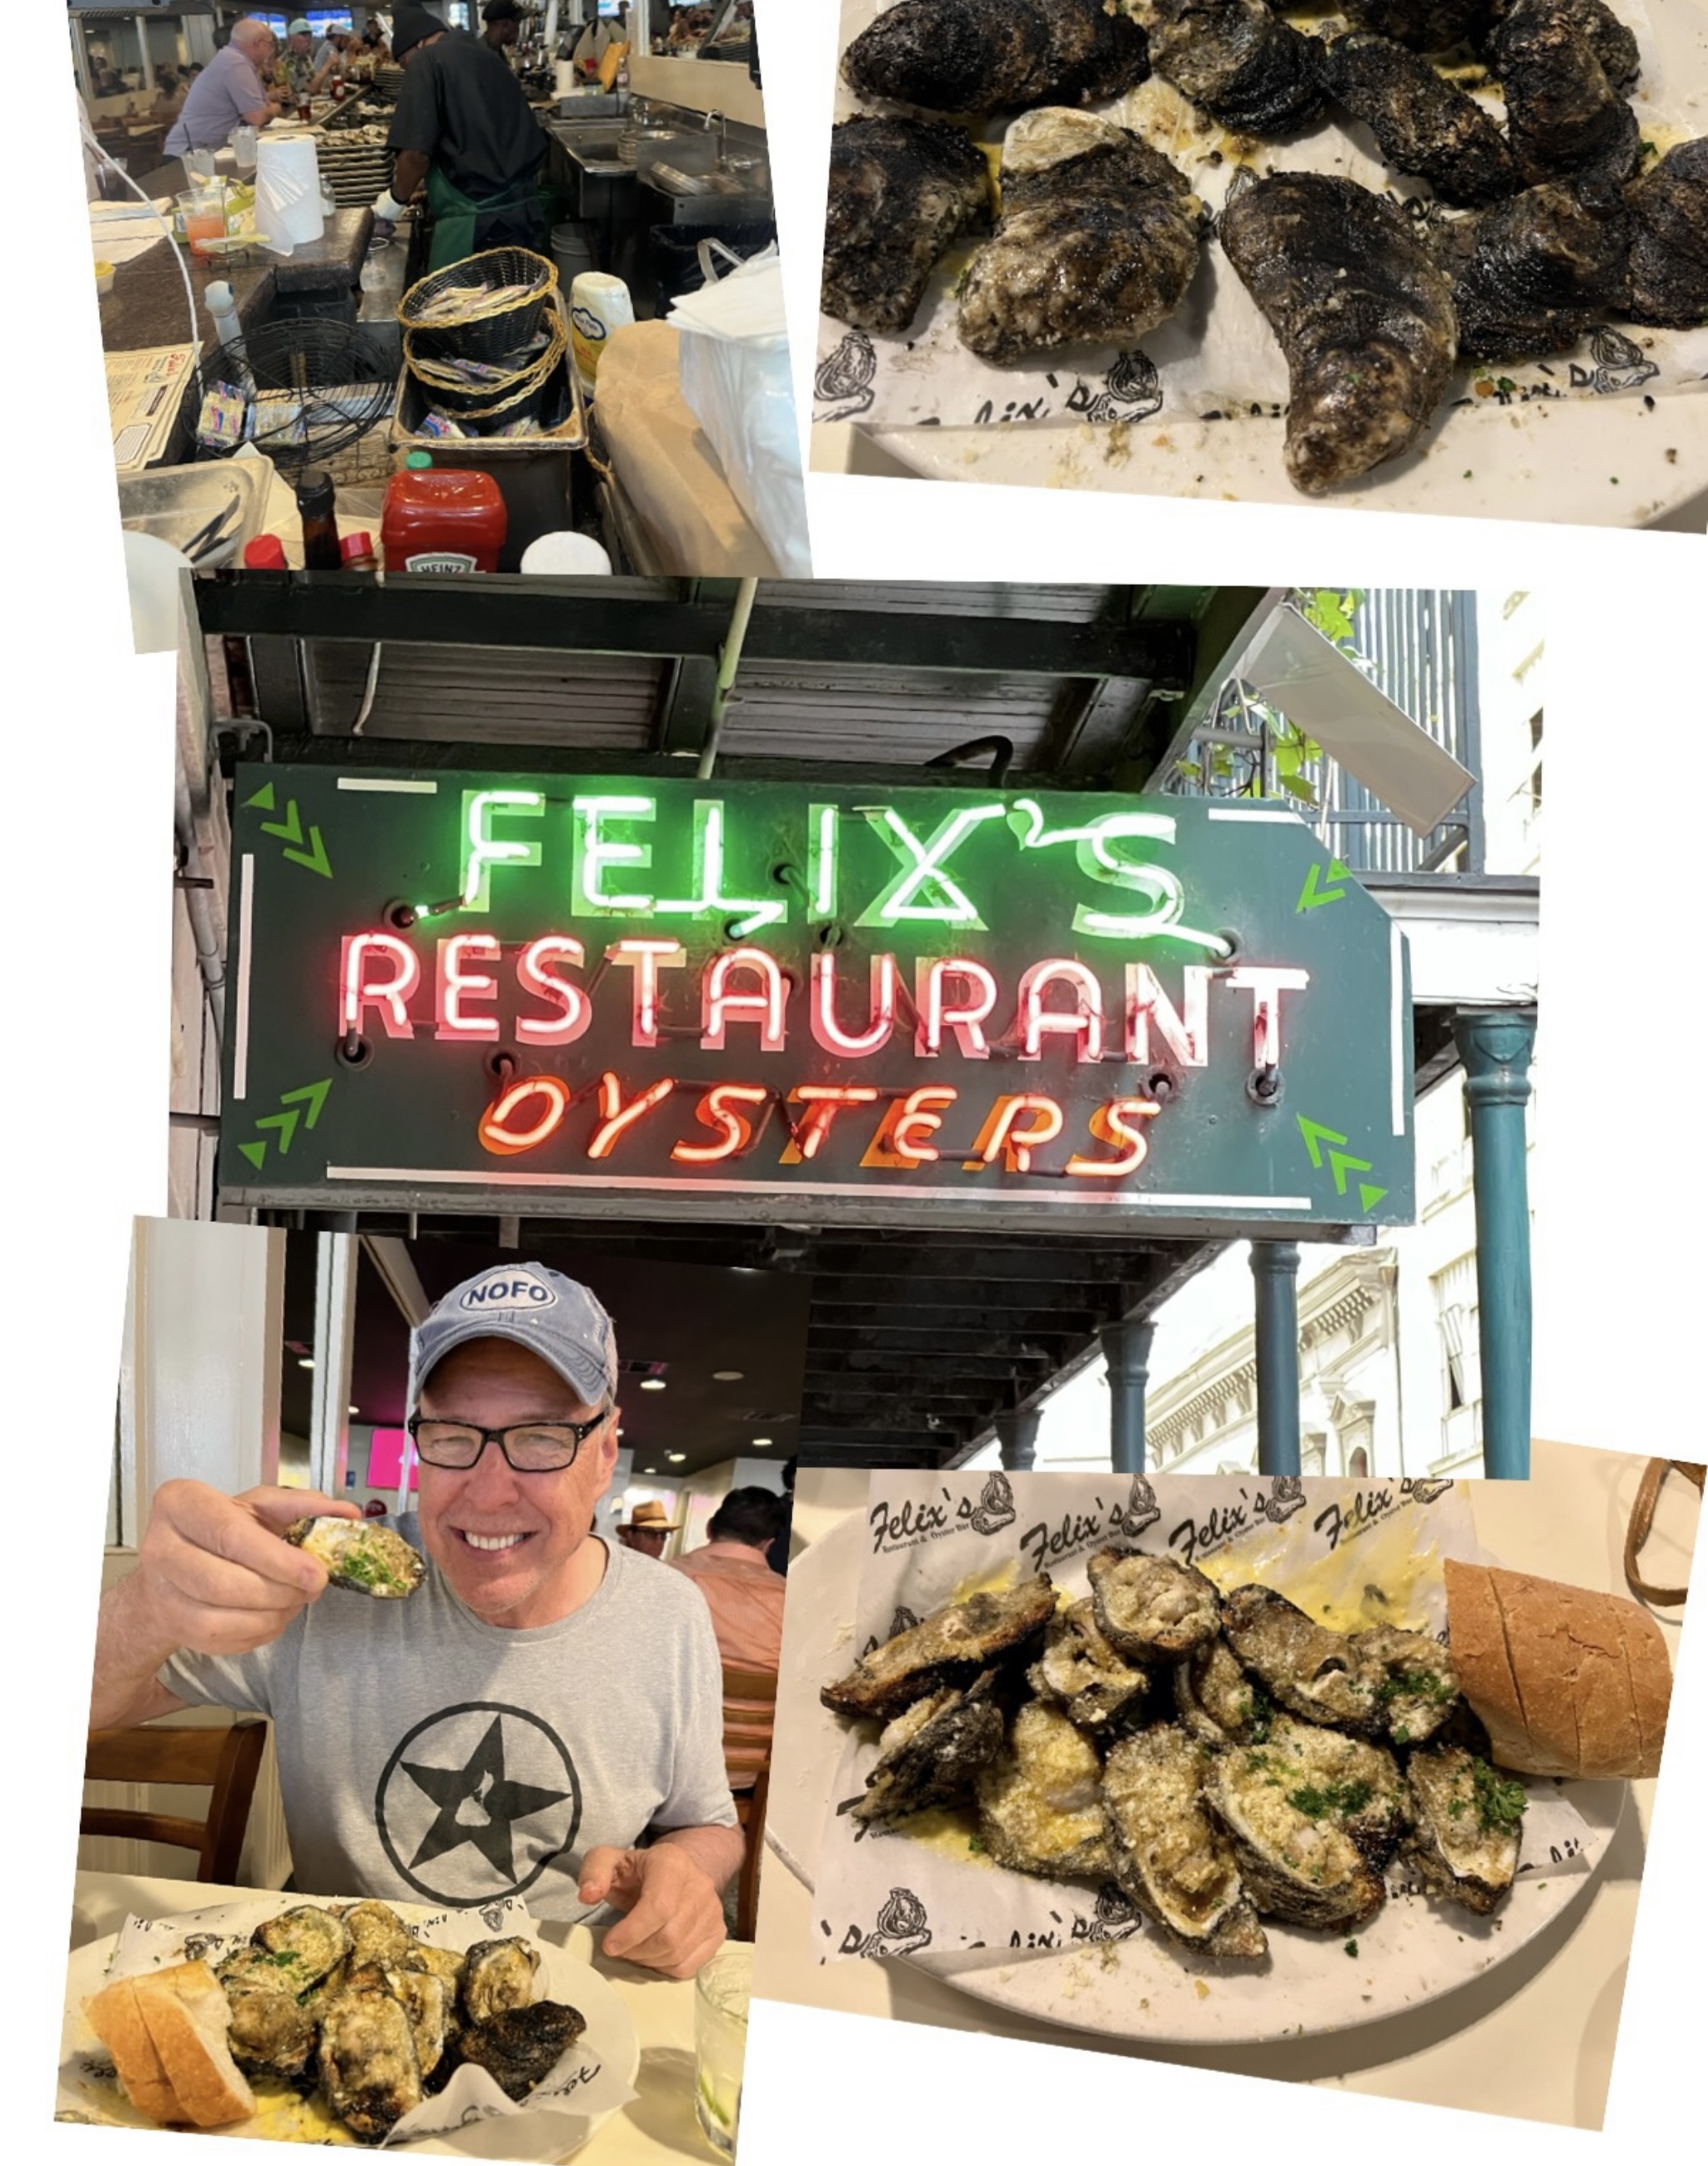
It’s been a few years since I visited New Orleans, and it was great to see that many of the old food destinations were still there: the Napoleon House, Café Dumonde, Acme Oyster House, and across the street from it: Felix‘s Oyster House.

My friend, Rick, told me I had to try the char-grilled oysters at Felix‘s. He hadn’t been there, but he read a lot about them and they were supposed to be amazing.  Well, that’s all the encouragement I needed, and I made a beeline to Felix’s that very day.

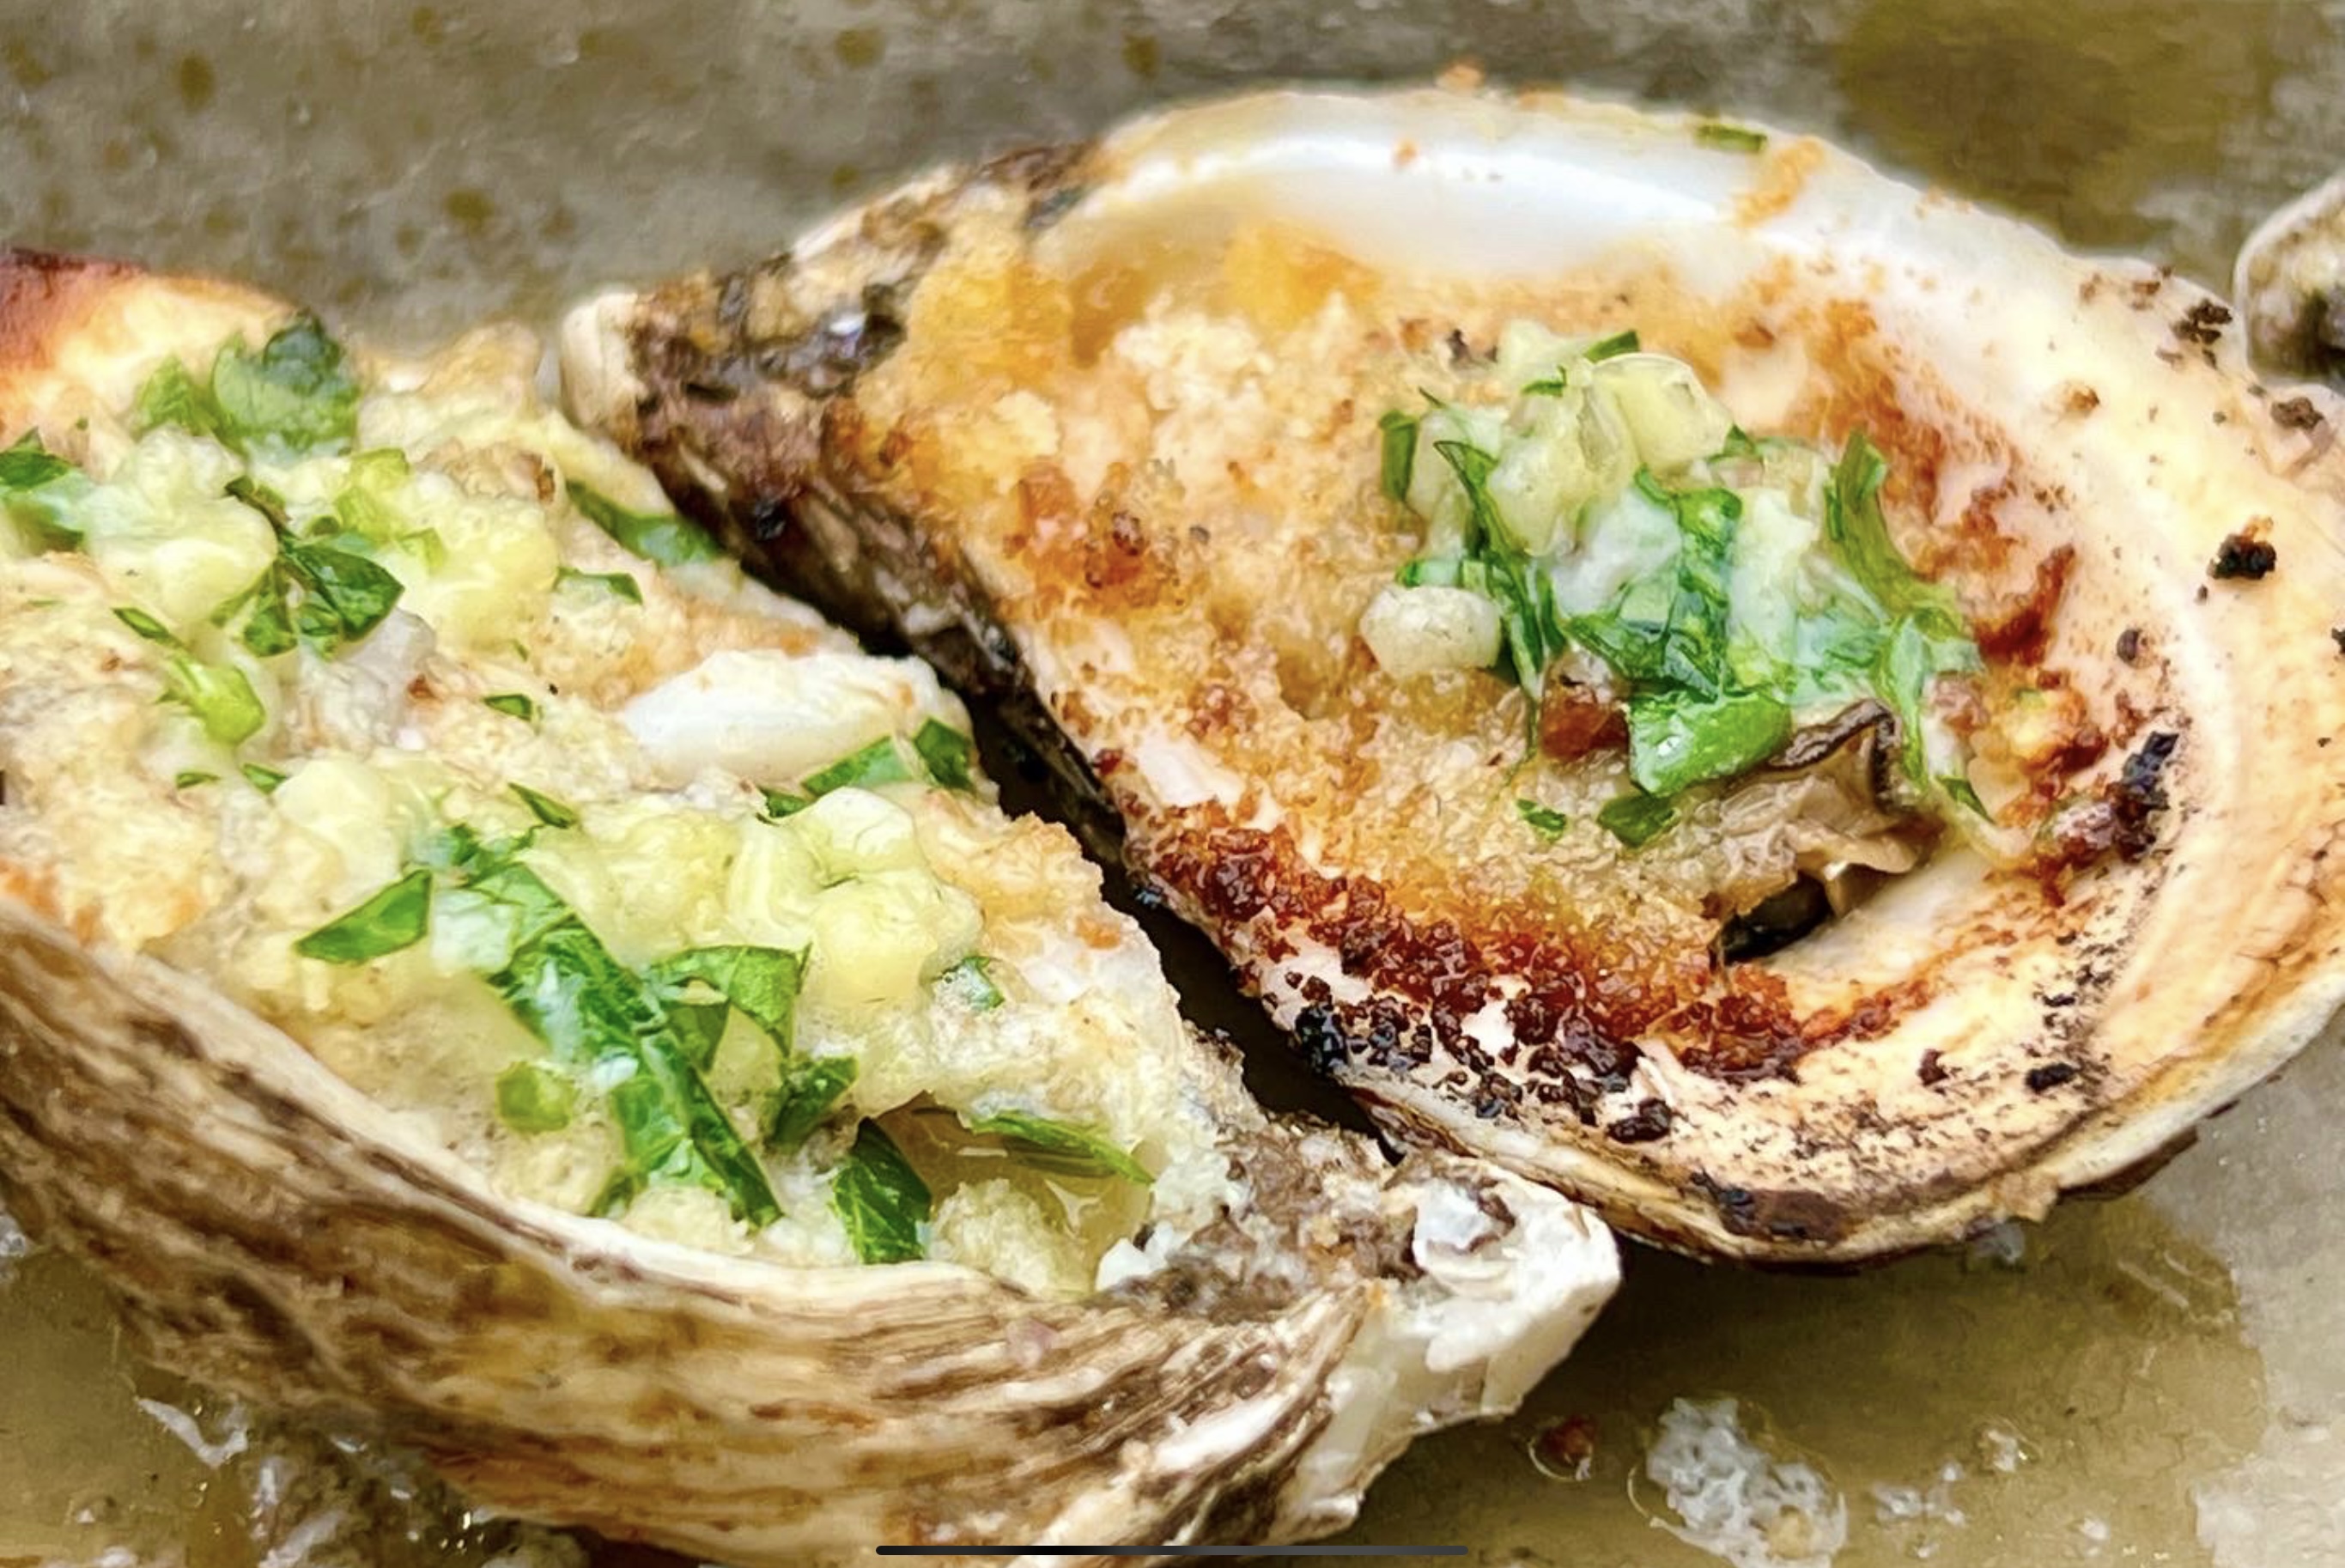
When you think about it, it’s no great culinary feat to grill an oyster. But yet, I never thought of doing it on my own. The dozen oysters I devoured that day were buttery, garlicky, with a hint of char and smoke that made them absolutely delicious, quite easily the best oysters I’ve ever had in my life.

I knew that as soon as I came home from this trip, I would have to try to make these myself. I have to say I came pretty darn close!

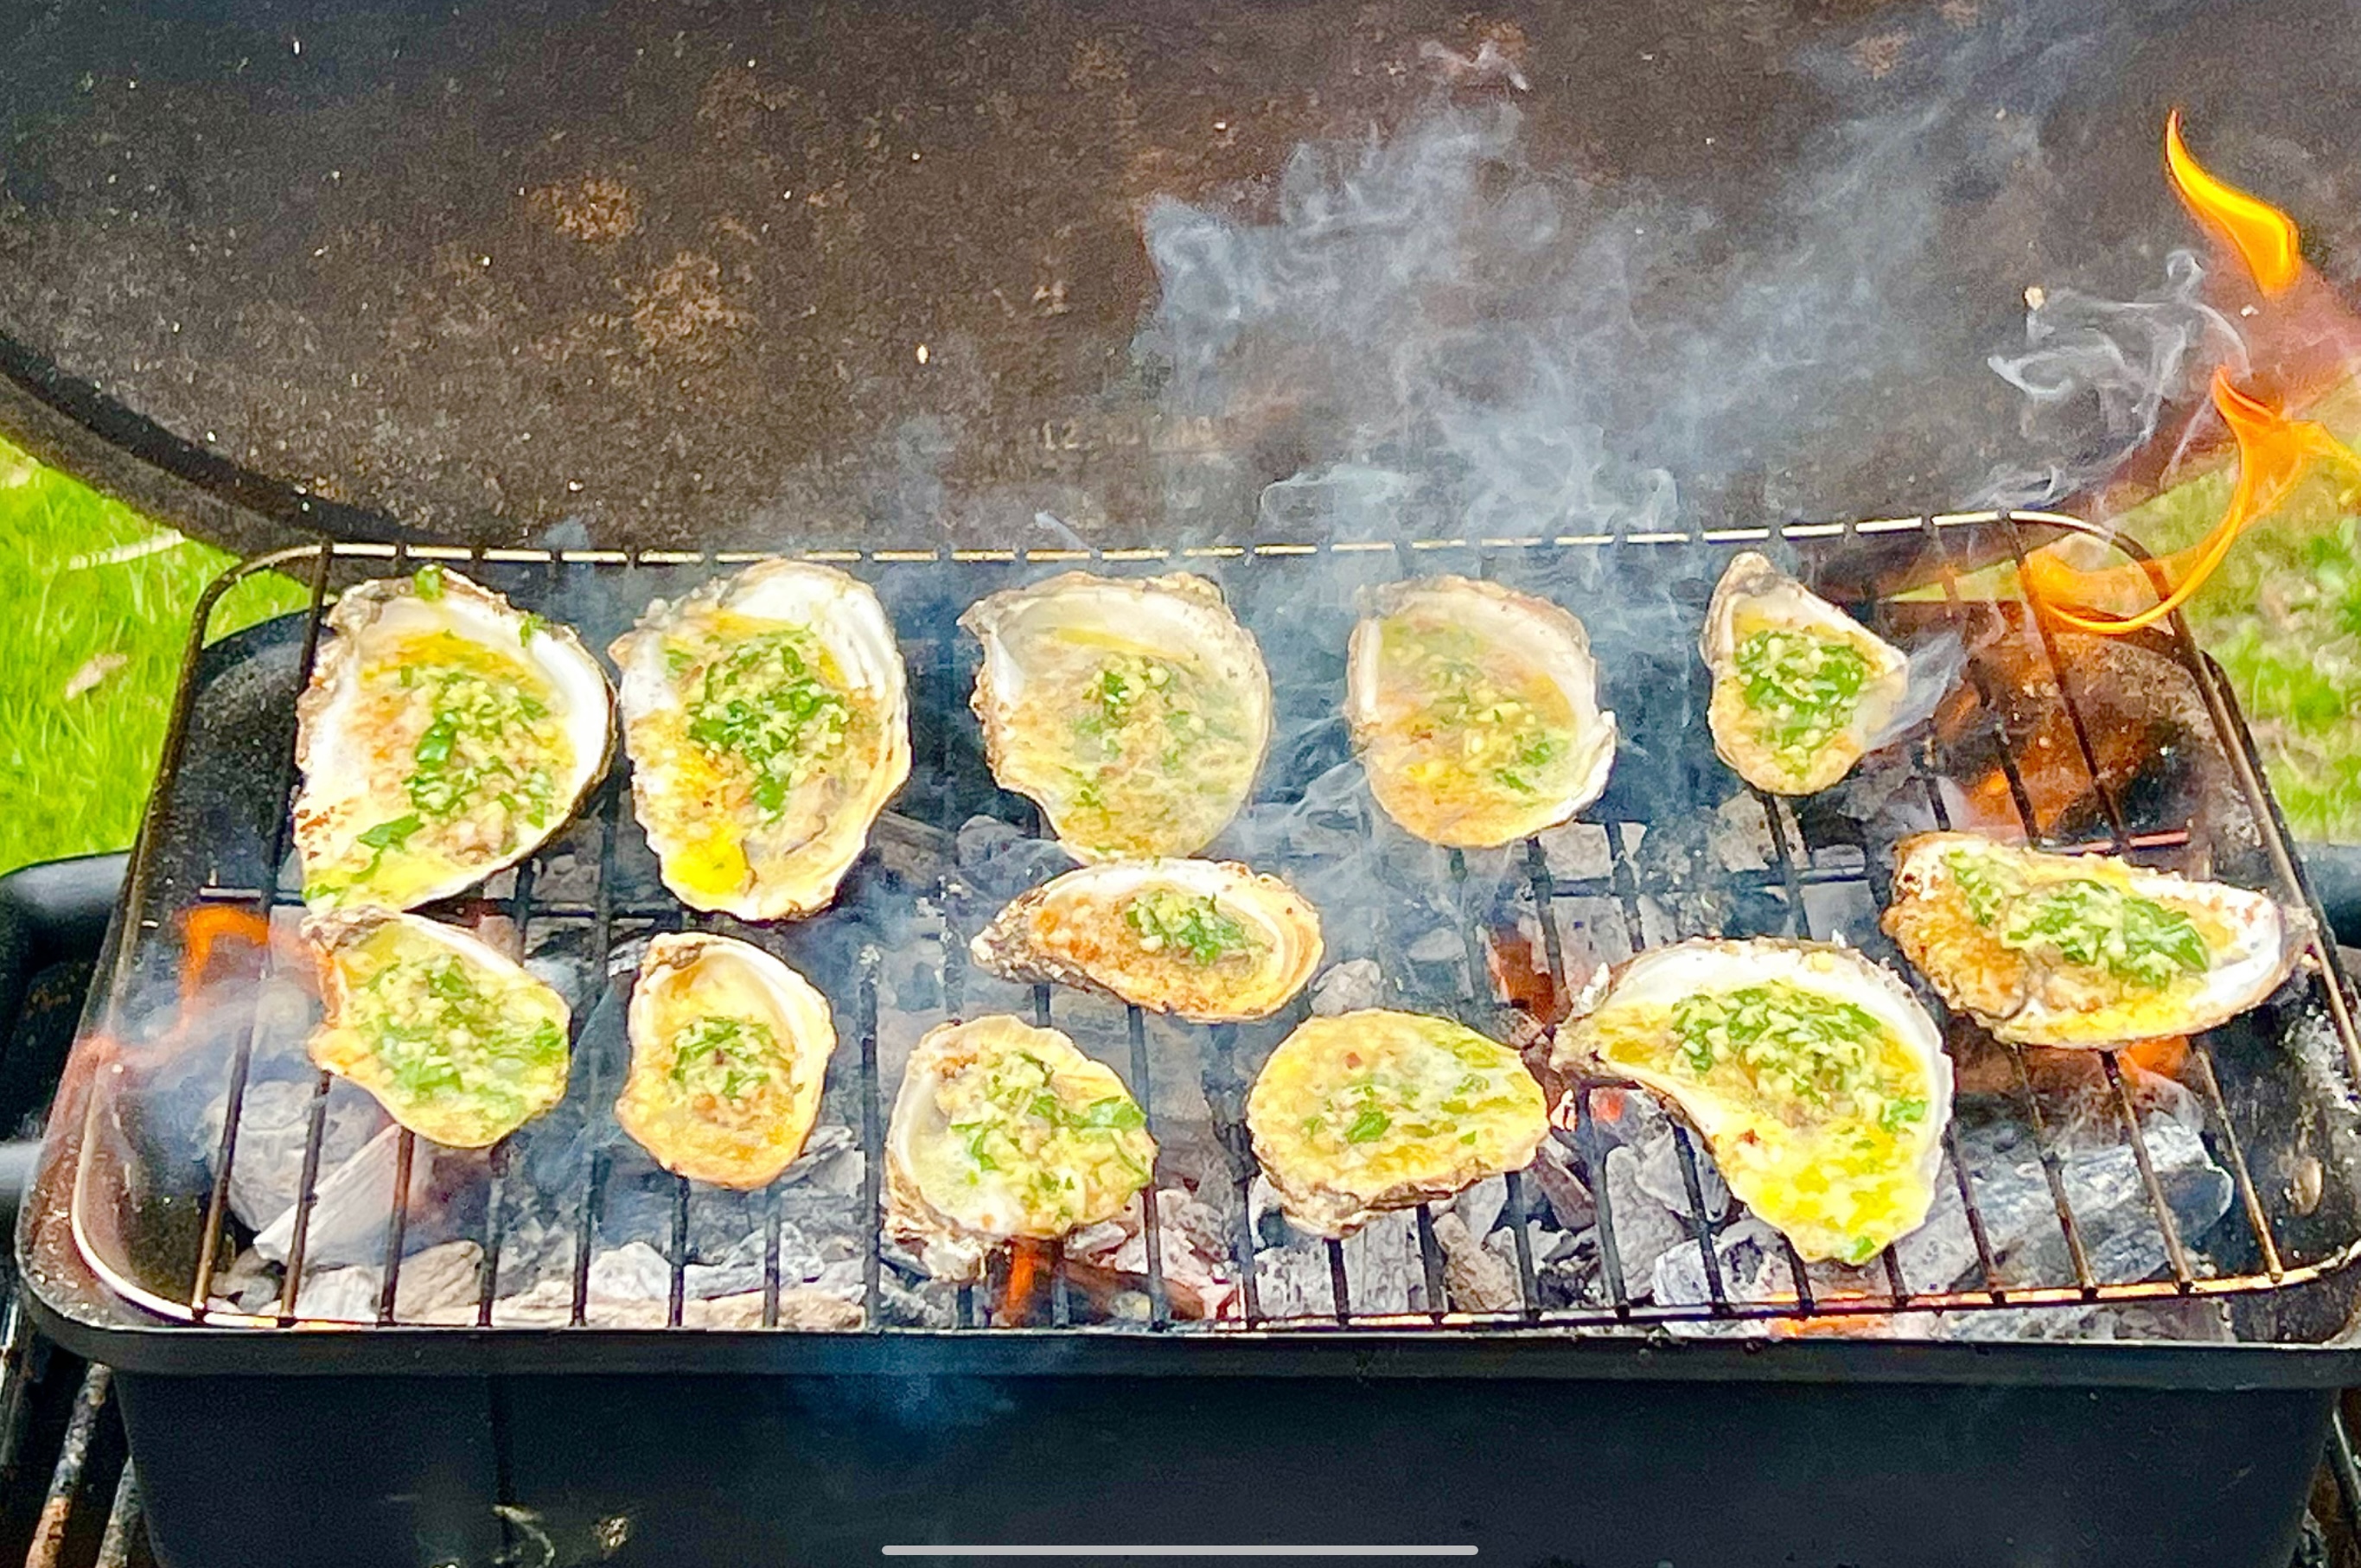
If you don’t use a charcoal or wood fire to make these, you’re simply leaving out one of the most important ingredients to the entire recipe. A gas grill or a kitchen stove can cook an oyster, but the only way you can take it to the next level is by putting it on open flame, a wood-burning flame.

This recipe is good for about a dozen oysters. Using gluten-free breadcrumbs makes this recipe gluten-free.

The first step is to get your hardwood charcoal fire started. I use a charcoal chimney and newspaper–never any lighter fluid.

Once the coals are lit, head to the kitchen…

4 tablespoons salted butter
2 tablespoons minced garlic
2 tablespoons fresh Italian parsley, finely chopped
2 tablespoons Parmesan cheese, grated (I use Parmigiano Reggiano)
4 tablespoons breadcrumbs


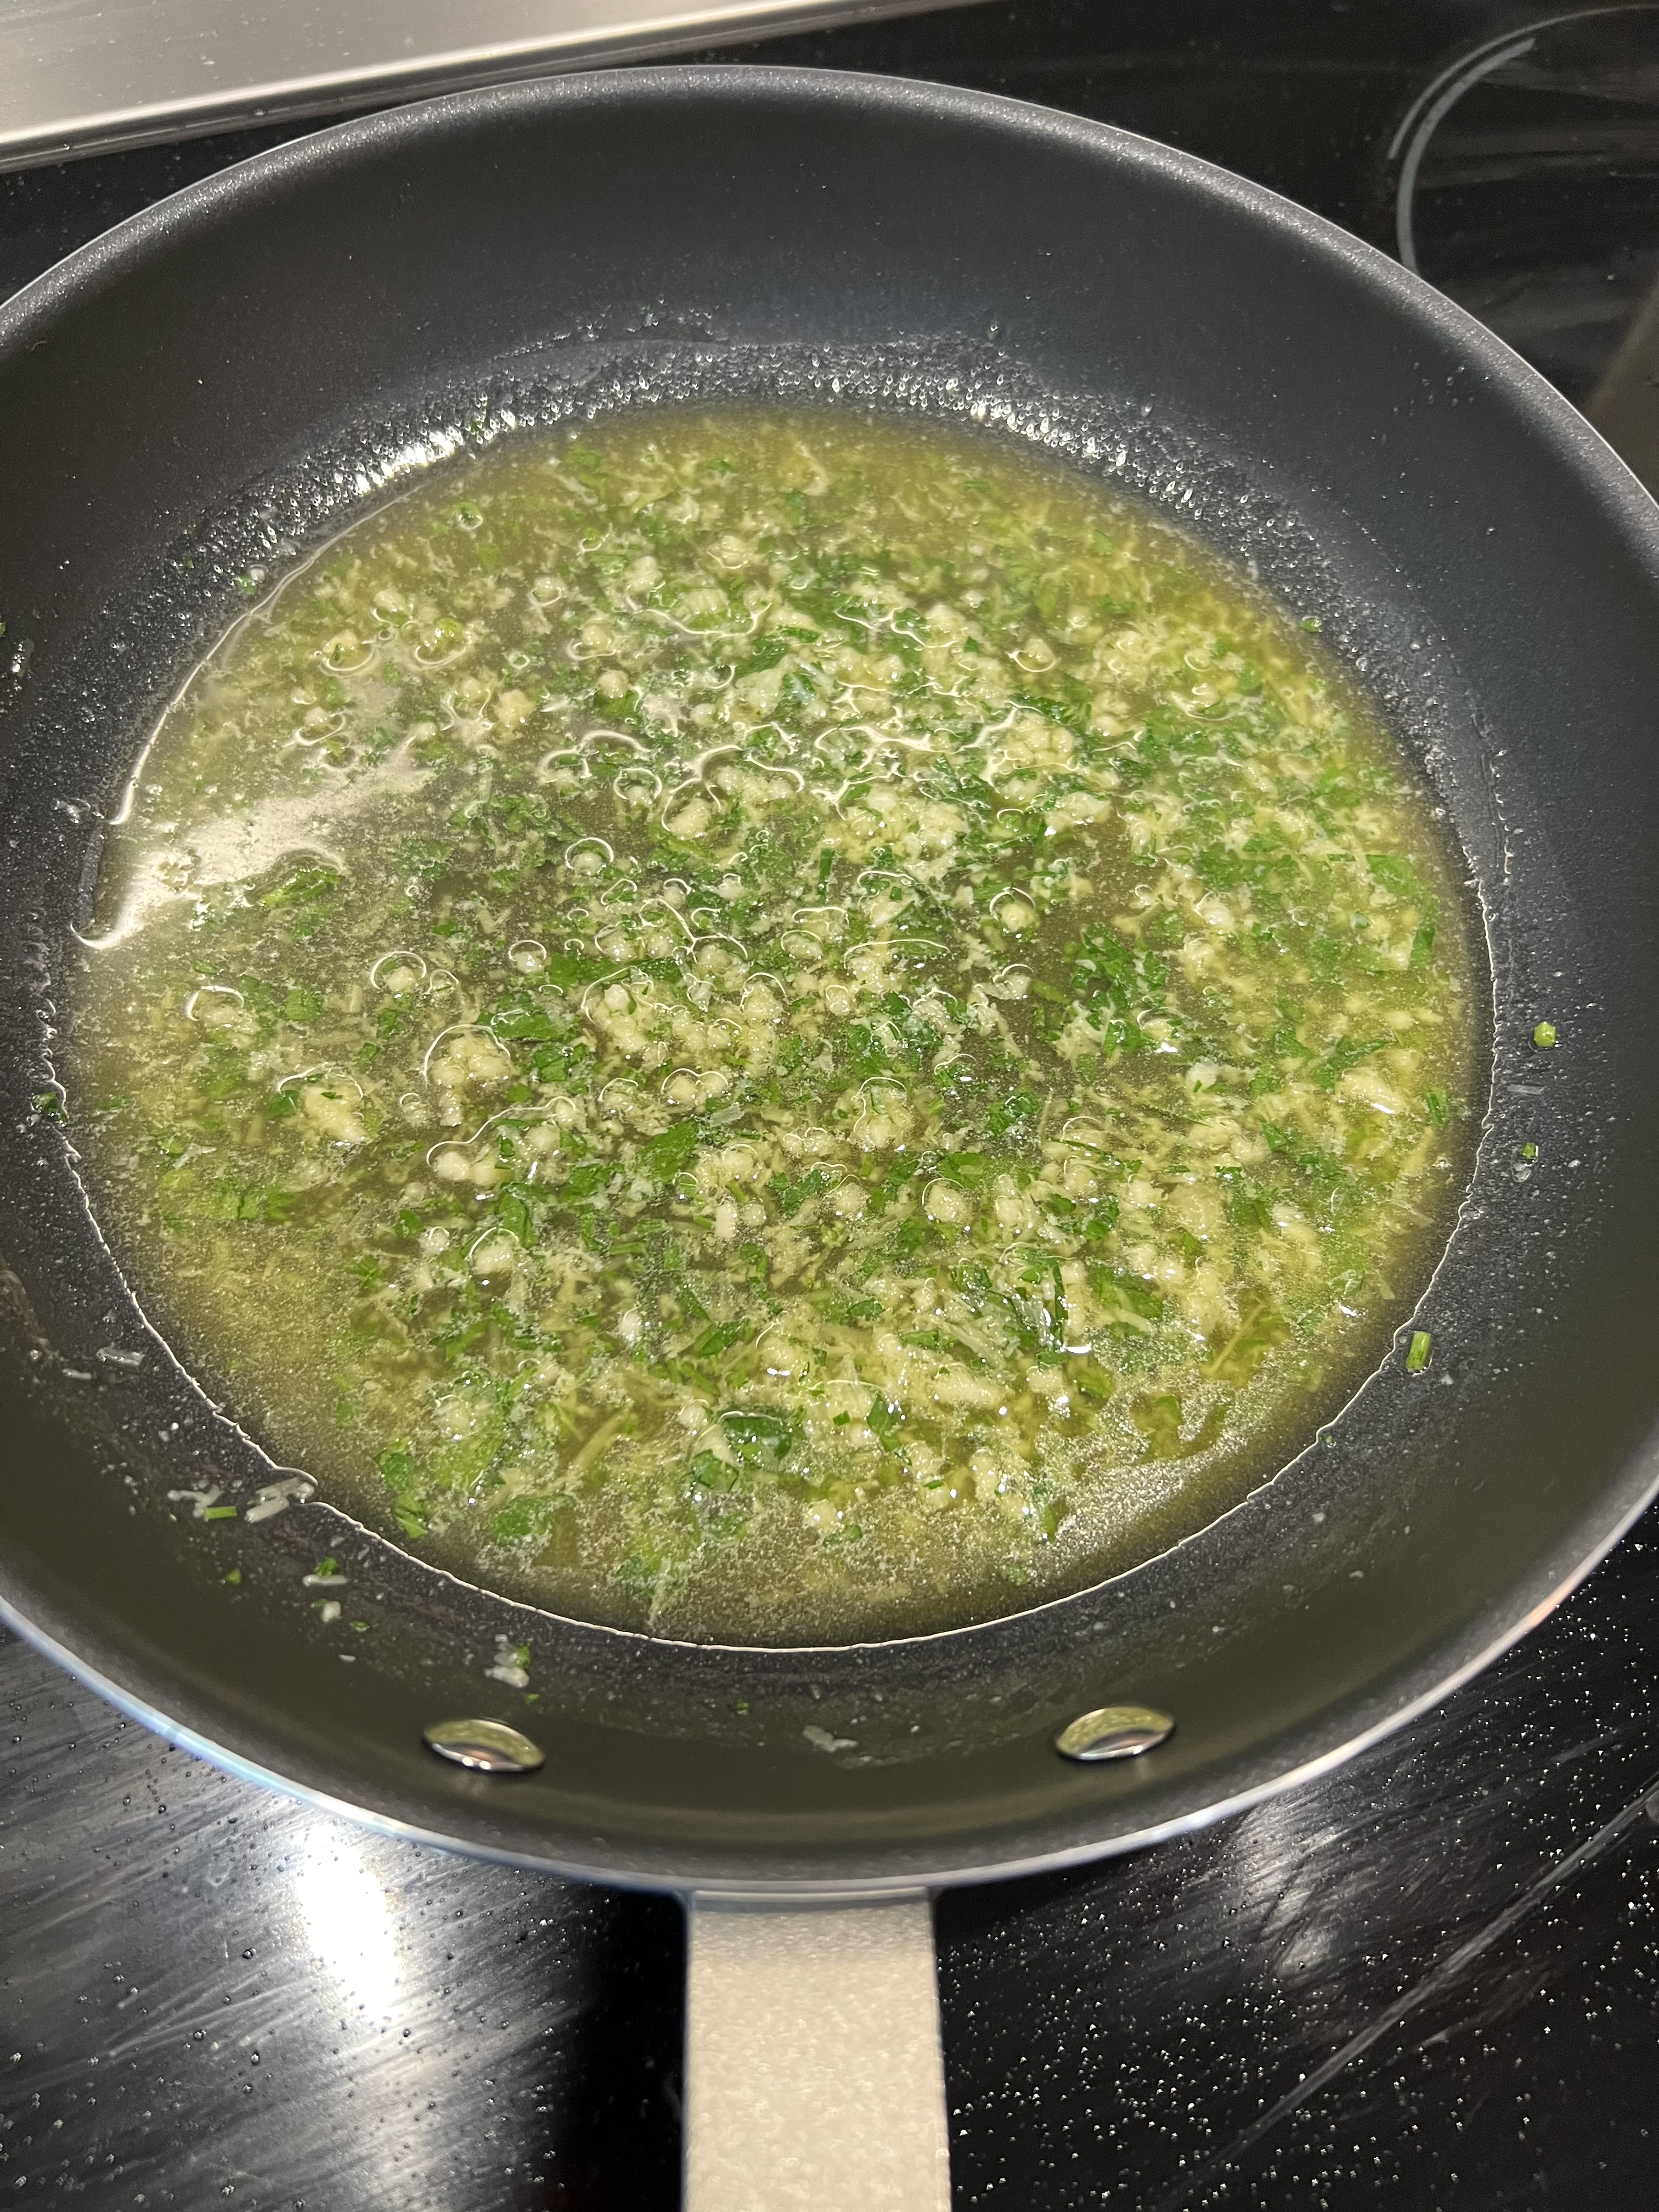
Combine the butter, garlic, parsley, and cheese in a sauté pan over medium heat. All you’re looking to do is to melt the butter, so once it’s melted, take the pan off the heat and this mix is ready to use.

Shuck your dozen oysters. Remember: they will shrink a little bit while cooking, so don’t be afraid to go for bigger ones.

Lay the opened oysters in a pan, carefully trying to preserve as much of the oyster liquor (liquid) in each shell as possible.

When the hardwood charcoal has heated up, and you’ve spread the coals evenly on your grill, you are ready to cook the oysters. You want the grill to be hot.

You don’t need to put the oysters directly on the hardwood charcoal. Putting a grill over the coals is fine, and it keeps the oyster shells from tipping over.


Before placing the oysters on the grill, sprinkle each one with some of the breadcrumbs. Then place the oysters on the grill, being careful not to burn your hands! 


Using a spoon, pour some of the butter mixture into each oyster shell. It will flame up! That’s OK. Use up the entire butter mixture for all 12 oysters.


The oysters are ready when you see that golden brown color all around the edges of the oyster shell, when most of the liquid in the shell has evaporated. Don’t let them dry out completely.

Using tongs, remove the oysters from the flame and enjoy! Just be careful…they can be lava hot!

Summer’s approaching and we slurp down more clams and oysters in the summer here in New England than at any other time of year. Freshly shucked oysters and clams–or in this case–beautiful boiled wild-caught American shrimp, call for an equally amazing cocktail sauce…and this sauce kicks butt! And it features a key ingredient that you might not expect: vodka. The small amount of vodka in the mix keeps the cocktail sauce from freezing solid when stored in the freezer. Just scoop out what you need, let it thaw, and put the rest back in the freezer.


image

2 cups ketchup
4 tablespoons prepared horseradish
1 tablespoon fresh lemon juice
1 teaspoon Worcestershire sauce
1/2 teaspoon Frank’s Red Hot, or other hot pepper sauce
5 grinds of fresh black pepper
1/4 teaspoon salt
1 teaspoon good quality vodka, like Tito’s

Combine all the ingredients. Store in a tight plastic container in the freezer. Scoop and thaw whenever you need it!

I’ve never met a ceviche I didn’t like. Sometimes, nothing can stop a serious seafood craving like sushi, sashimi or ceviche. They require the freshest seafood and veggies you can get your hands on. And other than some fine chopping, they require little else.

The acid in citrus juices basically “cooks” the seafood in a process very similar to applying heat, but when I use shrimp in ceviche, I place them in some boiling salted water first…although very briefly.

This recipe is a great appetizer for you and your guests.


Crazy colored shrimp, thanks to blood oranges.

Crazy colored shrimp, thanks to blood oranges.


For the poaching liquid…
2 quarts water
1/4 cup salt
For the ceviche…
1 pound raw wild-caught American shrimp, peeled and deveined
juice of 2 lemons
juice of 2 limes
juice of 2 oranges (I had blood oranges this time)
1 cup diced seeded peeled cucumber
1/2 cup finely chopped red onion
pinch of red pepper flakes
1 cup diced seeded tomato
1 avocado, chopped into 1/2″ cubes
1 tablespoon roughly chopped cilantro leaves, plus more for garnish
1/4 cup extra virgin olive oil
1/4 teaspoon Fleur de Sel

Combine the water and 1/4 cup salt in a saucepan and bring it to a boil. Add the shrimp and immediately turn off the heat. Let the shrimp sit for just a minute, then drain and transfer them to a bowl of ice and place them in the fridge to cool.

Remove the cooled shrimp from the fridge and drain the water, and get rid of the ice. Chop the shrimp into 1/2″ pieces and place them in a medium non-reactive bowl. Add the lemon, lime and orange juice. Stir in the cucumber, onion and pepper flakes. Refrigerate this for an hour.

Stir in the tomato, avocado, chopped cilantro, olive oil and Fleur de Sel into the shrimp mixture. Let it stand at room temperature for 30 minutes before serving. Garnish with cilantro leaves, if desired.

Almost 95% of all shrimp sold in the United States comes from farmed shrimp in countries like China, Thailand, Vietnam and India…as well as Latin America. The stuff you buy at the supermarket comes frozen (since shrimp is highly perishable) and then is thawed out and placed on ice to make the display look nice. But the shrimp you’re getting is not “fresh” (unless you’re lucky enough to get some wild caught local shrimp) and it’s from countries where the methods of farming are questionable at best.
Shrimp farming in Asia and Latin America is destroying mangrove forests and because of that, coastal villages as well. Disease is commonplace in shrimp farms, so they’re pumped full of antibiotics and pesticides. Slavery is common in the Asian shrimp business, and there even have been accounts of shrimp injected with jelly to plump them up for buyers. Just. Don’t. Buy. Them.
Imported wild shrimp are also a problem because of bycatch. For every pound of wild shrimp caught, several pounds of other animals such as turtles die needlessly in the trawler nets.
Wild American shrimp is the best way to go for your health and the environment. American shrimp fishermen are required by law to reduce bycatch. For example, they’re required to use Turtle Exclusion Devices to stop turtles from being caught in their nets.
I stopped eating tiger shrimp and other farmed shrimp from foreign countries a long time ago, because wild-caught American shrimp from the Gulf of Mexico, the Carolinas, or the Florida Keys is readily available at supermarkets and membership stores where I live…and the price is right.
And on top of everything else, wild caught American shrimp tastes better. And why shouldn’t it? The shrimp are eating their natural foods found in the wild…not some pellets thrown at them that contaminate the water around them, not to mention the shrimp themselves.
Before I could find shrimp locally, I used to order it in 5 lb. frozen boxes online, and even with shipping, the price was affordable. My favorite website for wild caught American gulf shrimp was www.cajungrocer.com. I’ve also ordered my favorite Cajun foods, like Turduckens and alligator sausage, from these people for many years.
The basics of this recipe come from my friend, Lee, a chemist who also enjoys creating in the kitchen. What I found interesting about his recipe was the touch of sugar that doesn’t really add sweetness but rather helps create the light, tasty caramelized crust that forms on the shrimp when you sear it. I tweaked a few things in this recipe, but the essence of it remains the same.

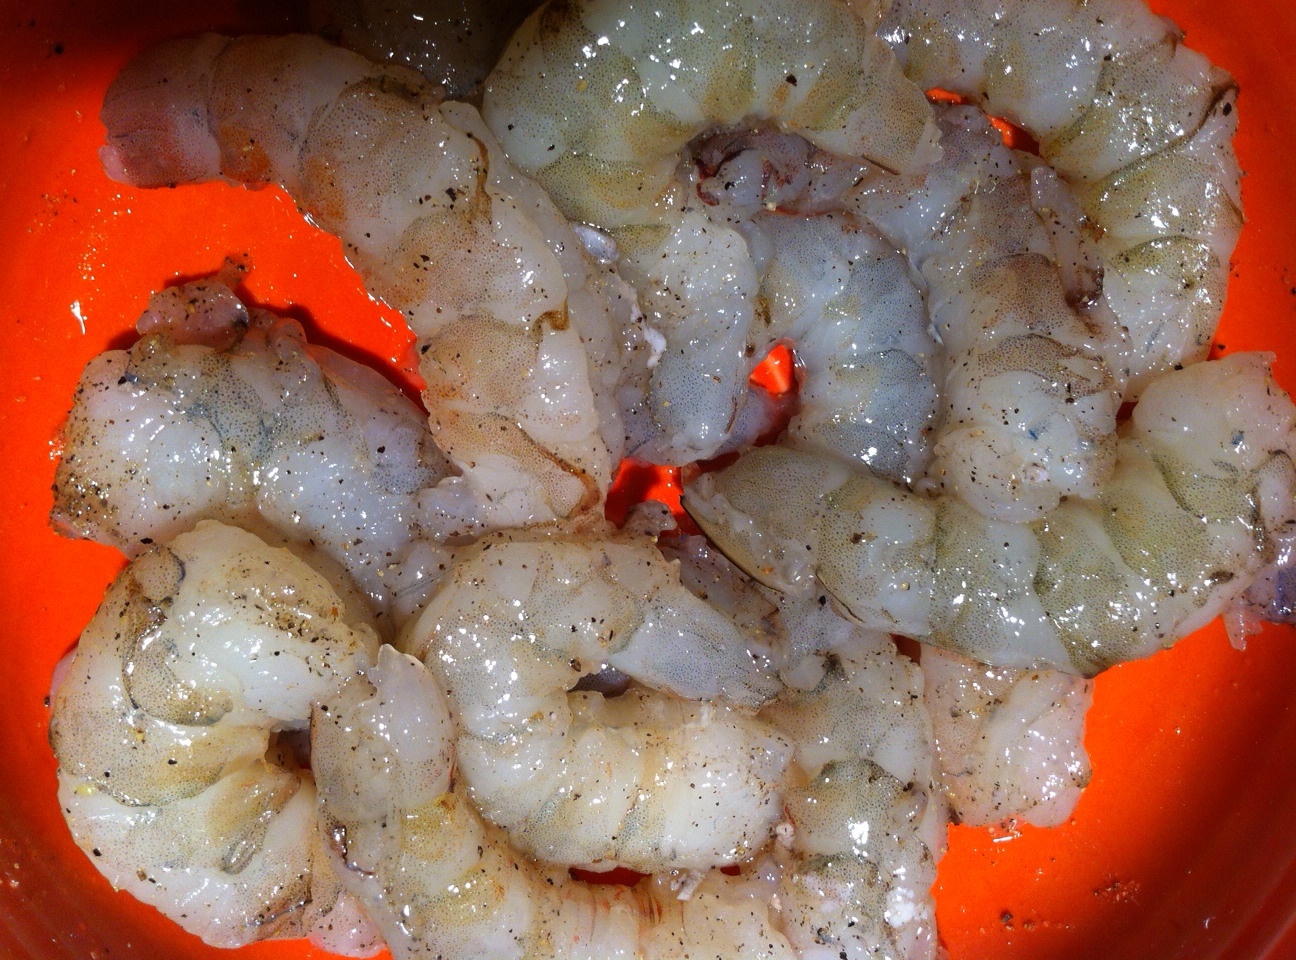
Seasoned shrtimp.

1 pound large peeled and deveined wild-caught American shrimp
Salt
Freshly ground pepper
Sugar
4 tablespoons softened butter
1 clove of garlic, squeezed through a press
1 tablespoon freshly squeezed lemon juice
2 tablespoons chopped parsley
1 teaspoon oregano
Extra Virgin olive oil
Toss the shrimp, 1/4 teaspoon salt, 1/4 teaspoon pepper, and 1/4 teaspoon sugar in a bowl.
In a separate bowl, mash the butter with a fork, folding in the garlic. Add the lemon juice, parsley, oregano, and 1/4 teaspoon salt.
Heat a tablespoon of olive oil in a large skillet over high heat. Add half the shrimp in a single layer to the pan and cook at high heat until they’re caramelized on one side, about 1 minute. Flip the shrimp over and cook them for another 30 seconds. Don’t overcook them!
Remove the cooked shrimp to a covered bowl and similarly sear the other half of the shrimp, then return the first half of the shrimp back to the skillet. Turn down the heat to medium and add the butter/garlic/lemon/parsley/oregano/salt mixture, occasionally tossing the shrimp around in the pan to evenly coat them with the glaze.
If you’re serving the shrimp over pasta, increase the amount of butter and olive oil to just lightly coat the pasta. Toss the cooked pasta into the pan of shrimp to combine.
I like to season lightly at the end with a tiny pinch of Fleur de Sel. Serve immediately.
I was on a mission to find fresh mussels the other day, and in the process, stumbled upon fresh bay scallops, piled high on ice at a local farmers’ market. Unlike like the larger sea scallops or bomster scallops, bay scallops are small and sweet, about the size of a mini-marshmallow…hard to find and my absolute favorites.
 image
As far as I’m concerned, there is no better way to eat a fresh scallop than right out of the shell with just a little marinade on top, popping these beauties into my mouth literally as they’re still pulsing on the shell.
Scallops are a bit trickier to open and clean than clams or oysters (at least for me) but all it took was a little practice while sipping a Stoli Elit martini and I got the hang of it in no time.
There are two marinades that I use when serving up raw scallops. The acidity in these marinades will cook the scallop a little, like in ceviche, though eating them raw is perfectly fine if they’re super-fresh.
“MILLS TAVERN” MARINADE
The first place I ever had a raw scallop was at Mills Tavern, a highly rated restaurant in Providence, RI. Freshly shucked scallops (in large flat shells) were served on ice with a tangy red marinade. I never got the recipe from the restaurant, but this is my version of that marinade.
3 tablespoons rice vinegar
2 tablespoons Grenadine
1/2 teaspoon fresh finely grated ginger
2 teaspoons finely chopped scallions
 Combine all the ingredients and chill before using.
A trick I learned from the folks at Wishing Stone Farm, where they grow their own ginger roots: keep the ginger stored in the freezer in a tightly sealed bag. Most of us don’t use ginger all that much, but we want fresh ginger when the recipe calls for it. By wrapping it tightly in plastic and storing it in the freezer, it’s ready to use any time. Simply take the ginger root out, and grate it finely–no need to peel the skin–while it’s still frozen. It will be almost powder like, and it will blend beautifully into any recipe you’re using. Then just put the rest back in the freezer.
 image
ALZ CEVICHE MARINADE
My marinade is closer to a basic ceviche, using 3 kinds of citrus and some Asian flavors.
1/4 cup freshly squeezed orange juice
1 1/2 tablespoons freshly squeezed lemon juice
1 1/2 tablespoons freshly squeezed lime juice
2 tablespoons soy sauce
1 tablespoon + 1 teaspoon peanut oil
1/2 teaspoon honey
1 1/2 teaspoons fresh finely grated ginger
2 tablespoons finely chopped scallion
2 small dried chili peppers, finely chopped
 Combine all the ingredients and chill before using.

image


Both marinades are gluten-free, as long as you use GF soy sauce. La Choy is an easy-to-find gluten-free brand.


SHRIMP BURGERS

Posted: February 21, 2024 in Uncategorized
Tags: , , , ,

These shrimp burgers are not only delicious, they’re pretty low in calories. The key to success is to use raw shrimp, not cooked. (Overcooked shrimp is never a good thing.)

I always use wild-caught American shrimp, not that nasty stuff from Asia. I’ve found wild-caught American shrimp almost everywhere, from supermarkets to membership clubs, and for a great price. You just have to make a bit of an effort to read the packages.

For this recipe, you don’t need to spend extra money for large shrimp. You’ll be chopping them up anyway…and I think the smaller shrimp are tastier. (A white fish, like cod, is also a good substitute for the shrimp.)

These patties hold together pretty well without a lot of breadcrumbs because the shrimp that goes in the food processor becomes a sticky paste that holds everything together. At around 1 calorie per gram, shrimp is a dieter’s best friend.

This recipe can be made gluten-free simply by using GF breadcrumbs. I make my own by buying frozen GF bread, like Udi’s. I toast it, then put it in the food processor to make breadcrumbs. They’re delicious, and you’d never know they’re gluten free!

1 lb. thawed, peeled and deveined medium wild-caught American shrimp
1/3 cup breadcrumbs
1 tablespoon fresh-squeezed lemon juice
1/2 teaspoon sea salt
1/4 teaspoon granulated garlic
1/4 teaspoon freshly ground black pepper
1/2 small Vidalia onion or 1 scallion, finely chopped
1 large egg, lightly beaten
Splash of cayenne pepper sauce, like Frank’s Red Hot, or a pinch of cayenne pepper (optional)
Oil, for frying

Coarsely chop half of the shrimp. Place the other half in a food processor, and pulse it until smooth.

Combine all the shrimp in a bowl with the breadcrumbs, lemon juice, salt, garlic, pepper, onion, egg and optional cayenne pepper sauce.

I had a few radishes, so I chopped them up and mixed them with the onion. (That’s what the little red flakes are.) But that’s just me!

Refrigerate the mix for 10 minutes. Then remove it from the fridge and form the patties. (I like to use a 1/3 cup measure for this.) Once you’ve formed the patties, put them back in the fridge for another 10 minutes.

Heat the oil (I try to use as little as possible for calories’ sake) in a non-stick pan over medium-high heat. I like avocado oil, but use your favorite. And if you’re not on a diet, use 1/4 cup of oil to get a nice fry going. Carefully place the burgers in the pan (they’re fragile!) and cook them about 3 minutes per side.

Getting a good sear on the first side before flipping them will help hold them together. You don’t want to undercook the burgers, but you don’t want to overcook shrimp, either.

Sometimes a piece will break off. That’s OK!

I make a simple remoulade using 1 teaspoon Dijon mustard to 1 tablespoon mayonnaise. Another option is to combine mayo with some Old Bay seasoning.

I’ve had Clams Casino in many different forms. Back when I worked in Italian restaurants in New York, we would make a breadcrumb mixture, press it onto a freshly opened whole clam, and then place a small piece of bacon on top before it went into the oven. It was good, but the clam often stuck to the shell, and many people didn’t want to gulp down a whole clam like that.


Oyster knife (left) and a clam knife (right.) Different tools for different jobs.


When it was time for me to make my own recipe, I decided that I would chop the clams and mix them into the breadcrumb mix, so that every bite was the same.

2 tablespoons olive oil
1/3 cup finely chopped Vidalia or other sweet onion (about a 1/2 an onion)
2 garlic cloves, squeezed through a garlic press
1/3 cup dry white wine
1/3 cup unflavored bread crumbs
1 tablespoon fresh Italian parsley, finely chopped
1/2 teaspoon dried oregano
Freshly cracked black pepper
2 dozen medium sized clams
1/3 lb. bacon, cut in small squares to fit the clam shells
Heat the olive oil in a pan over medium heat. Add the onions, and sauté them until they’re translucent. Add the garlic, and cook for 10 seconds. Add the wine and simmer for a minute. Add the bread crumbs, and stir the mixture until it becomes thicker, like a paste. Add the parsley and oregano. Season with pepper. (There’s going to be plenty of salt in the clam juice and bacon, so no salt is needed.)

The bread crumb mixture.

Remove the pan from the heat and let it cool.
It’s time to open the clams. If you know how to do that, open them over a sieve with a bowl underneath so that the clam meats and juices are captured. Discard any broken shells, but save the good ones.
If you struggle with opening clams, this method makes it a little easier: Bring a large pot of water to boil, and drop the clams into it, about 10 at a time, for 30 seconds. Don’t let them open! Remove the clams with a slotted spoon and place them in a bowl to cool. Continue doing this in small batches until all the clams have been in the water. You’ll find this makes opening the clams much easier. Then proceed as above.
Once you’ve shucked all the clams, let the clam juice sit for a bit, so that any grit settles to the bottom of the bowl. Then pour off the clean clam juice and add it to your bread crumb mixture. (Don’t worry if it looks soggy at this point.)

Looking a little soggy, but that’s OK.

I like to hand chop the clam meats instead of using a food processor. You want tasty clam chunks, not too big, but not mush. Add the clams to the the bread crumb mix.
At this point, if the clam mix looks very soggy, simply add a little more bread crumb to dry it out.
Preheat the oven to 350 degrees.
Line a large baking sheet with foil. Separate the clam shell halves and wash them, making sure you don’t have any shell fragments left in the clam shell.  Fill them with the clam mixture, mounding them slightly, and placing each one on the baking sheet.

Clams and bacon…delicious!

Cut the bacon in small squares to fit the clam shells. Place a small piece of raw bacon on the top of each clam.
Bake until the clams are just cooked through, the topping is golden, and the bacon is cooked, about 30 minutes.

This makes a great appetizer, but it’s hard to just eat a few!

Good news if you’re on a gluten-free diet. These fritters can be made GF! And they’re delicious.

I have both recipes–gluten-free and the original–below!

They key ingredient in making a good fritter batter is beer. But until recently, there weren’t many gluten-free beers to choose from…and the ones that were out there tasted like crap. All that has changed.

Now you can pretty much find a gluten-free craft beer in every state, and there are several regional gluten-free beers as well. Easy enough to find: just go to a good beer store and ask. They almost always carry a couple of brands.

Gluten-free beers can be divided into 2 types: truly gluten-free: brewed with gluten-free ingredients and safe for Celiacs to drink…and gluten-reduced: beers that are brewed with ingredients containing gluten, then had an enzyme added to reduce  the gluten. These are fine for those that have an intolerance to gluten, but are not Celiac. Read the labels!


The beer that I used for my recipe is a beer that they say  is “crafted to remove gluten,” meaning there’s still a small amount left in there.

Ultimately, if gluten is not an issue for you, follow the recipe at the bottom of this page. It’s my original, and not only uses a tasty lager full of gluten, but also a special fritter flour, which can be found in many stores.

However, if you have to “live the gluten-free live,” and you’ve told yourself you can never have another fritter, I have good news for you: you can…and they’re delicious! This is a large batch, so feel free to reduce it if needed.


In making this recipe, I tested 3 types of gluten-free flour: Cup4Cup all-purpose flour, Bob’s Red Mill GF Baking Flour, and a Canadian brand (not available here yet.) Cup4Cup (far left) was the clear winner for taste and texture of the fritter.


1 lb. all-purpose gluten-free flour (I like Cup4Cup)
2 lbs. frozen or fresh mussels
1/2 cup (or more) gluten-reduced lager beer (I used Omission)
oil for frying (I stay away from canola, but use what you like)


Pour an inch of water in the bottom of a pot, and place a strainer on top. Pour the mussels, fresh or frozen, onto the strainer and cover the pot. Set the heat on high and steam the mussels until they’re cooked, about 5 minutes. If you’re using fresh mussels, throw out any of the ones that didn’t open. Frozen mussel meats (without the shell) are also available in many areas. They work with this method, too.


Steamed New Zealand green-lipped mussels. Available frozen in many stores. Get the plain ones, not the ones that already come with sauce.


Remove the meats from the shells, and toss them in a food processor. Give them a quick chop…not too fine, because you want to see and taste them in the fritter.

Save the “mussel juice,” the water in the bottom of the pot. It’s got lots of mussel flavor.

Place the flour in a large bowl. Add the chopped mussels. Add a 1/2 cup of the mussel juice and a 1/2 cup of the beer. Mix thoroughly, using a fork or your hands, until you get a batter that’s a bit gooey, but not really wet. You might need to keep adding small amount of broth, beer or flour to get just the right consistency. Once you’ve done that, let the batter rest for 10 or 15 minutes. Keep it at room temperature, and do not stir again! If you need to wait a while before frying, cover the bowl with a wet towel.

In a heavy pan or a fryer, heat the oil to 350 degrees.


Once the oil is hot, take small meatball-sized globs in your hands and gently drop them into the oil. Don’t fry too many at once or the oil temperature will drop quickly. Fry them until they’re golden brown and cooked all the way through. Drain the fritters on paper towels, and season them immediately with salt and a little pepper.

The dipping sauce recipe I have listed at the bottom is not gluten-free. But most tartare-type sauces usually are, and are equally delicious.

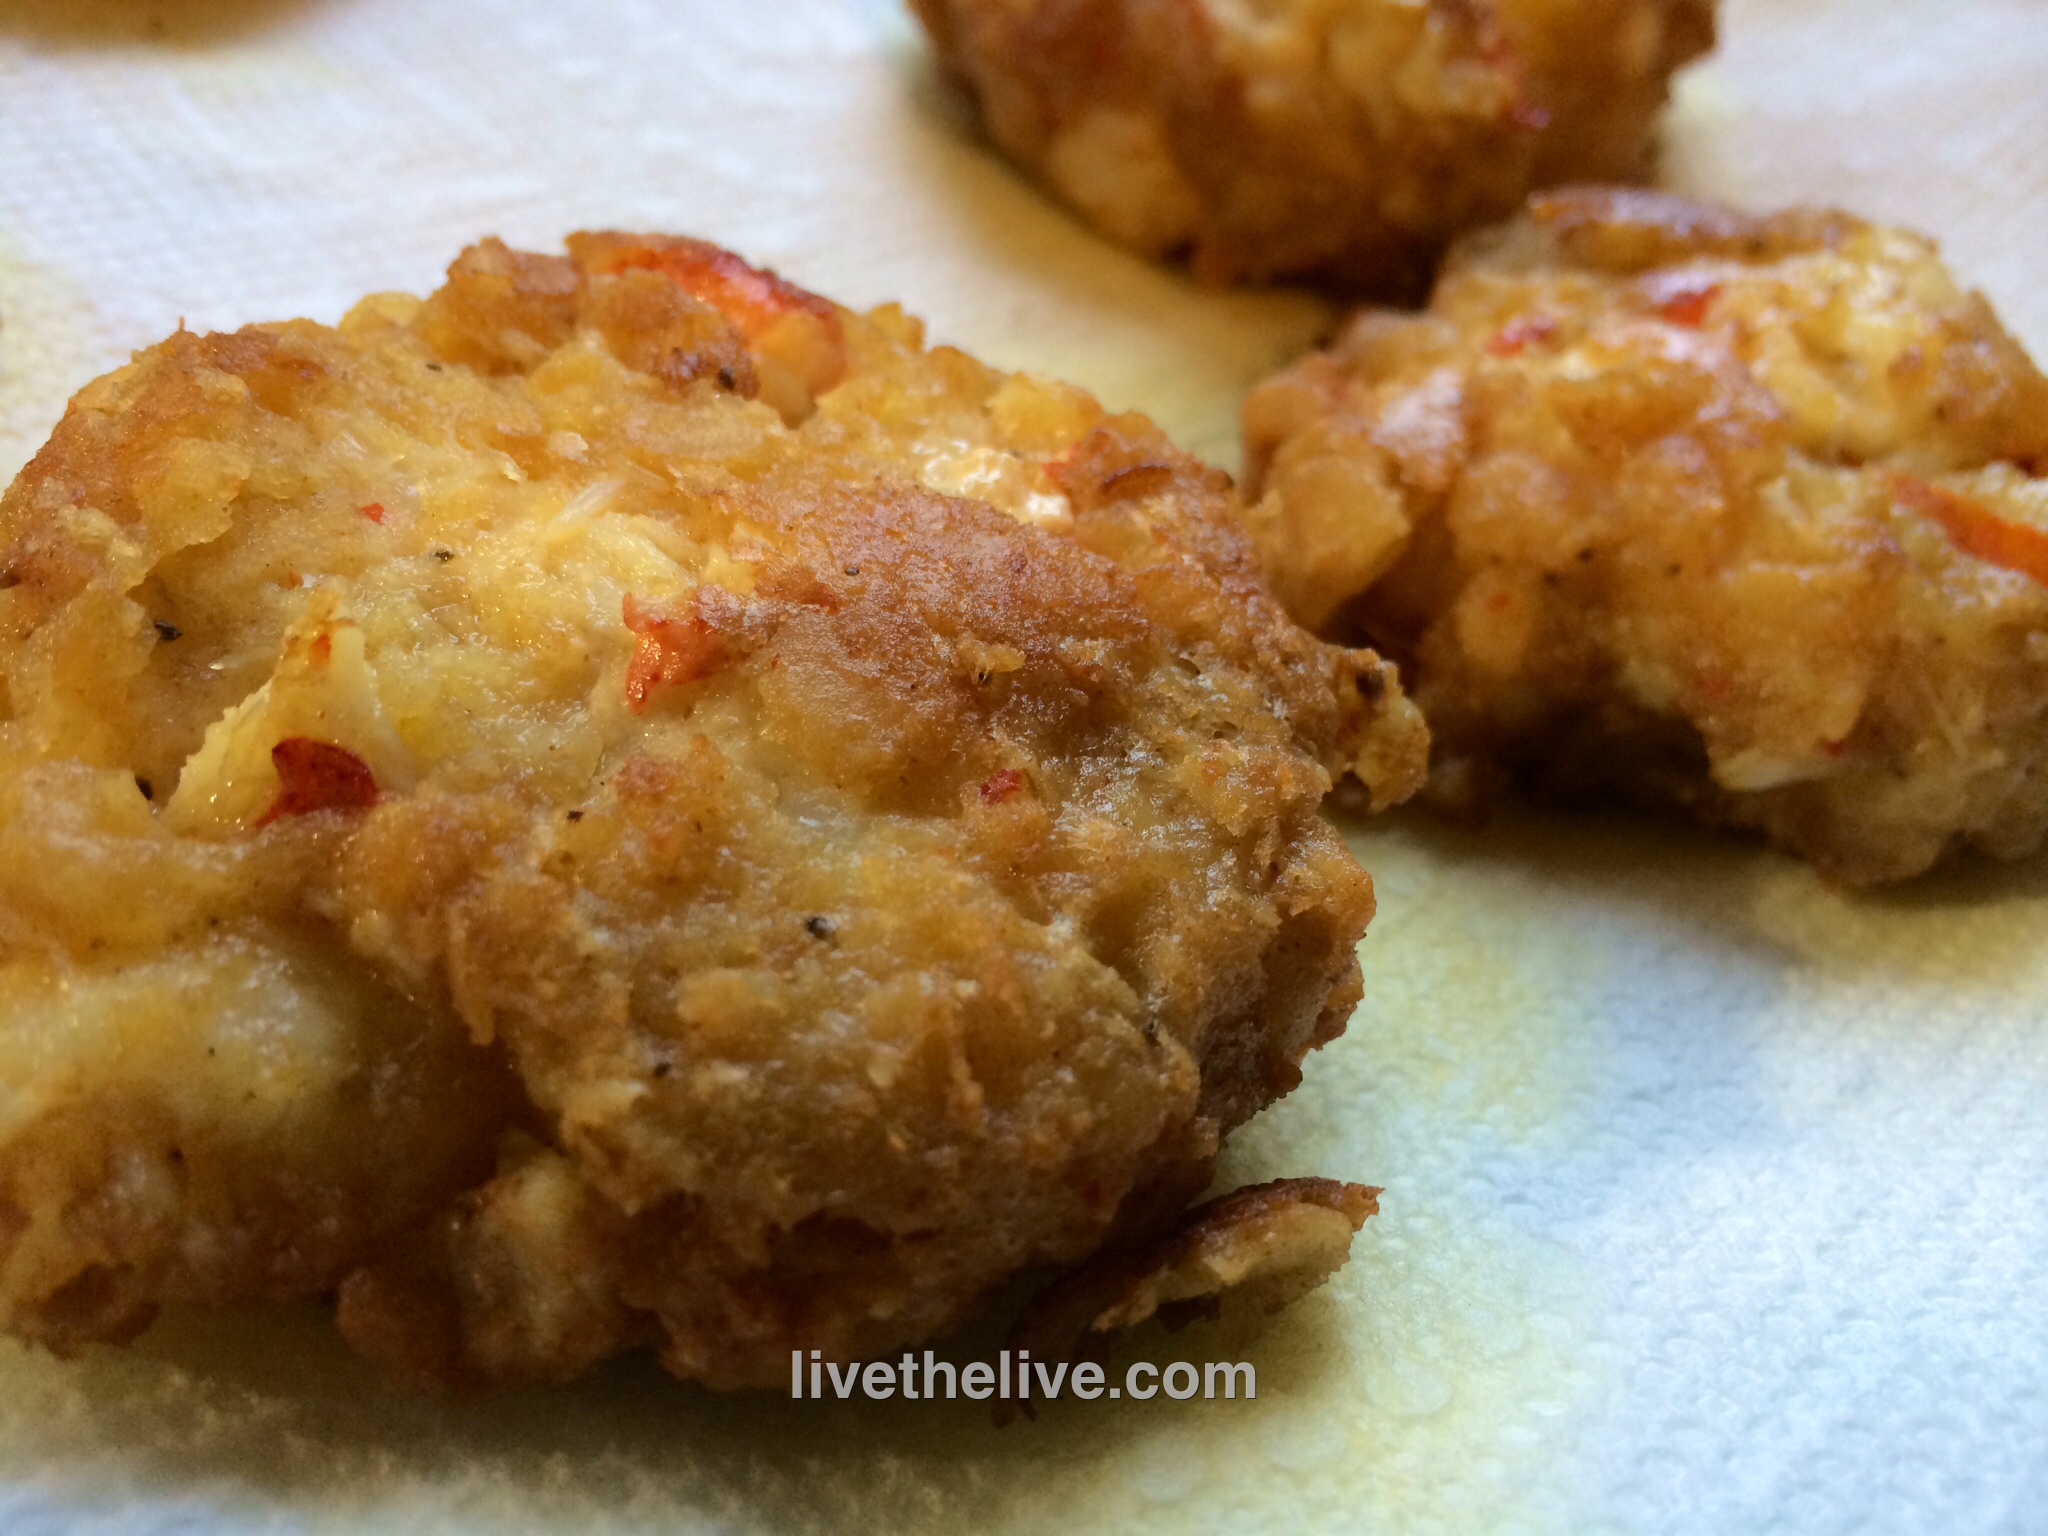
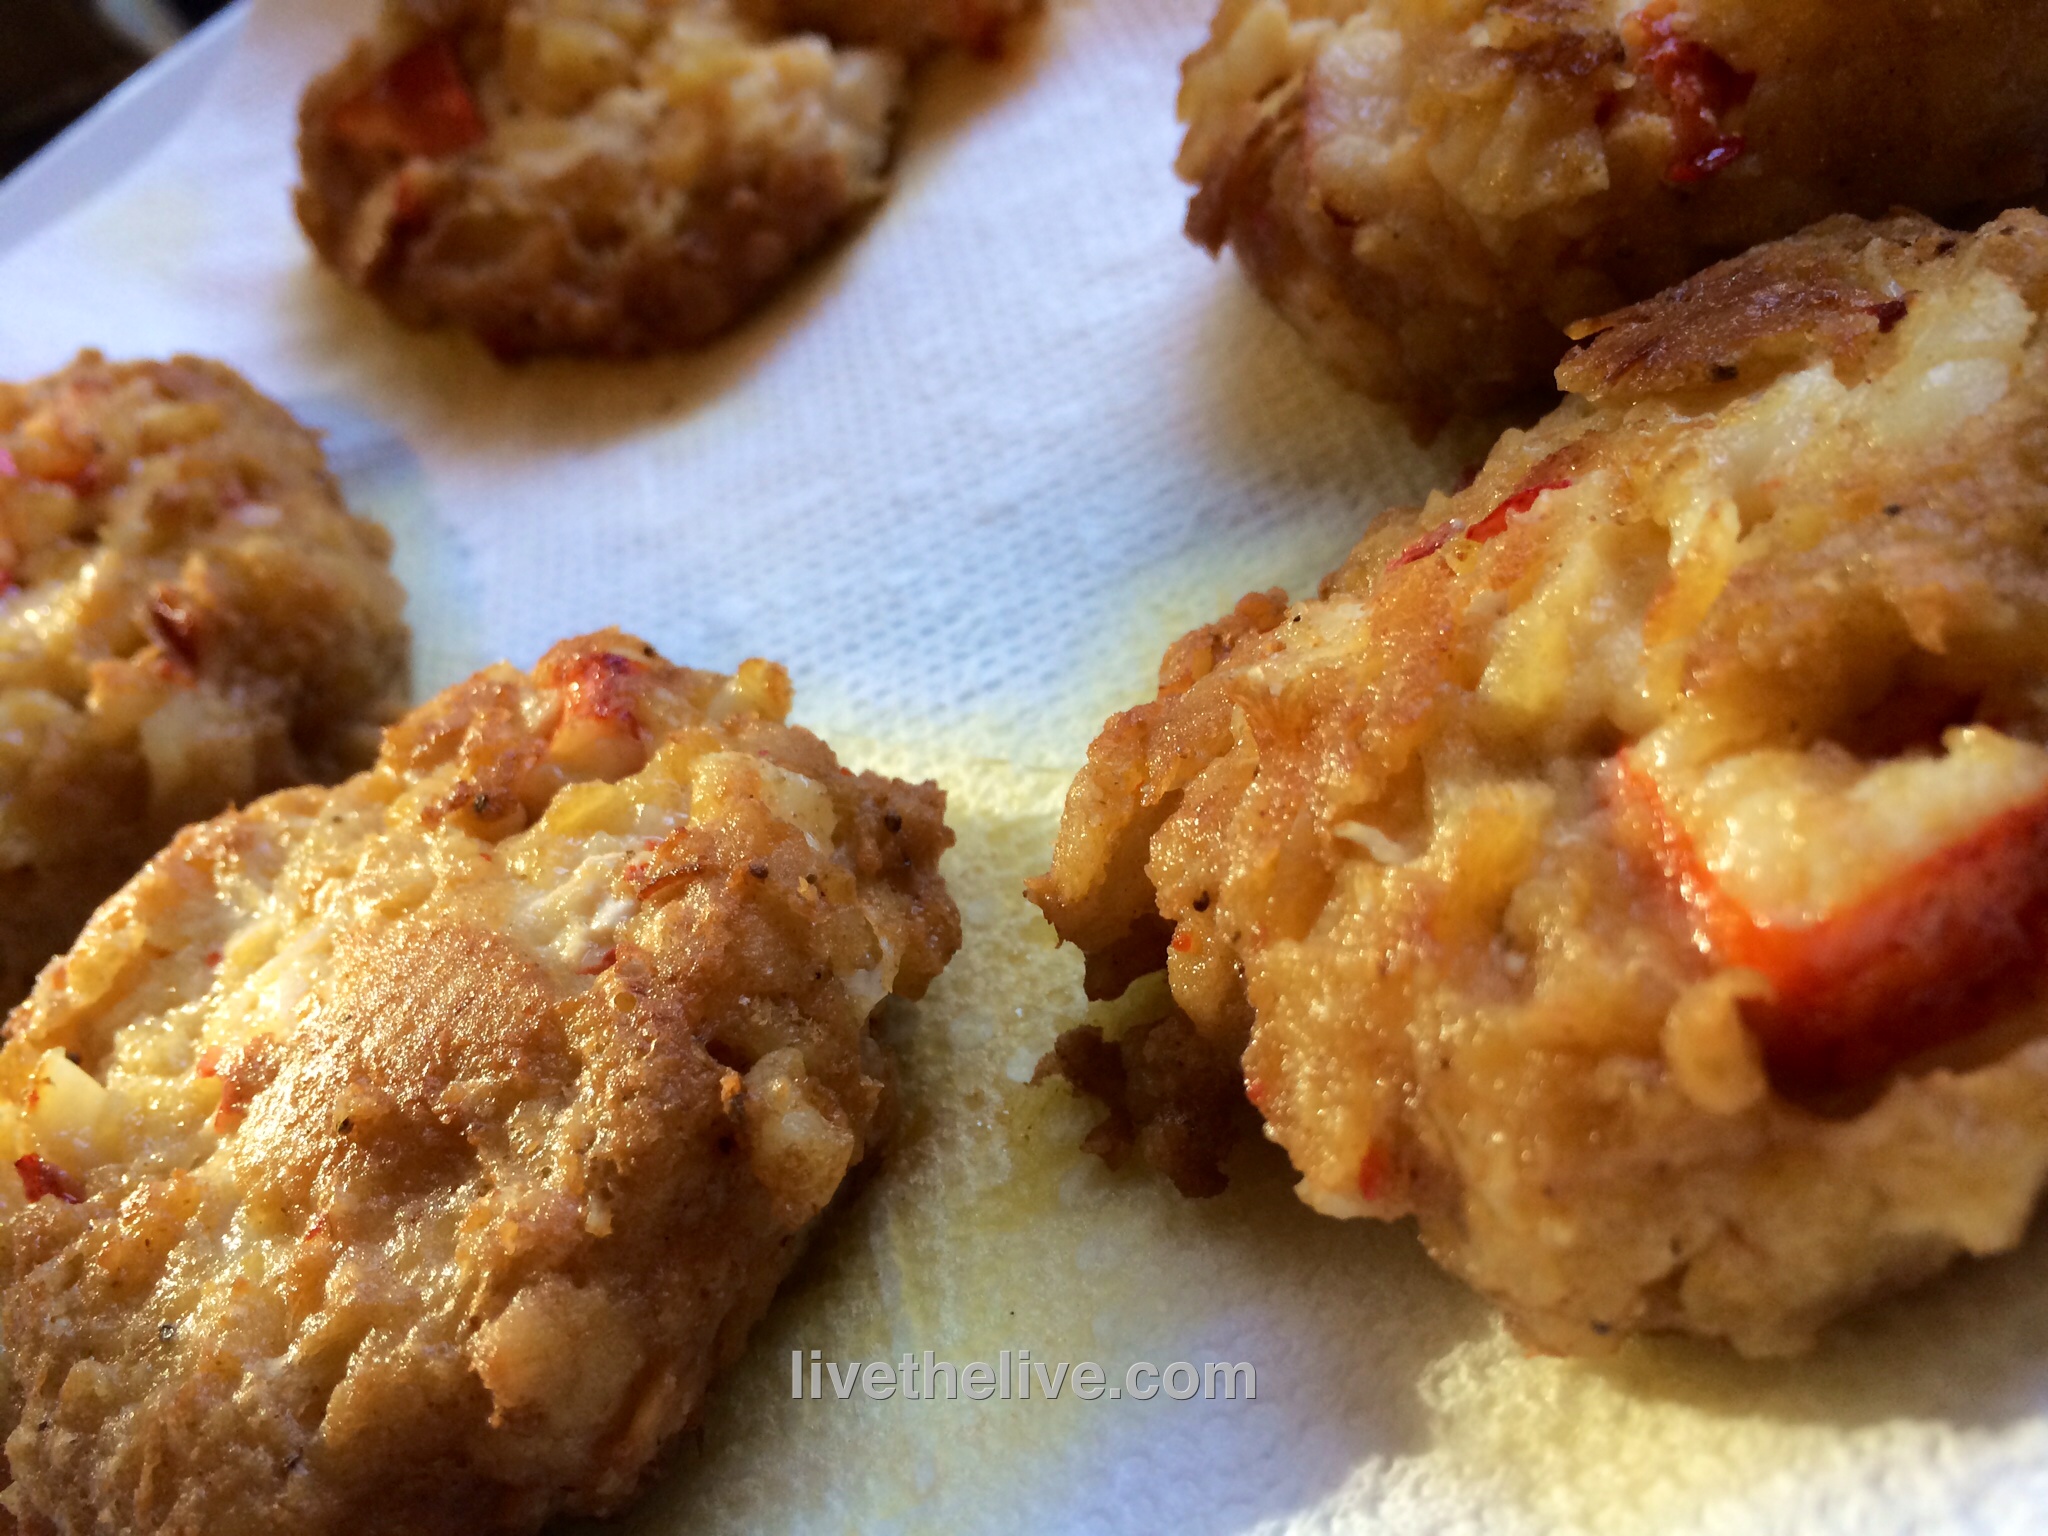
Of course, you can make fritters with anything, from mussels to shrimp to lobster!


You’d never know they were gluten-free!


Here’s the original recipe, full of glorious gluten!

It was a fall afternoon in Newport, Rhode Island, at the now-defunct Newport Yachting Center’s annual Oyster Festival. We’re gorging on freshly shucked oysters and clams, boiled shrimp, and…what have we here? I never heard of a mussel fritter before, but once I took a bite, there was no turning back.

They couldn’t be easier to make, but it is crucial to have the right fritter batter. And that starts with a Rhode Island product called Drum Rock fritter mix. If you live in New England, you can find it in just about any seafood department at Whole Foods. If you live further away, you can check out their website (www.drumrockproducts.com) or try your luck with a local brand of fritter mix.


fritter ingredients


If you’re using fresh mussels, be sure to clean them well and remove the beards. Steam them in a pot over a small amount of water. As they open, they will release their flavorful juices and you want to save every drop of that broth for the fritters. Here in New England, frozen mussel meats are available in some seafood stores. All you need to do is thaw them, steam them saving the broth, and you’re ready to go.

For the fritters:
1 lb. fritter mix
2 cups cooked mussel meats
1/2 cup mussel broth (saved from steaming mussels)
1/4 to 1/2 cup good quality beer (I use Sam Adams Boston Lager)
Oil for frying


Steam the mussel meats until they’re just cooked. Remove the mussel meats, and reserve 1/2 cup of the broth. Pulse the mussel meats in a food processor, but leave ’em chunky…or chop by hand.

Put the fritter mix in a large bowl. Add the mussel meats, mussel broth, and beer. Stir gently until just mixed. Let it sit for 10 to 15 minutes and do not stir again. (If you’ve got guests coming, you can prepare up to this part ahead of time, covering the bowl with a wet towel, and leaving it at room temperature.)

Using a thermometer, heat the oil in a deep pan to 350 degrees, and using a small spoon or scoop, drop the fritters in the hot oil, turning gently, cooking 3 to 4 minutes until golden.

Drain them on paper towels, and season with salt and pepper immediately. Serve right away!


IMG_3043


An easy, delicious dipping sauce:
1 cup mayonnaise
1/4 cup Ponzu sauce

The perfect dipping sauce for these mussel fritters is made from two ingredients: mayo and Ponzu sauce, a citrus-based soy sauce. Combine both ingredients in a bowl. Keep it in the fridge until you’re ready to use it.