Posts Tagged ‘seafood’

Good news if you’re on a gluten-free diet. These fritters can be made GF! And they’re delicious.

I have both recipes–gluten-free and the original–below!

They key ingredient in making a good fritter batter is beer. But until recently, there weren’t many gluten-free beers to choose from…and the ones that were out there tasted like crap. All that has changed.

Now you can pretty much find a gluten-free craft beer in every state, and there are several regional gluten-free beers as well. Easy enough to find: just go to a good beer store and ask. They almost always carry a couple of brands.

Gluten-free beers can be divided into 2 types: truly gluten-free: brewed with gluten-free ingredients and safe for Celiacs to drink…and gluten-reduced: beers that are brewed with ingredients containing gluten, then had an enzyme added to reduce  the gluten. These are fine for those that have an intolerance to gluten, but are not Celiac. Read the labels!
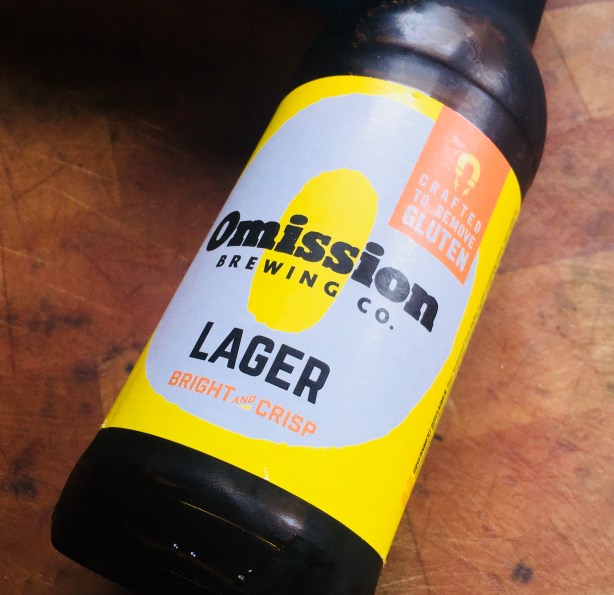


The beer that I used for my recipe is a beer that they say  is “crafted to remove gluten,” meaning there’s still a small amount left in there.

Ultimately, if gluten is not an issue for you, follow the recipe at the bottom of this page. It’s my original, and not only uses a tasty lager full of gluten, but also a special fritter flour, which can be found in many stores.

However, if you have to “live the gluten-free live,” and you’ve told yourself you can never have another fritter, I have good news for you: you can…and they’re delicious! This is a large batch, so feel free to reduce it if needed.


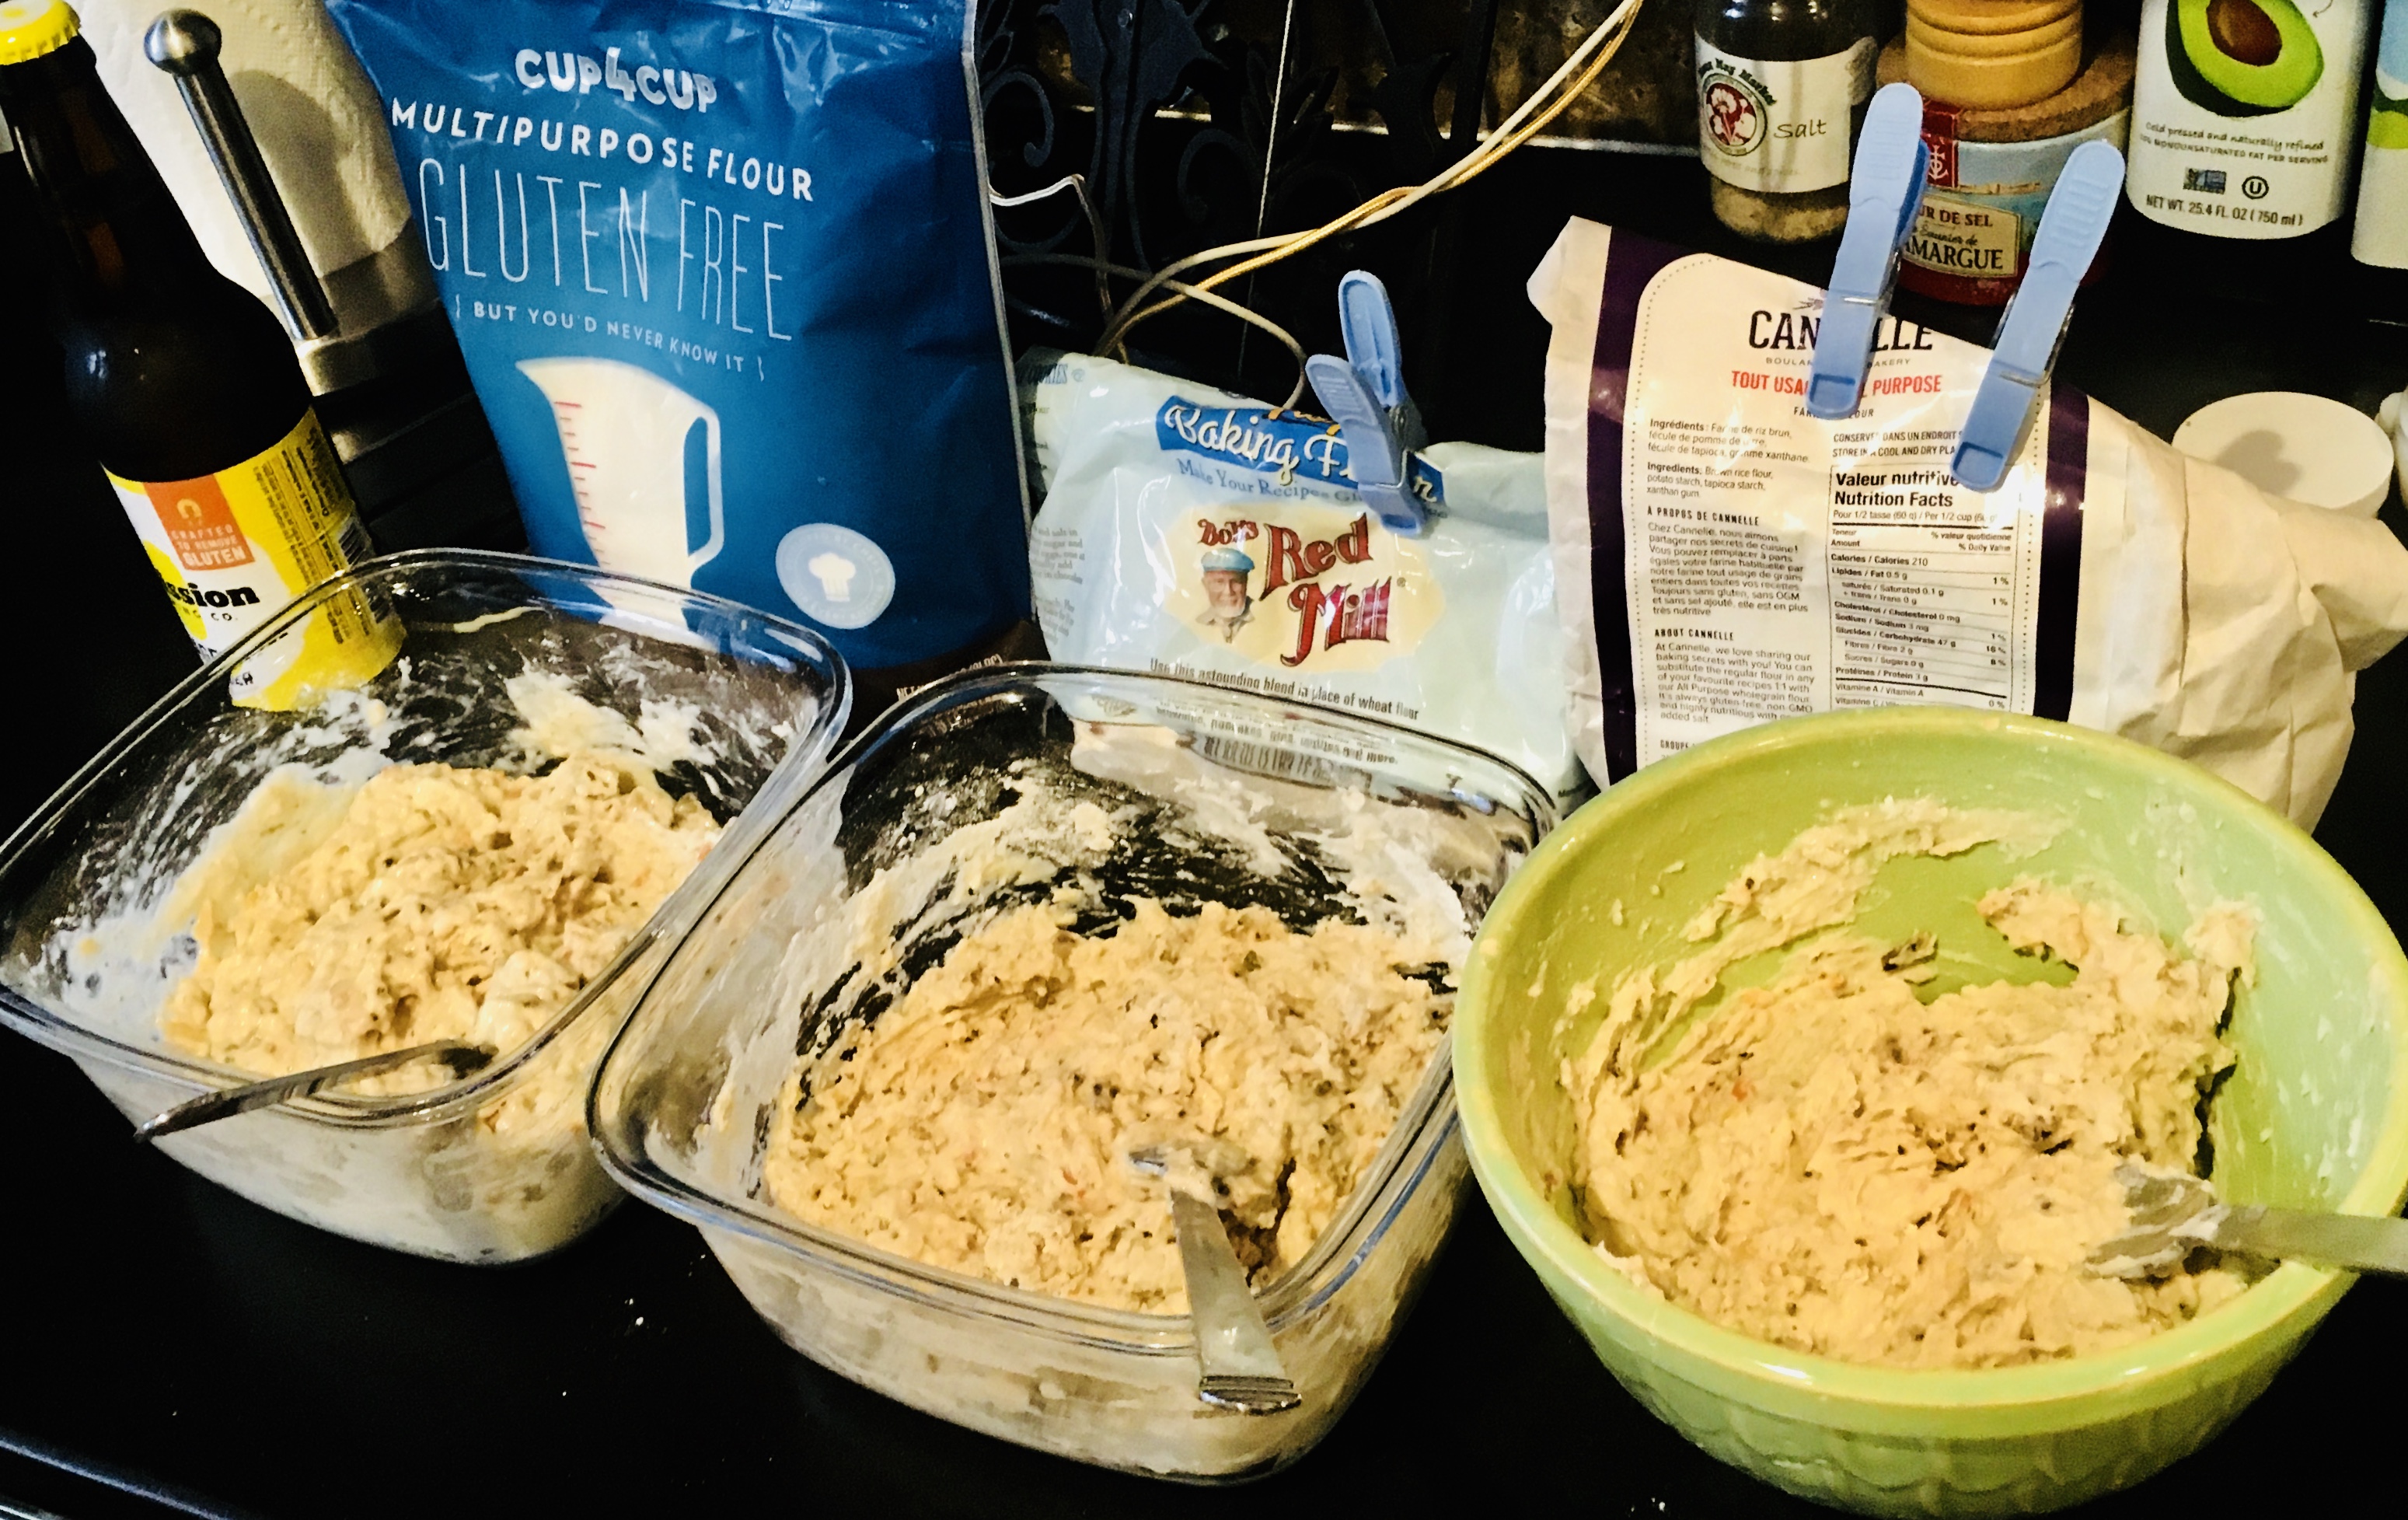
In making this recipe, I tested 3 types of gluten-free flour: Cup4Cup all-purpose flour, Bob’s Red Mill GF Baking Flour, and a Canadian brand (not available here yet.) Cup4Cup (far left) was the clear winner for taste and texture of the fritter.


1 lb. all-purpose gluten-free flour (I like Cup4Cup)
2 lbs. frozen or fresh mussels
1/2 cup (or more) gluten-reduced lager beer (I used Omission)
oil for frying (I stay away from canola, but use what you like)


Pour an inch of water in the bottom of a pot, and place a strainer on top. Pour the mussels, fresh or frozen, onto the strainer and cover the pot. Set the heat on high and steam the mussels until they’re cooked, about 5 minutes. If you’re using fresh mussels, throw out any of the ones that didn’t open. Frozen mussel meats (without the shell) are also available in many areas. They work with this method, too.
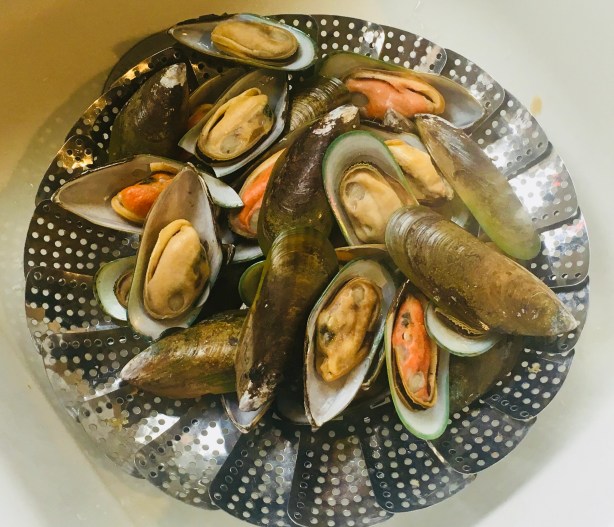
 

Steamed New Zealand green-lipped mussels. Available frozen in many stores. Get the plain ones, not the ones that already come with sauce.


Remove the meats from the shells, and toss them in a food processor. Give them a quick chop…not too fine, because you want to see and taste them in the fritter.

Save the “mussel juice,” the water in the bottom of the pot. It’s got lots of mussel flavor.

Place the flour in a large bowl. Add the chopped mussels. Add a 1/2 cup of the mussel juice and a 1/2 cup of the beer. Mix thoroughly, using a fork or your hands, until you get a batter that’s a bit gooey, but not really wet. You might need to keep adding small amount of broth, beer or flour to get just the right consistency. Once you’ve done that, let the batter rest for 10 or 15 minutes. Keep it at room temperature, and do not stir again! If you need to wait a while before frying, cover the bowl with a wet towel.

In a heavy pan or a fryer, heat the oil to 350 degrees.
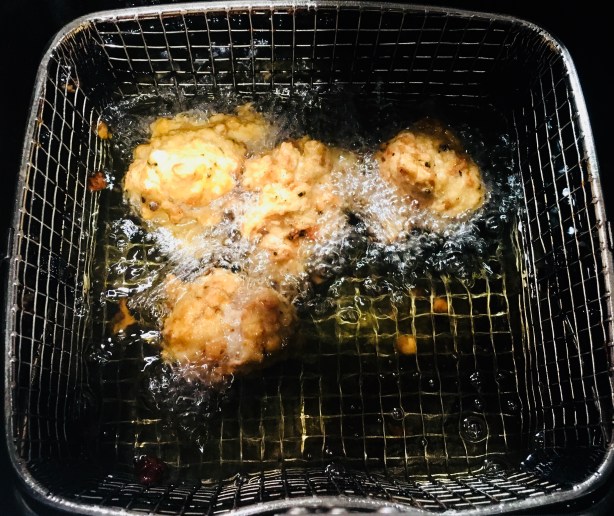


Once the oil is hot, take small meatball-sized globs in your hands and gently drop them into the oil. Don’t fry too many at once or the oil temperature will drop quickly. Fry them until they’re golden brown and cooked all the way through. Drain the fritters on paper towels, and season them immediately with salt and a little pepper.

The dipping sauce recipe I have listed at the bottom is not gluten-free. But most tartare-type sauces usually are, and are equally delicious.

Of course, you can make fritters with anything, from mussels to shrimp to lobster!
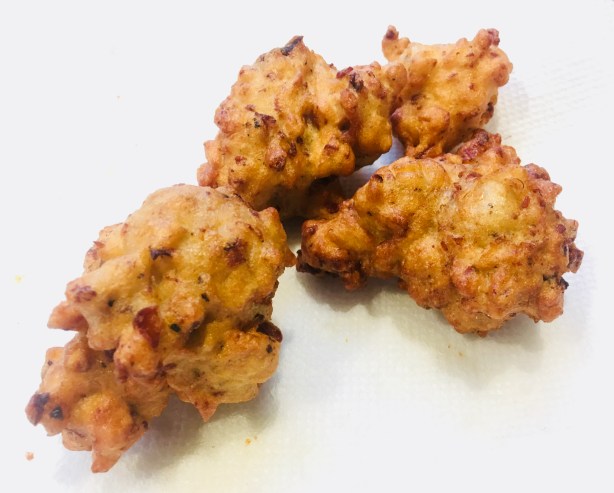
 

You’d never know they were gluten-free!


Here’s the original recipe, full of glorious gluten!

It was a fall afternoon in Newport, Rhode Island, at the now-defunct Newport Yachting Center’s annual Oyster Festival. We’re gorging on freshly shucked oysters and clams, boiled shrimp, and…what have we here? I never heard of a mussel fritter before, but once I took a bite, there was no turning back.

They couldn’t be easier to make, but it is crucial to have the right fritter batter. And that starts with a Rhode Island product called Drum Rock fritter mix. If you live in New England, you can find it in just about any seafood department at Whole Foods. If you live further away, you can check out their website (www.drumrockproducts.com) or try your luck with a local brand of fritter mix.
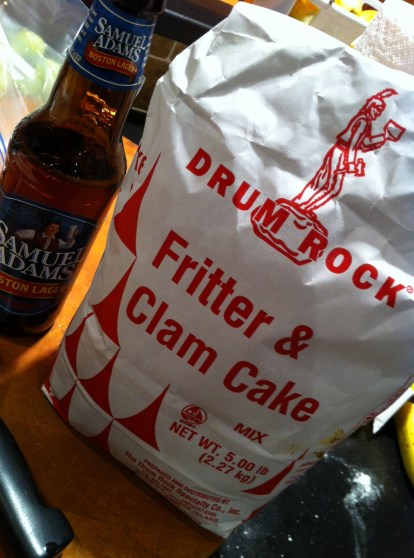
 

fritter ingredients


If you’re using fresh mussels, be sure to clean them well and remove the beards. Steam them in a pot over a small amount of water. As they open, they will release their flavorful juices and you want to save every drop of that broth for the fritters. Here in New England, frozen mussel meats are available in some seafood stores. All you need to do is thaw them, steam them saving the broth, and you’re ready to go.

For the fritters:
1 lb. fritter mix
2 cups cooked mussel meats
1/2 cup mussel broth (saved from steaming mussels)
1/4 to 1/2 cup good quality beer (I use Sam Adams Boston Lager)
Oil for frying


Steam the mussel meats until they’re just cooked. Remove the mussel meats, and reserve 1/2 cup of the broth. Pulse the mussel meats in a food processor, but leave ’em chunky…or chop by hand.

Put the fritter mix in a large bowl. Add the mussel meats, mussel broth, and beer. Stir gently until just mixed. Let it sit for 10 to 15 minutes and do not stir again. (If you’ve got guests coming, you can prepare up to this part ahead of time, covering the bowl with a wet towel, and leaving it at room temperature.)

Using a thermometer, heat the oil in a deep pan to 350 degrees, and using a small spoon or scoop, drop the fritters in the hot oil, turning gently, cooking 3 to 4 minutes until golden.

Drain them on paper towels, and season with salt and pepper immediately. Serve right away!


IMG_3043


An easy, delicious dipping sauce:
1 cup mayonnaise
1/4 cup Ponzu sauce

The perfect dipping sauce for these mussel fritters is made from two ingredients: mayo and Ponzu sauce, a citrus-based soy sauce. Combine both ingredients in a bowl. Keep it in the fridge until you’re ready to use it.

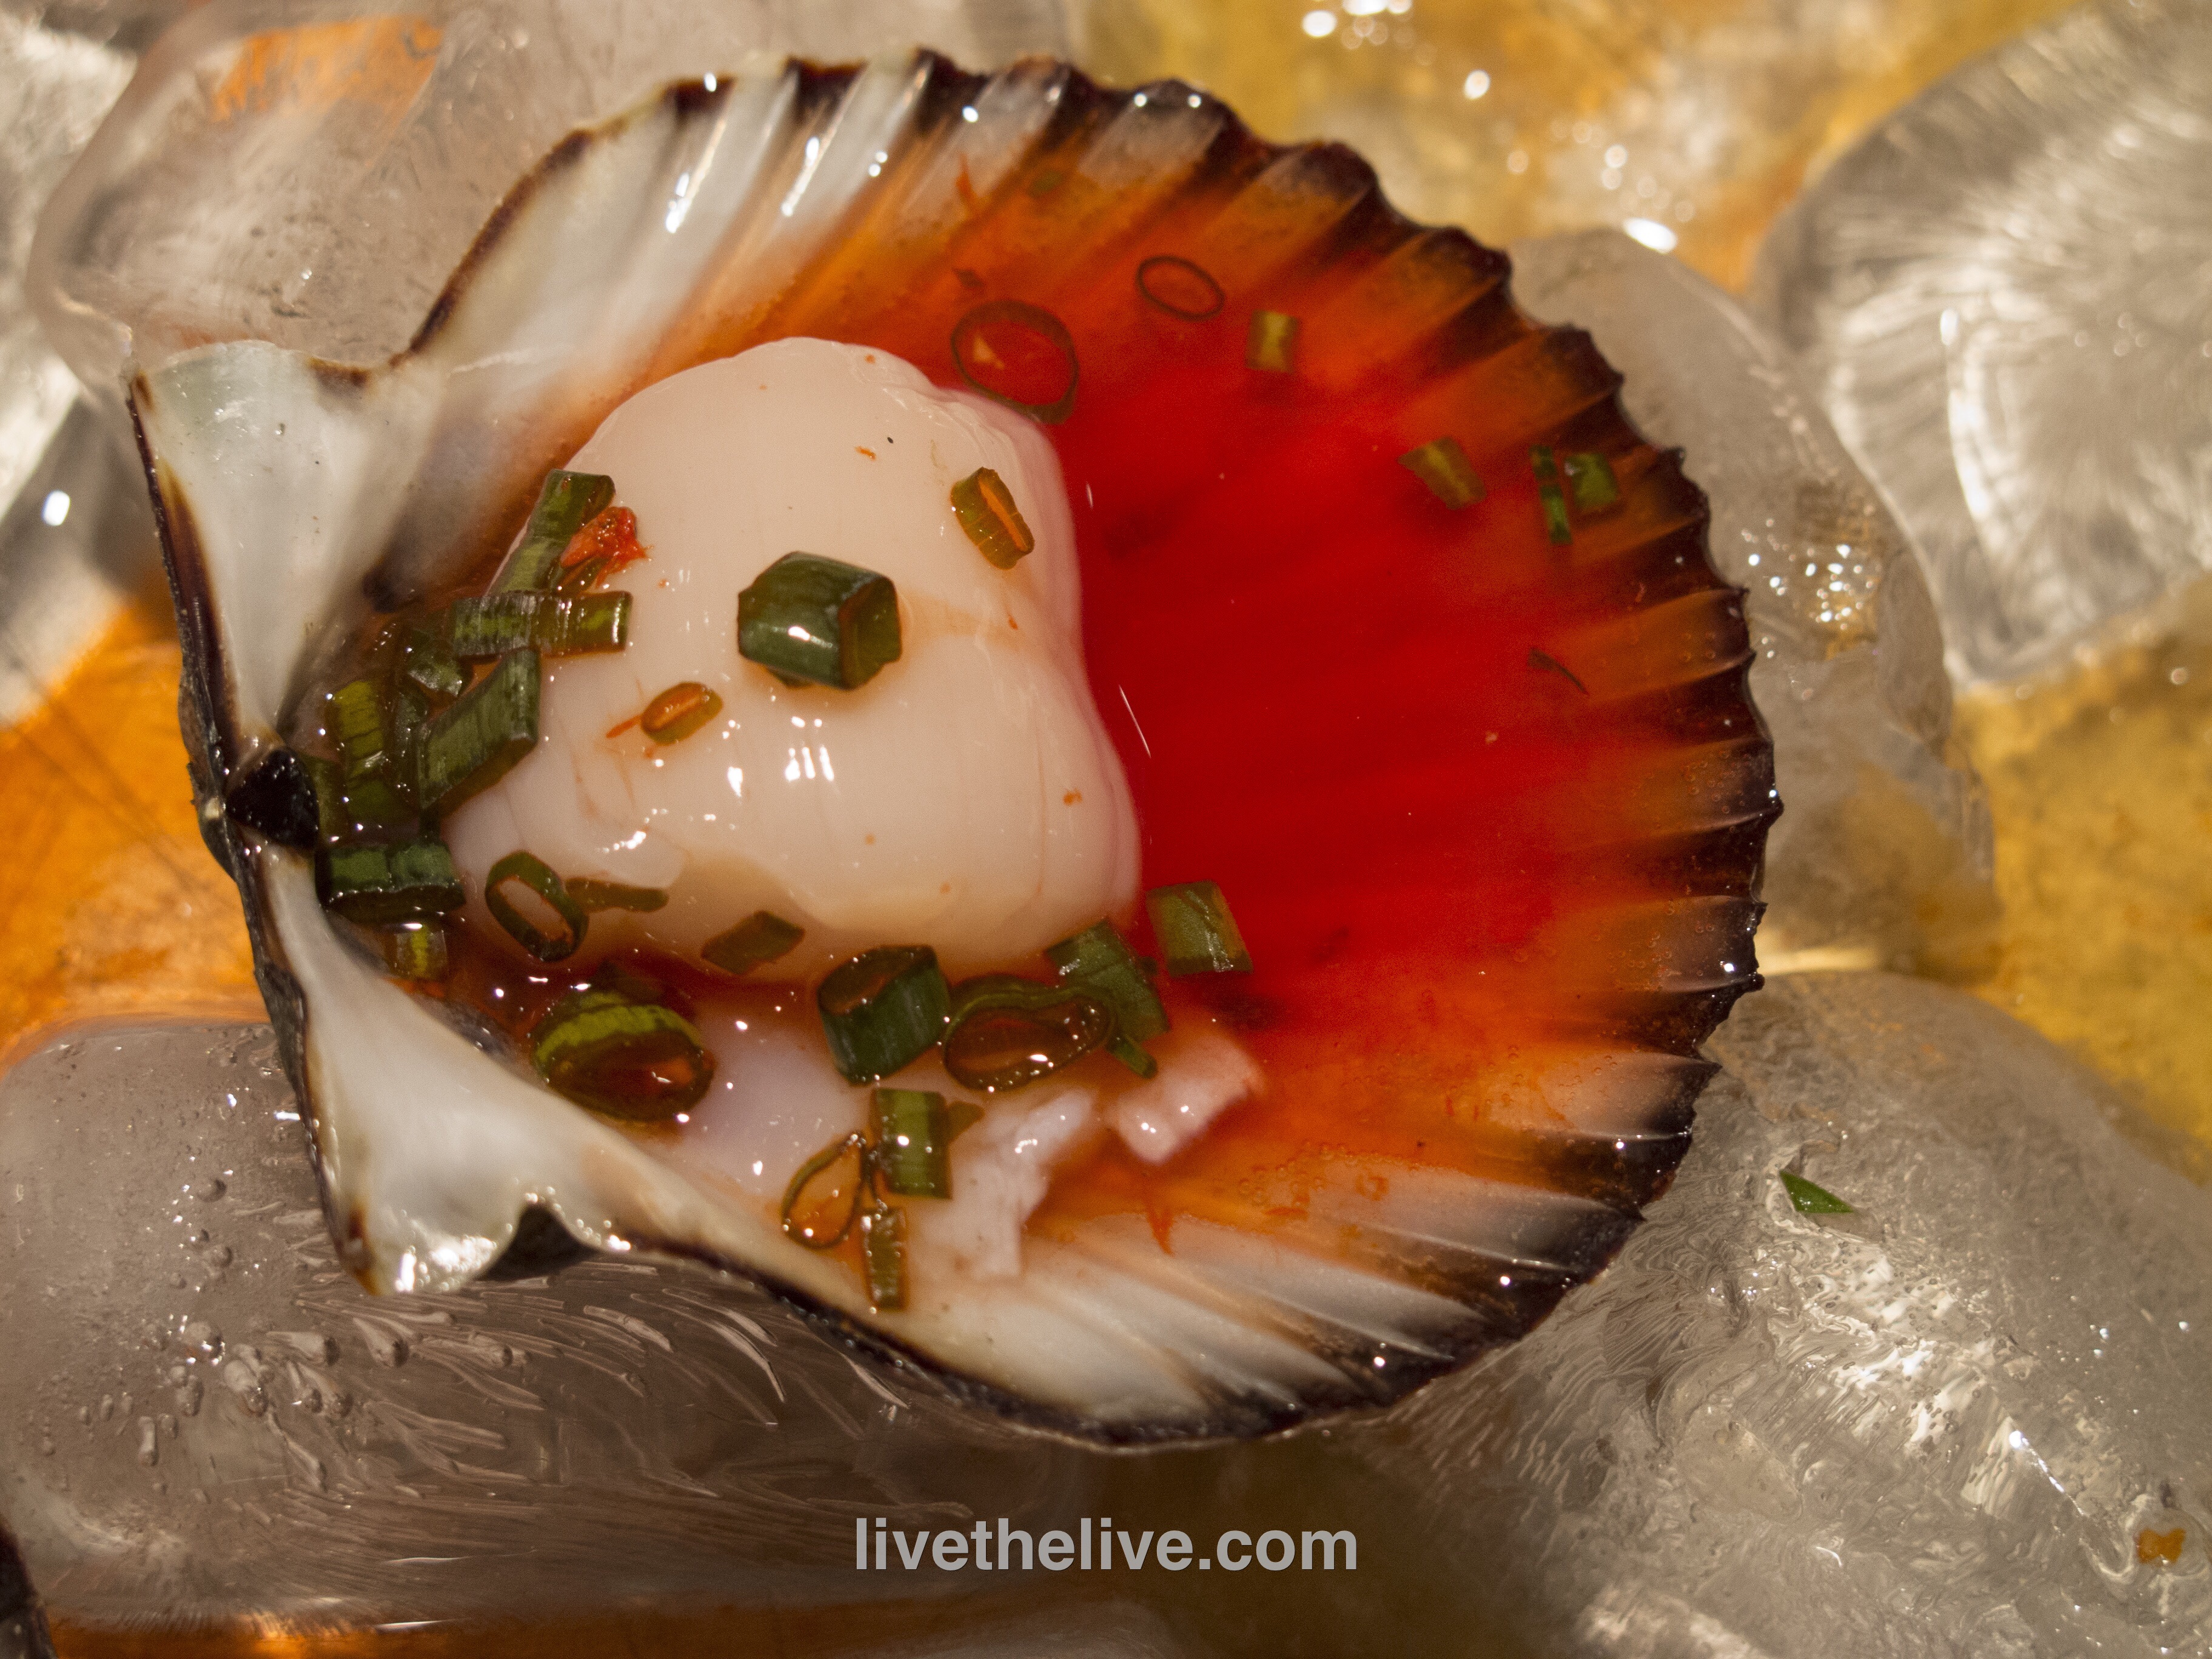
If you really want to impress your guests for the holidays, try curing your own salmon!

I love salmon in all forms. If it’s high quality wild-caught Alaskan salmon, I love it pan-sautéed, raw (as in sashimi), smoked, or cured.

The best smoked salmon uses the gentle process of cold smoking. It’s something that the average homeowner can’t really do successfully, so I simply buy cold-smoked salmon when I crave it. I’ve made hot-smoked salmon at home with some success, but the fish is so delicate, you really have to keep an eye on it. It takes no time for a juicy, perfectly smoked piece of salmon to turn into a dry, overcooked hockey puck.

Curing, which is how you get Gravlax, is really quite simple. You just need to have enough patience to wait a few days before you can eat it.

There are many gravlax recipes out there.  Some use peppercorns, fennel, caraway, even Aquavit in the curing process.  My opinion is: if you’ve got a beautiful piece of fish, why mask the flavor of it? I go with the simplest recipe possible, featuring just 3 ingredients that cure the salmon: salt, sugar and fresh dill.

The first step, of course, is to get the right piece of salmon. What you want is that beautiful, vibrant, orange wild-caught Alaskan or Pacific salmon that costs more than you thought you were going to spend. Wild-caught means the salmon has eaten the foods it loves, a balanced diet consisting of bugs, fish, shrimp, and small invertebrates. A natural diet gives the meat of the fish that beautiful color and incredible flavor. What the salmon eats is very important because you are eating the salmon! Wild-caught salmon is high in Omega-3’s…the good fats.


A beautiful piece of wild-caught salmon laying on a bed of the cure.


I avoid Atlantic salmon at all costs. Unfortunately, most restaurants on the east coast serve Atlantic salmon because it’s less expensive. There’s a reason for that. Atlantic salmon is farmed in the USA, Canada and Europe, which means the fish are kept in crowded underwater pens and are fed food pellets that contain a number of nutrients and additives. Often, farmed fish are treated to prevent sea lice, and are given antibiotics to prevent diseases caused by their tight living quarters. They’re also given pellets to color the meat orange, because the natural color of farmed salmon is actually an unappetizing gray. When you buy Atlantic salmon in the fish store, you can spot it a mile away, because it’s got that weird zebra-striped orange and white, with a tinge of gray, and its flavor is bland and lifeless. Farmed salmon is much lower in Omega-3’s.

If it doesn’t say wild-caught Alaskan or Pacific salmon, it isn’t!

Previously frozen vs. fresh fish matters less than where it came from and how it was raised.


2 lbs. wild-caught salmon, skin on, pin bones removed
1/3 cup (50g) Kosher salt (I use Diamond Crystal)
2/3 cup (160g) sugar
1 large bunch fresh dill, washed

If your fish monger hasn’t removed the pin bones from your salmon filet, you’ll need to get a pair of long-nose pliers and remove them. It’s not the worst thing in the world to leave them in there, but you really don’t want to be spitting bones out later.

The reason I mention that I use Diamond Crystal Kosher salt is because all Kosher salt does not weigh the same. Morton Kosher salt, for example, is much heavier by volume, so it weighs more even though you’re using the same cup measurement. In the case of Diamond Crystal, 1/3 cup weighs 50g. Same rules apply to the sugar.  Go by the weight, not the cup measurement. This is really important point to keep in mind when you’re curing anything, fish or meat.

Get a non-reactive tray long enough to hold the salmon filet. I prefer glass.

Mix the salt and the sugar together, and sprinkle half of it evenly on the bottom of the tray. Lay the piece of salmon down on the cure, skin side down, and cover the top of the salmon with the rest of the cure evenly.

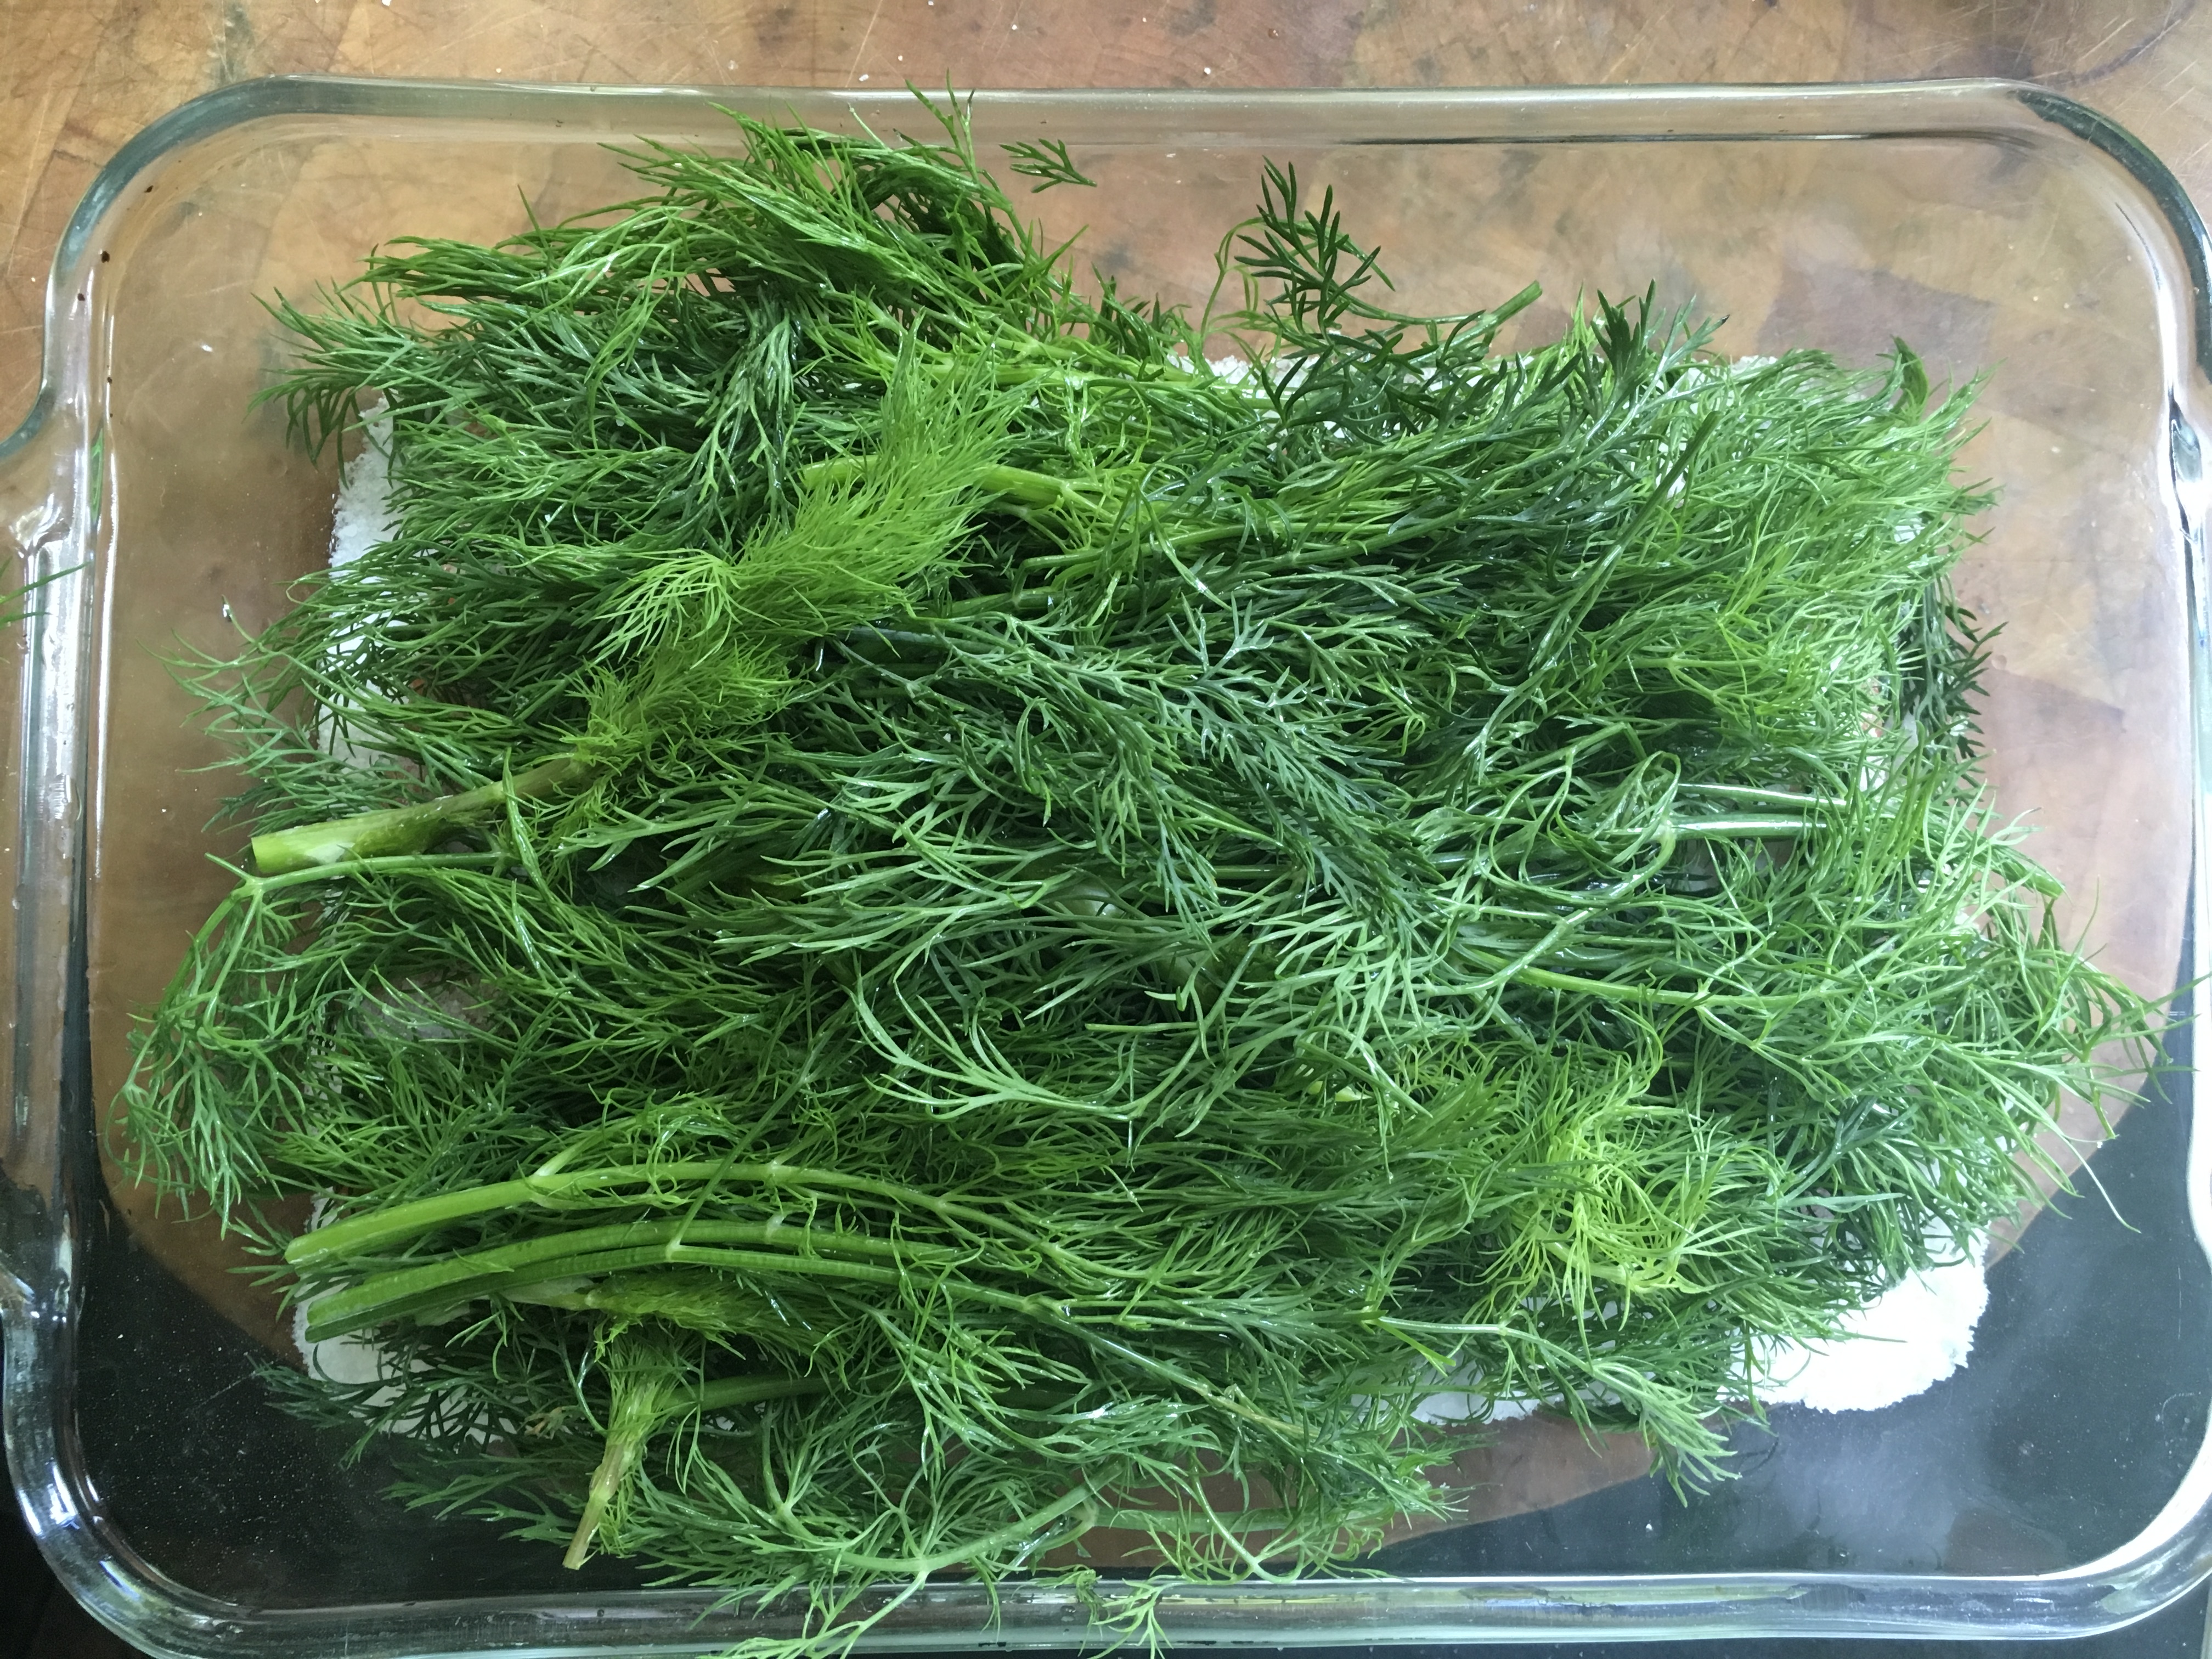
Lay the sprigs of dill on top of the cure, covering the entire piece of fish. It might look like overkill. It’s not.


Cover everything with several layers of plastic wrap, pushing it down and tucking it into the corners for a tight fit.


Find a flat board or something similar (I used a clear plastic tray) and lay it on top of the plastic wrap.


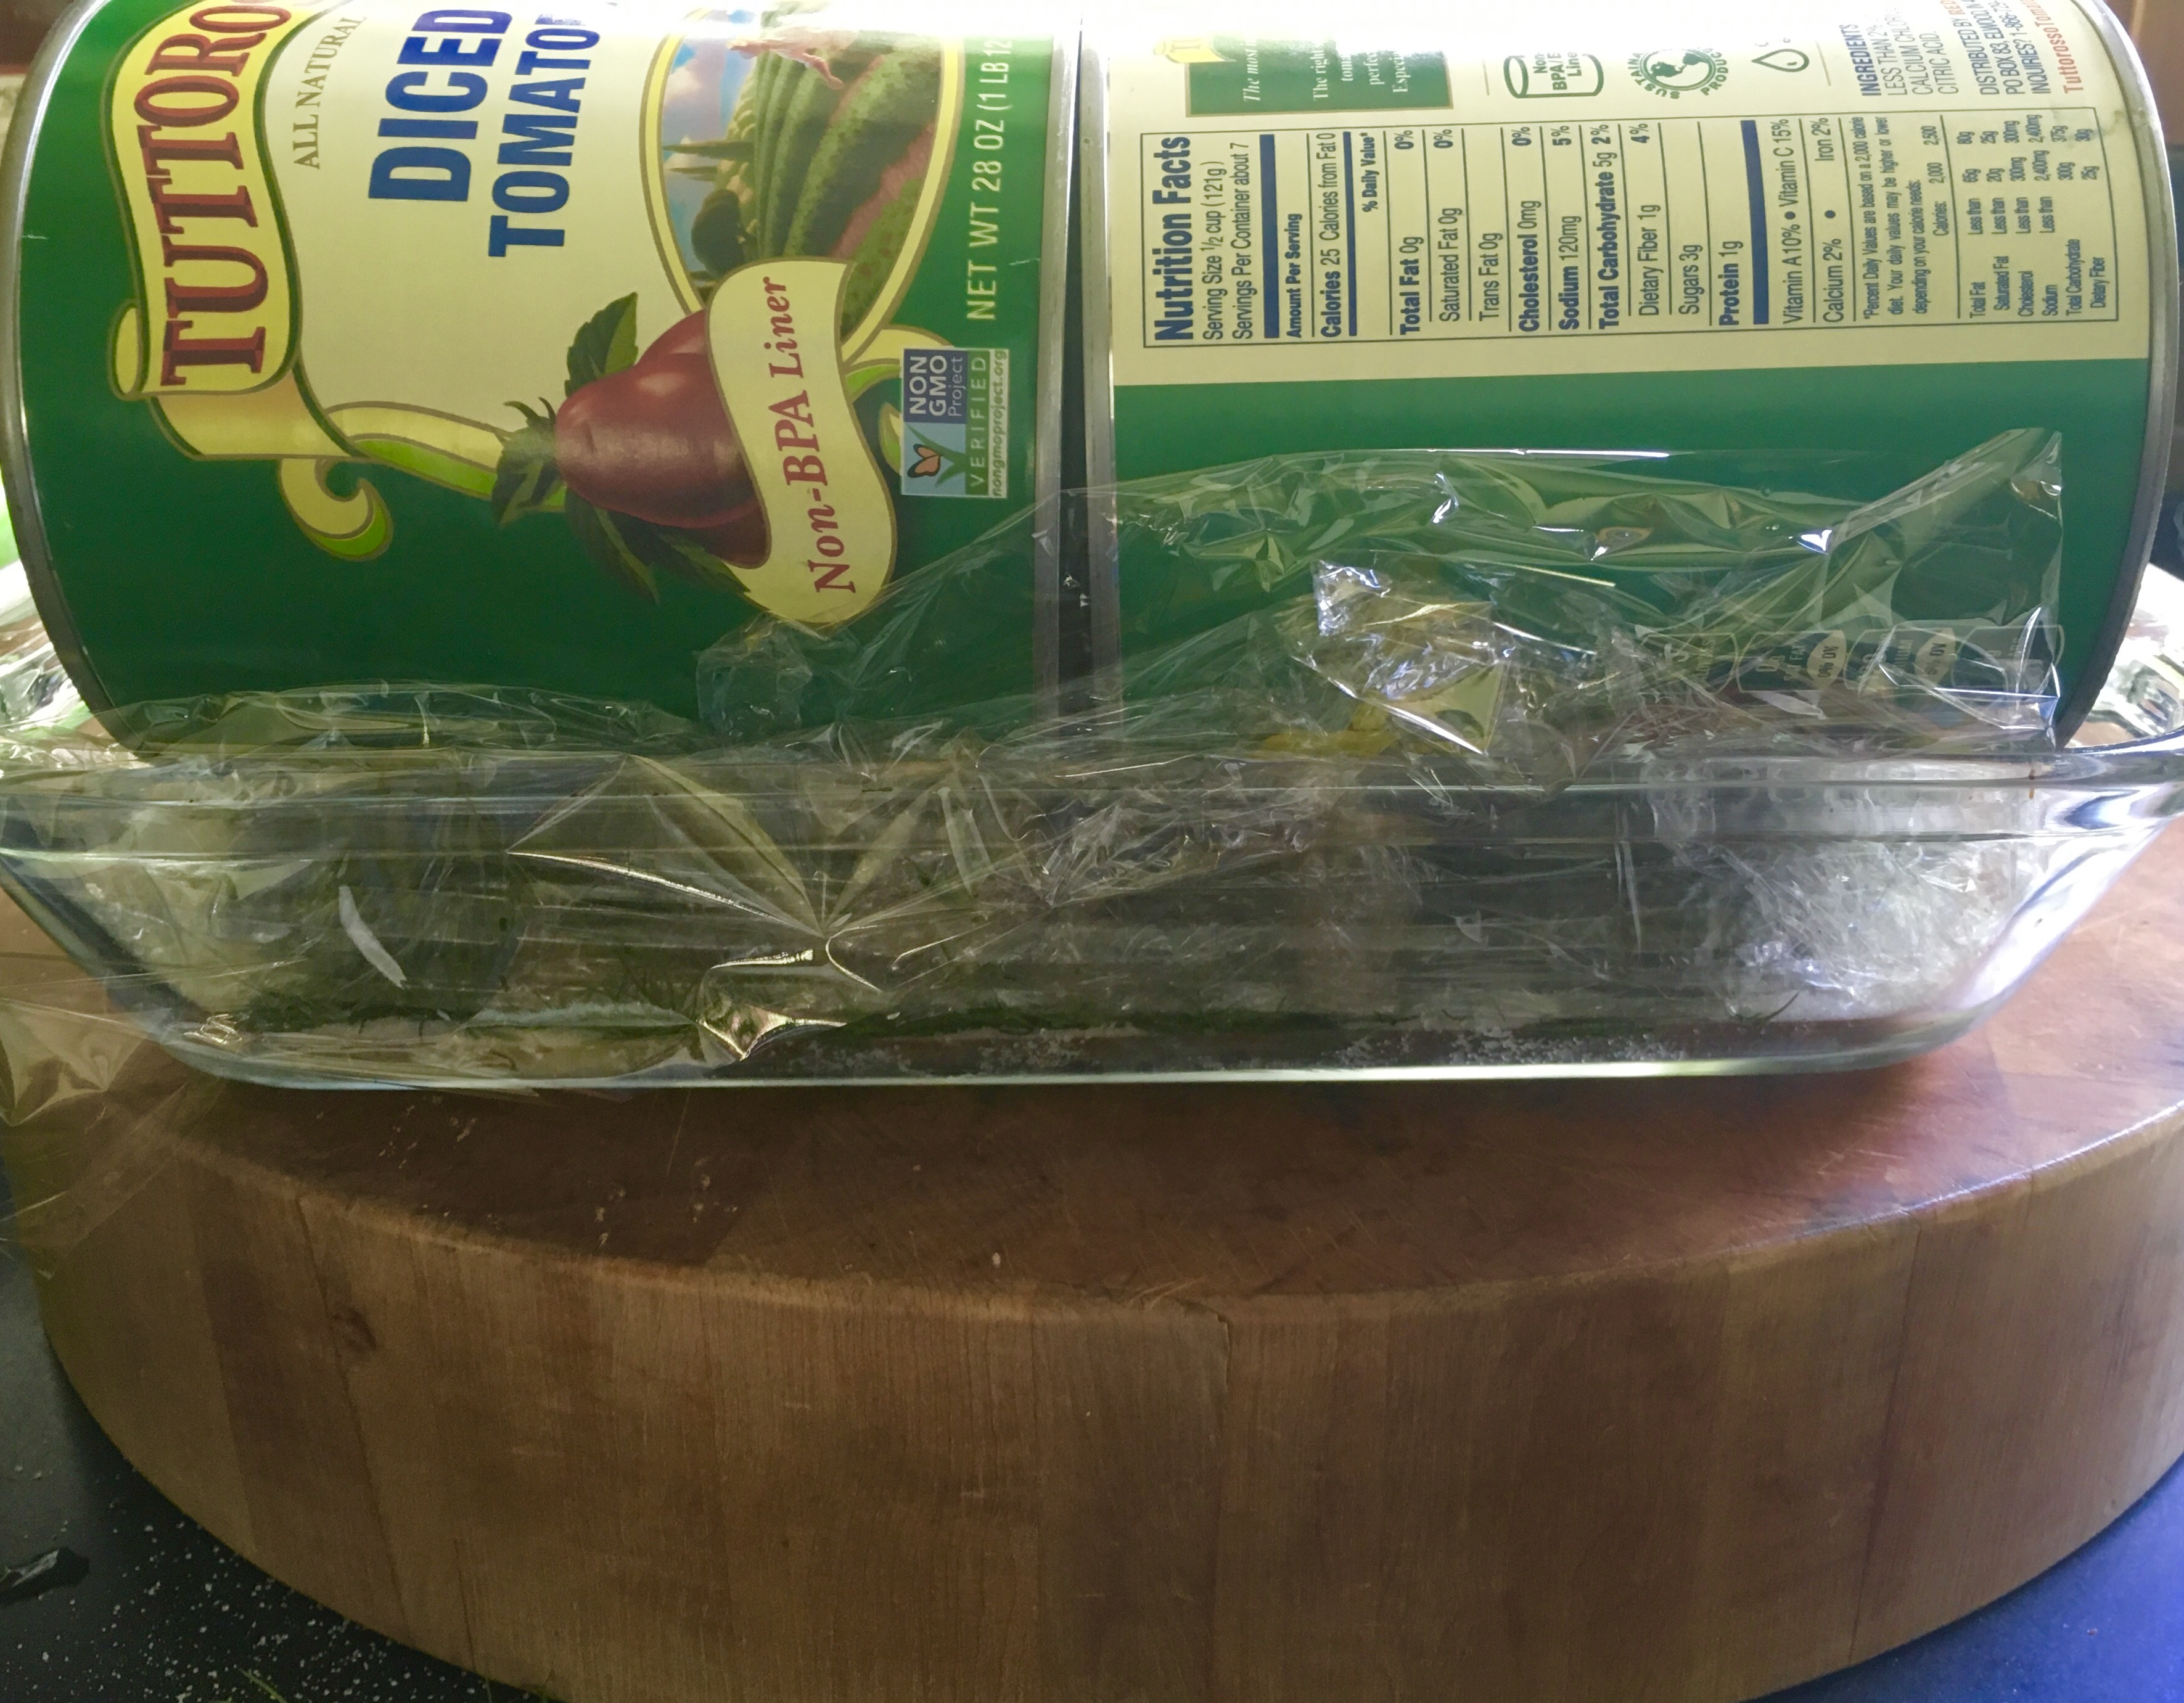
Add heavy weights on top to press down evenly on all surfaces. I used cans of tomatoes.


Side view.


Place the tray in the fridge for 48-72 hours.

After 24 hours, remove the plastic wrap and, tilting the tray, baste the dill-covered salmon with the brine juices that have formed. Put clean plastic wrap on top, add the weights, and put it all back in the fridge for another 24 hours. Repeat that process at the 48-hour mark, if needed. If it’s cured, it’s time to eat!


You’ll know the fish is fully cured when the thickest part of the filet is firm to the touch.

Unwrap the salmon, discarding the salt and sugar brine and the dill. Rinse the filet under cold running water and pat dry with paper towels.

I don’t like a ton of chopped dill imbedded into my gravlax as some do, but if you do, finely chop a bunch of new fresh dill, spread it out onto a board, and press the salmon into it flesh-side down.

To serve, place the gravlax skin-side down on a board. With a long, sharp narrow-bladed knife, slice the fish against the grain, on the diagonal, into thin slices. Serve with mustard-dill sauce, chopped onion, capers, hard-boiled egg, bread…whatever you like.

Refrigerate any remaining gravlax immediately, wrapped in plastic wrap, for up to 2 weeks.


The price of lobster has skyrocketed. But sometimes, you can find a sale. That’s the time to treat yourself!

Nothing says summer here in New England like a lobster roll. It’s certainly easy to go to a clam shack or seafood restaurant to get one, but nothing beats making one yourself.


The lobster roll at one of my favorite restaurants: The Back Eddy in Westport, Massachusetts. Delicious and fresh. But it breaks one of my cardinal rules about lobster rolls. (Go to the bottom of the page.)


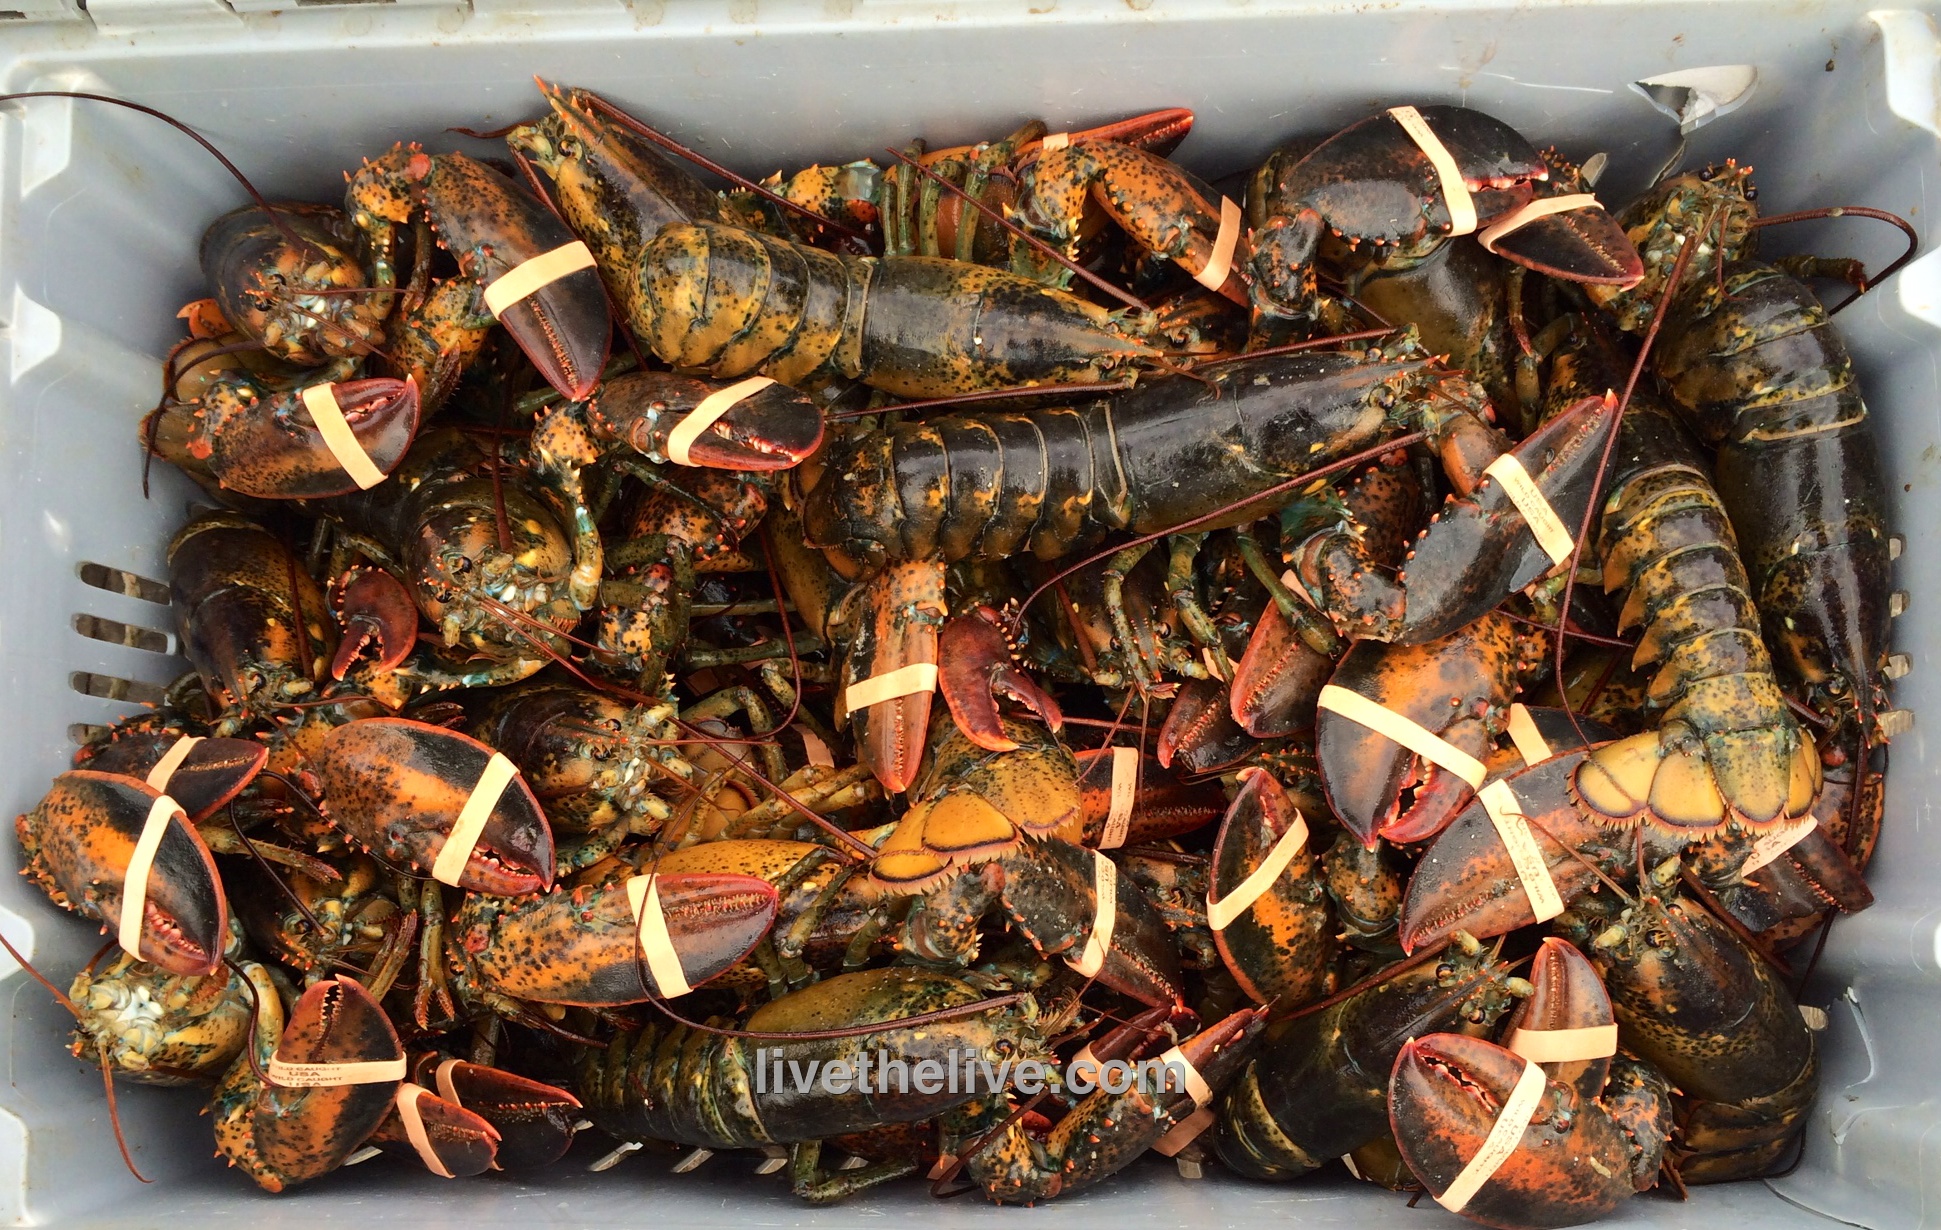
When I make my own lobster rolls, freshness is key. I always start with live lobsters.


A view of the Sakonnet River from the back of Gary's lobster boat, the Edna Mae

A view of the Sakonnet River, here in Rhode Island.


Once you’ve bought your live lobster, the next step is to cook it right. Some people steam and some people boil. I’ve always been a boiler myself. I fill a large pot half-way with water and add sea salt. I bring it to a rolling boil before the lobsters go in. And then I do the math…

I boil my lobsters for 10 minutes for the first pound. I add 3 minutes per pound for each additional pound thereafter. For example, a 2-pound lobster should boil for 13 minutes and a 1 1/2-pound lobster should boil for 11 1/2 minutes. And if I’m boiling more than one lobster, the same rule applies: 3 2-lb. lobsters = 6 pounds. So 10 minutes for the first pound, plus 3 minutes x 5 for each extra pound (that’s 15) for a total of 25 minutes. (These times are for hard shell lobsters. I reduce the boiling time by 3 minutes if I’m cooking soft-shell lobsters.)

Remember, you’re going by total weight of all the lobsters, because the more you have, the longer it takes the water to return to the boil once you put them in.

A lobster boil is where you really see what your stove is made of. If you’ve got gas, you should have no problem. But many modern electric stoves are absolutely awful when it comes to cranking out enough heat to boil large quantities of water quickly. If yours is like this, you might want to go with steaming instead of boiling.


Lobster catch LTL


A larger lobster is not always better. My uncle used to buy the largest lobster he could find, and it was impressive when he placed at the center of the dinner table. But the meat was like rubber. And personally, I felt bad for the old lobster that made it that far in life. His last days should’ve be in the ocean, not on a plate.

My maximum lobster size is 2 lbs. At that weight, you have the perfect ratio of meat-to-shell…with lots of delicious meat that is still sweet and tender.

After the lobsters have been removed from the pot and have cooled for a few minutes, I get to work: cracking the claws and tail and removing every bit of beautiful meat I can find. Lobster lovers will tell you that the legs have some meat in them and that the tomalley (the green liver and pancreas) and roe (eggs) are delicacies not to be missed. For the purpose of making lobster salad, I don’t use these parts. But I do save the tomalley and roe for a separate treat…and I save all the legs and cleaned empty shells for lobster stock.

Cleaning lobster legs is easy: simply remove all the legs from the body and place them flat on a cutting board. Grab a rolling pin, and one at a time, roll the pin over the lobster legs, starting at the claw end and working your way up. Like a tube of toothpaste, the meat will squeeze right out of the leg!


Lobster roll LTL


Now for the important stuff. What goes in a lobster roll, and more importantly, what doesn’t… I have very strong opinions in this matter.

First, there should NEVER be anything green in a lobster roll! No celery, no pickle, and it certainly shouldn’t be sitting on a bed of lettuce! Nothing should be crunchy in a lobster roll! The magic is in the texture of the perfectly cooked lobster meat. Don’t mess with it!

NO paprika or Old Bay seasoning!

A pinch of celery salt? Yes!

Mayonnaise? Only Hellman’s!

White pepper, not black, and just a touch.

Salt? A pinch of Fleur de Sel.

And the secret weapon to bring out all the flavors: the tiniest squeeze of fresh lemon juice…not enough to give it lemon flavor…just to brighten the taste.

As for the roll, you can’t go wrong with Martin’s potato long rolls: soft and squishy straight out of the bag, or for extra decadence: lightly grilled with a little melted salted butter brushed on.


Who says you have to only cook burgers and steaks on the grill? This is one of my favorite ways to enjoy clams…and without the clam knife! I always use hardwood charcoal.

image

A couple of dozen (or more) little neck clams, washed and purged
1 stick (8 oz.) of unsalted butter
1/4 cup extra virgin olive oil
1/4 cup chopped parsley
1 teaspoon dried oregano
1 teaspoon minced garlic
1/2 teaspoon dried basil
1/2 teaspoon sea salt

image

The clams should be stored in the fridge until ready to use…not in water, not on ice. Place the clams in a bowl and cover them with a wet dish towel.

About an hour before cooking, I like to purge my clams to remove as much grit as possible. I fill a large bowl with cold water, add sea salt and some corn meal to it, and mix it around. Then I add the clams to this bowl and let them sit in this liquid for an hour. They will suck up the corn meal and spit out sand and grit. After an hour, I pour off the water/salt/meal/grit mix, and thoroughly wash the clams. Now they’re ready to grill!

I start my hardwood charcoal grill and divide it in half: coals on one side, no coals on the other.

While the coals are heating up, I grab a disposable aluminum foil tray and place it on a burner on my kitchen stovetop over medium heat. I add the butter, olive oil, parsley, oregano, basil, garlic and salt, and stir it all to combine. Once the butter has melted and everything has blended, I bring the tray over to the charcoal grill and place on the side of the grill without coals. It will stay warm.

Once the coals are hot, just place the clams directly on the grill. (Use tongs, unless you want to remove all of your knuckle hair.) They’re done as soon as they open, but you can cook them as long as you like, from raw to more thoroughly cooked. As each one reaches its desired doneness, place it carefully in the aluminum tray, making sure you don’t lose any of that precious liquid inside the clam shell. Give it a swish in the butter and herb mix.

When all the clams have been cooked and are in the tray, serve them with that herby butter sauce on top of pasta…or simply eat them with a fresh baguette. A glass of great white wine is a must.

image

Really easy and really delicious!

Stuffies, or stuffed clams, are a very personal matter here in Southern New England. There are as many stuffies recipes as there are chowder recipes, and everyone thinks they’ve got the best one. Most stuffies that I’ve had in restaurants, like most meatballs I’ve had, have too much bread and not enough of the good stuff.

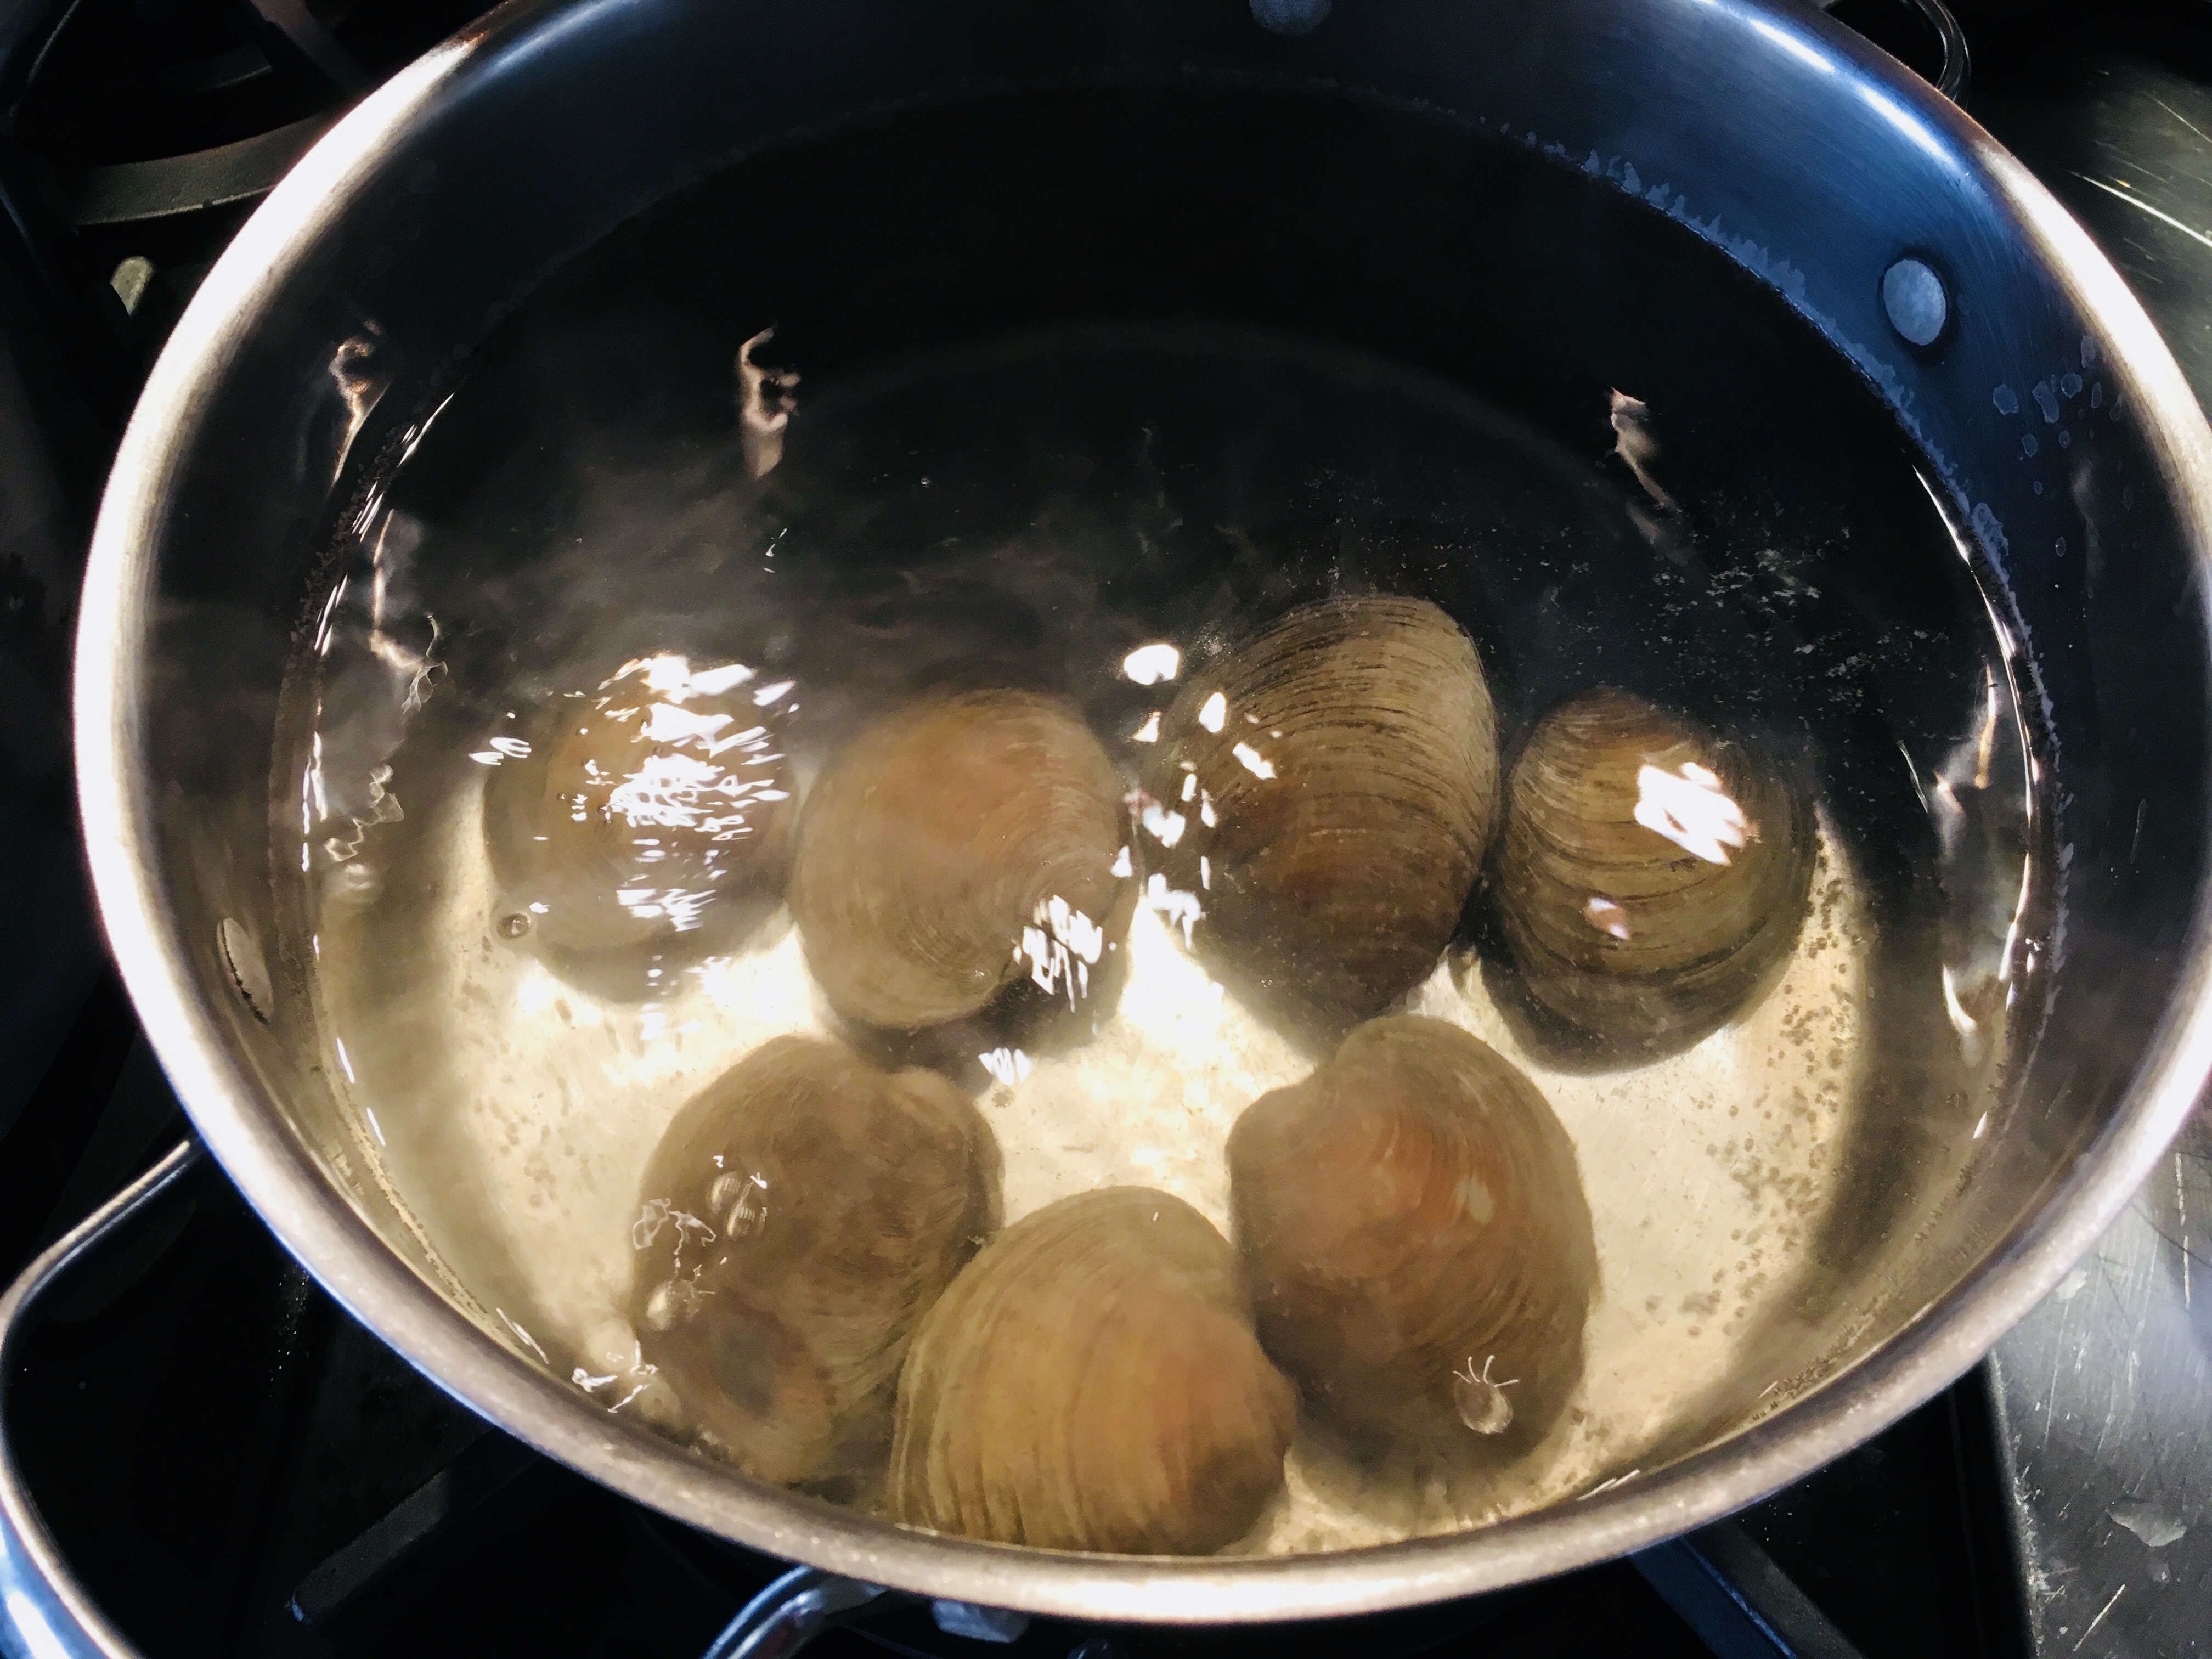
I use medium-sized clams for this recipe and not the traditional quahog, a large clam often used in chowders that I find to be too chewy. Dropping the clams in hot water in the beginning helps make opening the clams a lot easier.

Just 30 seconds in boiling water is all it takes.

This recipe requires quite a bit of fresh sage, which can be expensive at the supermarket. So I grow sage in my garden, using it throughout the season, then snipping as much as I can at the end of the growing season to store it in freezer bags for winter use. I’ll even measure out 1 1/4 cups of fresh sage leaves (what I need for each batch of stuffies), then place that amount in the freezer bag, so I don’t need to measure later.

Freezing the sage makes it easier to chop finely later on.

I use Portuguese chourico (since I live near Fall River and New Bedford, Massachusetts, the Portuguese capitals of America), and I think their flavor is best.

This recipe makes a lot of stuffies, but they freeze well so you can have them when you want.

This recipe is gluten-free…and you’ll never be able to tell the difference! But if that doesn’t matter to you, use toasted Portuguese bread instead of gluten-free bread.

I don’t like peppers in my stuffies (or my crab cakes), so I leave them out. But if you do, feel free to add them to the recipe.

stuffies

4 dozen medium neck clams
1.5 pounds chopped chourico, skin removed (I use Mello’s from Fall River, Mass.)
3 onions, finely chopped
3 tablespoons garlic, finely chopped
3 cups frozen or fresh corn kernels
3 cups toasted and coarsely ground bread (I use Udi’s Soft & Hearty Whole Grain bread to keep it gluten-free)
3/4 cup chopped fresh oregano (or 1 tablespoon dried)
1 1/4 cups chopped fresh sage (don’t use dried)
Salt and pepper
Butter
Sambal chili paste
Mayonnaise

In a large pot of boiling water, drop the clams in, about a dozen at a time. Remove them after about 30 seconds, before they open. Place them in a bowl to cool. Do this with all the clams.

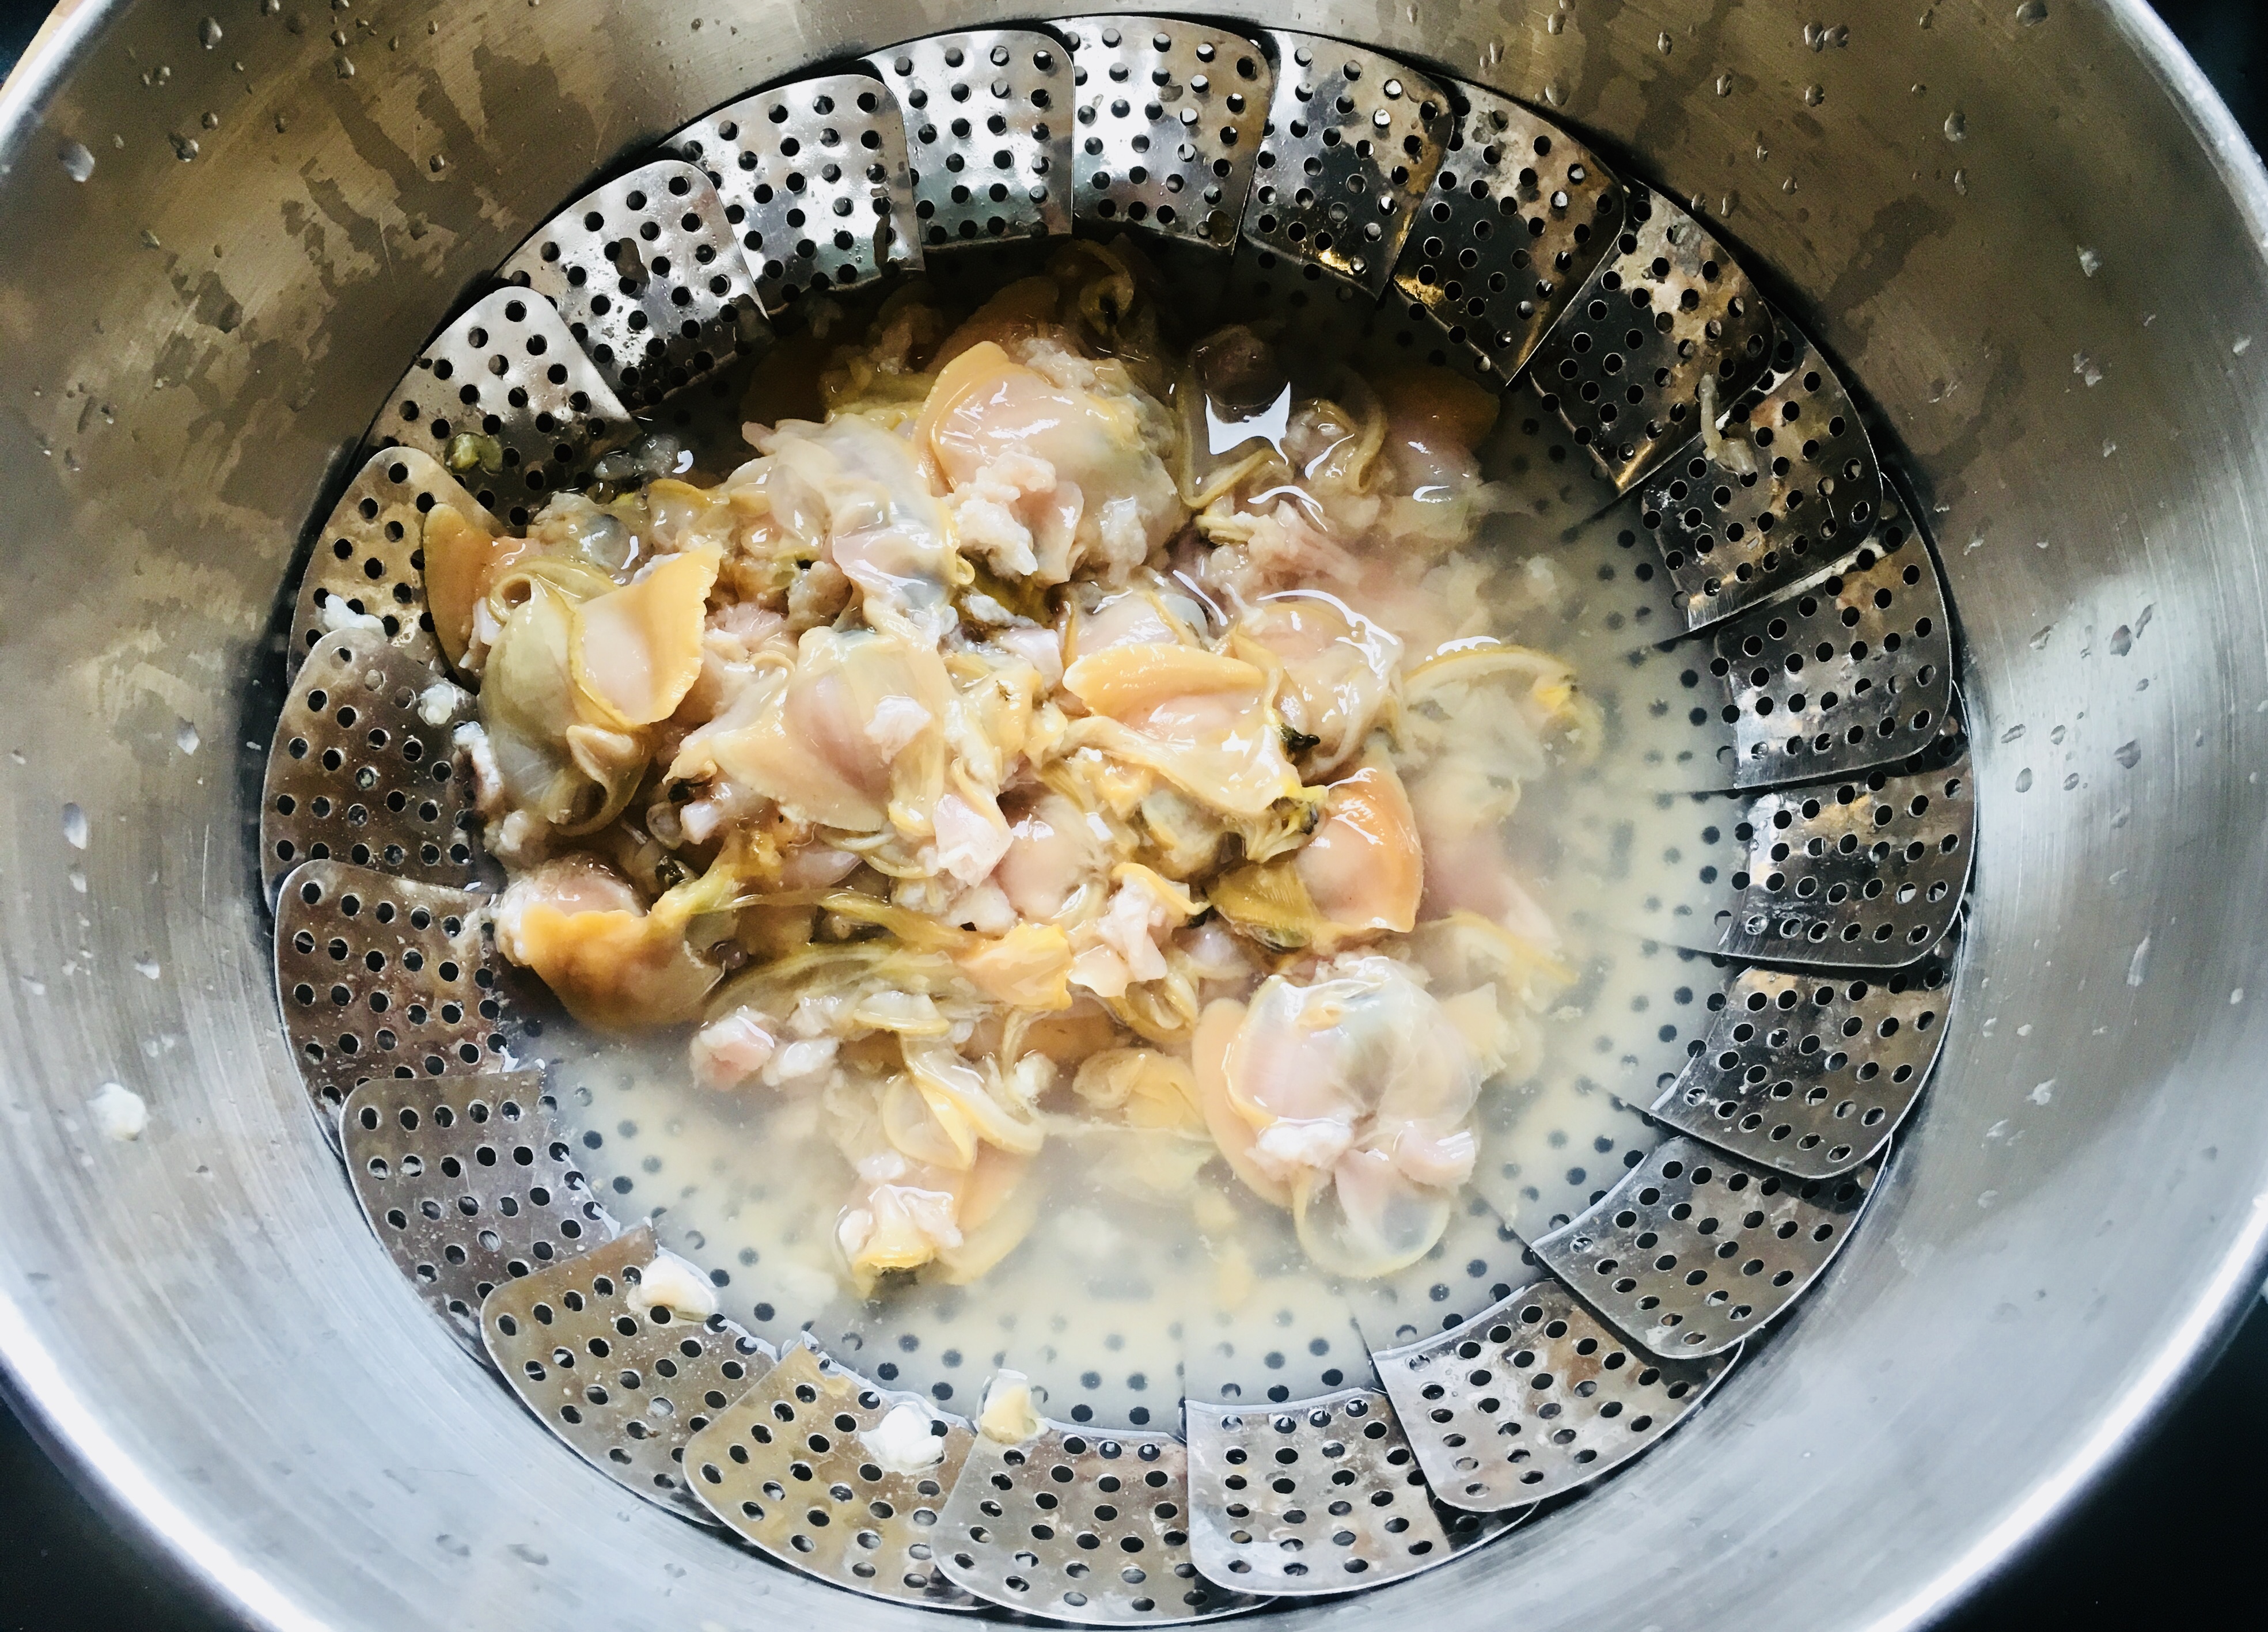
Open the clams with a clam knife over a bowl with a strainer, making sure you save all the liquid from the clams. Put the clam shells to the side. Throw away any broken shells, and wash the empty shell halves thoroughly, making sure there are no broken pieces.

I use a strainer to keep the sediment away from the clam meats.

Take the clam meat pieces out of the strainer, leaving the clam juice behind in the bowl. Move the clam meat to a cutting board or food processor and chop them to medium-fine. Set them aside.

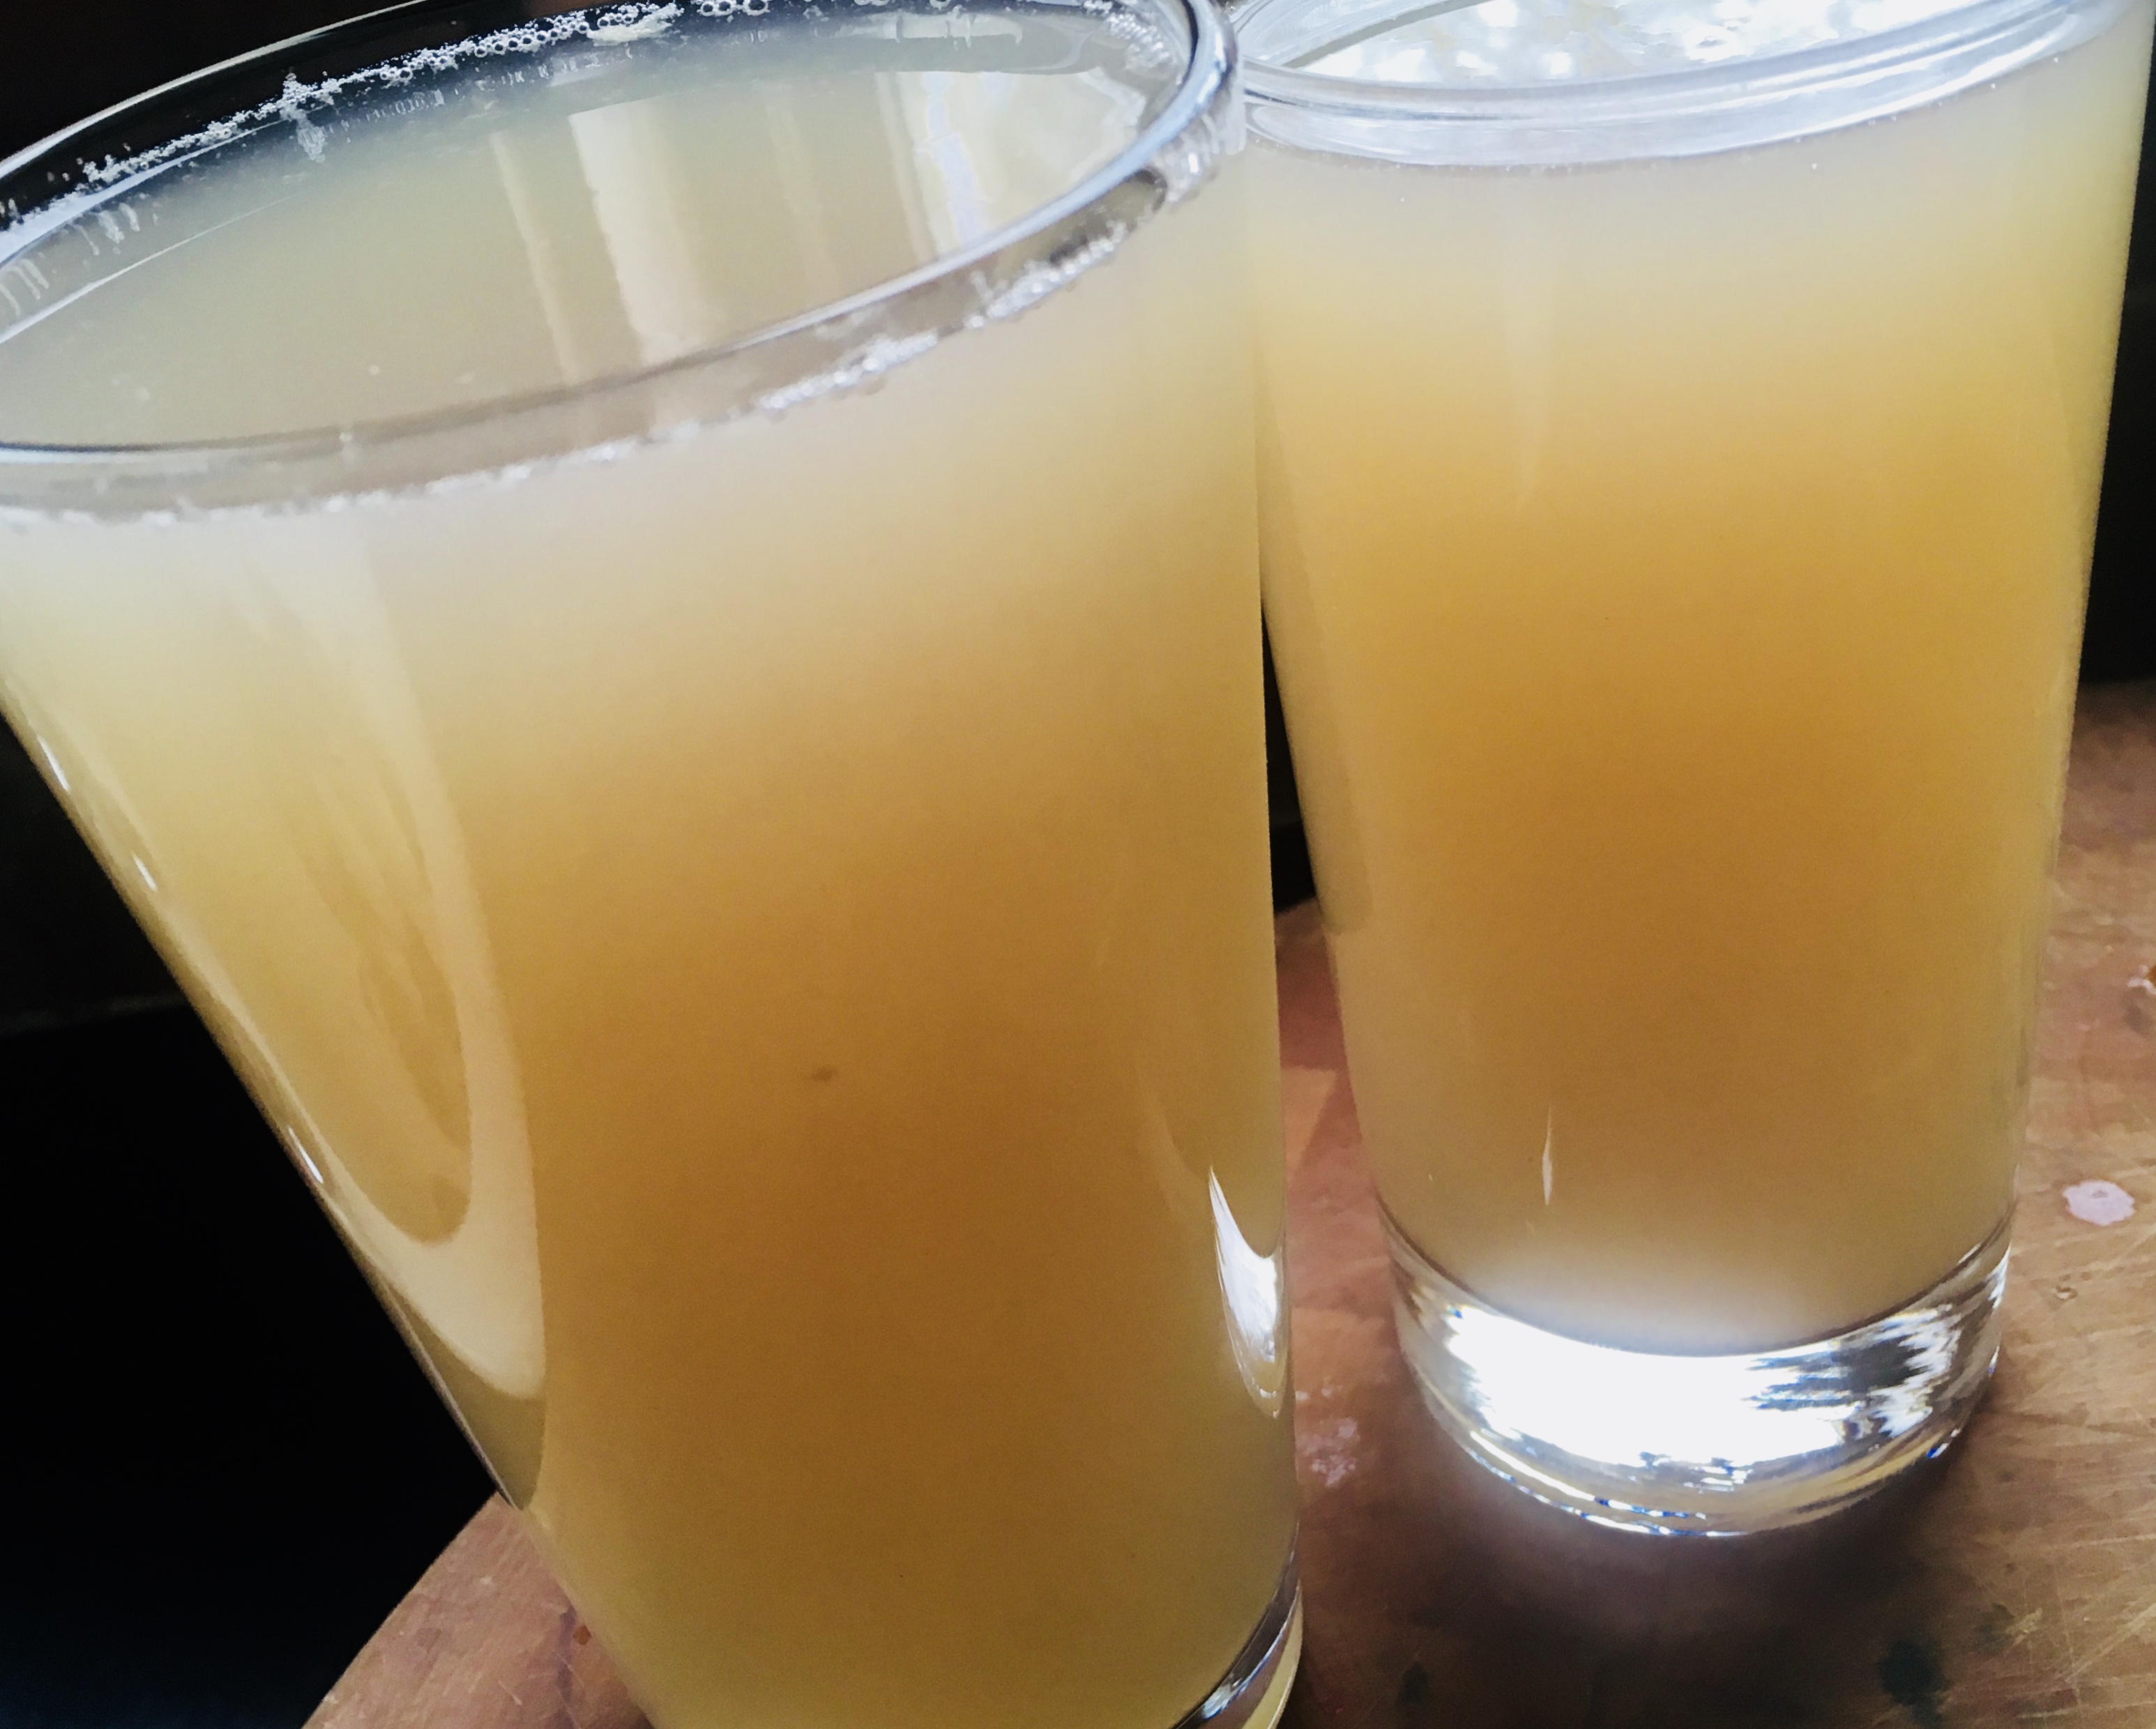
I pour the clam juices carefully from the bowl to tall drinking glasses, being careful not to let the sediment get in. Then, after some time, I pour off the clam juice from the glasses, leaving even more of the sediments behind. I find that the tall glasses make it easier to see the sediments, and maximize the amount of clam juice I get.

I let the clam juices sit in their tall glasses for a while, so that even more sediments get left behind.

In a large frying pan, add the olive oil, onions, and chourico and cook them on medium heat for a few minutes. Add the oregano and sage and cook a few more minutes. Add the corn and cook a few more minutes, a little more if the corn was frozen. Add the chopped clams and stir, cooking for a few more minutes. Add the breadcrumbs a little at a time until you have a nice balance of bread and other ingredients. Add the clam juice a little at a time as well, so that you can add all the breadcrumbs, but the mix isn’t runny. There’s lots of flavor in the clam juice, so use as much as you can! Season it all with salt and pepper.

Remove the pan from the heat and fill the empty clam shells with the stuffing.

At this point, you can freeze the clams. I put them on small sheet pans in the freezer until they harden, then I wrap them 6 at a time, and put them in freezer bags. Keep them frozen!

Ready for the freezer!

To make the aioli, mix the mayonnaise and Sambal in a bowl, to taste. Sambal is hot, so a little goes a long way. Keep it covered and refrigerated.

When you’re ready to bake, remove the clams from the freezer and place them on a sheet pan in a pre-heated 350 degree oven. Top each clam with a small ¼” square piece of butter. Bake them about 15 minutes, until the clams are sizzling and light brown. Top each with a small dab of aioli.

Shrimp with an orange sauce is something you see on every Chinese restaurant menu. I didn’t have oranges, but wanted a citrus kick to my sweet and spicy sauce. I went with grapefruit and I never looked back!

Although I call this recipe “Asian shrimp,” I never buy my shrimp from Asia! Only wild-caught American shrimp will ever do. When you realize just how nasty Asian shrimp can be (farmed in over-crowded conditions, swimming in their own filth and fed chemical food pellets and antibiotics) you’ll never eat it again.

Green beans looked good in the produce aisle, so I used them, but feel free to substitute with broccoli, asparagus, or any veggies you like.

Chili garlic sauce and hoisin sauce can be found in most supermarkets, in the international foods section.

As long as you use gluten-free soy sauce and hoisin sauce (the brand La Choy is GF), this dish is gluten-free!


image


For the rice:

1 cup cooked basmati rice (I use Texmati brown rice)
2 cups seafood stock (I use homemade shrimp and fish stock, but vegetable stock will work)
1/2 teaspoon salt
2 scallions, finely chopped


For the veggies:

1/2 Vidalia onion, finely chopped
1 lb. fresh green beans, washed and cut into 1/4′ pieces
1 teaspoon soy sauce
splash of peanut oil


For the shrimp:

2 dozen thawed, peeled and de-veined wild-caught USA shrimp
1 tablespoon chili garlic sauce
3 tablespoons hoisin sauce
juice and zest of 1 grapefruit
splash of peanut oil


Making your own seafood stock is easy: just peel the shrimp you’re going to use in this recipe, and place the shells in a saucepan full of water. Let it boil until you’ve reduced it to 2 cups. Strain out the shells and discard them. Then use the stock to cook your rice, according to the package directions. Once the rice is cooked, toss in the chopped scallions, mix well, and set the rice aside.

Add peanut oil to a hot pan and sauté the onions until translucent. Add the green beans and cook them until they’re al dente. Add the soy sauce, stir, and then pour the contents of the pan into the rice. Mix well.

Using the same pan, add a little more peanut oil and sear the shrimp on both sides. Don’t overcook them! Push the shrimp to the sides of the pan so that a circle remains in the middle. Add the chili garlic sauce and hoysin sauce and stir them together, then blending in the shrimp until the shrimp are covered with the sauce. Add the grapefruit zest and juice and stir until everything is combined and the sauce has thickened just a bit.

Pour the contents of the pan into the rice mix and combine. Add more soy sauce to the rice, if you like.

When I gain some weight and need to go back on the diet, one of the major changes in my eating habits is to incorporate more seafood and less meat into my meals. Seafood has a lot more protein and fewer calories. In fact, shrimp, lobster and oysters are some of the most delicious low-calorie foods you can enjoy, running about 1 calorie per gram. It’s what you add to them–oils, melted butter, batter–that makes them high in calories.

I’ve always loved sushi, but again, on a diet, I need to limit my intake of unnecessary calories, and rice is big on that list. I’ve found that I can use a lot less rice, or maybe none at all, when I make poke…and I get all the satisfaction of sushi or sashimi.

My two favorite fishes to eat raw are ahi tuna and wild-caught Alaskan salmon, like sockeye. There are many great purveyors of this super-high quality seafood online, and I usually buy a decent amount of fish at one time–hermetically sealed and frozen in 4-ounce packages–to last me a long time. (The price is often much better when you buy in quantity, because they have to be shipped frozen overnight.)


Yes, please.


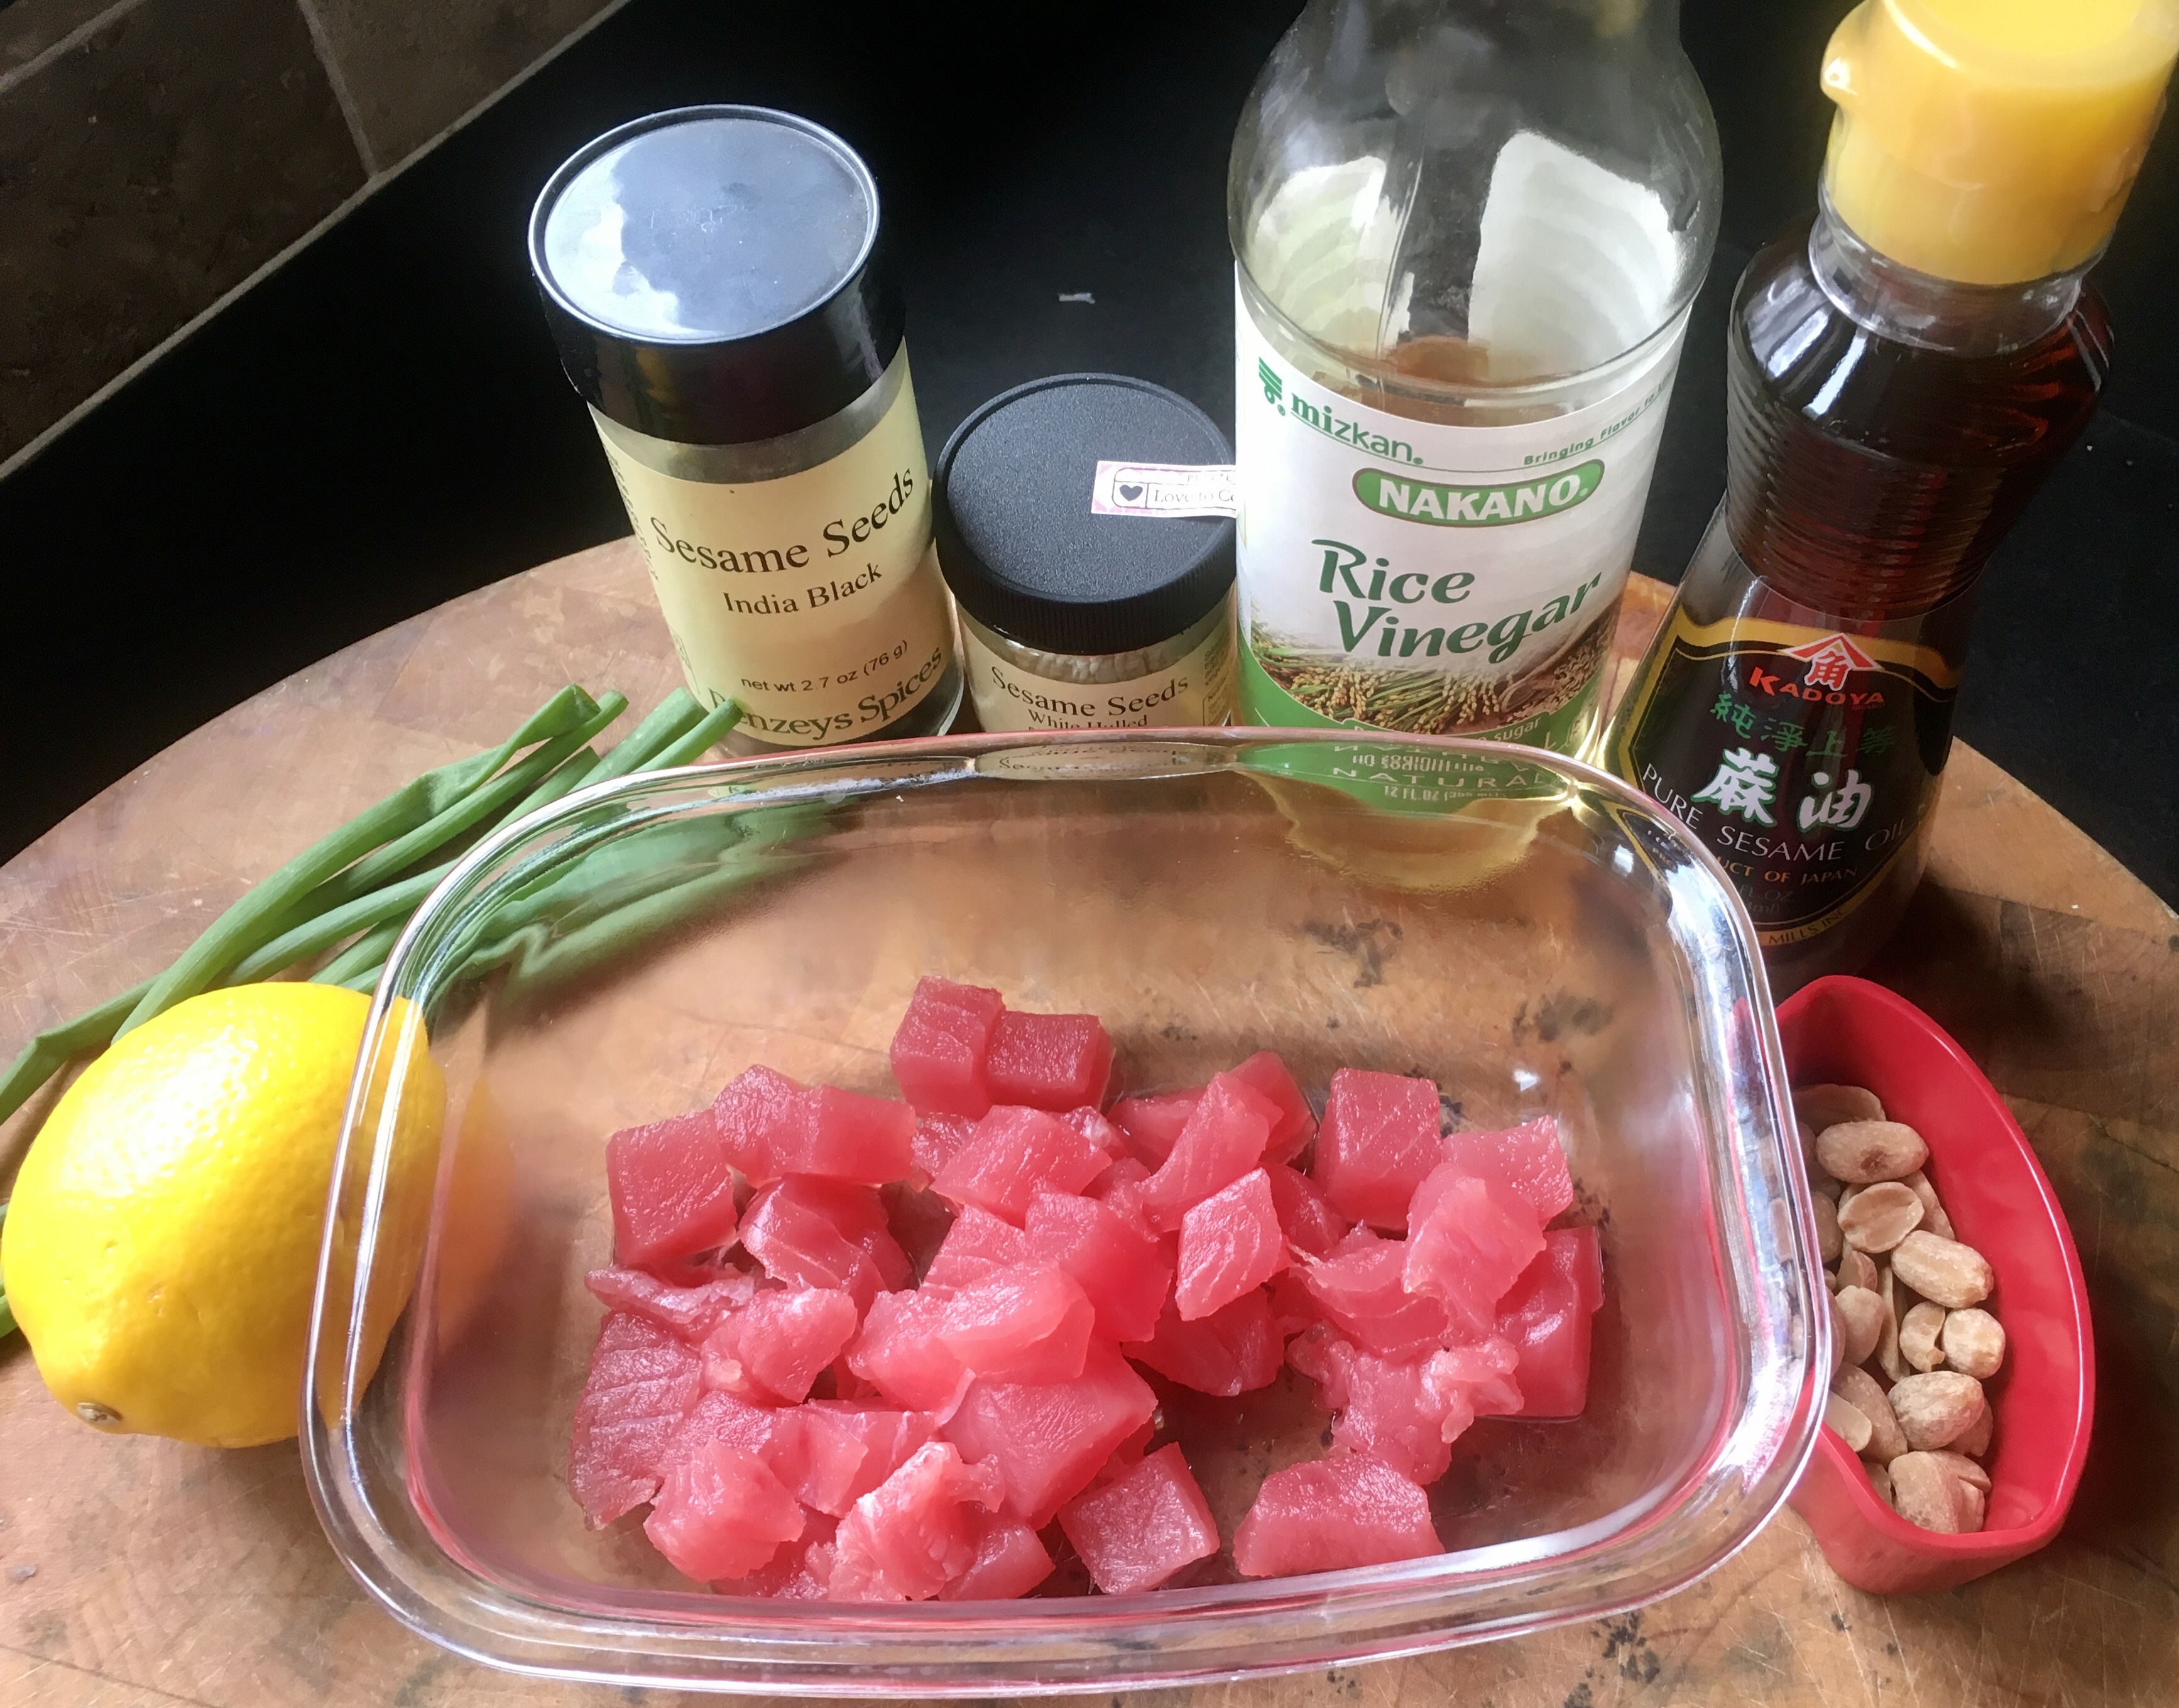
There are many ways to prepare poke, and the only limitations are what’s in your fridge. The first recipe, using salmon, is closer to a traditional poke recipe you’d find in a restaurant.


6.5 ounces wild-caught Alaskan salmon, in the refrigerator (thawed, if previously frozen)
1 tablespoon soy sauce
2 teaspoons sesame oil
1 teaspoon rice vinegar
1/2 teaspoon fresh lemon juice
1/3 cup chopped raw cashews
1 scallion, green and white parts finely chopped

Keep the thawed salmon in the refrigerator. Remove the salmon from the fridge, and remove the skin if it is still on the fish. Cut the fish into half-inch cubes. I like to place the salmon cubes on a clean paper towel to absorb excess moisture from thawing. Then I place the salmon cubes in a bowl and put it back in the fridge while I combine the other ingredients.

In another bowl, combine the soy sauce, sesame oil, rice vinegar, and lemon juice. Whisk them together.

Chop the cashews and add them to the bowl, mixing them in.

Cut the root ends off the scallions, chop the green and white parts finely, and add them to the bowl, mixing them in.

Add the salmon to the bowl, mixing gently, so that you don’t damage the fish.
Let it sit for 10 to 15 minutes, if you can wait that long, and then: eat!
My tuna poke recipes have also used similar ingredients…
More recently, I mixed up a batch of what I call my “Asian Mix,” a blend of five Asian flavors that really work well together: soy sauce, hoisin sauce, chili garlic sauce, rice vinegar, and sesame oil. I let my tuna or salmon marinate in this mix for about ten minutes before adding the other ingredients and feasting.

Tuna poke with lettuce, onion, pine nuts, black and white sesame seeds, rice and my “Asian Mix.”

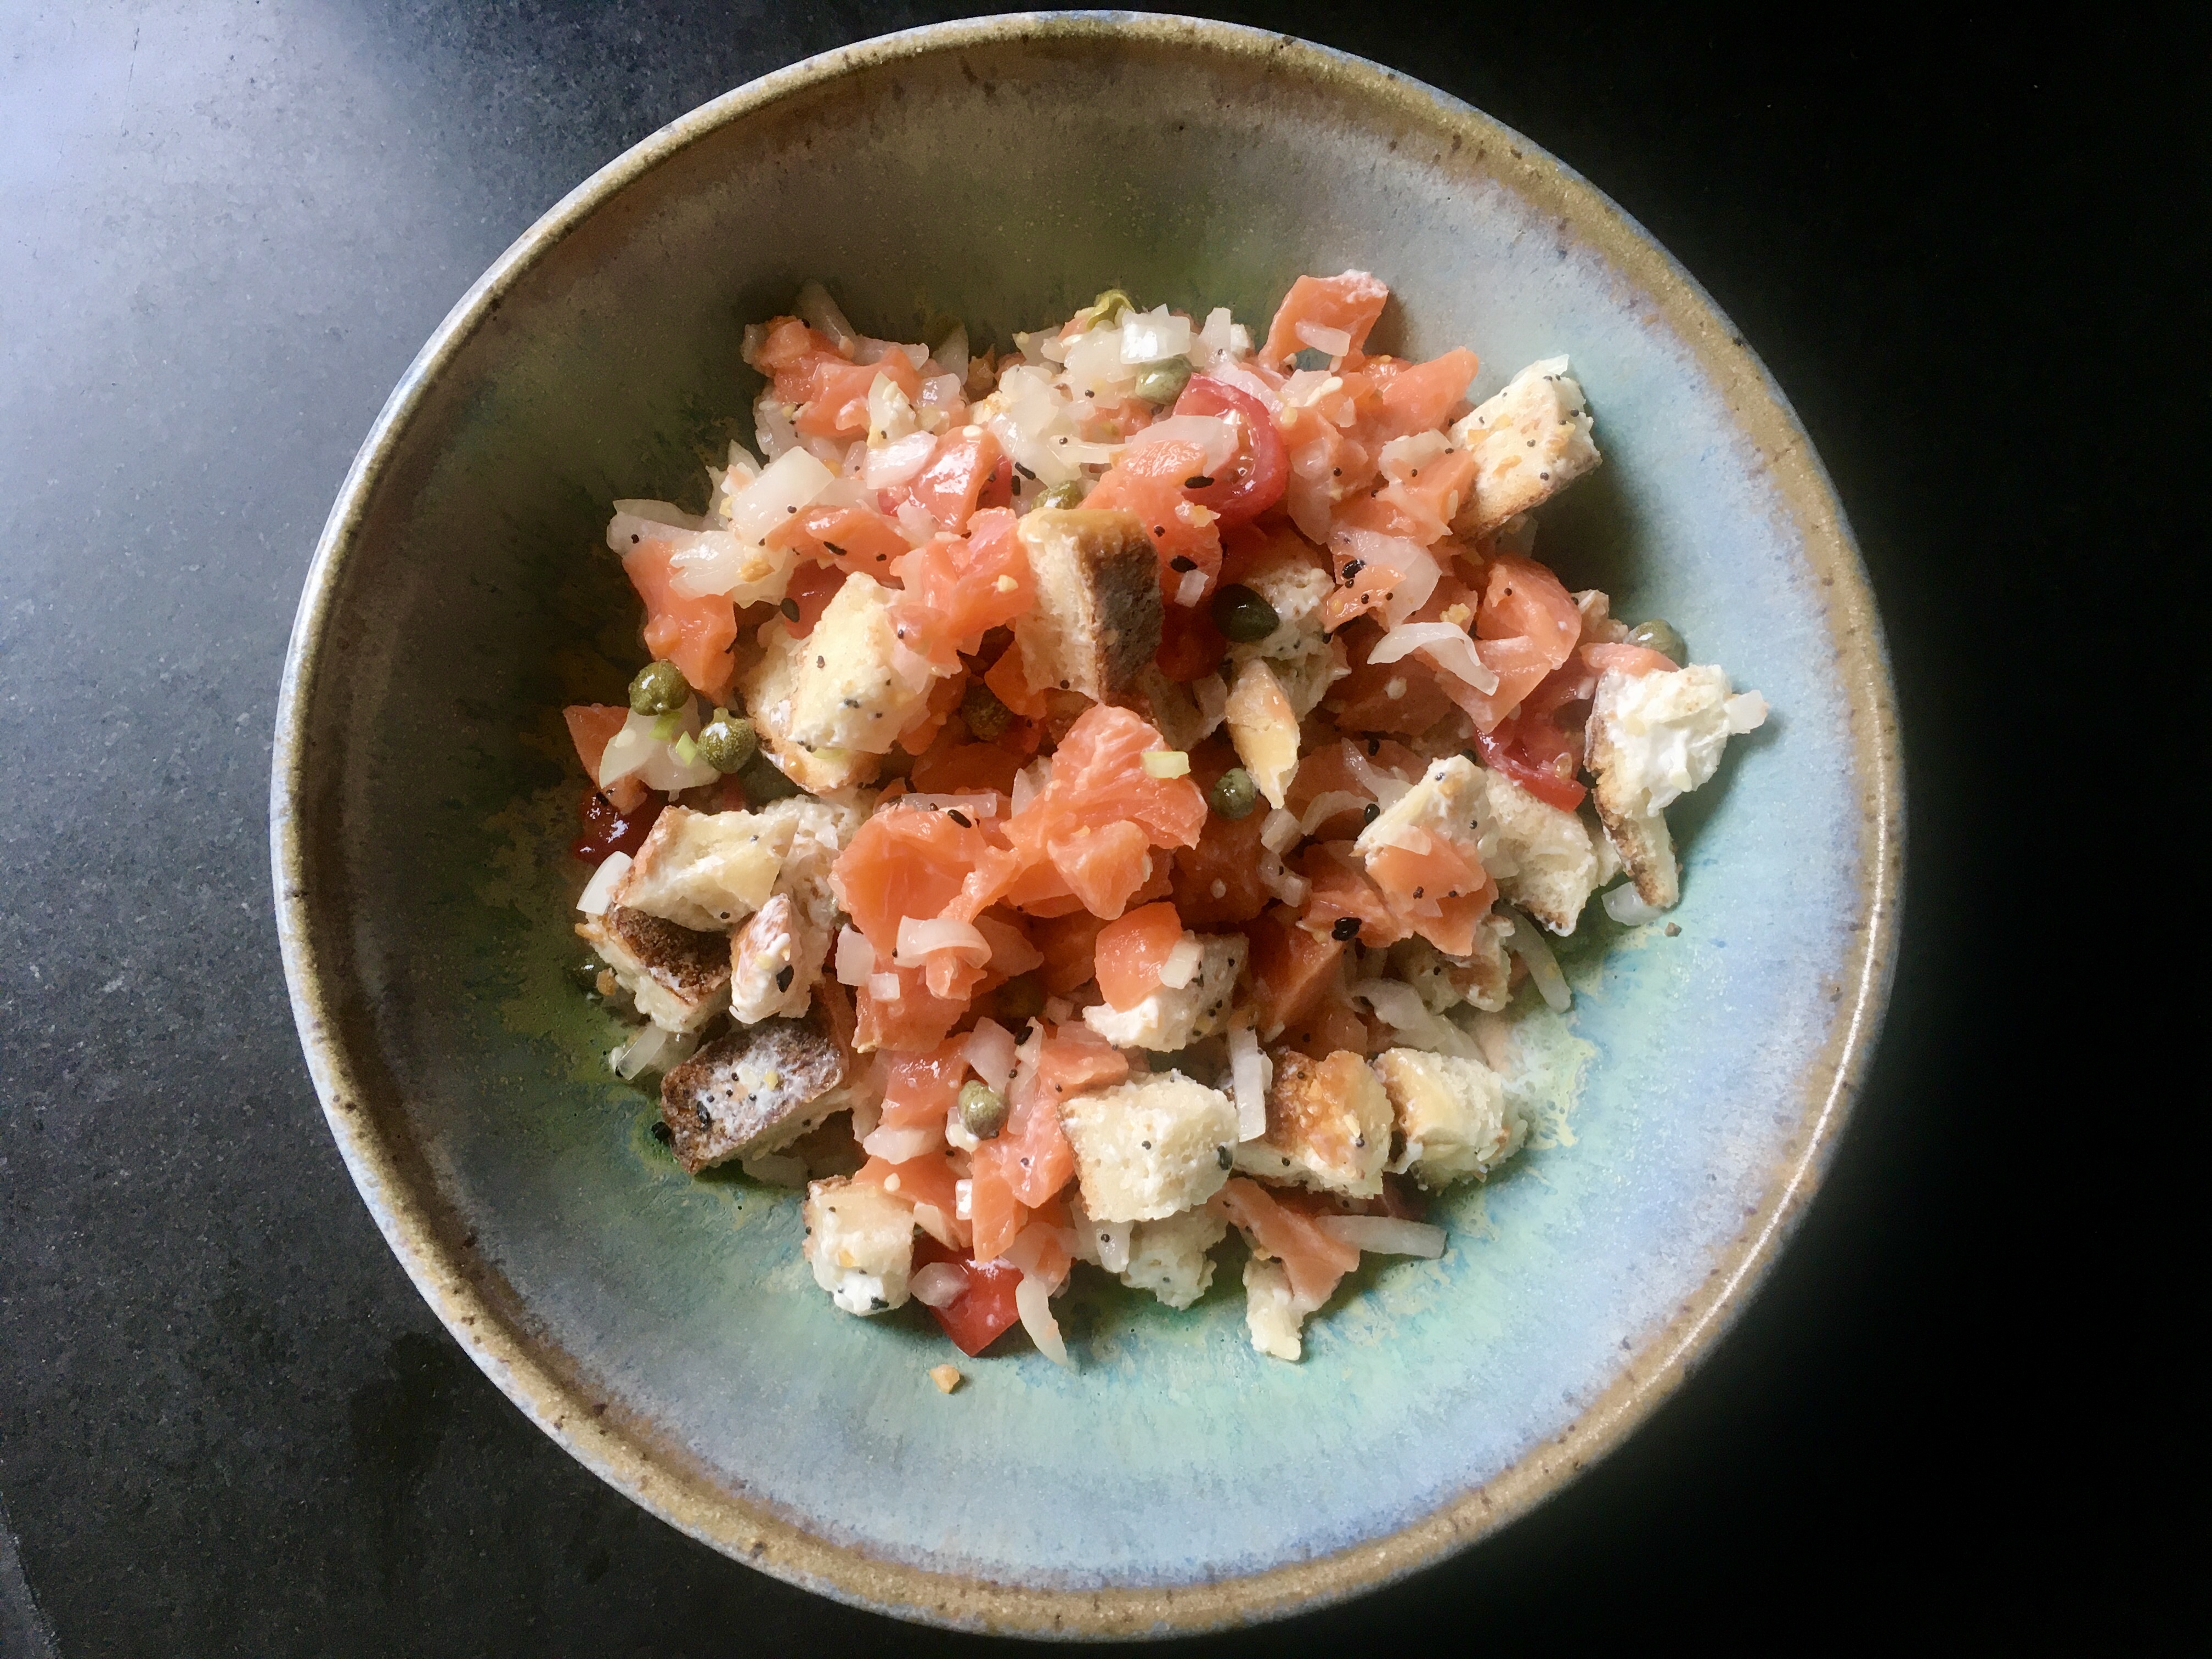
But my proudest achievement was taking my favorite sandwich from my home town of New York, and making it into a bowl. The sandwich is an everything bagel with salmon and cream cheese, and my poke version uses just a bit of the bagel, yet you still get the flavor without all the calories. The secret is a seasoning you can buy already prepared.
3 oz. wild-caught Alaskan sockeye salmon, cubed
1 tablespoon capers
1/2 small Vidalia or sweet onion, sliced very thin
1/2 tomato, seeds removed, sliced thin
1/4 of a toasted plain bagel
1 tablespoon cream cheese
2 teaspoons Everything Bagel seasoning
1 chopped hard boiled egg
Cut the salmon into small 1/2″ cubes and place it in a bowl. Add the tablespoon of capers (including some of the brine), chopped onion and tomato. Mix gently.
Toast the bagel and use only 1/4 of it (I use that little for the sake of calories. But you can use more, if you like!) Spread the tablespoon of cream cheese on the toasted bagel, then carefully chop it up into small cubes. Add this to the bowl. Sprinkle in the Everything Bagel seasoning and the chopped hard-boiled egg, and give it all one last gentle toss.
Then take a forkful, close your eyes, and imagine you’re in your favorite New York deli!

As the warmer weather slowly makes its way to New England, I start dreaming about the opening day of one of my favorite seasonal seafood restaurants: The Back Eddy in Westport, Massachusetts.

One of their best-selling appetizers is deviled eggs, topped with raw tuna or without. My version has none of the finesse of their original dish, but it has a lot more tuna and all the flavor…which works for me!

FullSizeRender (5)

6 hard-boiled eggs
1/4 cup + extra mayonnaise
8 oz. high quality raw tuna
3 tablespoons soy sauce
1/2 teaspoon chili oil
1/4 cup finely chopped scallions
1 teaspoon sesame seeds
handful fresh spinach, or cucumbers (see below)

My favorite method of hard-boiling eggs is to put them in a pot of cold water. Turn the heat on high and bring it to a boil. As soon as the water boils, take the pot off the heat, and cover it with a lid. Let it sit for 15 minutes. Then run them under cold water to cool. 

In general, killing parasites in raw fish requires freezing and storing fish at a surrounding temperature of -4 degrees Fahrenheit or colder for seven days; or freezing at a surrounding temperature of -31 degrees or colder until the fish is solid and storing at the same temperature for 15 hours; or freezing at a surrounding temperature of -31 degrees until the fish is solid and storing at -4 degrees or below for 24 hours.

Since I don’t have the refrigeration equipment to do that, I buy high quality tuna already frozen into convenient bricks at Whole Foods or on-line at websites like Vital Choice, one of my favorites for high quality, responsibly sourced seafood.

I always try to buy responsibly sourced, fair trade seafood, like this beautiful ahi tuna.

If the tuna is frozen, I let it thaw a little. If it has thawed, I return it into the freezer for about 10 minutes to firm up. That makes it easier to cube up. I slice the tuna carefully into the smallest cubes I can make. Once done, I place the tuna in a bowl and put it back in the fridge until I’m ready to use it.

In a separate small bowl, I combine the soy sauce and the chili oil, and set it aside.

I finely chop the scallions, and set them aside.

Once the eggs have cooled, I peel them and cut them in half. I scoop out the yolks and place them in a bowl, starting with 1/4 cup of the mayonnaise, adding more if needed. I use a fork or whisk to get as many of the lumps out as possible. If I wanted to get serious, I could put them in a blender or food processor to make a creamy puree. An option is to place the puree in a piping bag and carefully squeeze it out into each egg half. I simply use a spoon.

Once all the egg halves are filled, I place them on a spinach leaf-covered dish and put them back in the fridge until ready to serve. Or, instead of the bed of spinach, I peel a cucumber and cut the ends off, then slice the cuke into 1/2″ thick slices. Using a melon baller, I carefully scoop out the seeds from the center to make a “cuke donut.” I use these as little stands to hold the eggs on the plate.

When it’s time to serve, I take the tuna out of the fridge, pouring the soy sauce/chili oil mix into the bowl with the tuna and I mix well. I let the tuna marinate for just 2 minutes, pouring off the excess marinade. I don’t want it to marinate too long, or it’ll get very salty.

I remove the plate of eggs from the fridge and carefully put a small spoonful of tuna on top of each one. I garnish with the sesame seeds and the chopped scallions and serve immediately.

FullSizeRender

It’s nice to have some crackers or toasted bread on the side.

My last recipe post for a while, as I head off on a journey to try some New Zealand oysters…as well as a lot of other seafood!

My dog, Fellow, turned 13 on November 5th. He stood by me in the kitchen while I created this dish, so I decided to name it after him.


The original Oysters Rockefeller recipe is a closely guarded secret, created in 1899 at the famous New Orleans restaurant Antoine’s. Jules Alciatore, the son of founder Antoine Alciatore, developed the dish when they had a shortage of escargot, substituting locally available oysters. Antoine’s is still the only place in the world where you can be served the original Oysters Rockefeller recipe.


Antoine’s is the oldest restaurant in New Orleans.


If you Google “Oysters Rockefeller,” you’ll find hundreds of recipes that claim to be the real thing, or close to it. But here’s the catch: most of them use spinach in the dish, and the folks at Antoine’s insist there was never any spinach used in the original recipe. So, before attempting my own version, I decided I would leave spinach out of my recipe…and I like it better that way.


The original Oysters Rockefeller served at Antoine’s. I have to say I wasn’t all that impressed with it.


My version, my Oysters Rock-a-Fellow, is cheesier and gooier than the original. I use large, meatie oysters like Wellfleets from Cape Cod or local Rhode Island oysters. And, as you’ll see below, I can make the cheese portion of this dish the day before, saving myself a lot of time on the day I want to serve it.
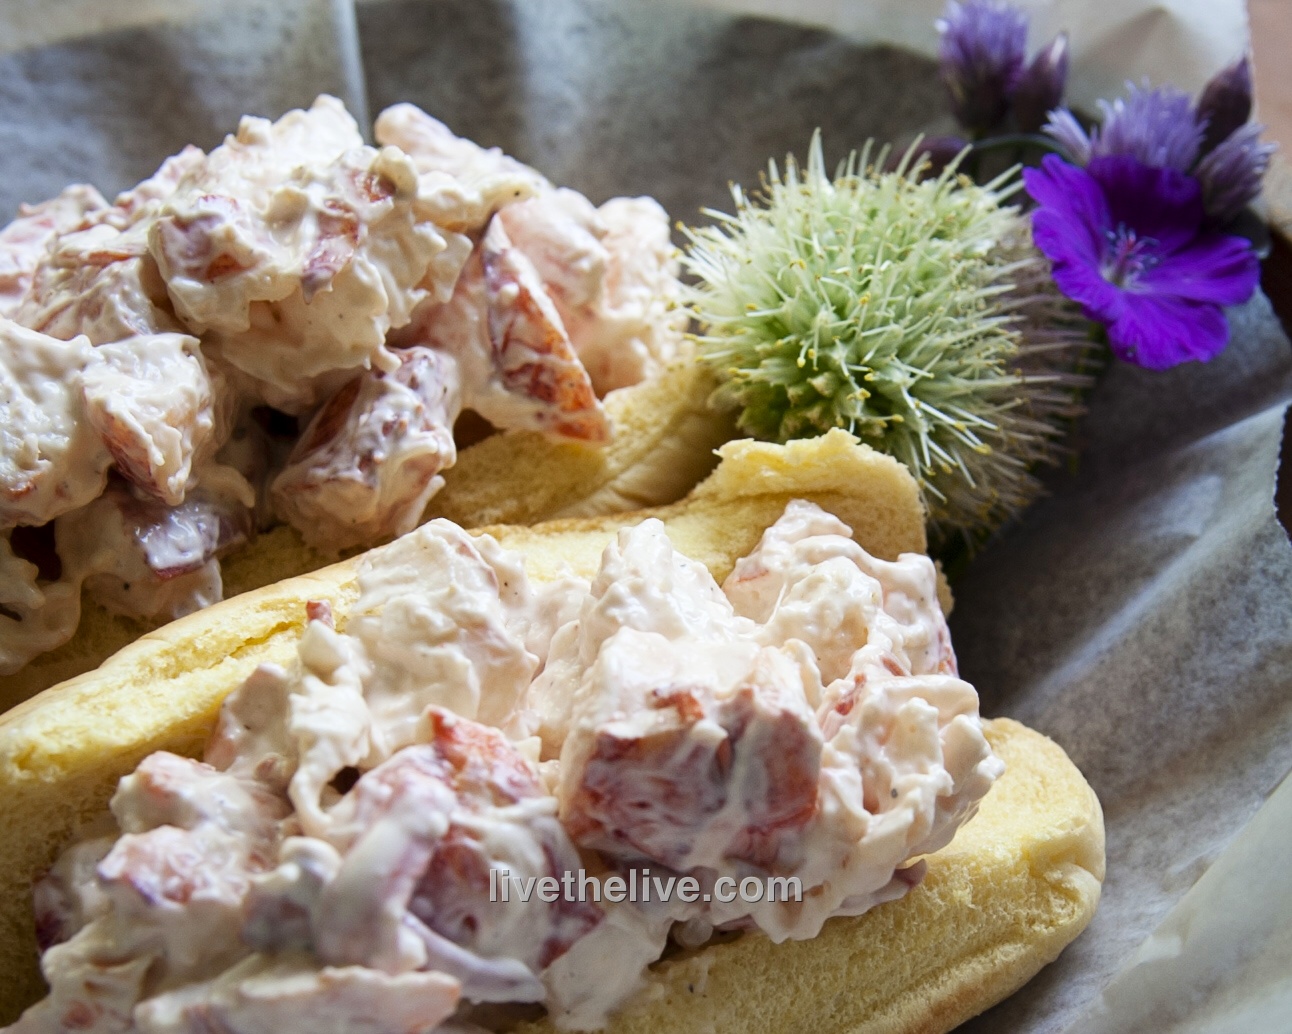
So, if you’re doing this the day of…start here. If you’re doing it the day before, start with the cheese mix below, then come back to the oysters the next day.

24 oysters, washed to remove grit

Scrub the oysters under cold water to get them clean.

Here’s how I make opening the oysters easier. (Plus the hot water cleans the oyster shells nicely.)

In a large pot, pour in enough cold water to fill the pot about halfway. Turn the heat on high and bring the pot to a boil.

The moment you reach a boil, turn the heat to medium and drop in 6 oysters, letting them bathe in the liquid for only 30 seconds. Scoop them out with a slotted spoon and place them in a bowl to cool. If the oysters open, they’ve been in there too long! You want them to stay closed. Do the same with the rest of the oysters, 6 at a time. Once all the oysters have had their 30 seconds, move the oyster bowl to a cutting board. Discard the liquid in the pot.

Pour Kosher salt onto a large sheet pan lined with foil.

Once the oysters have cooled enough for you to handle, carefully remove the top shell off each one (there are plenty of videos on You Tube to show you how this is done if you need help), discarding it, and lay the oysters on the bed of salt in the sheet pan, trying not to spill any of the precious oyster liquor inside. The salt holds the oysters in place.

Salt holds the oysters perfectly in place.

Pre-heat the oven to 425 degrees.

1/4 cup unsalted butter
1 small onion, finely chopped
1 garlic clove, finely chopped
1/4 cup low-fat milk
salt and pepper
3 cups (tightly packed) fresh arugula, finely chopped, about a 5 oz. container
6 oz. mild cheddar cheese (the white one), grated
6 oz. mozzarella, grated
Fine bread crumbs (Using GF breadcrumbs will keep this dish gluten-free)

In a sauce pan, melt the butter and then add the onion and garlic. Saute until the onion is translucent.

Add the milk, season with salt and pepper, and then add the arugula a little at a time, letting it wilt before adding more. Use all the arugula.

Once all the arugula is in the saucepan, sprinkle the cheese in a bit at a time, letting it melt, until you’ve used all the cheese: the cheddar and then the mozzarella.

Pour the gooey cheese mix into a lasagna pan, smooth it out with a spatula, and place it in the fridge to cool.


You can do this all the day before, because the cheese mix hardens and becomes easy to cut into cubes with a sharp knife.


Then simply place a cube of the cheese mix on each oyster…


…sprinkle a little bread crumb on top…


…and bake in the 425-degree oven for about 8–10 minutes until they’re golden and bubbly.


Whoever said that cheese and seafood don’t go together, never tried this!

This dish can be gluten-free if you use gluten-free breadcrumbs. I buy Udi’s gluten-free frozen bread for my breadcrumbs. I take the loaf, toast the slices, then put them through the food processor. The taste is far better than buying pre-made GF breadcrumbs. I use regular breadcrumbs if I don’t need to worry about gluten.

Though it may sound Japanese, the word “saganaki” refers to a small frying pan used in Greek cooking. The most famous of these dishes, simply called saganaki, is a fried cheese, often flamed at the end with a little ouzo.

Shrimp saganaki is one of my favorite Greek dishes, and it usually involves cooking shrimp in a tomato-based sauce with plenty of feta cheese sprinkled in. It’s simple yet fantastic if the ingredients are fresh. Doesn’t hurt to be sitting in a taverna on the beautiful island of Santorini while eating it, either!


You can find Graviera cheese in most supermarkets.


I found a slab of Graviera cheese at a local supermarket, and decided to recreate shrimp saganaki using that instead of feta. It was pretty darn amazing.

I like using peeled and deveined 24–30 shrimp, because larger shrimp don’t always cook through. These smaller shrimp will be bite-sized and delicious.


Melty, gooey, delicious!

Melty, gooey, delicious!


200g package (7 oz.) grated Graviera cheese
1 can (28 oz.) whole tomatoes
1 lb. (about 24) shrimp, thawed, peeled and deveined
1 medium onion, chopped
juice of 1/2 lemon
1/4 cup olive oil
2 cloves garlic, through a press
pinch red pepper flakes
1 1/2 tablespoons fresh dill, finely chopped
1 tablespoon fresh oregano, finely chopped
1 1/2 tablespoons Ouzo
salt and pepper


Peel and devein the shrimp (or you can buy them that way already.) Place them in a bowl. Squeeze the juice of  1/2 of a lemon on to the shrimp and toss. Set them aside.

In a large pan, sauté the onions in the olive oil until translucent. Add the garlic and cook for a few seconds more.

Crush or puree the tomatoes and add them to the pan. Add the red pepper flakes, dill and oregano, and salt and pepper. Add the Ouzo.

Let this sauce cook down for a bit until all the flavors have blended together.

Pour a layer of the sauce on the bottom of a metal broiler-proof pan. Lay the raw shrimp in a single layer into the sauce. Cover the shrimp with the rest of the sauce and sprinkle the grated Graviera on top.

Place the pan in a pre-heated 350-degree oven and bake until the cheese is golden brown and bubbly and the shrimp have cooked through. I like to finish it under the broiler for a few minutes to get the cheese brown and melty.


shrimp saganaki