You could say I’ve done it all in St. John. My first visit 25 years ago was a week-long stay in a tent at Cinnamon Bay campground. I returned in later years to rent villas in the Chocolate Hole area as well as Coral Bay. I rented apartments and condos in Cruz Bay. And, I’ve stayed at the Westin Resort St. John several times.

St. John has rapidly become the island of the Jeep Wrangler. You’ll find this as a rental more than any other kind of vehicle. Always reserve your car while you’re still at home, before your trip. They go fast.
St. John is a small, mountainous, tropical island, one of the three US Virgin Islands. (The other two are St. Thomas and St. Croix.) The Rockefellers fell in love with this island many years ago, and established what is now the Caneel Bay Resort. More significantly, they secured about two-thirds of this island (and much of its surrounding waters) as a National Park, which means limited construction on land and no annoying jerks in loud motor boats and jet skis off shore. Those areas where construction is allowed, outside of the National Park, like the town of Cruz Bay, have seen significant growth in the last two decades, and it’s not always for the best.

Local markets have kept up with the times, and you can now find gluten-free and organic foods easily on St. John.
There’s no airport in St. John…just a helipad at the top of the island where the hospital is located. So that means everyone arrives here by boat. Vacationers land in St. Thomas and take a series of taxis and a ferry to get to St. John. Easy to do. The lack of affordable living space for locals that work here means many of them have to commute every day from St. Thomas, where the rent is cheaper.
Talk to most store or restaurant owners and they’ll tell you that they came to St. John on vacation and decided this was where they wanted to stay. I can’t say that I blame them. And if they had a radio station here, I’d be really tempted to do the same!

Photo by Kelly Milukas.
Westin Resort St. John

Some of the flowers at the Westin.
We stayed at the Westin and a lot has changed since our last visit five years ago, especially the attitude of the staff in general. Where before they seemed bored, this time they went out of their way to be friendly and helpful. And it rubbed off on the guests, too. (At least the ones that weren’t total a-holes.)
We were here once again on Starwood points and got a poolside room with King-size bed and a roll away for our 8-yr-old daughter. The room was clean and comfortable, and housekeeping was there every day to make sure we had plenty of clean towels.
The push is definitely on to get you to see their time share properties, and so the sales pitch was annoying at times. But it didn’t take away from our enjoyment of the property.
My daughter loved the Kids’ Club (gives parents some private time.) My wife loved the spa. The staff of the dive shop was helpful in guiding us where to go snorkeling on the island, depending on water conditions.

Nothing, I mean nothing, beats the private Westin ferry service that takes you from the airport to the resort and back again without any stress or hassle. After two-and-half decades, I can tell you: the public ferries and taxis can get tiresome. The Westin ferry makes you feel like a rock star. It’s $120 per adult roundtrip. That may sound steep until you realize that it takes the place of a bumpy 45-minute taxi ride in a crowded van from Cyril E. King Airport in St. Thomas to Red Hook, on the eastern side of the island….and dragging your stuff out of the van to the ferry at Red Hook that takes you to Cruz Bay in St. John…and fighting the crowds to unload your luggage and put it on a taxi that takes you from Cruz Bay to the Westin Hotel.
With the Westin ferry, you don’t lift a finger. When you land at the airport, you check in at the Westin desk, where they immediately give you your room keys and plan your return home (not that you want to think about it then, but you get peace of mind.) Then you get your luggage off the carousel and the Westin people put it on a taxi for you. The taxi takes 10 minutes to get to Charlotte Amalie, where the private Westin ferry is waiting for you. You board, and they load your luggage. You enjoy a beautiful 45-minute ferry ride and you arrive at the Westin resort’s private dock. You are greeted with a rum drink while they unload your luggage and bring it to your room. You already have your room key, so you get to your room when you feel like it. That’s the way it’s done! Of course, you do have to stay at the Westin to use the ferry service. But you also get unlimited free rides to and from St. Thomas on the ferry when you want to go there to shop, dine or explore. (We never do. We love this island too much.)

Poolside room view at the Westin.
The food at the Westin poolside cafe/bar called Snorkels was great, with many healthy options. Room service was good, not great. Their only other real restaurant, Lemongrass, had a Thai theme which wasn’t very family friendly. And the previous fancy steak restaurant, in the main building, was now a big empty space. This meant that you had to leave the property and get a taxi to Cruz Bay (at $5 per person one-way) if you wanted a decent dinner. This was, in our opinion, the biggest fail on the part of what could be a great resort. (Like I said, we were there on points, and we’re foodies, so we were heading into town every night anyway. But if I was paying $700+ a night, and hoping to eat there with my kids, I’d be pissed. I guess there’s always room service.)
We arrived just before winter break. It was really peaceful and serene. Then the screaming parents and their brats arrived, and it became a whole different place. (We nicknamed our next-door neighbors the Awful-Awful family.) That’s when we rented a car and explored the island for a few days, returning only to shower and sleep. If you’re a couple looking for romance, beware of holidays!
The taxis on St. John, pick-up trucks with benches in the back, will take you just about anywhere on the island. Great when you don’t want to drink and drive…
Eating and drinking in Cruz Bay…
The Beach Bar

I’ve listed the Beach Bar first, because it’s the first and last—and in between—place you need to be when you come to St. John. You have not officially arrived until you’ve had a drink here.

Nothing fancy. Just a bar along the beach with good bar food. But at night, the Beach Bar jams with live music of every kind, and it’s the most fun you can have in Cruz Bay with your pants on! I have walked back–okay, stumbled back–to my condo many times from the Beach Bar in the last 3 decades. Like I said, it’s the first place I go to when I get to the island, and where you’ll always find me on my last night before I head home! Everyone comes here: singles, couples, families. No worries.

Bar games powered by Shirley Temples at the Beach Bar.
La Tapa

Our choice for #1 restaurant on the island. We go to La Tapa every time we’re in St. John, and the food and service is always outstanding. This is where you go for a romantic dinner or a nice quiet time with the family. This is where you go when you’re tired of fritters and Caribbean tastes and you’re craving a high-end dining experience. Wonderful wines, well-made cocktails. Deliciously fresh gazpacho. An intriguing cheese plate. Foie gras and pork belly (what’s not to like?) House-aged steaks. Tasty desserts. Located right next to Woody’s, you could say that these two places are the opposite extremes of the St. John experience. Both great in their own, very different ways!
The Terrace

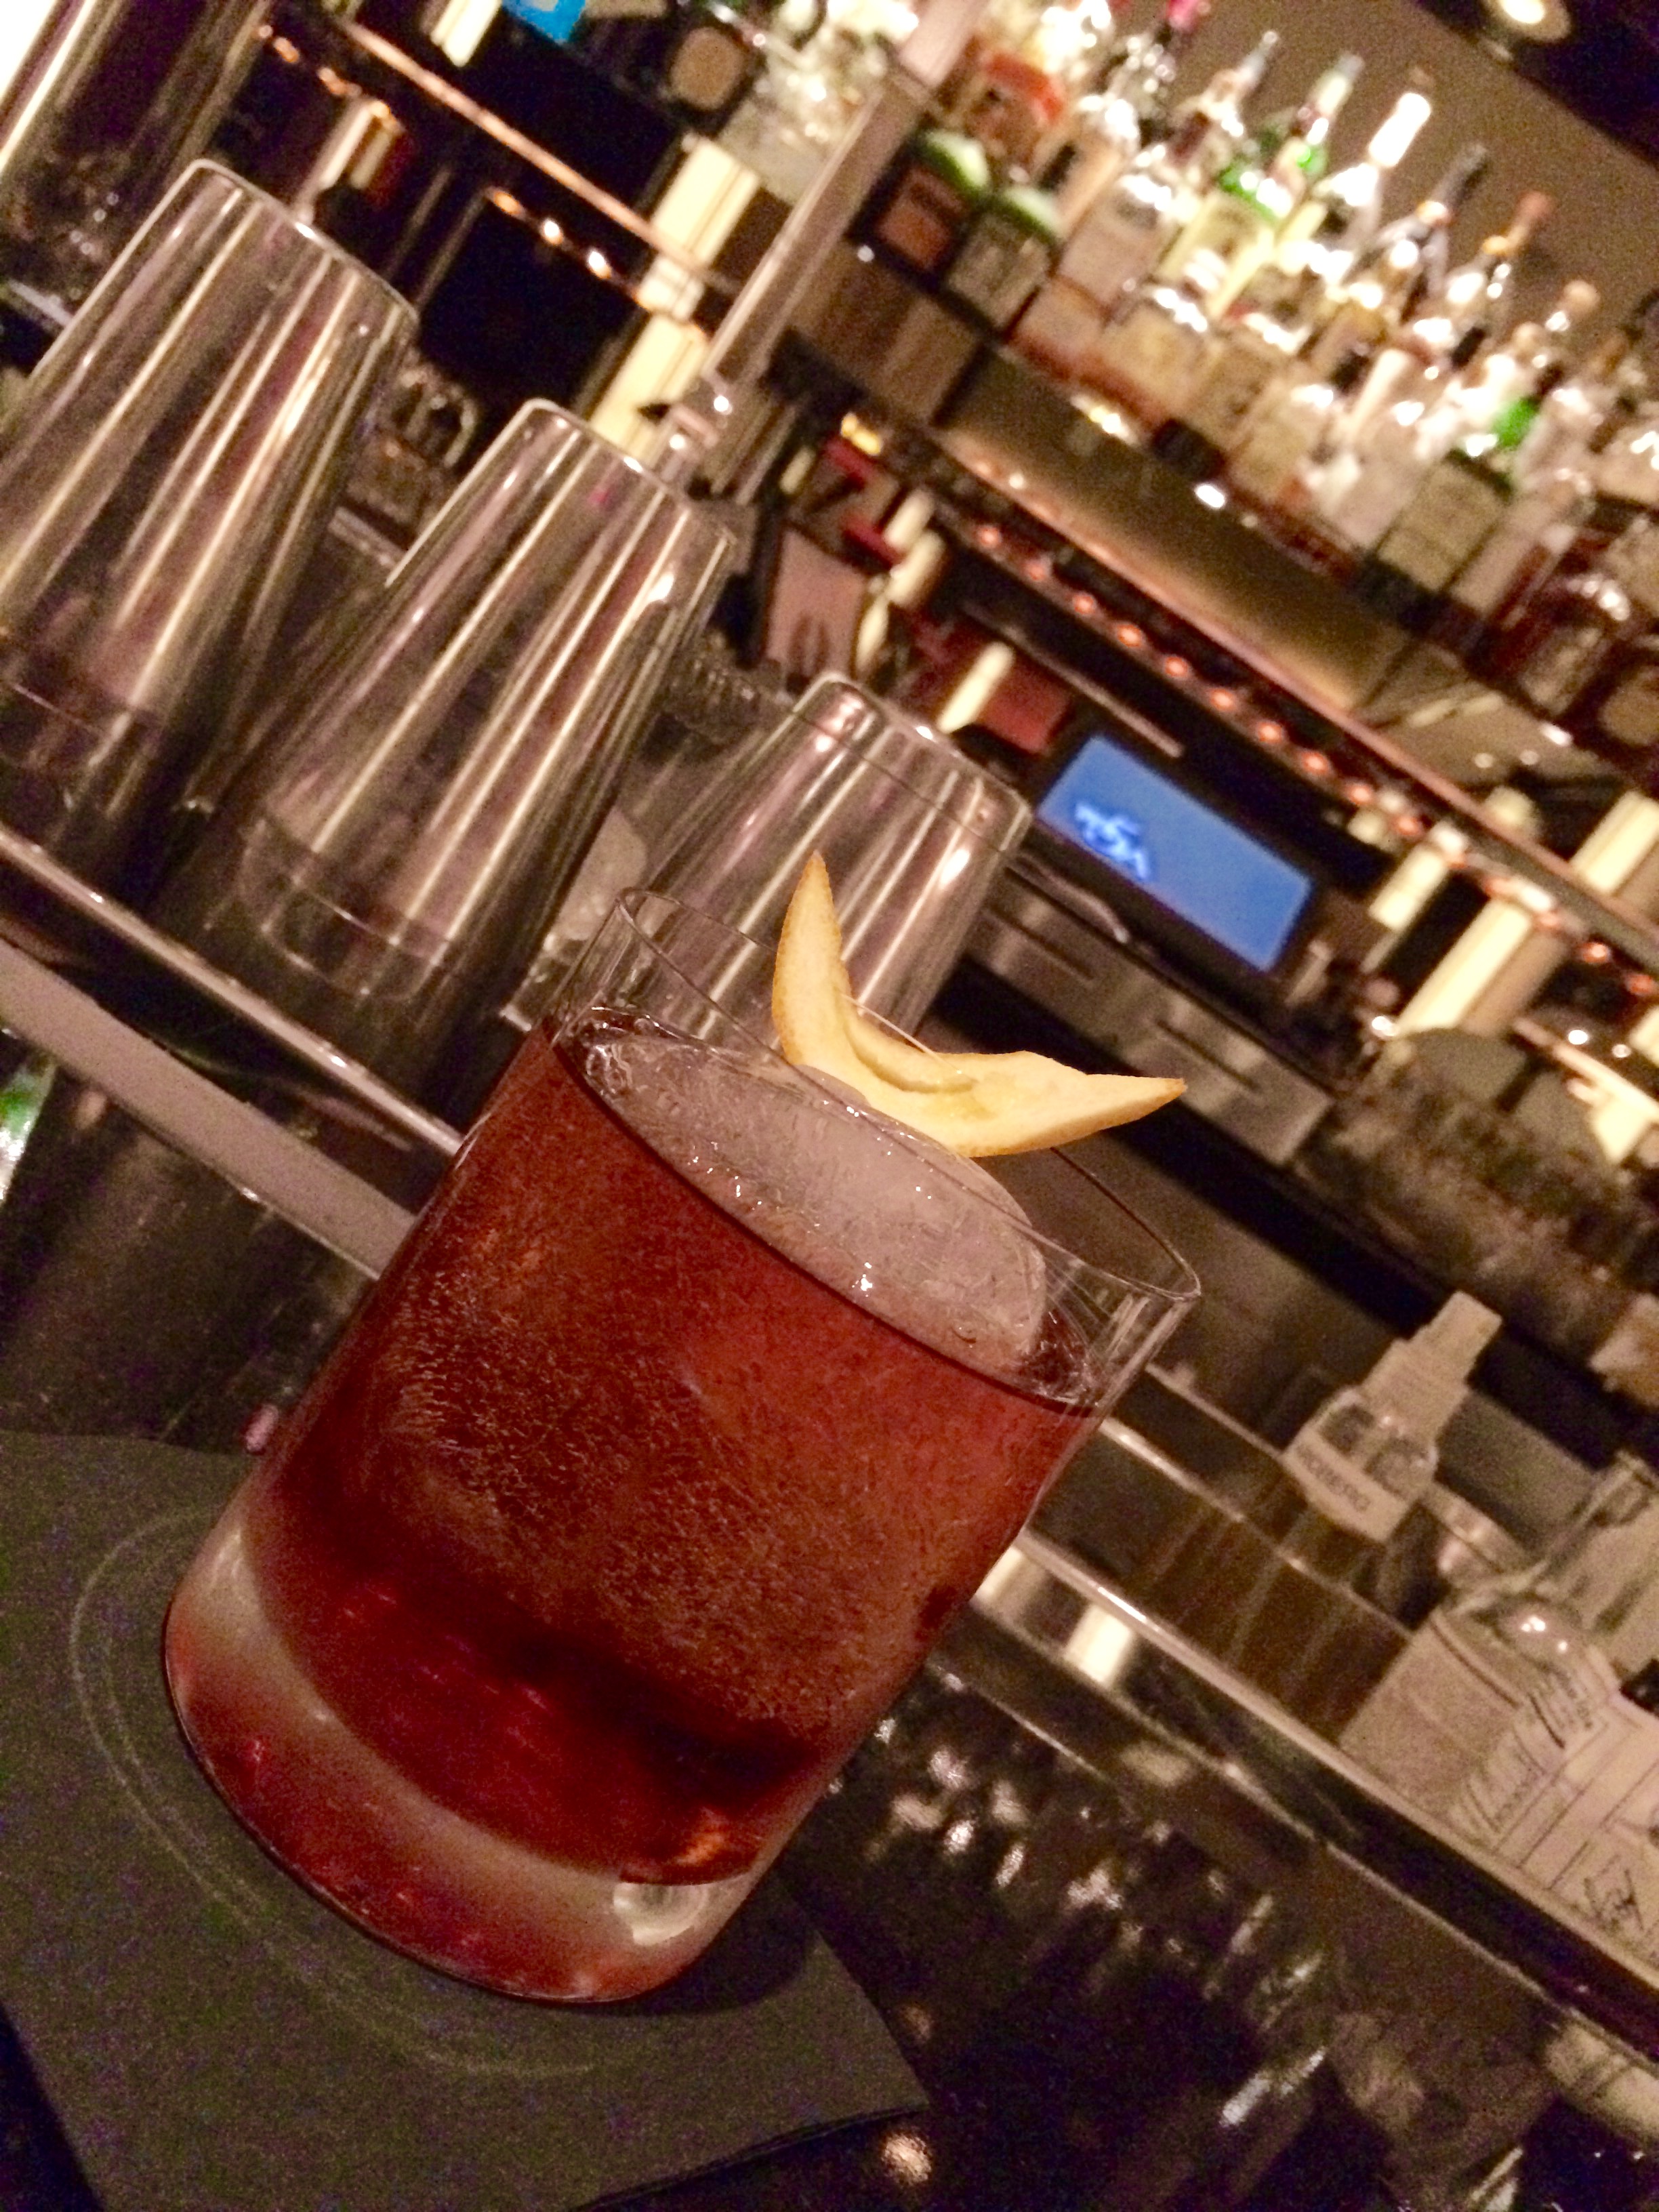
A bean martini at the Terrace, featuring house pickled haricot vert.
This wasn’t just excellent for St John. It was truly excellent. Inventive cocktails, like a martini with house-pickled haricot vert…foie gras…fresh monk fish…beautiful aged ribeyes…and more. Sophisticated flavors and combinations found in big city restaurants back home. No kids’ menu, but that’s OK. They made a wonderful dish of pasta with tomato sauce for our daughter. Knowledgeable and friendly service, quiet atmosphere despite their location across the street from the Beach Bar. Family friendly as well as a great spot for a romantic dinner. Reservations a must. #2 of our favorite restaurants on St John.
Morgan’s Mango

Morgan’s Mango is a lively place where you can get a great cocktail and feast on wonderful Caribbean flavors. When you’ve just arrived in St. John, this is exactly what you want! I’m glad we came here first, because after several days of similar food, we started looking for a change of pace. But what they served us, they did well: tuna tartare, Caribbean ceviche, grilled mahi and more. Look for the sign outside…it means they’ve got fresh lobster that day! If you’re looking for a quiet night out, this is not the place. People are here to party and enjoy some great food. Morgan’s Mango delivers. Our #3 choice overall and best choice for local flavor.

The first sip. At Morgan’s Mango.
Waterfront Bistro
Not a bad place. What the server lacked in skills, she made up for in genuine friendliness. What makes this place special is that you’re on the water in Cruz Bay, and any restaurant that has that going for it is going to do well. Basic salads, okay apps, familiar entrees.
Uncle Joe’s Barbecue

Located right in the center of Cruz Bay, in the large parking area across from the Post Office, there’s a small covered seating area with an equally small cooking space known as Uncle Joe’s Barbecue. The wait can be excruciatingly long, and in the old days, it was worth it. But we haven’t been here in 5 years, and it seems to me that the recipe, maybe the ownership, maybe the staff, has changed. Believe me, it’s not bad. But it just didn’t match the memory I had of it. And you better be OK with “island time” to eat here. Place your order, and go shopping. Come back in an hour, and maybe it’ll be ready. If not, go back out and shop some more. That’s the way it goes at Uncle Joe’s. Good ribs and chicken, just not what it used to be.
Rhumb Lines

The strange entrance to Rhumb Lines: through a convenience store.
Probably the most disappointing dinner on our entire trip to St. John. This place was recommended by several friends and we found the food to be just plain bad. When the best thing at the table is your kid’s chicken tenders and french fries, you know you’ve got a problem.
The atmosphere is fun and energetic, but all of our dishes were a real disappointment: summer rolls (flavorless), pot stickers (burnt), pad Thai (like out of a can), Cuban pork (mystery meat.) All served very quickly, to get you in and out as soon as possible. Thank goodness for cocktails and a decent bottle of wine.
In all honesty, St. John is not a foodie mecca anyway. So it wasn’t surprising to find this place packed nonetheless, especially during winter vacation week. But there are better places to eat in Cruz Bay. I would suggest sitting at the bar, and having a drink just to soak in the fun atmosphere. Then go eat somewhere else.
Woody’s Seafood Saloon

You’re not going to get fine cuisine at Woody’s, but you’ll realize that the minute you see it. Crowded, loud, and absolutely insane, it is all about Happy Hour. And it’s a landmark you’ve got to visit, even if it’s just once. Besides, where else can you get a couple of Painkillers to go at their outdoor service window? And they make theirs with Cruzan rum, not Pusser’s. I prefer their recipe. Cheers!

Donkeys, cows, iguanas, even mongooses roam the island. And the roosters pose for photos.
Eating and Drinking In Coral Bay…
Ekaete Pink Corner

This is what you do when you go to Coral Bay. You support the locals that are working hard to feed their families by feeding you a taste of their culture. Over the years, we’ve seen this little place grown from a trailer to a quaint outdoor restaurant, and the food has always been wonderful and served with a smile. On our last visit, we did the Sunday brunch, which consisted of a buffet with pork ribs, curried goat, mahi, jerk pork, and more. Everything other than the mahi, which dried out on a buffet table, was excellent. We washed it all down with a beer and their homemade sorrel drink.

Sunday brunch: ribs, mahi, chicken, curried goat, and veggies.
And for dessert, the homemade soursop ice cream was a special treat. If you’re in Coral Bay, you can’t miss this place. Stop by, and if you can’t dine in, get some take-out for the beach.

Soursop ice cream.
Shipwreck Landing
There’s nothing horribly wrong with Shipwreck Landing. It’s just not great. In an area like Coral Bay, where the food choices are limited, you could do worse. We chose it as our dinner spot for Valentine’s evening and the food was mediocre at best. As I’ve said before, you don’t come to St. John for the food…and if you do, you stay in Cruz Bay. We take our dinner more seriously than our lunches, where Shipwreck has been fine with salads and burgers. But none of the dinner entrees we had (fish, steak) really impressed us. Coconut shrimp was overcooked and tasted like it came out of a box. Who cares, I suppose. It was snowing back home and we were in St. John!

You can even find deer on St. John. Maybe this means venison on someone’s menu soon?
Eating and Drinking In the East End…
Vie’s Snack Shack

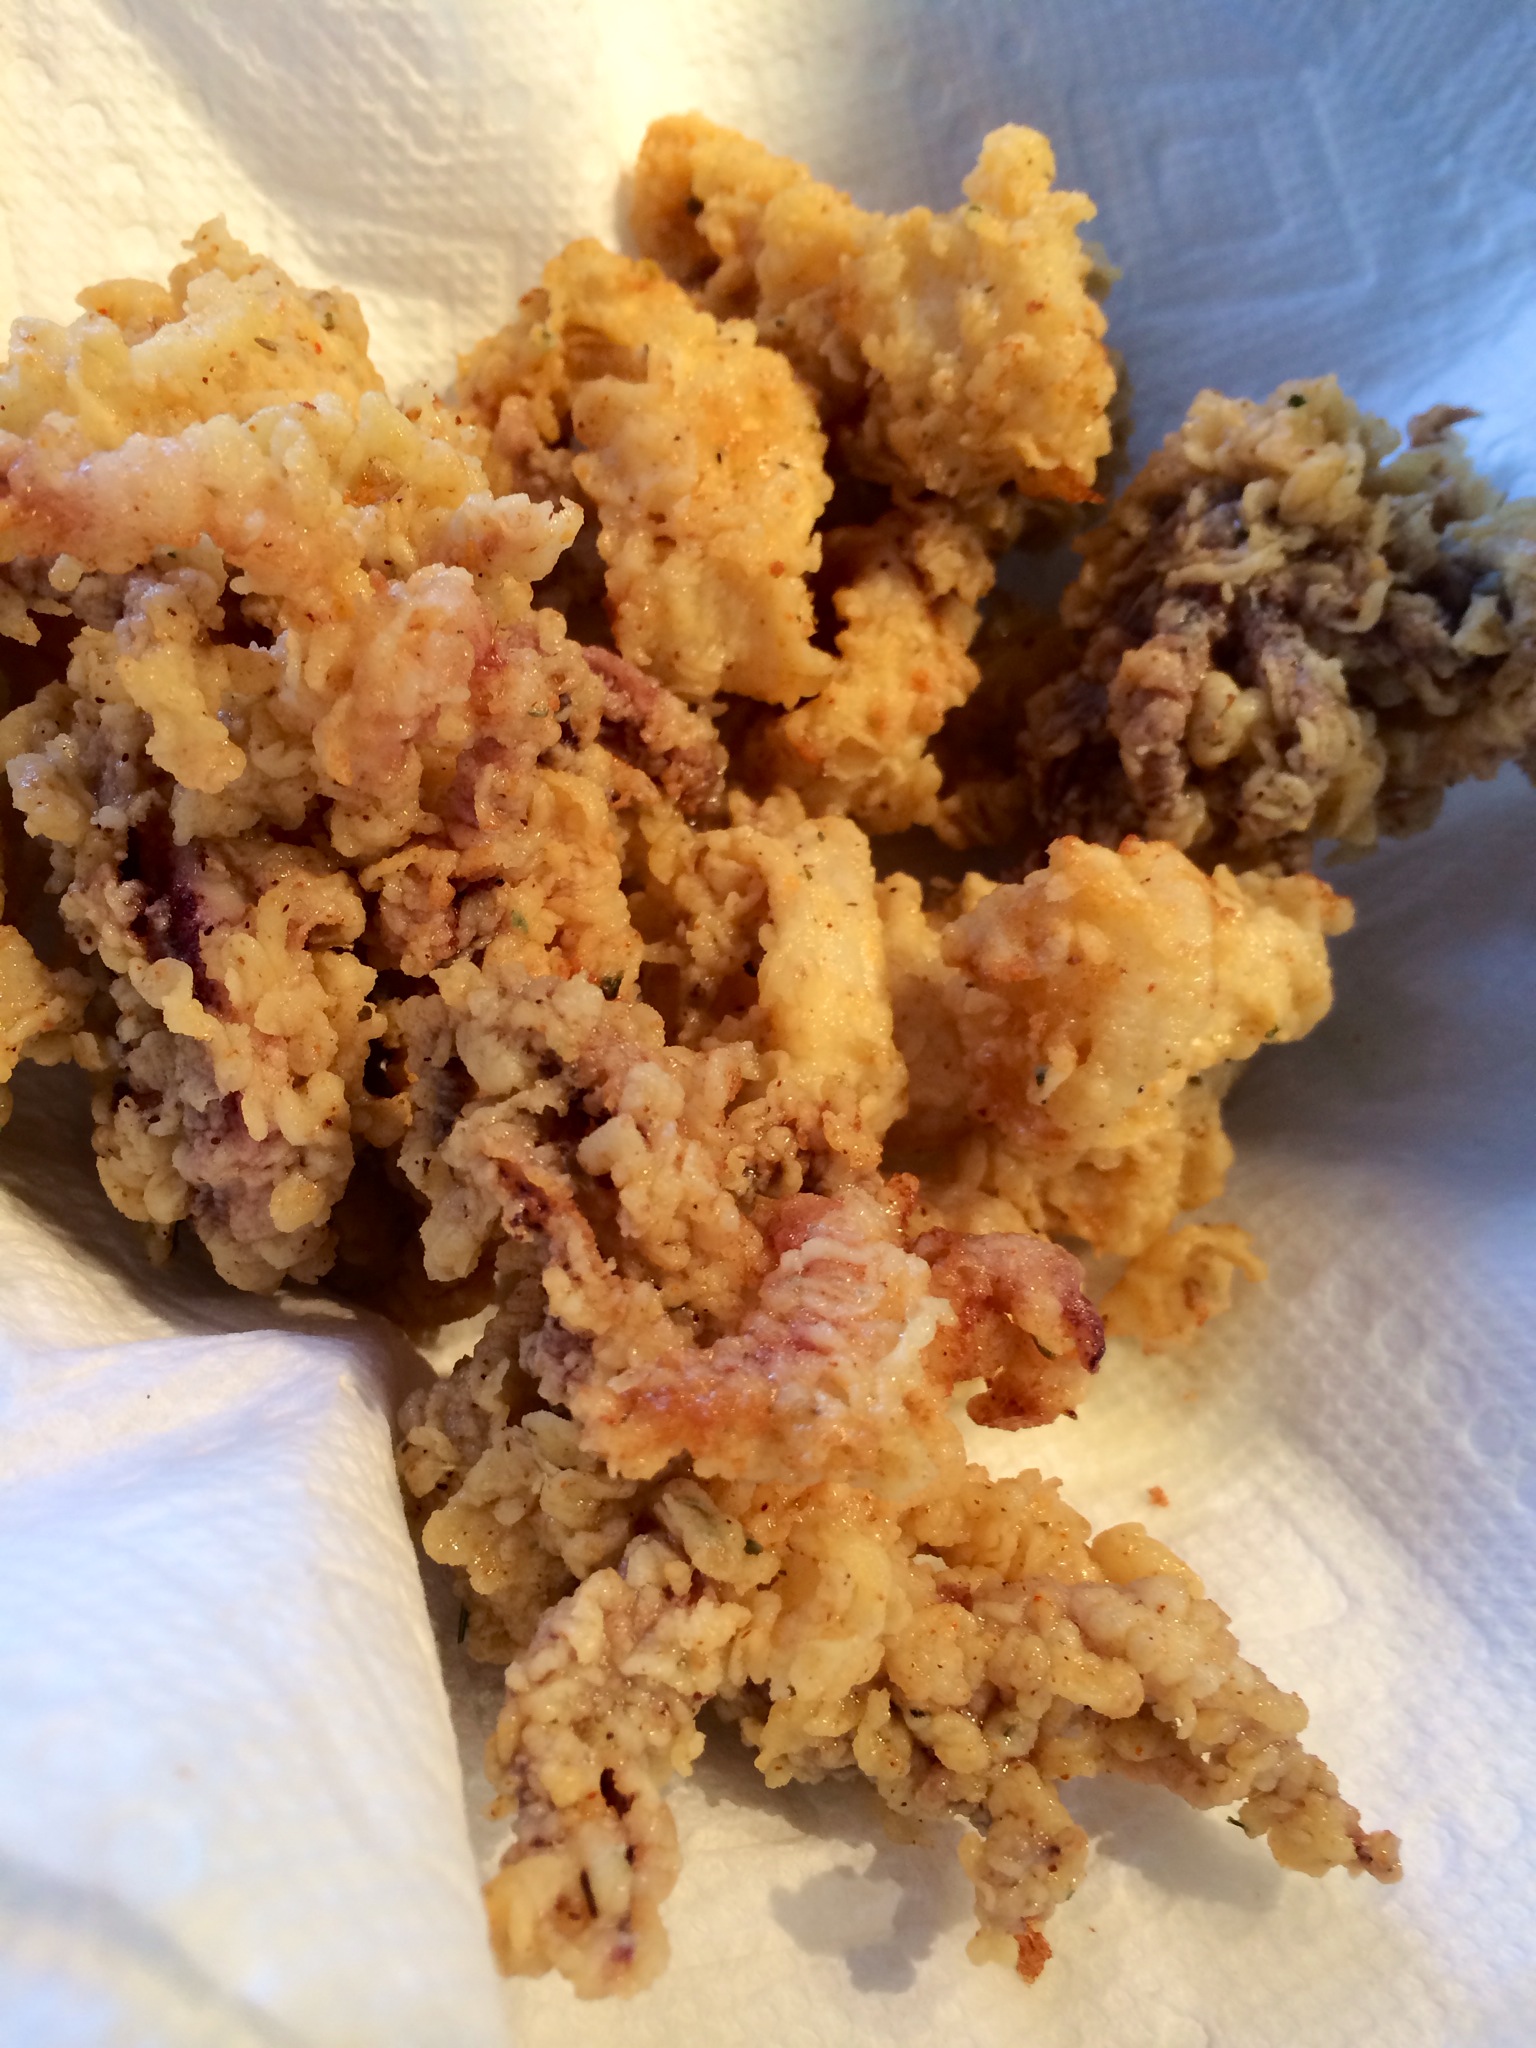
My first visit to Vie’s Snack Shack was 25 years ago, when Vie herself ran the shack. Back then, the shack was open when Vie felt like it, and I was lucky enough to catch it almost every time I was on the island. Now, years later, the shack is run by her daughter, and she keeps regular hours…something the average tourist can appreciate! (They’re open Tuesday thru Saturday from 10 to 5.) The garlic chicken is still fantastic, especially when you drizzle honey on top. Same with the Johnny cakes. But nobody, and I mean nobody in St. John makes conch fritters like Vie’s! Worth the car rental and drive out to the boonies just for that! Plus, for a mere $2.50 per person, you can swim at Vie’s private beach, which is on a beautiful cove with decent snorkeling. The definition of the good life.

Fun to see how many customized “Dip” signs you can spot while driving around the island.
Where We Didn’t Go This Time But Have in the Past…
Skinny Legs: Where the Coral Bay locals go. It can get pretty rowdy in here, but families are always welcome. Great burgers, cheap drinks. You can smell the grill a mile away!
Miss Lucy’s: Famous for their full-moon parties, it’s just past “the main drag” in Coral Bay. On the water, and lots of fun, with a Caribbean flavor.
Asolare: At the top of the hill as you leave Cruz Bay to head to the north shore, and a favorite for dinner at sunset. Good food, not great, but the views are spectacular.
The Beaches…
Used to be that none of the beaches on St John had services like snack bars, showers and bathrooms. Now some do. The ones that do are always the most crowded and that’s why I avoid them. But you certainly can’t go wrong with any beach on St John! Taxis will take you just about anywhere if you don’t have a car.

Money shot: a view of Trunk Bay from the cliffs above.
Trunk Bay: If it’s your first trip to St John, especially if you have kids, you’ll want to go to Trunk Bay to see the underwater snorkeling trail. Unfortunately, that’s what the cruise ships do as well, so talk to your hotel and find out when the crowds are less likely to be there.
Hawksnest Bay: The first public beach you see on the north shore. Small beach, good waves.

A great place for kids to learn how to snorkel!
Cinnamon Bay: It’s a campground, with a restaurant and a convenience store…and a beach. Where I first stayed on St. John, 25 years ago, and discovered that Cruzan rum was much cheaper than a crappy can of Coors Light! I never looked back!

Francis Bay.
Francis Bay: This used to be our favorite beach until they opened up a large parking lot next to it. Not only do cars fill the lot, they spill out for a half-mile onto the narrow road that takes you to the lot. Still, it’s a beautiful beach and a personal favorite. Lots of pelicans flying around. Decent snorkeling. Years ago, I had a great barbecue party on the beach here…something you just can’t do at Francis Bay anymore.
What the parking is like…
What the beach is like…
Salt Pond Bay: You have to drive all the way around the island, past Coral Bay and south to get here. Then you have a hike down to the bay. But it’s worth it. Nice snorkeling, calm waters. No services.

Great Lamshur and Little Lamshur Bay: If you’ve driven all the way to Salt Pond, drive a little further to the end of the road and you’ll get to the Lamshurs. About as out-of-the-way as you can get on this island, and the snorkeling can be great here. No taxis here. You need a Jeep.

A sign at Honeymoon Beach. Hiking trails in this area have many wild donkeys, which were brought here in the 1600’s from Spain to help in sugar cane harvesting.
Honeymoon Bay: Why we didn’t know about this sooner is beyond me. This is a beach just off the Caneel Bay resort property. You basically take a taxi to Caneel Bay and then walk…a lot. But you end up on this beautiful beach that has a snack bar and offers some beach rentals, too. Kind of a secret beach.
Tips for a great St. John vacation…
- No matter what you need: a taxi, some information, whatever…the first thing you always say to a local, in person or on the phone, is “Hello, how are you today?” You’ll be surprised at the smile you’ll get.
- If you’re a U.S. citizen, you don’t need a passport to come here. But if you decide that you want to go to the BVI at the last-minute, you will need one. So bring it anyway. Snorkeling trips to Jost Van Dyke are awesome, and they’ll take you to the greatest beach bar on planet Earth: The Soggy Dollar, home of the original Painkiller. Also the famous Foxy’s. Just remember: it’ll cost you extra cash and time to go through customs in the BVI as well as customs back in St. John when you return.
- You really need a full week to appreciate St. John, but two is even better. Plan to rent a car for at least a few days if you stay in Cruz Bay. You may need it the entire trip if you rent in Coral Bay or if you’re staying in a villa that’s away from it all. Always reserve your rental car from home, way before you make your trip, or you’ll be out of luck.
- Explore all the beaches, especially those on the south shore, beyond Coral Bay. They’re quieter and they’ve got great snorkeling.
- There’s nothing on St. Thomas that you can’t get on St. John, except, crowds, traffic and obnoxious cruise ship tourists. You came to get away from it all. Stay here.
- Bring some of those special things you need every day from home. You won’t always find herbal teas or special coffees, Truvia, certain cereals, etc. But you will find what you need for the most part.
- Duty free booze on St. John is a great deal. And if you buy local Cruzan rum, you’ll save a ton. But beware: wine is twice as expensive as it is at home! If you’re staying for a long time and you love fine wine, it may be worth it for you to bring a case from home.
- Embrace “island time.” If you’re impatient, this is not the place for you.