Archive for June, 2016

Pork chops were a favorite of mine growing up, but my Mom cooked them only one way: breaded and fried in a pan full of oil. They were good, but they were greasy, and my Mom was not big on seasonings. And she cooked the hell out of it. It was time to improve on the original.

Using the best quality pork I can get, like Berkshire pork, makes a real difference in flavor. It also matters to me that the animals are humanely treated while they’re on the farm. No factory-farmed meats.

chop 1


2 Berkshire pork chops
1 egg
1/2 cup plain bread crumbs (I use gluten-free)
1 teaspoon salt
1/4 teaspoon pepper
1 teaspoon dried oregano
1 teaspoon dried parsley
1/2 teaspoon granulated garlic
1/2 teaspoon granulated onion
olive oil


Pre-heat the oven to 350 degrees.

Set up 2 bowls. In one, crack and scramble the egg. In the other, combine the bread crumbs, salt, pepper, oregano, parsley, granulated garlic and granulated onion.

Place an oven-proof pan on medium-high heat and add a little olive oil. Once the oil is hot, cover the pork chops in the egg wash and then coat with the bread crumb mixture. Place in the hot pan to brown and sear. Do this with both chops.

After a few minutes, flip the chops over in the pan and place the pan in the oven to finish cooking.

chop 2

Remember, good pork does not need to be cooked until well done!


When it’s Vidalia onion season, I find every excuse in the world to include them in my meals. I slice them thinly and use them raw in salads and saute them in any dish that hits a frying pan. But my favorite way to eat them is right off the grill.

FullSizeRender (6)

I take a couple of Vidalias and I cut the tops off them, leaving the bottom, or root, intact. That holds the onion together. I peel off the outer layer, then carefully quarter the onions, see-sawing my knife down into the bulb until I get to the root, being careful not to cut all the way through.

In a separate bowl, I mix a combination of garlic salt, pepper, paprika, and a bit of brown sugar.

FullSizeRender (4)

I take each onion, and carefully pull the quarters apart and drip some olive oil inside. Then I take some of the seasoning mix and jam it in there, as far down as I can. I coat the outside of the onion with olive oil and seasoning, too.

I light a hardwood charcoal fire and roast the onions over high heat at first to caramelize them, then I move them to a part of the grill away from direct heat, close the lid, and let them cook for a few minutes. Once they’ve cooked enough, I give them one last blast over the hot fire before serving.

FullSizeRender (7)


There’s no problem with your bird, she said to me
Just go low and slow to cook it perfectly
A few choice seasonings end up deliciously
There must be 50 ways to roast your chicken…
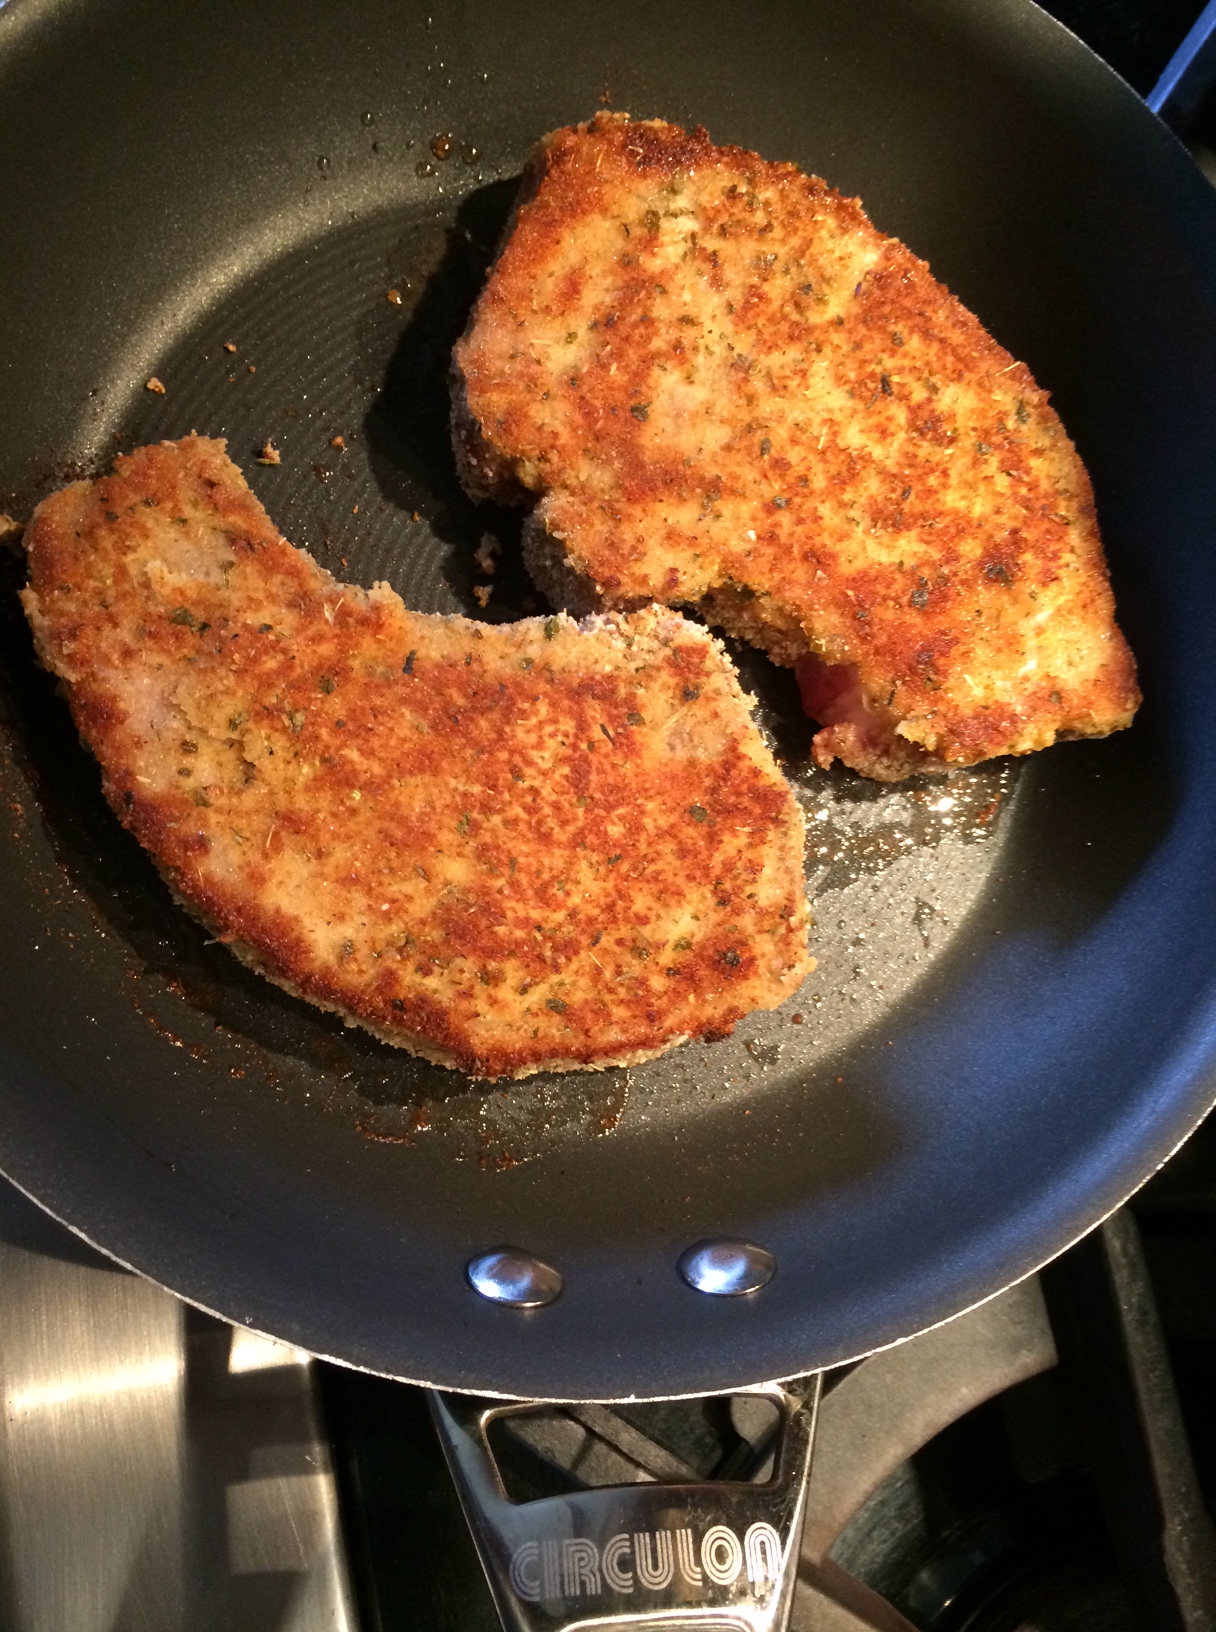
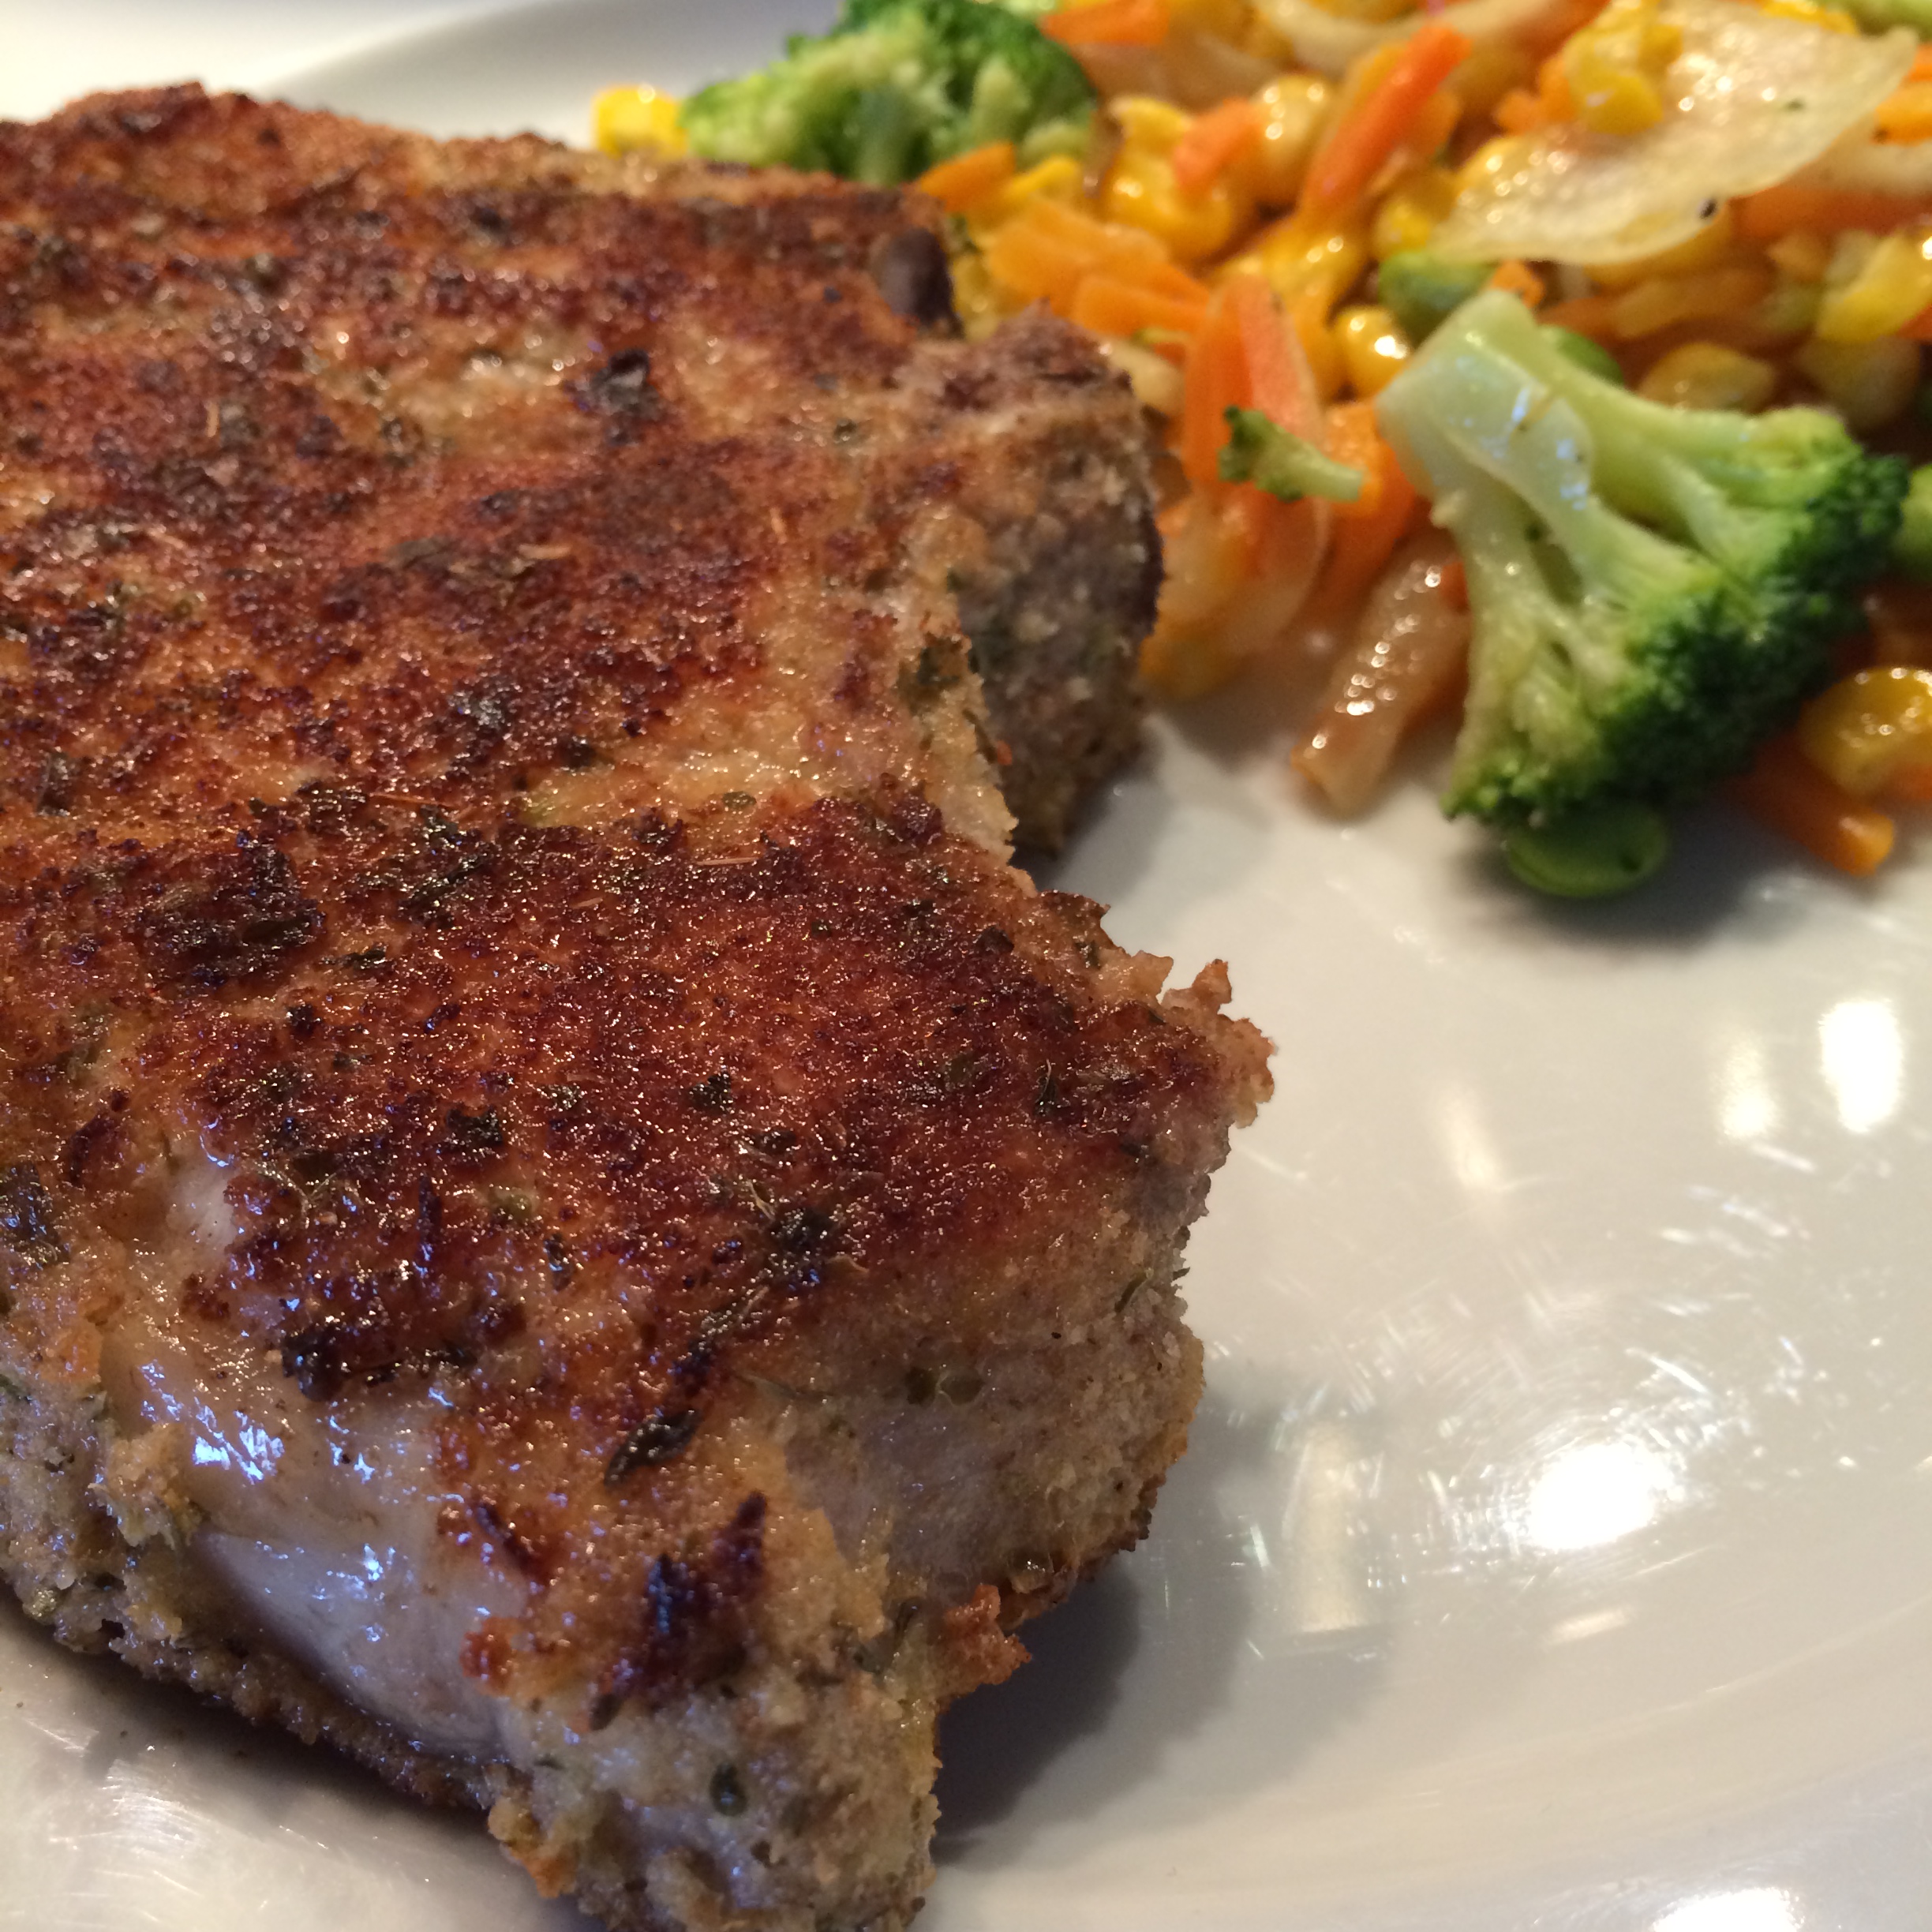
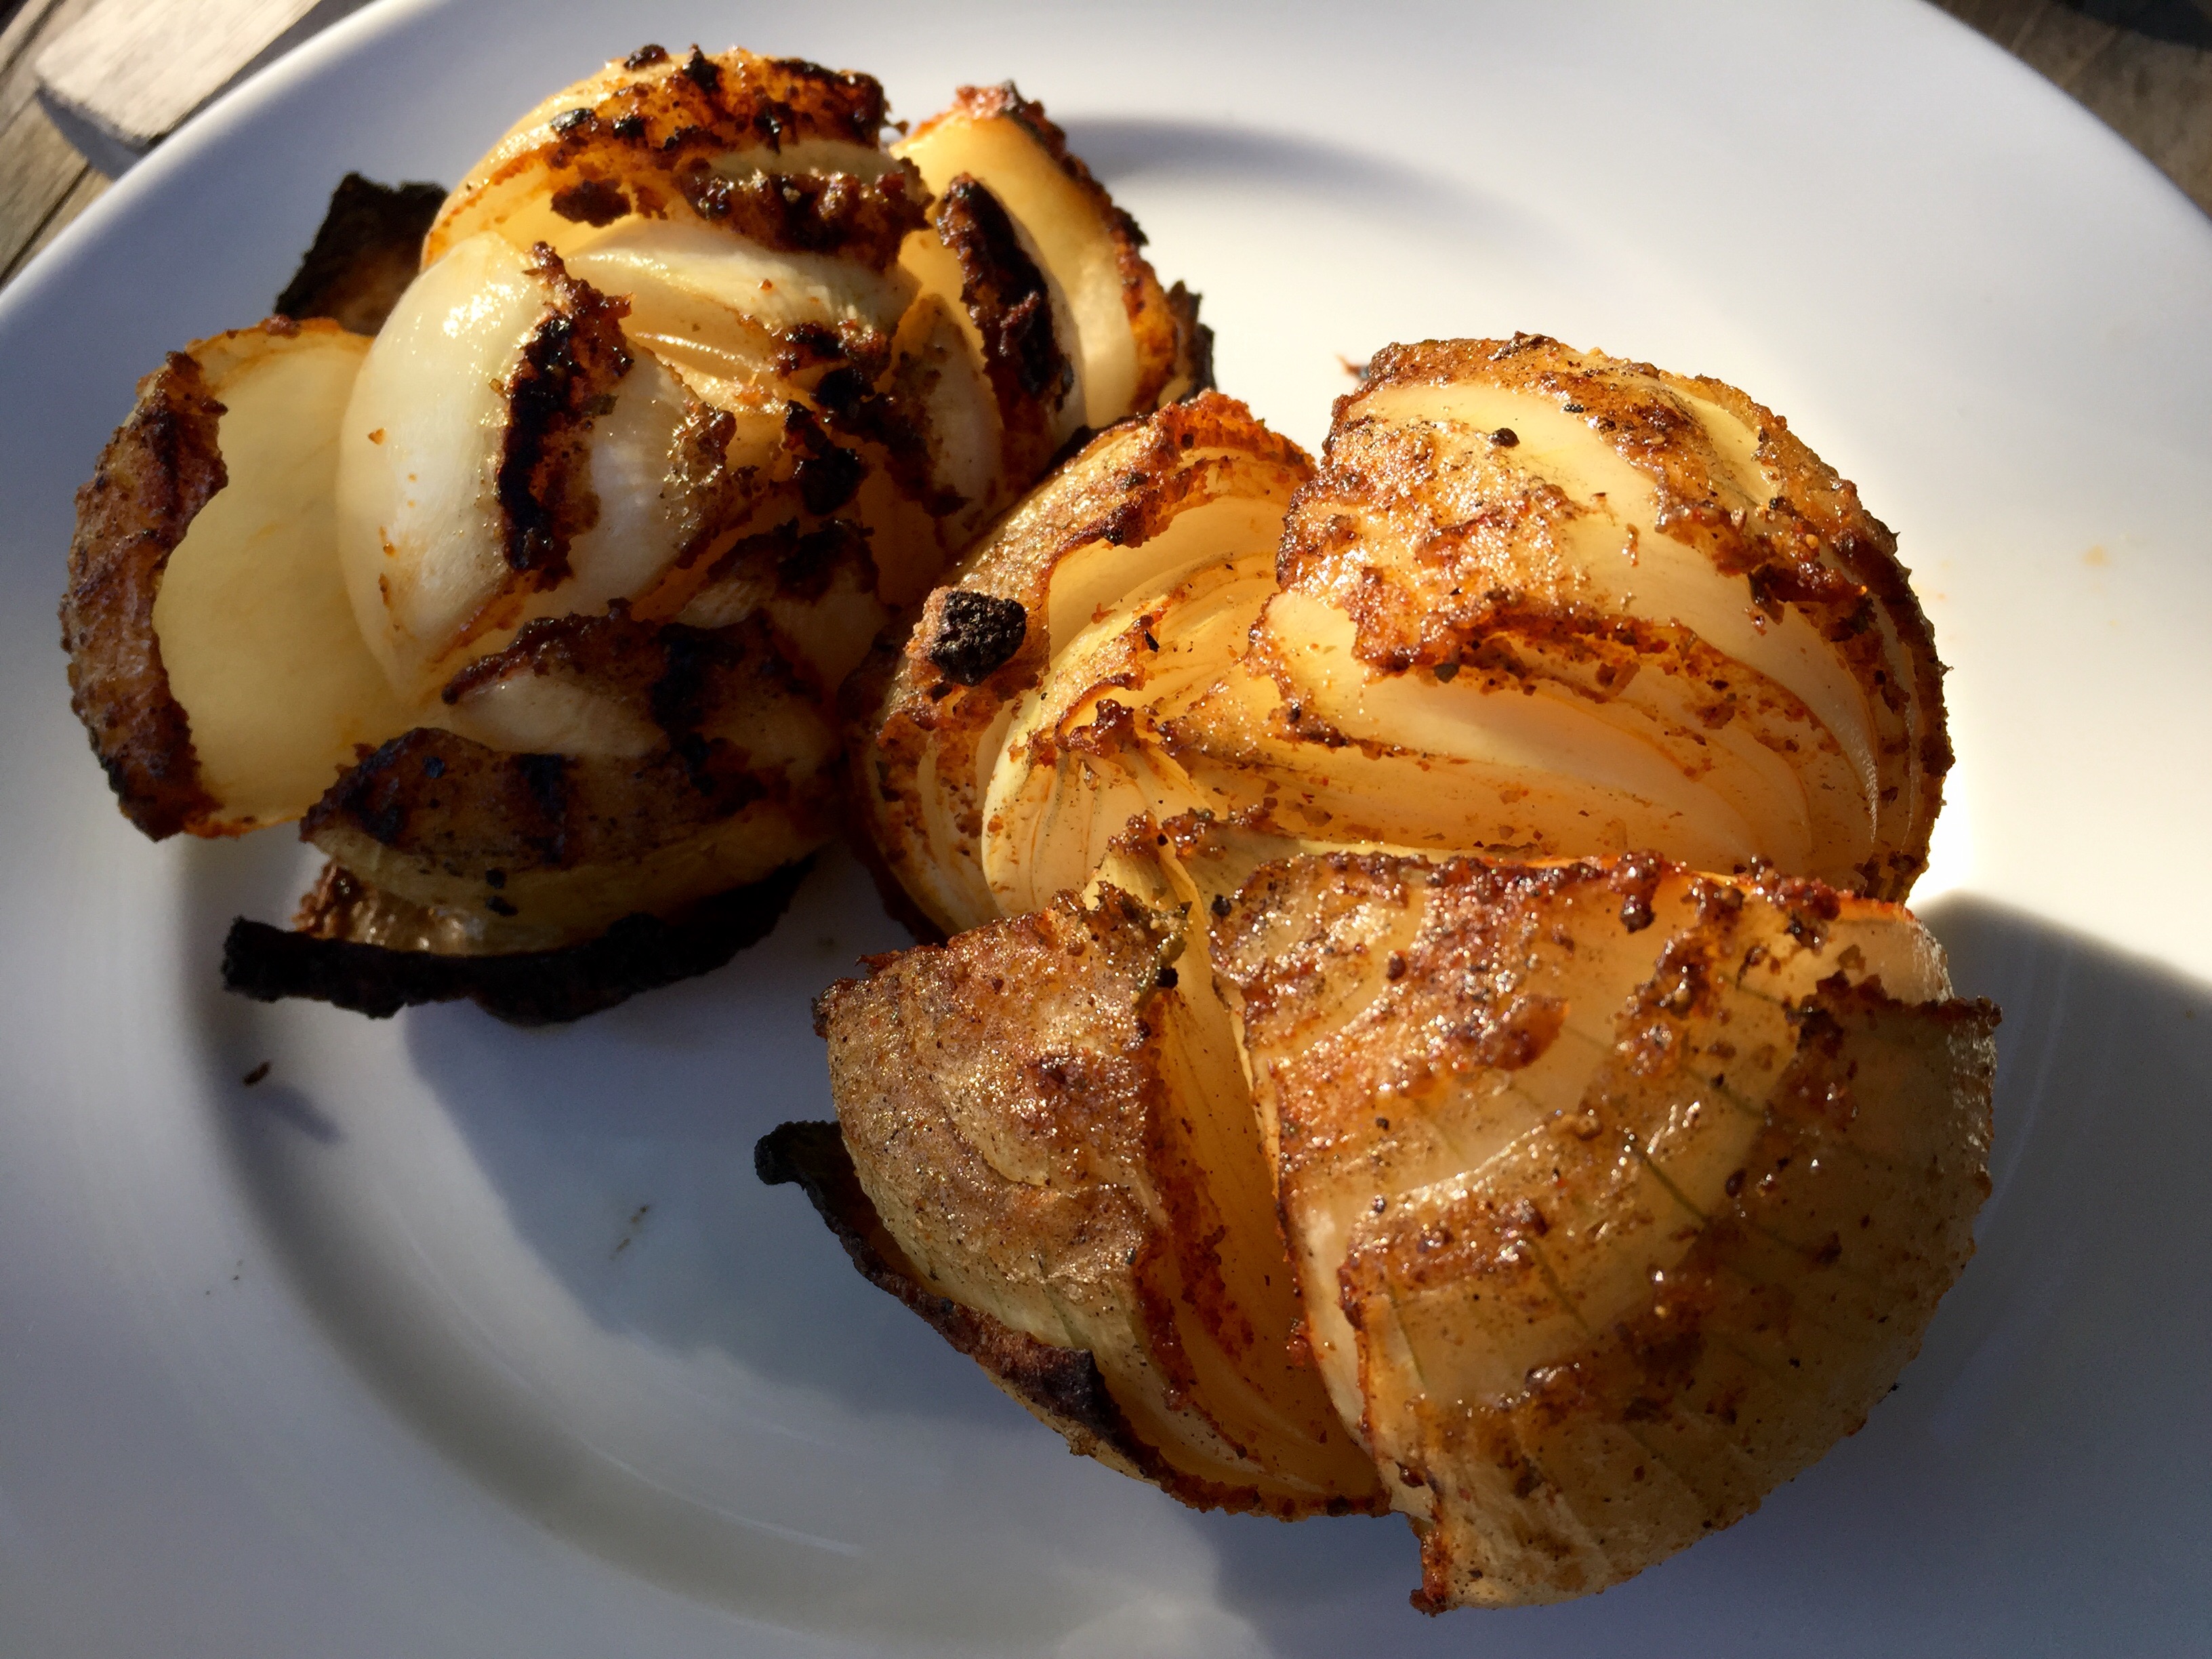
There’s nothing better than a whole roasted chicken. Simply season it, pop it in the oven and go low and slow. No maintenance, and you’ve got a great bird in a couple of hours. 
Once you go with humanely raised pastured chicken, you’ll never go back to supermarket chicken again. The flavor is fantastic, and you’ll devour it right down to the bones, which you can use to make the best home-made chicken stock or soup you’ve ever had. Nothing goes to waste.
I roast at least one chicken every week, so to change it up, I’ve come up with many different rubs and sauces over the years. All of the rubs are sugar and gluten-free preparations. The sauces may have one or both.
Chicken with Rosemary and Lemon
 IMG_9146
The lemon serves double-duty in this dish. You use the zest to season the outside skin, then you place the remaining cut up pieces inside the carcass to flavor from the inside out.
1 tablespoon finely chopped fresh rosemary
1 teaspoon granulated garlic
2 teaspoons salt
zest from 2 lemons, using a micro plane zester, the leftover lemons quartered
1/2 teaspoon black pepper
In a bowl, combine the rosemary, garlic, salt, lemon zest, and pepper. 
Thaw a bird, remove the giblets, and rub it all over with olive oil. Shove the quartered lemon pieces into the carcass of the bird. Season the bird inside and out with the rosemary seasoning mix.
Place the bird on a pan lined with non-stick aluminum foil in a pre-heated 450-degree oven. Cook for 10 minutes at this temperature, then reduce to 275 degrees and cook low and slow until done.
Tarragon Chicken
I love the taste of chicken seasoned with tarragon. Careful with this, or you will accidentally devour your fingers!
1 tablespoon dried tarragon, crumbled into a powder
1 teaspoon garlic salt
1 teaspoon salt
1/2 teaspoon black pepper
olive oil
In a bowl, combine the tarragon, garlic salt, salt and pepper.
Thaw a bird, remove the giblets, and rub it all over with olive oil. Season the bird inside and out with the seasoning mix.
Place the bird on a pan lined with non-stick aluminum foil in a pre-heated 450-degree oven. Cook for 10 minutes at this temperature, then reduce to 275 degrees and cook low and slow until done.
Italian Chicken
FullSizeRender
The darker color of the bird comes from rubbing it first with balsamic vinegar, then olive oil, before coating it with Italian seasonings. Don’t use the fancy, expensive balsamic. The bottles that go for about 9 bucks in the supermarket work well for this recipe.
Balsamic vinegar
Olive oil
1 tablespoon salt
1 tablespoon parsley
1 teaspoon oregano
1 teaspoon pepper
1 teaspoon granulated onion
1/2 teaspoon granulated garlic
Thaw a bird, remove the giblets, and rub it all over with the balsamic vinegar. Then rub it all over with the olive oil. Season the bird inside and out with the seasoning mix.
Place the bird on a pan lined with non-stick aluminum foil in a pre-heated 450-degree oven. Cook for 10 minutes at this temperature, then reduce to 275 degrees and cook low and slow until done.
My Grandma’s Chicken
My grandmother would cook chicken thighs low and slow all Saturday morning, knowing that I was coming over for lunch after Lithuanian school. The meat just fell off the bone, and I couldn’t stop eating it. This recipe is so simple and works just as well for a whole bird. Every time I make this, I think about those days at my grandmother’s house.
Lawry’s Seasoned salt
Olive oil
Thaw a bird, remove the giblets, and rub it all over with olive oil. Season the bird inside and out with the Lawry’s Seasoned salt.
Place the bird on a pan lined with non-stick aluminum foil in a pre-heated 450-degree oven. Cook for 10 minutes at this temperature, then reduce to 275 degrees and cook until done.
If you’re using chicken thighs, like my grandmother did, make sure they have the skin on and the bone in.

Nothing says summer here in New England like a lobster roll. But I don’t go to a clam shack to get one. The prices are ridiculous, the meat can be overcooked, and they often add ingredients I don’t want.

I start with fresh lobster. I get it from my lobster man buddy, Gary, just down the street at his dock in Tiverton, RI.

A view of the Sakonnet River from the back of Gary's lobster boat, the Edna Mae

A view of the Sakonnet River from the back of Gary’s lobster boat, the Edna Mae

The next step is to cook it right. I use sea salt in a large pot of boiling water. I make sure the water is at a rolling boil before the lobsters go in. And I cook them for no more than about 8 minutes.

Lobster catch LTL

After the lobsters have been removed from the pot and have cooled for a few minutes, I get to work: cracking the claws and tail and removing every bit of beautiful meat I can find. I even take the legs off and push a rolling pin over them to extract the meat inside. The tomalley (the green liver and pancreas) and roe (eggs) are delicacies not to be missed, but for the purpose of making lobster salad, I don’t use these parts. I save them for a separate treat. And I use the legs and cleaned empty shells to make lobster stock. Nothing goes to waste!

Lobster roll LTL

Everyone has their own opinion about lobster rolls: what goes in ‘em…and perhaps more importantly, what doesn’t. I am no exception. For me, no veggies whatsoever: no chopped celery, no lettuce, no pickle. No paprika or Old Bay seasoning. A pinch of celery salt? Sure. Mayonnaise? Only Hellman’s. White pepper, not black, and just a touch. Salt? A pinch of Fleur de Sel. And the secret weapon to bring out all the flavors: the tiniest squeeze of fresh lemon juice…not enough to give it a lemon flavor…just to brighten the taste.

I prefer those long Martin’s potato rolls: straight out of the bag or lightly grilled with a little melted butter brushed on.


My first foray into serious cooking started when I bought “The Classic Italian Cookbook,” written by the legendary Marcella Hazan.

Like many great recipes, Fettuccine Alfredo is not complicated…but few restaurants that offer it get it right. Most of the Alfredo sauces I’ve had were watery, floury, and salty and had nothing in common with the real deal.
To this day, if I want a great Alfredo, I make it like Marcella.

alfredo2


1 cup heavy cream
3 tablespoons butter
Fleur de Sel or sea salt
1 lb. Fettuccine, fresh or dried
2/3 cup freshly grated Parmesan cheese
Freshly ground pepper
A very tiny grating of nutmeg

Put 2/3 cup of the cream and all the butter in a large saucepan that will later accommodate all the pasta. Simmer over medium heat for less than a minute, until the butter and cream have thickened. Turn off the heat.

Drop the fettuccine in a big pot of boiling salted water. If the pasta is fresh, it will take just seconds. If it’s dry, it will take a few minutes. Cook the fettuccine firmer than usual, because it will finish cooking in the pan with the butter and cream. Drain the pasta immediately and thoroughly when it’s done and transfer to the pan containing the butter and cream.

Turn the heat under the pan on low, and toss the fettuccine, coating them with the sauce. Add the rest of the cream, all the grated cheese, 1/2 teaspoon salt, the pepper and the nutmeg. Toss briefly until the sauce has thickened and the fettuccine are well coated. Taste and correct for salt.

Serve immediately!

It’s Negroni week! And an aged Negroni is even better.

Used to be that only the big distilleries were able to age their finest spirits in charred oak barrels. But now, there’s a movement goin’ on…and hand-crafted oak barrels are available to aficionados at home.

Companies like Redhead Barrels (http://www.redheadoakbarrels.com) are offering oak barrels for aging that range in size from 1 liter to 20 liters. And that’s where this enthusiast comes in: with a 1-liter barrel, I’m able to age my favorite spirit–vodka, rum, whiskey, bourbon, anything–in just a few weeks, elevating the flavors to levels previously unknown.

wood

My  1-liter barrel arrived with the spigot and bung separately. Curing the barrel is necessary before using it. You do this by rinsing the barrel out a few times to remove any loose pieces of wood chips or splinters that may still be inside. Hand-turn the spigot into the barrel until it fits snugly and place the barrel in the sink on the included stand. Fill the barrel with very hot water…and watch. Some barrels are totally watertight and will not leak. Others may take literally a few days of repeated fillings with hot water before it thoroughly seeps into the wood, expanding it to seal the barrel.

Once there are no leaks, it’s ready to go. Empty the water out of the barrel and fill it with your favorite spirit. Because there is more wood surface area to less liquid (as compared to the large barrels companies like Jack Daniels use), your alcohol will age faster…in weeks instead of years. Once you’ve aged it as much as you want, you simply pour it into a bottle to stop the aging process. Rinse the barrel out thoroughly, and you are ready to age yet another spirit.

I chose to age a cocktail that I first savored at the Greenhouse Tavern in Cleveland, Ohio, the brainchild of talented chef Jonathon Sawyer. The call it a Negroski, their take on a Negroni. It features equal parts Campari, Cocchi sweet vermouth, and OYO stone fruit vodka. They make large batches of it and keep it in a barrel until they serve it. So enamoured my wife and I were with this drink, that I begged the bartender to give me the recipe.

Doing the math, equal parts of each ingredient meant 1 1/3 cups of each to make a quart…which fit perfectly in my 1-liter barrel. Once I corked the top with the bung, it was time to let it age.

A slight daily rotation of the barrel gently rocks the liquid inside, exposing it to the barrel’s charred wood interior, giving it more flavor. And at the end of   a week, I was ready for my first tasting: the wood had a subtle influence, rounding out the flavors. I wanted a little more, so I waited another week.: even better, but not quite there. It took a total of three weeks before the drink reached its flavorful peak.

I poured some of the drink into a cocktail shaker with ice, stirred briskly with a spoon, and strained it into a martini glass, garnishing with a twist of blood orange peel. Delicious!

cask

Just recently, I purchased a 3-liter barrel. After all, 3 times the booze means 3 times the fun!

I love avocado, but I never thought of cooking with it until I saw this recipe. It was a very simple burger that had only a handful of ingredients, and so I thought: “Oh, I don’t need to write this down!” After I made the burger patties and put them in the fridge to chill, I took a look at the recipe on line and realized I forgot one of the ingredients! The original recipe called for a 1/2 cup of Panko breadcrumbs mixed in. My burger tastes fantastic without it…plus now it’s low-carb and gluten-free (as long as you skip the bun!).

chicken2

1 lb. ground chicken
1 ripe avocado, sliced into small cubes
1/2 teaspoon salt
1/4 teaspoon black pepper
pinch granulated garlic

chicken1

Combine the ingredients in a bowl and mix thoroughly but carefully so that you don’t squash the cubes of avocado. Form the meat into burger patties. It will be a bit sticky, but just make sure you get the avocado evenly distributed. Chill the patties in the freezer for about 10 minutes before cooking to firm them up.

Pre-heat the oven to 350 degrees.

Heat a little oil in an oven-proof pan, and place burgers in it when hot. Let the burgers sear on one side, then flip them. Place the pan in the oven to finish cooking.

Serve with a slice of bacon and my Awesomesauce:

1/2 cup mayonnaise
1 tablespoon ketchup
1 tablespoon yellow mustard
1 tablespoon dill pickle relish
1/4 teaspoon garlic powder
1/4 teaspoon paprika
Pinch cayenne pepper

Combine all the ingredients in a bowl. Mix well. Refrigerate covered for a few hours to blend the flavors.