Archive for the ‘Food’ Category

It’s a mouthful…but man, is it good!
I think buttermilk is overlooked by most people. If you gave the average person a quart of buttermilk, they wouldn’t know what to do with it. Most people have heard of regular buttermilk pancakes, or maybe the process of soaking chicken in buttermilk before breading and frying…but that’s about it.
I grew up in a Lithuanian household where buttermilk, like many other dairy products, was an everyday ingredient. From something as simple as a bowl of cold buttermilk with fried potatoes on the side (one of my Dad’s favorites), to a cold summer borscht, my Mom found different ways to use buttermilk on a regular basis.
The term “buttermilk” actually refers to several different dairy drinks. Originally, buttermilk was the liquid left behind after churning butter out of cream. Buttermilk can also be quickly soured milk, a common drink in warmer climates. In colder climates, the souring process doesn’t occur naturally, but it is often encouraged, commonly by placing bread in the milk to make it go sour faster. (My Mom did this all the time, using Lithuanian bread, a dark rye-like bread.) And then there’s cultured buttermilk, which is what most of us find on supermarket store shelves today. This is milk that has had lactic acid bacteria introduced into it.
I loved the taste of buttermilk–still do. Just give me a cold bowl, sprinkle a little finishing salt in it, and I’m good. But for those who don’t want their buttermilk straight, here’s a recipe that will knock your socks off, and wouldn’t be the same without this great, misunderstood ingredient.
Blueberry cornmeal buttermilk pancakes with lemon zest
1 cup all-purpose flour
1 1/2 cups stoneground yellow cornmeal
2 Tablespoons sugar
2 teaspoons baking powder
1/2 teaspoon baking soda
1/2 teaspoon salt
2 cups buttermilk
2 teaspoons grated lemon zest
1 large egg
3 Tablespoons melted unsalted butter, slightly cooled
1–2 teaspoons vegetable oil
1 cup fresh or frozen blueberries, preferably wild, rinsed and dried
Whisk flour, corn meal, sugar, baking powder, baking soda, and salt in a medium bowl
to combine.
In a separate bowl, whisk egg, lemon zest, and melted butter into buttermilk to combine.
Make a well in the center of the dry ingredients in the bowl. Pour in milk mixture and
whisk very gently until just combined. Do not over mix. A few lumps are OK.
Heat non-stick skillet over medium heat. Add 1 teaspoon oil and brush to coat skillet
bottom evenly. Pour 1/4 cup batter into 3 spots on skillet. Sprinkle 1 Tablespoon
blueberries over each pancake. Cook pancakes until large bubbles begin to appear,
about 1 1/2 to 2 minutes. Using thin, wide spatula, flip pancakes and cook until golden
brown on second side, 1 to 1 1/2 minutes longer.
Serve immediately.
Like hot dogs and Slim Jims, jerky is one of those “mystery meats” we love but don’t really know how it’s made or what part of the animal it comes from.
Really excellent beef jerky is a rare treat, and once you have it, you will never go back to that rancid, preservative-filled dog meat you find in a bag at the supermarket. And the best part is: it’s quite easy to make.
First, the meat: I like to shop around for a really good cut of London broil for my beef jerky. You can use cheaper cuts, but a nice, lean slab of London broil, sliced into 1/4″ pieces on a diagonal, against the grain, works really well. Remove all gristle and fat that may be on the meat before slicing.
Once you’ve done that, all you need to do is make the marinade, marinate the beef overnight, and then dry it the next day. It really is that easy.
Your final product will be a flavorful beef jerky that is so good, you’ll find it very hard to stop eating it…or to share it.
Marinated beef strips on the dehydrator.
Alz Beef Jerky
1 Tablespoon salt
1 1/2 Tablespoons granulated garlic
1 teaspoon black pepper
1 teaspoon fresh minced peeled ginger
2/3 cup brown sugar
1 cup Teriyaki sauce
1 cup soy sauce
8 lbs raw, lean beef, like London broil, cut into 1/4″ thick diagonal slices, against the grain of the meat
Mix all ingredients except meat in a large bowl. Place meat in a large Ziploc bag, pour marinade inside, seal, and refrigerate overnight. Squish the bag around once in a while, to make sure all meat surfaces make contact with the marinade. Keep the bag in a bowl to prevent any accidental spillage in your fridge!
The next day, pour off the marinade and discard. Using a food dehydrator or simply an oven at 140 degrees, dry the meat by laying strips on cookie sheets in a single layer. Drying could take several hours to half a day, depending on how dry and chewy you like your jerky.
Best you ever had!
Jerky stores really well in the freezer. I put small amounts into individual freezer bags, then place all of them in one large freezer bag. Thaw as needed.

SPICY SOY TUNA TACOS

Posted: October 23, 2012 in Food, spicy, taco, tuna
Tags: , , ,
Whenever I serve these tuna tacos to friends, I always get requests for the recipe. It requires a bit of setting up, but you can put it together right before serving to your guests…or yourself.

I prefer to use sushi grade tuna for this dish, which is easily found in small frozen “bricks” at Whole Foods or similar stores.

SPICY SOY MARINATED TUNA ON TACO CHIPS

Marinade…
6 Tablespoons soy sauce
1 teaspoon pepper oil
Topping…
¼ cup sour cream
1 Tablespoon fresh squeezed lime juice
Chopped fresh scallions
Other Ingredients…
½ lb sushi grade raw tuna, chopped into ¼-inch cubes
Tortilla chips
Finely chopped scallions

 
Assemble…
Make the Topping in a bowl first, and place in the fridge. Mix marinade ingredients in a separate bowl. Chop tuna into ¼-inch cubes, and marinate in soy/oil mix for just 10 minutes, then drain. Keep cold!

Just before serving, take a tortilla chip, place 1 Tablespoon of tuna on top, top this with ½ teaspoon sour cream mixture, and garnish with chopped scallions.

Eat these quickly, before the tuna makes the tortilla soggy!


It seems silly to travel all the way to Paris for a jar of mustard, but that’s exactly what we do. OK…we happen to be in Paris when we make the pilgrimage to the Maille mustard shop, but I couldn’t imagine a trip to the city of light without making the stop.
Back in 1747, Antoine Maille was known by many as the greatest mustard and vinegar maker of all time. He created the now-famous Maille Dijon Originale mustard in Dijon, France, and opened a shop in Paris to sell it. To this day, the company follows his strict guidelines to re-create that magic. The Maille company opened a second store, in Dijon, in 1845.

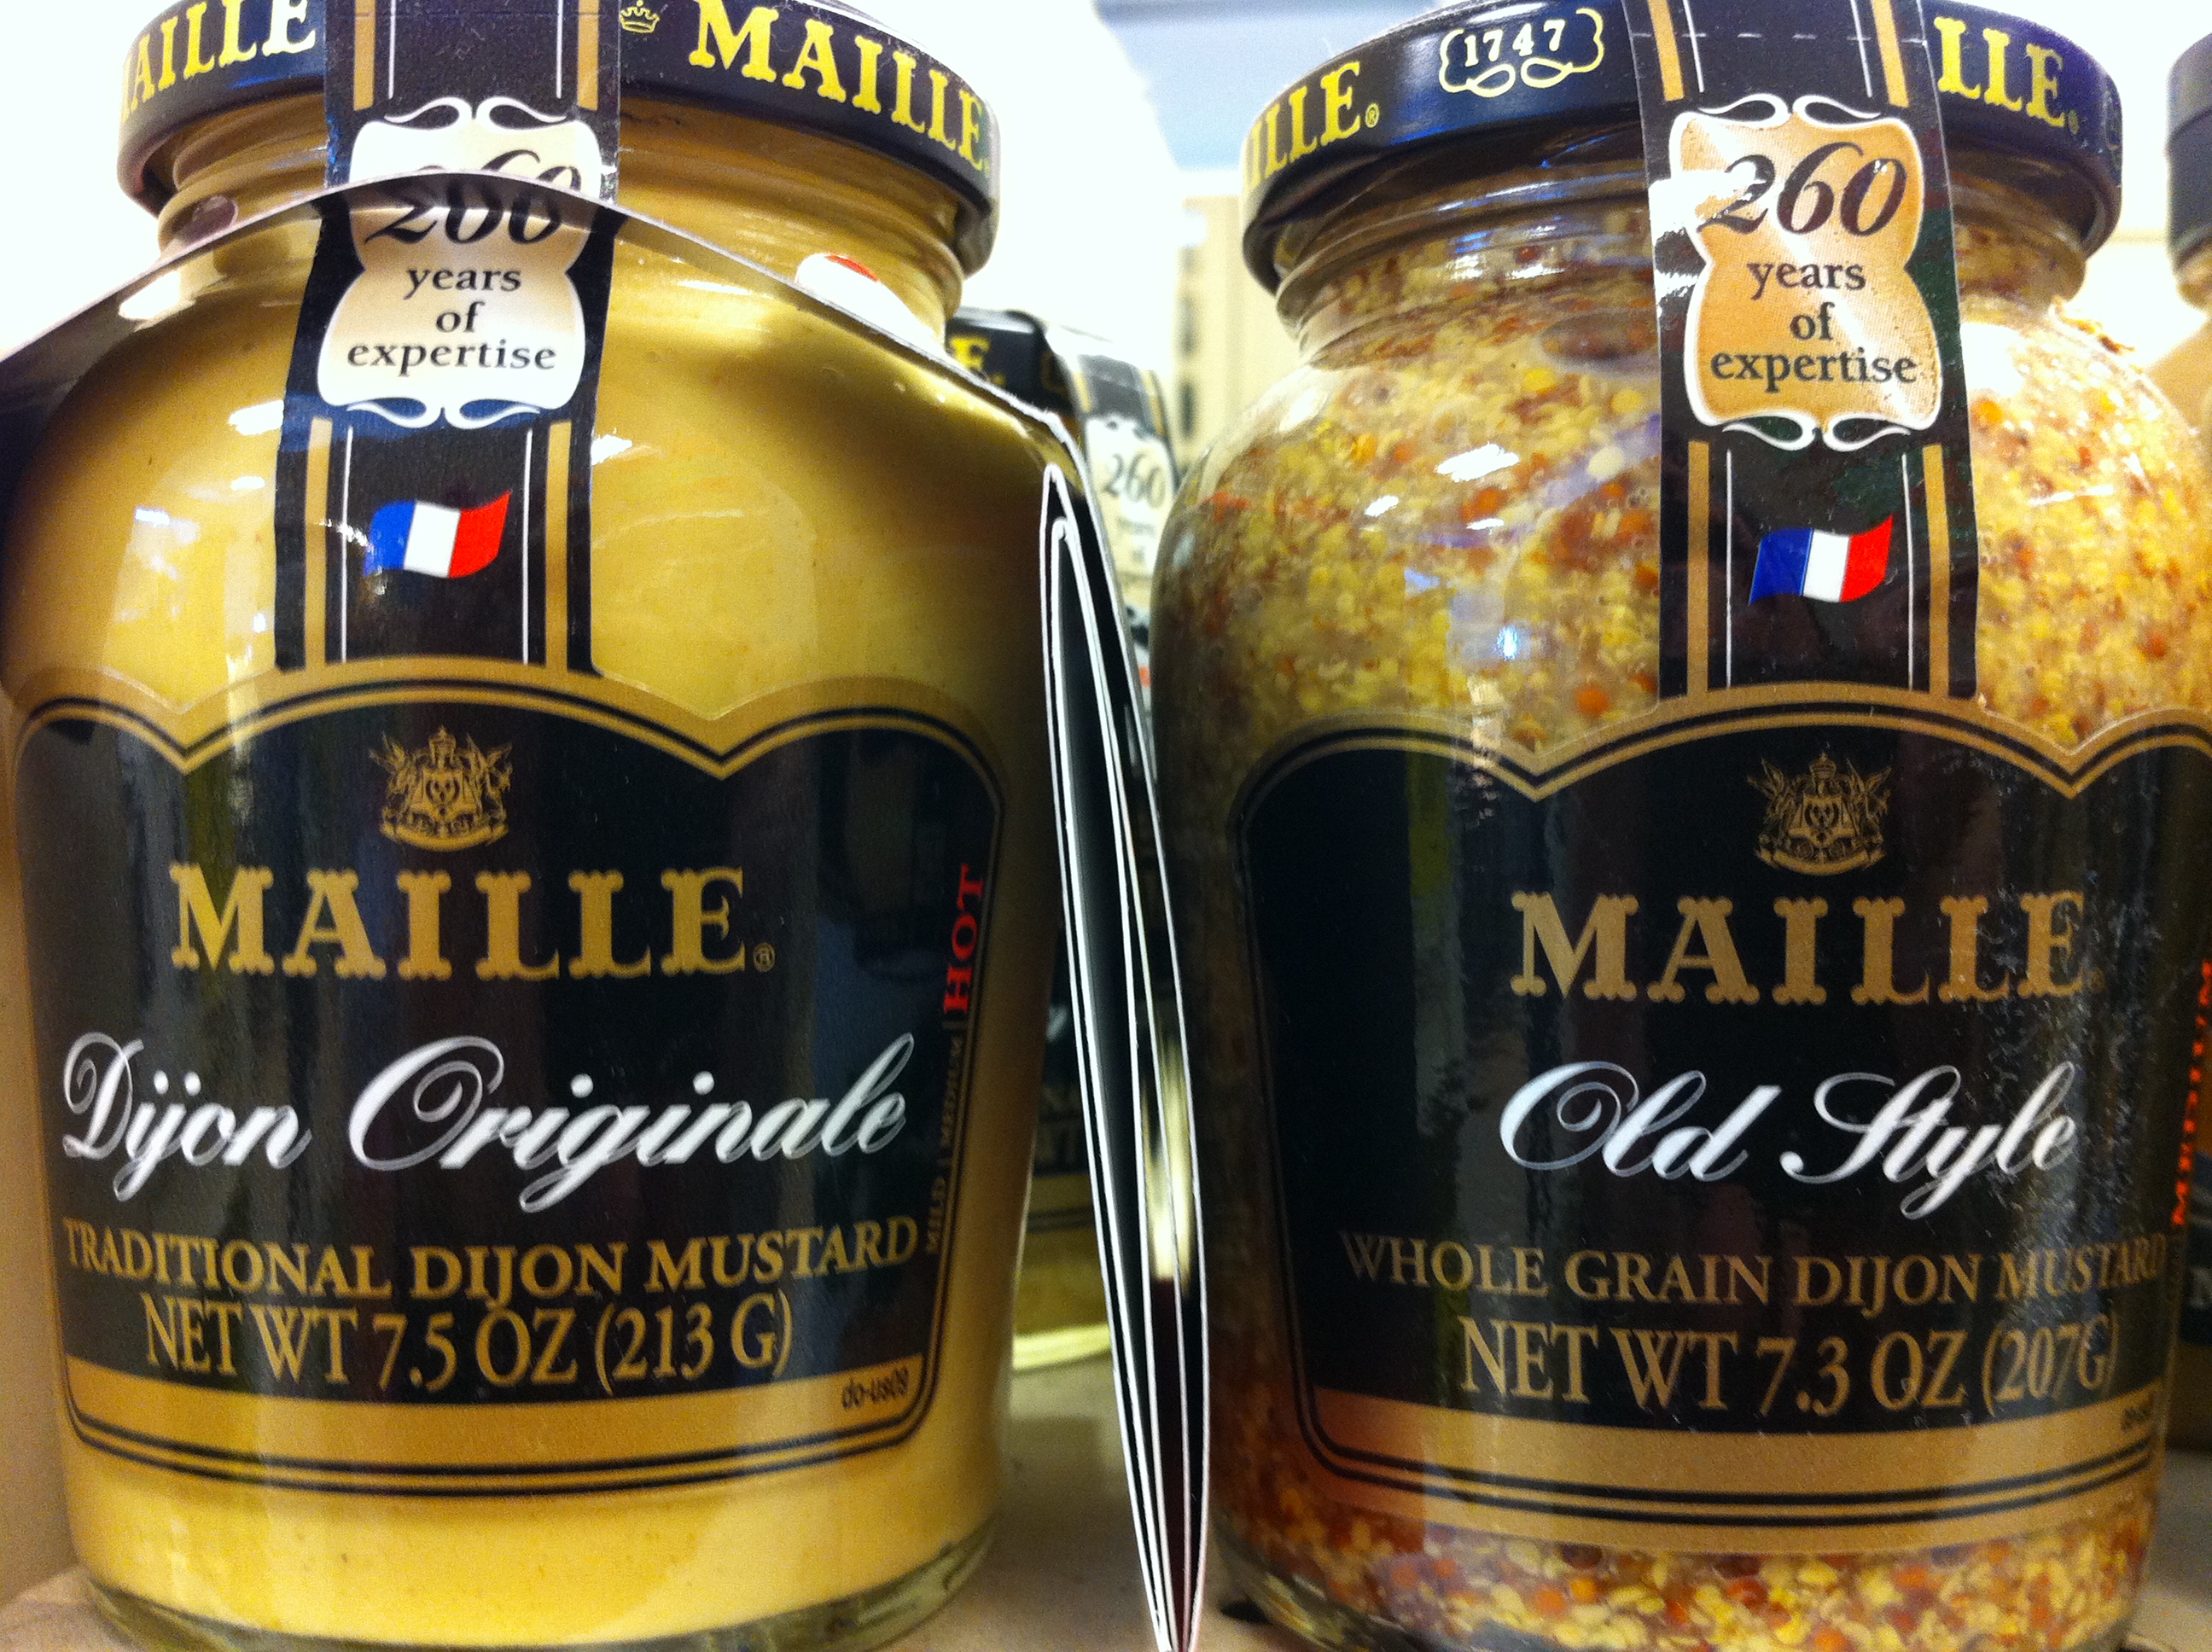
The supermarket stuff.

There are several varieties of Maille mustard available in most supermarkets here in the United States, but the one mustard you can’t get…is the one you really want!
When you visit the Maille Paris shop on place de la Madeleine, you’re surrounded by beautiful displays of colorful jars of mustard. But you need to focus on the mustard taps–yes, like beer taps–at the main counter, a long oak bar where fresh mustard (no preservatives, never more than 10 days old) is dispensed into ceramic jars that are filled, corked, and wrapped in tissue paper.
Our mustard of choice is the Mailles Chablis mustard, which is unlike anything I’ve ever been able to find here in the States. And though it is potent, it has a magical quality that I can’t even begin to describe.

How do I get one of these taps in my home?

While you’re standing in line for your mustard–and there is always a line–you can sample the three fresh mustards offered with a pretzel or a cracker. Aside from the Chablis mustard, there is also a grape juice and honey mustard, and a white wine mustard.
Despite the fact that they say the potency of the fresh Maille mustard doesn’t last more than a few months, it doesn’t stop my wife and me from buying enough to keep us happy until the next trip to Paris a few years later. The way I look at it, the less potent Chablis mustard is still better than anything I can find on a store shelf here at home.
It is a sad day indeed when I open the last jar of Maille mustard, look deep down inside, and see that there is nothing left…just a dry residue of crusty mustard. I put the jar down, and go directly to my computer to book the next possible trip to Paris!

Horseradish just doesn’t get the credit it deserves. A world without horseradish would mean boring Bloody Mary’s, cocktail sauces with no kick, and steaks and roast beef sandwiches just crying out for sauces and mayos with personality.

Horseradish is a perennial plant from the Brassicaceae family, which also includes mustard, wasabi, broccoli, and cabbage. It’s mainly grown for its white tapered root, which, when not disturbed, has little aroma. But when you cut or grate it, enzymes from the damaged plant cells release oils that give horseradish that wonderful pungent smell and flavor. It loses this pungency just as quickly, unless you store it in vinegar, which is why bottled or “prepared” horseradish is always found in a vinegar solution.

In the garden, horseradish can become invasive, meaning it will want to take over if you let it, but in my garden, it doesn’t get to do that because I regularly harvest a couple of roots for my kitchen.


Horseradish in the garden

Growing up in a Lithuanian family, there were very few spices ever used in cooking. Most of the food was pretty bland. Mom would salt food, but even black pepper was pretty rare. Peppers of any kind were never used–they never grew in Lithuania–so horseradish became the universal ingredient when a kick was needed. My grandfather loved it. I can still remember my grandfather crying his eyes out as he grated a freshly picked horseradish root from his garden. It was absolutely a labor of love. He would keep his grated horseradish in vinegar in the fridge, and then when dinner came around, it would quickly find its way to the table next to just about any meat my grandmother was cooking.

These days, with food processors in just about any kitchen, there’s no excuse not to use fresh horseradish. Your nasal passages and eyeballs are safe from being blown out.

Some of the basic applications for horseradish are still the best. The following recipes use prepared horseradish you easily find in the supermarket, but use fresh if you have it.


A freshly harvested horseradish root

For a simple horseradish mayo:

1/4 cup mayonnaise

2 Tablespoons prepared horseradish
Combine both ingredients in a bowl, cover with plastic, and refirgerate. Goes great on a roast beef sandwich.


For a fancier horseradish sauce that goes great on grilled salmon:

3/4 cup sour cream

1/4 cup mayonnaise

2 Tablespoons prepared horseradish

2 Tablespoons chopped fresh basil

1 Tablespoon fresh lemon juice

1 teaspoon soy sauce

Combine all ingredients in a bowl, cover with plastic, and place in fridge for a few hours for the flavors to blend.


Alz cocktail sauce

2 cups ketchup

4 Tablespoons prepared horseradish

1 Tablespoon fresh lemon juice

1 teaspoon Worcestershire sauce

½ teaspoon Tabasco

5 grinds of fresh black pepper

¼ teaspoon salt

1 teaspoon vodka

Combine all ingredients. Store in a tight plastic container in the freezer. Thanks to the vodka, my cocktail sauce never freezes solid, so just scoop out what you need and let it thaw.


Sad to say, but despite the large Italian community we have here in Rhode Island, there is no truly excellent pizza to speak of. I suppose you could say “them’s fightin’ words!” but if it’s here, I haven’t found it yet.
So where is the excellent pizza? New York City, of course. OK…maybe I’m a bit prejudiced because I grew up there and worked in a variety of pizzerias in my younger days, but there is no doubt in my mind that if you want the best pizza (or bagel, for that matter), you have got to go to the Big Apple. Everything else is simply a bad copy.
It can be confusing in New York City as there are many different varieties of pizza to choose from, some much better than others. Brick oven pizzas abound, but there are pizza lovers who won’t settle for anything less than a pizza baked in a coal-fired oven. The extremely high heat of a coal-fired oven cooks the pizza in just a minute, and imparts a crusty, charred flavor you can’t get any other way. There are only about a dozen coal-fired pizzerias in Manhattan, and many of them have been around for over 100 years, so it’s definitely a matter of making a special trip to enjoy this style of pizza. (No new coal-fired pizzerias can be built in the city, due to more recent strict pollution control laws.)
There’s the traditional thin, round Neopolitan pie, and the thicker, square Sicilian pie. Regular mozzarella or mozzarella di bufala. Domestic or imported cheese?
Many choices, but always the same answer: it’s a matter of personal taste.
But when I heard through the pizza lovers’ grapevine that there was a “new” pizza out there, one that was gaining a cult following, I needed to know about it. And more importantly, I needed to taste it!
It’s called Pizza Montanara, and there are only a few pizzerias in New York City that serve it. The one I went to is called Pizzarte, on West 55th St, and I have to say that I have now discovered the ultimate pizza.
What makes Pizza Montanara so spectacular, quite simply, is that the dough is fried in oil before they put the sauce and cheese on it, and then it is baked in a wood burning oven. It is not greasy. In fact, the frying process, which lasts only a minute, puffs the dough up and creates a beautiful pillow-like softness that I have never experienced in a pizza before.
Pillowy goodness! Its rectangular shape is probably due to the fact that they fry it in a restaurant deep fryer.
The pizza was so good that once my wife and I ate the first pie, we ordered another. Then when it was time for us to drive home from New York, we stopped at Pizzarte and ordered two to go, which we devoured by the time we got to the Connecticut border!
The Montanara is a simple pizza margherita: dough, super-fresh tomato sauce, mozzarella di bufala, topped with a fresh basil leaf. But the frying process creates a magical treat that has got me drooling all over this blog as I write it.
It’s so good, that just a few days after returning from the city, I made my first attempt at creating a montanara pizza at home. My result: pretty successful! A little crunchier than Pizzarte’s montanara, but with a little tweaking, I may just get the hang of this thing!
A little rounder (I fried it in a pan) and I sprinkled oregano on top instead of the fresh basil leaf. But not a bad first attempt!
I’m going to back to Manhattan for Thanksgiving weekend, and pizza montanara is the first food on my list!
Fast food is a relative term. What we Americans think of as fast food is not what, say, the Italians think of as fast food. We think of drive-thru burger joints serving greasy, salty and fatty food. Swallow a burger, pop a Crestor. The Italians think fast food is something that simply doesn’t take all day to cook! If you can use the freshest of ingredients, and serve it in the time it takes to sip a half a bottle of wine while chatting with a friend, it’s fast food Italian-style.
Years ago, when my wife and I were visiting the island of Capri in Italy, one of the dishes we enjoyed was an incredibly simple pasta and tomato dish called spaghetti sciue-sciue (pronounced “shwee-shwee.”) We were told that sciue-sciue was loosely translated as “quick-quick,” although a check on the web said that it also translates to “improvisation” in Italian. And though quick it was (that is, by Italian standards), it was one of the most memorable dishes we had on our trip. It could be because of our surroundings: the famous Faraglioni rocks all around us at a small seaside restaurant called Da Luigi. We took the small shuttle boat from Marina Piccola, which made its way through those stacks jutting out of the Bay of Naples, and landed at this historic restaurant, built in 1936. People come here not only to dine, but to spend the day sunbathing and swimming.
So the reason Da Luigi’s sciue-sciue was so amazing certainly was, in part, the location…but it was also very much due to the use of the freshest and best possible ingredients…and they didn’t mess around with them too much.
With the growing season coming to a close here in New England, there’s still a chance to get some beautiful ripe tomatoes at local farmstands for this recipe. This version of spaghetti sciue-sciue, our own home-made twist on what we had in Italy, absolutely takes advantage of what’s left of the season!

The ingredients. Yes, so I used lo-carb pasta!

OUR PASTA SCIUE-SCIUE
Ingredients:
1 small can (6 oz) tomato paste
½ cup extra virgin olive oil
2 hot Italian dried peppers, finely chopped
¼ cup white wine
8 to 10 chopped plum or cherry tomatoes (as ripe as possible)
12 to 15 torn fresh basil leaves
½ stick (4 oz) unsalted butter
1 ball of fresh mozzarella
1 lb of spaghetti, or better yet, bucatini
Sea salt
Fleur de Sel (optional)
Heat a large pot of salted water to boil the pasta in.
Almost burn—as in “heavily caramelize”—the tomato paste in a large pan with the olive oil, salt, and the dried peppers. Add the white wine to de-glaze, and simmer until reduced by half.
Add the chopped tomatoes and simmer on medium heat until they start to break apart. Hand tear the mozzarella ball into shreds and add to the sauce, stirring gently. Add the basil.
Add the butter, gently stirring until it melts.
When the pasta is slightly firmer than al dente, drain it and add it to the pan with the sauce.
Serve immediately, finishing with a little Fleur de Sel.

Finito!


One of the true delicacies of New Zealand is their version of lobster they call crayfish. It’s similar in appearance to a Maine lobster, but it has no claws. And prices are very high. For example, a single crayfish that weighs about 1 1/2 pounds costs 54 New Zealand dollars. That’s about $38 US for what amounts to a 1/2 pound of actual meat.

On the South Island of New Zealand, on the Pacific (eastern) coast near the beach town of Kaikoura, there is a shack that has been serving up crayfish for years…and it’s earned a cult following among foodies that, like me, have traveled thousands of miles just to have a taste of this seafood delicacy.

The place is called Nins Bin, and it’s simply a little shack that sits on the rugged, windy coastline of the Pacific. You walk in, and a plastic container holds already-cooked crayfish, caught that day. The prices for each are marked right on the shell. You pick one, they cut it in half, and serve it with your choice of two sauces: one a sort of thousand island thing, and the other a garlic aioli. We took one of each, walked over to the only picnic table nearby, and quickly finished off this little treat, hungry seagulls buzzing all around us, waiting for any morsel we might accidentally drop. (Not a chance!)


The flesh of the crayfish was sweet…but not really sweet like Maine lobster can be. And although it was a beautiful white in color, its texture was almost meat-like, like chicken. But really good. We devoured the tail, sucked whatever meat we could out of the legs, and that was it…crayfish gone. Experience had. It totally lived up to the foodie hype I had read about.


We hung out around Nins Bin a little longer, taking in the atmosphere before we got back in the rental car and headed down the road to the town of Kaikoura, our next stop on our 3-week, 2000 mile journey through New Zealand.

Sausage, like bacon, is magical. It contains but a handful of simple ingredients. But when you mix them together, they form a truly flavorful food that is far more than the sum of its parts.
What has always kept me from trying to make my own sausage at home was that it seemed like a very complex process, from mixing and grinding all the ingredients, to stuffing them into casings. But then I thought about it: most of the time when I cook sausage at home, I remove the casings beforehand anyway…so why put them into casings in the first place? Once I realized I didn’t have to deal with the hassle of stuffing casings, making sausage became something I knew I really wanted to try.
The best book for anyone interested in making their own sausage, bacon, salami and more is called “Charcuterie,”by Michael Ruhlman and Brian Polcyn. It shows you step-by-step how make these meaty creations, and I used their basic garlic sausage recipe to make my first-ever batch, though I did add a tweak of my own.This recipe makes a 5 lb batch of sausages…enough for you to pig out for some time, and still have enough to share with your friends.
Cutting the pork and bacon pieces into small cubes that grind more easily.
Ingredients:A total of 5 lbs of pork, containing 25% to 30% fat. I used lean pork loin, and then added pork fat to bring the fat level to around 30%. My special tweak was to include a half-pound of my home-made bacon (a future blog), to add some salt and smoky flavor.

3 Tablespoons kosher salt

1 Tablespoon ground black pepper

2 Tablespoons fresh finely minced garlic

1 cup chilled good red wine…I used Pinot Noir

It’s important to use at least 25% fat (or you’ll have dry, tasteless sausage) and I keep the meat as cold as possible at all times, so that the fat doesn’t break down or melt. I chop the meat and fat into small-sized bits that will be easier to grind…place them in a bowl, adding the salt, pepper and garlic. I mix the ingredients really well, place in a Ziploc bag, and store in the refrigerator overnight to chill and marinate.
The next day, I set up the grinder, keeping the meat in the fridge until the last minute. I have a Kitchen Aid mixer with a grinding attachment that does a great job of grinding the sausage. Using the smaller die, I grind the contents of the Ziploc, letting the ground meat fall into a bowl that sits in ice.
Ready to grind!
Once all the meat has passed through the grinder, I place the meat in the bowl of the mixer and, using the mixing paddle, mix the meat slowly for about 1 minute. I then add the 1 cup of cold Pinot Noir and mix for another minute, on medium.
If the sausage meat is sticky, I know I’ve reached the stage where it can go into casings–after I fry up and taste a small sample piece to make sure all of the seasonings are just right. If you do plan to use casings, keep the sausage meat in the fridge until you’ve set your casings equipment up.
As I said, I totally skip the casings part of the equation. So once the sausage meat has chilled for a bit, I roll them into small meatballs, placing the meatballs on trays lined with non-stick aluminum foil for easy removal later. These trays of meatballs go into the freezer, and once the meatballs freeze up, I can place them in freezer bags and properly store them.
I’ve also made sausage patties using a mold I have for beef sliders. Any shape will work.

Once you’ve made your own sausage, you will never settle for store-bought again. Knowing every ingredient that goes in…knowing the quality of the meat you’ve used…binding (and flavoring) with a quality red wine instead of simple water…it makes an incredible difference!

Paris has a special place in the hearts of my wife, myself, and even my 5-year-old daughter. It’s where my wife and I got engaged back in 2002. It’s where we celebrated my wife’s 40th birthday with family and friends in 2005. And it’s where my daughter has ridden on seven—count ‘em—seven—carousels…a record I’m sure she’ll want to break on her next trip.

One of the reasons why Paris is so special to us is a small, unpretentious wine bar called Juvenile’s, at 47 Rue de Richelieu. The owner is Tim Johnston, a sharp-tongued wise-cracking Scotsman who happens to know a helluva lot about wine and spirits, and is in fact a consulting editor to Saveur magazine. Tim takes no BS from his clients, and that adds to the entertainment value of every visit.

Hangin’ with Tim.

My wife met Tim back in 2001, just a few months before she had met me, when she and her Mom took a trip to France. The friendship with Tim was forged, and it has been going strong ever since. Tim, in typical fashion, tolerates me because he enjoys the company of my lovely wife…and I can’t say that I blame him!

The food at Juvenile’s is rustic…nothing fancy here. But it is all very good and satisfying. We’ve found what we consider the best foie gras in Paris here. The potatoes with raclette and bacon are fantastic. Sausage dishes, duck dishes…all the favorites, all wonderfully prepared in a very, very small kitchen in this wine bar that holds, perhaps, 30 people.

Paolo, Tim’s right-hand man, working the tiny kitchen at Juvenile’s.

Juvenile’s is one of Paris’ original wine bars, serving wine by the glass way before everyone else thought it was cool to do so. And even the locals will come in on a regular basis to ask Tim what the latest great wines are. The man has earned the respect of those who know.

We make Juvenile’s a mandatory stop with every visit to Paris we make, lingering sometimes for an entire day…eating, chatting, and sampling wine and even fine cognacs that Tim is willing to share with us. Often, we come back for a second and even third visit during the same trip. It’s a great place to unwind and get away from the hectic pace of the day, whether you’re a tourist or a local.

Yes, that says 1962!

The next time you’re in Paris, stop by Juvenile’s and tell Tim I sent you. He will promptly throw you out!

Tim and me. Great t-shirt!