Who says you have to only cook burgers and steaks on the grill? This is one of my favorite ways to enjoy clams…and without the clam knife! I always use hardwood charcoal.

A couple of dozen (or more) little neck clams, washed and purged
1 stick (8 oz.) of unsalted butter
1/4 cup extra virgin olive oil
1/4 cup chopped parsley
1 teaspoon dried oregano
1 teaspoon minced garlic
1/2 teaspoon dried basil
1/2 teaspoon sea salt

The clams should be stored in the fridge until ready to use…not in water, not on ice. Place the clams in a bowl and cover them with a wet dish towel.
About an hour before cooking, I like to purge my clams to remove as much grit as possible. I fill a large bowl with cold water, add sea salt and some corn meal to it, and mix it around. Then I add the clams to this bowl and let them sit in this liquid for an hour. They will suck up the corn meal and spit out sand and grit. After an hour, I pour off the water/salt/meal/grit mix, and thoroughly wash the clams. Now they’re ready to grill!
I start my hardwood charcoal grill and divide it in half: coals on one side, no coals on the other.
While the coals are heating up, I grab a disposable aluminum foil tray and place it on a burner on my kitchen stovetop over medium heat. I add the butter, olive oil, parsley, oregano, basil, garlic and salt, and stir it all to combine. Once the butter has melted and everything has blended, I bring the tray over to the charcoal grill and place on the side of the grill without coals. It will stay warm.
Once the coals are hot, just place the clams directly on the grill. (Use tongs, unless you want to remove all of your knuckle hair.) They’re done as soon as they open, but you can cook them as long as you like, from raw to more thoroughly cooked. As each one reaches its desired doneness, place it carefully in the aluminum tray, making sure you don’t lose any of that precious liquid inside the clam shell. Give it a swish in the butter and herb mix.
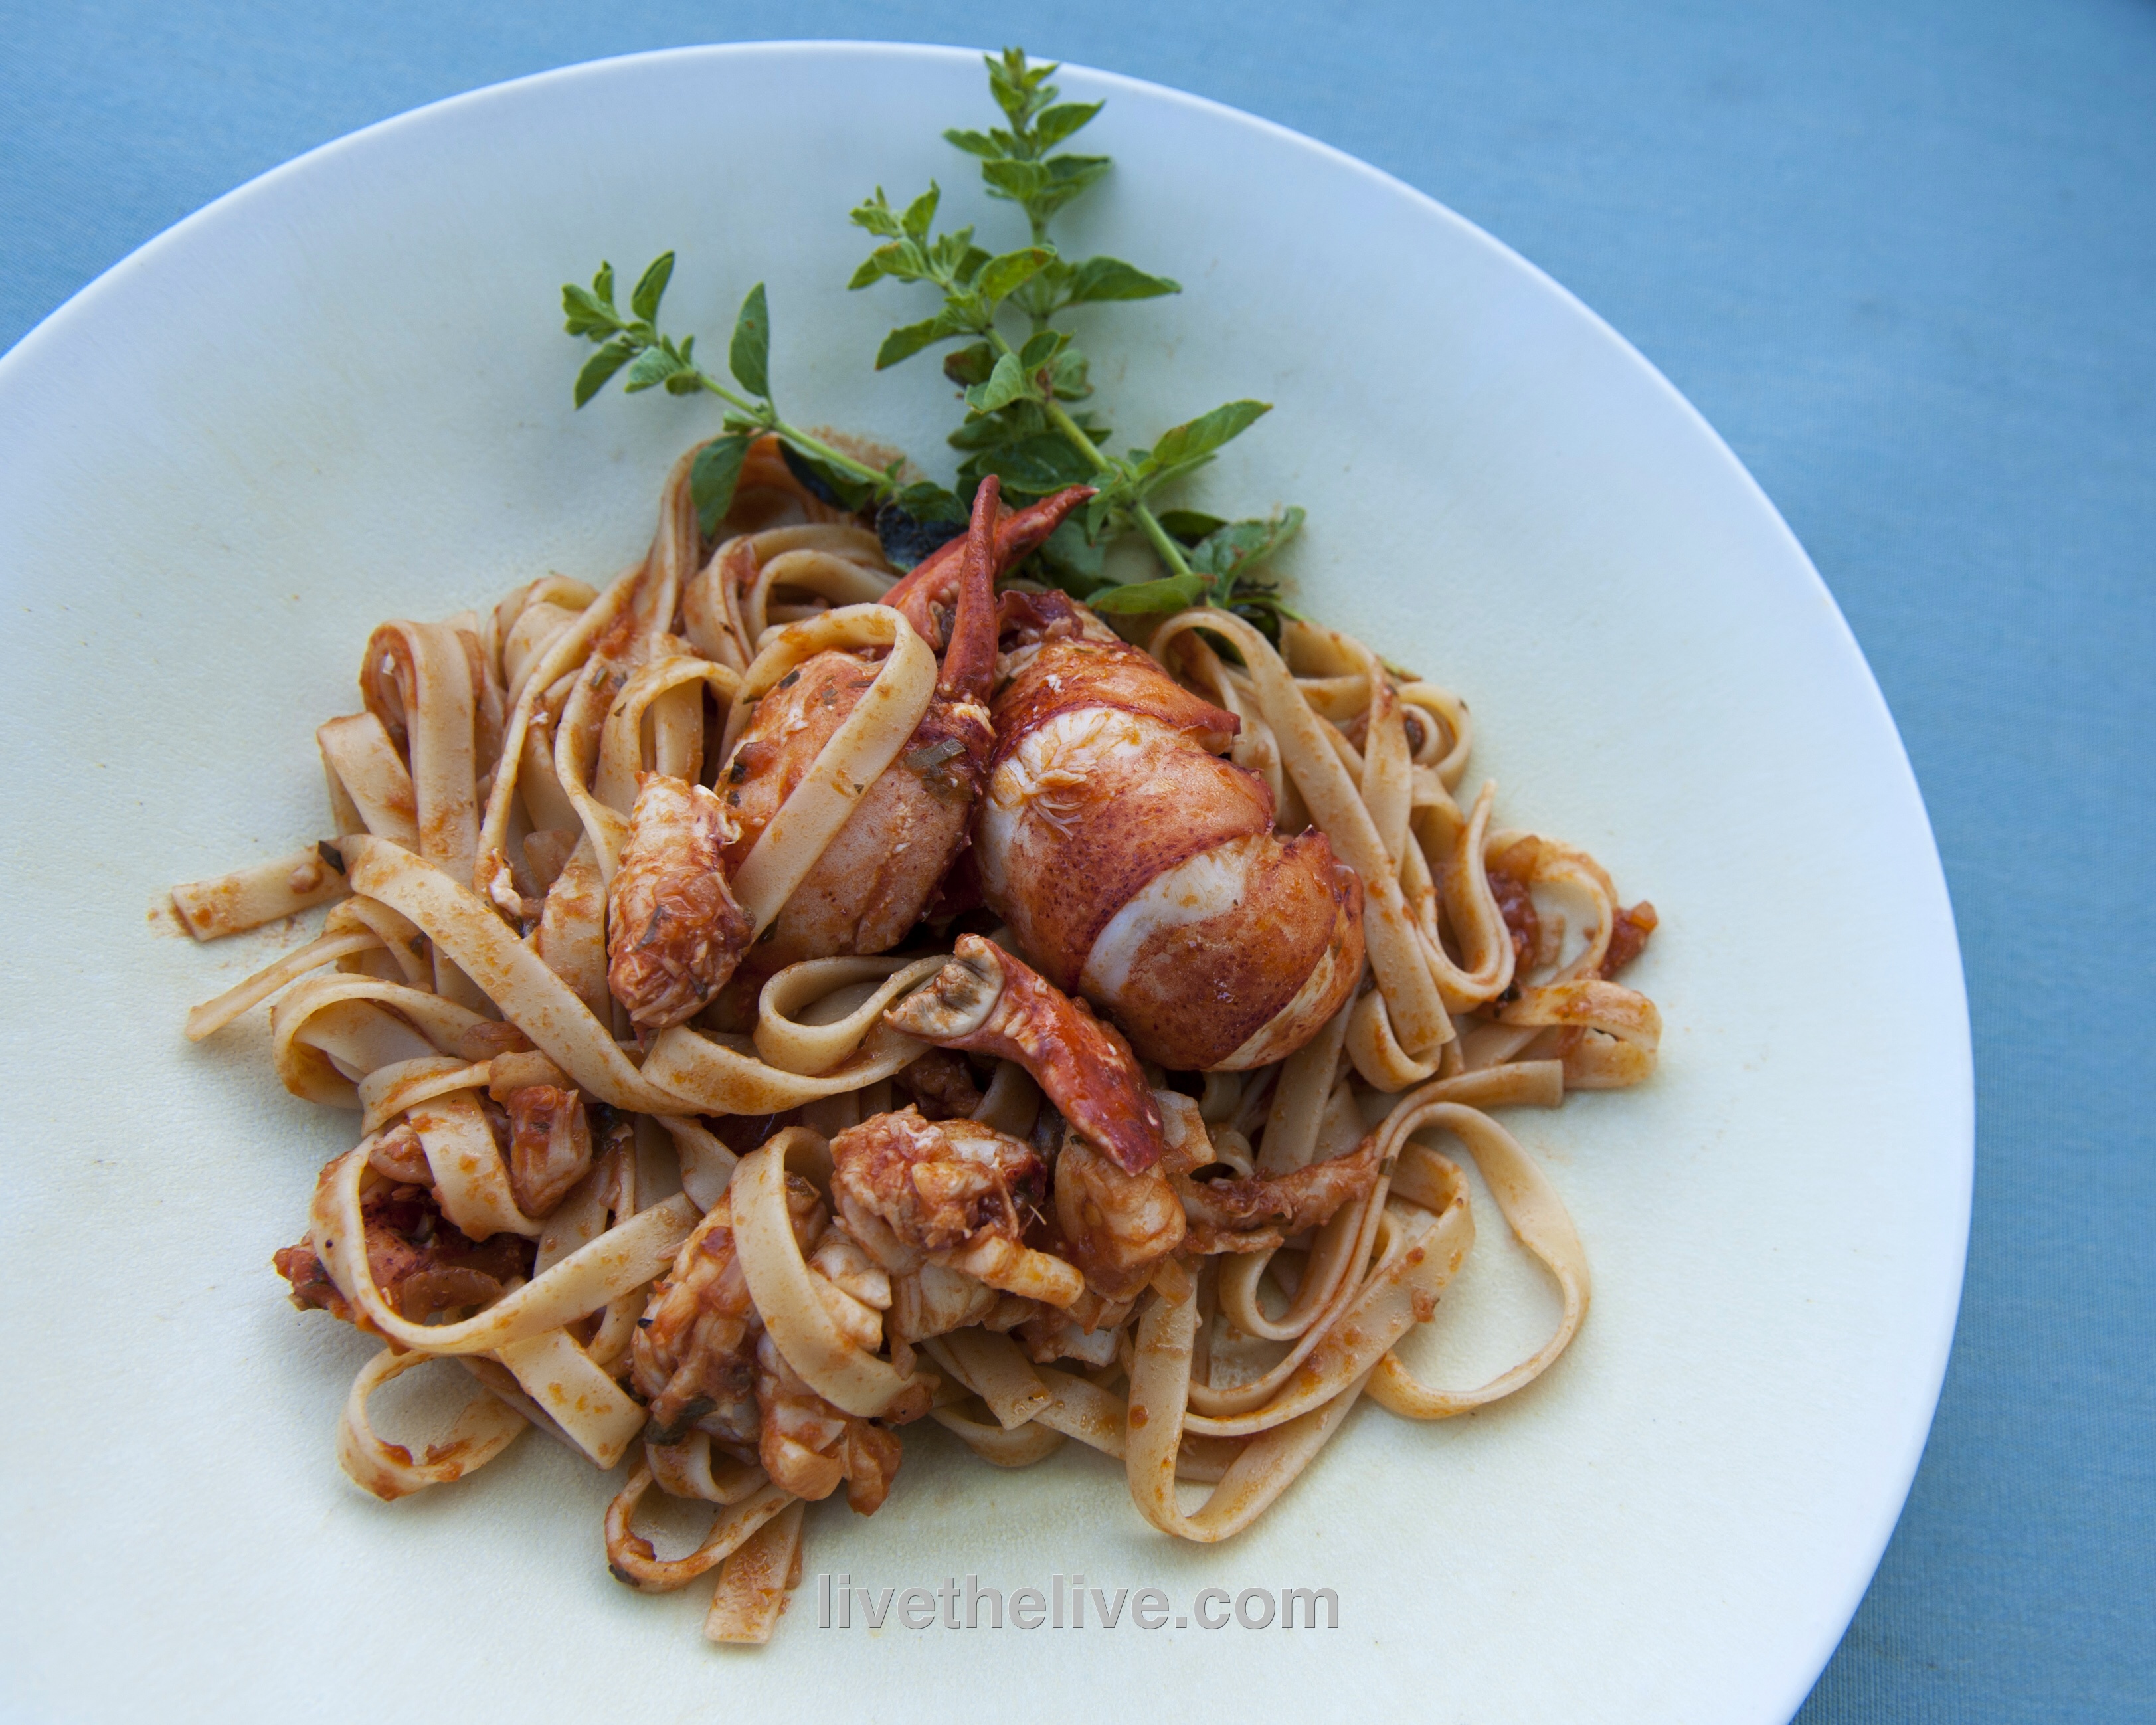
When all the clams have been cooked and are in the tray, serve them with that herby butter sauce on top of pasta…or simply eat them with a fresh baguette. A glass of great white wine is a must.

Really easy and really delicious!