When I used to go to my favorite barbecue place and asked for a pulled pork sandwich, I didn’t realize just how much work went into making it. Now I make my own, and I have a whole lotta new respect for those barbecue folks…

First, I get the pork butt. I buy a heritage breed, like Berkshire (also known as Kurobuta), from a farm that humanely raises them. That’s better for the pig and also better for my family.
Going to a supermarket for pork is what many people do, and the names of the cuts of meat can be a bit confusing. Despite its name, pork butt is not from the back-end of the pig. It’s the shoulder. And the pork butt (or pork shoulder) picnic is a lower cut of the same area. These cuts can also go by: Boston shoulder roast, Boston butt, Boston roast, shoulder butt, and shoulder-blade roast. Whatever the name, these are all nicely marbled hunks of pork that usually weigh in anywhere from 6 to 8 lbs, and are easy to find. Bone-in is for purists…boneless if you’re not.
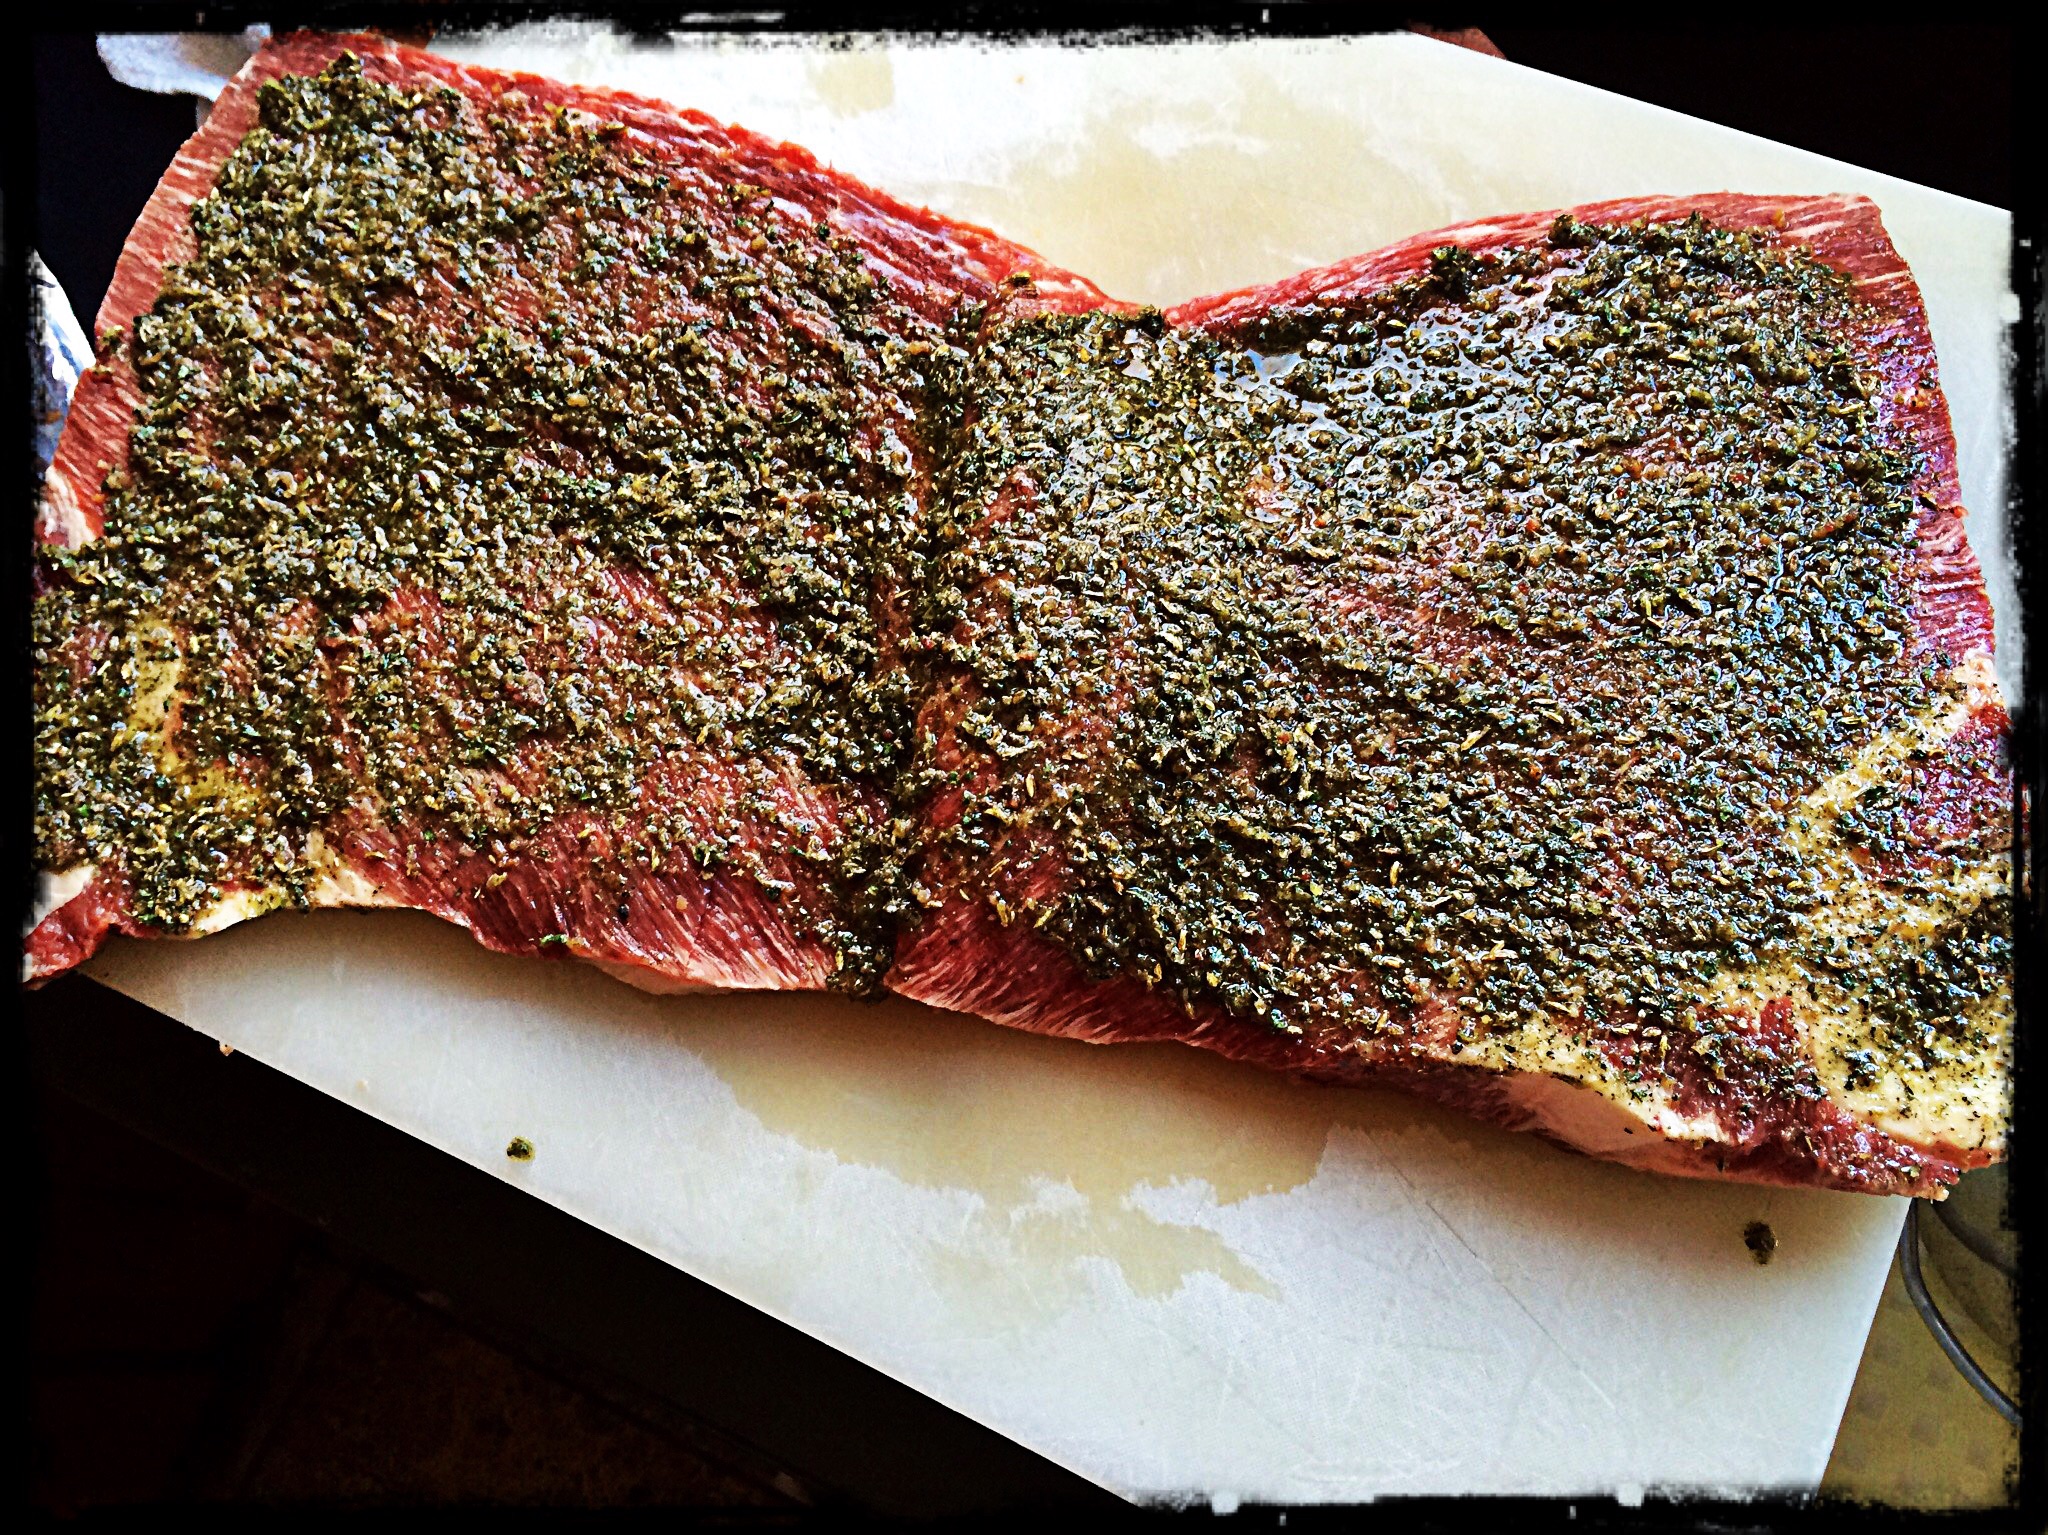
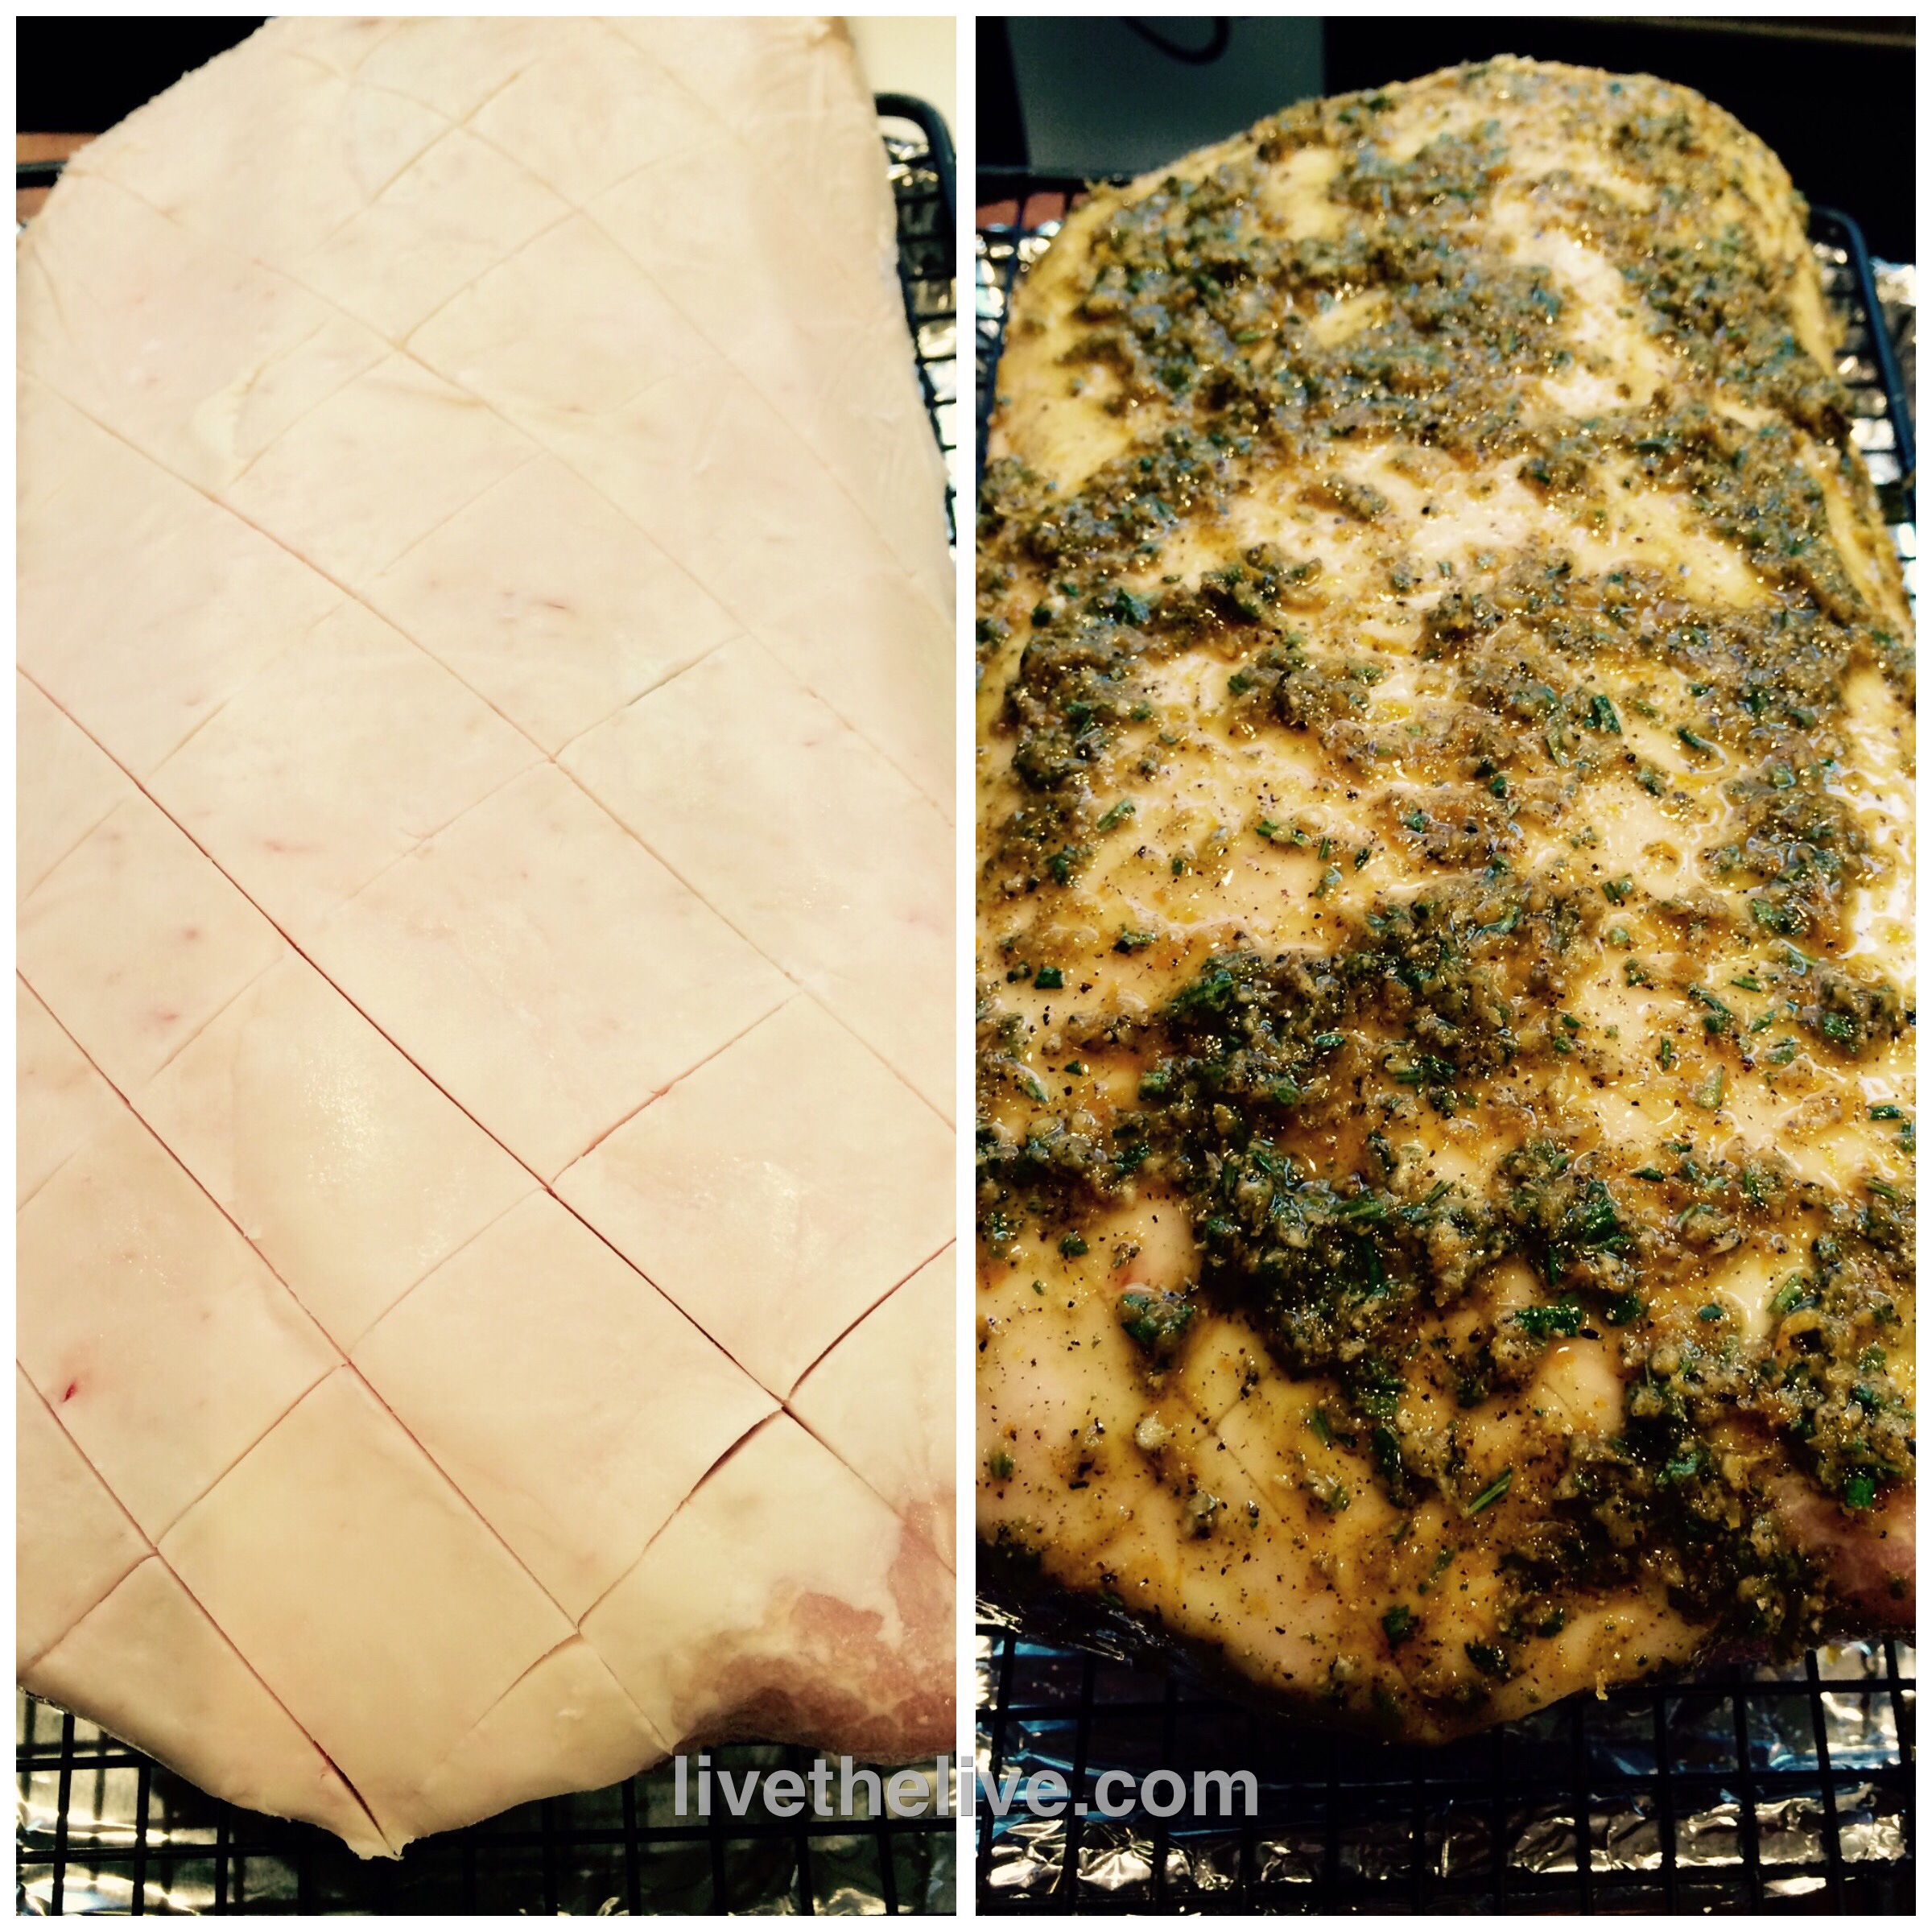
Once I’ve got my slab, I need to season it. I’ve found that a simple rub is the best way to go for the sauce I’m going to use later.
1/4 cup kosher salt
1/4 cup black pepper
1/4 cup paprika
¼ cup brown sugar
1 tablespoon granulated garlic
1 tablespoon onion powder
Place all the ingredients in a jar with a lid and shake it up to blend.
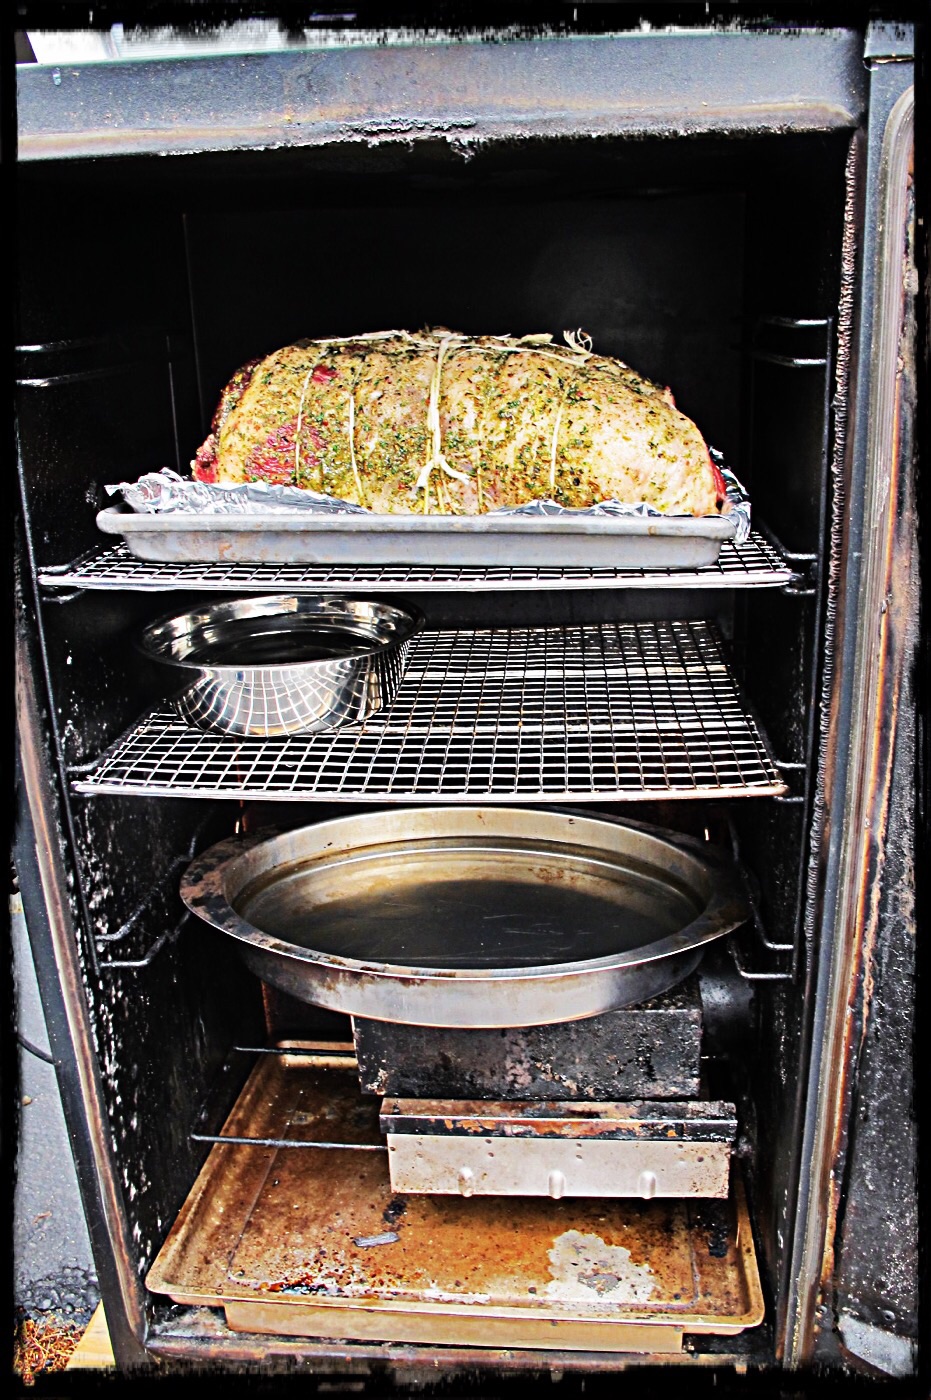
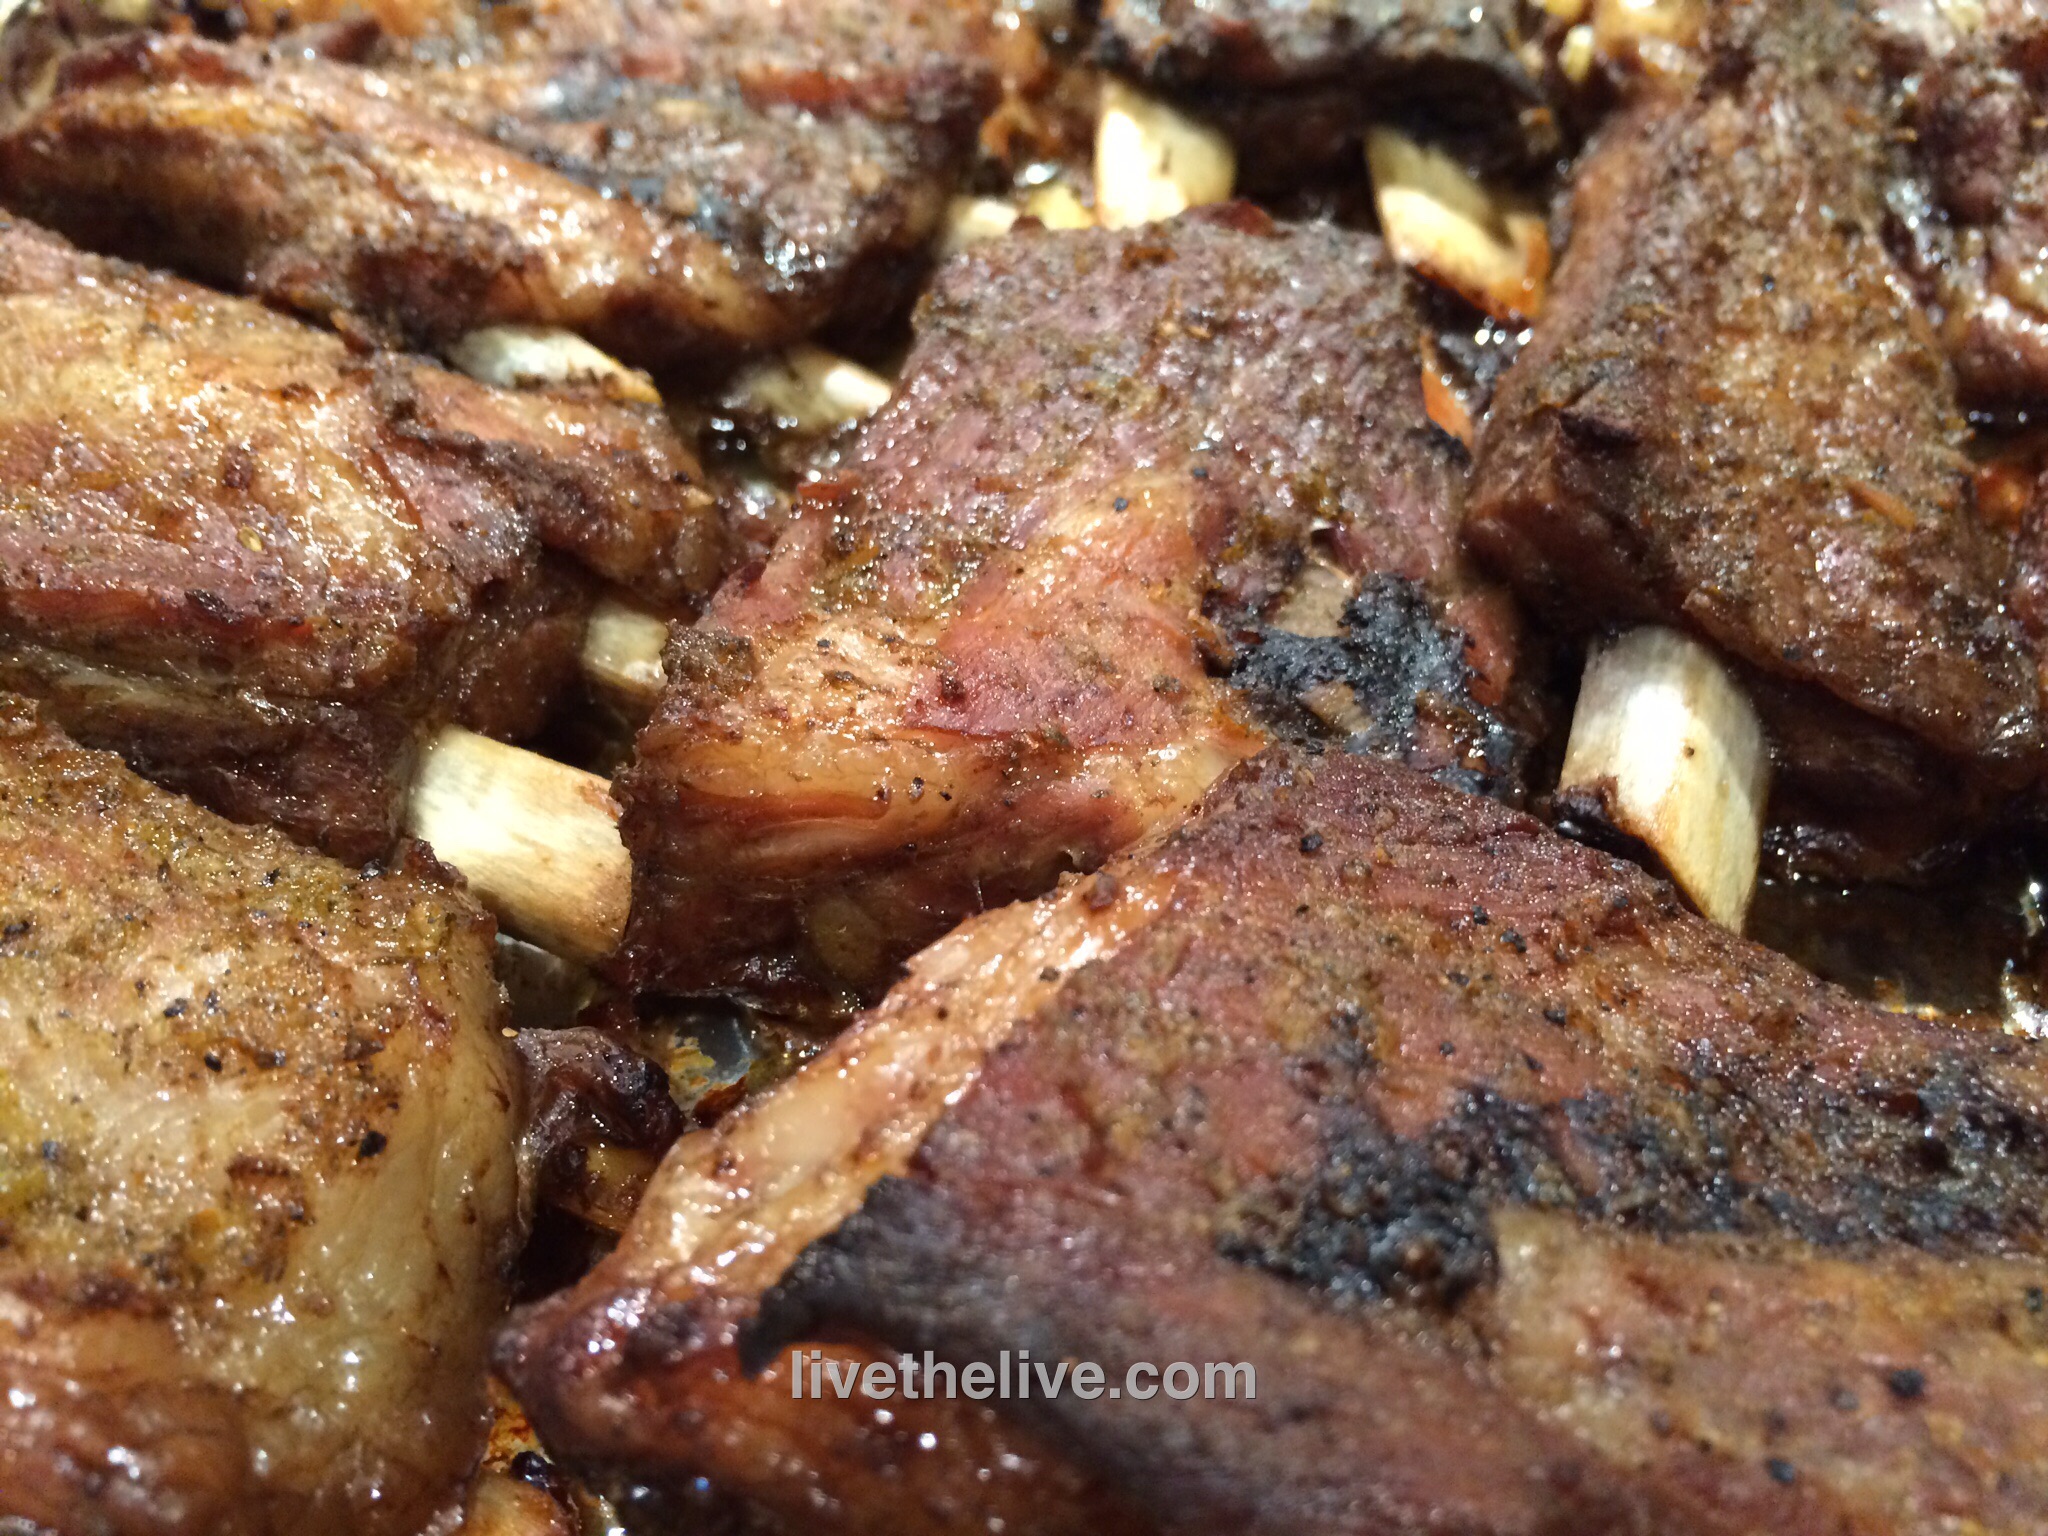
Once I’ve made the rub, I generously sprinkle it all over the pork, and rub it in really well. I have a digital smoker at home, which lets me cook and smoke my pork butt all in one place. I place it on a rack, put a drip tray underneath it to catch the grease, and set the smoker for 225 degrees. I cook the pork for about 6 hours, and then I add hickory chips to the smoker and smoke the butt for another 2 hours. The marbled fat in the pork butt slowly melts over time and the pork becomes incredibly tender and flavorful.
I remove the pork butt from the smoker and let it rest, covered with aluminum foil, for at least 20 minutes before pulling the meat apart with a couple of forks, shredding it into beautiful meaty bits.
While the pork is cooking and smoking, there’s plenty of time to make two other very important parts of this recipe: the sauce and the cole slaw.

2 cups ketchup
3/4 cup water
6 tablespoons cider vinegar
6 tablespoons white vinegar
6 tablespoons brown sugar
3 tablespoons Worcestershire sauce
1 tablespoon chili powder
2 teaspoons salt
2 teaspoons black pepper
1 1/2 teaspoons cumin
Mix all the ingredients in a saucepan and simmer until the flavors have blended, about 20 minutes. Remove from heat and cool to room temp. If you store it in an airtight container in the fridge, it’ll stay good for a few months.
COLE SLAW
My cole slaw recipe uses pickle juice. Just a splash from your favorite jar of pickles is all you need.
1 package of cole slaw veggies
splash of pickle juice
1/4 cup mayonnaise (more to taste)
teaspoon celery seed (not salt)
salt and pepper
There are no real specific measurements for cole slaw, because I’ve found that some people like it dry, others wet…some peppery, some not. Play around with it and make it your own. I prefer a more mayonnaise-y cole slaw, and usually err on the wet side.
In a bowl, combine all the ingredients. Cover with plastic wrap and chill. When ready to use, re-mix, and taste for seasoning before using.
OK…time to make that sandwich!
Drizzle the barbecue sauce on the pulled pork and mix well…trying not to over-sauce the pork! Take a nice amount of pork and place it on a freshly baked bun. Place the cole slaw right on top if you prefer the Carolina method, or on the side if not.
Whether you decide to go through all this trouble to make pulled pork or not, just remember that if you’re at a barbecue joint, someone else did. Whatever you pay for that pulled pork sandwich is a bargain!