This is a great side dish for any special occasion. And you can substitute to suit your needs. Goat cheese not your speed? Try Gruyère or smoked gouda. Need it to be gluten-free? Use GF breadcrumbs. Don’t like mushrooms? Okay…I can’t help you there…
1 package large white mushrooms
olive oil
1/2 shallot, finely chopped
1 clove garlic, through a press
1 tablespoon fresh thyme, finely chopped
pinch of red pepper flakes
salt and pepper
fresh goat cheese
bread crumbs
1 tablespoon fresh parsley, finely chopped
Pre-heat the oven to 400 degrees.
Rinse the mushrooms in cold water to clean them. Remove the stems of the mushrooms and set them aside. Rub the mushroom caps with olive oil and place them on a baking sheet, open side-down, in a 400-degree oven for a few minutes.
In a pan, sauté the shallot and garlic in a little olive oil. Chop the mushroom stems finely and add them to the pan. Add the thyme and pepper flakes.
Reduce the oven temp to 350 degrees after removing the mushroom caps. Flip the mushroom caps over so that they look like little bowls. Break off a small piece of goat cheese and place it in each mushroom. Top each with the sautéed shallot mixture. Sprinkle breadcrumbs on top and sprinkle parsley over that.
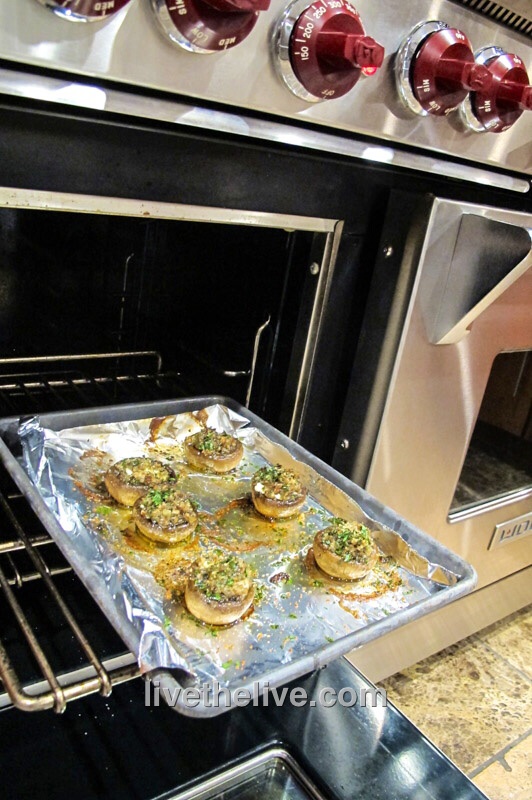
Return the baking sheet to the oven, cooking the mushrooms until they are lightly golden in color, and the cheese has melted.

Mushroom myth: Soaking mushrooms in cold water makes them mushy. Not true! Alton Brown, on an old episode of “Good Eats” on the Food Network, showed that mushrooms do not soak up any water when left to soak for even 30 minutes. So use your mushroom brush…use your kitchen towel…whatever you like. But I prefer to get them clean simply with cold water.