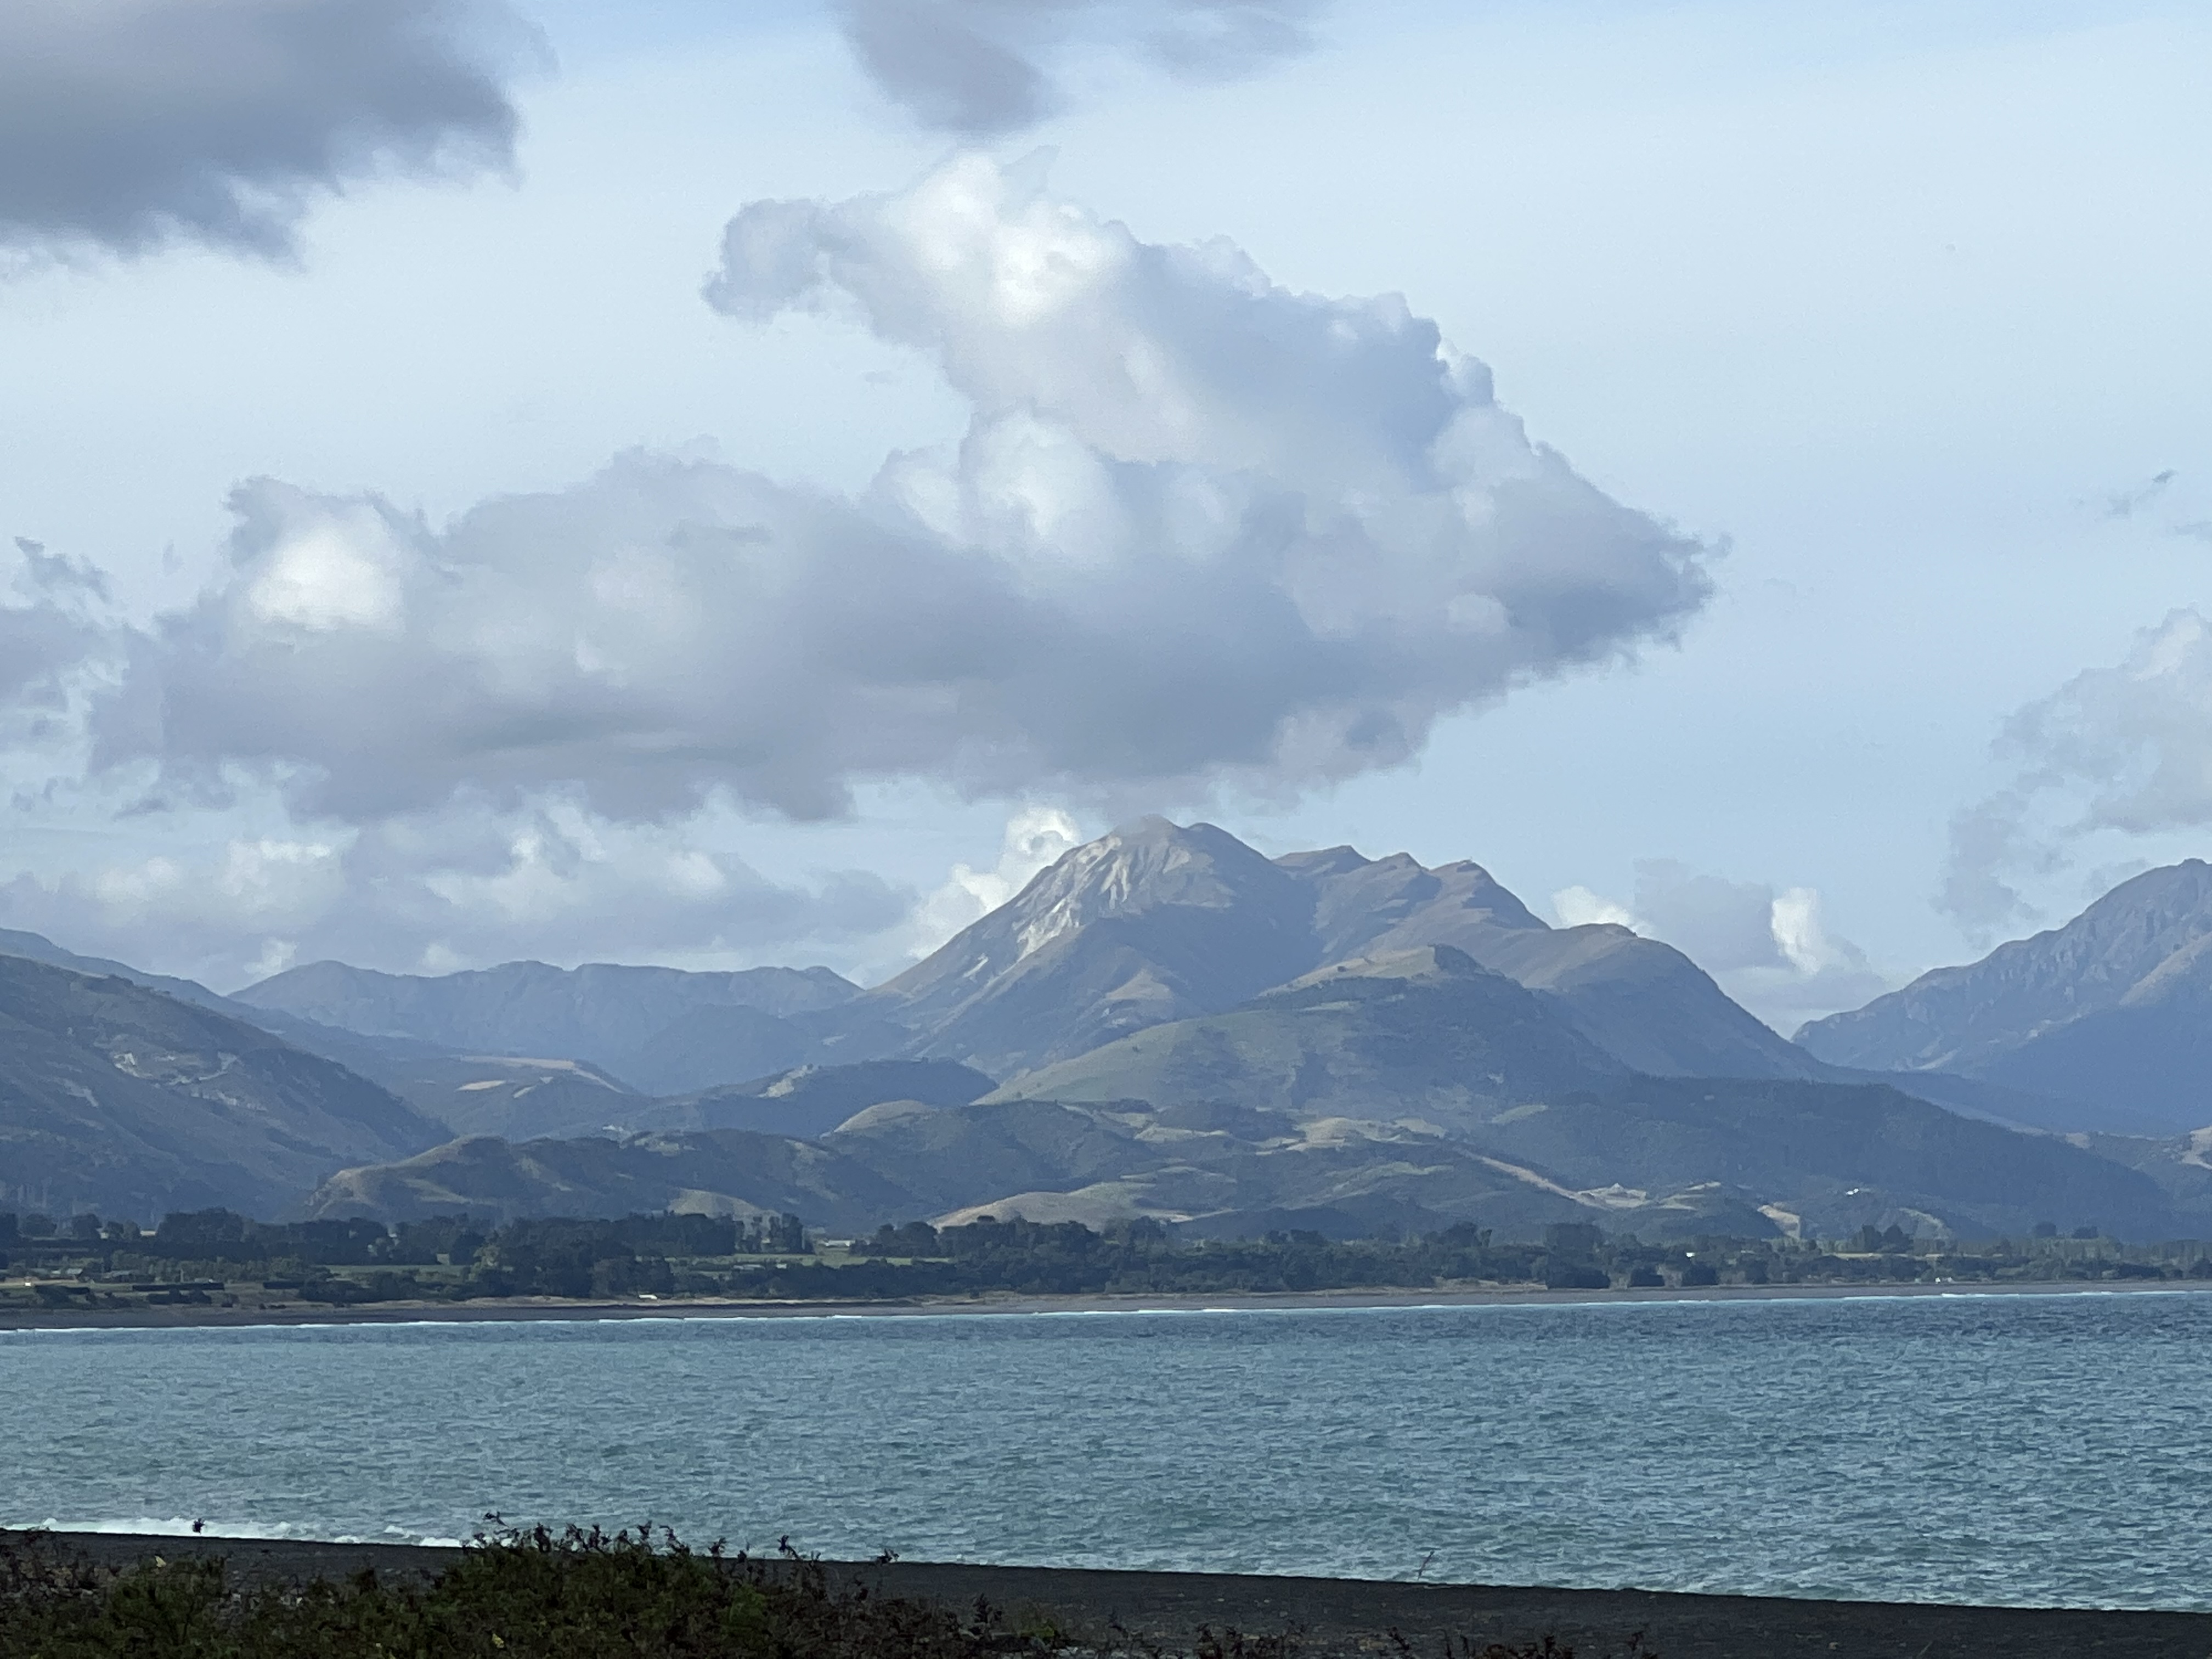
The name literally means “eat crayfish” in Maori. On the east (Pacific) coast of the south island of New Zealand. Volcanic.


The name literally means “eat crayfish” in Maori. On the east (Pacific) coast of the south island of New Zealand. Volcanic.

My lunch stop today on the way to Kaikoura. The Canterbury region of the south island is exploding with wineries! Marlborough may be the most famous, but Canterbury will not be far behind for long.
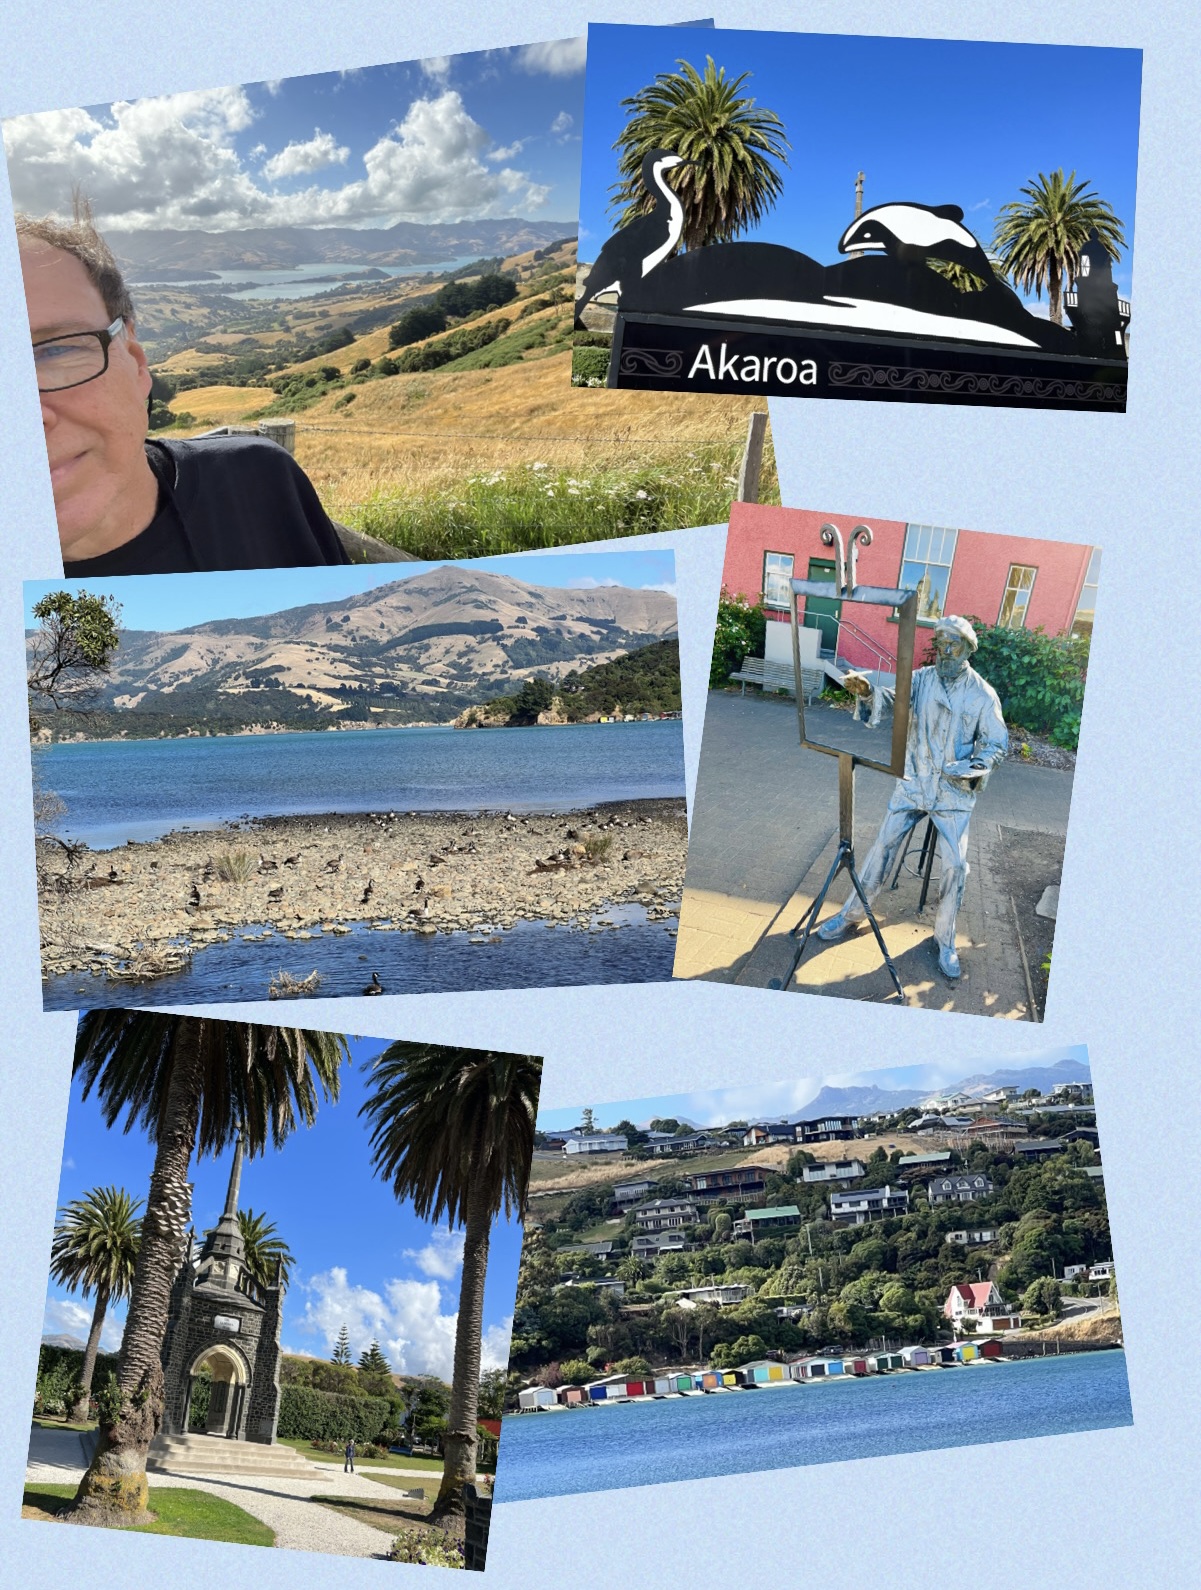
A detour on my way to Kaikoura from Christchurch.
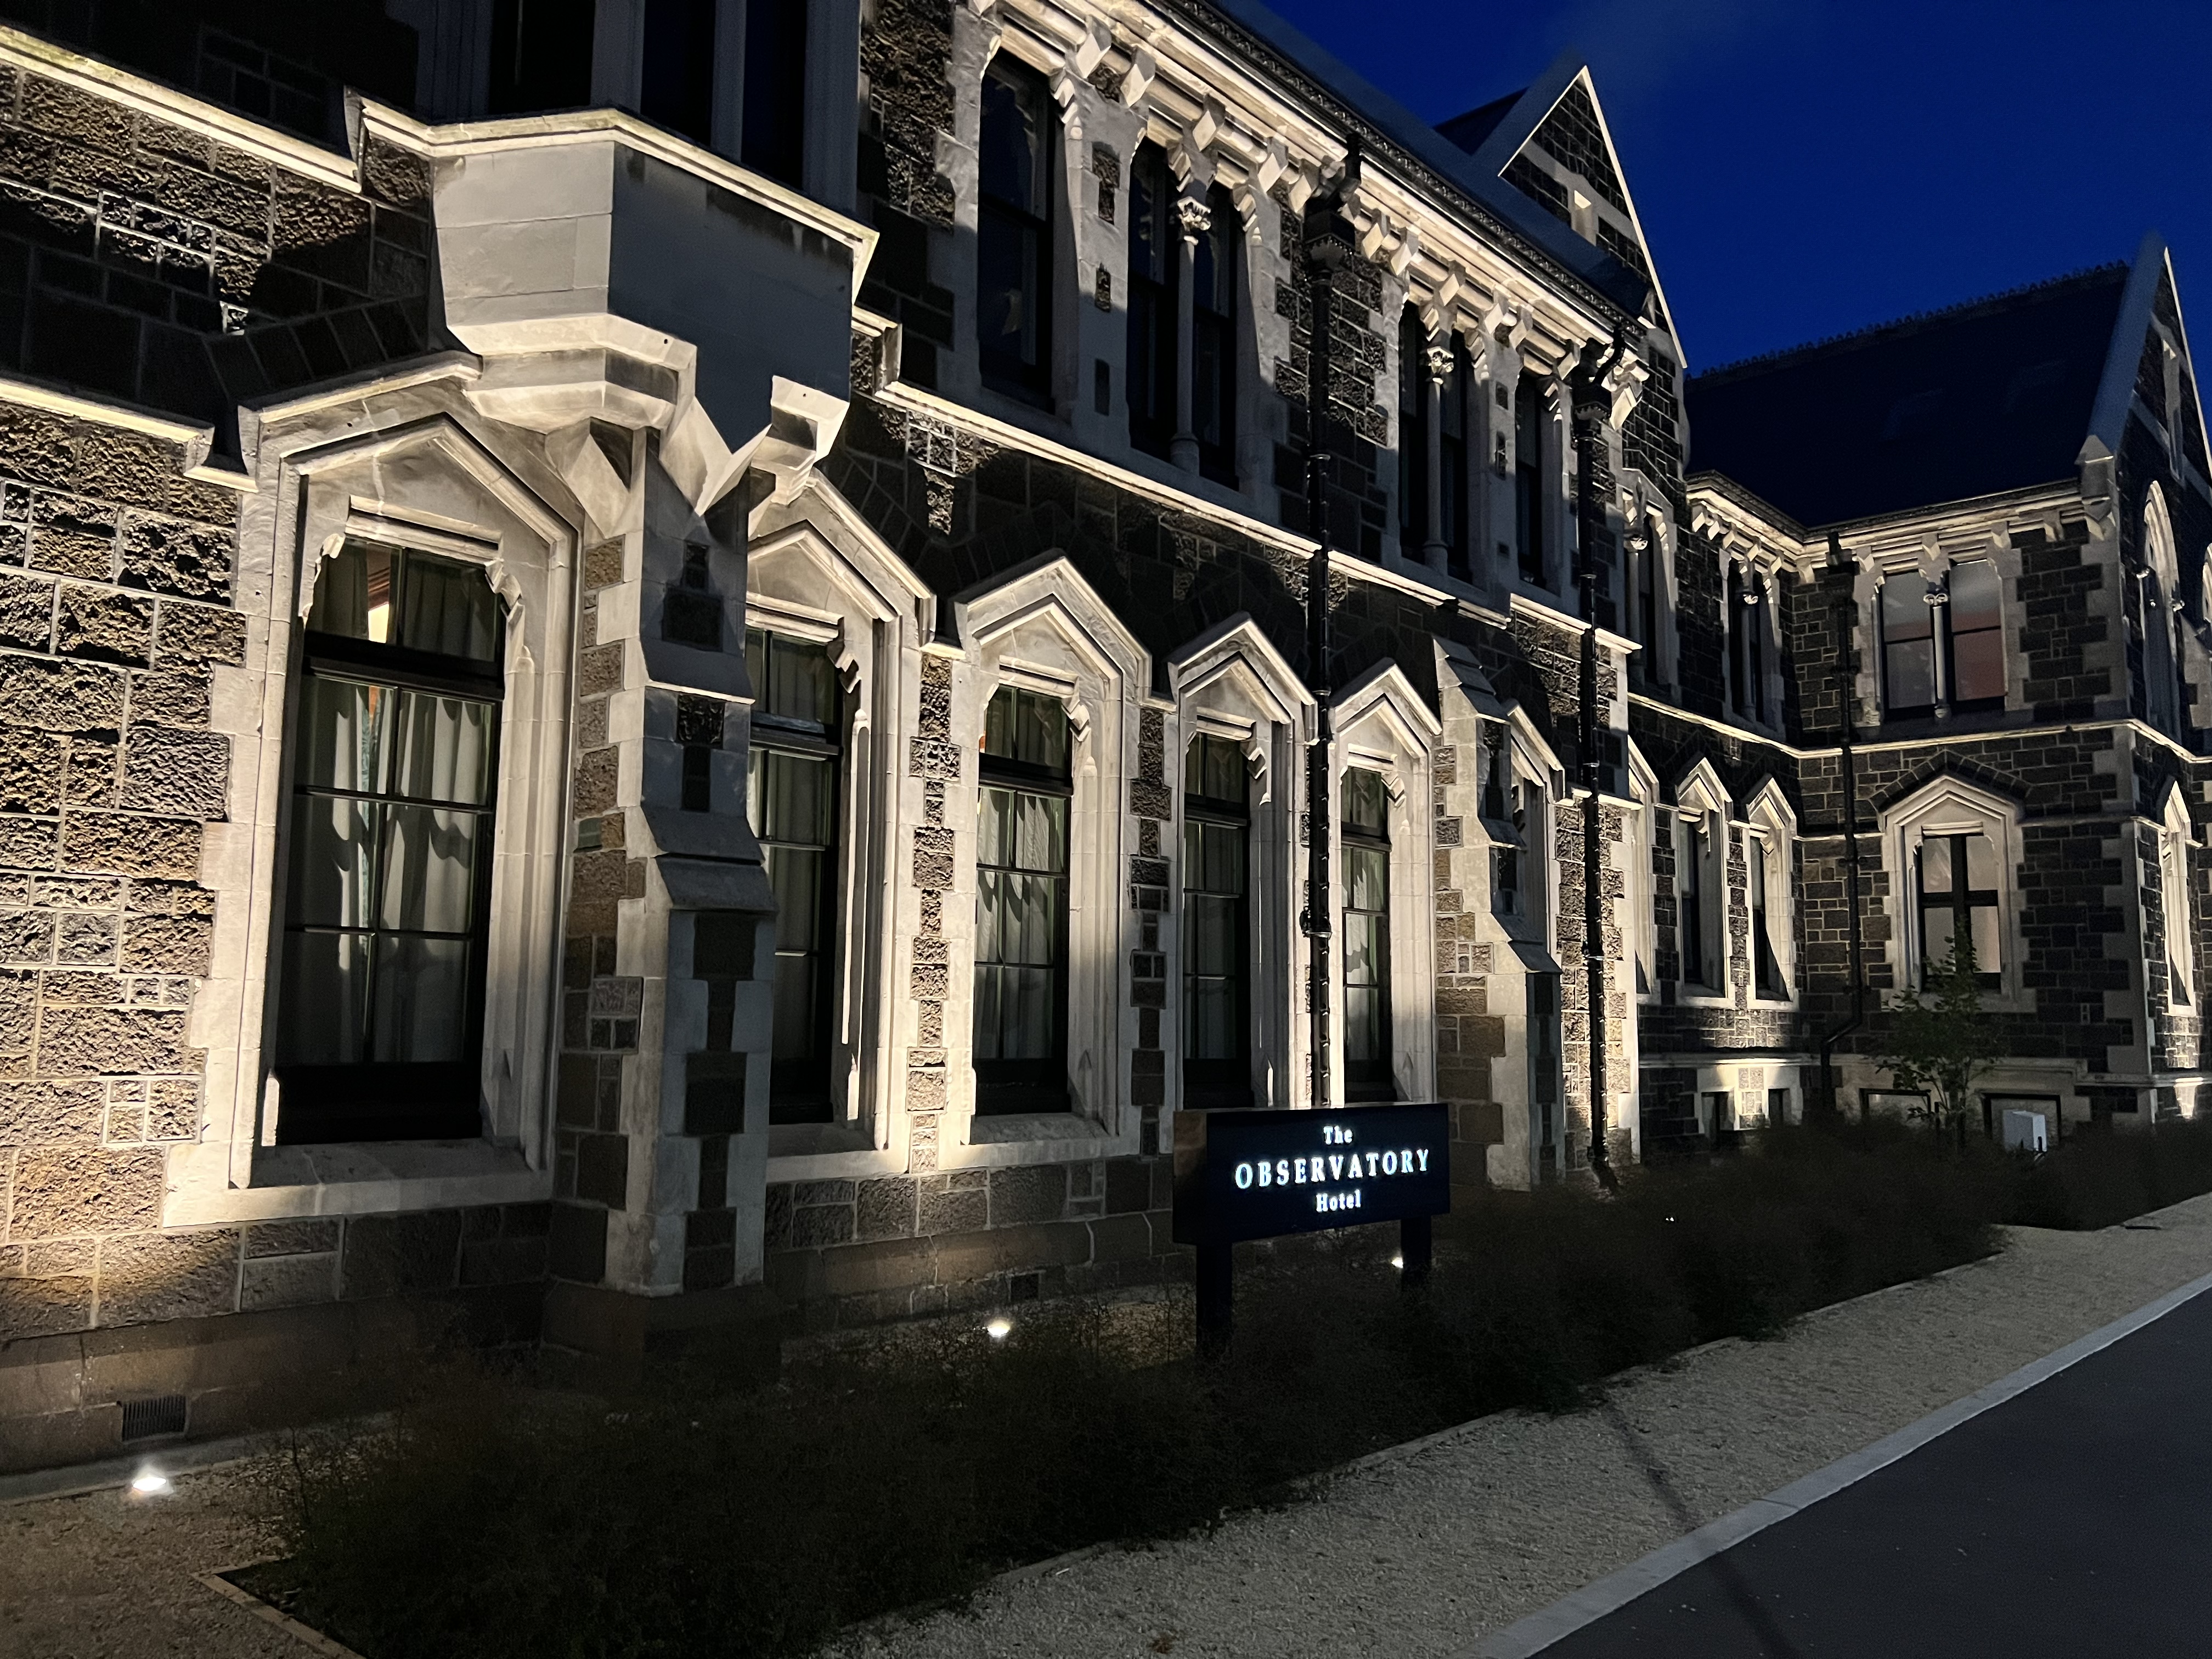

The fanciest stay on my trip. In Christ church. When is the last time you had to insert your room card into the slot in your hotel room to turn the lights on?


A five-hour journey from Greymouth to Christchurch through the mountains on a spectacular day!
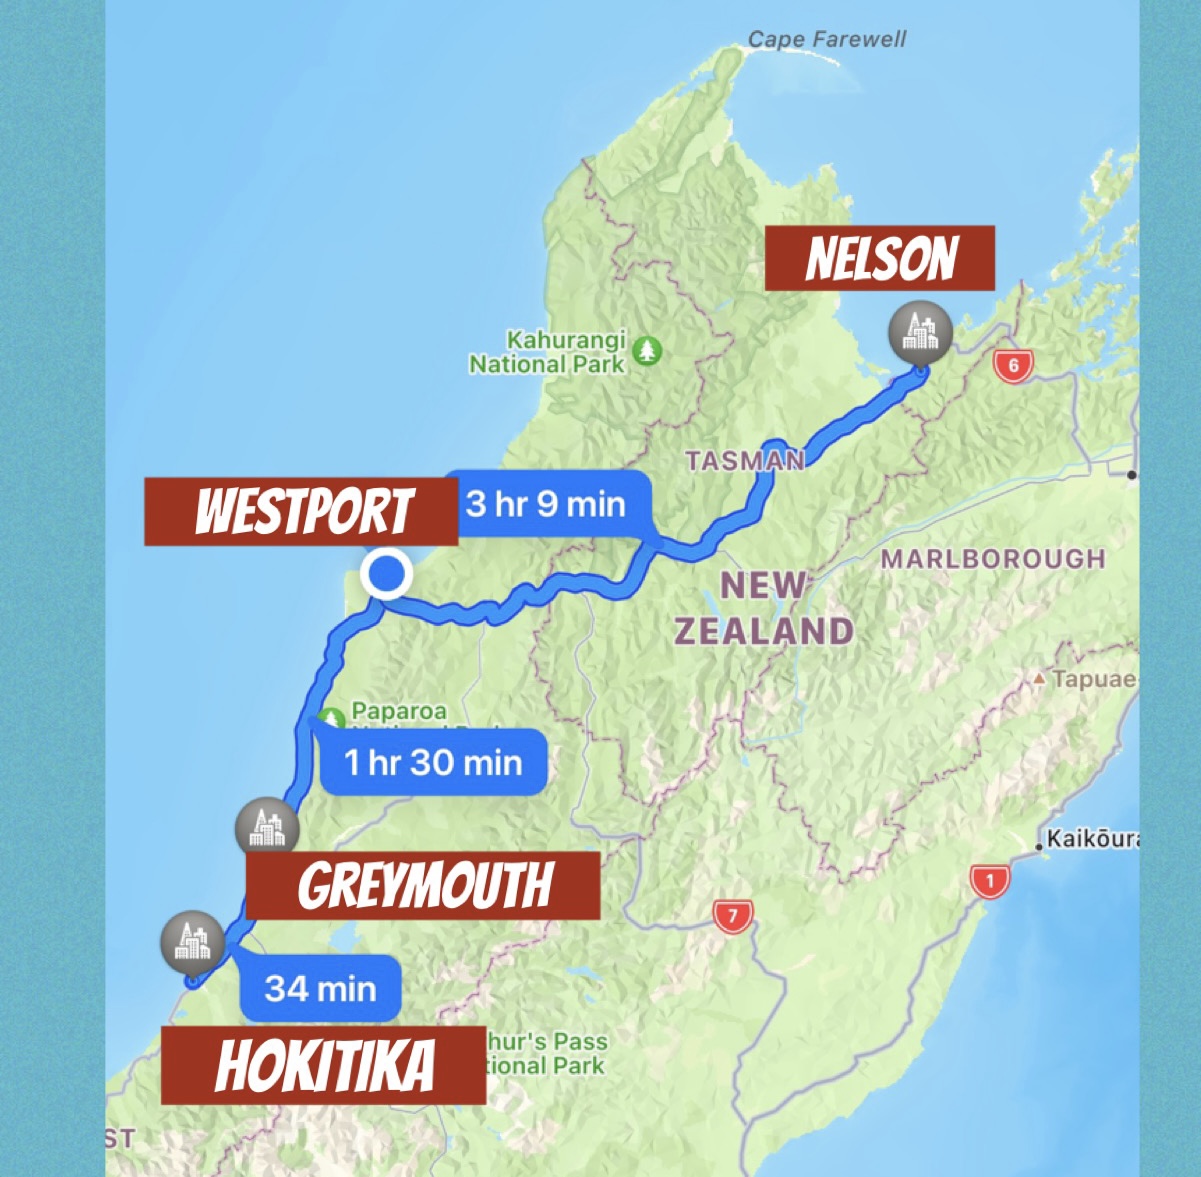
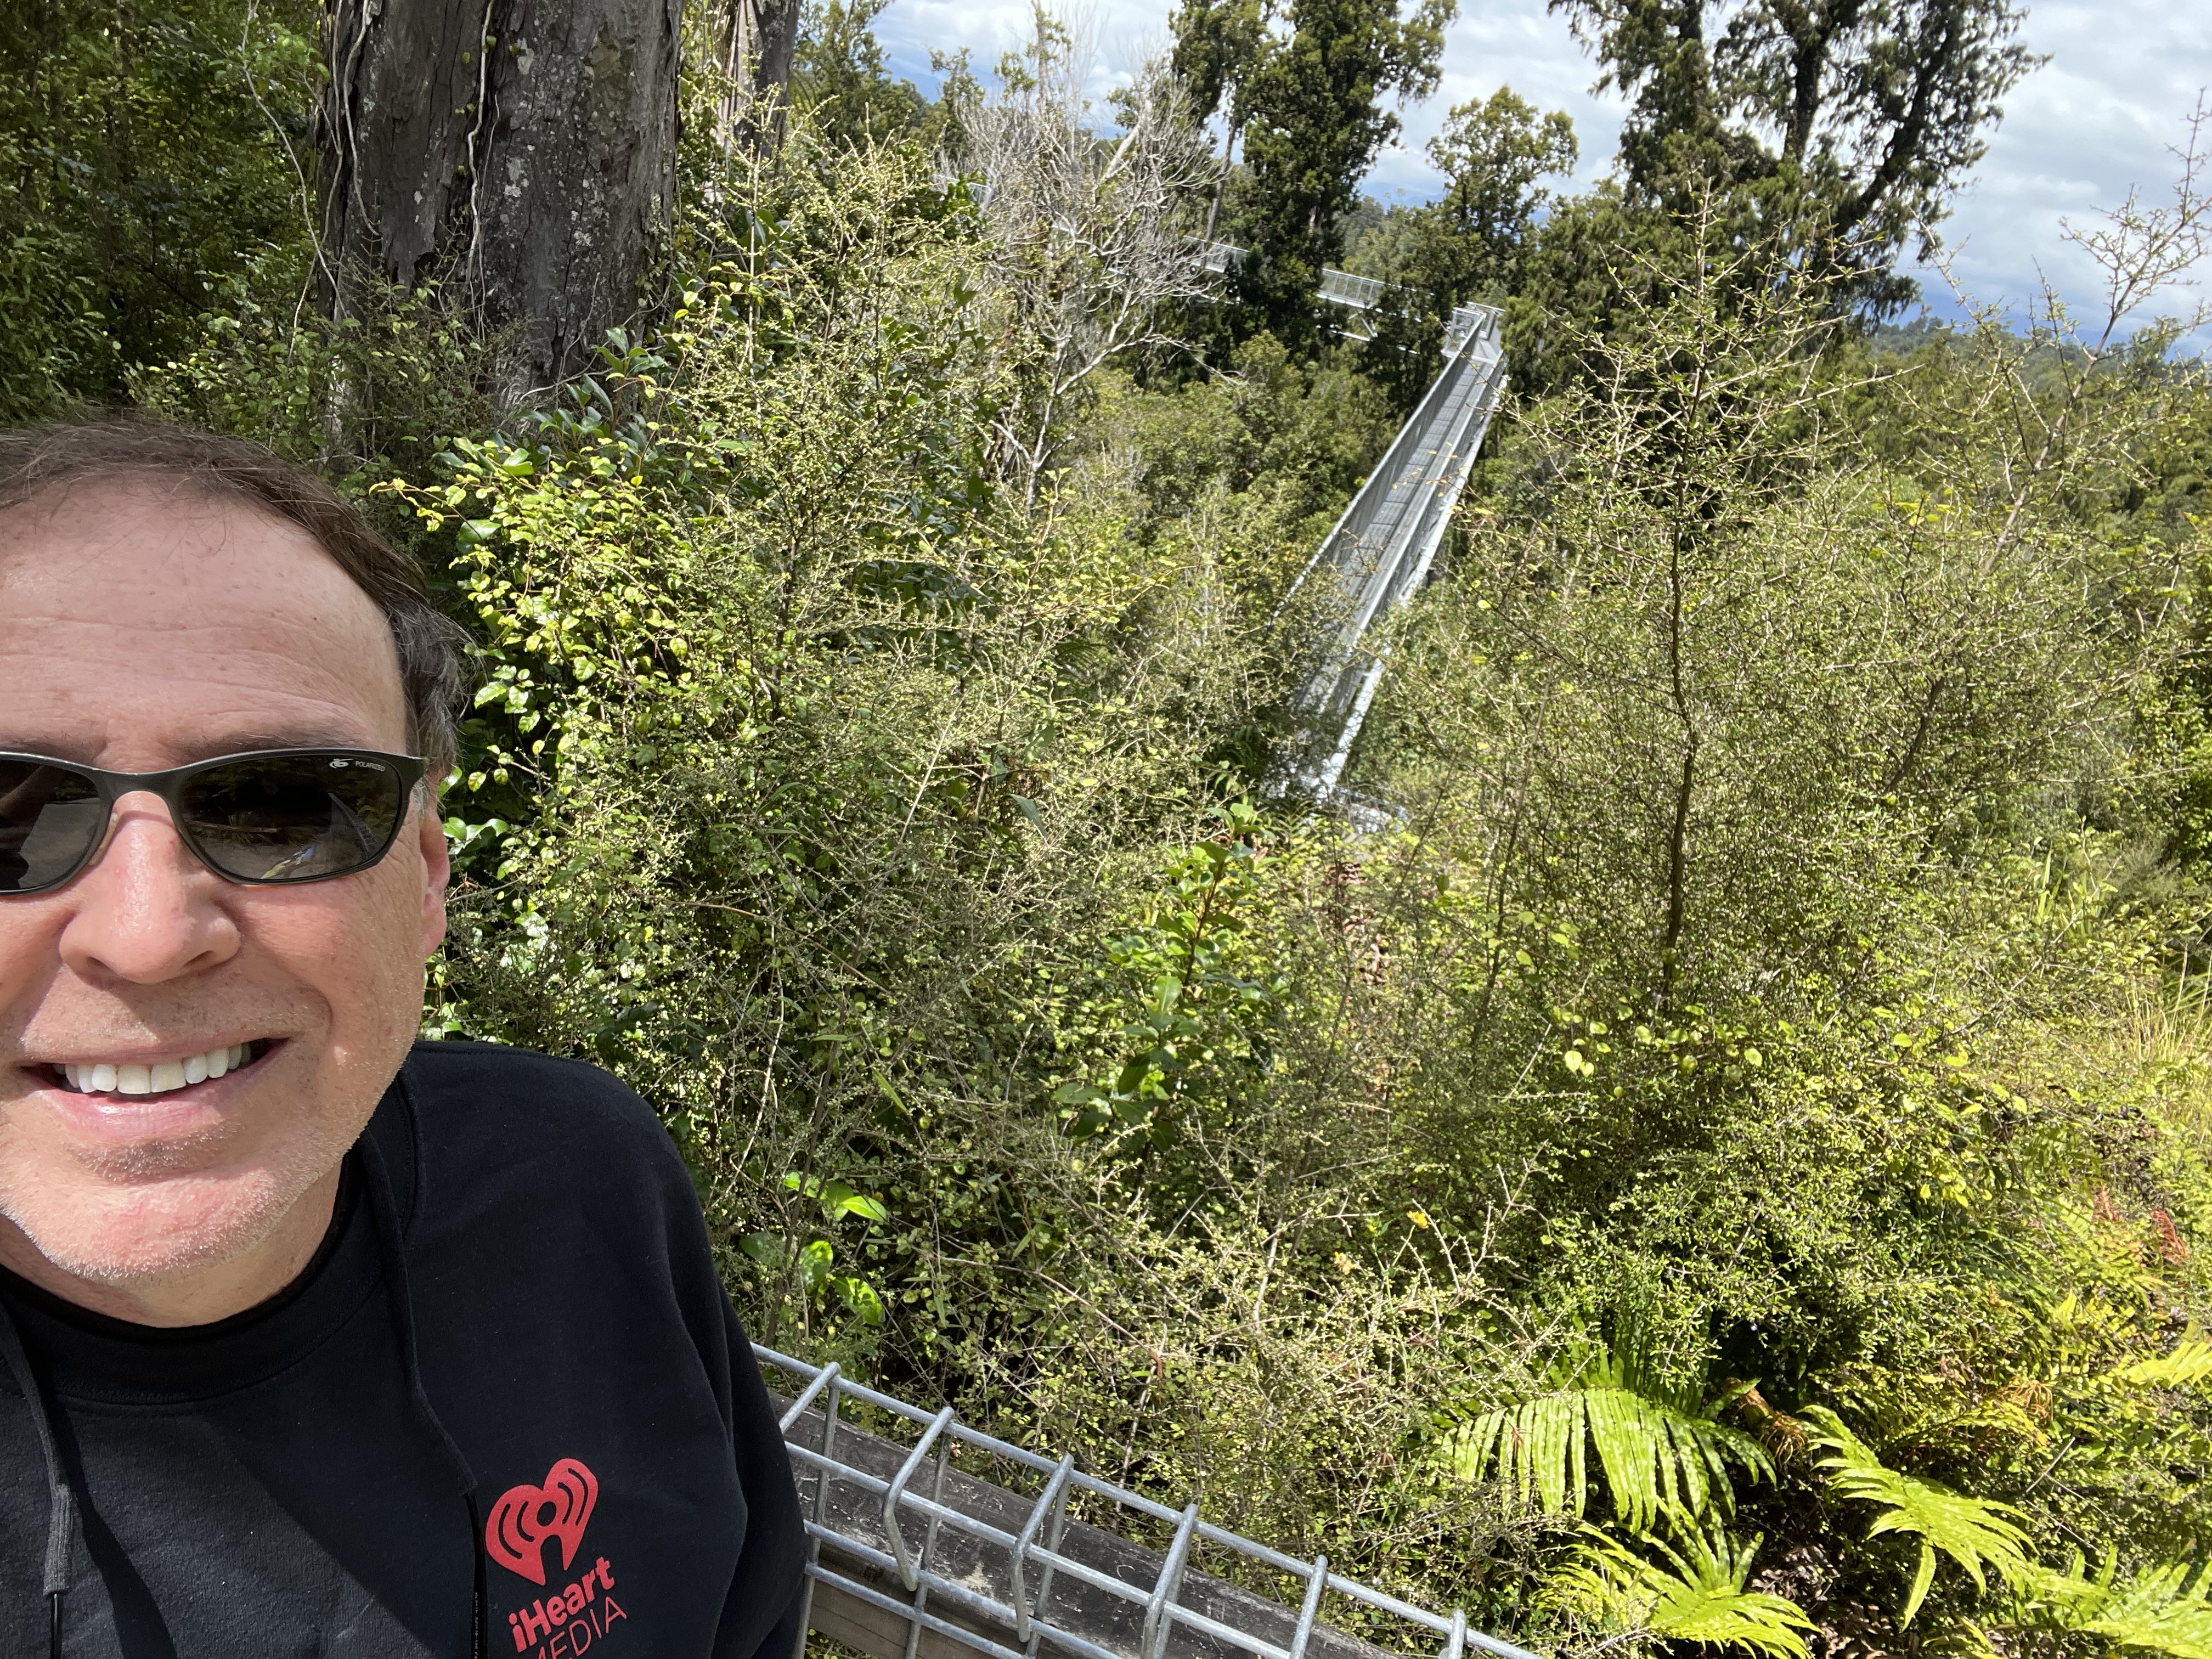
A long drive yesterday, going past Hokitika to the West CoastTree Top Walkway. A bit shaky, as the walkway moves in the breeze! But it was wild to walk in the treetops!

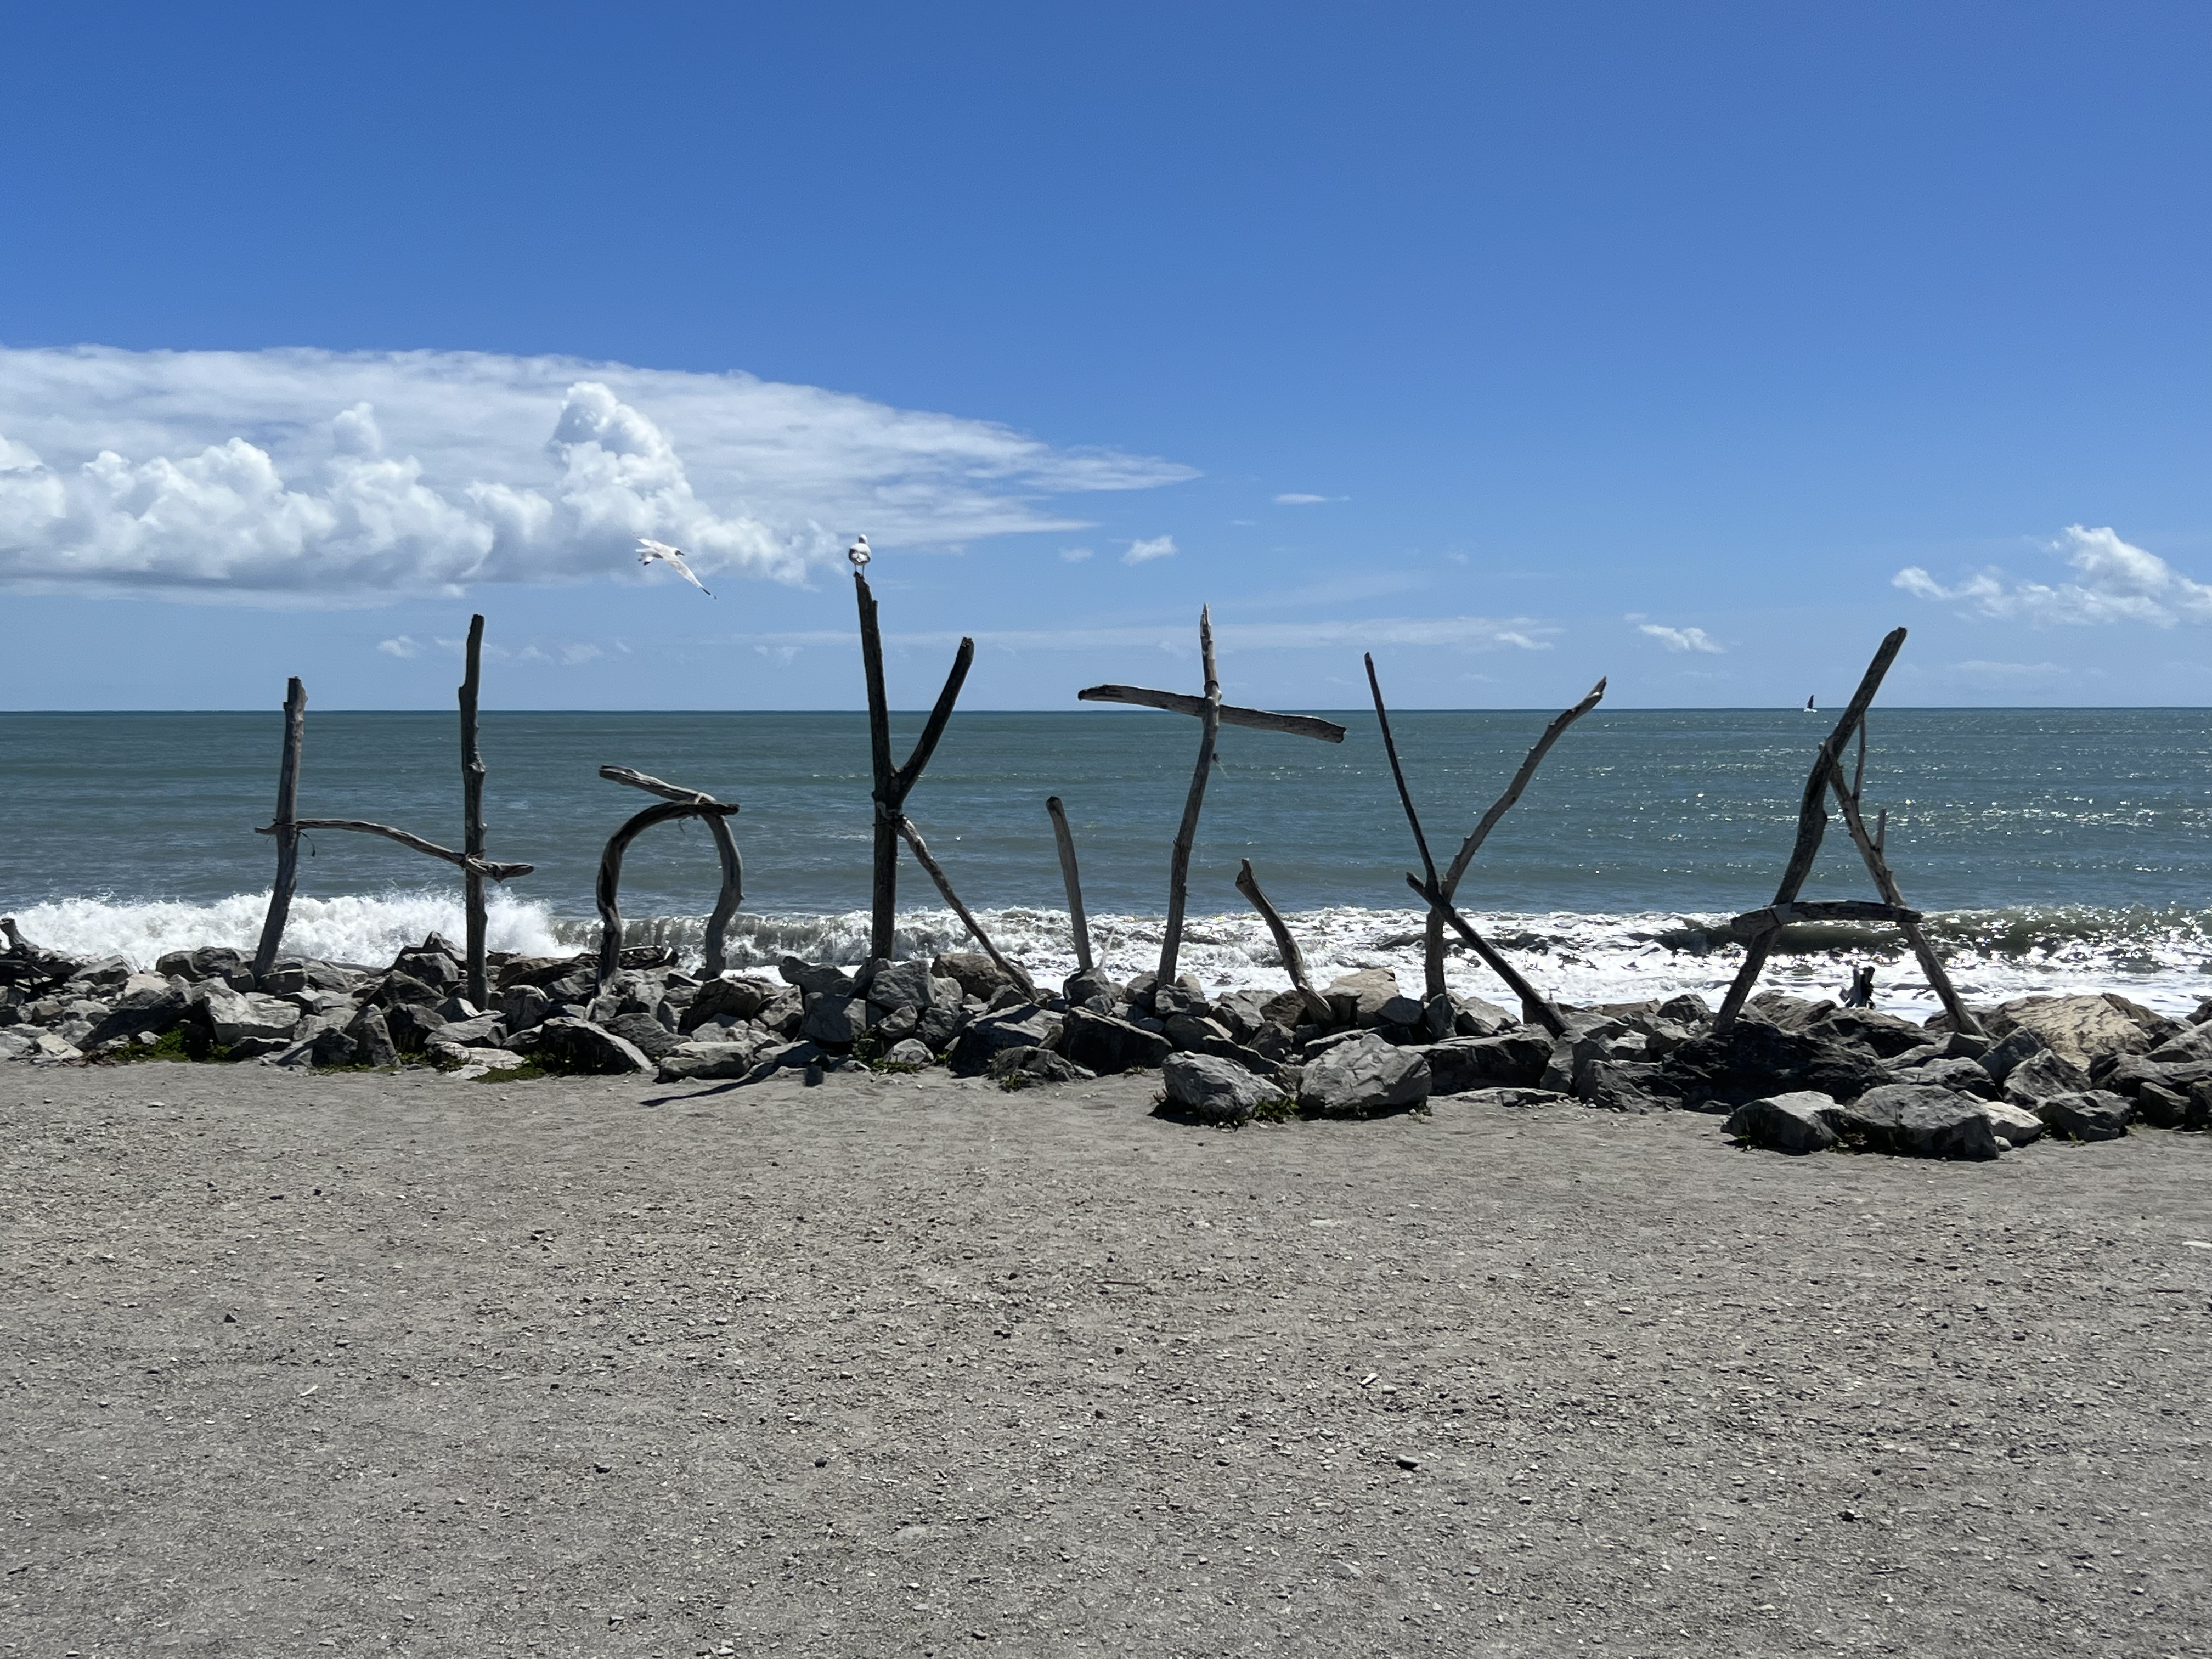
The town of Hokitika has become very much a tourist attraction. Didn’t stay there long, except to visit the beach.
I left the comfort of Nelson for a day long trip to the west coast of the south island of New Zealand, stopping in Westport before the Cape Foulwind seal colony.
I took video of baby seals, playing in a little playpen, but I can’t post a video here.
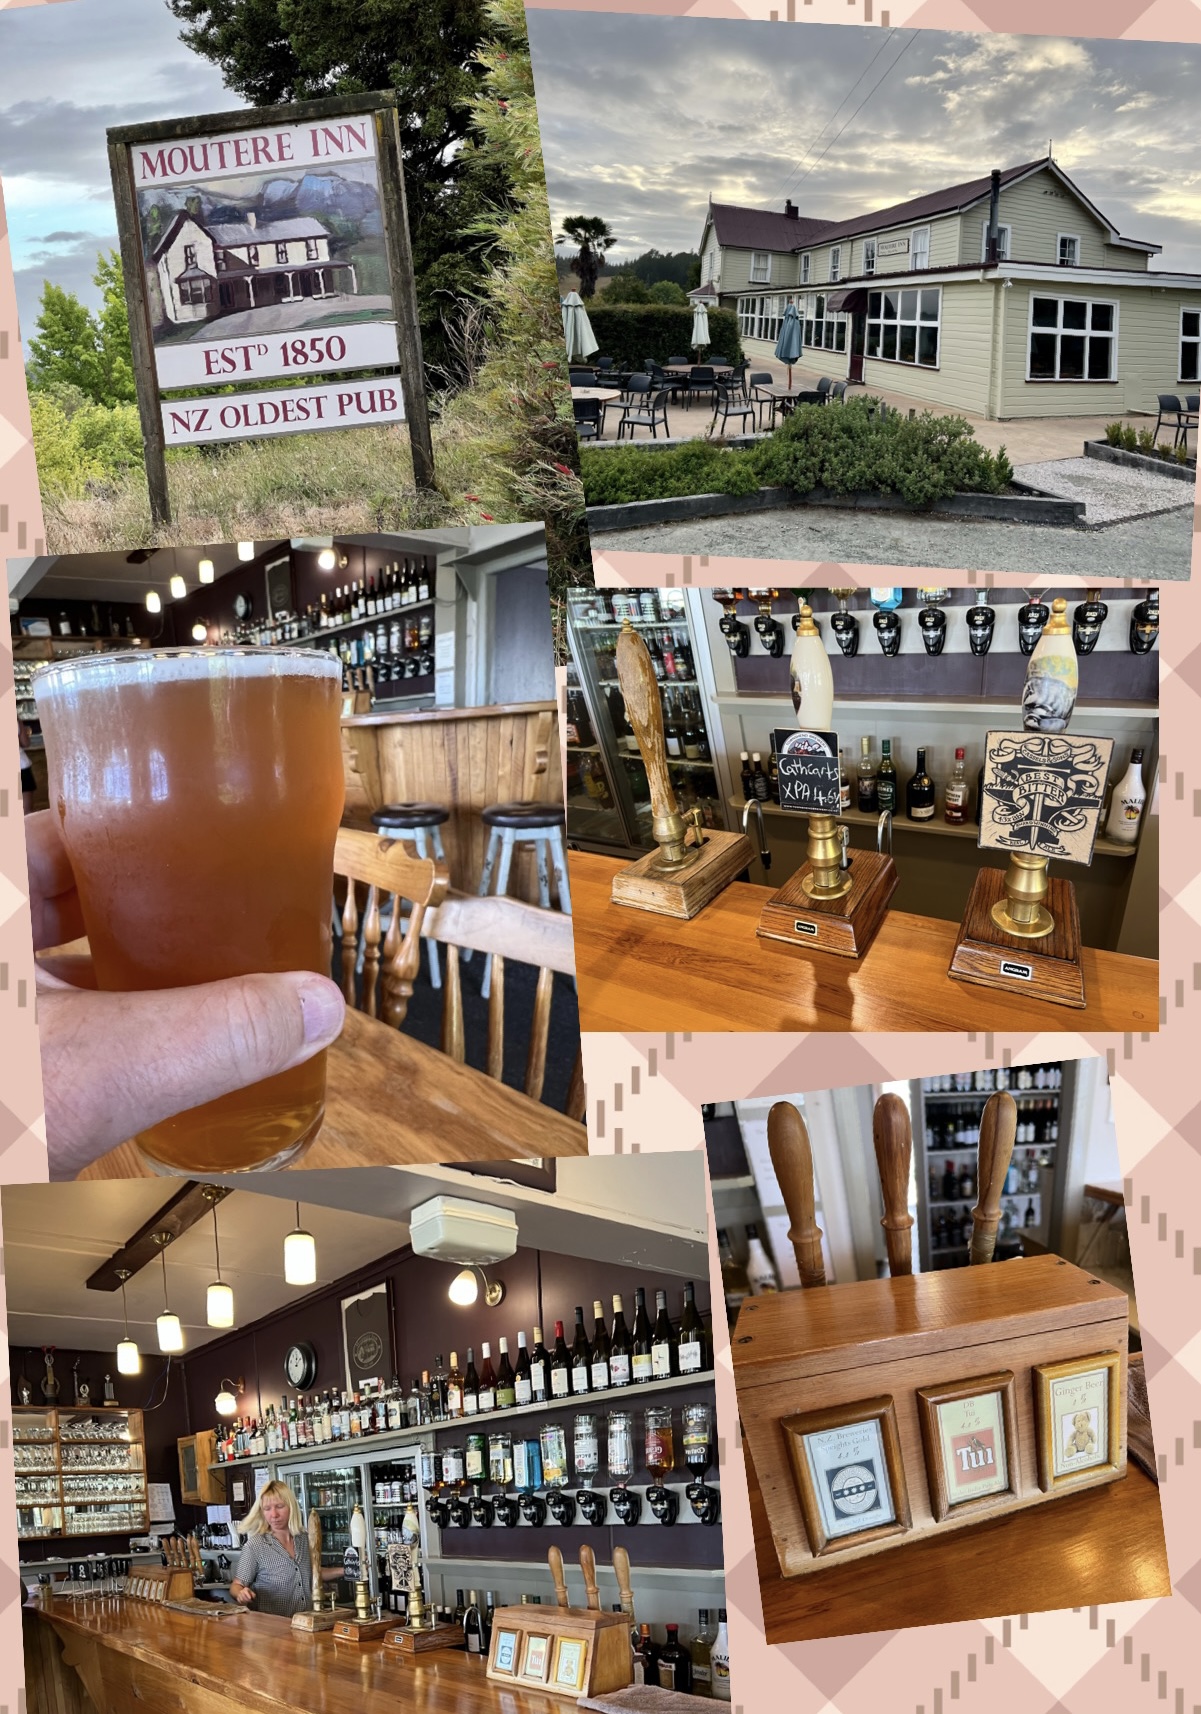
I visited the Moutere Inn today, established 1850.