Yeah, it’s cold outside. But sometimes, only ribs will do.
The classic “Adams Ribs” episode of M*A*S*H is one of my favorites. Hawkeye’s speech about the city of Chicago said it all: “Chicago. Hog butcher for the world. Toolmaker. Stacker of wheat. Player with railroads and the nation’s freight handler. Stormy, husky, brawling, City of the Big Shoulders. Sandberg knew, Radar. Spareribber for the universe! Maker of meat on a bone! The home of the pigsicle! Give me your tired, your poor… your cole slaw.”
There’s a million ways to make great pork ribs….and only a few ways to really ruin them. So, yeah, here’s another rib recipe. But it’s good.
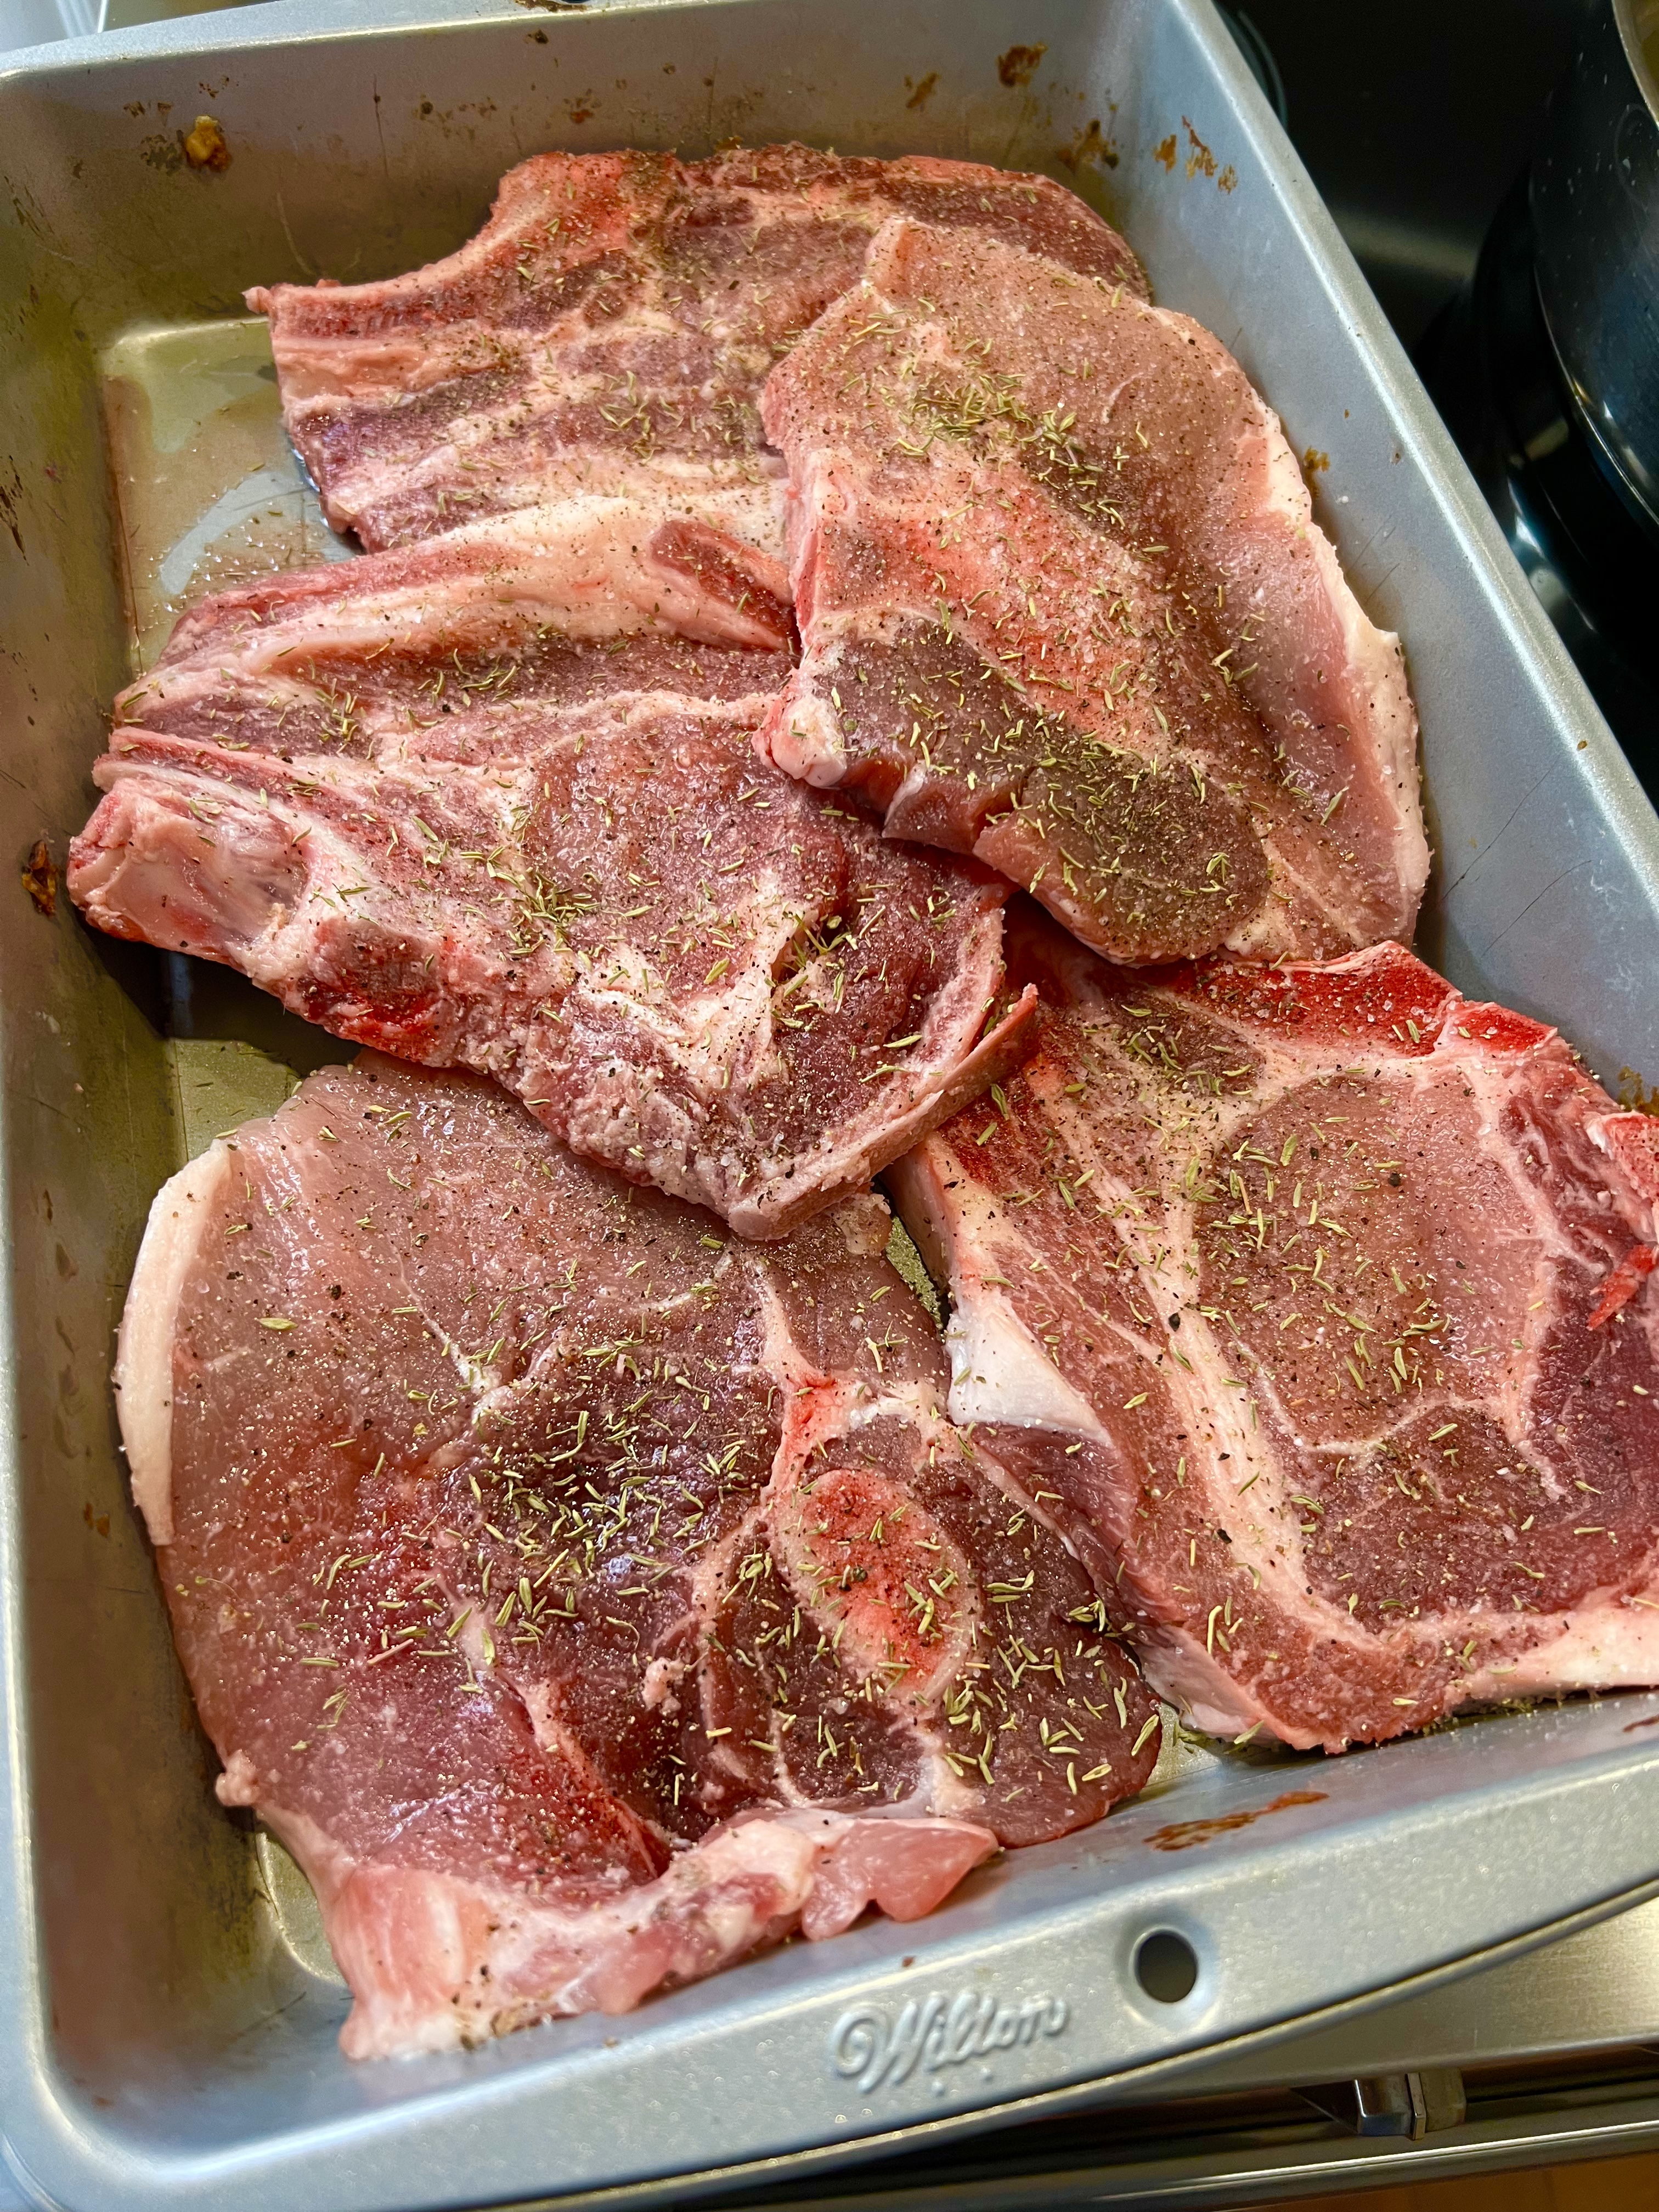
I like using Berkshire pork St. Louis style ribs. They’re fattier than beef ribs, so I don’t have to worry as much about them drying out. I always remove the skin on the back of the ribs before rubbing them down with my spice rub.
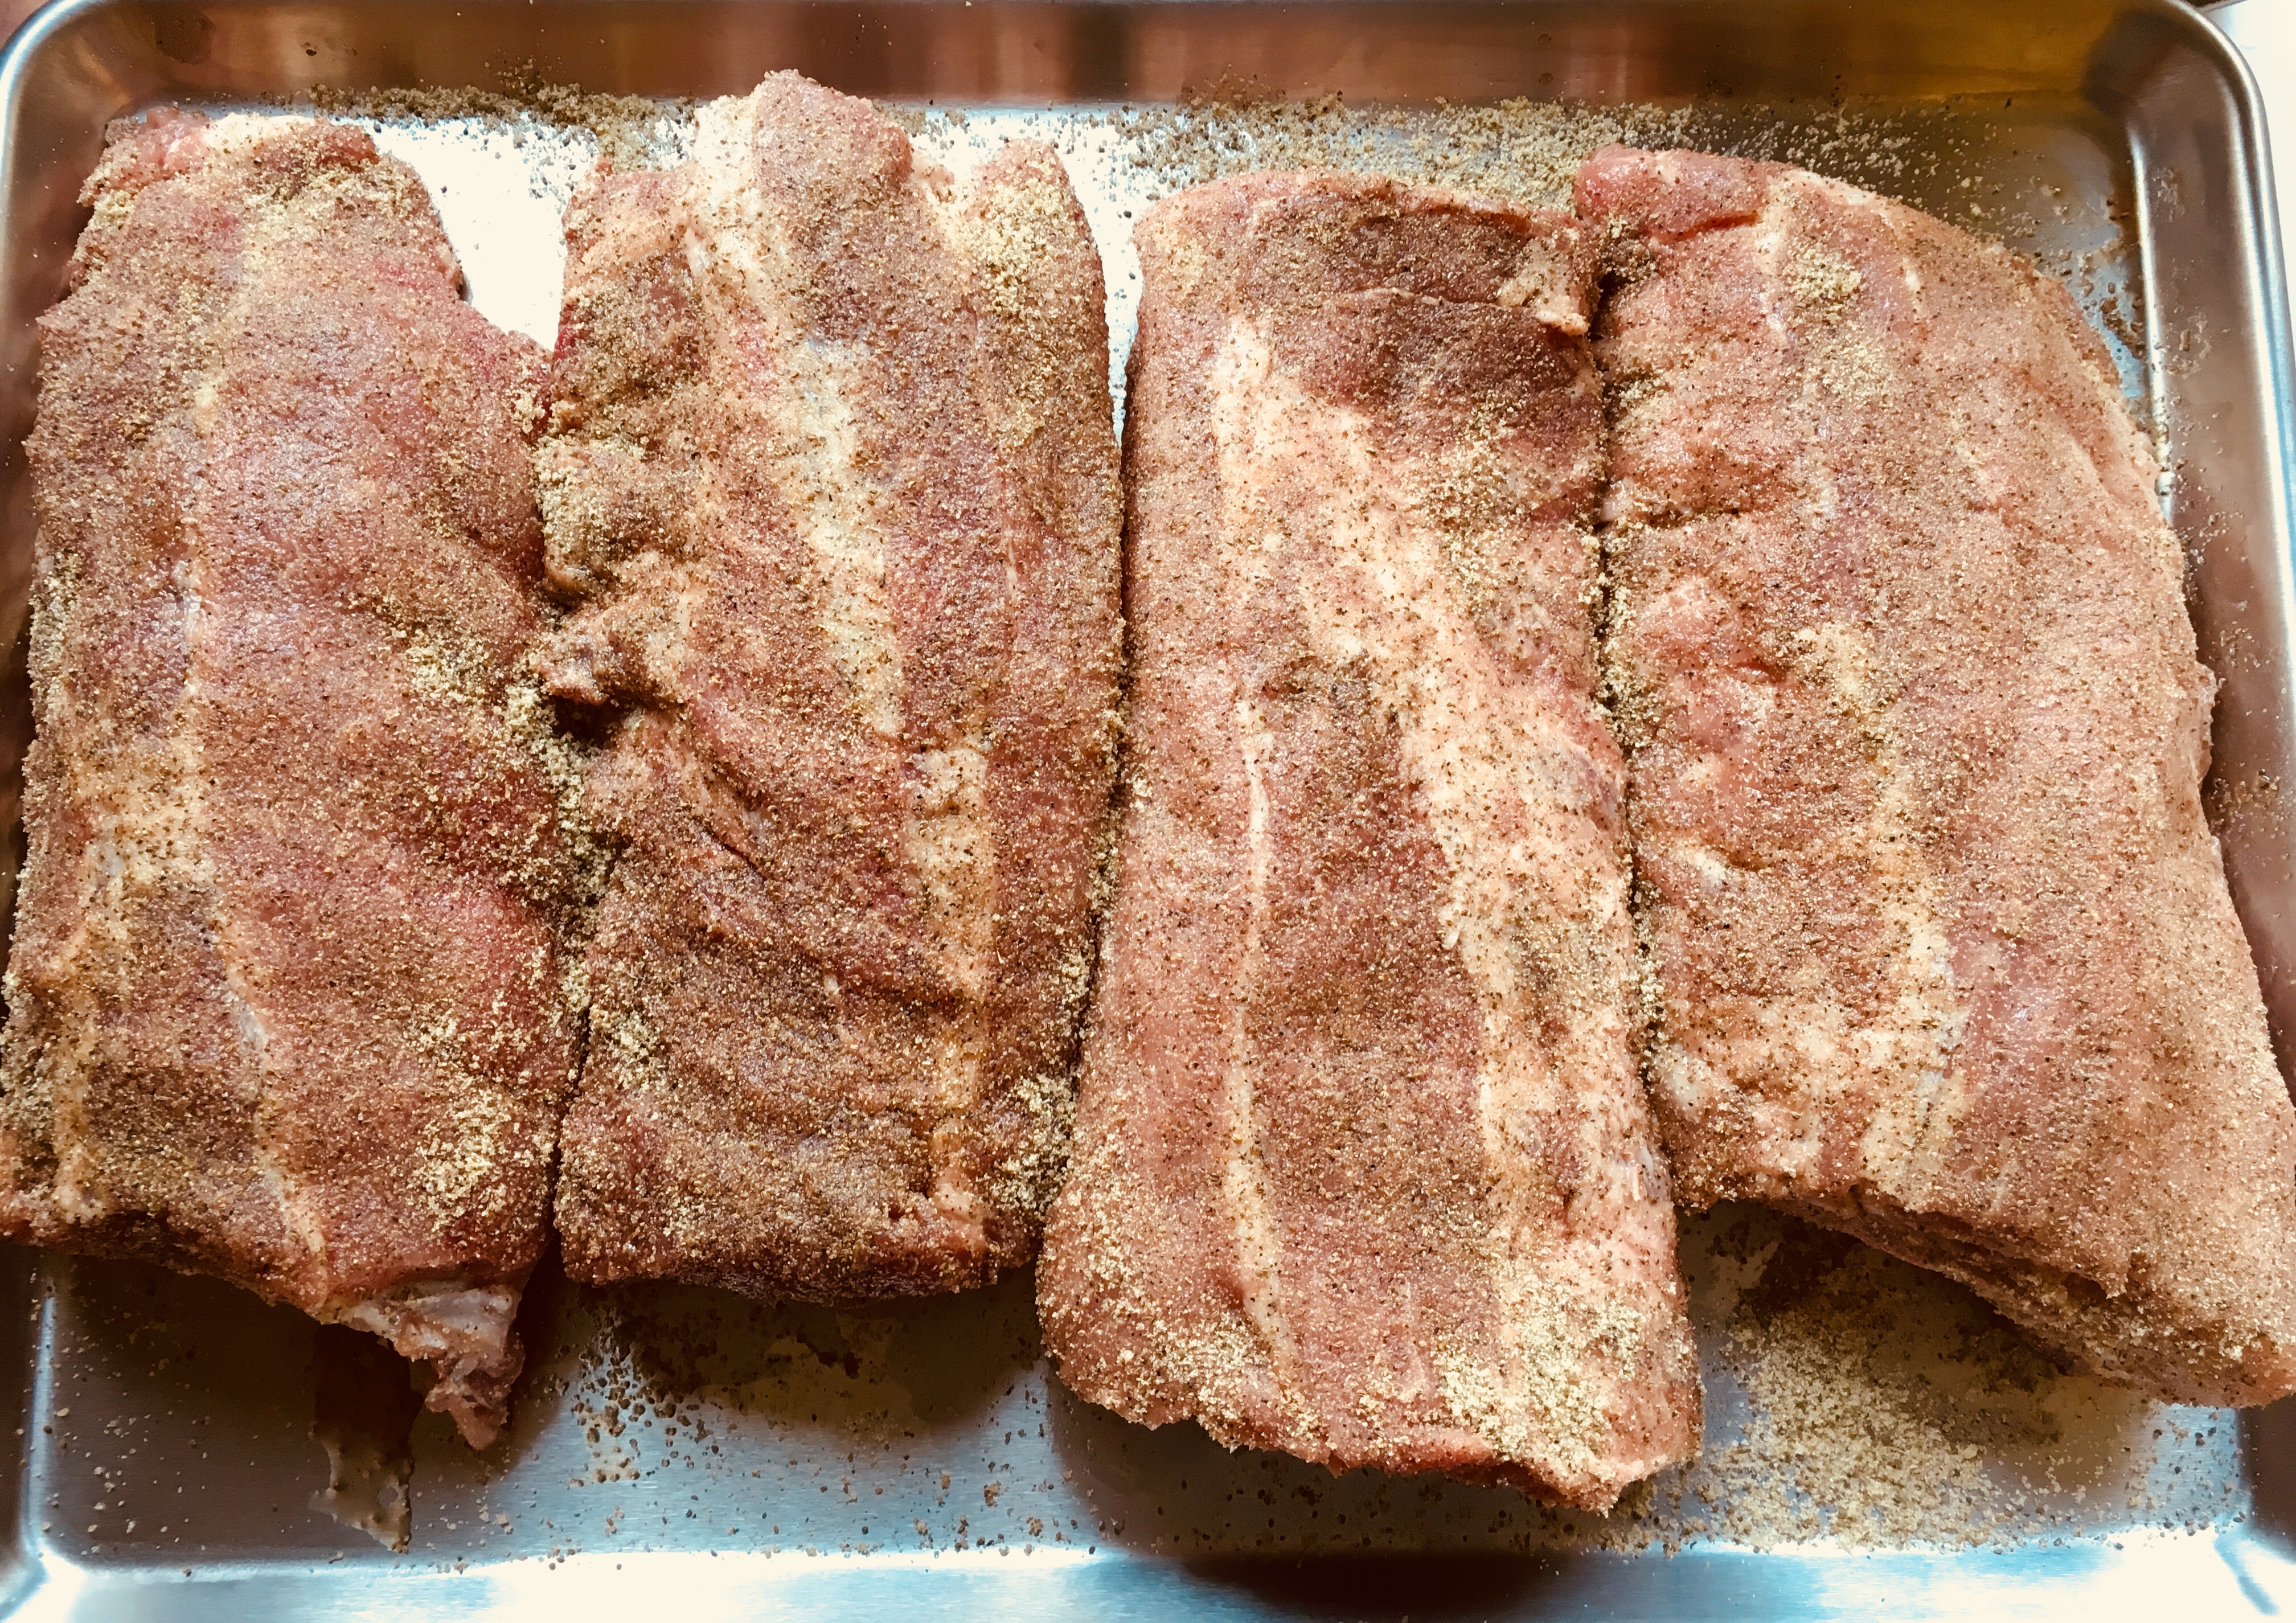
Rubbed-down ribs. I let them sit for an hour at room temp before smoking.
8 to 10 lbs. pork ribs
spice rub (see below)
barbecue sauce (see below)
Spice rub
2 tablespoons brown sugar
1 tablespoon granulated garlic
1 tablespoon salt (I like using fine sea salt)
1 tablespoon black pepper
1 tablespoon celery seed (not celery salt)
1 tablespoon granulated onion
Combine all the spice rub ingredients. I like to grind the celery seed in a spice grinder before mixing with the others, so that I don’t get crunchy bits.
If the pork rib slabs are long, cut them in half so they’re easier to work with (and so they fit in the smoker!)
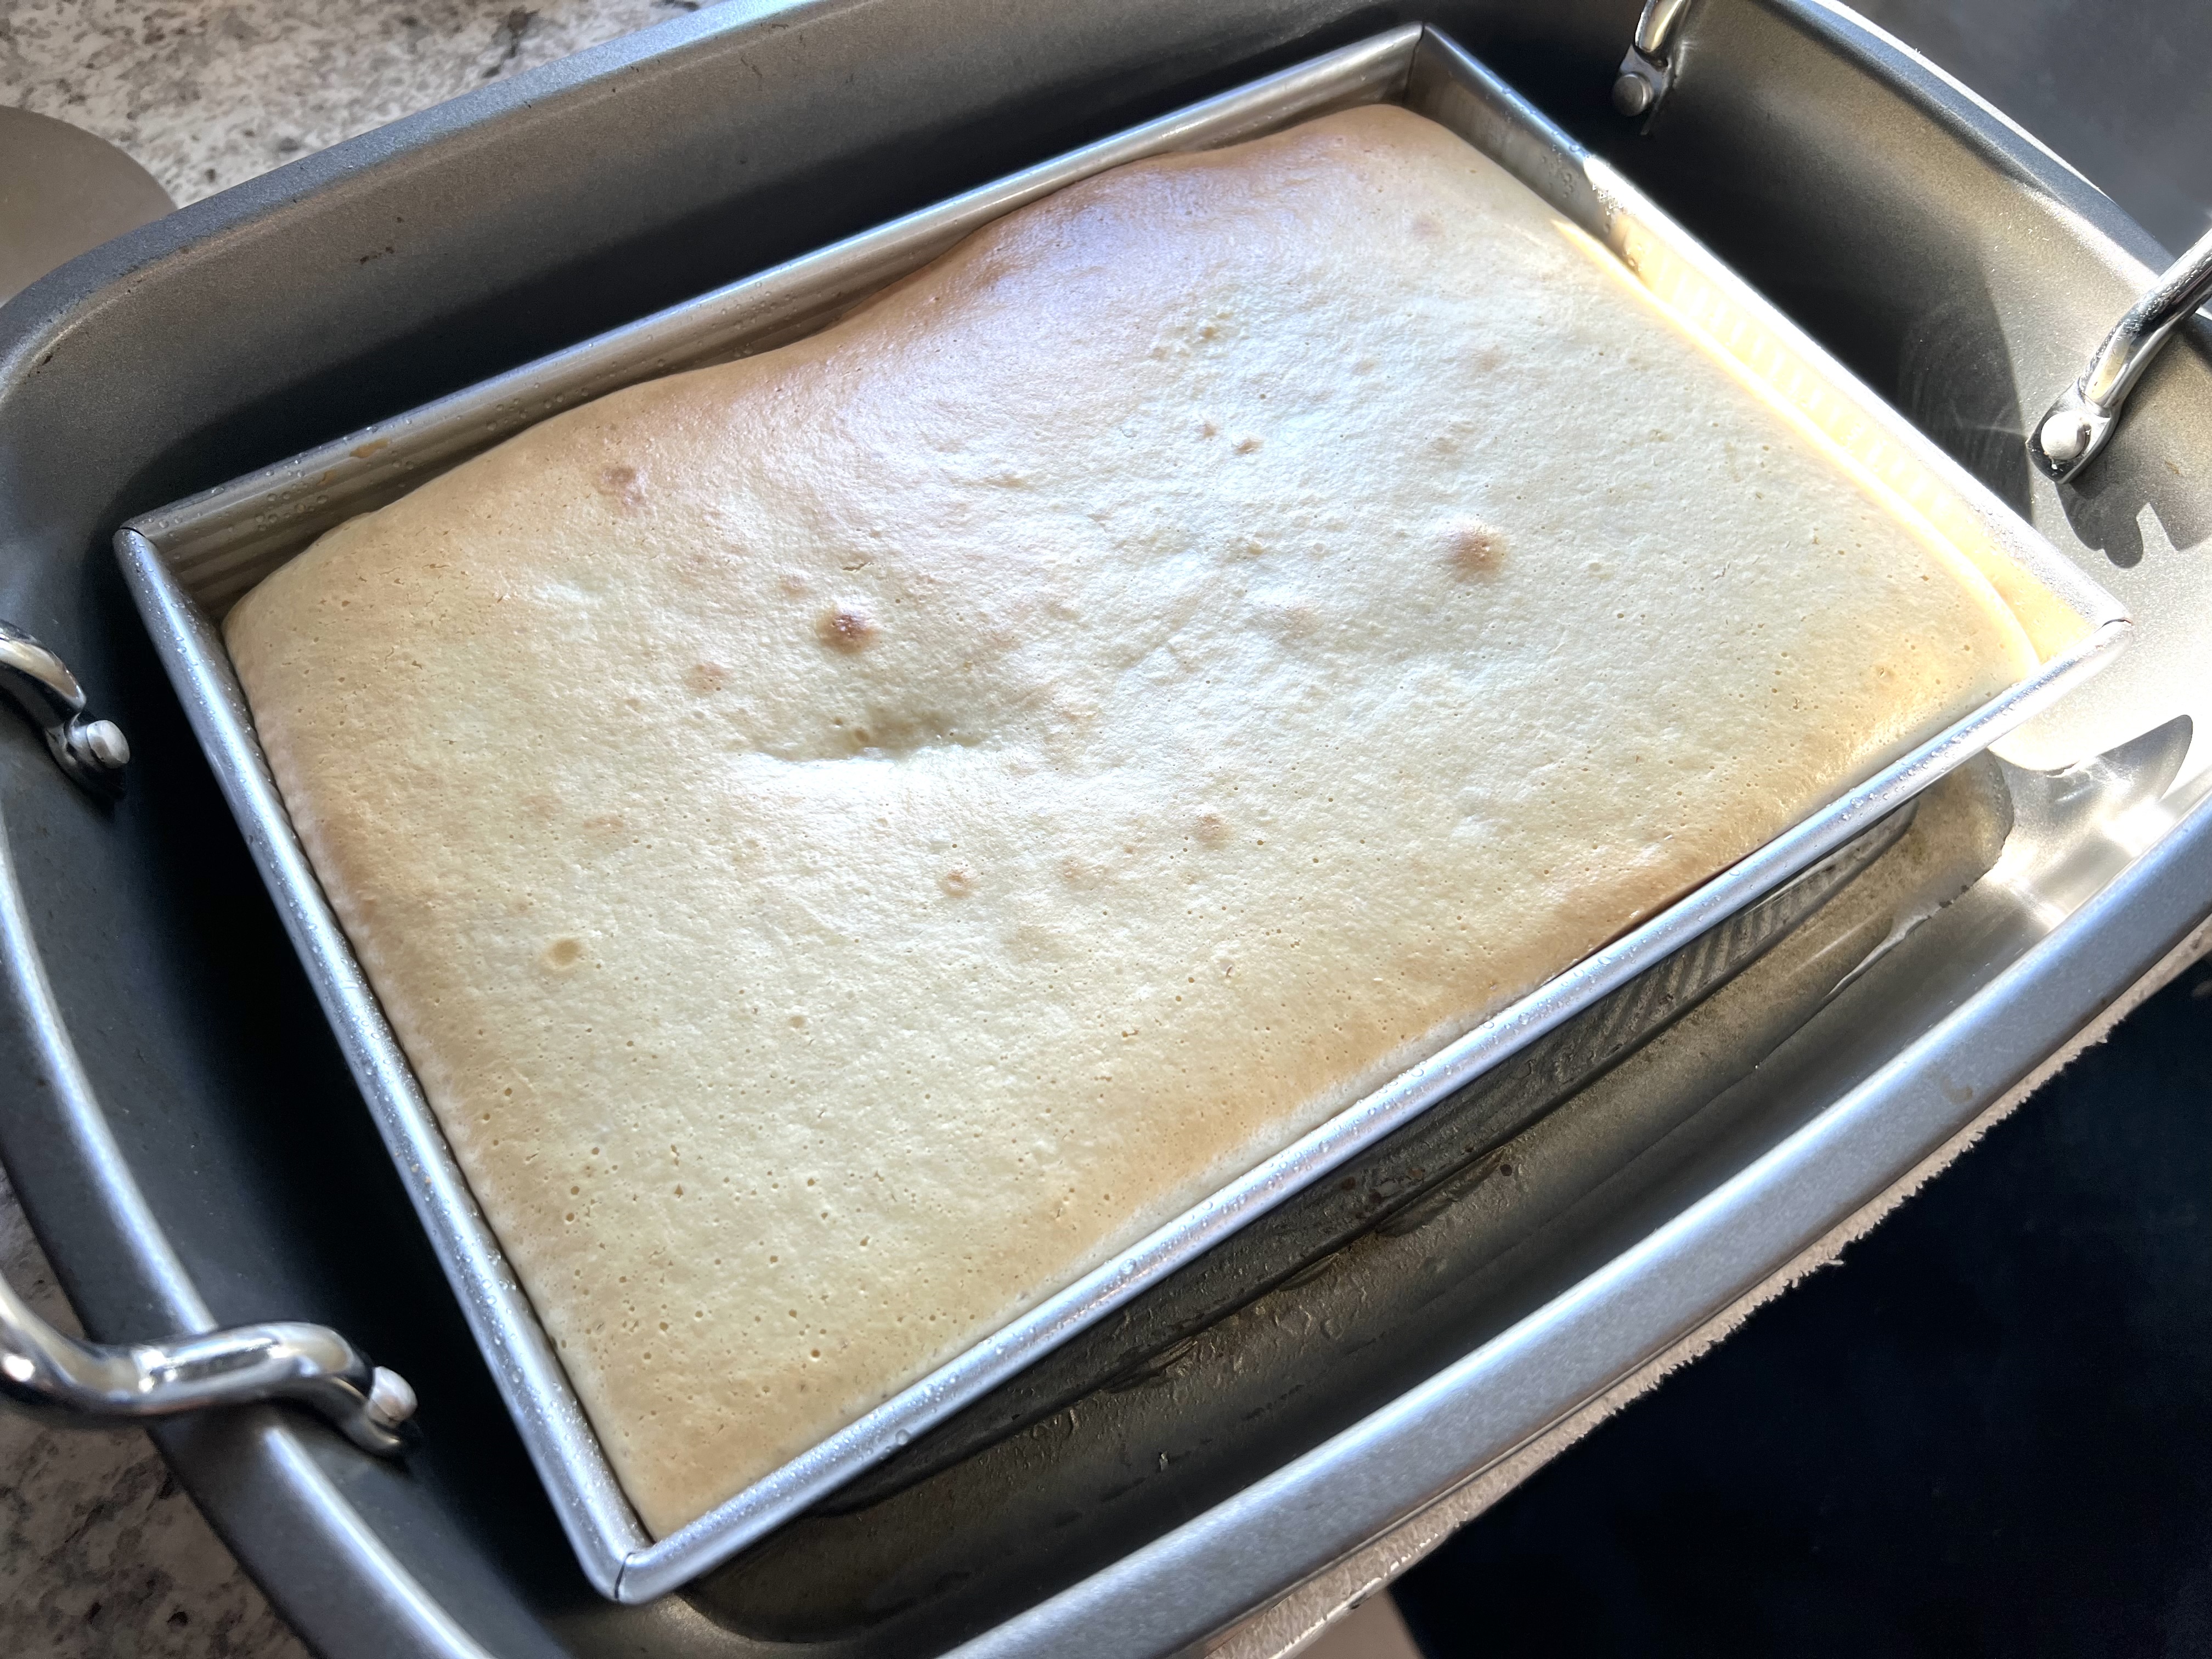
Rub the ribs with the spice rub, and place them in a 250° oven or smoker. Place a pan of water underneath to keep them moist and to catch any grease that drips down. I use an electric smoker, so during those 3 hours of cooking, I add hickory chips once an hour.

After 3 hours of smoking with hickory chips. I place one rack on top of another, brushing them with sauce, then wrapping them in foil.
While the ribs are cooking, it’s time to make the barbecue sauce. I like a citrus-based, sweeter sauce, and this time, I had some mandarin oranges in the kitchen. But you can easily substitute regular oranges, lemons, limes or even grapefruit for this recipe.
1 cup ketchup
1/2 cup mandarin orange juice (or other citrus juice)
zest of 2 mandarin oranges (or other citrus)
1/4 cup brown sugar
3 tablespoons butter
1 teaspoon hot sauce (I like Frank’s Red Hot)
1 teaspoon Worcestershire sauce
1 teaspoon granulated garlic
1/4 teaspoon black pepper

Brushed with sauce before wrapping in foil for the last 2 hours of cooking.
Remove the ribs from the smoker, place them individually on a piece of aluminum foil, and brush them with the barbecue sauce on all sides. Wrap them completely with the foil and place them on a baking sheet in a pre-heated 250° oven. Cook for 2 hours more.

Why cut them into individual ribs when you know you’re going to eat the rack anyway?