Posts Tagged ‘chicken’

I’ve got dozens of chicken wing recipes,  but even so, sometimes I just want something different. I decided to take my favorite taco seasonings recipe and adapt it to chicken wings. Caramba! One of the tastiest wings I’ve made in a long time!

This is such an easy and delicious recipe to make, even for a crowd. At your next party, just double or triple the recipe, as needed.

2 teaspoons salt
2 teaspoons cumin
2 teaspoons oregano
1 teaspoon paprika
1 teaspoon granulated onion
1/2 teaspoon granulated garlic
1/2 teaspoon pepper
avocado oil
4–5 lbs. chicken wings


Preheat the oven to 375.

Combine the salt, cumin, oregano, paprika, onion, garlic, and pepper in a bowl. Mix well.

Cover a baking sheet with aluminum foil and spread the wings out on the sheet. Sprinkle the wings with the avocado oil and rub the oil all over the wings. This will help the wings cook evenly,  and it’ll help the seasonings stick to the wings.

Turn the wings bottom-side-up and sprinkle with the seasoning mix. Flip the wings over and sprinkle them again, coating them evenly.

Place the baking sheet in the oven and bake for about 45 minutes.


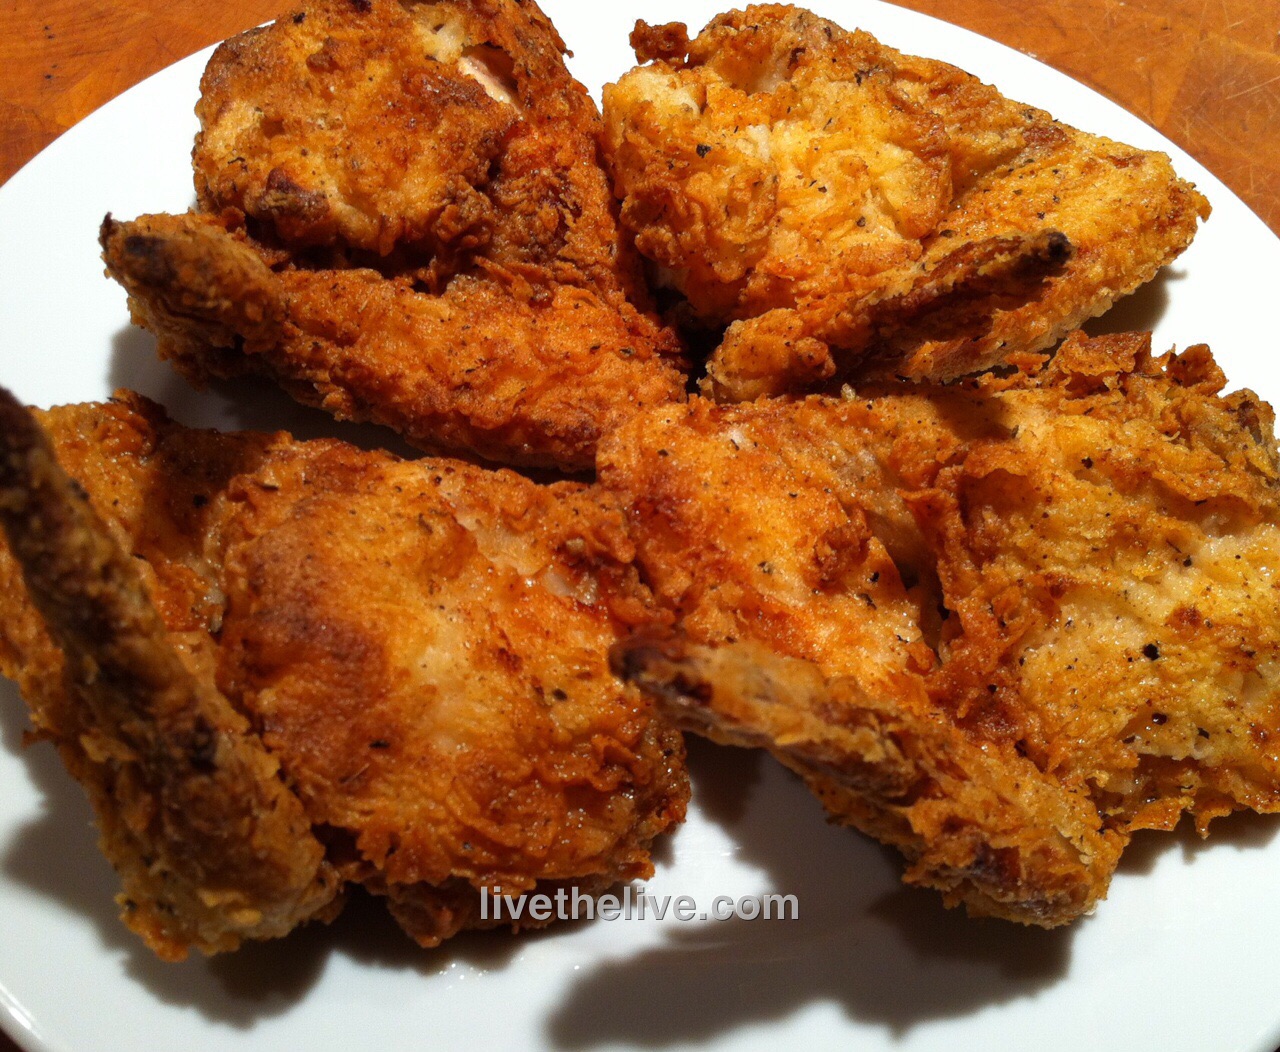
I love fried chicken. But what makes this recipe great is that I get all the benefits of crispy fried chicken without all the grease and without standing watch over it the whole time.

You can use any chicken parts for this recipe. Fry the chicken until it just turns golden brown and then finish it in the oven.

I use gluten-free flour (Cup4Cup is my favorite) for this recipe, and it works perfectly. If you’ve got someone you love who hasn’t had real fried chicken because they’re on a gluten-free diet, they will love this. If you’re not on a GF diet, feel free to use regular all-purpose flour.


10 lbs. large chicken wings or chicken pieces
Avocado oil, for frying

For soaking:

1 quart buttermilk
1 tablespoon hot sauce (I use Frank’s Red Hot)

For the seasoned flour:

2 cups all-purpose flour
1 tablespoon sea salt
1 teaspoon freshly ground black pepper
1 teaspoon paprika
1 teaspoon granulated garlic
1 teaspoon granulated onion
1 teaspoon basil
1 teaspoon oregano

Open the bottle or carton of buttermilk and add 2 teaspoons of hot sauce. Close the container and shake to combine. Place the chicken pieces in a Ziploc bag, cover with the buttermilk, and seal the bag, letting the chicken soak in it for at least several hours. Overnight is best.

image


Pre-heat the oven to 350 degrees.

In a bowl, combine the flour, salt, pepper, paprika, granulated garlic, onion powder, basil and oregano. Mix well.

After the chicken has soaked in the buttermilk, remove the pieces one at a time, leaving the buttermilk on them as you toss the pieces into the seasoned flour. Shake off the excess flour, and then set the pieces aside on a metal baking rack placed on a sheet pan.

If you’ve got the time, and want to make the chicken extra crispy, let the chicken pieces sit for an hour, then re-flour them before frying. If not, go right to the next step.

Pour the oil into a large heavy-bottomed stock pot to a depth of 1-inch. Heat the oil to 360 degrees on a thermometer.

image

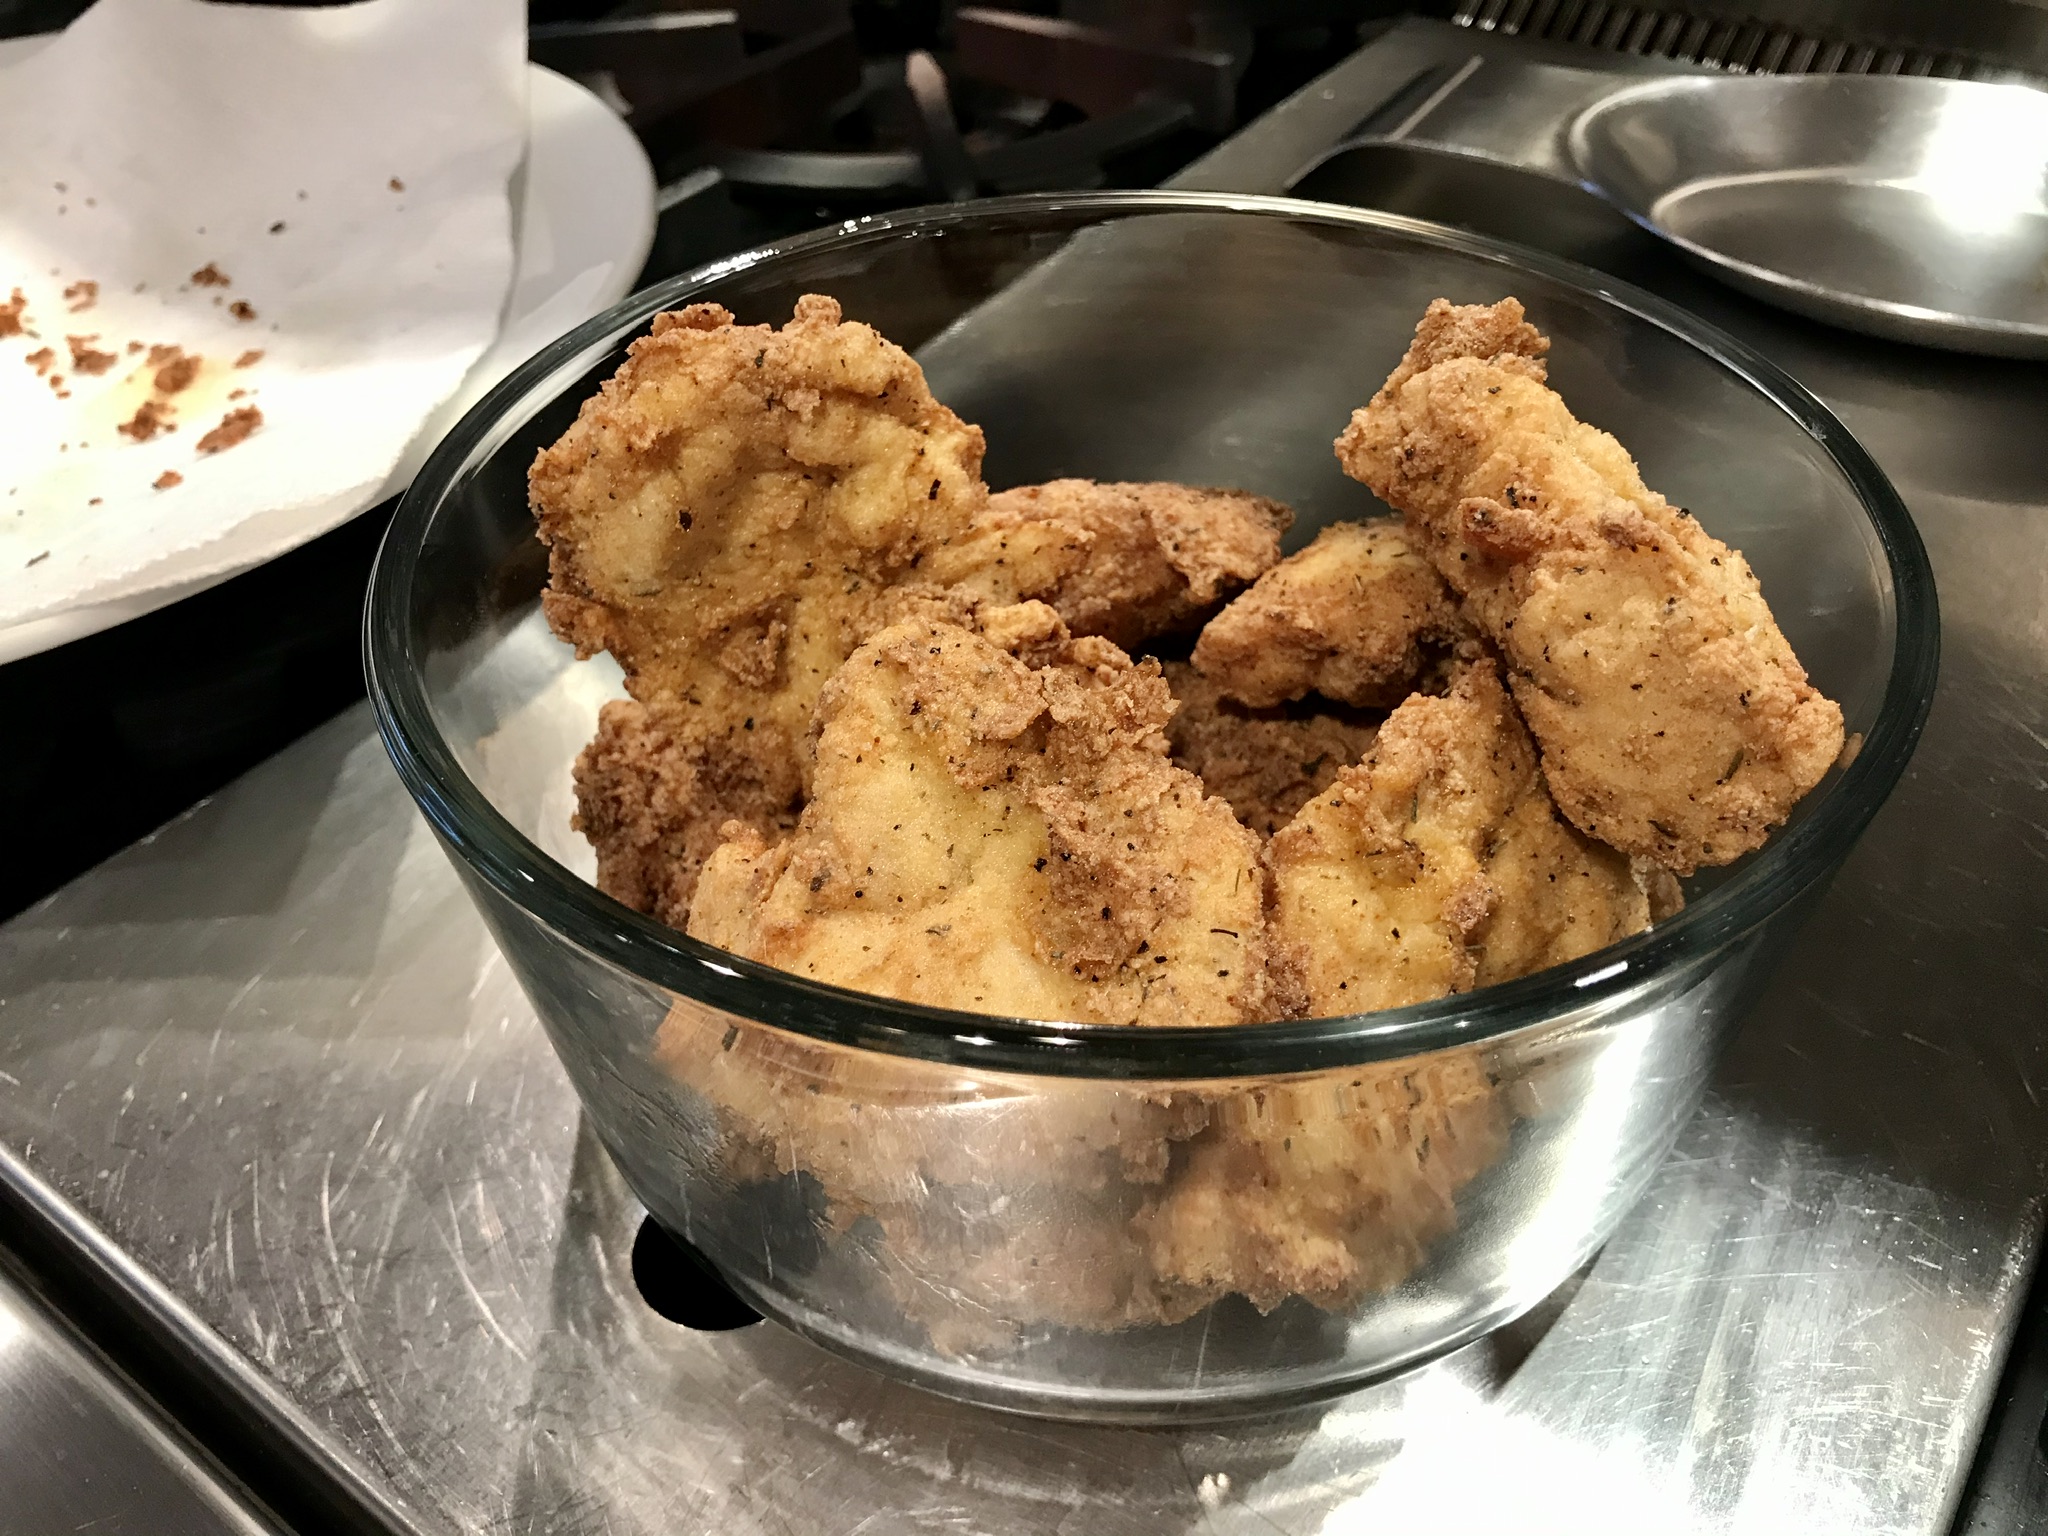
Working in batches, place the chicken pieces in the oil, being careful not to overcrowd them. Fry the chicken until it is golden brown on both sides, then place each piece back on the metal baking rack set on the sheet pan.

Once all the chicken has been fried, place the sheet pan in the oven for 30 to 40 minutes, until it’s fully cooked and crispy.

image


Feast!

Brining, the process of letting a hunk of protein soak in a salt solution for a few hours, is a great way to add flavor and moisture to any cut of meat. I brine these wings for 3 hours before using a sweet and spicy rub. They can be grilled or roasted in the oven.

image

The brine…

1/2 cup Kosher salt
3 tablespoons light brown sugar
1 teaspoon whole black peppercorns
1 whole bay leaf
2 quarts water

Combine all ingredients in a saucepan and heat until the sugar and salt dissolve. Remove from heat, and let it cool to room temperature.

The rub…

1/4 cup light brown sugar
1/4 cup granulated sugar
1/4 cup sweet paprika
1 tablespoon Kosher salt
1 tablespoon granulated onion
2 teaspoons black pepper
1 teaspoon dried thyme
1 teaspoon dry mustard
1 teaspoon ground ginger
1 teaspoon cayenne pepper

Combine all ingredients in a bowl.

Place 3 lbs. of chicken wings in a Ziplock bag and pour the cooled brine into the bag. Place the bag in a bowl to prevent leaks and place in the fridge for 3 hours.
After 3 hours, remove the chicken from the brine and dry with paper towels. Discard the brine.
Place the chicken pieces in a large bowl and sprinkle with 1/3 cup of the rub, tossing to coat the chicken well. Place the bowl with the chicken in the fridge until ready to cook.
About 30 minutes before cooking, remove the bowl from the fridge and let the chicken come to room temperature.
Pre-heat the oven to 350 or light a grill.
Toss the chicken with some more of the rub, if you like, then place the pieces on a sheet pan lined with non-stick aluminum foil.
Bake at 350 for 30 minutes or until done. Lower oven temperature if it starts to burn.

If grilling, cook over medium heat, turning frequently to prevent burning. Cook until the wings are done.


If you watch as much Food Network and Cooking Channel as I do, you’ve probably heard of Big Bob Gibson’s Bar-B-Q in Decatur, Alabama. Smokin’ and grillin’ since 1925, they put the now-famous Alabama white sauce on the map. They would smoke whole birds, then dunk the entire bird in a bucket of white sauce before returning them to the smoker to cook some more. And then they’d serve more of the precious white sauce on the side as you tore into the most amazing chicken you’ve ever had.


I lived in Mobile, Alabama about 30 years ago. Never made it to Decatur. Probably never will. So it was time for me to try to recreate the magic at home. I think I did pretty well.

If you Google “Alabama white sauce,” you’ll get dozens of versions, each, I’m sure, pretty similar and pretty good. I did just that, and then tweaked it to make it my own.

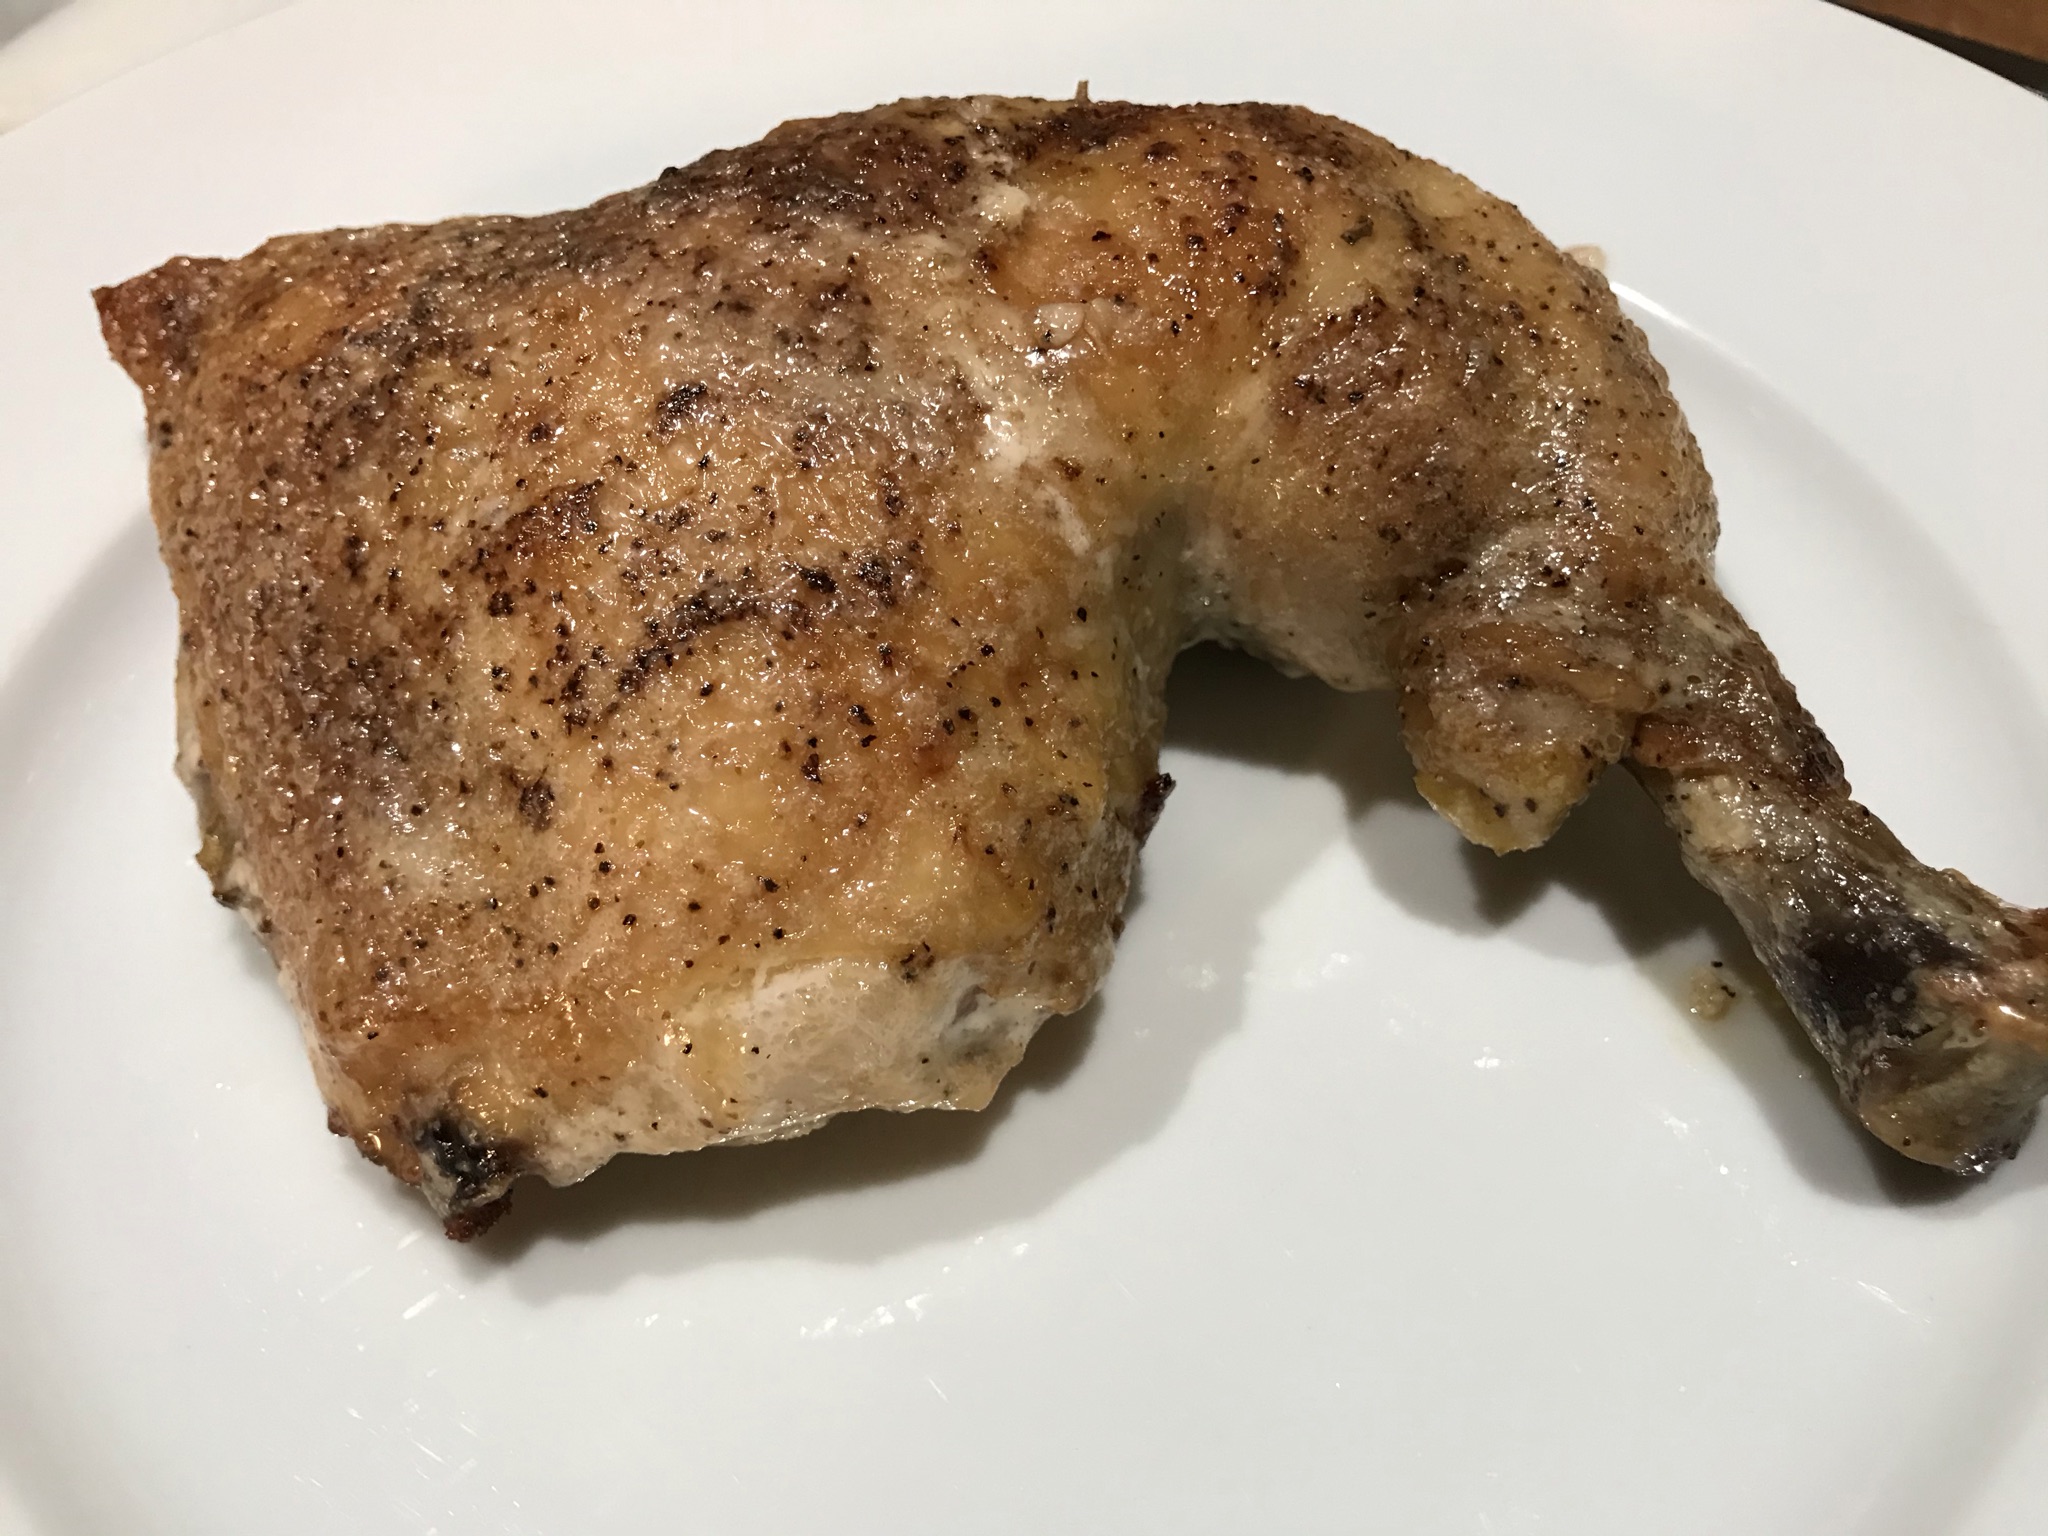
I don’t smoke the birds. I simply season them with salt and pepper, and roast them in a convection oven at 350. When they’re almost done, I brush the chicken all over very liberally with my white sauce…bottom of the bird, too. Then it goes back in the oven for a little bit more.


Parts work as well as whole birds. I love using leg quarters for this recipe.


1 cup mayonnaise
4 tablespoons buttermilk
4 tablespoons white vinegar
2 teaspoons Dijon mustard
1 teaspoon ground black pepper
1 teaspoon granulated garlic
1 teaspoon granulated onion
1/2 teaspoon salt
1/2 teaspoon sugar

Combine all the ingredients and mix well. I like to keep it in a container with a lid so I can shake it up before using it.

Preheat the oven to 350.

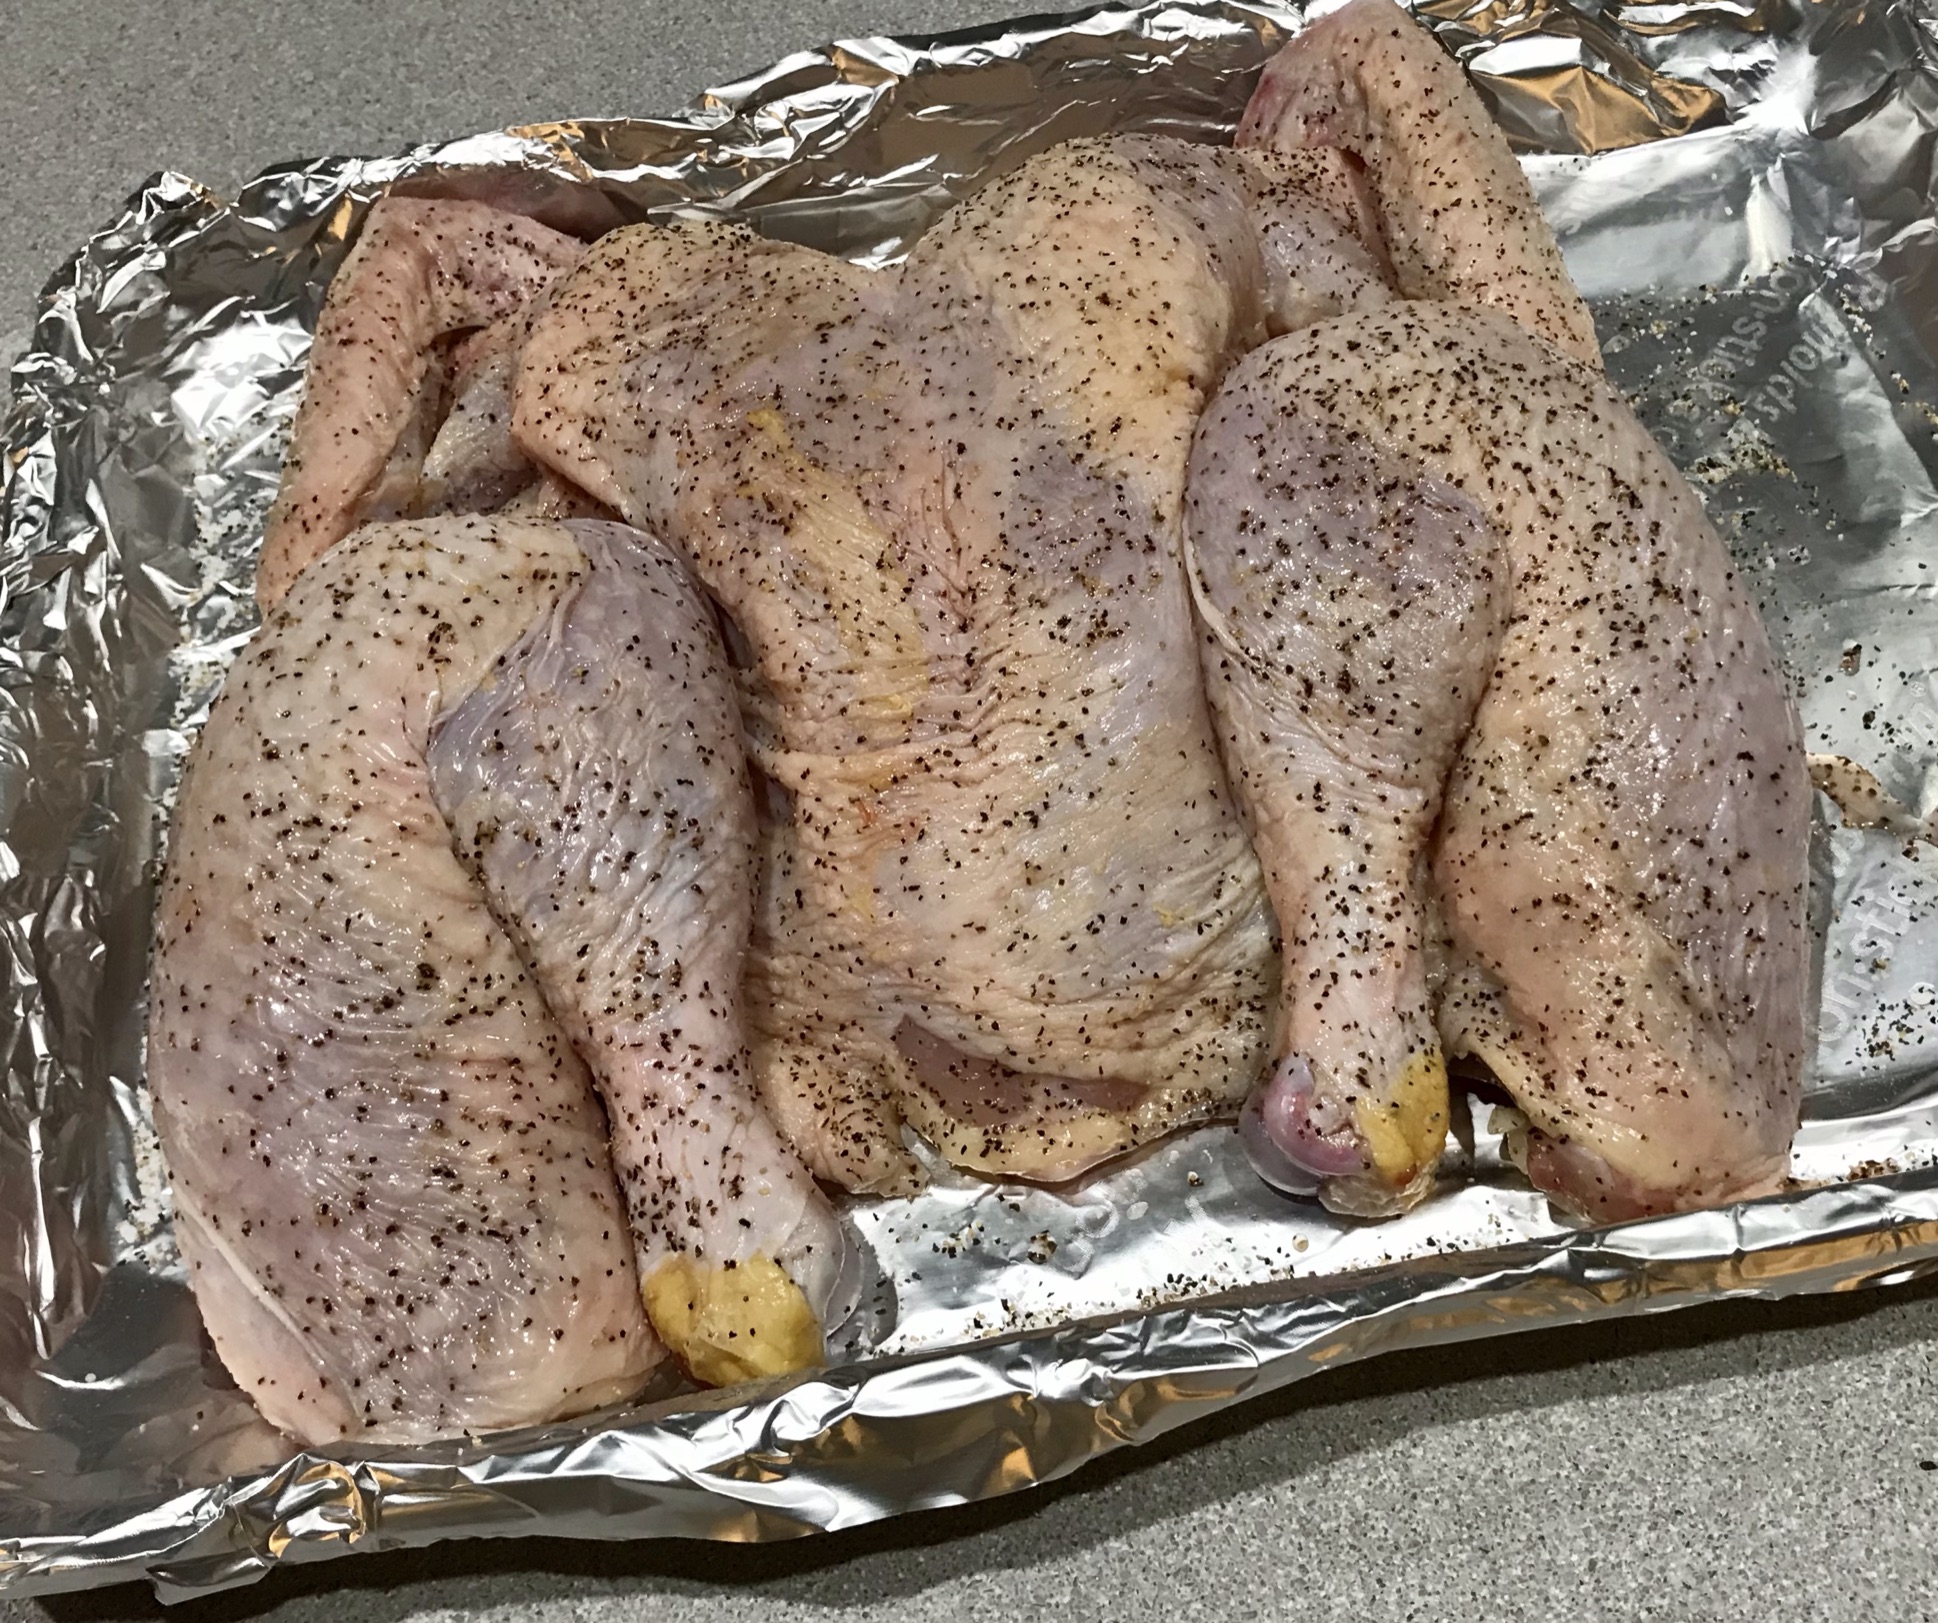
I like to roast a whole bird, though parts work just as well. If I’m roasting a whole bird, I like to spatchcock the bird so that it cooks evenly. 

(Aside from the fact that it sounds dirty, spatchcocking simply means removing the back bone of the bird so you can open it up and press it flat onto the roasting pan.)


A spatchcocked bird.


It’s relatively easy to do, especially if you have poultry shears. You just flip the bird upside down, and cut all the way up on either side of the back bone.

Be sure to save the backbone for chicken stock. If you’re like me and you pay extra for really good quality humanely raised chicken, every little bit needs to be saved and utilized to get the most bang for your buck.

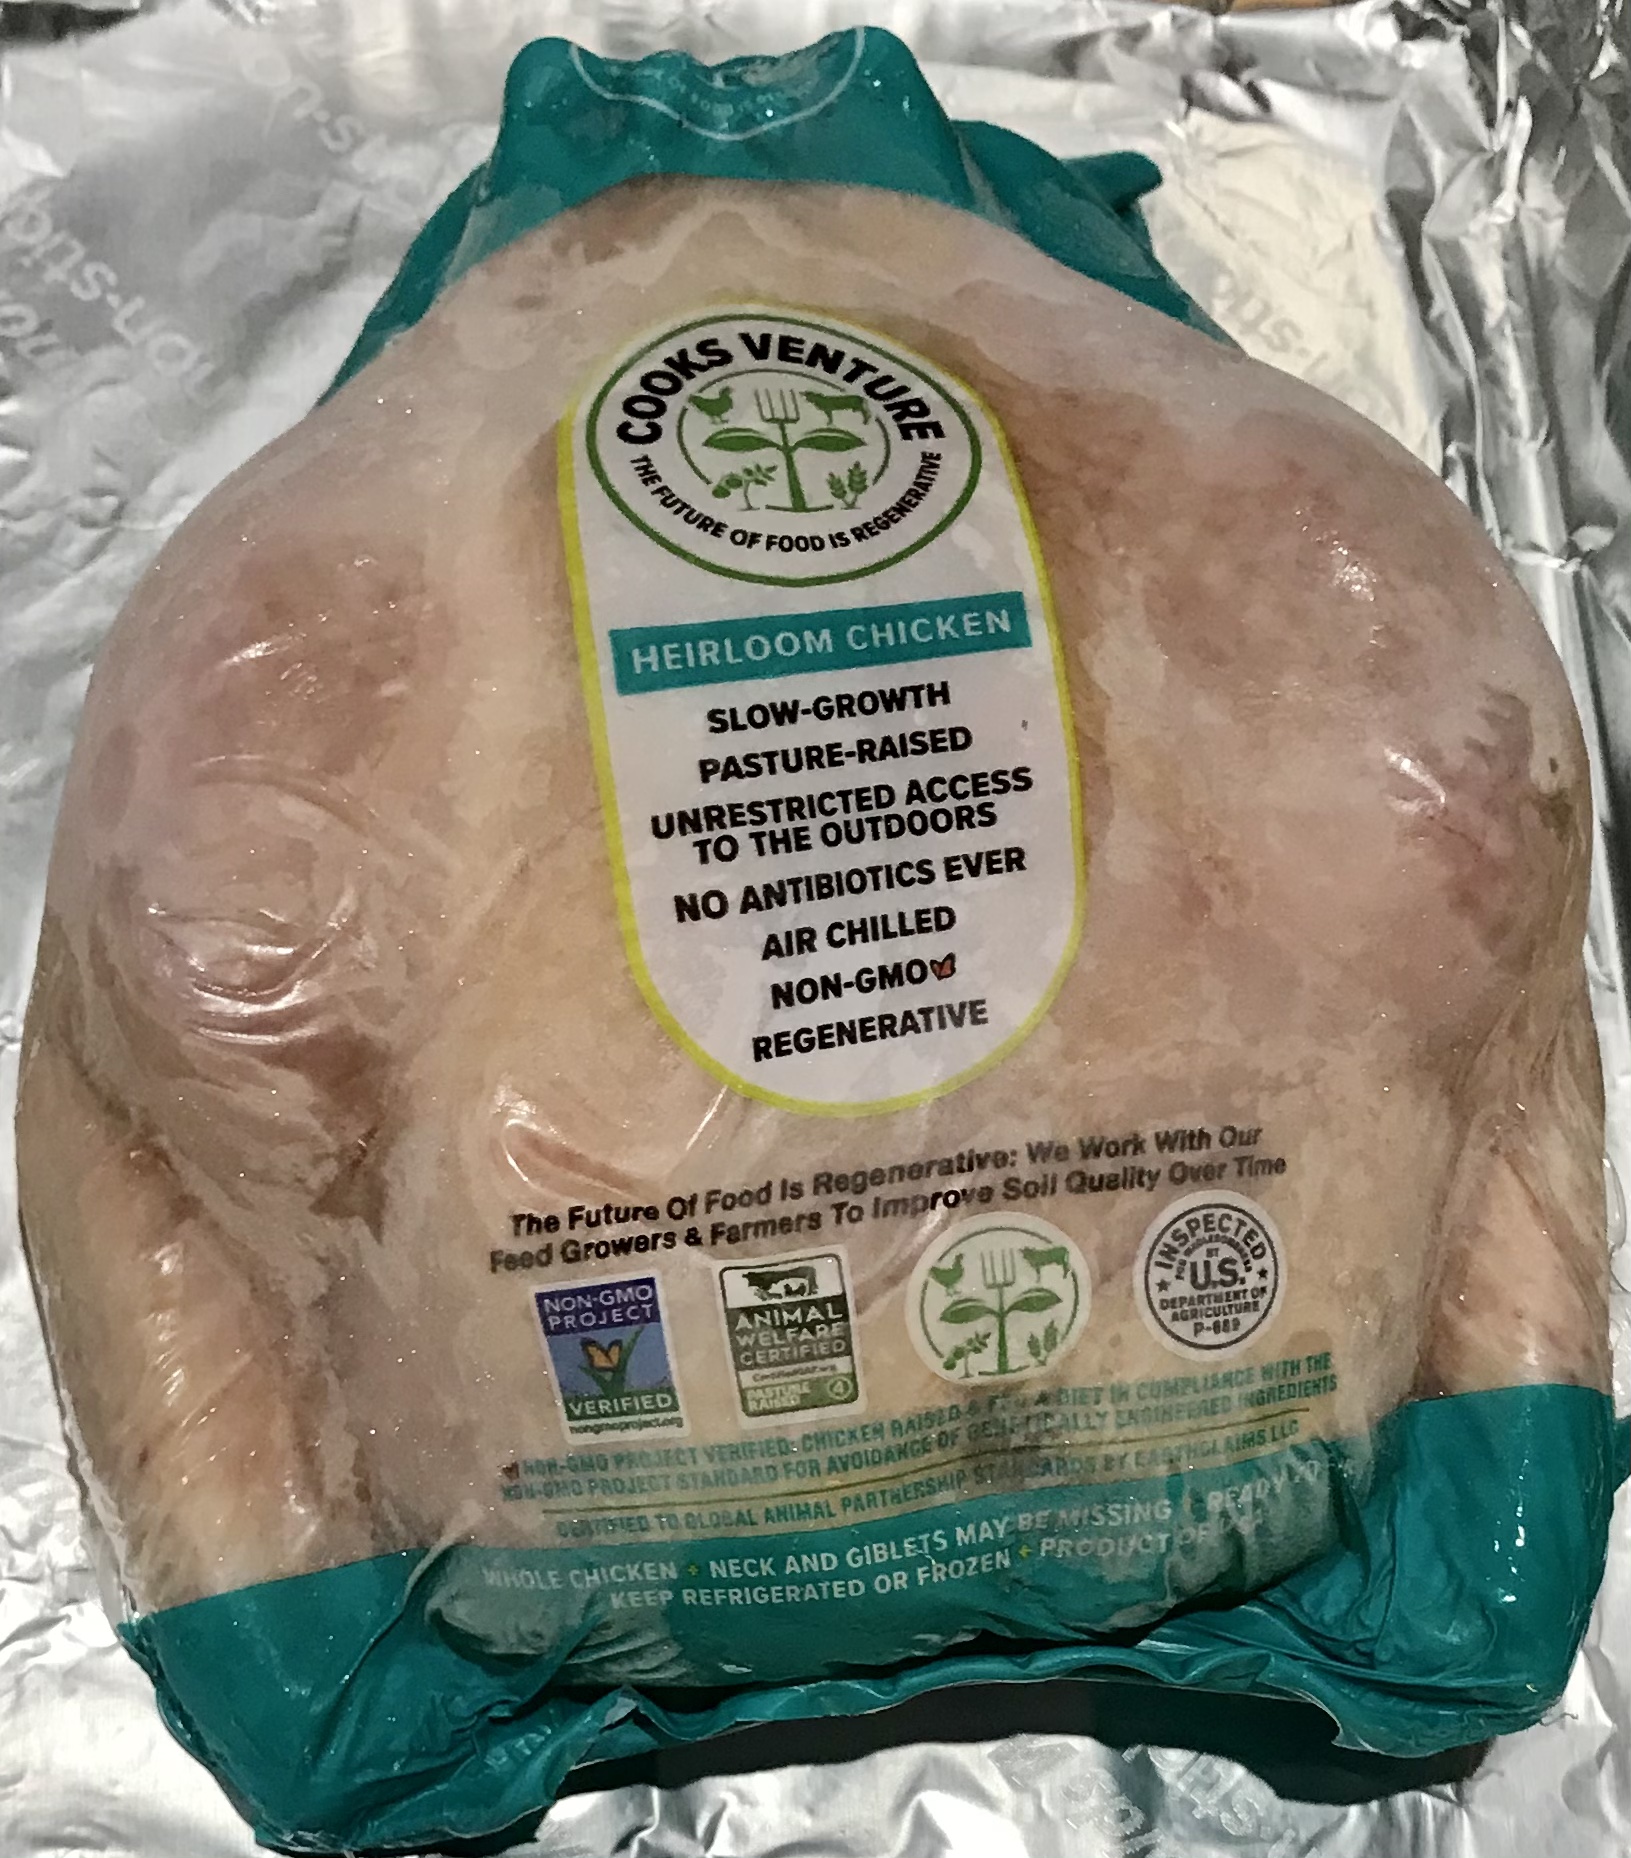
I recently discovered a brand called Cook’s Venture. They sell an uncommon variety of bird that is pasture-raised and grows slowly, producing delicious meat. The TLC required to raise these birds comes with a price, but to me they are worth it.


I line a baking tray with foil, salt and pepper my bird all over, and place it on the baking tray and into the 350-degree oven. It takes a little less than an hour for a 4-lb. bird, but before it’s completely cooked through, I pull it out of the oven and brush on all sides with my Alabama white sauce.


Then it goes back into the oven for about 10 minutes.

The result is a tender and juicy bird, unlike any you’ve had before.


And save some of that white sauce to dip in while you’re eating!


Here in Southern New England, the most popular brand of chicken salad you can buy is called Willow Tree. They’ve made it for over 50 years, and people crave it like crack. And it’s good: moist and “mayonnaisey”.

But I’ve never been a fan of “secret” ingredients, and Willow Tree is full of ’em, so my task was to make something that was as good as Willow Tree, with known ingredients. I got close…real close! As always, I use pastured chicken and organic veggies when possible. And since I use chicken breasts only, I found that boiling the breasts in stock instead of water keeps the meat more flavorful.

Another option: I like to roast a whole chicken, devouring the dark meat, then using the breast meat for the chicken salad. I use the carcass and scraps for chicken stock. Nothing goes to waste!

image

1.5 lbs boneless skinless chicken breasts
4 pints salt-free chicken stock (I use home-made)
1/2 cup mayonnaise (I live on Hellman’s)
1/4 cup finely chopped celery
2 tablespoons finely chopped Vidalia onion
1 teaspoon light brown sugar
1/8 teaspoon granulated garlic
1/2 teaspoon salt
1/8 teaspoon black pepper

Heat the chicken stock in a large pot. Bring it to a boil and add the chicken breasts. Bring it to a boil again, then simmer uncovered for about 7 minutes.

Turn the heat off, cover the pot with a lid, and let the breasts sit in the pot for 30 minutes. After 30 minutes, remove the breasts to a cutting board and allow them to cool. Save the chicken stock for another use, like soup. (See below.)

Meanwhile, in a large bowl, combine the mayonnaise, celery, onion, brown sugar, granulated garlic, salt and pepper. Mix them thoroughly to combine.

When the chicken has cooled, shred the breast meat into bite-sized pieces and then transfer it into the bowl with the mayonnaise mixture. Mix thoroughly and chill before serving.

I love my chicken salad on a Martin’s Long Roll.

BONUS: I don’t waste the chicken stock left over in the pot. I chop some carrots, celery and onion and throw them in there. I reserve some of the chicken breast meat–just a bit–and throw it in there, too. I add a little salt and pepper, and a pinch of dried Bouquet Garni. I bring it to a boil, then reduce the heat to a simmer and cook until the veggies are al dente. Pasta or potatoes optional. Makes an awesome chicken soup!

If you want to freeze the soup, I would leave the potatoes or pasta out, adding them only when I’m reheating the frozen soup. That keeps them from getting mushy.

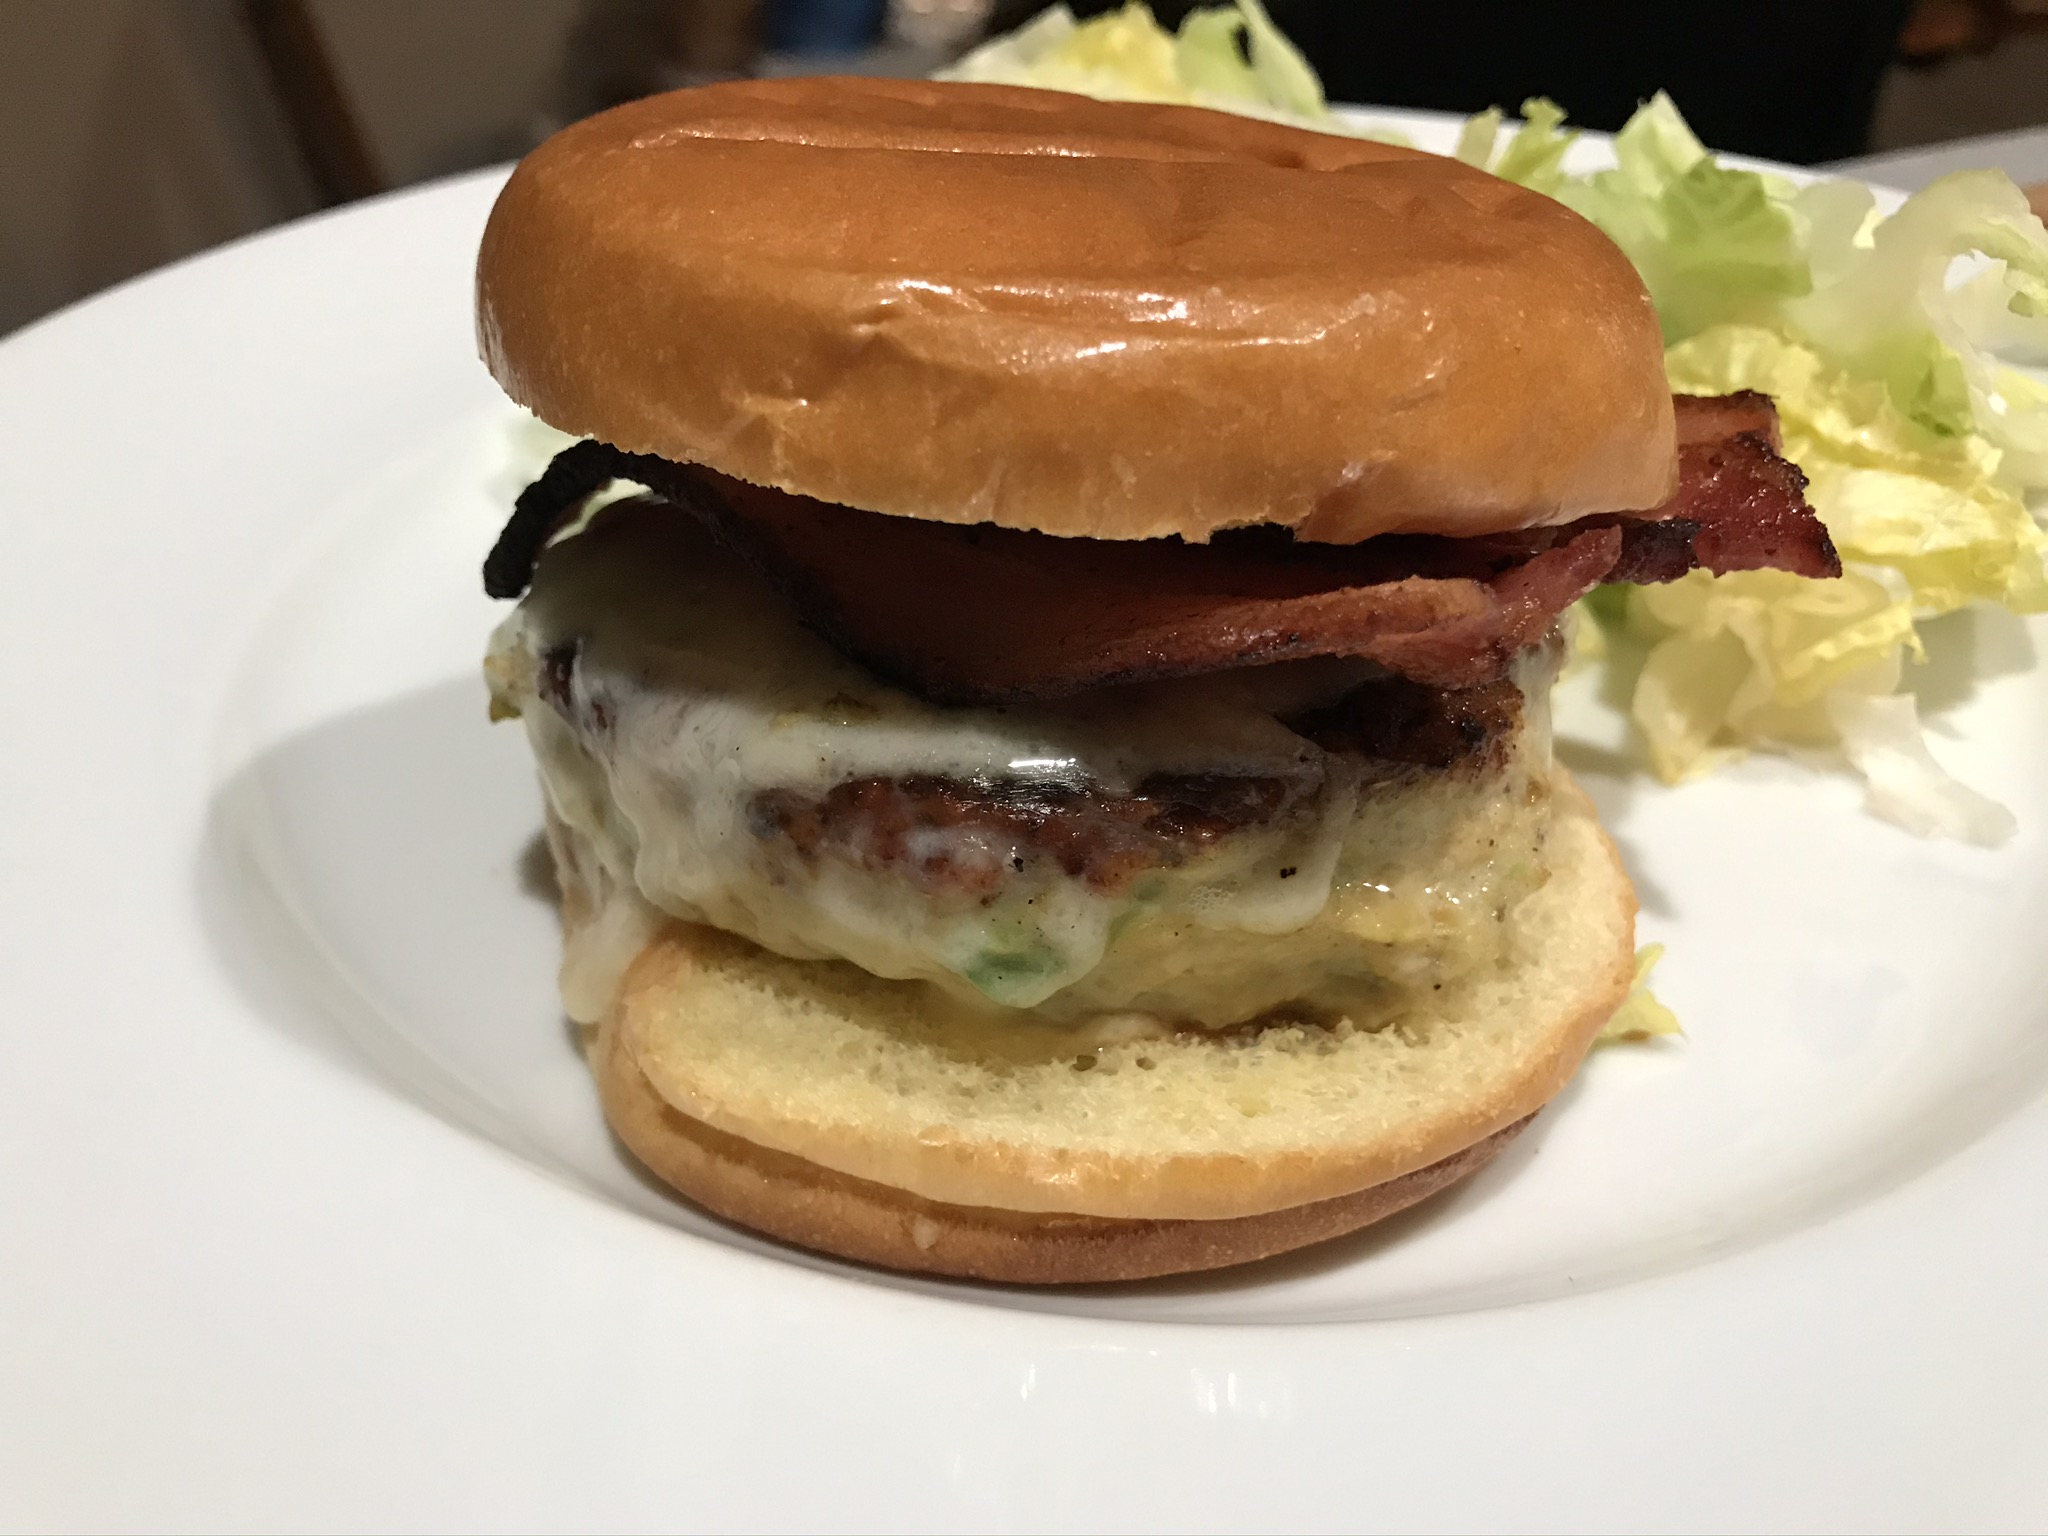
I never use ground turkey, because I think it’s nasty and flavorless. But ground chicken has a richer flavor, and doesn’t seem to dry out as quickly. adding avocado to the mix gives each bite of this burger a creamy, fatty richness the ground chicken needs.  Chicken and ABC (Avocado, Bacon and Cheese) is a winning combination. My Awesomesauce puts it over the top.

I cut the avocado in small cubes. I don’t make guacamole out of it. When the burger cooks, it melts into the meat, giving it that luscious fattiness I’m looking for. The egg and the breadcrumbs bind it all together.


chicken2

 
1 lb. ground chicken
1/4 cup breadcrumbs
1 ripe avocado, sliced into small cubes
1/2 teaspoon salt
1/4 teaspoon black pepper
pinch granulated garlic
1 raw egg
slices of bacon, cooked
Awesomesauce (recipe below)


chicken1


Combine the chicken, breadcrumbs, chopped avocado, salt and pepper, garlic and egg in a bowl and mix them thoroughly but carefully so that you don’t squash the cubes of avocado.

Get a sheet pan covered in non-stick foil. Using a 1/2 cup measuring scoop, spoon out the burger meat onto the sheet pan, then gently press down on it with your hand to form patties. Place the sheet pan in the freezer for the burgers to firm up a bit.


Firming up the burgers in the freezer. The little meatball in the middle is a leftover…and a nice extra bite for the chef to enjoy!


Pre-heat the oven to 350 degrees.

Heat a little avocado oil (or bacon fat!) in an oven-proof pan, and place the burger patties in it when it’s hot. Let the burgers sear on one side, then flip them. (Make sure they sear well, or they’ll fall apart when you try to flip them.) Add the cheese and place the pan in the oven to finish cooking and melt the cheese. Remember: it’s chicken…so you don’t want to undercook your burgers!

When they’re ready to serve, place the patties on a bun, add a couple of slices of bacon and slather with my Awesomesauce:

1/2 cup mayonnaise
1 tablespoon ketchup
1 tablespoon yellow mustard
1 tablespoon dill pickle relish
1/4 teaspoon garlic powder
1/4 teaspoon paprika
Pinch cayenne pepper

Combine all the ingredients in a bowl. Mix well. Refrigerate covered for a few hours to blend the flavors.

If you don’t want to make the Awesomesauce, Thousand Island dressing works, too!


I really love the deep flavor of soy sauce and the sweetness of hoisin on poultry. Peking duck is the best example of this, but since I live in Rhode Island, I don’t get a chance to jump in the car and drive to Chinatown in Boston or New York at the drop of a hat. I had to come up with a plan B…and a good plan B!

I found it while looking through an old Chinese cookbook I had bought many years ago. Written by legendary NY Times food critic Craig Claiborne and Virginia Lee, “The Chinese Cookbook” has become my bible for all of my Asian dishes.

I use chicken instead of duck. It’s cheaper, easier to find, and I can easily buy a whole pasture-raised chicken from local farms here in Rhode Island. But it is just as delicious.

As long as you use gluten-free soy sauce and hoisin sauce (La Choy and Kikkoman make them and they’re found in just about any supermarket), this recipe is gluten-free.


Cantonese chicken


1 whole chicken, about 6 lbs., or 2 smaller chickens (pictured)
1 tablespoon peanut oil
1 tablespoon soy sauce
4 teaspoons Chinese five spice powder
2 teaspoons granulated garlic
2 teaspoons salt
1/2 teaspoon black pepper
6 tablespoons hoisin sauce
2 teaspoons sesame oil


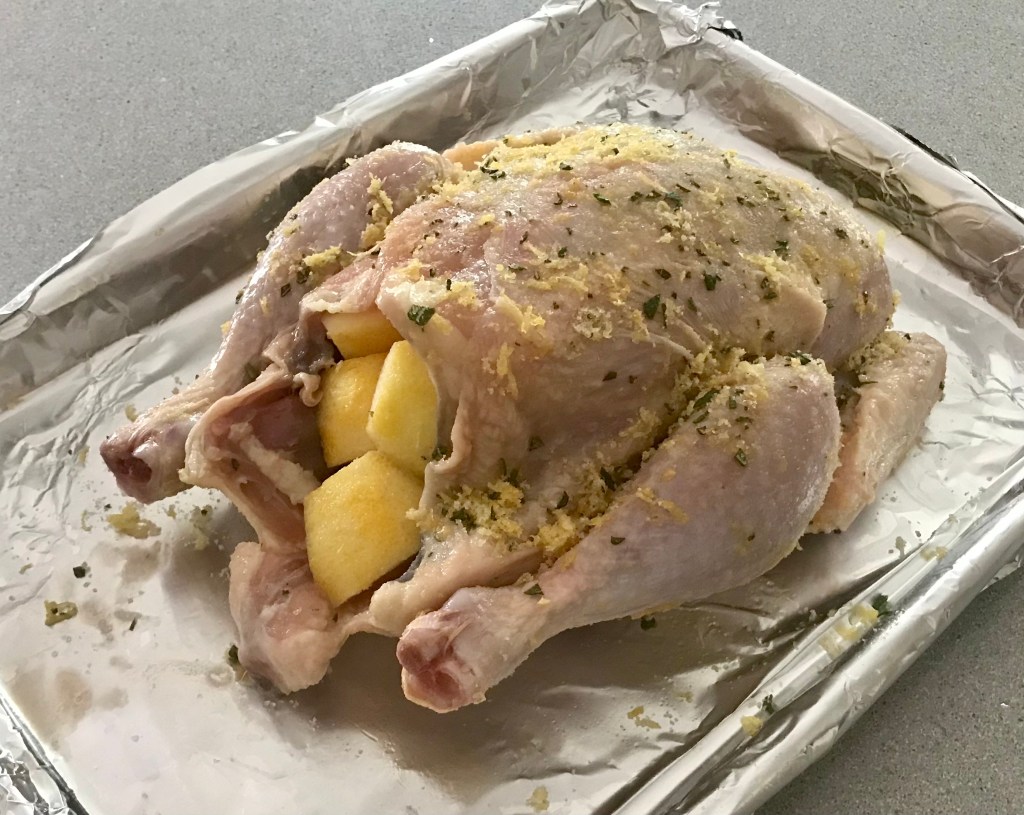
Remove all the giblets from the chicken and discard. Rub the soy sauce first all over the chicken. (The chicken will absorb the flavors better if you do it before you rub the bird with the oil.) Then rub the peanut oil all over the chicken.

Combine the Chinese five spice, garlic, salt and pepper in a bowl. Season the entire chicken, including inside the cavity, with this mixture.

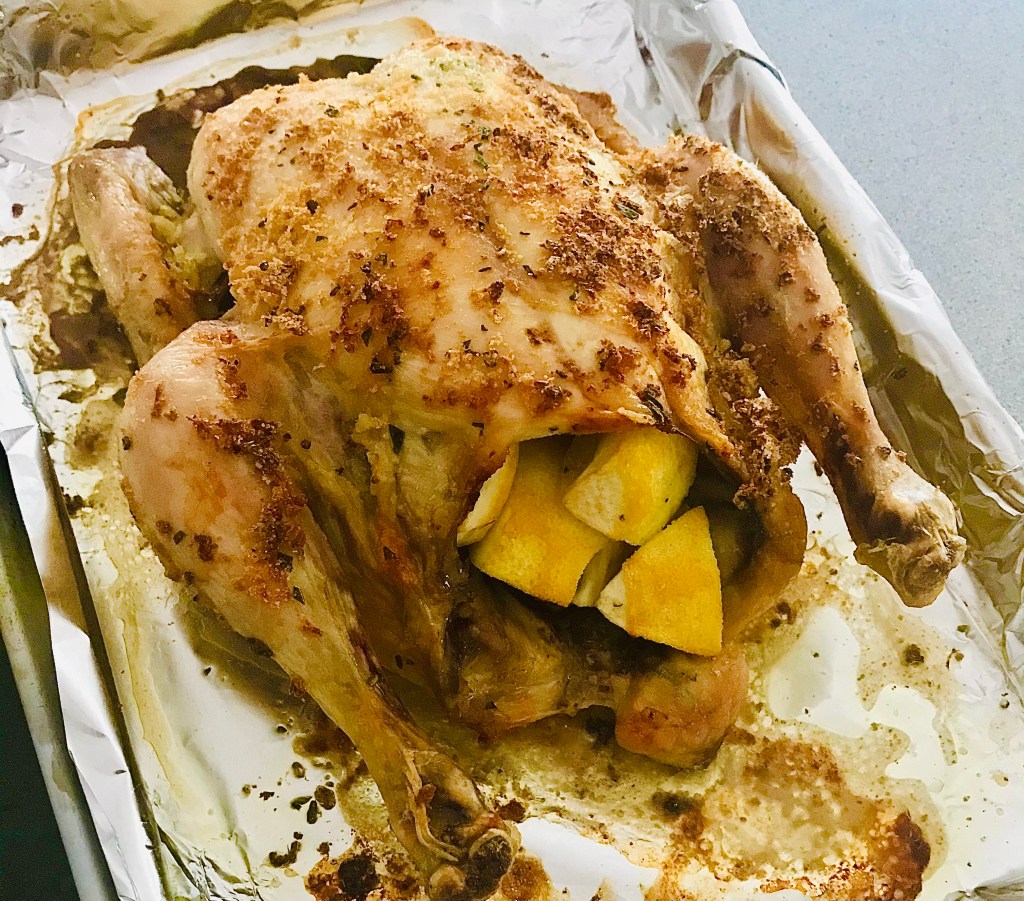
Pre-heat the oven to 325 degrees. Place the chicken in a pan lined with aluminum foil (cleanup will be easier) and bake.

Meanwhile, combine the hoisin sauce and sesame oil in a small bowl. When the chicken is about 15 minutes away from being done, brush it with the hoisin/sesame oil mixture. Cook it another 15 minutes until the chicken has a nice dark glaze. Don’t let it burn!

Let it rest about 15 minutes before carving.


Bulgogi is the name given to the most common form of Korean barbecue. Unlike the daeji bulgogi that I cooked in a previous blog, this one is not based on a chili sauce that can take the roof of your mouth right off.

I used chicken, though this would work with pork as well, and for the best flavor, it’s best to marinate the meat in the fridge overnight.

FullSizeRender (12)

2/3 cup soy sauce
1/2 cup chopped scallions
6 tablespoons sugar (I use organic cane sugar)
5 tablespoons fresh garlic, grated or through a garlic press
5 tablespoons sesame oil
1 tablespoon sesame seeds
1 teaspoon black pepper
5 lbs. chicken pieces (skin-on thighs work best)


Combine all the ingredients except for the chicken in a bowl and mix well.

Place the chicken pieces in a large Ziploc bag and pour the marinade in. Seal the bag well and squish it around to make sure the marinade makes contact with the chicken. Place the bag in a bowl (to prevent accidental leakage) and keep it in the fridge overnight. Squish the bag around every few hours to make sure the marinade does its job.

When you’re ready to cook the next day, pre-heat the oven to 350 and remove the bag from the fridge and let it come to room temperature. Place the chicken on a sheet pan (discard the remaining marinade) and bake it for an hour.

Light a hot grill and push the coals to one side of the grill. Place the chicken pieces on the cool side of the grill and close the lid, opening the vents. Every few minutes, turn the chicken pieces over so they get nice grill marks but
don’t burn.


FullSizeRender (11)

I’ve always been fascinated by Korean barbecue. Every time I see it on TV or catch a recipe on an e-mail blast, my mouth waters and I say to myself that I’ve got to experience it some day. But the painful reality is: Korean barbecue can be really spicy…and I’m a total wuss.

Korean barbecue 101: Gogigui means “meat roast” in Korean, and it refers to the method of roasting beef, pork, chicken, and other meats. Meats can be marinated or not. Bulgogi is the name of the most common Korean barbecue. Meat is marinated with soy sauce, sugar, sesame oil, garlic and pepper, and then grilled. Galbi uses beef short ribs, and adds onions to the marinade. And the hot stuff is daeji bulgogi, because the marinade isn’t soy sauce-based, but based on the hot-n-spicy Korean chili paste known as gochujang.

All of the marinades looked delicious, but the hot one with gochujang would be my biggest challenge, so I decided to start there. I found a great recipe, and quickly realized that I would have to turn the heat way down if I was actually going to try to eat it! For example, the original recipe called for 2 tablespoons of white pepper. I totally left it out. And it called for a full cup of gochujang. Not only did I cut that part in half, I doubled many of the other non-spicy ingredients.

So is it authentic Korean barbecue? Probably not. But it’s my version of it. It’s got lots a flavor and still carries a bit of heat.

For gluten-free diets: finding GF hoisin and soy sauce is easy. Look for the La Choy brand. But I haven’t been able to find gochujang that has a GF label.


image


3/4 cup ketchup
1/2 cup gochujang
1/2 cup hoisin sauce
1/2 cup honey
1/2 cup soy sauce
1/4 cup brown sugar
2 tablespoons freshly grated ginger
1 tablespoon freshly grated garlic (I use a garlic press)
1 tablespoon unseasoned rice vinegar
4 lbs. chicken pieces


Pre-heat the oven to 500 or its top temperature.

In a bowl, mix everything but the chicken pieces. Brush the sauce onto the chicken pieces, then wrap them in aluminum foil. (I like to tear a long piece of aluminum foil and lay it on top of a sheet pan. I place the chicken pieces on the foil, brush them with sauce on all sides, then fold the foil over the chicken, making one large pouch that holds all the meat.) Leave the pouch on the sheet pan and place it in the oven, then lower the oven temp to 350.

Cook the chicken for about an hour at 350, making sure it’s almost completely cooked. Juices should run clear, not bloody, when you poke it with a fork.

Start a hardwood fire on your grill. Push the coals to one side of the grill so you have a hot side and a cooler side with no coals underneath it. Place the chicken pieces on the cool side of the grill (if you put it on the hot side, it will stick and burn), brush with more sauce, and put the lid on the grill, making sure you have the vents open for air circulation.

image

See those 2 black bits in the foreground? That’s where the chicken stuck to the grill because I placed them over the hot coals. Don’t do that.

After a few minutes, lift the lid, flip the chicken pieces over, brush them with sauce again, and close the lid. Keep doing this until the chicken is nice and caramelized, with tasty grill marks.

If you want to serve some of the sauce on the side, it’s important to pour some of the sauce off and set it aside in the very beginning, so you’re not using the same sauce that the basting brush touched the raw chicken with.


This was a huge hit whenever I brought it to a party…but it’s just as tasty when you’re quarantined at home or limiting the size of gatherings with friends! And this being Memorial Day weekend, it’s the perfect appetizer.

It’s easy to set up the parts, then put it together quickly as needed. I even put a to-go package together. If you know what a pulled pork sandwich North Carolina-style is all about (pulled pork on a bun with cole slaw right on top of the meat), then imagine taking away the bun and replacing with a deviled egg! It’s messy, it’s delicious, and everyone loves them.


A to-go package, ready to assemble at home.

I’ve tried this two ways now: with pulled pork and with chicken…and the big thumbs up goes to the pork. Of course, I will smoke a pork shoulder for 10 hours, pull the meat, and mix it with the barbecue sauce…all for this dish. If you don’t have a smoker, you can simply buy already prepared pulled pork and use it here.

Be sure to make a lot of these…they’ll go faster than the hard-boiled eggs in “Cool Hand Luke!”


For the BBQ sauce:
2 cups ketchup
3/4 cup water
6 tablespoons cider vinegar
6 tablespoons white vinegar
6 tablespoons brown sugar
3 tablespoons Worcestershire sauce
1 tablespoon chili powder
2 teaspoons salt
1 teaspoon black pepper
1 1/2 teaspoons cumin

Combine all the ingredients in a saucepan and simmer over medium heat for about 25 minutes, until the sauce has thickened. Let it cool to room temperature and then store it in the fridge. It will be good for several weeks.


For the cole slaw:
2 tablespoons mayonnaise
1 tablespoon rice wine vinegar
1/2 teaspoon sugar (I use organic cane sugar)
2 cups finely shredded cabbage

Combine all the cole slaw ingredients in a bowl or measuring cup, mixing well, and place it in the fridge. Making the cole slaw a day ahead of time is even better.


I measure 2 cups of cabbage in a measuring cup, then add the other ingredients.


For the deviled eggs:
6 hard-boiled eggs
1/4 cup mayonnaise
1 tablespoon mustard (I use Gulden’s)


Here’s my tip for perfectly hard-boiled eggs every time: place the eggs in a pot, cover them with cold water, and turn the heat on high. Just before the water starts to boil, put a lid on the pot and turn the heat off. Let the eggs sit in the hot water for 15 minutes. Perfect hard-boiled eggs every time! Once cooked, keep the eggs in the fridge.


Here’s another tip: the easiest peeling eggs are older eggs! No…that doesn’t mean you let your eggs sit out on the front porch for a week. What that means is: but them from your supermarket rather than the farm stand down the road. Super-fresh eggs still have a membrane attached to the shell that makes them difficult to peel. The membrane detaches in slightly older eggs, making them easier to peel.


Slice the eggs in half and place the yolks in a bowl with the mayonnaise and mustard. Mix it well and keep it in the fridge.


As for the pork…I buy a large pork butt or pork shoulder. I remove any of the skin, but leave the fat. I prefer a pork shoulder with a bone…I think it adds more flavor. A day before I put the pork shoulder in the smoker, I rub it down with my pork rub and let it sit in the fridge overnight.

I set my smoker to 250 degrees (I have an electric smoker) and use hickory chips to smoke the shoulder. Letting the temperature drop to about 225 overnight, I smoke the shoulder for a total of about 14 hours, until the bones pulls out of the meat cleanly.


Out of the smoker, and ready to eat!


The bone comes right out!


I prefer to chop (versus shred) the pork meat, including bits of fat and crunchy exterior with the meat.


I mix in some BBQ into the meat–not too much–for extra flavor.


To assemble, take a teaspoon of the mayo/mustard/yolk mixture and place it in the cavity of one of the egg halves.


Place a lump of pulled pork on top (I like it warm, to counter the cold of the mayo and cole slaw.)


Top with a little BBQ sauce.


Then place a teaspoon of the cole slaw on top of that.


They are one of the more delicious single-bites you’ll ever have!