It’s National Pizza Day!
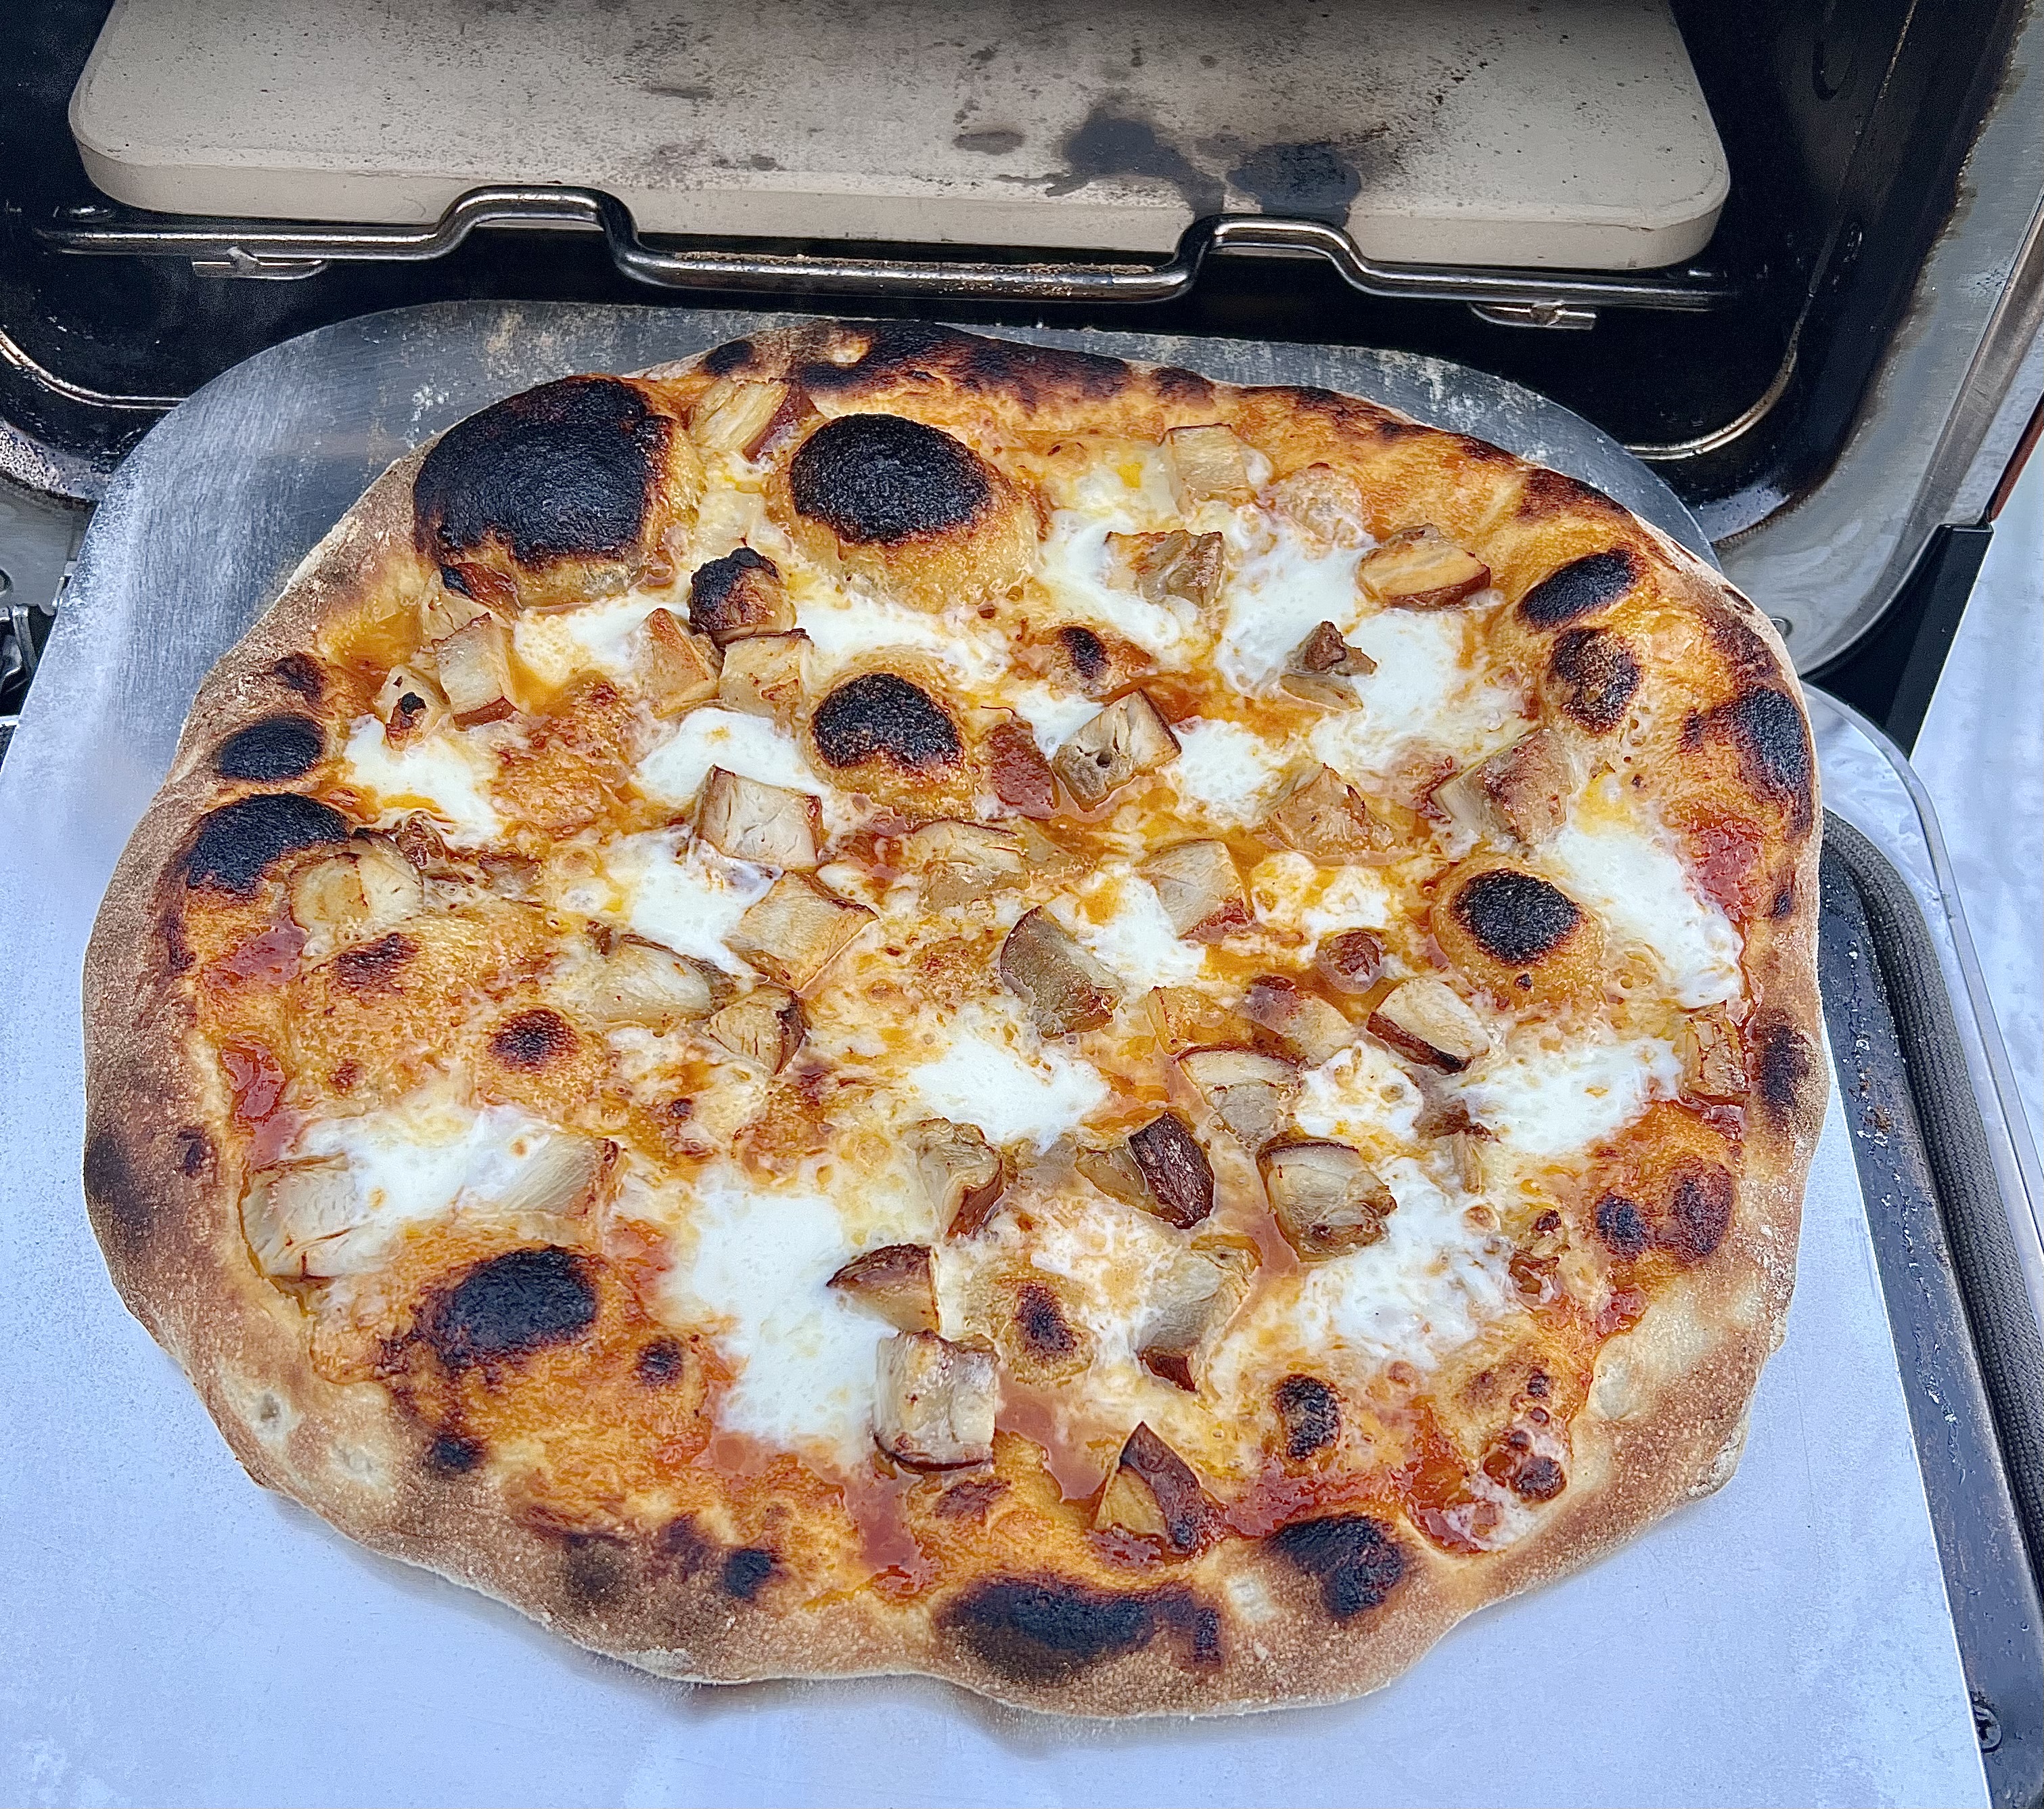
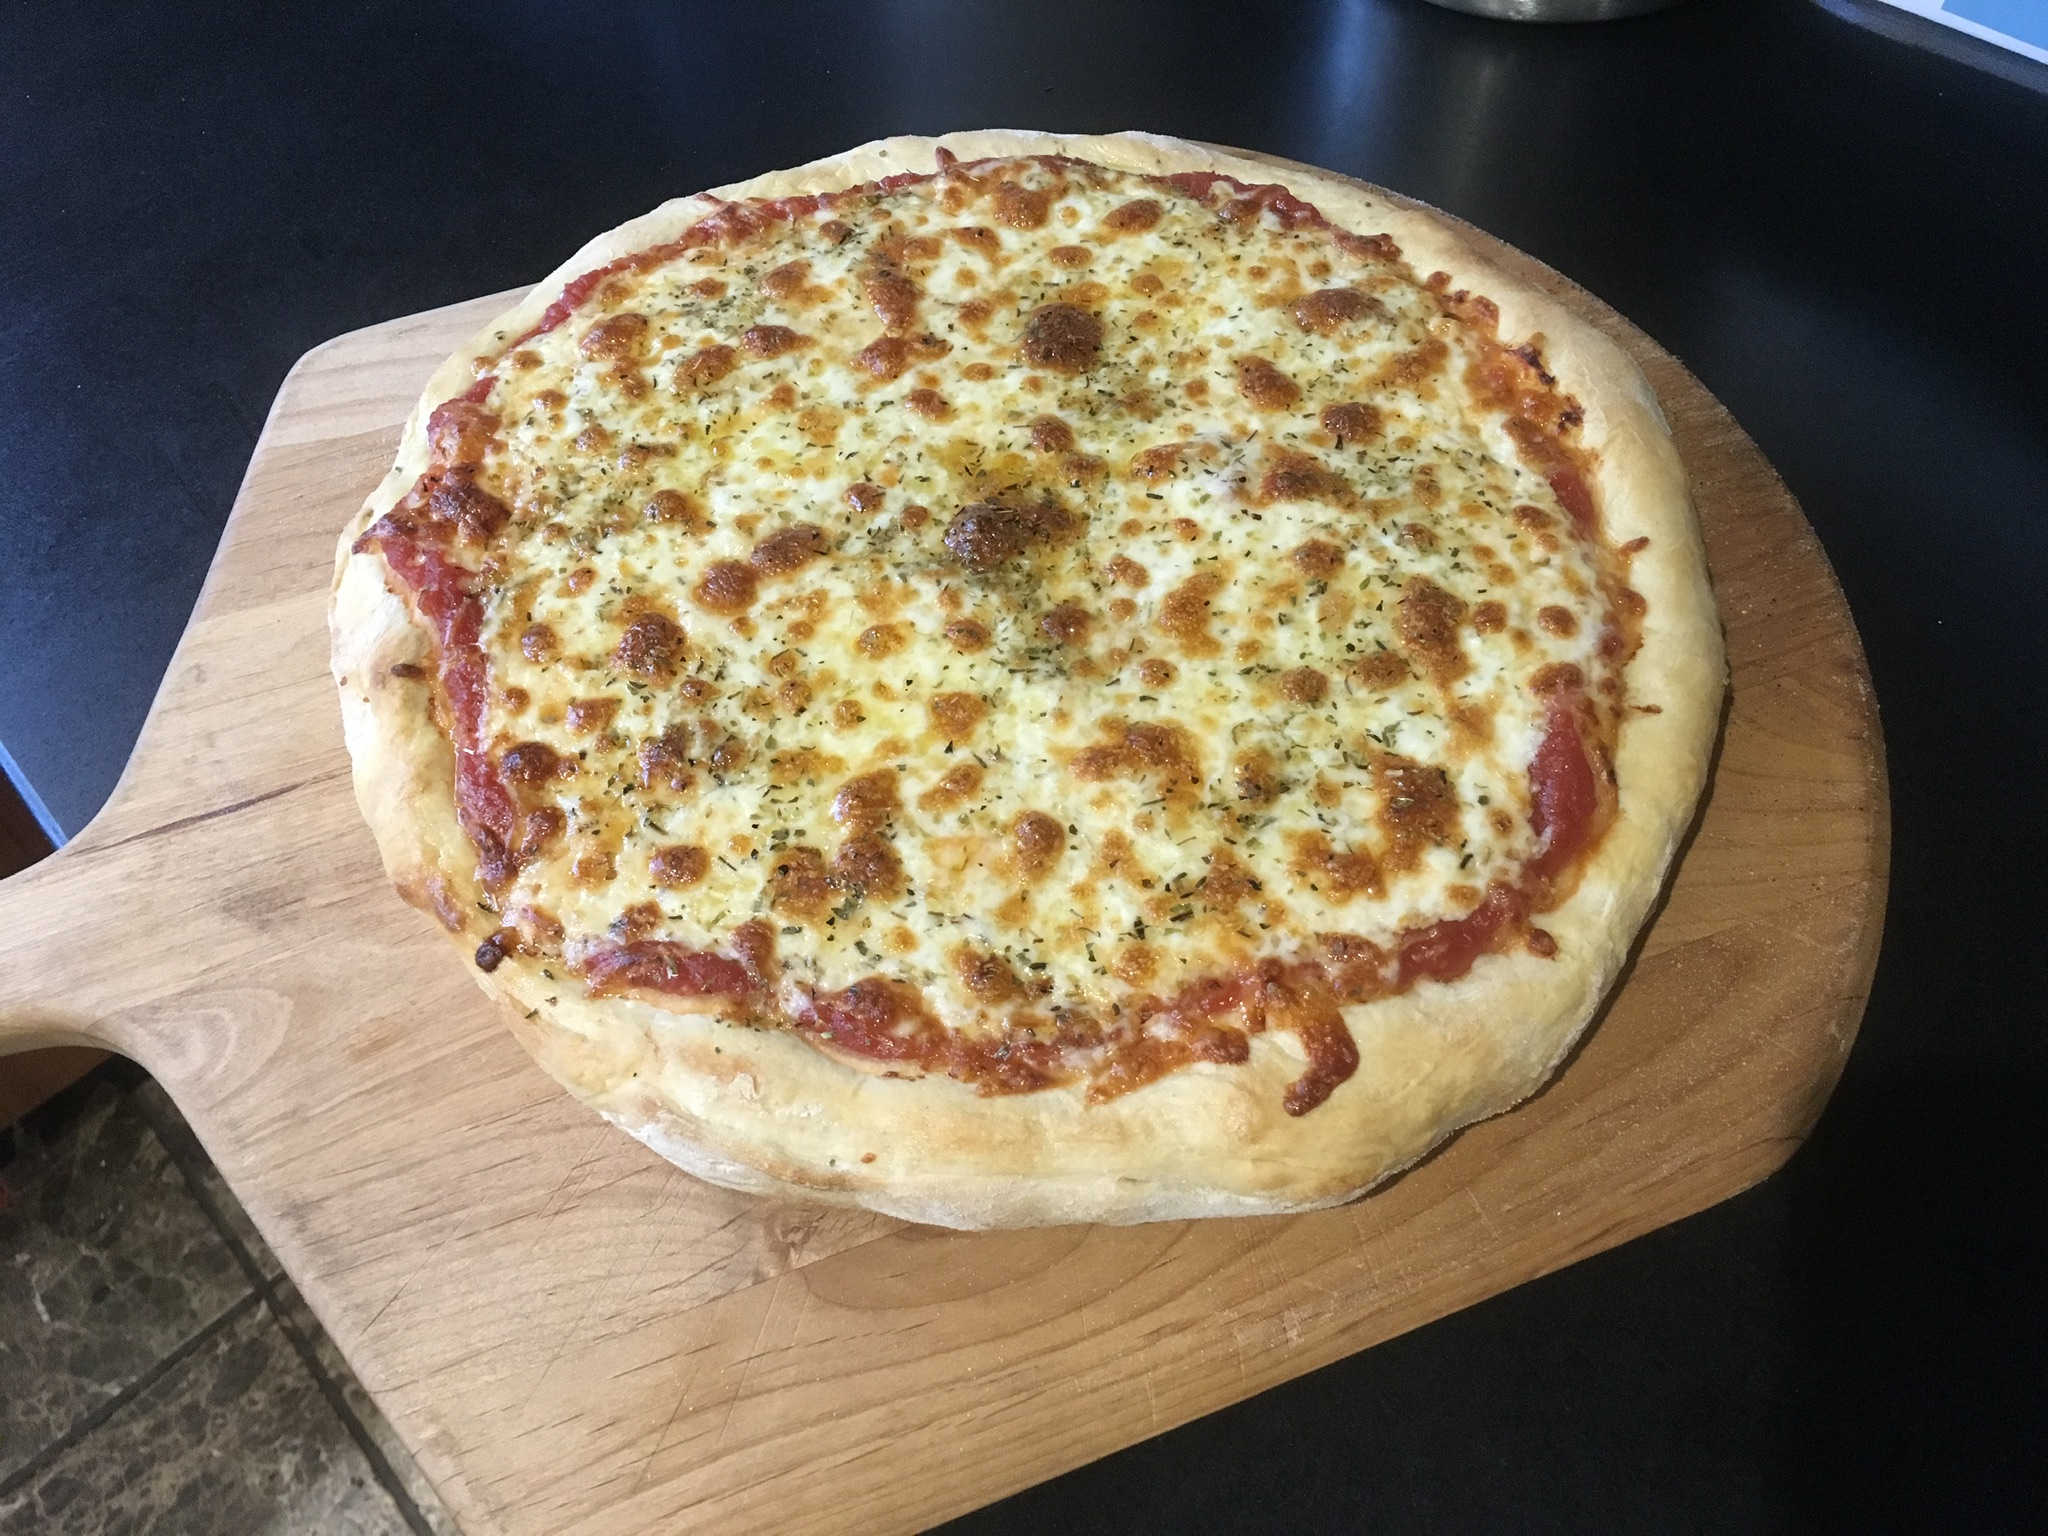
If you want to know the measure of a truly great pizza, you gotta go bares bones and order a simple cheese pizza. It’s tough to hide behind a classic combination of dough, sauce and cheese. It either rocks or it sucks.
There are few foods that people take as personally as pizza. Tell someone your pizza place is better than their pizza place, and chances are you’ll start a fight. Well, my pizza place is better than your pizza place, because I make it at home. Besides, I can run faster than you.
I’m not going to say that much of the pizza that I’ve tried here in Rhode Island is mediocre, but I will say that I was born in Brooklyn and grew up working in many New York pizza places in my youth. So, yes, I do have a very strong opinion on what I think makes a good or bad pizza. And, alas, I’ve tried, but a good gluten-free pizza is not yet within reach. The frozen ones you get in stores are passable, but making one at home has been nothing short of a disaster…and don’t even talk to me about using cauliflower!
My homemade pizza is all about the basics. The better quality my original ingredients are, the better my pizza will be:

More cheese = better pizza, right?
The dough…
The key ingredient is 00 flour, and it can be found in specialty stores, or online. Ratios for this recipe depend on the humidity in my kitchen on any given day, but my basic pizza dough recipe is as follows:
4–5 cups 00 flour
1 cup tepid water
1 tablespoon salt
1 packet Italian pizza yeast
a squirt of extra virgin olive oil
I mix all the dry ingredients in the bowl of a stand mixer, then slowly add the water as it mixes. After the ingredients are well mixed, and the dough pulls from the side of the bowl, I remove it to a floured board, where I knead the dough by hand for another 5 minutes, until it is smooth and elastic, shaping it into a ball. I rub a little olive oil over the ball of dough, place it in a bowl covered with plastic wrap, and let it rise at room temp for 2 hours, punching it down after that, and letting it rise another 2 hours again.
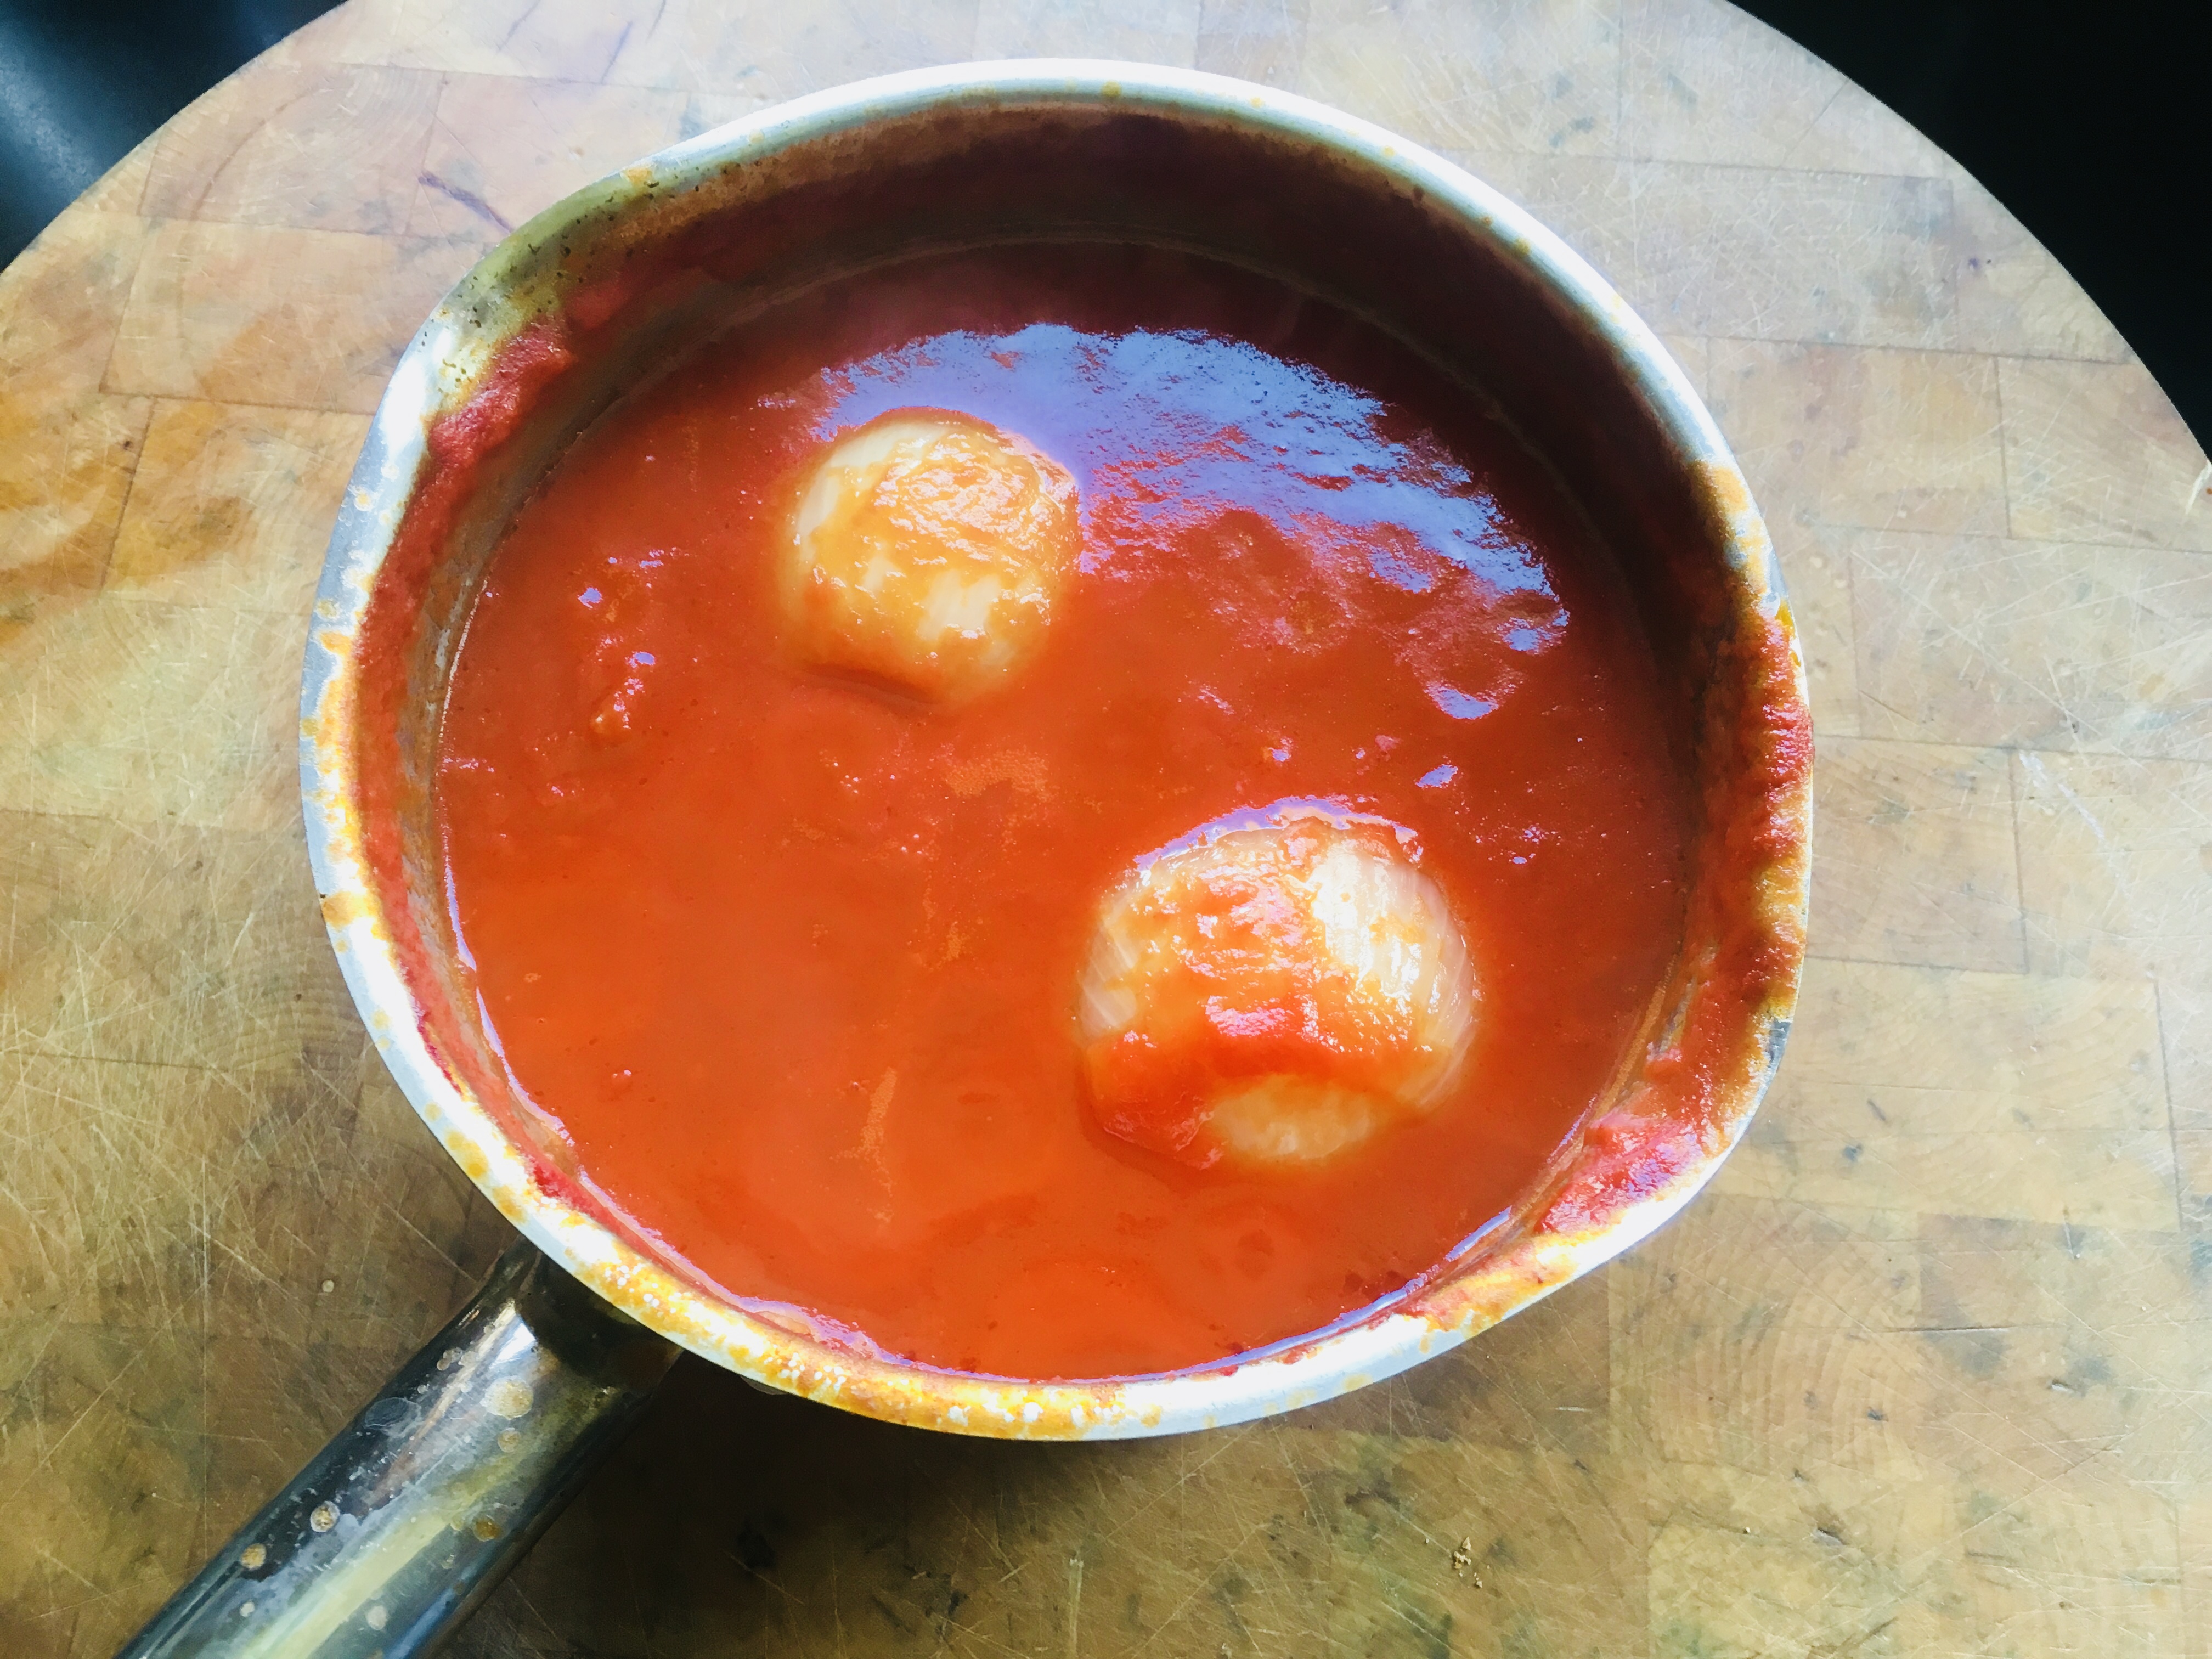
The sauce…
I’ve written an earlier blog about real and fake cans of San Marzano tomatoes. I feel that San Marzanos make the best sauce, but not all cans of San Marzanos are created equal. The only way you can be guaranteed you have a real can of these beauties, grown in volcanic Italian soil in the shadow of Mt. Vesuvius, is by the D.O.P. designation on the can. (D.O.P. stands for “Denominazione d’Origine Protetta,” and signifies that it’s the real deal.) Anything else that says San Marzano may not be.
San Marzanos are so amazing, that all I do is puree them in a food processor, pour the sauce into a pan, and let it reduce until it has thickened. No spices or additions of any kind.

Simple and delicious.
The cheese…
I don’t need to go super-fancy with mozzarella di bufala (cheese made from the milk of the water buffalo) …but I don’t use the mass-produced supermarket stuff, either. Fresh mozzarella, found in most supermarkets, is how I roll.
The toppings…
Most of the time, I go plain cheese. But when I do decide to add toppings, one of my favorites is my marinated beef tenderloin and fried chive blossom pizza. I marinate and grill a piece of beef tenderloin, slicing it thin. And in the springtime, when my chive plants are budding like crazy, I snip the blossoms before they open and place them in Ziploc freezer bags to use all year-long. When it’s time, I grab a handful of the blossoms and fry them in a little olive oil, salt and pepper, and sprinkle them over the top of the beef tenderloin pizza. A touch of Fleur de Sel on top seals the deal.

My signature marinated beef tenderloin and chive blossom pizza.
The oven…
Many professional pizza ovens reach a temperature of 1000 degrees. My home oven only reaches 500, but it does the trick. I do use a pizza stone, and place it on the center rack of the oven, and let it heat up thoroughly (about an hour) before sliding a pizza onto it for cooking.

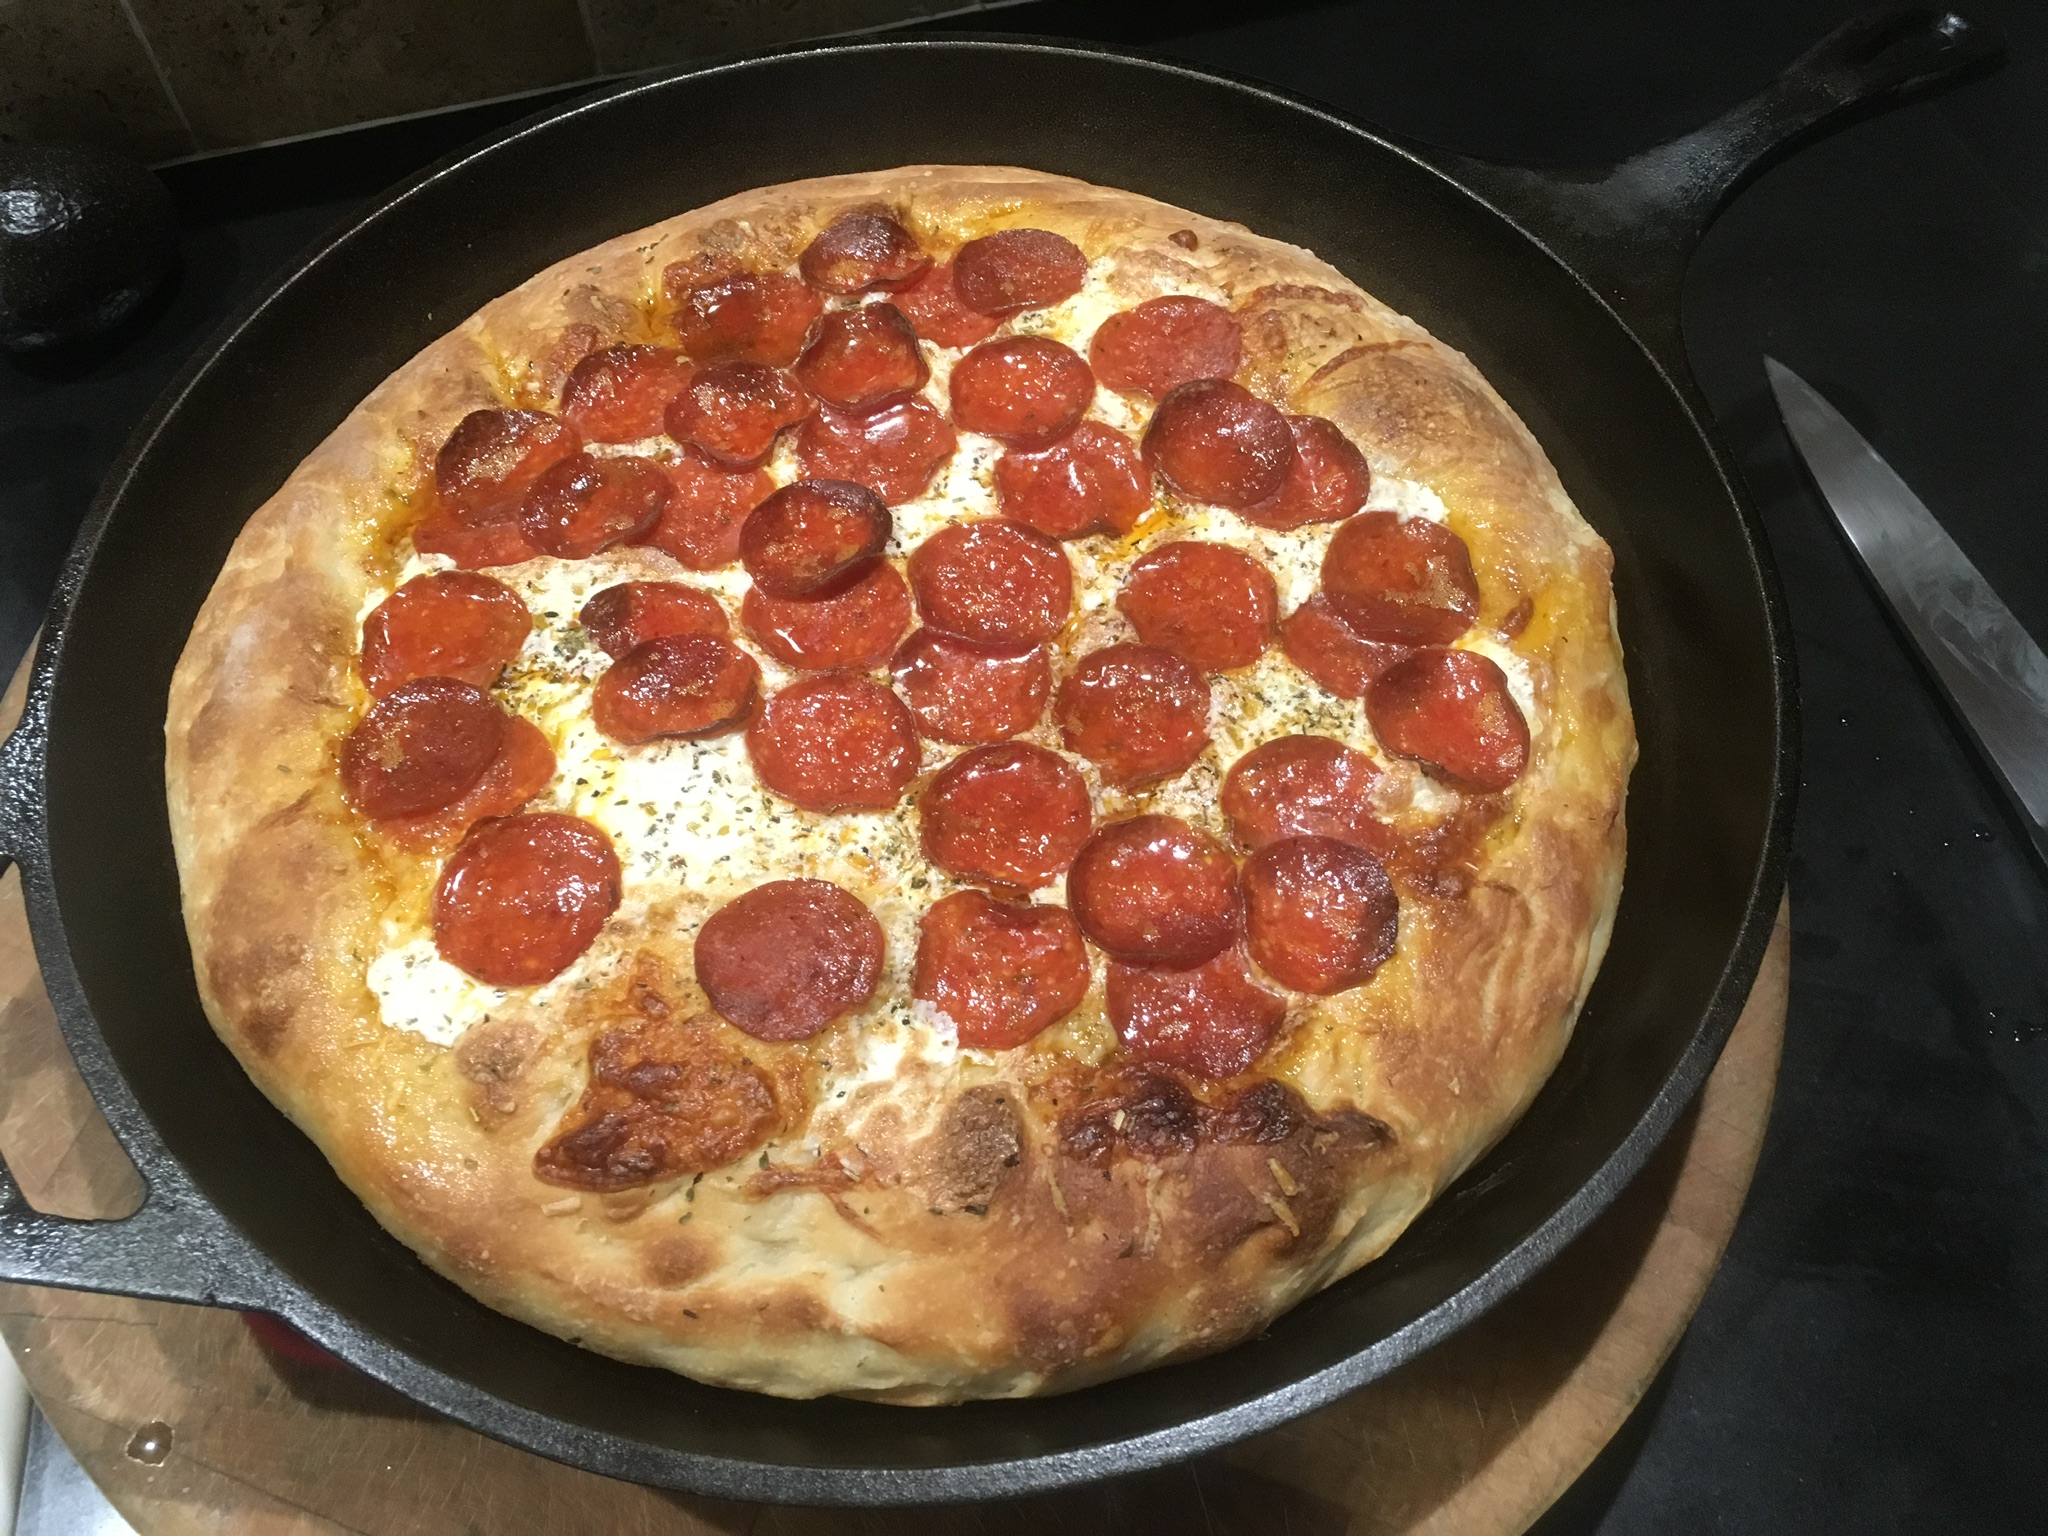
Thick pan pizza, which is easy to create at home if you’ve got a cast iron skillet, is a completely different animal, and the subject of another blog.
My favorite pizza?
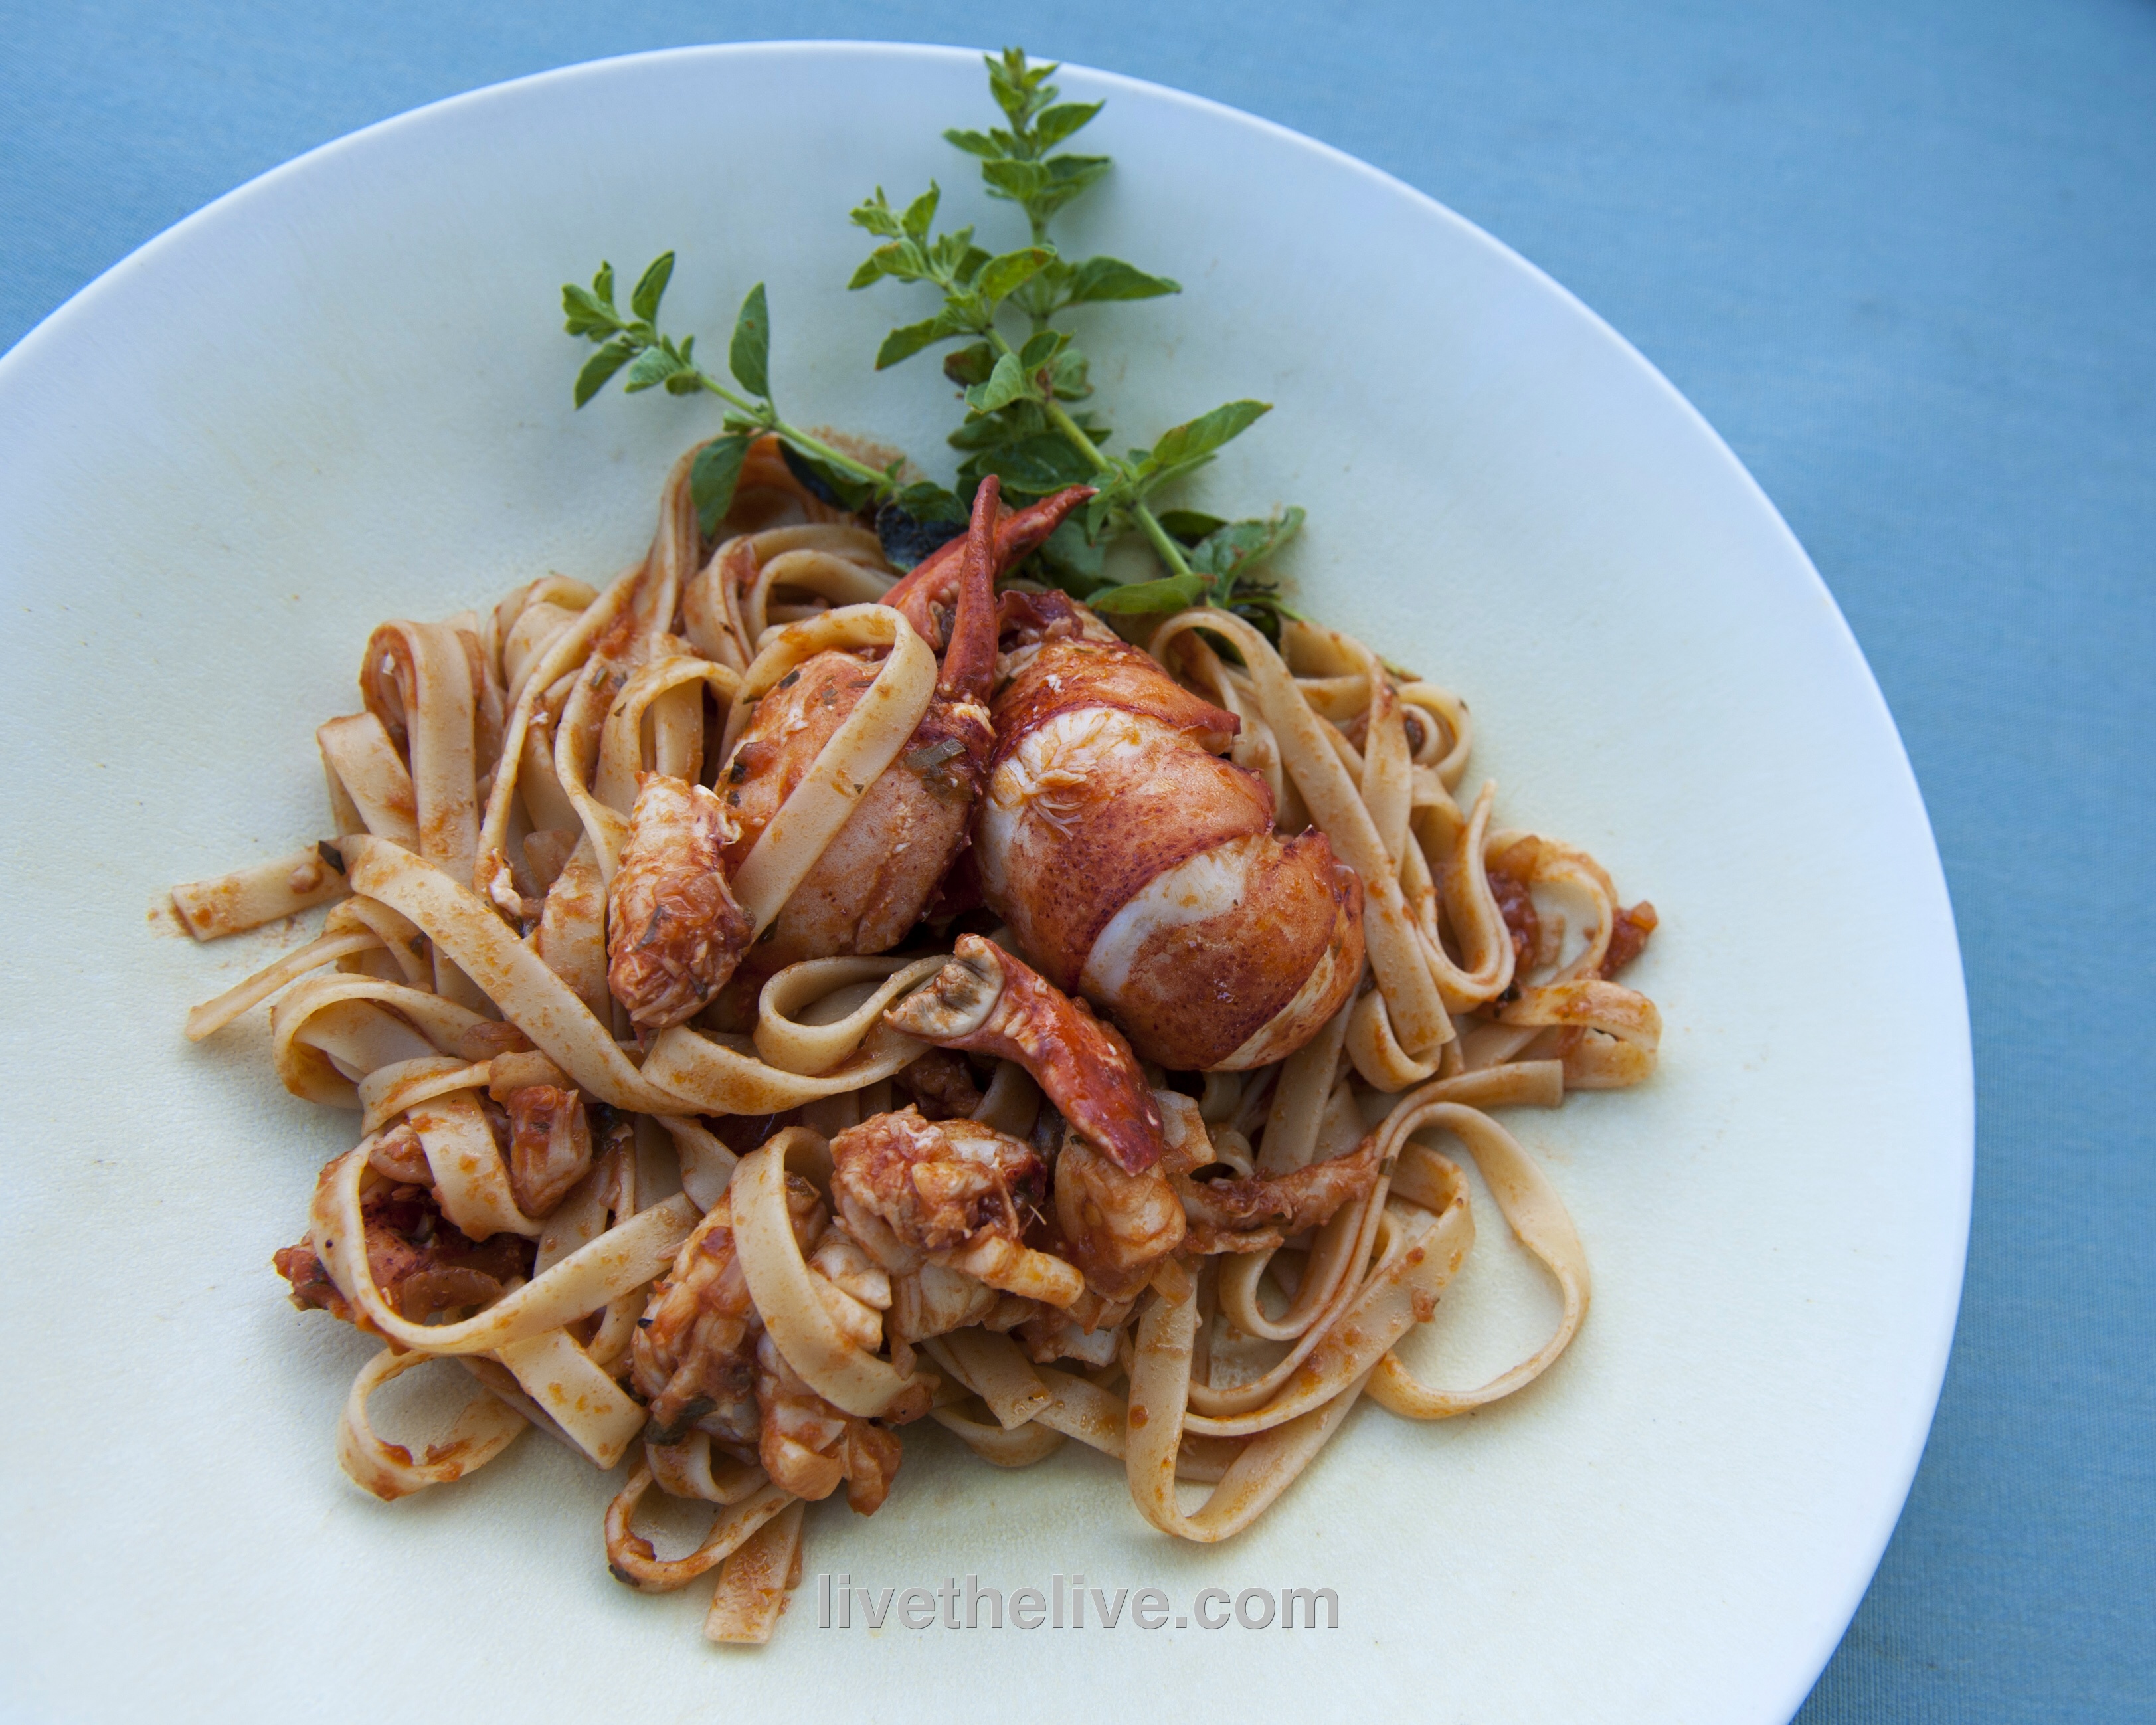
I haven’t been to every pizzeria on this here planet, but I’ve been to a few, and for my money, the best pizza I’ve ever had is something called pizza montanara. They take the pizza dough, stretch it out, then fry it in olive oil for a minute so that it puffs up like a beautiful pillow, then they add the sauce and mozzarella di bufala on top and place it in a wood burning oven to cook. Garnished with a basil leaf, it is absolute pizza perfection, and my favorite place to get it was Pizzarte on West 55th St. in Manhattan. However, recently, much to my dismay, they took it off the menu. (But I’ve heard that you can still special order it.)
The original location of Frank Pepe Pizza Napoletana in New Haven, CT, is the home of the clam pizza, a very different and very delicious pie. And locally, in my neighborhood of Southern New England, I’ve had excellent pizza at Al Forno in Providence, RI, the restaurant that started the grilled pizza craze…and Fellini Pizzeria, on the east side of Providence, RI and in Cranston, RI, home of a wonderful New York-style thin crust pie.