Lamb seems to be one of those meats that people either love or hate. Growing up in a home where my Mom served it pretty often, and did a pretty good job of cooking it, I happen to love it, and actually crave it now and again.
I buy much of my meats from Cooks Venture, a company that humanely raises a special breed of chickens, and also sources high quality meats from all over the world.
When I saw a New Zealand boneless lamb shoulder roast on their website, I had to buy it. Though New Zealand lamb can be a bit gamey to many people, I love that flavor, and there is no better quality of lamb than that from the land of the kiwi.

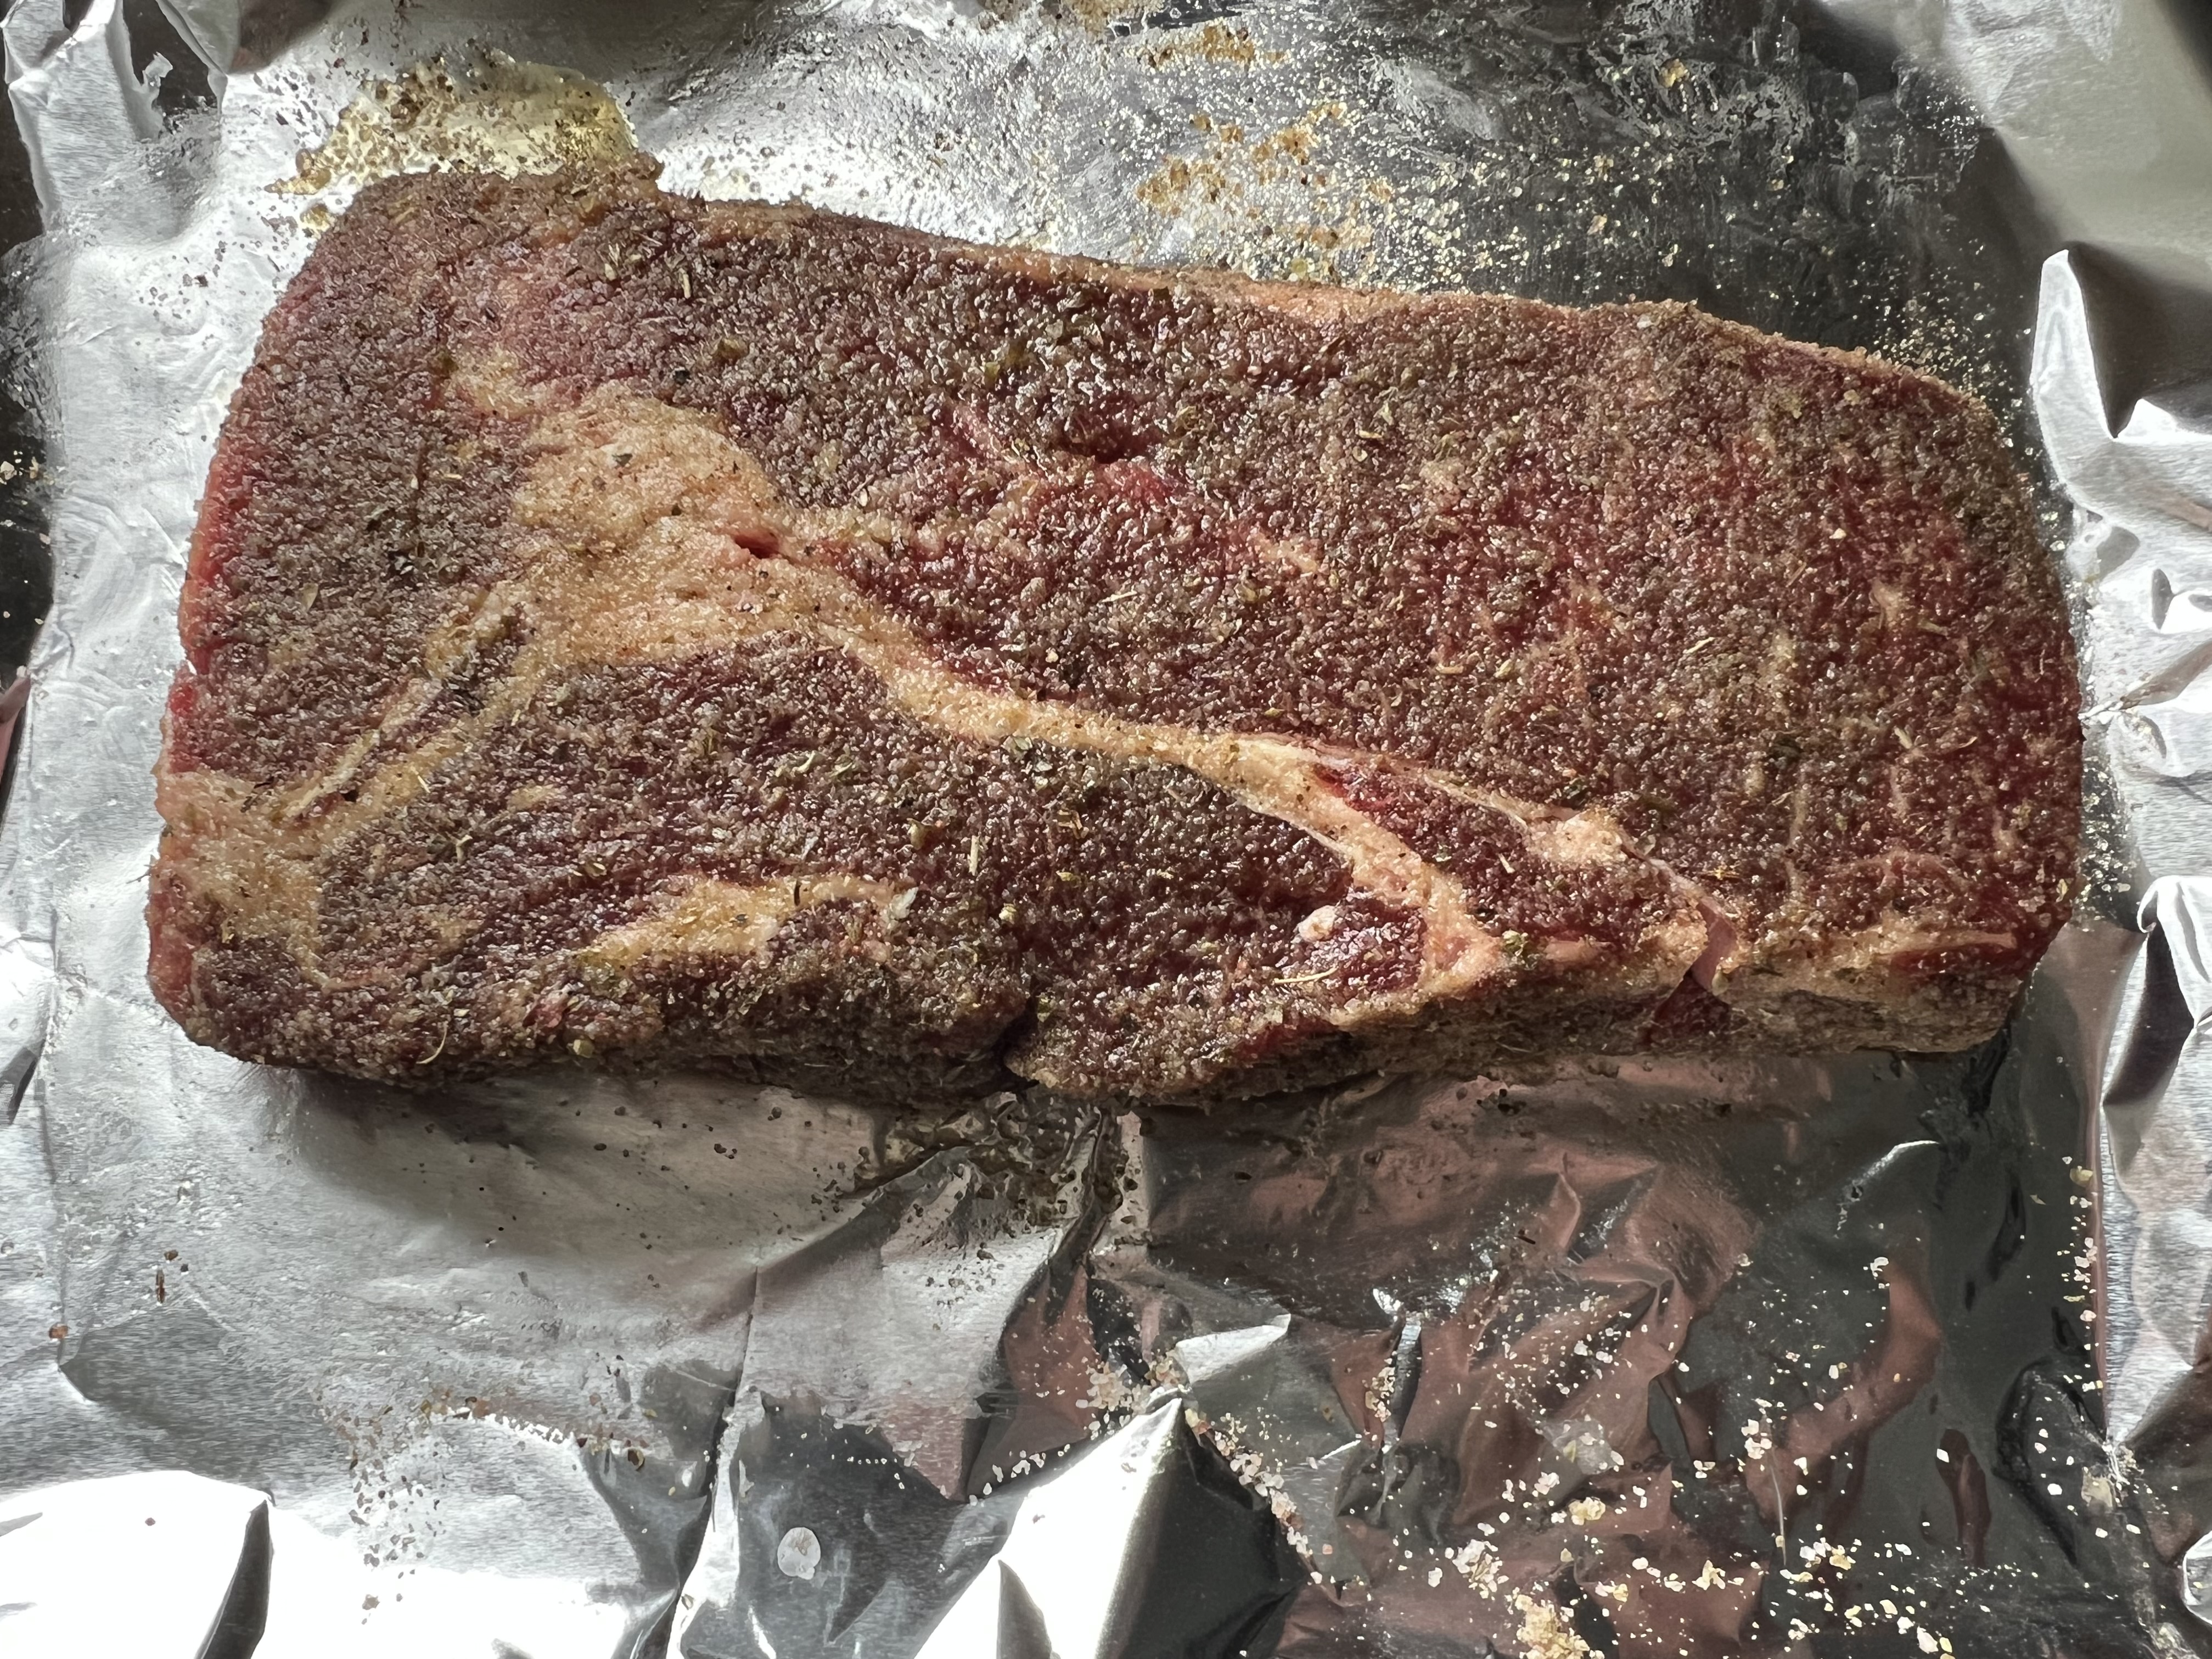
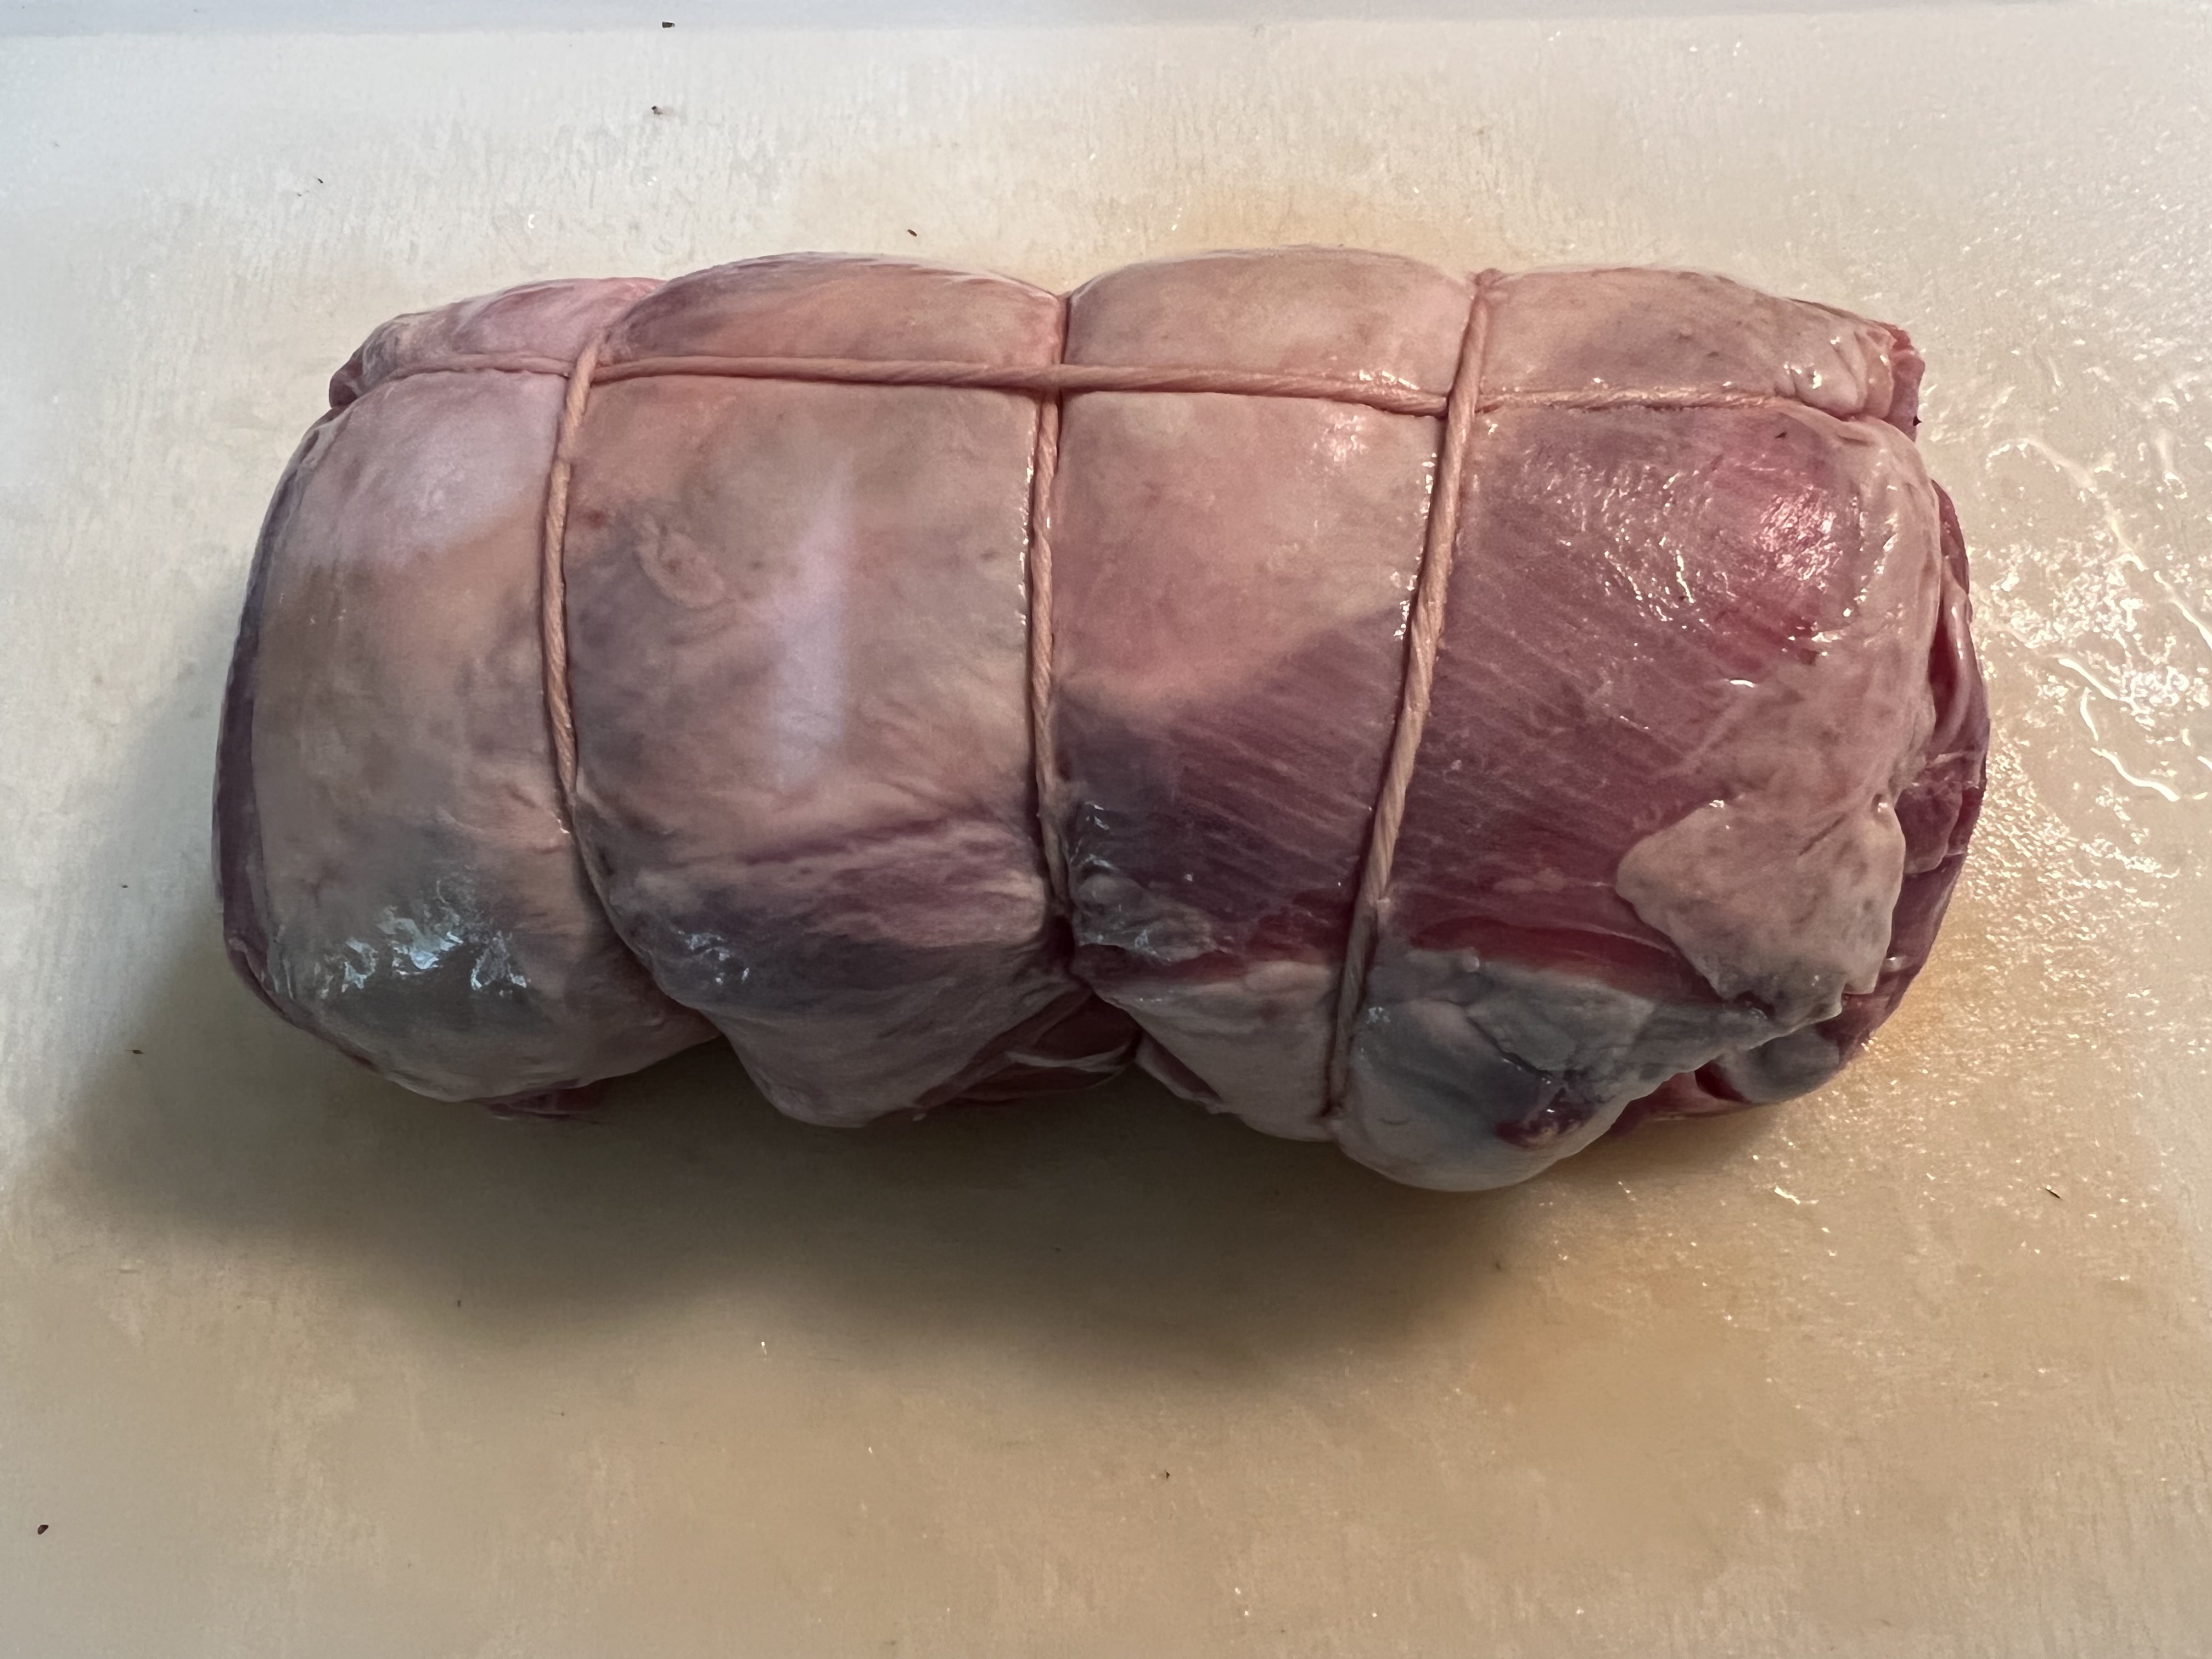
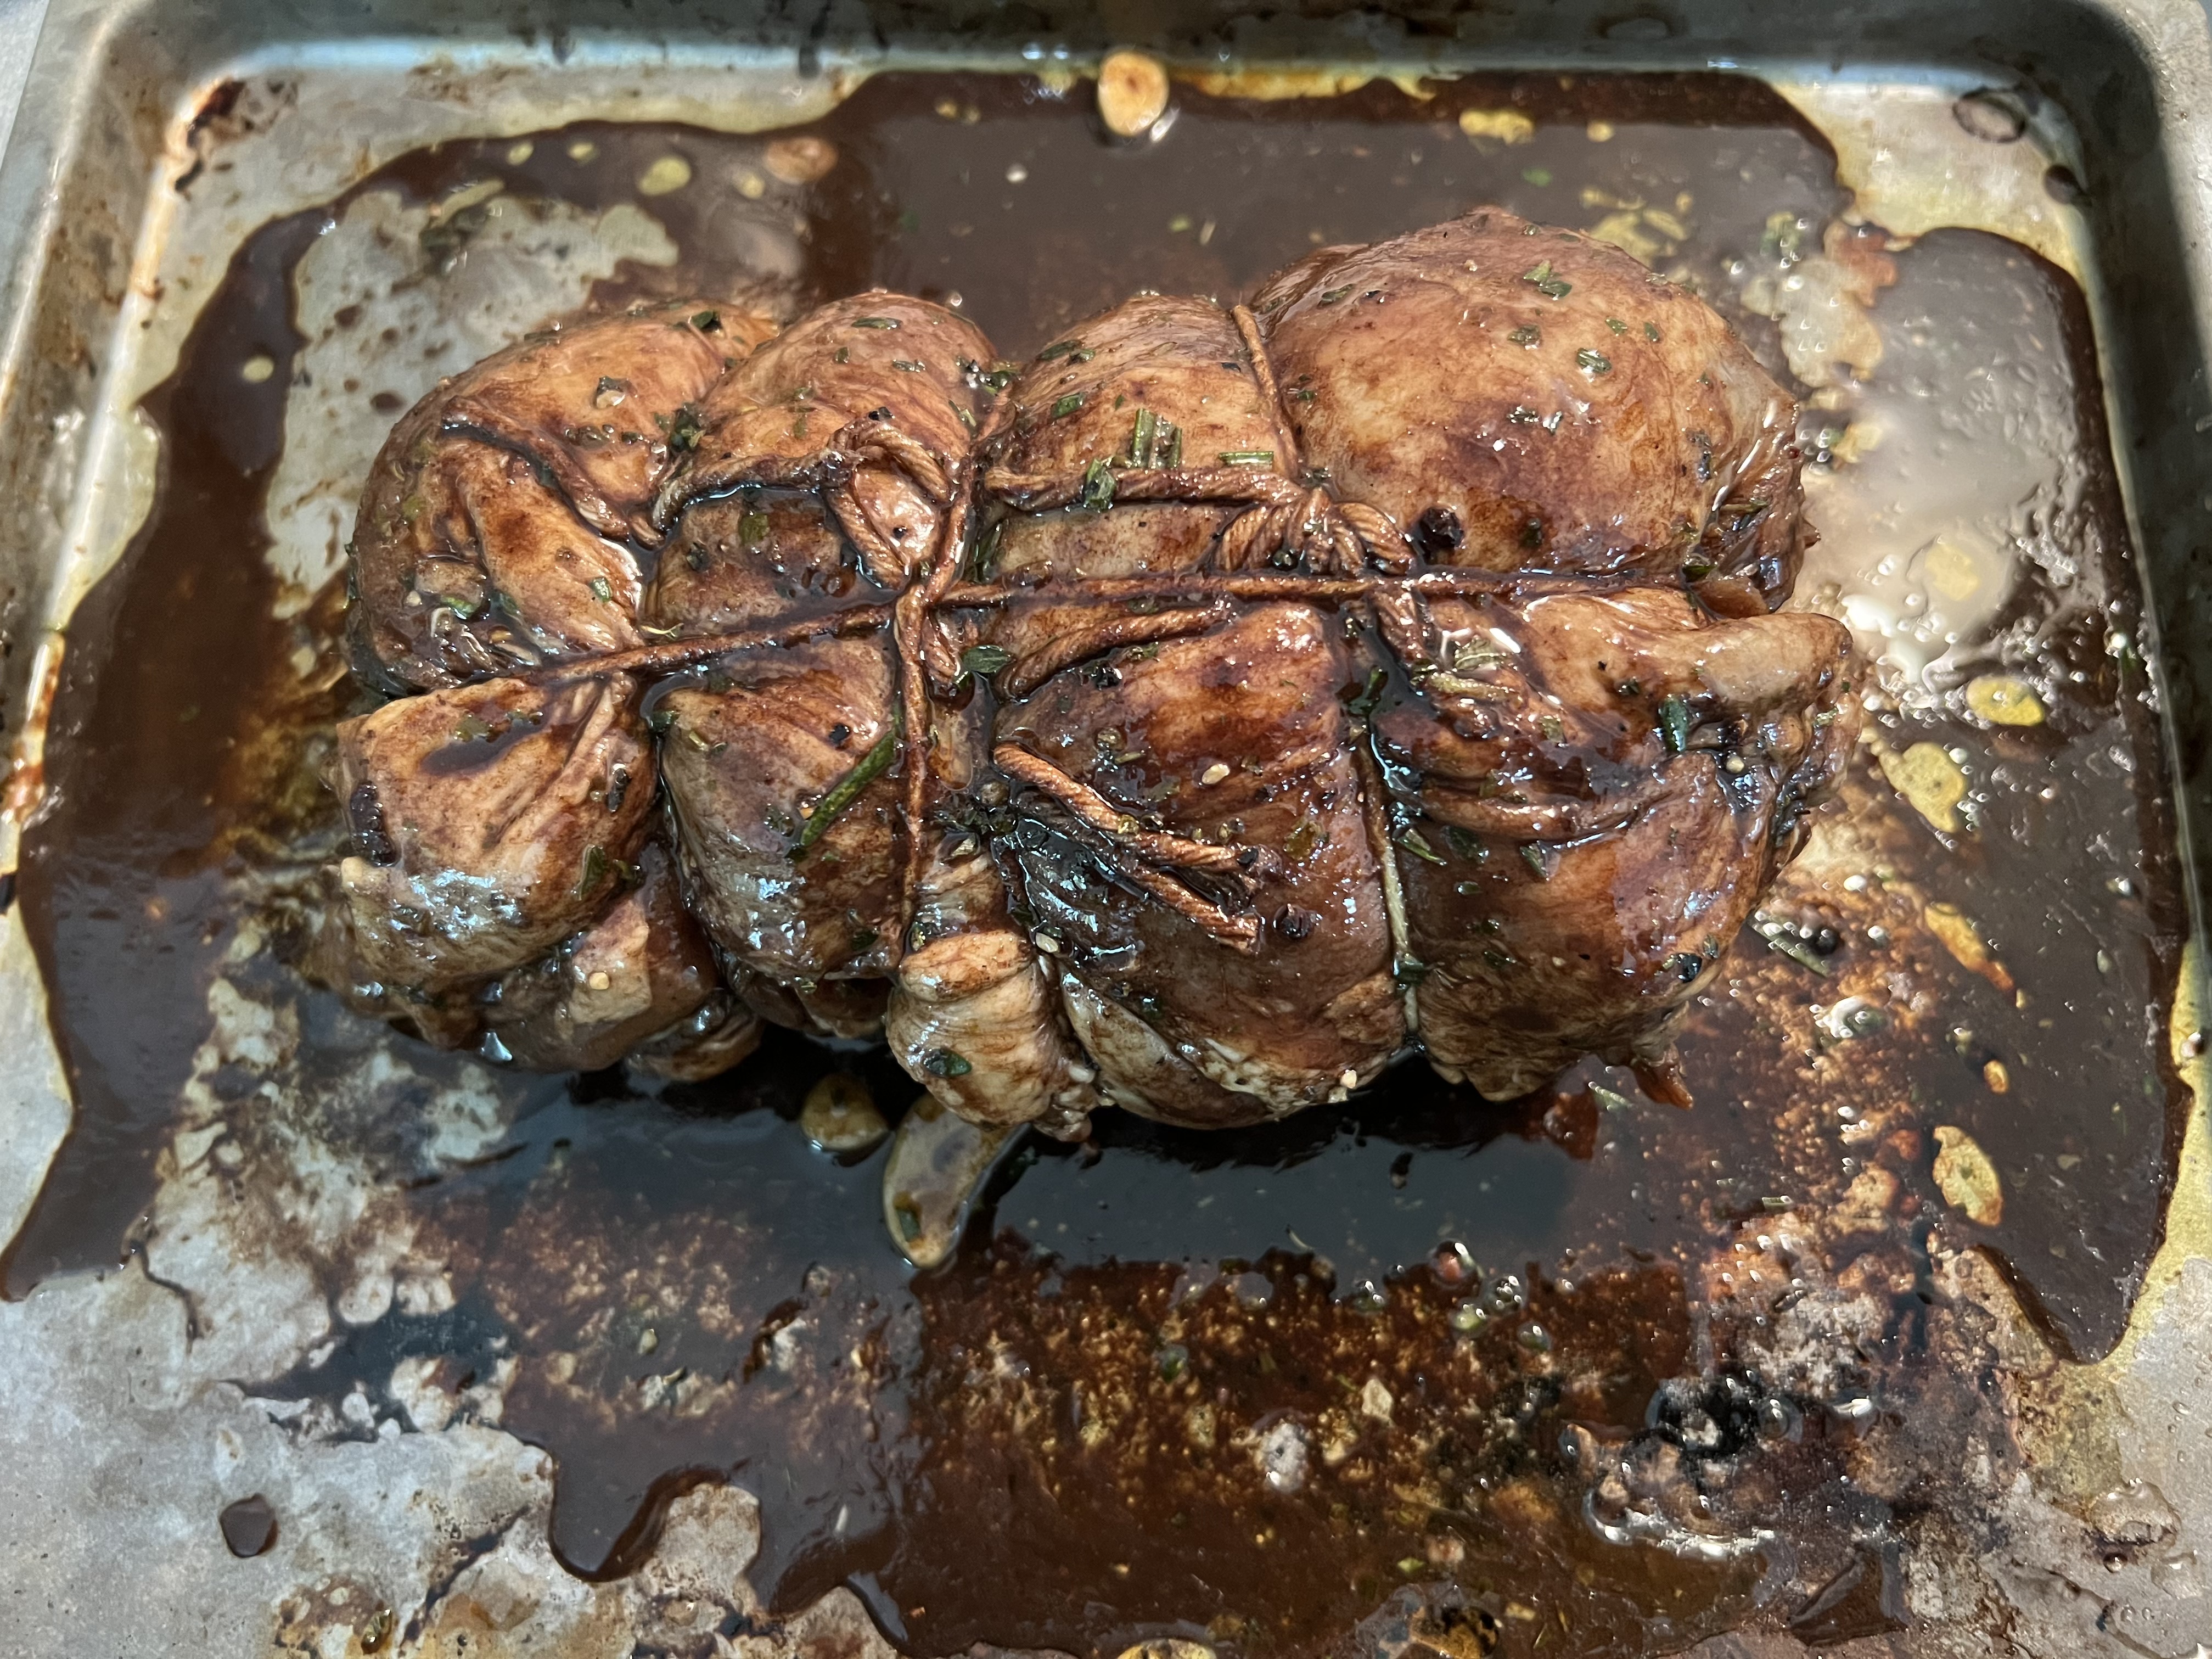
I knew I wanted to marinate the roast, and there was no way the marinade would penetrate into the meat if it was rolled and tied like it came in the package. So I decided to cut the string that wrapped the lamb roast, and unroll it, so that every inch of that lamb would make contact with the marinade.

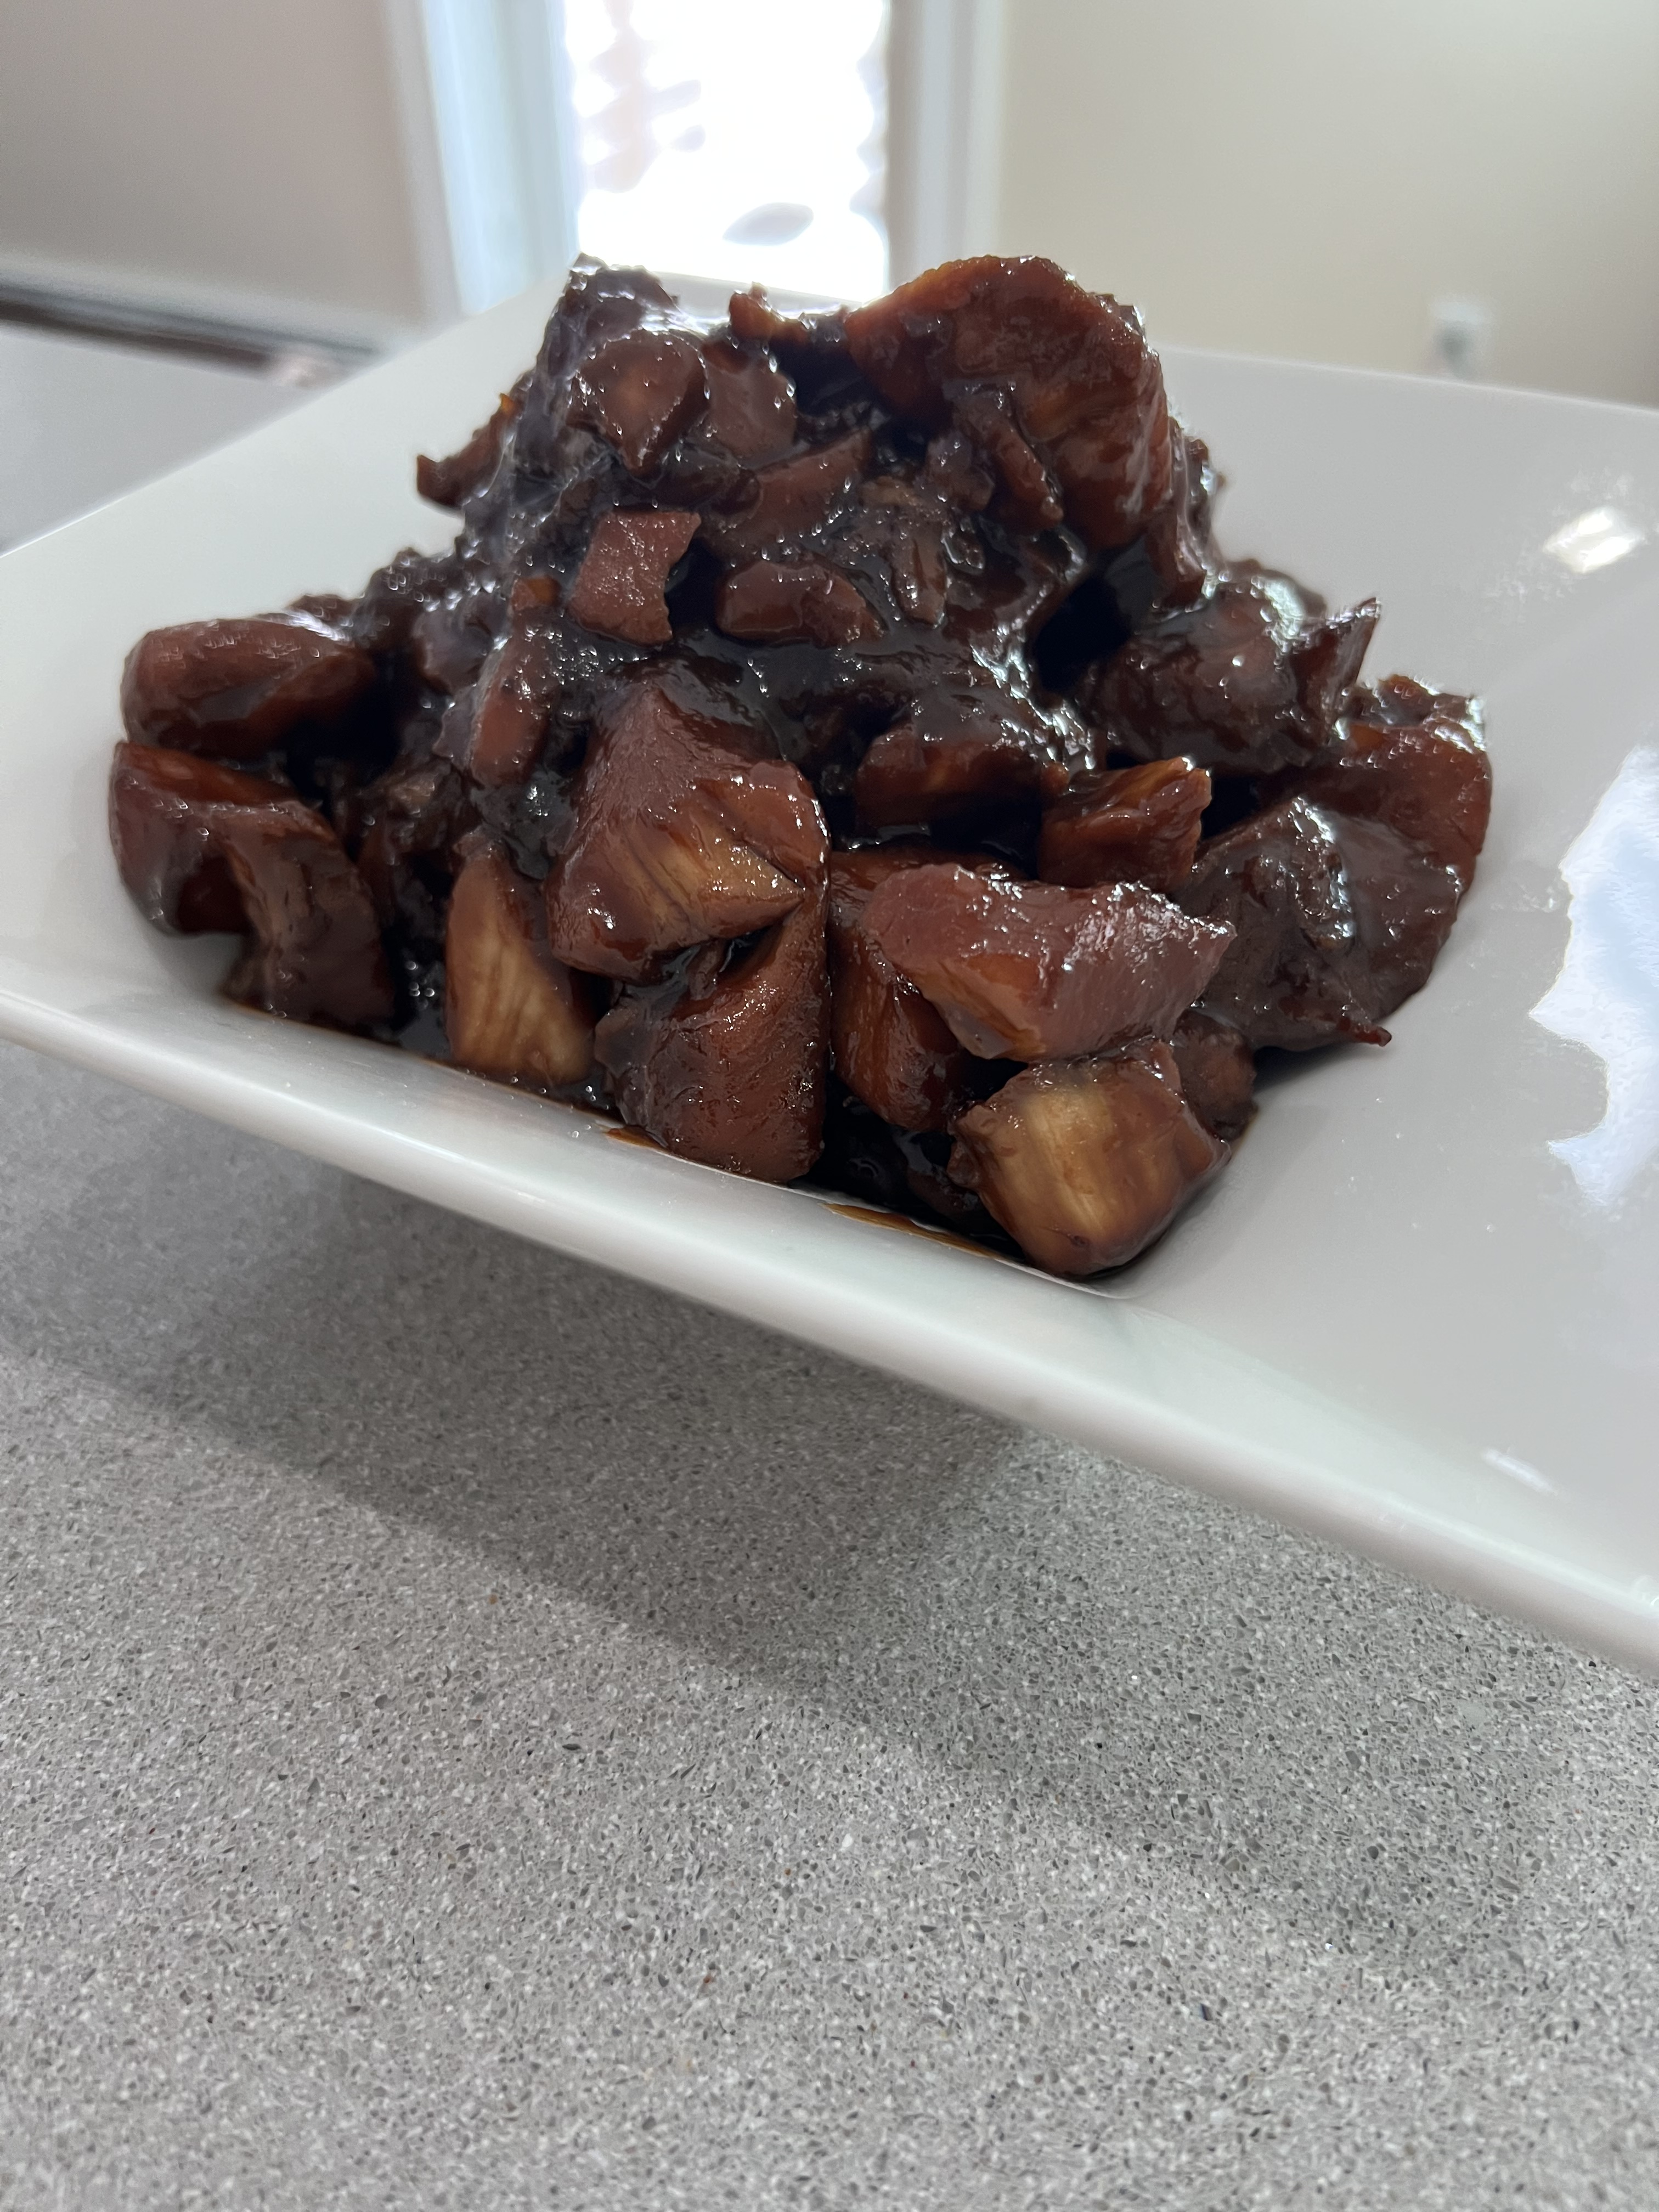
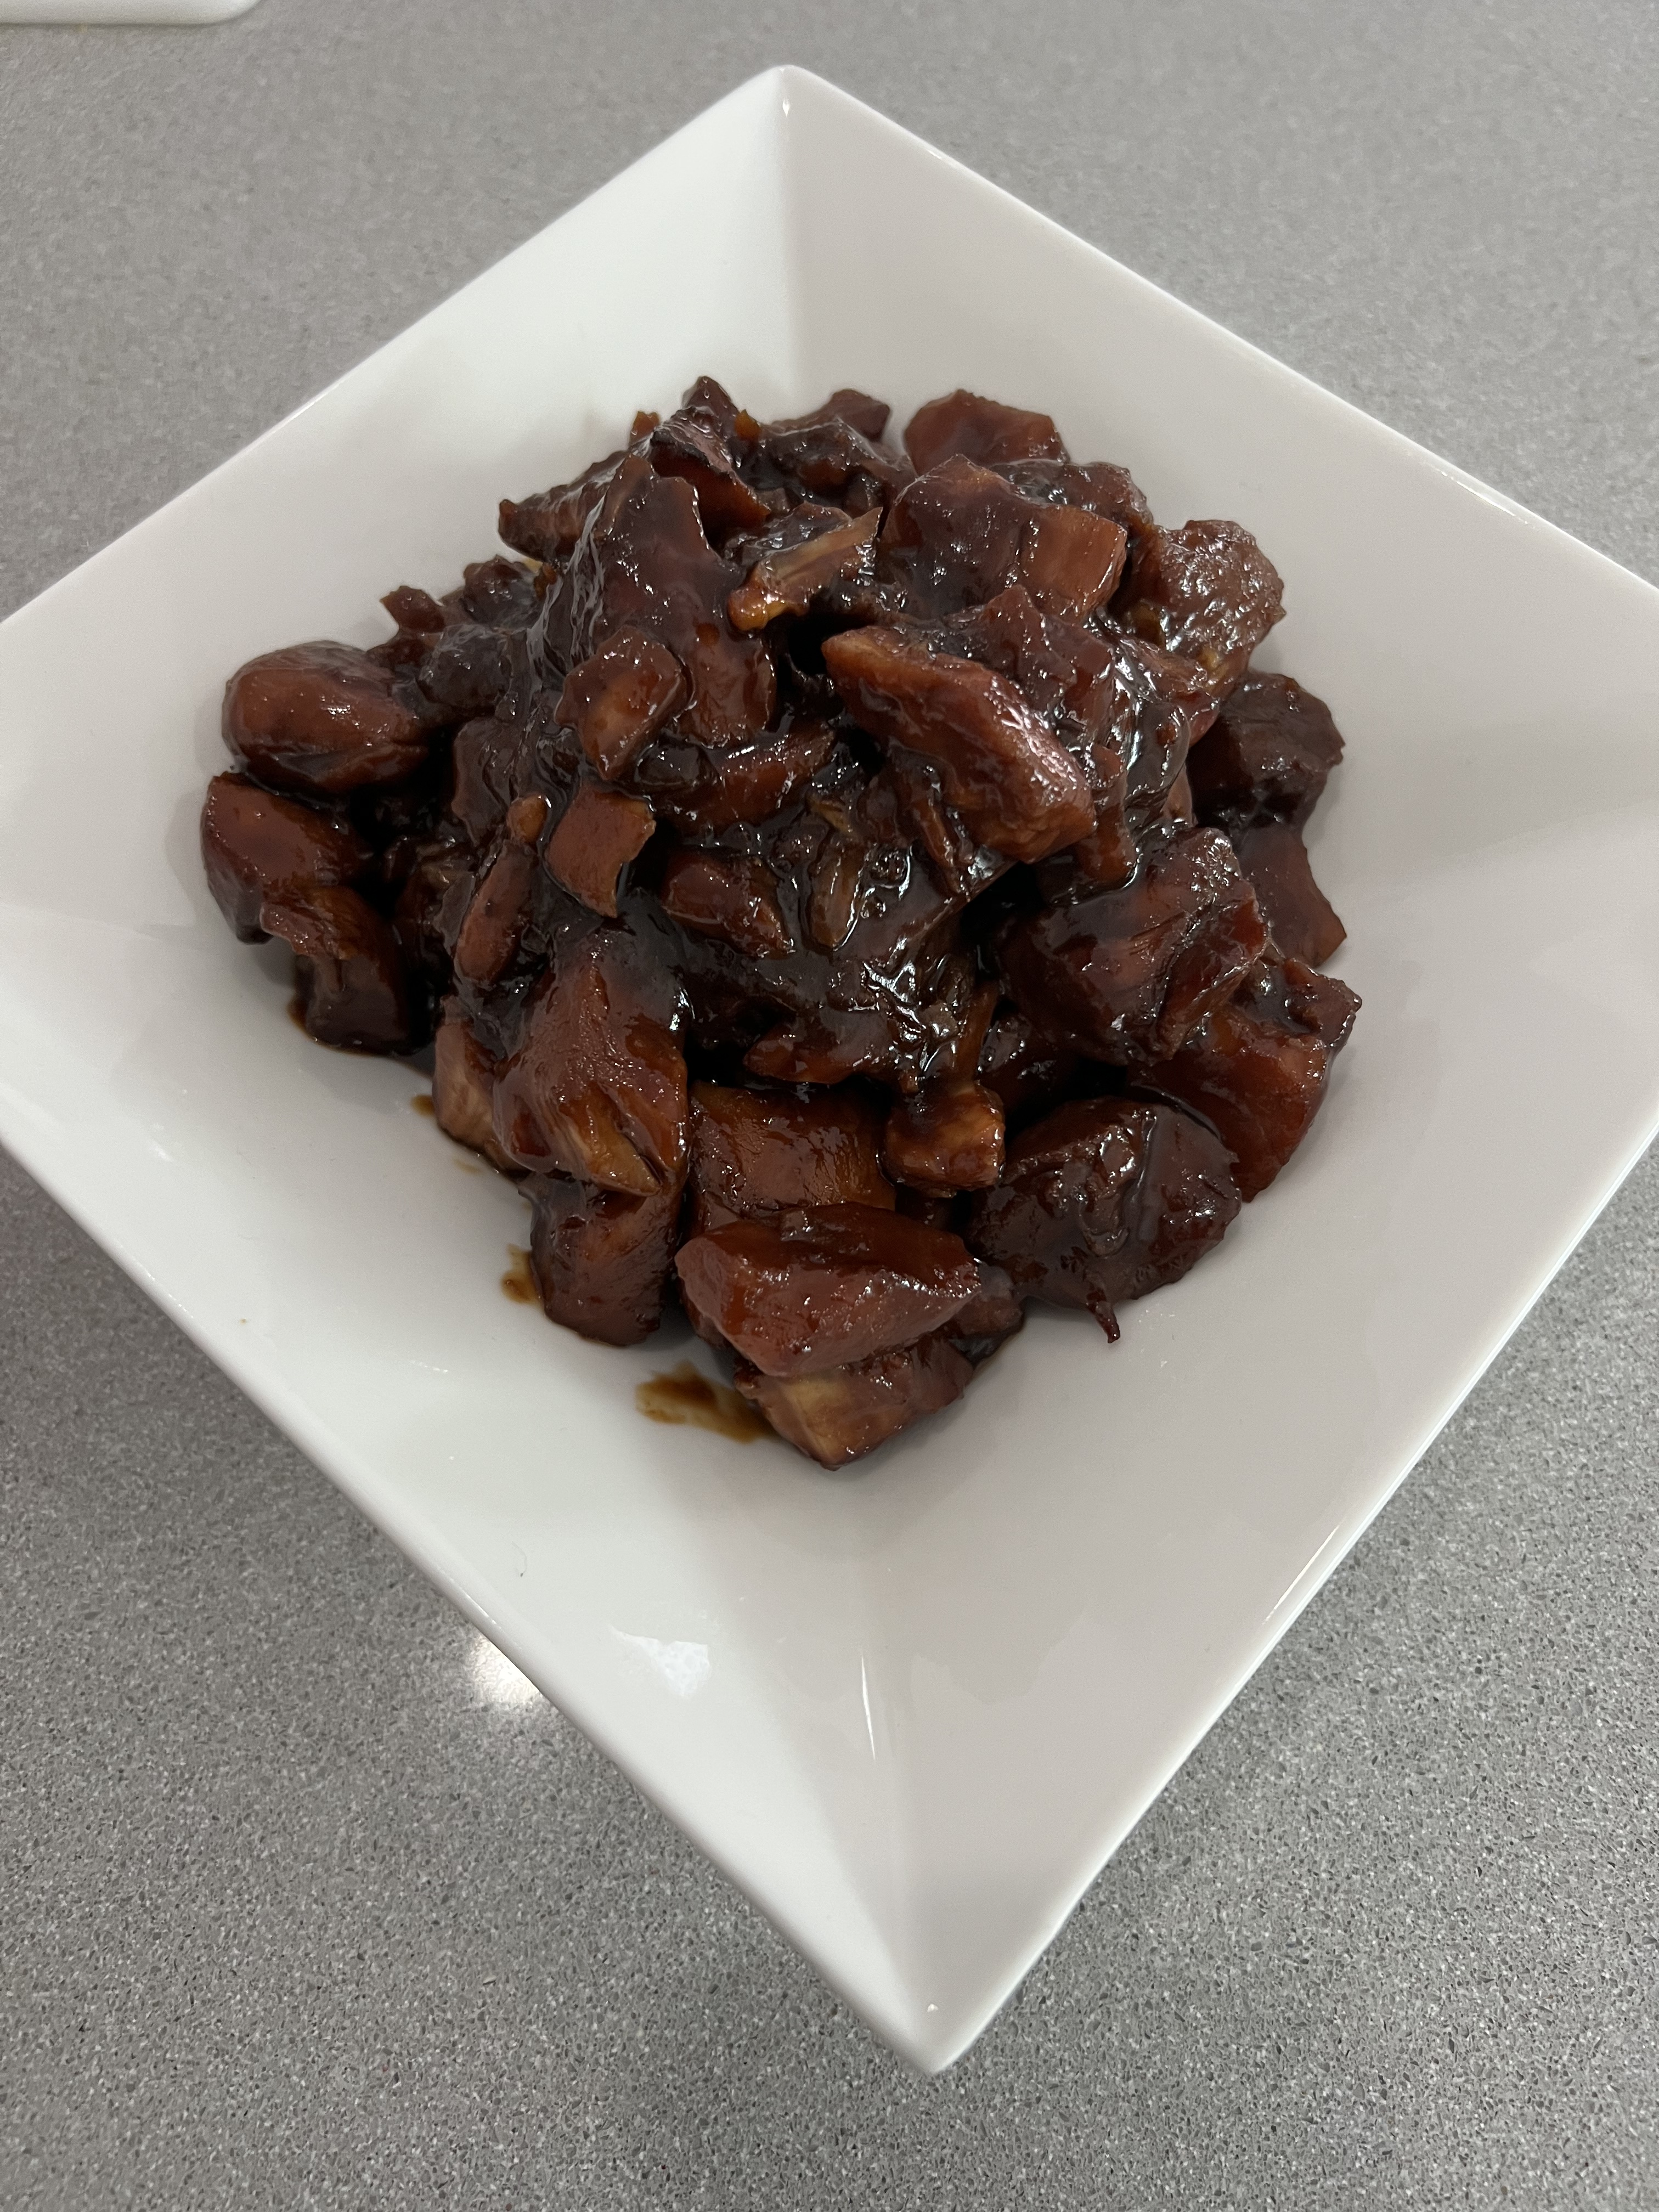
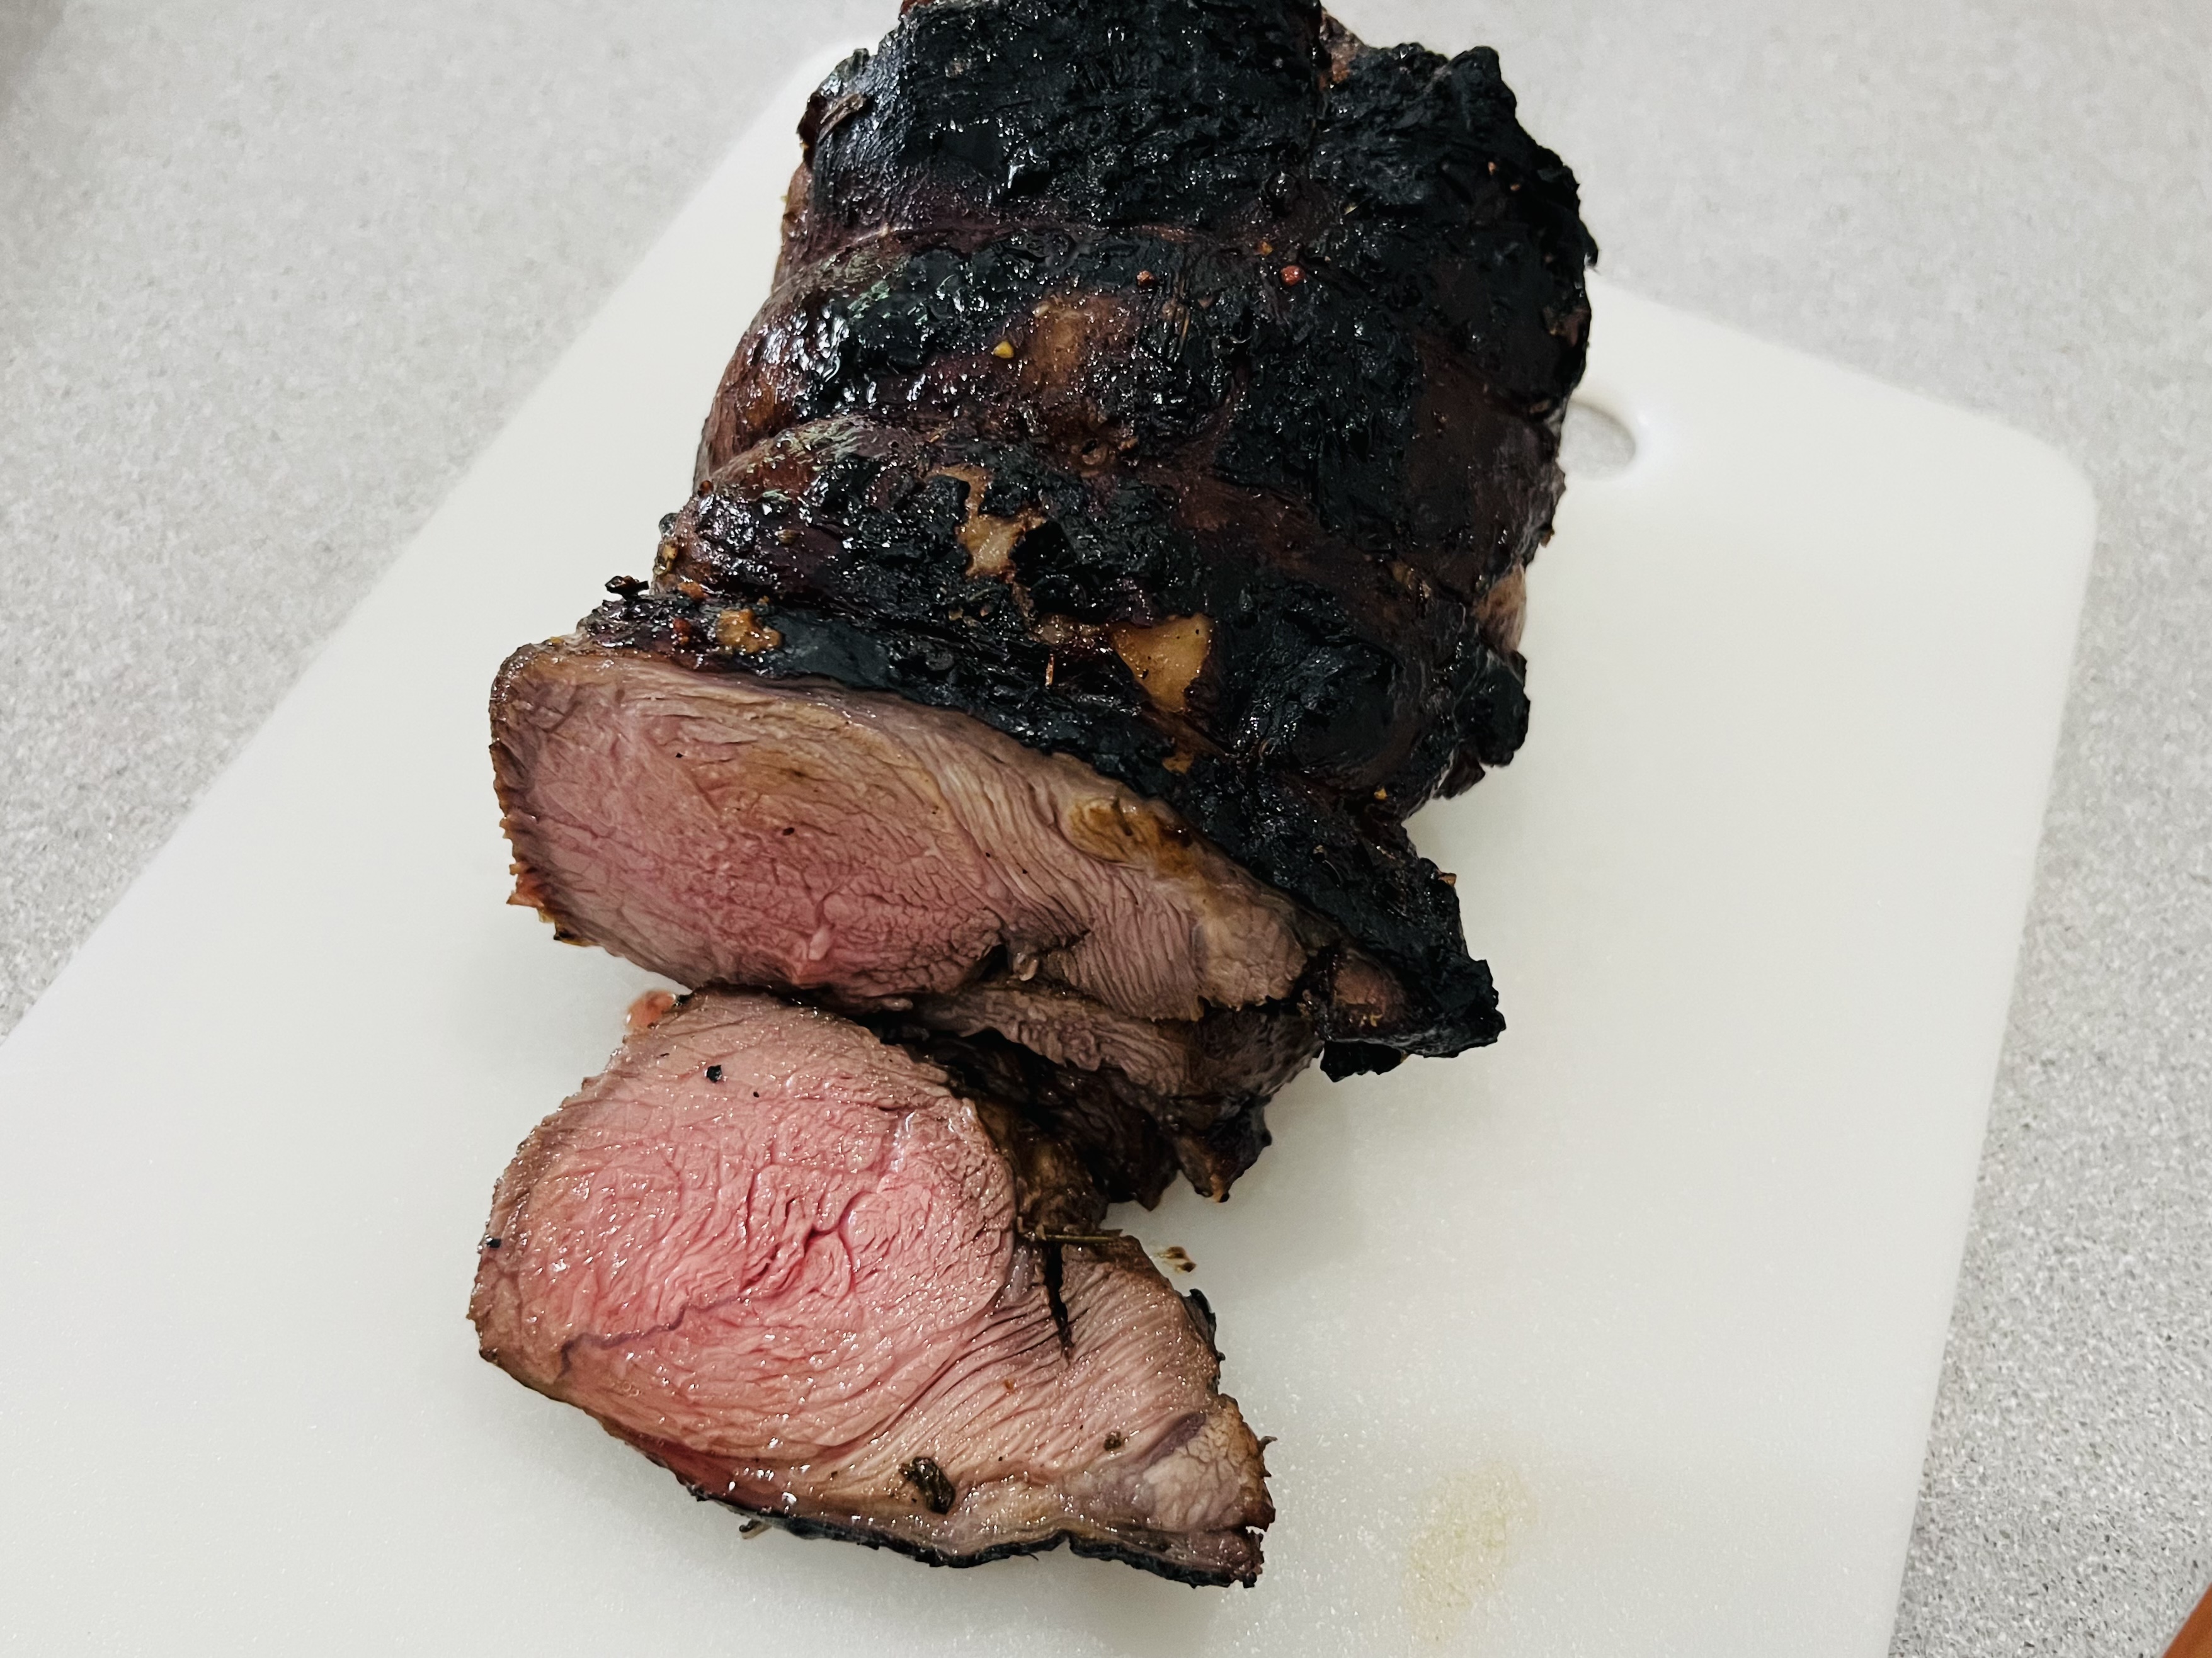
Once I marinated the lamb overnight, I rolled it back up, retied it as best I could, and cooked it in a 350 degree oven until the roast registered 120 degrees on my meat thermometer: medium rare.
I finished the lamb on my outdoor grill over hardwood charcoal to get a little smokiness and char.
The marinade I used can be used for any cut of lamb you might want to cook. (I love the small lamb chops that look like mini t-bones. Their flavor is incredible.)
1/2 cup olive oil
1/2 cup balsamic vinegar
1 tablespoon fresh rosemary, chopped
1 tablespoon fresh thyme leaves, chopped
1 tablespoon Kosher salt
1 tablespoon maple syrup
1 tablespoon Dijon mustard
1 teaspoon black pepper
1 teaspoon dried oregano
3 cloves garlic, sliced thin
Combine all the marinade ingredients in a bowl, mixing well.
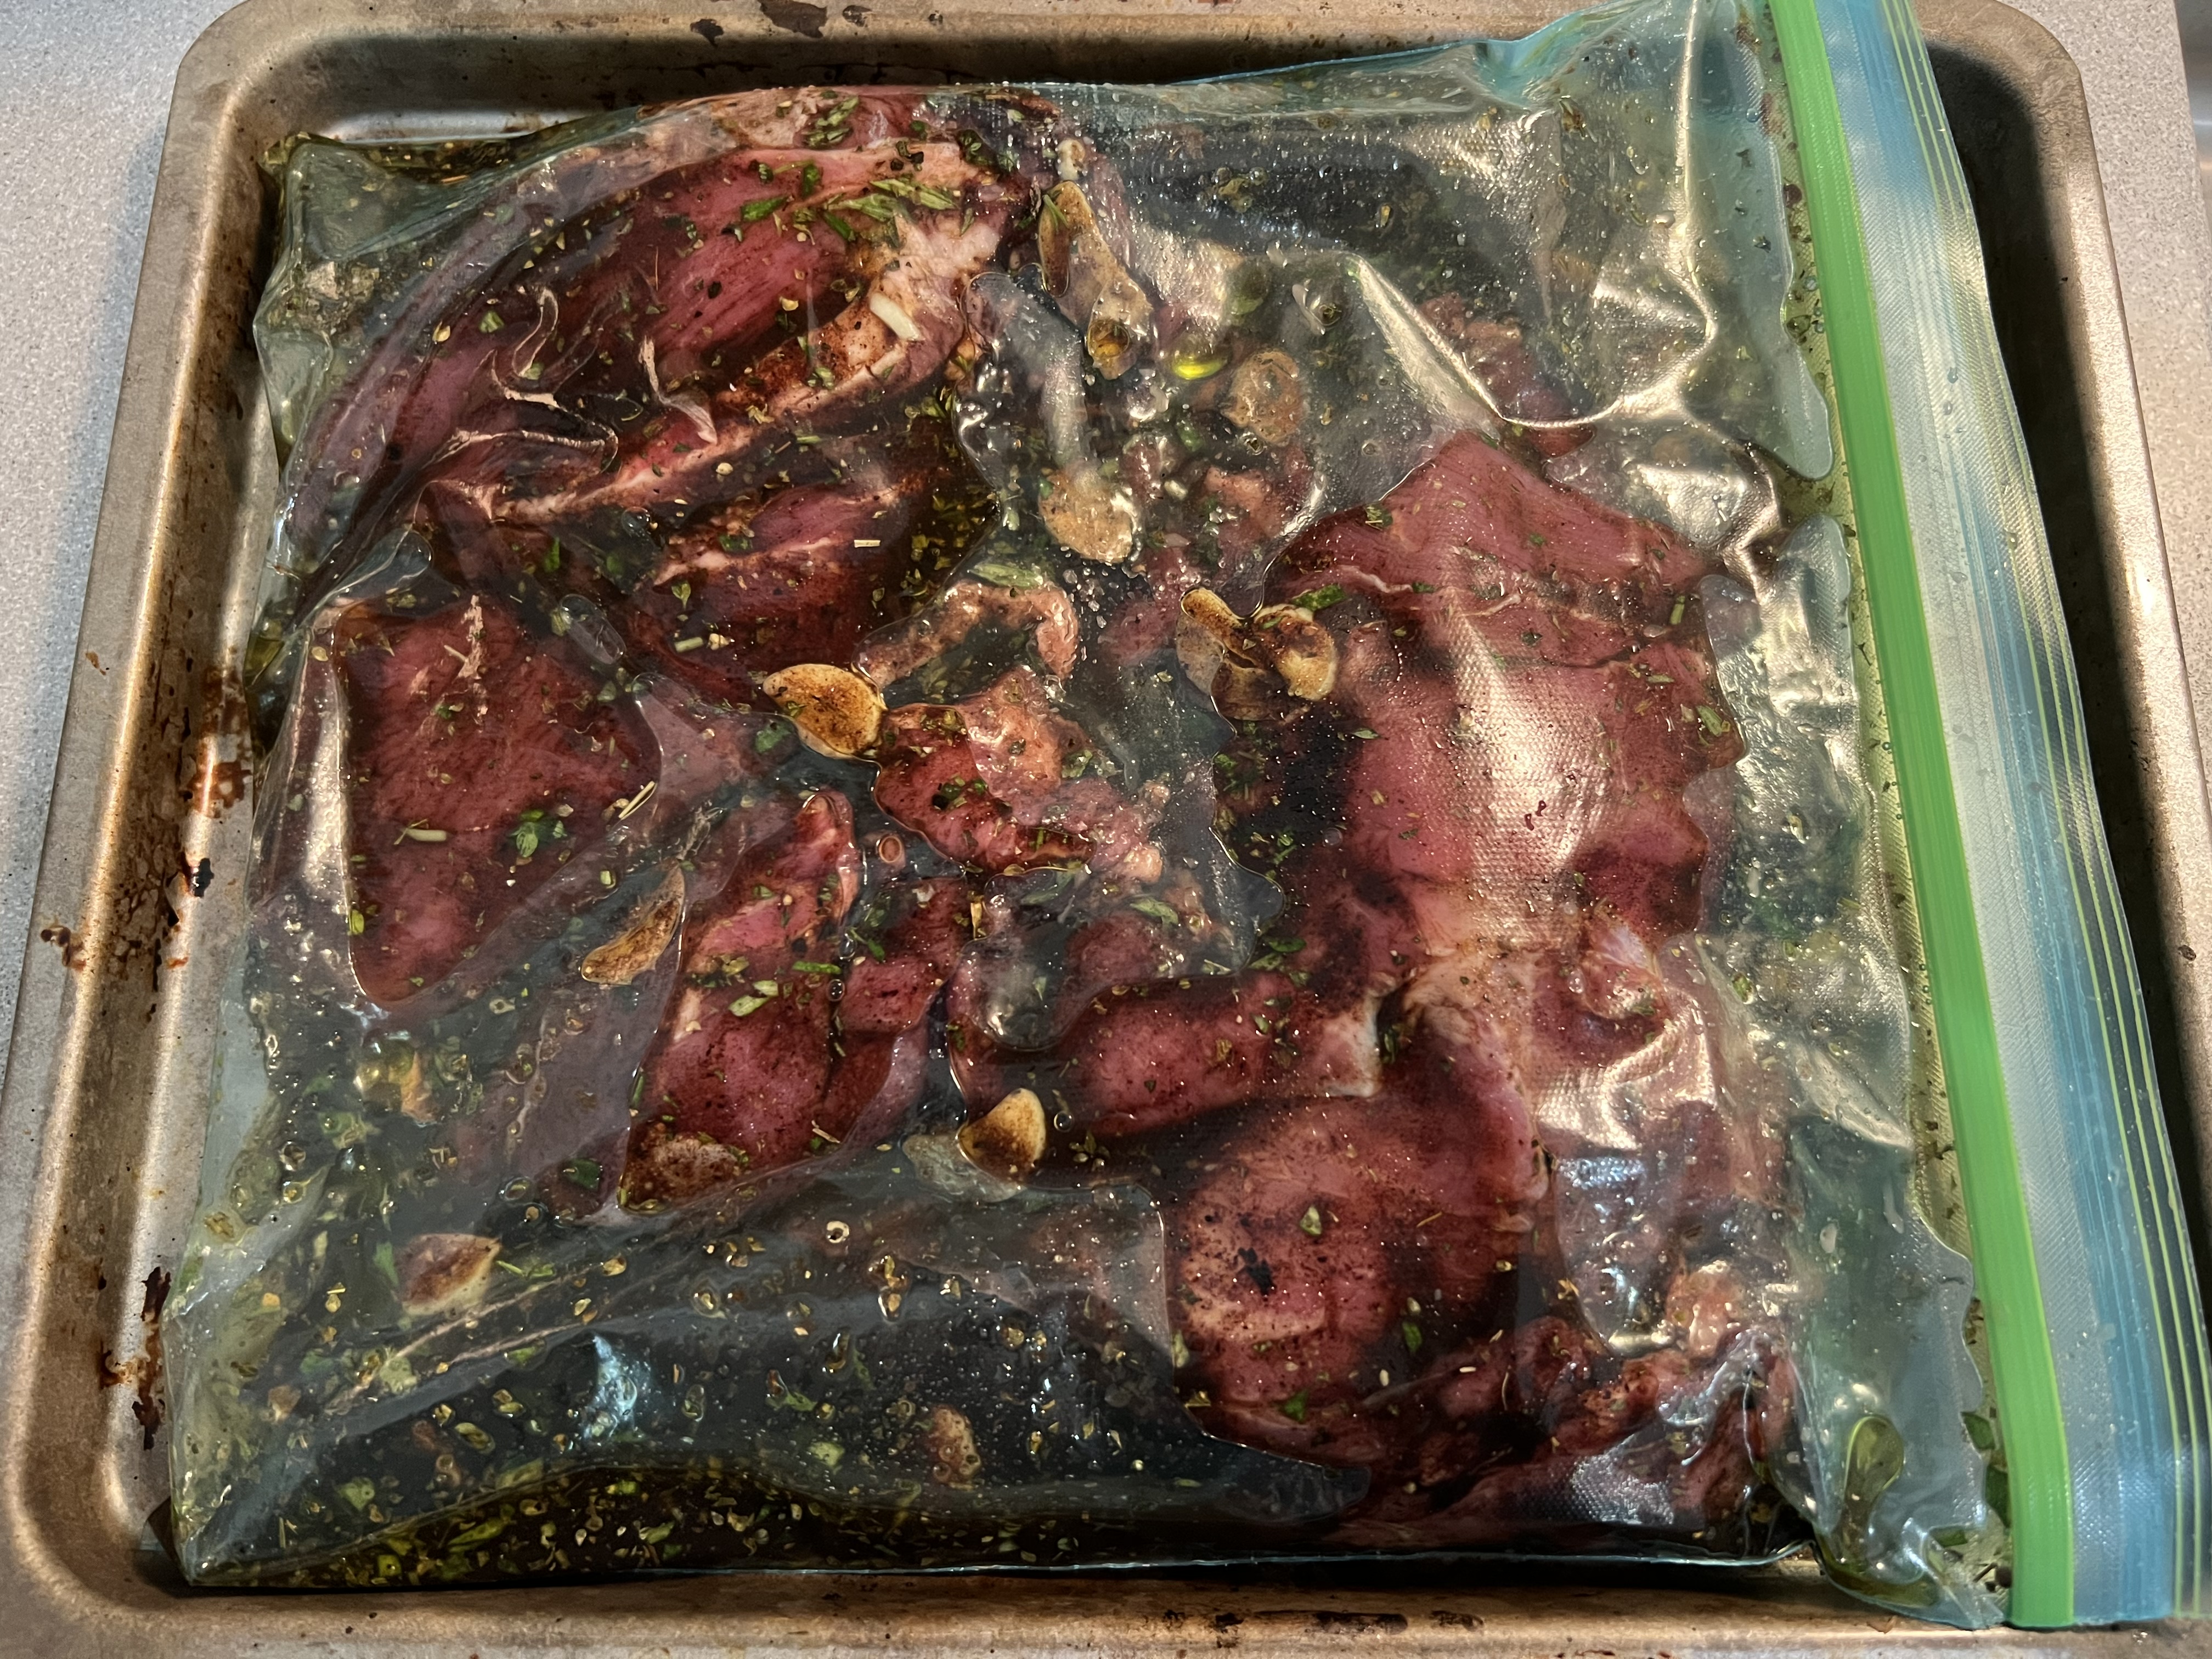
Place the lamb in a Ziploc bag, and pour in the marinade. Seal the bag tightly, squeezing any excess air out of it, and squish it around carefully, so that the marinade makes contact with every part of the lamb.
Place the bag on a pan (to prevent accidents in the fridge) and place it in the fridge overnight. Give it a squish every few hours if you can.
The next day, remove the pan from the fridge and let the lamb come up to room temperature.
Pre-heat the oven to 350 degrees.
Carefully remove the lamb from the bag (I do this over the sink), discarding the marinade.
If you’re using an unrolled lamb roast, like I did, roll it our flat on a cutting board and season it with salt and pepper.
Carefully roll the roast up the way it was originally and tie it with string, as best you can.
Place the roast on a baking sheet and bake it until the meat reads 120 degrees on a meat thermometer…that’s medium-rare.

While the roast is in the oven, start a hardwood charcoal fire.
When the roast is out of the oven, place it on the grill and grill it on all sides until it has some nice grill marks and char.


Let the roast rest for at least 15 minutes before slicing. (Cut the strings off before you do.)