Author Archive

Here in Southern New England, the most popular brand of chicken salad is called Willow Tree. They’ve made it for over 50 years, and people crave it like crack. And it’s good: moist and “mayonnaisey”.

But I’ve never been a fan of “secret” ingredients, and Willow Tree is full of ’em, so my task was to make something that was as good as Willow Tree, with known ingredients. I got close…real close! As always, I use pastured chicken and organic veggies when possible. And since I use chicken breasts only, I found that boiling the breasts in stock instead of water keeps the meat more flavorful.

Another option: I like to roast a whole chicken, devouring the dark meat, then using the breast meat for the chicken salad. I use the carcass and scraps for chicken stock. Nothing goes to waste!

image

1.5 lbs boneless skinless chicken breasts
4 pints salt-free chicken stock (I use home-made)
1/2 cup mayonnaise (I live on Hellman’s)
1/4 cup finely chopped celery
2 tablespoons finely chopped Vidalia onion
1 teaspoon light brown sugar
1/2 teaspoon salt
1/8 teaspoon granulated garlic
1/8 teaspoon black pepper

Heat the chicken stock in a large pot. Bring it to a boil and add the chicken breasts. Bring it to a boil again, then simmer uncovered for about 7 minutes.

Turn the heat off, cover the pot with a lid, and let the breasts sit in the pot for 10 minutes to cool a bit. After 10 minutes, remove the breasts to a cutting board. Save the chicken stock for another use, like soup. (See below.)

Meanwhile, in a large bowl, combine the mayonnaise, celery, onion, brown sugar, granulated garlic, salt and pepper. Mix them thoroughly to combine.

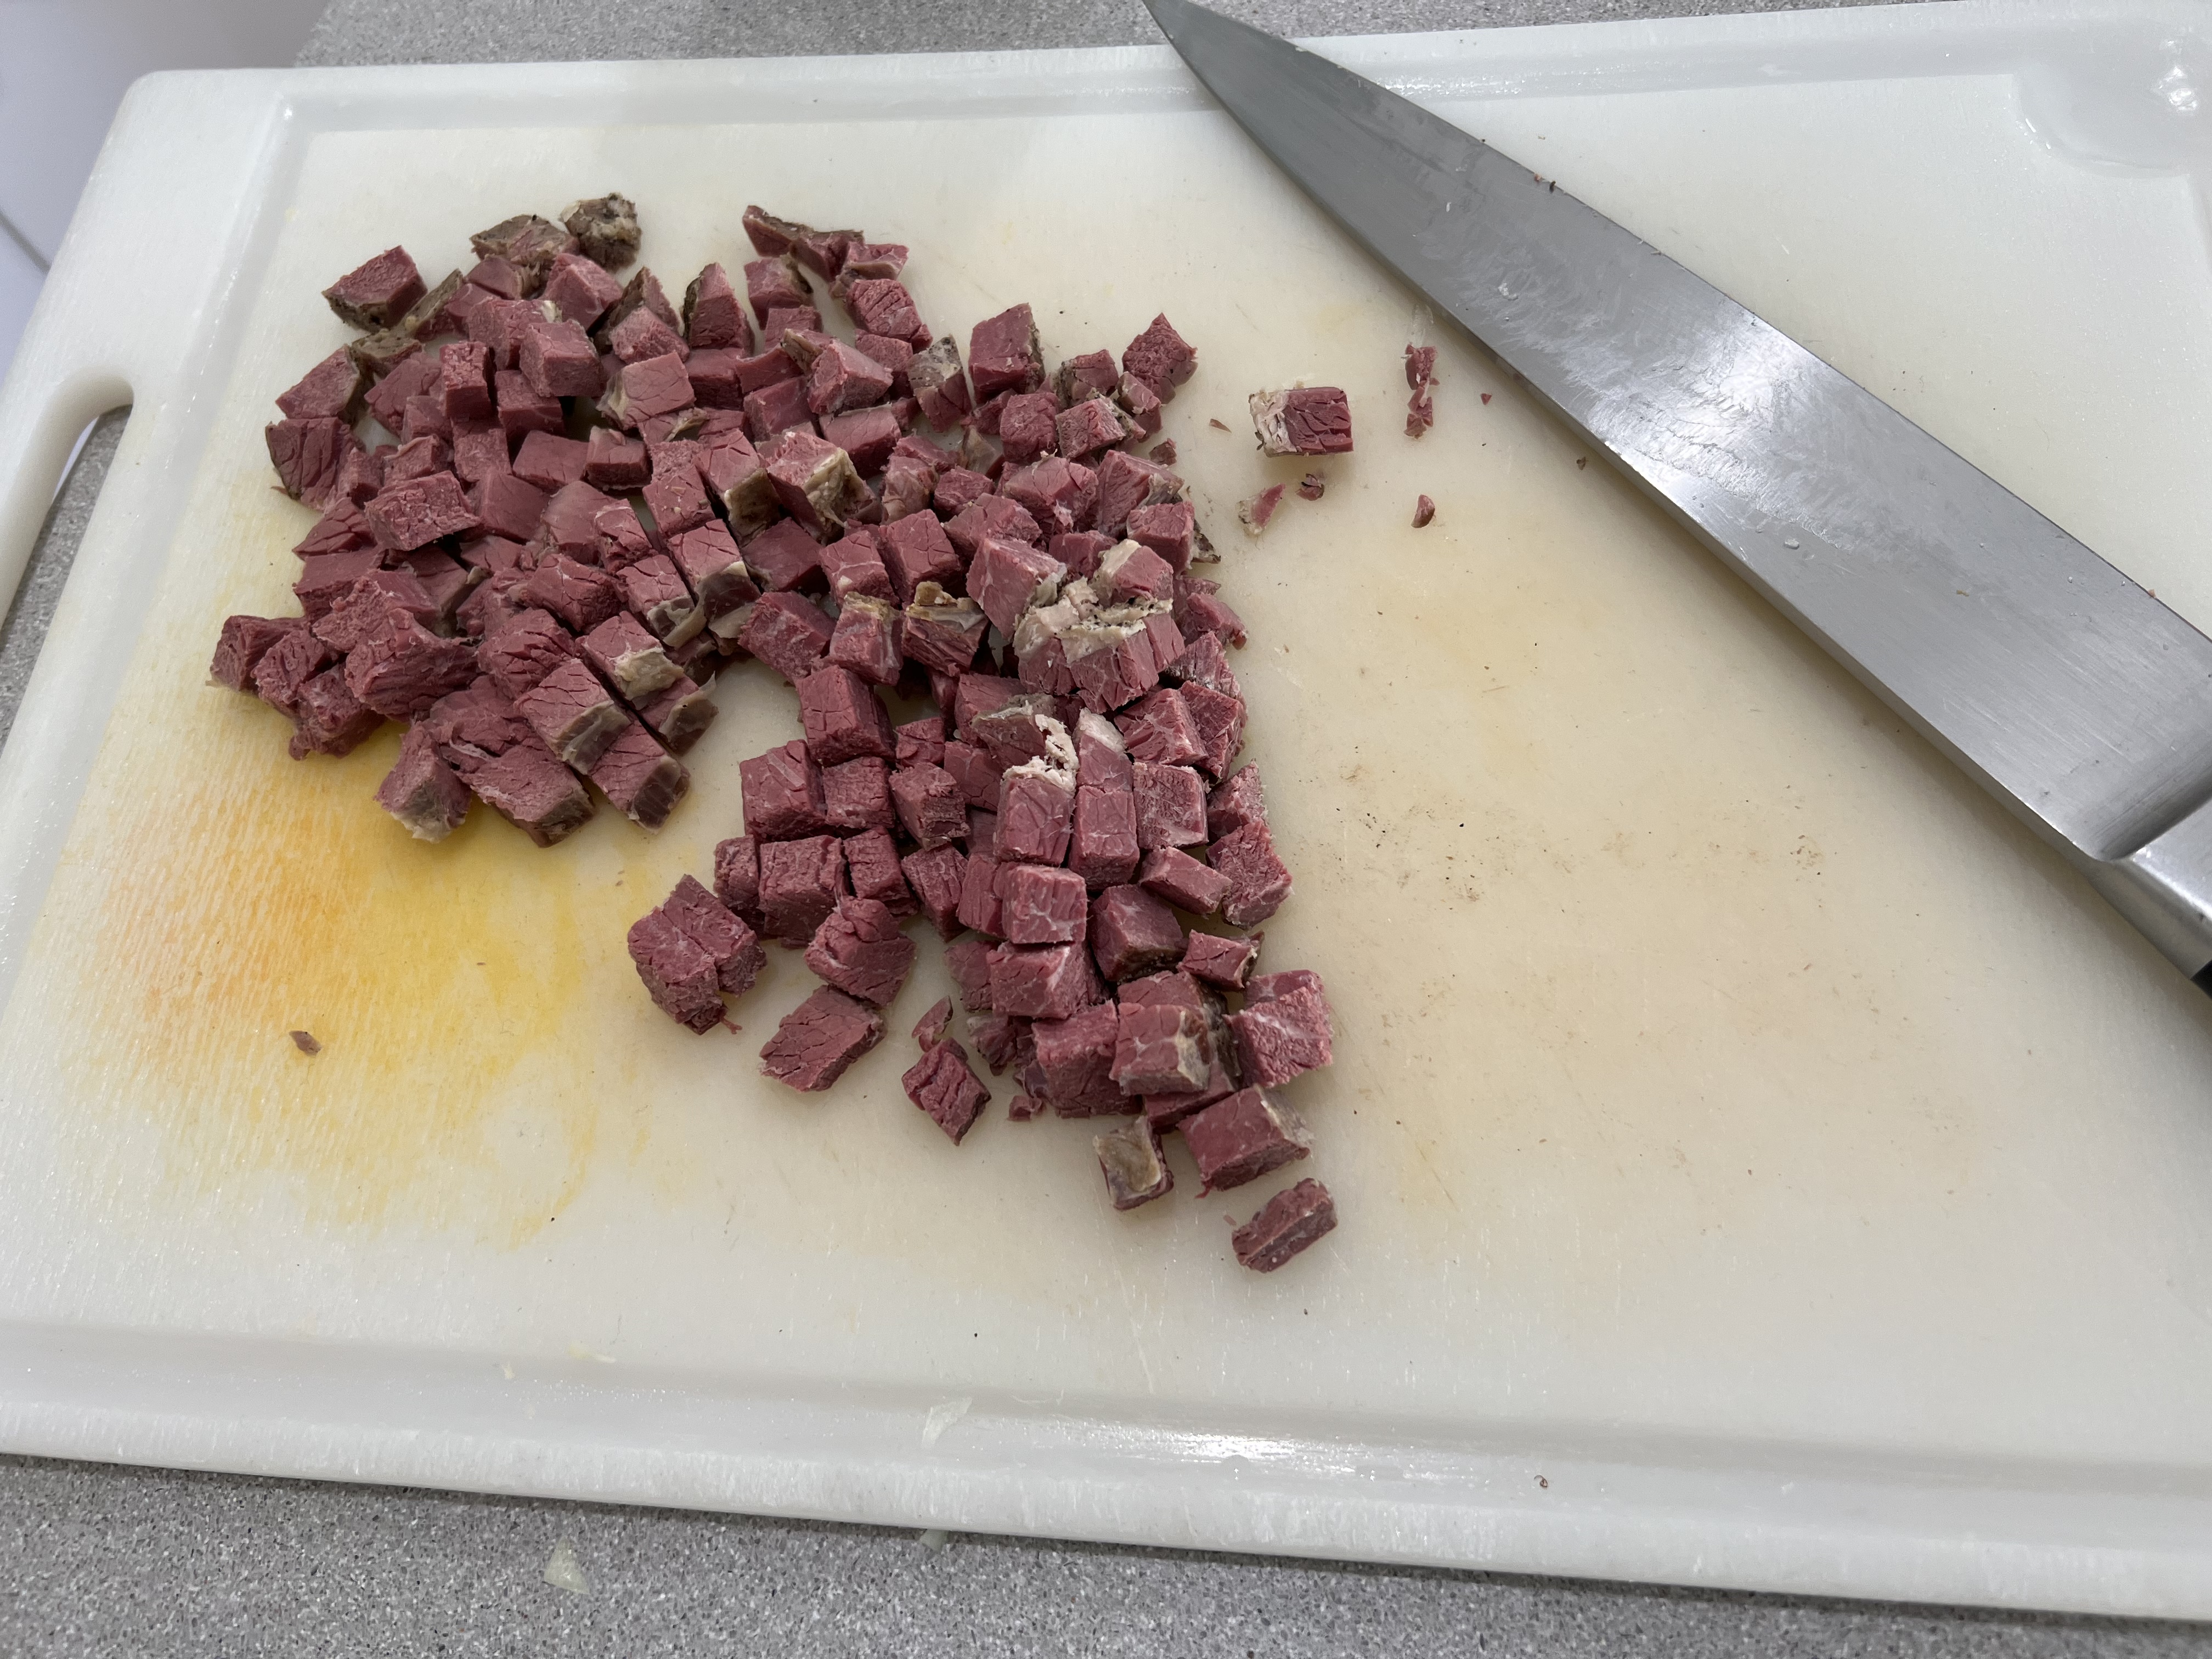
When the chicken has cooled, shred or chop the breast meat into bite-sized pieces and then transfer it into the bowl with the mayonnaise mixture. Mix thoroughly and chill before serving.

I love my chicken salad on a Martin’s Long Roll.


BONUS: I don’t waste the chicken stock left over in the pot. I chop some carrots, celery and onion and throw them in there. I reserve some of the chicken breast meat–just a bit–and throw it in there, too. I add a little salt and pepper, and a pinch of dried Bouquet Garni. I bring it to a boil, then reduce the heat to a simmer and cook until the veggies are al dente. Pasta or potatoes optional. Makes an awesome chicken soup!

If you want to freeze the soup, I would leave the potatoes or pasta out, adding them only when reheating the frozen soup. That keeps them from getting mushy.

MY FAVORITE LASAGNA

Posted: April 4, 2022 in Uncategorized

Who doesn’t love lasagna? It’s clear, when you look for recipes on line, that there are many versions of this incredibly delicious classic Italian dish. So many have the title “World’s Best,” “Mama’s Best,” or “Most Incredible.”

But as they said in the movie “Highlander…” There can be only one!

In this case, it’s simply a matter of preferences. 

I took my favorite parts of several recipes and weaved them together to make one incredible lasagna.

For me, lasagna has to have a great meat sauce, it has to have ricotta, and it has to have a bechamel sauce. This recipe includes them all.

It takes a bit of work, and a bit of love, but it’s all worth it in the end!

My lasagna starts with the meat sauce…

1 cup minced onion
3 cloves garlic, minced
1 lb. sweet Italian sausage, out of the casings
1 lb. lean ground beef (I use 93/7 grass-fed beef)
1 (28-oz.) can of crushed tomatoes
2 (6-oz.) cans of tomato paste
2 (8-oz.) cans tomato sauce
1 cup water
2 tablespoons sugar
1 tablespoon Italian seasoning
2 teaspoons dried basil
1 1/2 teaspoons salt
1/2 teaspoon ground black pepper
1/2 teaspoon fennel seeds
5 tablespoons chopped fresh Italian parsley (use 4 here, save 1 for the ricotta)

In a a large pot, add a couple of tablespoons of olive oil and sauté the onions until translucent. Add the garlic and stir for about 10 seconds.

Add the pork and beef and sauté until the meat has browned.

Stir in the crushed tomatoes, tomato paste, tomato sauce, and water.

Season with the sugar, Italian seasoning, basil, salt, pepper, fennel and 4 tablespoons of the parsley.

Simmer the sauce, loosely covered, for about 30 minutes.

That gives you enough time to move to the next step.

1 lb. of lasagna sheets

Bring a large pot of salted water to a boil. When salting pasta water, think: the saltiness of ocean water. Add the lasagna sheets and carefully push them down into the water as they soften. Don’t break them!

Cook the lasagna sheets for 8 to 10 minutes, until they are even firmer than al dente, and drain them. Separate them and set them aside.

Next, the ricotta….

1 lb. whole milk ricotta cheese
1 egg
1 tablespoon chopped fresh Italian parsley
1/2 teaspoon salt

In a large bowl, combine the ricotta, egg, the last tablespoon of parsley and salt. Mix well, and set it aside.

A bechamel sauce is a white sauce that adds even more creaminess to the dish.

3 tablespoons butter
3 tablespoons all-purpose flour
2 1/2 cups whole milk
3/4 cup freshly grated Parmigiano Reggiano cheese

Melt the butter in a sauce pan, then remove the pan off the heat and add the flour. Whisk the flour to incorporate it into the butter, about 30 seconds, making a roux. 

Bring the pan back over the heat and slowly add the milk, whisking all the time to avoid lumps.

Keeping the heat on medium, keep whisking until the sauce thickens and coats the back of a wooden spoon.

Take the sauce off the heat, and mix in the Parmigiano Reggiano. Season with salt and pepper and let the cheese melt into the sauce. Set it aside.

It’s time to put it together! (Don’t panic if you have leftover sauces or pasta at the end of assembly. Everyone makes their lasagna differently, and you can make a mini with all the combined leftovers.)

3/4 pound of mozzarella grated, and standing by

I use a large lasagna pan, about 11 x 14 inches.

First, I put down a layer of the meat sauce to keep the pasta from sticking.

Then I lay down the lasagna sheets in a single layer, overlapping a little so there are no spaces.

A little more meat sauce on top, followed by a layer of bechamel, and a light sprinkling of mozzarella.

Next another layer of slightly overlapping lasagna sheets. More meat sauce…more bechamel…more mozzarella. And now a layer of the ricotta mixture.

Next, one final layer of lasagna sheets, pushing down a bit to make good contact. This layer can be a bit heavier on the pasta, if you want to use the sheets up. Top it with the meat sauce, and a final generous topping of mozzarella. 

Season the top with a little oregano.

You might notice that I put the ricotta on the top of the lasagna. That’s because I forgot to put it in the middle! Thanks goodness my daughter caught the mistake, so I simply put dollops of the ricotta mixture on the top and it came out great! I think I’ll do it this way all the time!

Bake in a pre-heated 375 degree oven for about 40minutes, or until it’s bubbly and golden brown. Let it cool for about 15 minutes before serving.

This dish can be gluten-free if you change only 2 things: use GF pasta, and GF flour in the bechamel.

So good and gooey!

For my family, a Caesar salad is the only salad to serve on special occasions. But it all starts with a little history…

If someone told me that the classic Caesar salad was invented in Tijuana, Mexico, I’d say they were crazy. But that’s one bizarre truth in the creation of one of the world’s most iconic salads.

Famous restaurateur, Caesar Cardini, ran a restaurant in San Diego back in the early 1900’s. But when Prohibition hit the states, he opened another location in Mexico…Tijuana, to be exact, luring many of the day’s Hollywood stars across the border. They could gamble in Mexico, and they could feast on food and alcohol at Cardini’s.

The story goes that one July 4th, they were running out of food, and thinking quickly, Cardini created a salad at the spur of the moment, using only the ingredients he could find in the kitchen. Having the chef assemble the salad tableside meant it came with a grand performance, and word quickly spread of the incredible “Caesar salad.” (Cardini named it after himself.) Cardini’s is still at its original Tijuana location, and they serve thousands of Caesar salads, with a flamboyant tableside show, to tourists.

Though Cardini didn’t believe anchovies should be in his salad (they say Worcestershire was used instead), anchovies were eventually added when his brother, Alex, tweaked the recipe years later. (The Worcestershire was removed.)

It needs to be said that raw egg yolks are used in Caesar salad, and if you’re not comfortable using them because of salmonella concerns, you shouldn’t. Sometimes coddled eggs (slightly boiled) are used. Some stores, though not many, sell pasteurized eggs in the shell. I haven’t had a chance to use them–or even find them. Many recipes contain a variety of egg substitutes. But for me, it ain’t a Caesar without raw egg, so I’m willing to take my chances.

This Caesar recipe remains the best I’ve ever had.


The ingredients.


The first really important ingredient to get is a wooden bowl. No other bowl will do. We have an old wooden bowl at home with almost mystical properties that is used for nothing but our Caesar salad, and I have to say that it makes all the difference in the world.


The mystical wooden bowl. Years of Caesar salads have given it a special seasoning.


Once you have the bowl, what matters most is the freshest, best quality ingredients you can find: farm-fresh eggs, not supermarket ones…Parmigiano Reggiano, not generic Parmesan. The best quality extra virgin olive oil. Fresh lemon juice. Freshly cracked black pepper. High-quality anchovies. And organic Romaine lettuce. (Organic bibb or leaf lettuces make great substitutes.)

After that, it’s all about the love.


The process begins…


4 raw egg yolks
8 oz. good quality extra virgin olive oil
2 tablespoons Dijon mustard
fresh garlic (optional…see below)
1 1/2 teaspoons black pepper
4 anchovies
the juice of 1 lemon
4 oz. grated Parmigiano Reggiano cheese
2 large heads organic Romaine lettuce, washed, stems removed, torn by hand

Place the egg yolks in the wooden bowl and whisk them until well mixed.

While whisking the yolks, pour the olive oil in the bowl VERY SLOWLY, whisking all the time, never stopping. Keep pouring the olive oil slowly until you’ve whisked all of it into the eggs and you get a beautiful emulsion.

Keep whisking and add the Dijon mustard, then the black pepper. You might need someone to hold the bowl for you as you whisk. Or…place a wet kitchen towel under the bowl to stabilize it.

In a separate small bowl, mash the anchovies with a fork–even better, use a mortar and pestle, if you have one. Don’t leave any chunks. Slowly add the mashed anchovies to the wooden bowl, mixing them in with the whisk to combine the ingredients. You want them to dissolve completely in the dressing.

Once the dressing has reached its desired consistency, add the lemon juice and whisk some more.

When it’s all mixed together, dip a finger in the dressing and give it a taste. Does it need more lemon juice to cut the oil? Slice a second lemon and add a little. Taste again. Enough black pepper? There should be enough salt from the anchovies and the cheese is still to come.

If you think you’ve “got it,” sprinkle in the Parmigiano Reggiano, whisking slowly. Then add the Romaine leaves to the salad bowl and toss gently to coat the lettuce.

When serving, top each salad serving with a little more cheese. Extra anchovies are optional.


If you’re saying “where’s the garlic?” …you’re right. Every good Caesar needs some. This recipe would use about 1 teaspoon of fresh, finely chopped garlic, added after the mustard. If I’m cooking alone, I always add the garlic. But we have people in our household that are allergic to garlic, so when family is here, we leave it out. The flavors of the dressing are so deliciously intense, you’ll be surprised how good it is without it!

This is a rich, delicious, and unusual surf-and-turf, using wild Texas boar (I got it as a gift!) and locally caught Rhode Island scallops. Wild boar is an ingredient usually only found online, so substituting pork belly, which you can find at your local butcher shop, is a great alternative.


FullSizeRender (9)

For the pork belly…
3 lbs. fresh pork belly
salt and pepper
1–2 tablespoons leaf lard or olive oil
1 carrot, coarsely chopped
1 celery stalk, coarsely chopped
1 onion, roughly chopped
1 fennel bulb, quartered
2 sprigs fresh thyme
1 teaspoon black peppercorns
4 cups beef stock
1 cup hard cider or apple juice

Pre-heat the oven to 350.

Season the belly with salt and pepper. On medium-high heat, melt the leaf lard, then sear the meat on all sides in an oven-proof pot big enough to hold it in one layer. Add the carrot, celery, onion, fennel, thyme and peppercorns and continue cooking for another 5 minutes, until caramelized.

Add the beef stock and the cider. Cover the pot with a lid or seal it with aluminum foil, and braise the belly in the oven for 3 hours, until tender.

Remove the pot from the oven, carefully remove the pork belly, and put it on a plate. Cover it with foil. If you’re cooking earlier in the day, you can place the belly in the fridge at this point.

Strain the leftover braising liquid from the pot and discard the vegetables and thyme. Skim off the excess fat. If you’re starting this dish earlier in the day, you can put this liquid in the fridge and the fat will harden, making it easier to remove.


FullSizeRender (8)

For the glaze…
braising liquid, strained
1 tablespoon espresso
1 tablespoon honey

In a small saucepan, reduce the brazing liquid by half, then add the espresso and honey. Cook a few more minutes until the sauce thickens. When it coats the back of a spoon, it’s ready. Set it aside.

For the scallops…
Fresh scallops
salt and pepper

When you’re ready to serve, heat a pan on high heat with a little more leaf lard. Cut the belly into equal pieces and sear them on all sides for about a minute. Place the scallops in the same pan, seasoning with salt and pepper, and sear them on both sides, being careful not to overcook them.

To serve, place the belly on a plate. Top it with a scallop or two. Drizzle the glaze over the top. Season with Fleur de Sel or other finishing salt and serve it immediately.

Growing up in NY, I was introduced to smoked whitefish, herring, and lox at an amazing deli just down the road from my parents’ house. My wife’s family from the Upper Peninsula of Michigan, meanwhile, caught the whitefish, herring and salmon and smoked it themselves.

Smoked whitefish may be a bit hard to find, and it could get expensive if you buy it from your local deli. But sometimes big membership stores like BJ’s will sell whole smoked whitefish. (They also sell already-made whitefish salad, but don’t buy that…it’s all mayonnaise and fish leftovers.)

My in-law’s recipe calls for dill pickle relish, but I went with capers instead. Both work well.


Remove every bit of meat. Double-check for bones!

Remove every bit of meat. Double-check for bones!


1/2 whole smoked whitefish, meat removed
1/2 cup mayonnaise
1/4 cup finely chopped Vidalia onion
1 tablespoon capers, finely chopped
1 tablespoon freshly squeezed lemon juice
1 hard-boiled egg, finely chopped
Freshly ground pepper
Pinch of sea salt (I like Fleur de Sel)


Remove the meat from the smoked whitefish carefully, making sure all the small bones have been removed. Double-check to make sure you’ve done this really well. It pays to be really meticulous with this job so that you (or your guests) don’t gag on a fish bone later!


Place all the whitefish meat in a bowl.

Combine all the other ingredients with the fish, mixing thoroughly using a fork. (Try not to mush it up too much!)
The standard way is to serve it with crackers. But there’s nothing wrong with slathering it onto an everything bagel! Or…if you have guests…slice everything bagels as thin as you can and toast them until they’re crisp like crackers. Then serve them on the side.
image
Here’s a shot of the real deal straight out of the smoker, at a fish store in Mackinaw City, Michigan, on the way to the Upper Peninsula. Man, that was some good eatin’!
image

ASIAN-STYLE PORK CHUNX

Posted: March 20, 2022 in Uncategorized

These delicious “chunx” of pork are full of fantastic Asian flavors and go great with broccoli and rice…or just by themselves. Plus, I used inexpensive boneless pork sparerib meat, which saves a few bucks.

3 pounds boneless pork ribs
1/2 a large onion, diced
1/2 cup soy sauce
4 tablespoons hoisin sauce
1 teaspoon Chinese chili garlic sauce
Zest and juice of 1 lemon
2 star anise
2 cinnamon sticks
1/2 cup maple syrup
4 cups chicken broth, preferably homemade

This recipe is similar to my Asian bacon recipe, only it uses a cheaper, easier to find, cut of pork: boneless sparerib meat. You can usually find packages of this meat in a 3-pound size at most supermarkets.

The rib meat is fatty, however, and often has some gristle. So I trim as much of that away as I can to keep the tasty bites tender. 

I cut the pork into 1-inch cubes, and toss them in a bowl with the diced onion. I add the soy sauce, hoisin sauce, and Chinese chili garlic sauce to the bowl and mix everything really well.

I will let the pork marinate for 2 hours at room temperature, remixing every half-hour or so. (If the pork needs to stay out longer, I put it in the refrigerator, bringing it back to room temperature when I’m ready to cook.)

I preheat the oven to 350°.

I line a baking pan with nonstick aluminum foil and place the pork and onion pieces on it in a single layer, reserving any leftover marinade for later.

I bake the pork and onions for 30 minutes.

While the pork is in the oven, I get a large pot and place the lemon zest, lemon juice, star anise, cinnamon sticks, maple syrup, and chicken broth in the pot. I bring it to a boil, then reduce it to a simmer.

After the pork and onions have cooked for 30 minutes, I remove them from the baking pan and place them in the pot, pouring in all the juices that might be in the baking pan. At this point, I can add any leftover marinade into the pot as well.

Bringing the heat under the pot back on high, I continue cooking until the liquid in the pot starts reducing. As it reduces, I turn the heat down as well, so I don’t burn any sugars in the pot. I stir the pork pieces once in a while.

Soon, the liquid will be reduced to a glaze. I keep tossing the pork in that glaze until it looks nice and shiny and gooey and sticky. And that’s when they’re ready!

Serve the pork chunks immediately!

RETRO CHICKEN PASTA CASSEROLE

Posted: March 17, 2022 in Uncategorized

My daughter likes to find new recipes on line for us to try. And although they might look like new ideas to her, the ingredients tell me these recipes came from somebody’s cookbook from the 70’s.

Hey, maybe I’m the exception to the rule, but I haven’t opened a can of cream-of-anything soup in at least 30 years…and that includes cream of mushroom for the classic Thanksgiving bean casserole. (I’ve never made one.) Maybe it’s because I wasn’t raised on Betty-Crocker-midwest-American fare. My parents were from Lithuania, and we had our own list of favorites that would probably raise a few American eyebrows.

But my daughter had friends coming over this past weekend to hang out for a few hours, and I always like to cook something for them. (I learned from my mom and grandmother a long time ago that you don’t invite someone over without feeding them.)


This casserole recipe my daughter chose, originally called something like “Chicken Spaghetti,” had some good ideas, but wrong ingredients for a group of teenage girls who could be a bit finicky. For example, it called for 2 cans of cream of mushroom soup. I decided to ditch the mushrooms and I substituted one can each of cream of celery and cream of onion. The recipe called for green peppers. I chose to use peas and corn. And since it was all going into a casserole dish, spaghetti seemed like the wrong pasta. We went with smaller penne instead.

We made it a day ahead…keeping it wrapped in the fridge. But if we needed less than what this recipe made, we would’ve divided it into two smaller casseroles, freezing one of them (before cooking) for future use.

1 lb. pasta
1 can (10.5 oz.) cream of celery soup
1 can (10.5 oz.) cream of onion soup
1 cup chicken broth
2 to 3 cooked chicken breasts (about 3 cups shredded)
1/2 cup peas (frozen is fine)
1/2 cup corn (frozen is fine)
1 small onion, finely chopped
1 teaspoon seasoned salt (I use Lawry’s)
1/8 teaspoon cayenne pepper
salt and pepper
2 1/2 cups shredded sharp cheddar, divided

Homemade chicken stock is the best. If you don’t have any that you’ve made from the leftovers of previous chicken dinners, and you don’t have any store-bought stock in your pantry, here’s any easy cheat…

Get a pot and fill it with about 6 cups cold, clean water. Put the pot over high heat. Chop up a carrot, a stalk or two of celery, and 1/2 an onion and toss them in the pot. Then add the raw chicken breasts you’re going to use in this dish.

Bring the pot to a boil, then turn the heat down to medium until the chicken breasts are thoroughly cooked and the liquid in the pot has reduced by at least half.

Strain the veggies out, and what you have left is basic chicken stock.

If you’re going to cook this dish the same day, pre-heat the oven to 350.

Grease a 9 x 13 pan with cooking spray. (Two smaller pans if you’re dividing the recipe.)

Cook the pasta according to the package instructions, but stop the cooking even before the pasta reaches the al dente stage. (It will cook more in the oven, so you don’t want it mushy.) Drain the pasta and set it aside.

Sauté the onion in a bit of olive oil until it’s translucent.

Get out a large bowl and add the can of cream of celery, the can of cream of onion, the sautéed onions, the peas and corn, the shredded chicken, the chicken stock, the cooked and drained pasta, the seasoned salt, the cayenne, and 1 1/2 cups of the cheese. Season with the salt and pepper, to taste. Mix well.

Pour the contents of the bowl into the 9 x 13 pan (or between the 2 pans if dividing), and top it with the rest of the cheese. This is the point where you wrap and freeze or continue to the oven.

Bake for 40–45 minutes, until it’s nice and bubbly. (If it looks like the cheese might burn, cover it with foil.)

If you’re freezing this recipe for later, wrap it tightly in plastic and foil before placing it in the freezer. A day before you want to cook, take it out of the freezer and thaw it in the fridge for 24 hours. Then cook as usual.


What can I say? I was craving both dishes, so I combined them. I figured: if I love each one of them, I’d be crazy over both together!


image


Pasta
1/4 lb. bacon, finely chopped
1 onion, finely chopped
18 small clams, washed and purged*
1 teaspoon fresh oregano, finely chopped
1/4 cup white wine
Good quality olive oil
6 large garlic cloves, finely chopped
1/4 cup fresh parsley, finely chopped


In a large pot, salt some water and bring it to a boil. Cook the pasta until al dente.

In the bottom of another large pot on medium-high heat, fry the bacon until it’s crisp. Add the onions and sauté them until they’re translucent. Add the clams, oregano and wine, and cover the pot with a lid. Reduce the heat to medium. The clams are cooked when they open. Discard any unopened clams.

In a frying pan, heat the olive oil to medium. Add the chopped garlic and fry it until just crispy. Toss in the parsley and stir it to combine.

Place the pasta in a bowl or plate. Pour the clams and juice over the pasta. Pour the fried garlic and oil all over the clams.


*Purging clams: Clams can be pretty sandy and gritty, so it’s important not only to scrub the outside of the shell, but to purge them as well. Clams should be stored in a bowl in the fridge with a wet dish towel over them, never in water. Once you’re ready to use them, fill a bowl with water and add salt (think salty like ocean water) and a tablespoon of corn meal. Mix this around, then add the clams and let them sit in this solution in the fridge for a couple of hours. The clams will purge (clean themselves) out. Discard the liquid and rinse the clams before cooking.

High fructose corn syrup…agave…manufacturers of both would have you believe they are healthy alternatives to cane sugar. But are they? 
sugar
Using words like “organic” and “all natural” on their labels, the producers of agave want you to think that you can pretty much squeeze this crap right into your mouth. But, as the old “X-Files” TV show used to say: the truth is out there…
Agave nectar comes from the agave plant, the same plant they make tequila with. The glycemic index (amount of glucose) of agave sweeteners is low, and they’re using this as a marketing tool to convince diabetics that it’s a safe alternative to sugar. Problem is, although it has little glucose, it’s almost 97% fructose, another sugar that’s bad for your health…so much so that the American Diabetes Association has changed their mind about recommending agave as a sugar substitute. Agave sweeteners are highly processed sugars with big marketing money behind them. All the babble about “organic” and “natural” on the label really means nothing if you process the hell out of the product. 
Why is fructose so bad for your health? In the old days, the only fructose we consumed was in our fruits and vegetables, and so the percentage in our diets was really low. But these days, with Americans guzzling unhealthy sodas and fruit and energy drinks full of high fructose corn syrup (and it being hidden inside many packaged and canned foods–just read the label), we consume far more than our bodies can handle. Here’s an interesting fact: the average weight of Americans has gone up steadily since the 1970’s, when high fructose corn syrup was first introduced, and has increased point-for-point as the amount of foods containing high fructose corn syrup have increased.
Some of the carbs we eat are made up of chains of glucose. If too much of it gets to the bloodstream, our blood sugar spikes and our body secretes insulin to regulate it. Not so with fructose. Fructose gets processed in the liver. When there’s too much fructose for the liver to handle, it changes it into fats and dumps it into our bloodstream as triglycerides and cholesterol. This is really bad because triglycerides and cholesterol cause heart disease. And fructose does not trigger the normal hormones that regulate your appetite: you don’t feel full. So guess what? You crave more!
High fructose corn syrup is used in just about everything…and the reason why is simple: it’s cheap. (Farm subsidies for corn made that possible years ago and now we’re addicted.)
 
What about basic sugar? Cane sugar is half fructose, half glucose…about the same as high fructose corn syrup (which is 55%/45%)…but both are less than agave at 97% fructose.
I try to limit my intake of cane sugar, honey, and maple syrup…and I never buy agave or products with high fructose corn syrup. I eat whole fruits…no juices, juice concentrates, juice drinks or sports drinks.
So are sugar substitutes and diet sodas the answer? Not really. They can come with their own set of problems. Natural sweeteners, like Truvia, are a step in the right direction. But that’s a whole ‘nother blog…

Corned beef hash is actually a very simple thing to make. The most difficult part is the corned beef, especially if you’re curing it yourself. That process takes about three weeks…a long time to wait for a plate of hash!

If you have a package of already prepared corn beef that you bought at the supermarket, thaw it, and rinse it in clean, cold water.

If you follow my corned beef recipe (I posted it a couple of weeks ago…you can search for it on my home page), do the same after three weeks of curing: wash the slab of brisket well, removing any seeds and spices that have wedged themselves into the meat.

A beautiful slab of corned beef, after 3 weeks of curing. I trim large pieces of fat and gristle off before cooking.

At this point, many people choose to boil the corned beef, but I don’t. Instead, I place the piece of brisket in a container large enough to hold it covered with more cold, clean water. I let it sit in this cold water for about 12 hours. I dump some ice into it to keep everything cold.  I change the water a couple of times over the 12 hours. Much of the salt will be washed away by this process. I pat the meat dry with paper towels.

Preheat the oven to 325°.

I lay a couple of sheets of foil down on a baking pan, and then add chopped carrots, celery and onions to it. I place the brisket on top of the veggies.

I wrap the brisket tightly in the foil, and place the pan on the center rack of the oven.

I let it cook for about 3 1/2 hours for a 8-pound piece of meat. Cook it less if yours is smaller.

I let the meat cool to room temperature in the foil, then unwrap it, and cut it into manageable sized pieces for future use. I wrap each piece tightly in plastic wrap once it has cooled, and I place the wrapped pieces in a sealed bag and into the freezer. 

Of course, you have to slice off a few pieces to taste your masterpiece!

Once the corned beef has cooked, it’s ready for sandwiches, and of course, hash! (Pastrami is another series of steps, discussed in another blog.)

A piece of cooked corned beef, about 1 lb., cubed
1 medium onion
2 lbs. sweet potatoes 
olive oil
salt and pepper

Preheat the oven to 350°. If the corned beef is frozen, remove it from the freezer, and let it come to room temperature.

Peel and cube the sweet potatoes. Make the cubes about a half-inch around. Placed them in a single layer on a large sheet pan, sprinkling them with olive oil, and seasoning them with salt and pepper. Toss the sweet potatoes to coat them with the seasonings and then place the sheet pan in the oven, baking for about 25 minutes, until the sweet potatoes are fork-tender and have tasty caramelized, slightly charred edges.

A few minutes before the sweet potatoes are done cooking, finely chop the onion and sauté it in a large pan with some olive oil.

Cut the corned beef into small cubes, about a quarter-inch in size.

Once the onions are translucent, add the cubed corned beef to the pan, and warm it through.

Now add the sweet potatoes to the pan and mix thoroughly to combine.

Your sweet potato corned beef hash is ready to serve! It also freezes well, so don’t be afraid to make extra!