Archive for the ‘barbecue’ Category

Out on the North Fork of Long Island, there’s a steak restaurant called the Elbow Room. It’s nothing fancy…old school cooking. But they’re famous for their steaks because of a super-secret marinade. Ages ago, I spotted a newspaper article that claimed they found out what that secret marinade was, and they published it. Whether this really is the official Elbow Room marinade or not, I have to say it’s pretty darn tasty and it makes for a delicious steak on the grill.


My biggest concern with the marinade was the salt factor, since it uses soy sauce. But the ribeye I had was almost an inch-and-a-half thick, which meant that it could sit in the marinade for a long time…my ribeye sat in it for 8 hours. If you choose to use a thinner cut of meat, you might need to reduce your marinating time.

The recipe uses a product called Gravy Master, available in most supermarkets. Look for it in the section where you find gravies and instant potatoes.


1 cup soy sauce
1/4 cup Gravy Master
2 large Vidalia onions
2 cloves of garlic
2 teaspoons celery seed
1/2 teaspoon black pepper


Combine the onions and garlic in a large food processor and purée. Add the remaining ingredients and run the processor until it’s smooth and sort of resembles root beer (below.)


Marinate the beef in the marinade overnight, or for as long as possible. The thicker the cut of meat, the longer you can marinate it.

Looks delicious, but it hasn’t been cooked yet! Straight out of the marinade.


Light the grill. I prefer pure hardwood charcoal because that’s where the flavor is. If I’m just cooking one steak, I get my camping grill out. It lights quickly and easily, and it doesn’t waste a whole lotta charcoal.

Always use a charcoal chimney, never lighter fluid…unless you like the taste of petroleum products in your food.


Pure hardwood charcoal gives you a hot fire. I like to sear the beef really well on both sides, then move the steak to a cooler spot on the grill and close the cover. I’ll let the beef cook until it gets to a perfect medium-rare.


If you try this marinade on burgers–and it’s great on burgers–simply brush the burgers with the marinade as you place them on the grill. Go easy or you’ll get a very salty burger.


Marinated grilled ribeye with a side of fried rice…an easy combination of veggies and rice leftovers I had in the fridge with a dash of soy sauce.


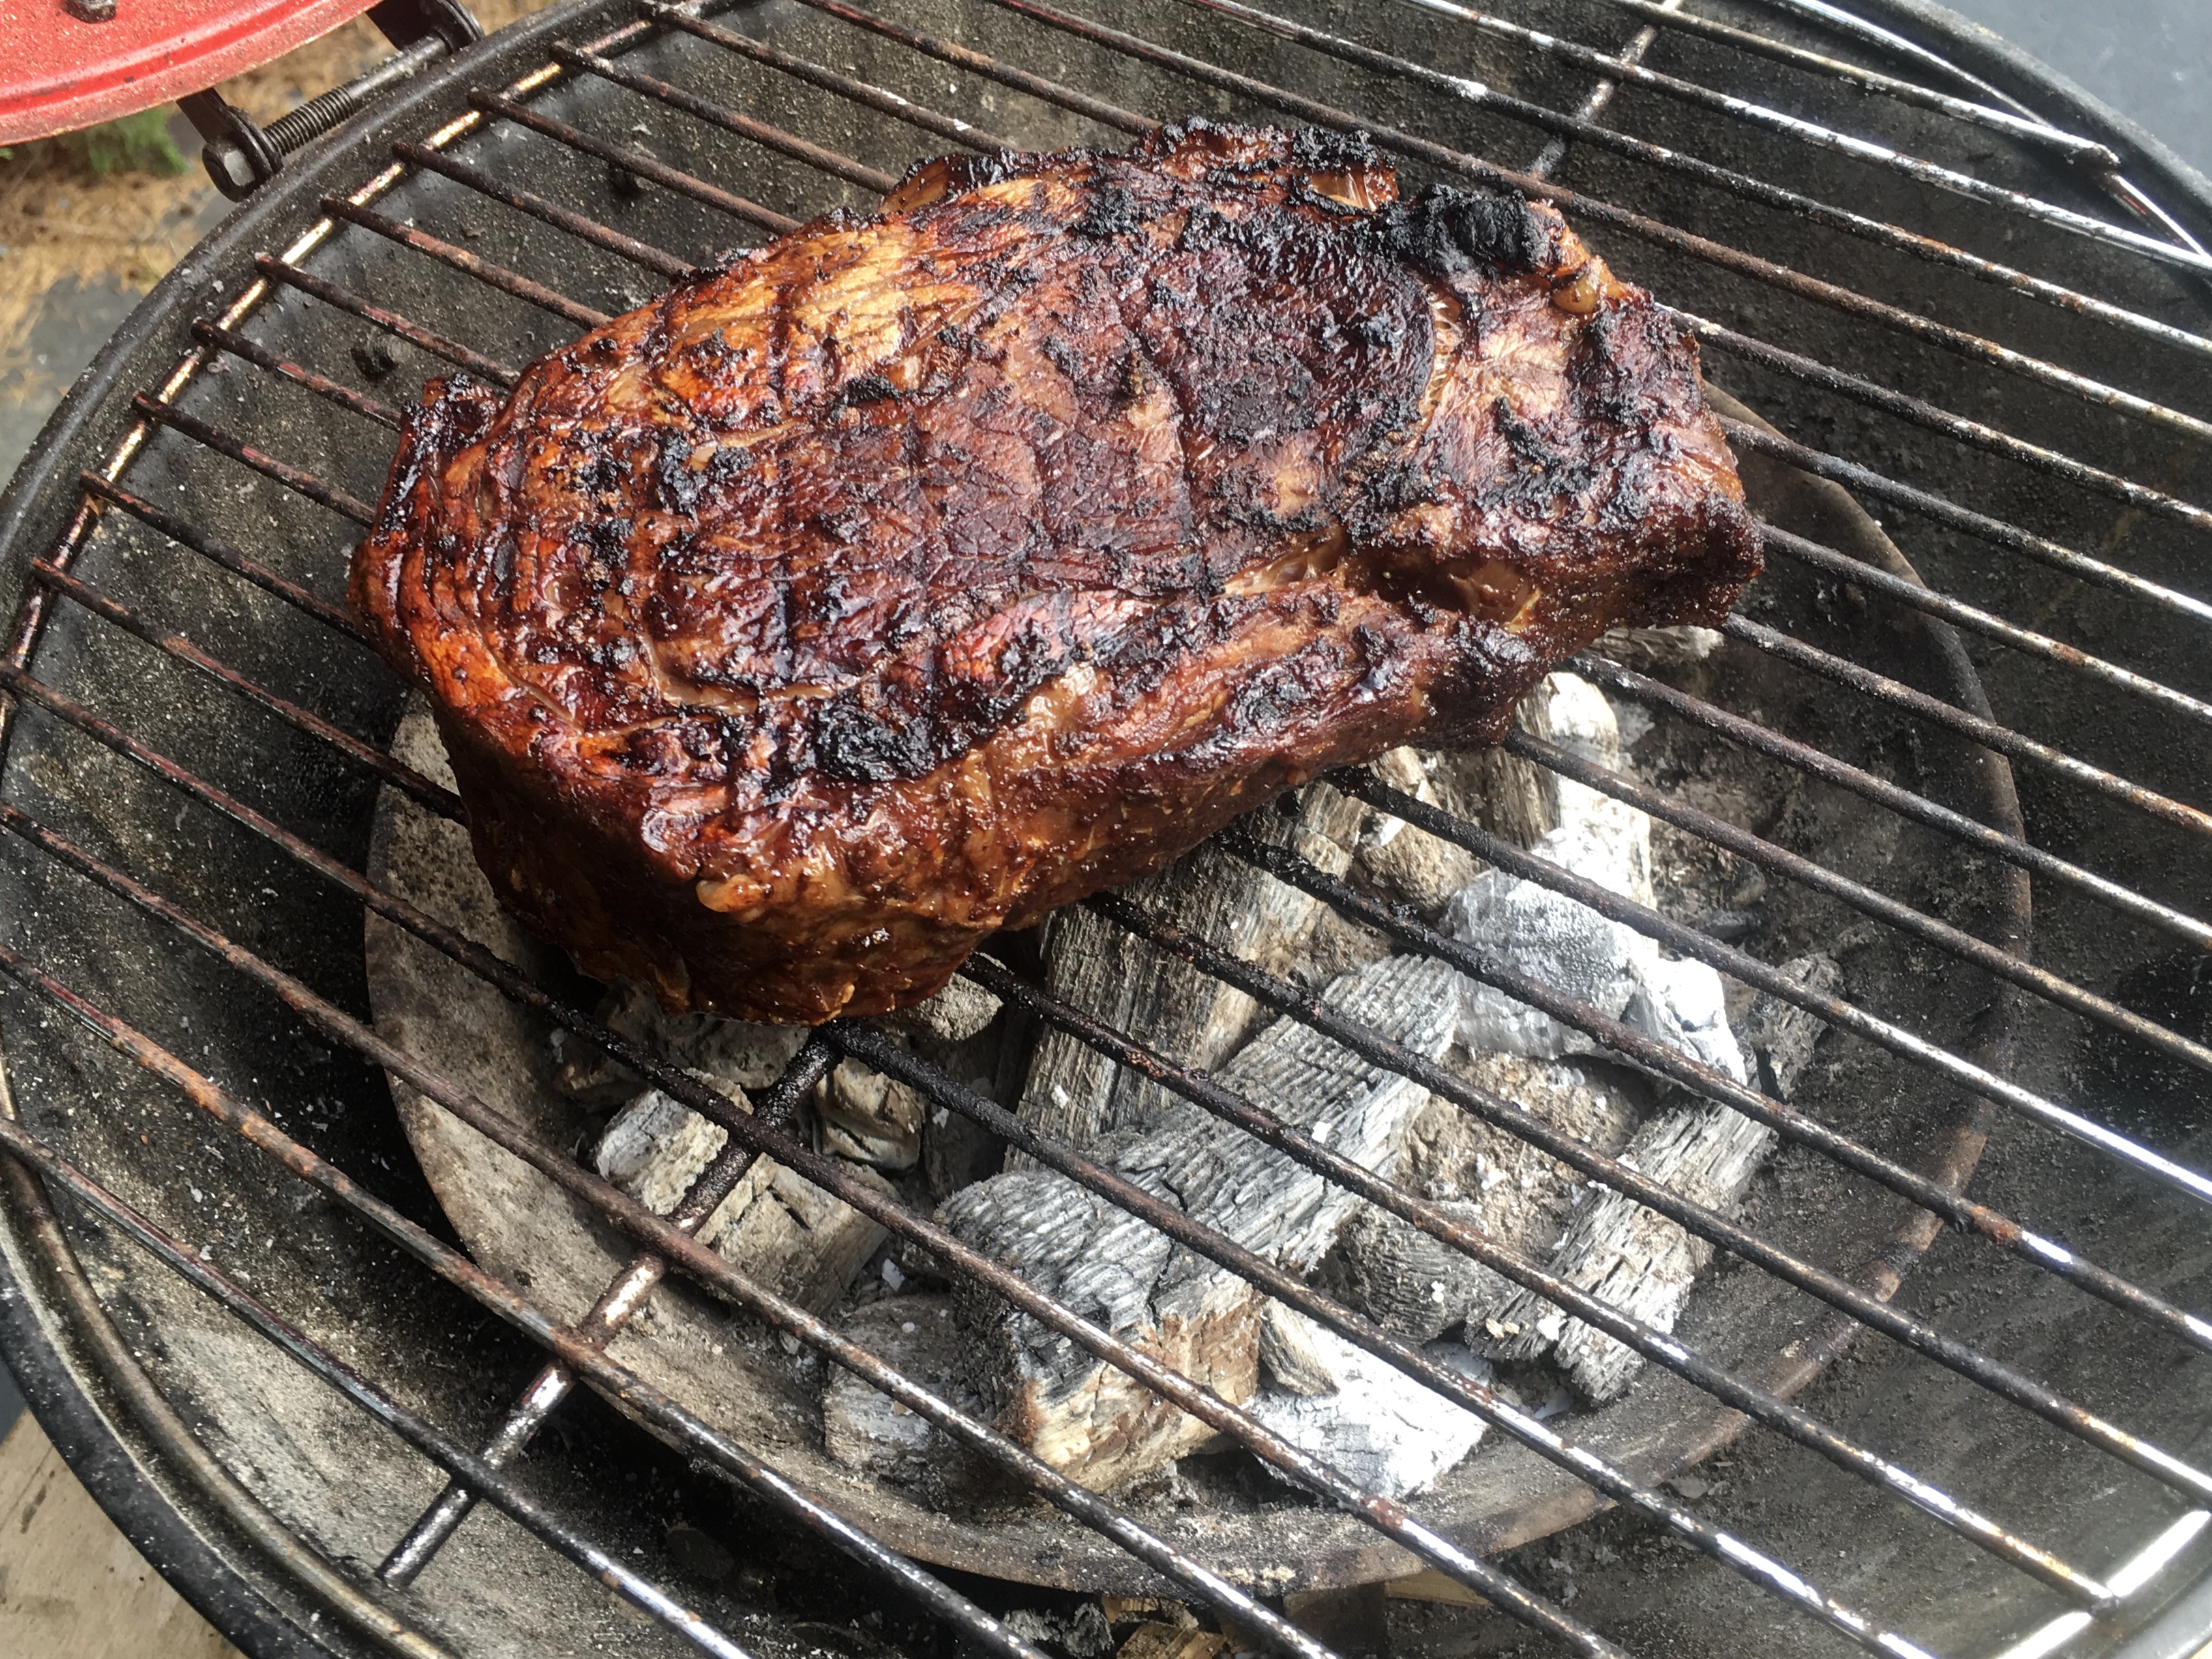
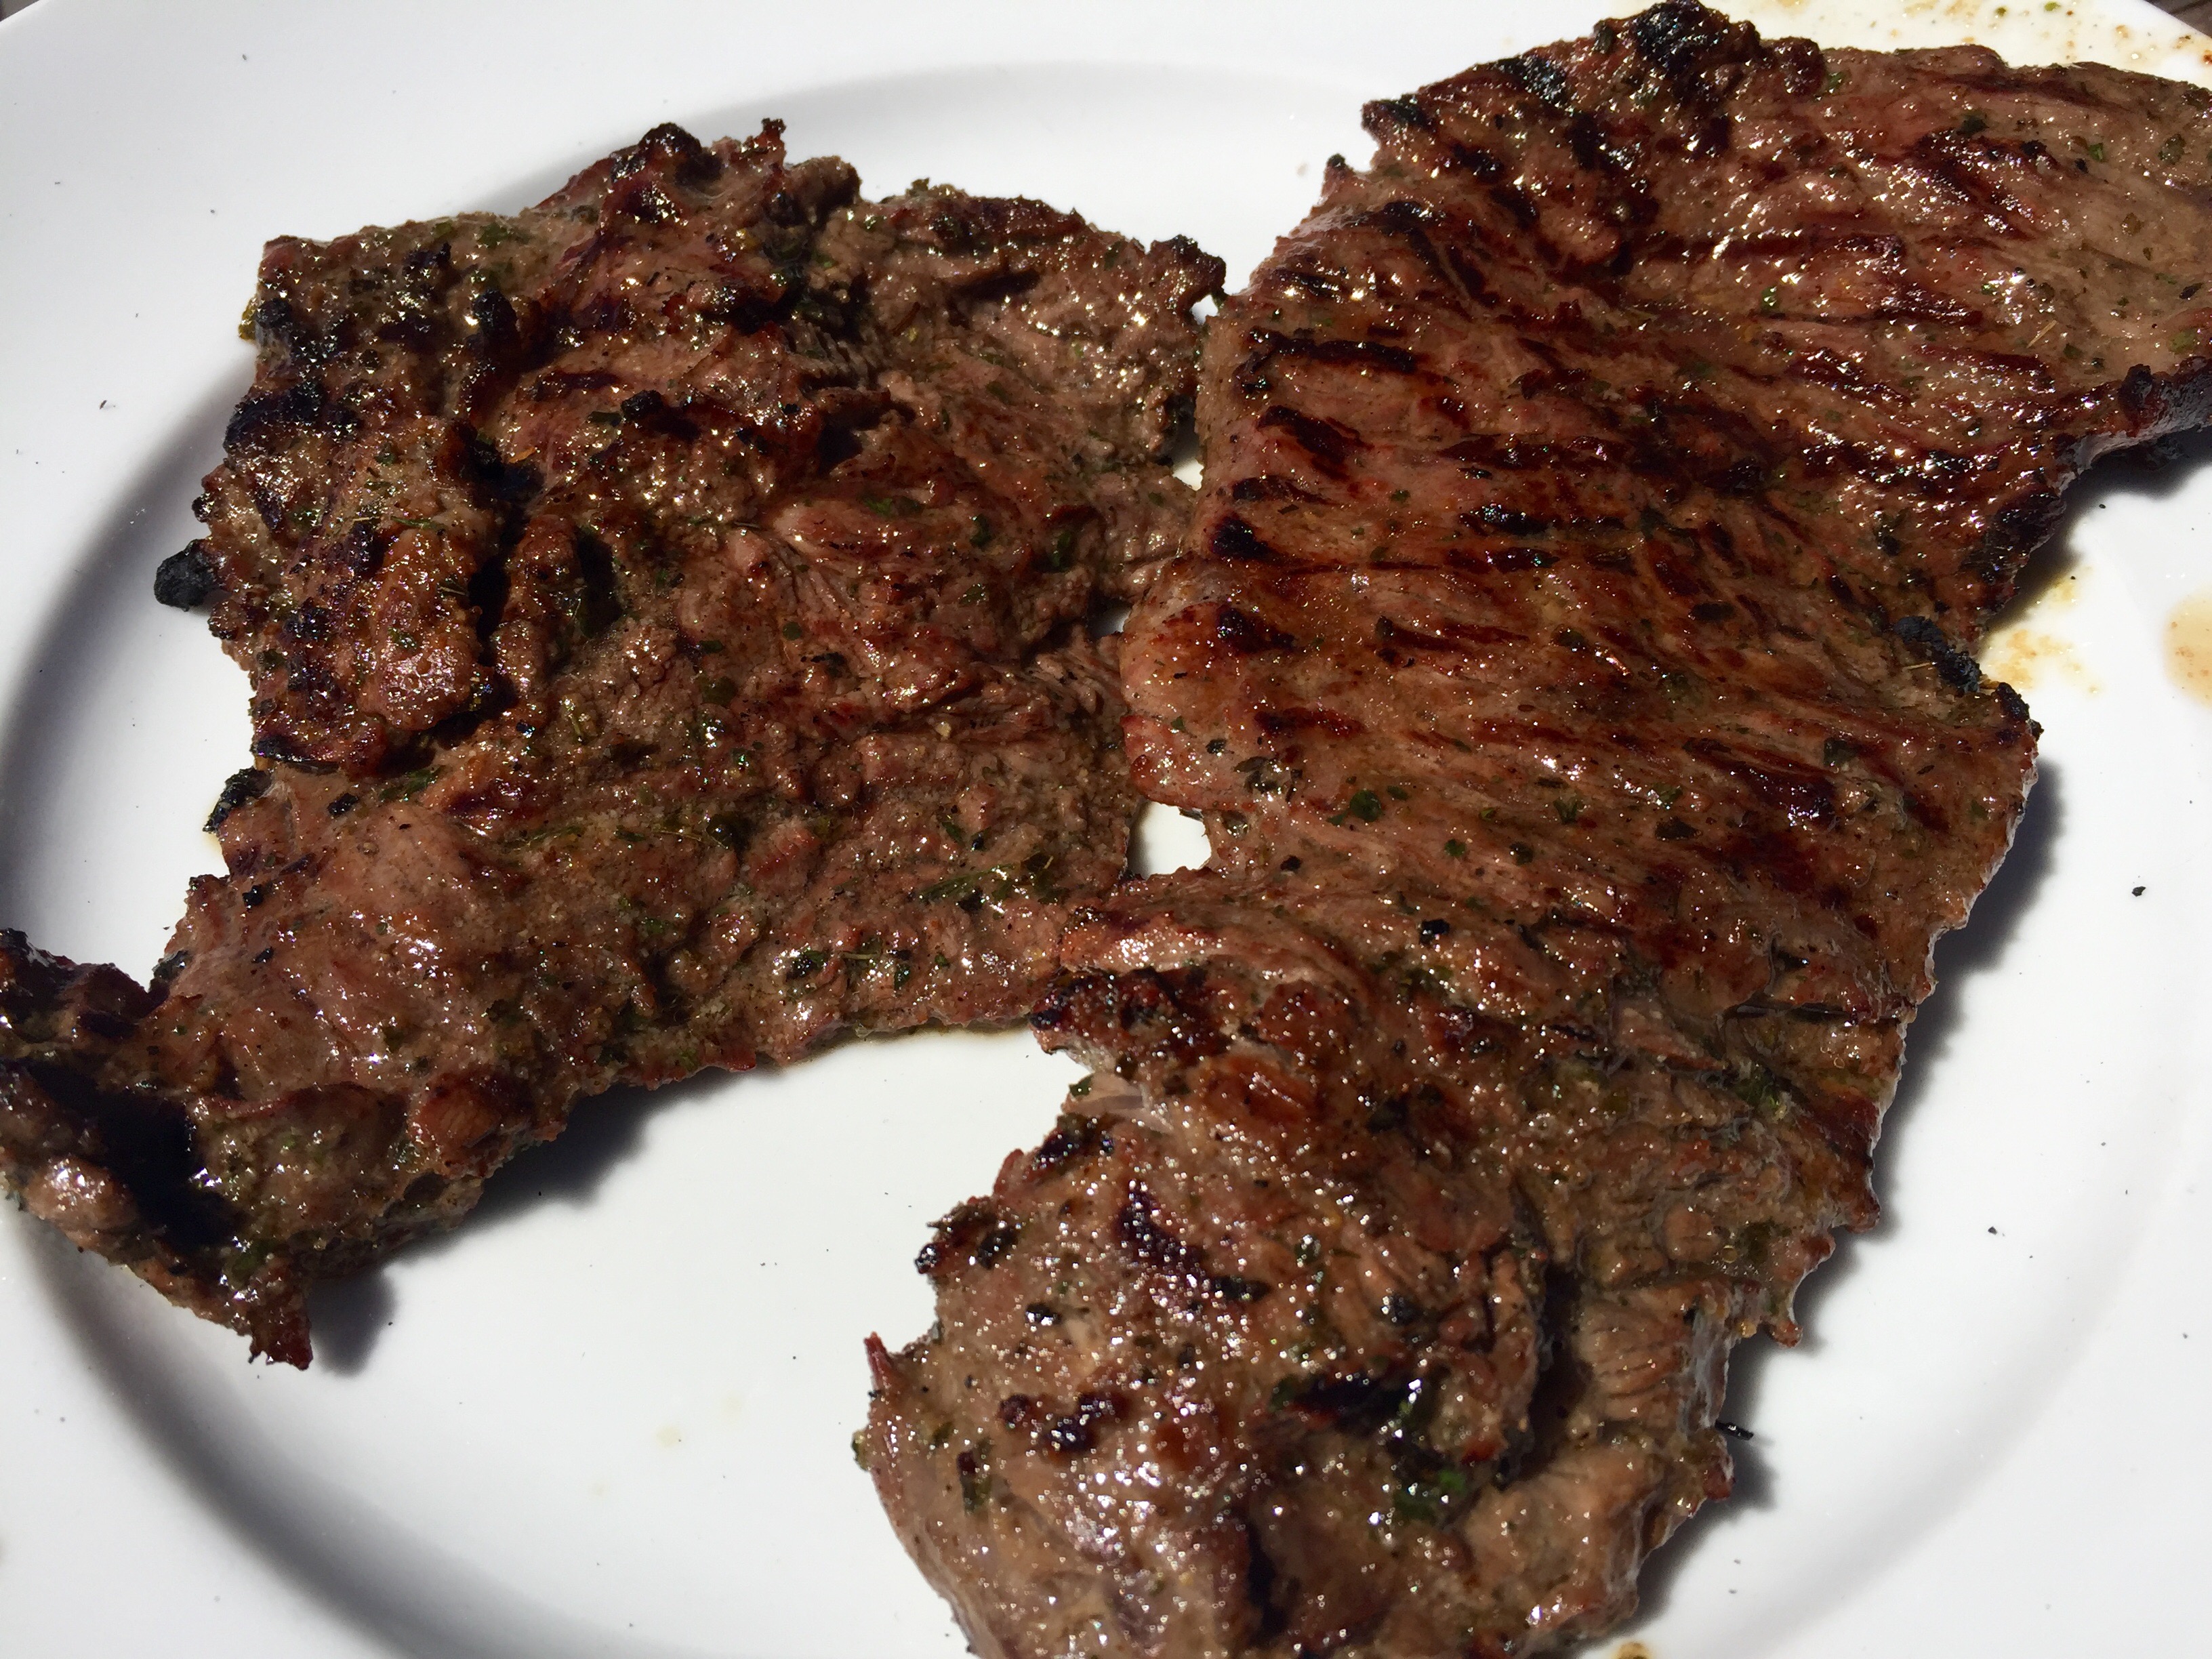
I’ve got two methods for cooking pork chops, each depending on the thickness of the chop. If the pork chop is thin, I got for high heat over hardwood charcoal, flipping the meat often so that it cooks all the way through without burning. The famous Cope Chops are perfect for this method. (https://wp.me/p1c1Nl-1xU)

Cope chops.


But if I’ve got a thicker chop, I like to brine it first, so that it retains its moisture during a longer cooking process. I brine the chops for a couple of hours, then light a fire using charcoal briquets, which will give me a steadier, longer-lasting flame.

Nice, thick chops!


Making a brine is easy, and it adds wonderful flavor to the chop. I use a smaller batch of the brine I use on my Thanksgiving turkey.

2 quarts water
1 onion
1 carrot
1 stalk celery
1/2 cup Kosher salt (I use Diamond Crystal)
1/4 cup brown sugar
1 1/2 teaspoons black peppercorns
1 teaspoon whole allspice
2 bay leaves
2 quarts ice water
2 to 4 thick-cut pork chops


Pour the first 2 quarts of water into a large pot. Quarter the onions, carrots, and celery (not need to peel them) and add them to the water. Add the Kosher salt, brown sugar, peppercorns, allspice, and bay leaves. (A note on the Kosher salt: different brands have different weights. For example, Morton Kosher Salt is heavier than Diamond Crystal, so you’ll be adding more salt with the same 1/2 cup measurement.)

Boil for a few minutes, then remove from heat to cool.


Let the pot come to a boil for a few minutes. Remove it from the heat and let the brine cool down to room temperature.

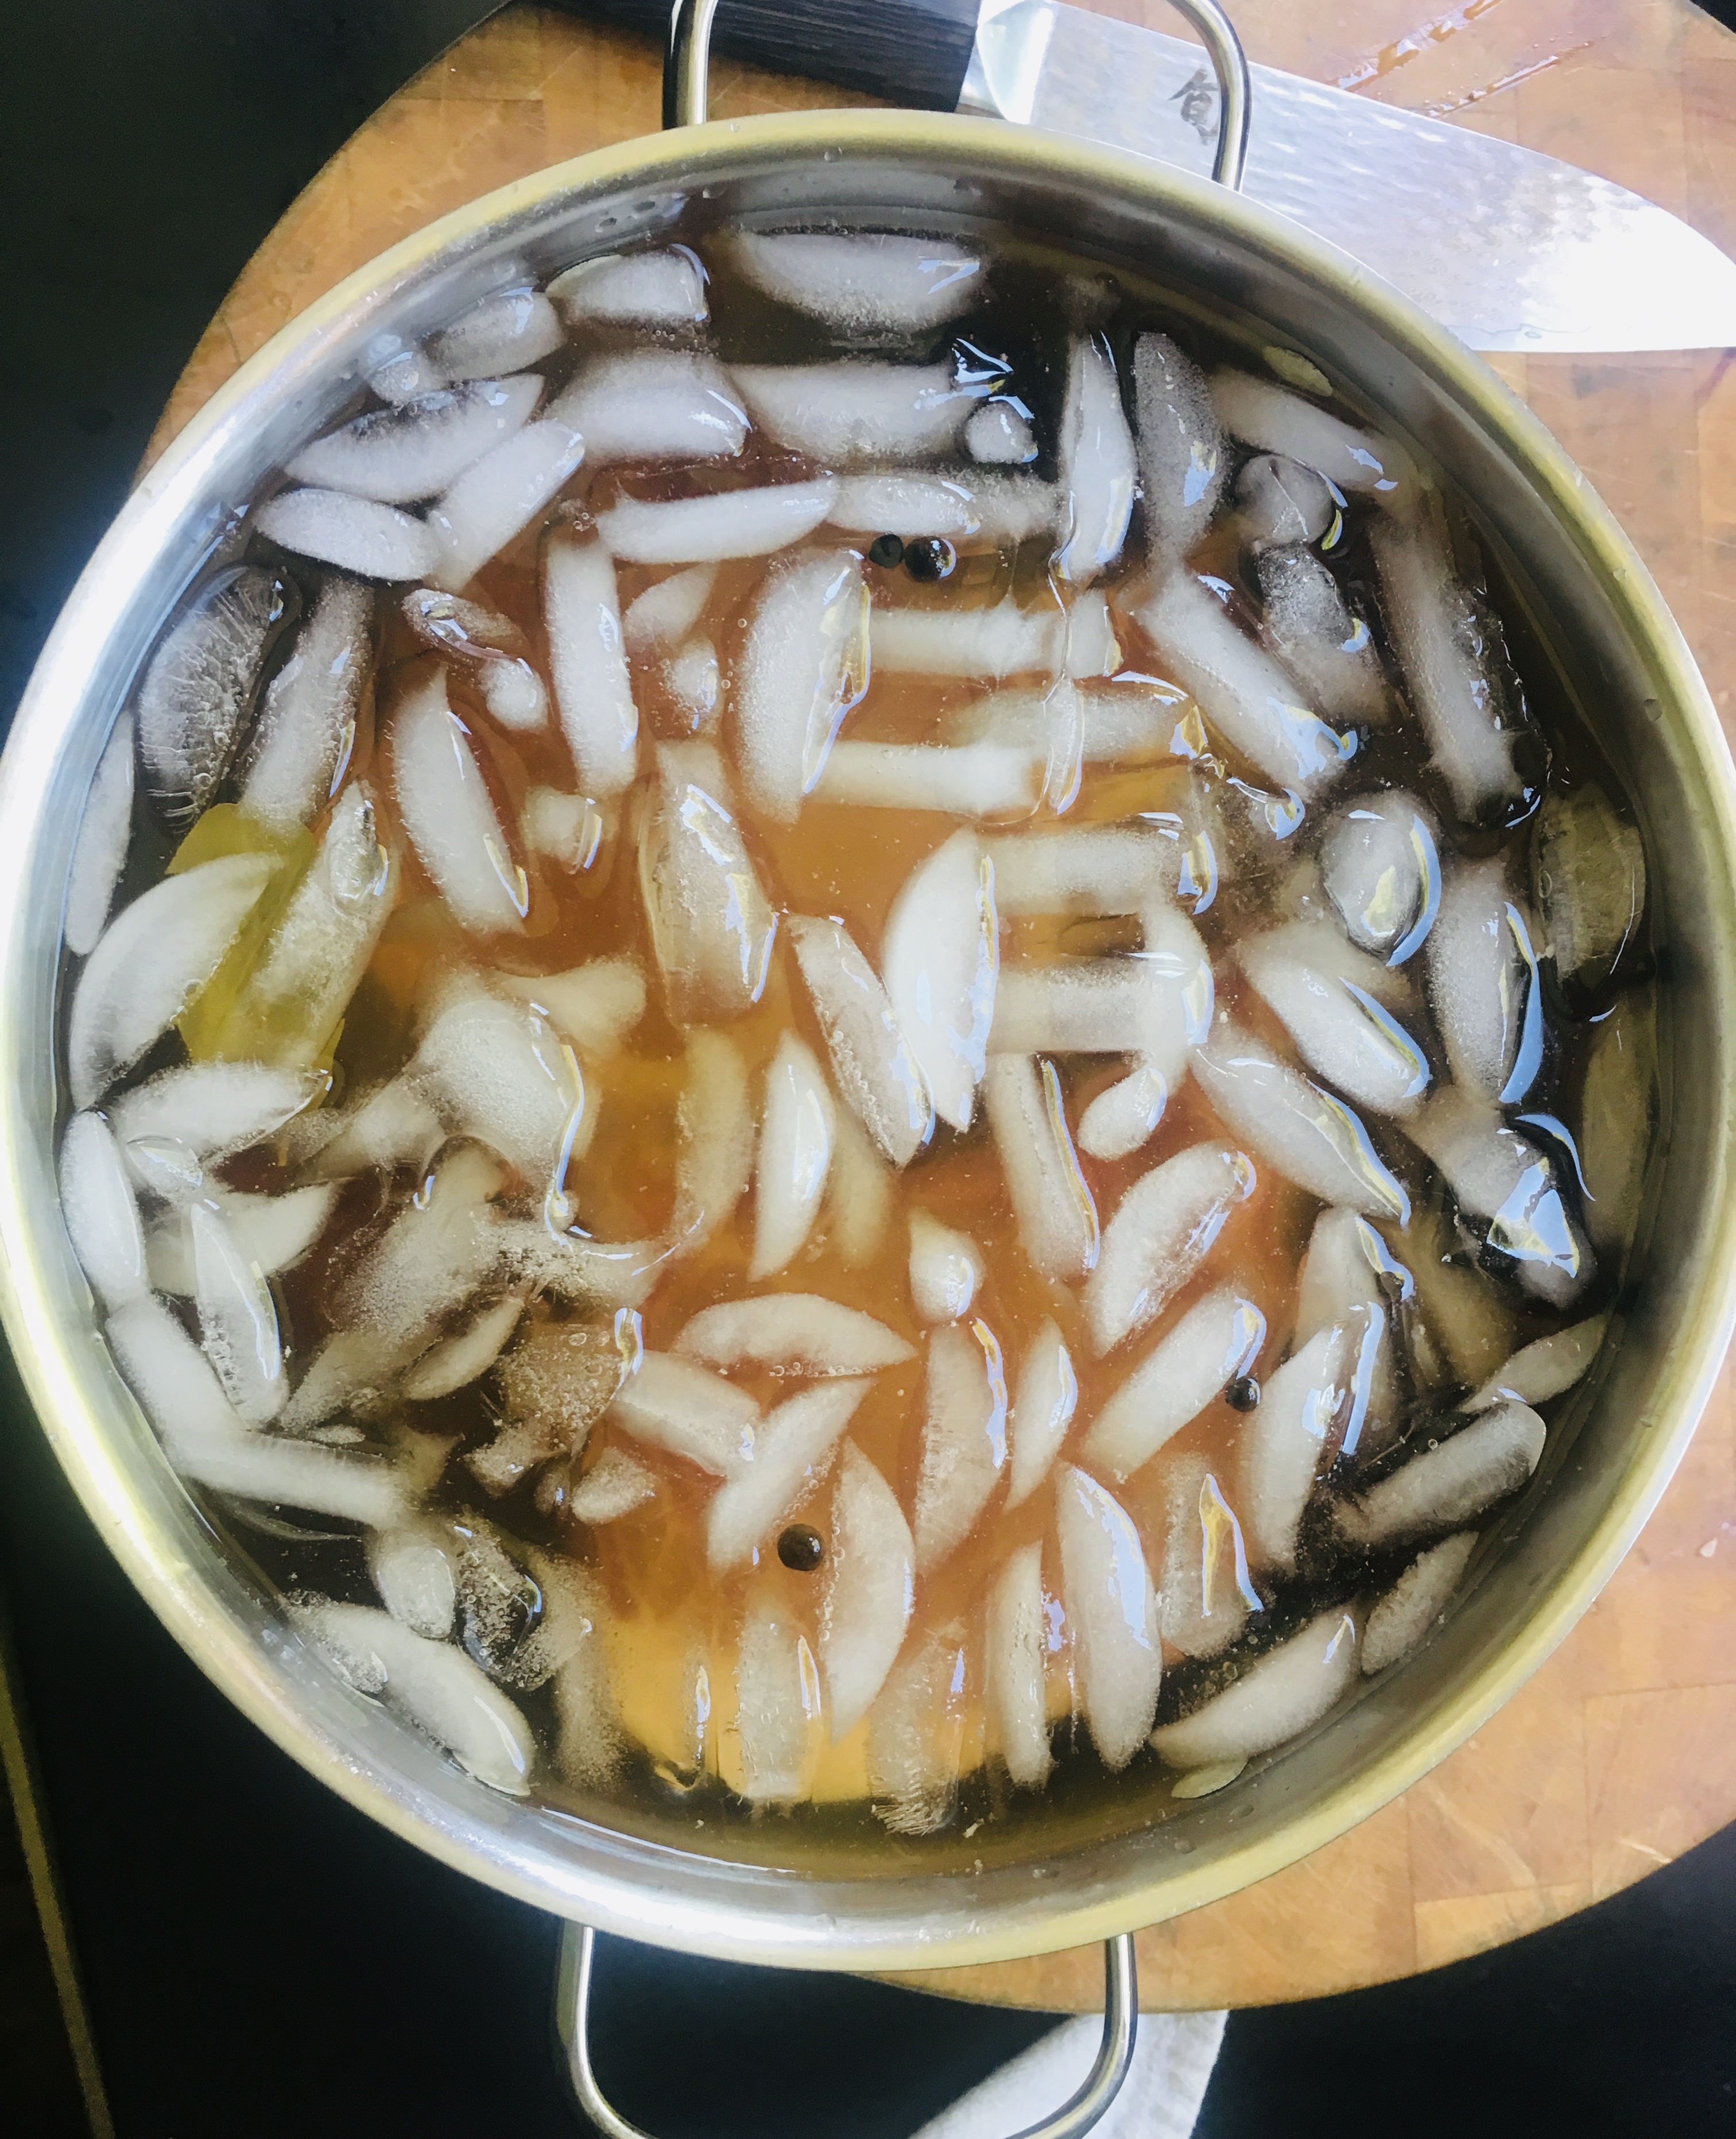
Once the brine is at room temp, add the 2 quarts of ice water, and drop in the pork chops. Make sure they stay covered with the brine. Let the chops brine for about 2 hours.

The chops are in there!


After 2 hours of brining, rinse the chops under cold water, and pat them dry with paper towels. Discard the brine.

Light a fire using charcoal briquets. While the fire is heating up, make the rub for the pork chops.


1 tablespoon salt
1 tablespoon granulated garlic
1 tablespoon granulated onion
1 tablespoon brown sugar
1 teaspoon ground black pepper


Combine the salt, garlic, onion, brown sugar and pepper in a bowl, and then season the chops liberally on all sides with the mixture.

Pork chops with the rub. I love grilling some Vidalia onions, too.


Let the chops rest at room temperature while you’re waiting for the grill.

Once the coals are ready, I establish a hot side and a cool side on the grill. I sear the chops on the hot side of the grill, being careful not to burn them. (The sugar in the rub may char a bit, but that’s OK.)


Once you’ve got a nice sear on all the chops, move them to the cooler side of the grill, and close the lid, making sure there’s air circulating so you don’t smother the fire.

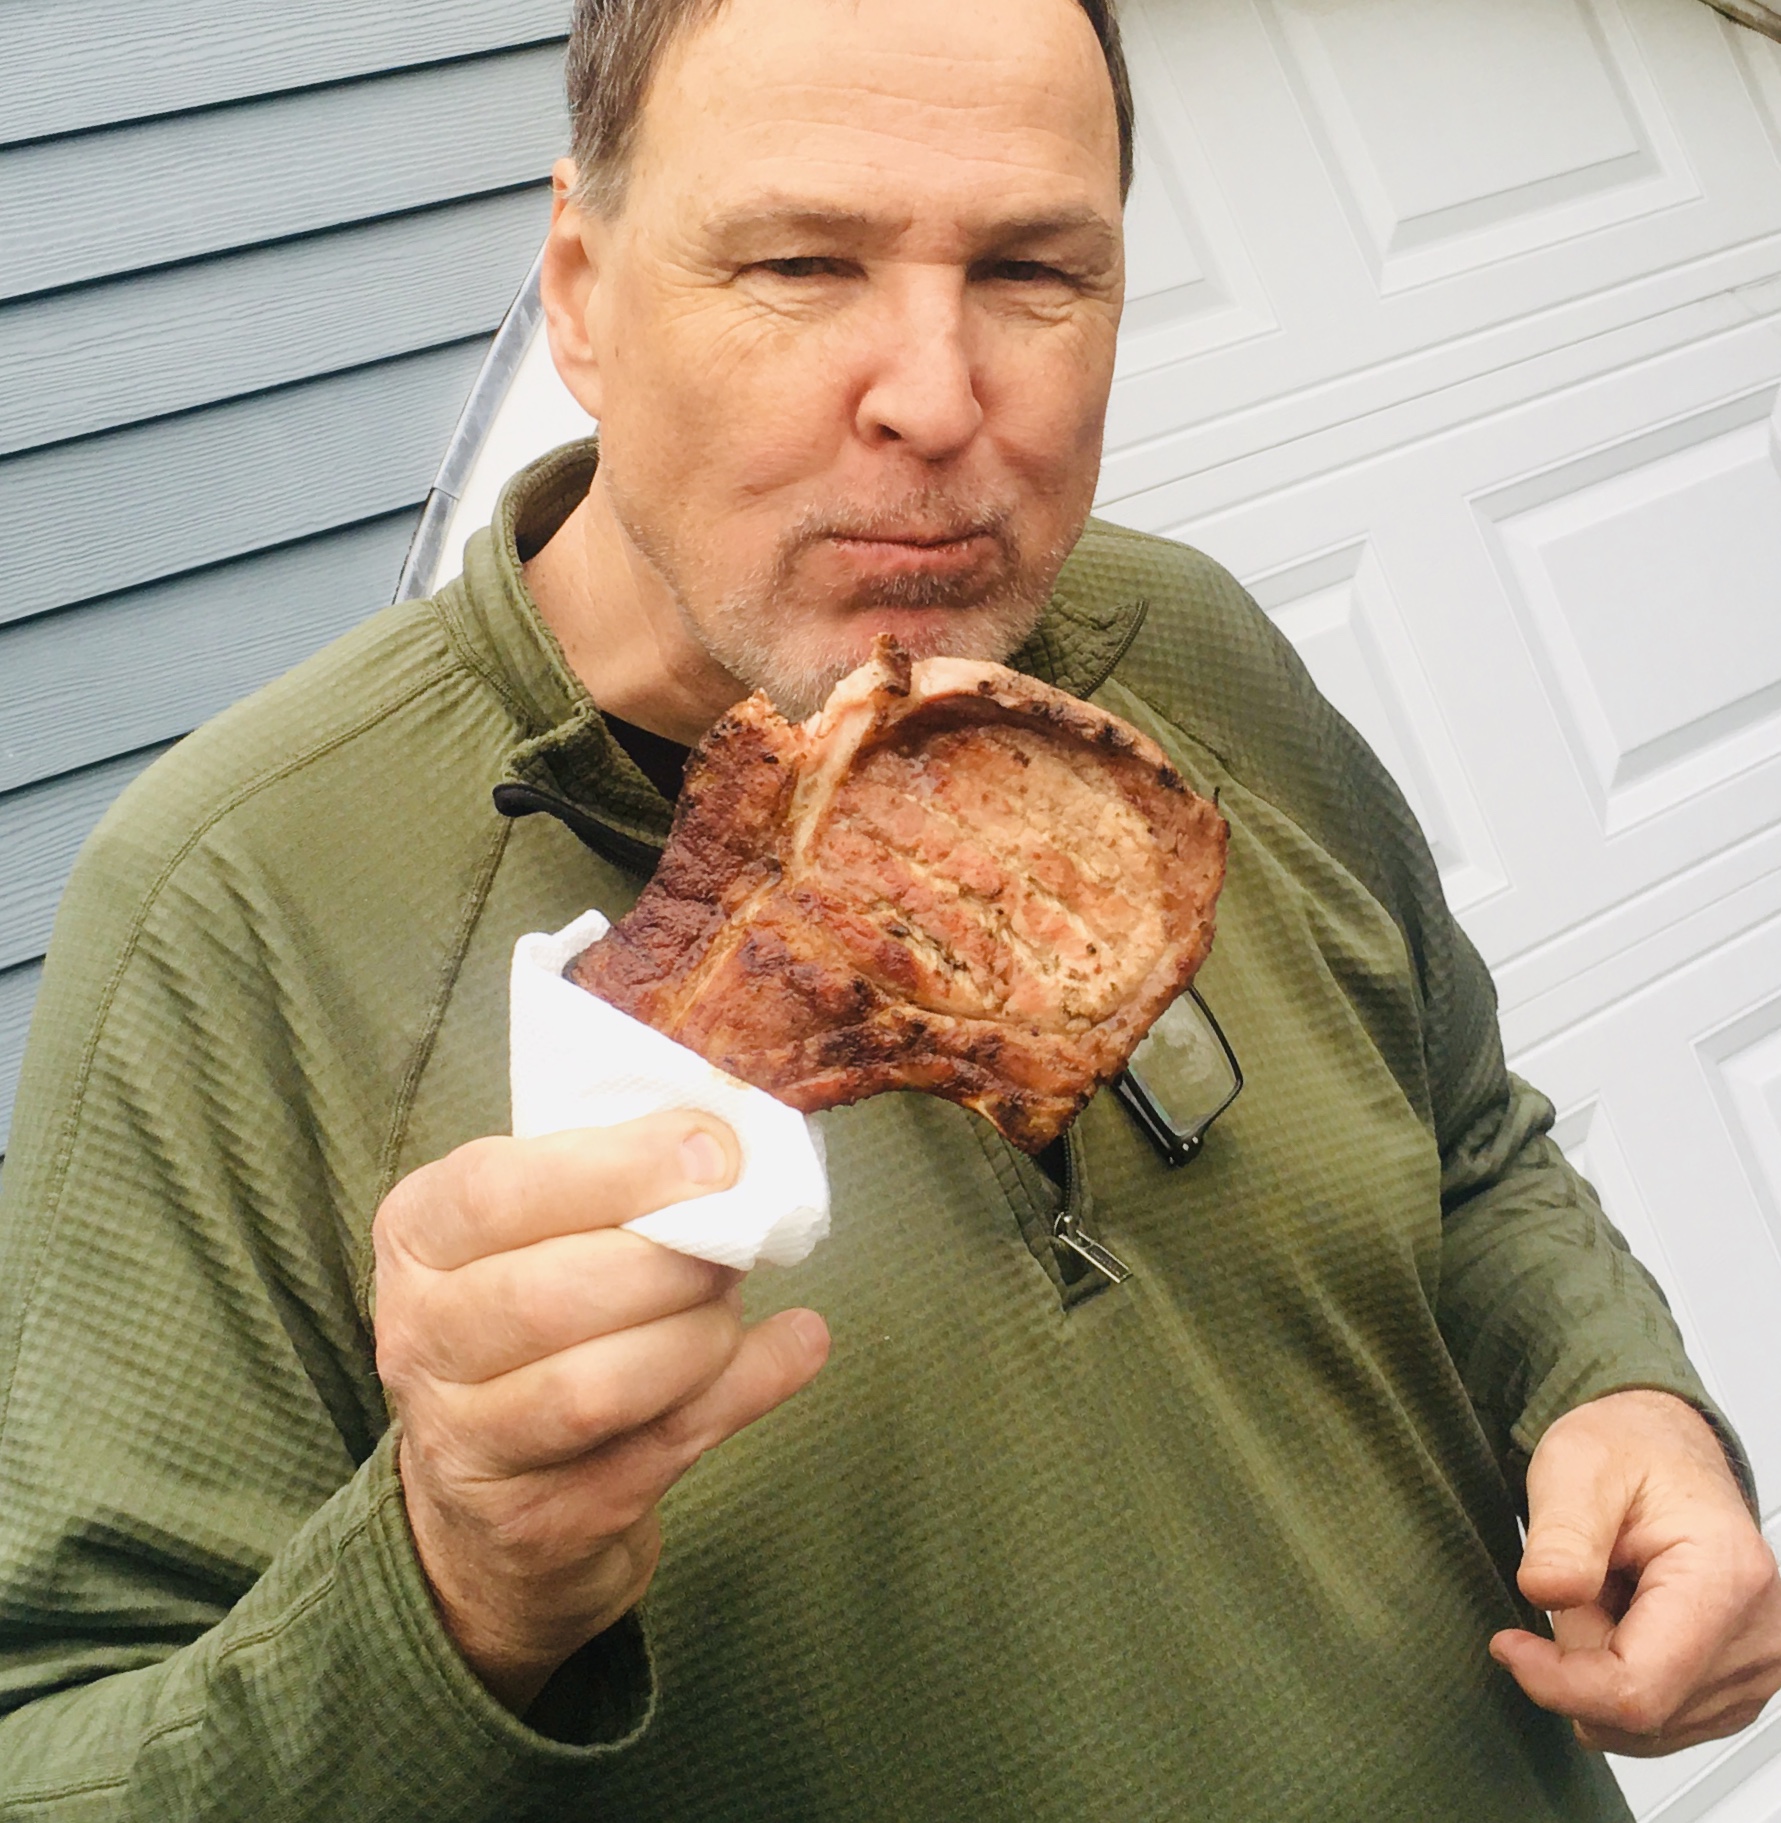
Having a meat thermometer is handy, because although you want pork to be cooked thoroughly, you don’t want to overcook it. You’re looking for a temperature of 160 degrees for pork. Once you’ve reached that, you remove the chops from the grill, put them on a plate, and cover them with foil to rest for about 15 minutes. During that time, the interior temperature of the chops will rise to about 170, before slowly cooling down.

Removing the chops and letting them rest gives you enough time to throw some tasty veggies on the grill. I like to simply rub them with olive oil, and any of the pork rub that may be left over, tossing them over the hot part of the coals until just cooked.


By the way, when using a meat thermometer, be careful you don’t do something dumb, like I did. I didn’t notice that I had it on a Celsius setting, instead of Fahrenheit. So I couldn’t understand why my chops were “only” at 60 degrees after a long time of cooking! (That’s 140 Fahrenheit!) I caught my mistake in time, fortunately not cooking the crap out of my chops!!


There’s no problem with your bird, she said to me
Just go low and slow to cook it perfectly
A few choice seasonings end up deliciously
There must be 50 ways to roast your chicken…
There’s nothing better than a whole roasted chicken. Simply season it, pop it in the oven and go low and slow. No maintenance, and you’ve got a great bird in a couple of hours. 
Once you go with humanely raised pastured chicken, you’ll never go back to supermarket chicken again. The flavor is fantastic, and you’ll devour it right down to the bones, which you can use to make the best home-made chicken stock or soup you’ve ever had. Nothing goes to waste.
I roast at least one chicken every week, so to change it up, I’ve come up with many different rubs and sauces over the years. All of the rubs are sugar and gluten-free preparations. 
Chicken with Rosemary and Lemon
 IMG_9146
The lemon serves double-duty in this dish. You use the zest to season the outside skin, then you place the remaining cut up pieces inside the carcass to flavor from the inside out.
1 tablespoon finely chopped fresh rosemary
1 teaspoon granulated garlic
2 teaspoons salt
zest from 2 lemons, using a micro plane zester, the leftover lemons quartered
1/2 teaspoon black pepper
In a bowl, combine the rosemary, garlic, salt, lemon zest, and pepper. 
Thaw a bird, remove the giblets, and rub it all over with olive oil. Shove the quartered lemon pieces into the carcass of the bird. Season the bird inside and out with the rosemary seasoning mix.
Place the bird on a pan lined with non-stick aluminum foil in a pre-heated 450-degree oven. Cook for 10 minutes at this temperature, then reduce to 275 degrees and cook low and slow until done.
Tarragon Chicken
I love the taste of chicken seasoned with tarragon. Careful with this, or you will accidentally devour your fingers!
1 tablespoon dried tarragon, crumbled into a powder
1 teaspoon garlic salt
1 teaspoon salt
1/2 teaspoon black pepper
olive oil
In a bowl, combine the tarragon, garlic salt, salt and pepper.
Thaw a bird, remove the giblets, and rub it all over with olive oil. Season the bird inside and out with the seasoning mix.
Place the bird on a pan lined with non-stick aluminum foil in a pre-heated 450-degree oven. Cook for 10 minutes at this temperature, then reduce to 275 degrees and cook low and slow until done.
Italian Chicken
FullSizeRender
The darker color of the bird comes from rubbing it first with balsamic vinegar, then olive oil, before coating it with Italian seasonings. Don’t use the fancy, expensive balsamic. The bottles that go for about 9 bucks in the supermarket work well for this recipe.
Balsamic vinegar
Olive oil
1 tablespoon salt
1 tablespoon parsley
1 teaspoon oregano
1 teaspoon pepper
1 teaspoon granulated onion
1/2 teaspoon granulated garlic
Thaw a bird, remove the giblets, and rub it all over with the balsamic vinegar. Then rub it all over with the olive oil. Season the bird inside and out with the seasoning mix.
Place the bird on a pan lined with non-stick aluminum foil in a pre-heated 450-degree oven. Cook for 10 minutes at this temperature, then reduce to 275 degrees and cook low and slow until done.
My Grandma’s Chicken
My grandmother would cook chicken thighs low and slow all Saturday morning, knowing that I was coming over for lunch after Lithuanian school. The meat just fell off the bone, and I couldn’t stop eating it. This recipe is so simple and works just as well for a whole bird. Every time I make this, I think about those days at my grandmother’s house.
Lawry’s Seasoned salt
Olive oil
Thaw a bird, remove the giblets, and rub it all over with olive oil. Season the bird inside and out with the Lawry’s Seasoned salt.
Place the bird on a pan lined with non-stick aluminum foil in a pre-heated 450-degree oven. Cook for 10 minutes at this temperature, then reduce to 275 degrees and cook until done.
If you’re using chicken thighs, like my grandmother did, make sure they have the skin on and the bone in.

When I was a kid, no visit to a Chinese restaurant was complete without an order of those sweet, greasy and radioactive red spare ribs. They came in that foil-lined bag that barely kept them warm until my dad got us home to devour them along with the other classics: fried dumplings, and wonton soup with fried wontons on the side. I still see those ribs on menus even today, and despite my cravings, I just don’t eat fire-engine-red-dyed food anymore.

Imagine my excitement when I saw a recipe for those classic spare ribs in a food magazine. I figured I’d just make them without the food coloring.


I let the meat sit in the marinade for an hour at room temp, then move it to the fridge.


I don’t think I’ve ever had all the ingredients to make a recipe exactly as written, and this was no exception. For one thing, the original recipe called for dry sherry. I didn’t have it so I used dry marsala wine. I didn’t even have the pork ribs, so I substituted a beautiful slab of grass-fed beef flap. The results were still delicious. But feel free to use pork ribs, as originally intended. And if you can’t find beef flap, a cut like skirt steak is a good substitute.

1/3 cup hoisin sauce
1/4 cup soy sauce
3 tablespoons dry marsala wine
2 cloves garlic, finely chopped or through a press
2 tablespoons sugar
1/2 teaspoon Chinese five spice powder
2 lbs. beef flap (skirt steak or hanger steak works, too)

To make the marinade, combine the hoisin sauce, soy sauce, marsala wine, garlic, sugar and Chinese five spice in a bowl. Mix well.

Trim the excess fat and silver skin off the beef flap, and if it’s thick, slice it lengthwise to make a thinner piece of meat about 1/4″ to 1/2″ thick.

Place the meat in the marinade, making sure it gets well coated on all sides. Marinate the meat at room temperature for about 60 minutes. If you have a thicker cut of meat, you can marinate it longer.

Drain and discard the marinade.

Heat a cast iron pan and add a little lard or oil. Place the beef flap pieces in the pan, searing well on one side before flipping over to the other. If the meat is thin, you can cook it to a medium-rare right there on the stove top. You might need to finish the beef in a 350-degree oven if you’re using a thicker cut.

The meat also cooks beautifully under the broiler or on the grill. If using the broiler, just watch out for flare-ups from the fat. It can get smokey. I literally picked up my toaster oven and moved it under the hood of my stove so that the smoke was sucked up and vented out. (The first time I broiled, my kitchen filled with smoke!)


To make the Chinese ribs with this marinade: simply place the ribs and the marinade in a Ziploc bag at room temperature for at least 60 minutes. Pre-heat the oven to 350 degrees, and place the ribs on a baking sheet with a wire rack on top. Save the marinade…and baste the ribs with it every 30 minutes, turning the ribs over as you do so. Cook until the ribs are done, about 2 hours.


Beef flap or flap steak is a cut from the lower sirloin. It’s a long, thin cut that resembles skirt steak or hanger steak, though they come from a different part of the animal.

You can stuff and roll a beef flap, as I did in a previous blog, but it’s really hard to beat the flavor of a slab of beef that was simply marinated and thrown on the grill.

Though the beef flap is a relatively thin piece of meat, I carefully butterfly it by slicing it lengthwise with a sharp knife, to get 2 thinner pieces that really absorb the marinade.

grill3


1 lb. (or more!) beef flap steak, sliced lengthwise
2 tablespoons balsamic vinegar (red wine vinegar works just as well)
4 tablespoons extra virgin olive oil
1 teaspoon oregano
1 teaspoon parsley
1/2 teaspoon granulated garlic
1/2 teaspoon granulated onion
salt and pepper

rill2

To make the marinade, combine everything but the beef in a bowl and whisk to mix thoroughly. Place the beef in a large Ziploc bag and add the marinade. Squeeze the bag so that the marinade reaches every part of the beef. Squeeze the air out of the bag, zip it tightly, and place it in a bowl (in case of accidental spillage) in the fridge. Let it marinate overnight, squeezing the bag every few hours to let the marinade do its job. Remove the bag from the fridge about an hour before grilling so the meat comes to room temperature.

Light a hardwood fire. When the coals are really hot, place the steak on the grill and sear each side. Then flip to sear the other side. Flip again to get those fancy diamond marks on the beef. Then flip again.

grill1

The meat has little fat, so it should be nicely seared on the outside, but still medium-rare on the inside. Let it rest before slicing. When slicing, cut the beef on an angle against the grain.

I’ve always been fascinated by Korean barbecue. Every time I see it on TV or catch a recipe on an e-mail blast, my mouth waters and I say to myself that I’ve got to experience it some day. But the painful reality is: Korean barbecue can be really spicy…and I’m a total wuss.

Korean barbecue 101: Gogigui means “meat roast” in Korean, and it refers to the method of roasting beef, pork, chicken, and other meats. Meats can be marinated or not. Bulgogi is the name of the most common Korean barbecue. Meat is marinated with soy sauce, sugar, sesame oil, garlic and pepper, and then grilled. Galbi uses beef short ribs, and adds onions to the marinade. And the hot stuff is daeji bulgogi, because the marinade isn’t soy sauce-based, but based on the hot-n-spicy Korean chili paste known as gochujang.

All of the marinades looked delicious, but the hot one with gochujang would be my biggest challenge, so I decided to start there. I found a great recipe, and quickly realized that I would have to turn the heat way down if I was actually going to try to eat it! For example, the original recipe called for 2 tablespoons of white pepper. I totally left it out. And it called for a full cup of gochujang. Not only did I cut that part in half, I doubled many of the other non-spicy ingredients.

So is it authentic Korean barbecue? Probably not. But it’s my version of it. It’s got lots a flavor and still carries a bit of heat.

For gluten-free diets: finding GF hoisin and soy sauce is easy. Look for the La Choy brand. But I haven’t been able to find gochujang that has a GF label.


image


3/4 cup ketchup
1/2 cup gochujang
1/2 cup hoisin sauce (I use gluten-free hoisin)
1/2 cup honey
1/2 cup soy sauce
1/4 cup brown sugar
2 tablespoons freshly grated ginger
1 tablespoon freshly grated garlic (I use a garlic press)
1 tablespoon unseasoned rice vinegar
4 lbs. chicken pieces


Pre-heat the oven to 500 or its top temperature.

In a bowl, mix everything but the chicken pieces. Brush the sauce onto the chicken pieces, then wrap them in aluminum foil. (I like to tear a long piece of aluminum foil and lay it on top of a sheet pan. I place the chicken pieces on the foil, brush them with sauce on all sides, then fold the foil over the chicken, making one large pouch that holds all the meat.) Leave the pouch on the sheet pan and place it in the oven. Lower the oven temp to 350.

Cook the chicken for about an hour, making sure it’s almost completely cooked. Juices should run clear, not bloody, when you poke it with a fork.

Start a hardwood fire on your grill. Push the coals to one side of the grill so you have a hot side and a cooler side with no coals underneath it. Place the chicken pieces on the cool side of the grill (if you put it on the hot side, it will stick and burn), brush with more sauce, and put the lid on the grill, making sure you have the vents open for air circulation.

image

See those 2 black bits in the foreground? That’s where the chicken stuck to the grill because I placed them over the hot coals. Don’t do that.

After a few minutes, lift the lid, flip the chicken pieces over, brush them with sauce again, and close the lid. Keep doing this until the chicken is nice and caramelized, with tasty grill marks.

If you want to serve some of the sauce on the side, it’s important to pour some of the sauce off and set it aside in the very beginning, so you’re not using the same sauce that the basting brush touched the raw chicken with.


Off on a vacation for a few days, so I’m posting this a bit early. But let’s face it: weekends are for ribs, and even if you don’t have the grill ready for the season yet, you can enjoy this recipe because the ribs bake in the oven.

The balsamic vinegar I use in this recipe is not the super-expensive stuff that should only be drizzled at the very end for a Caprese salad. I use the $9-a-bottle stuff that you can find in any supermarket. Good quality, and I try to find one from Modena, Italy, the world headquarters of balsamic vinegar.

3 lbs. pork ribs (I like the St. Louis cut)
4 cloves garlic, minced or through a press
1 tablespoon chopped fresh rosemary
1 tablespoon dark brown sugar, packed
1 tablespoon balsamic vinegar
1 1/2 teaspoons Kosher salt

Place the ribs in a roasting pan, cutting the racks in half if you need to, to make them fit.

In a bowl, combine the garlic, rosemary, brown sugar, balsamic vinegar and salt, and then rub the mixture evenly all over the ribs.

Let the ribs marinate for an hour at room temperature or longer in the fridge.

Marinated ribs, ready for the oven.

Place a rack in the center of the oven and pre-heat it to 425. Pour 1/2 cup of water into the roasting pan with the ribs and cover the pan tightly with aluminum foil.

Roast the ribs until the meat is very tender, about 1 1/2 hours.

While the ribs are roasting, make the barbecue sauce…

1 cup balsamic vinegar
1 cup ketchup
1/2 cup apple cider vinegar
1/4 cup honey
2 tablespoons whole grain mustard
1 tablespoon molasses
2 teaspoons Worcestershire sauce
1 1/2 teaspoons hot sauce (I like Frank’s)
1/4 teaspoon Kosher salt


Place the balsamic vinegar in a medium saucepan over medium-high heat. Bring it to a boil, then lower the heat to medium and cook the vinegar until it is reduced by a third, about 8 minutes.

Whisk in the ketchup, apple cider vinegar, honey, mustard, molasses, Worcestershire, hot sauce and salt. Bring the sauce back to a boil, then lower the heat to a simmer until it has thickened, about 15 to 20 minutes. Stir occasionally. Remove the pan from the heat and let it cool to room temperature.


After baking, brush the ribs with the barbecue sauce.


Remove the ribs from the oven and transfer them to a baking sheet lined with non-stick aluminum foil.

Increase the oven temperature to 450 .

Brush both sides of the ribs generously with the barbecue sauce and bake them uncovered for about 10 minutes, until the sauce is browned and sizzling.


Delicious balsamic ribs!


Leftover barbecue sauce is great for dipping the ribs in!


“Cope” chops are the creation of my long-time radio buddy, Marc Coppola, who can be heard from Cape Cod to California. Cope and I started in radio at WBAB on Long Island back in the early 80’s. He had the afternoon drive shift, and I was on after him from 7 to midnight. After his show, Cope would remove a hibachi grill out of the trunk of his car, light some charcoal in the radio station parking lot, and he’d grill up the most amazing pork chops I’ve ever had. They were thin, but juicy and beautifully charred, with a wonderful saltiness. He called ’em “Cope chops,” and we’d eat them by the stack, wrapping the hot bone of the chop with a paper towel, and then just chowing down. It was a great memory, and one that I regularly re-live by grilling Cope chops at home even today.

After three decades, I’m not sure if my Cope chop recipe is the same as the original, but they are damn good and incredibly easy to make.

Ironically, for this recipe, I don’t go all out and spend big money on thick, expensive pork chops. I want them thin, fatty and with the bone in. This is not a low-and-slow process: the secret to the success of these chops is to cook them hot and fast, sealing in the juices.


Thin-cut pork chops
Dry white wine (I use an unoaked inexpensive chardonnay; many Australian brands to choose from)
Lawry’s seasoned salt

Place the pork chops in a flat bowl, and pour the wine over the top, making sure you cover the chops. Let them marinate for at least an hour at room temperature, flipping them over halfway through so that all sides get covered by the wine.

Light a hot hardwood charcoal fire.

Pour off the wine from the chops and discard. Place the chops on the hot grill and season the top with the Lawry’s seasoned salt. Once they’ve charred nicely, flip the chops over and season the other side. Grill until the chops are cooked all the way through, but not dry. Serve immediately.

The proper way to eat a Cope chop: wrap the bone in a paper towel and chow down!

One of our favorite restaurants here in Rhode Island is Fluke Newport in…well…Newport. We’ve dined there for years, but big changes happened last summer when they hired a new chef. We met Chef Eddie Montalvo just after he had arrived at Fluke, and we were impressed with his new menu.

We came back for another visit just over a month ago, and meeting Eddie again, we thought we would invite him and his family to our home someday for a visit.

Well, that “someday” is tomorrow, and the reality that I’m going to be cooking for a real chef for the first time in my life is making me a bit nervous!

I went to Twitter for some help. Since I follow a number of chefs, I asked the question: I’m cooking for a real chef for the first time. What’s the #1 tip you can give me? Only one chef answered, but it was none other than Andrew Zimmern, and he said simply: “Be yourself.” Be myself? Yeah…I think I can fake that!!!!

So I started thinking…Chef Eddie works with seafood all day at Fluke. Skip that. He’s Italian and makes amazing homemade pasta. Skip that. What do I love to cook and do pretty well…?

Barbecue!

I have a beautiful grass-fed Angus beef New Zealand brisket in my freezer. That’s what I need to make! A simple, comfort-food meal. Barbecued brisket…twice-baked sweet potatoes…a big old salad…and as an appetizer: my no-fail recipe for Oysters Rock-a-Fellow! (OK, I had to get a little seafood in there.)

When I smoke my brisket low-and-slow in my smoker, I use a coffee steak rub that I developed a couple of years ago. It gives a deep, rich crust to the meat that is just fantastic.


Low and slow is the way to go! Deliciously smokey and juicy.


Depending on the size of the brisket, you might need to double the recipe.

3 tablespoons brown sugar
1 tablespoon Kosher salt
1 tablespoon ground coffee (use your favorite)
1 teaspoon granulated garlic
1 teaspoon granulated onion
1 teaspoon unsweetened cocoa powder

If the brisket is frozen, I like to thaw it a couple of days ahead of cooking it, rubbing it down with the coffee rub, and placing it in the fridge for about 24 hours to rest. I bring it out about an hour before smoking, to let the meat come back to room temperature, and then I place it in the smoker for about 12 hours at 225 degrees, smoking it with hickory wood.

When it’s done, I remove it from the smoker, and wrap in foil and let it rest at least 30 minutes before slicing diagonally against the grain of the meat. If I’m not serving it right away, I place the wrapped brisket in the oven at the lowest setting, about 150 degrees, just to keep it warm.

When I’m ready to serve, I always slice the brisket on the bias, against the grain of the meat.


Read my blog about Chef Eddie and Fluke here: https://livethelive.com/2018/07/08/fluke-in-newport-a-new-chef-brings-new-creativity/

Check out my Oysters Rock-a-Fellow recipe here: https://livethelive.com/2018/11/01/oysters-rock-a-fellow-improved/

St. Patty’s Day is this Sunday, so supermarkets are full of packages of processed corned beef in preparation for the big celebration. Too bad corned beef isn’t an authentic Irish dish!

The phrase “corned beef” was actually coined by the British, and although the Irish were known for their corned beef throughout Europe in the 17th century, beef was far too expensive for the Irish themselves to eat and all of it was exported to other countries. Owning a cow in Ireland was a sign of wealth, and the Irish used theirs for dairy products, not beef.

The Irish ate pork, and a lot of it, because it was cheap to raise pigs, and they traditionally prepared something like Canadian bacon to celebrate St. Patrick’s Day in Ireland.

In the 1900’s, when the Irish came to America, both beef and salt were more affordable, and the Irish, who lived in poor, tight-knit communities, often next to Jewish communities, bought much of their beef from Kosher butchers. And so many of the Irish learned how to corn their beef using Jewish techniques, but adding cabbage and potatoes to the mix.

It takes about 3 weeks to make corned beef. But now that you know it’s not Irish anyway, that’s OK! (If you’re dying to have it on St Patty’s Day anyway, just buy yourself a supermarket slab this time, then make your own when the craving hits again.) Doing it yourself is not difficult. It just takes time…and you get a really delicious slab of beef.

Corned beef has nothing to do with corn. ‘Corning’ is a technique for preserving raw meats for long periods by soaking it in salt brine. This method was used in England before the days of commercial refrigeration. Back then, the large salt kernels used in the brine were called “corns.”

Brining is a time-honored way of preserving meat and it prevents bacteria from growing. Both pastrami and corned beef are made by this method. Both start with a brisket of beef. Corned beef is then cooked–usually boiled–and served. Pastrami is made when the brined meat is rubbed with more spices and then smoked to add extra flavor. So corned beef and pastrami are the same meat, just treated differently.

Saltpeter is an ingredient that has been used in brining beef for years. It adds the traditional red coloring to the corned beef and pastrami meat. But since saltpeter can also contain carcinogens, I leave it out. The meat may not be the usual bright red color, but the flavor and texture of the meat will not be affected.

Brining the beef brisket

Brining the beef brisket

Step one: corned beef…

beef brisket (about 8-10 pounds)
2 teaspoons paprika
1/4 cup warm water
3 cloves of minced garlic
2 tablespoons sugar
1 tablespoon mixed pickling spices
3/4 cup salt
2 quarts water

Place the brisket in a large container made of non-reactive material, like glass or plastic.

In the 1/4 cup of warm water, dissolve the sugar, minced cloves, paprika and pickling spices.

Dissolve the 3/4 cup of salt in the 2 quarts of water. Pour in the sugar/garlic/paprika/pickling spices mix and stir everything together. Pour the mixture over the meat in the container. Make sure the meat is totally beneath the surface of the liquid. (You may need to weigh it down to do this.) Cover the container.

Refrigerate the container and its contents for 3 weeks, turning the meat once or twice per week. At the end of the third week, remove the container from the refrigerator and take out the meat. Soak the meat in several changes of fresh cold water over a period of 24 hours to remove the excess salt.

At this point, if you want corned beef, prepare and cook it using your favorite recipe. But I’m all about the pastrami!

Step two: making Pastrami…

pastrami


Brined and rinsed corned beef brisket from above recipe, patted dry with paper towels
1/4 cup Kosher salt
1/4 cup paprika
3 tablespoons coriander seeds
2 tablespoons black peppercorns
2 tablespoons yellow mustard seeds
1 tablespoon white peppercorns
3 tablespoons brown sugar
1 tablespoon granulated garlic

Combine the coriander seeds, black and white peppercorns and mustard seeds in a spice grinder and grind coarsely. Place in a bowl. Add the salt, paprika, brown sugar and granulated garlic. Mix well.

Rub the mix into the brisket well, covering all sides.

Heat your smoker to 225 degrees and smoke for several hours using a less intense wood, like oak. When the internal temperature of the meat has reached 165 degrees, it’s done. It isn’t necessary to smoke pastrami as long as you would a regular brisket because the long brining time makes the meat tender.

It is very important that absolutely everything that comes in contact with the meat is very clean. (This includes your hands.) Also, make very sure that every inch of the meat reaches the 165 degrees before it is removed from the smoker. The corned beef is now pastrami.


Happy St. Patty’s Day!