Archive for the ‘Food’ Category

What did a girl from Michigan, with family in the Upper Peninsula, have in common with a guy who grew up on Long Island in a mostly Jewish community? Well…smoked whitefish, for one thing!

Growing up in NY, I was introduced to smoked whitefish, herring, and lox at an amazing deli just down the road from my parents’ house. My wife’s family from the Upper Peninsula of Michigan, meanwhile, caught the whitefish, herring and salmon and smoked it themselves.

My Yooper father-in-law showed me how to properly remove the meat cleanly from the smoked whitefish, and then, when he wasn’t looking, I took his recipe for smoked whitefish salad and I tweaked it.

Smoked whitefish may be a bit hard to find, and it could get expensive if you buy it from your local deli. But sometimes big membership stores like BJ’s will sell whole smoked whitefish. (They also sell already-made whitefish salad, but don’t buy that…it’s all mayonnaise and fish leftovers.)


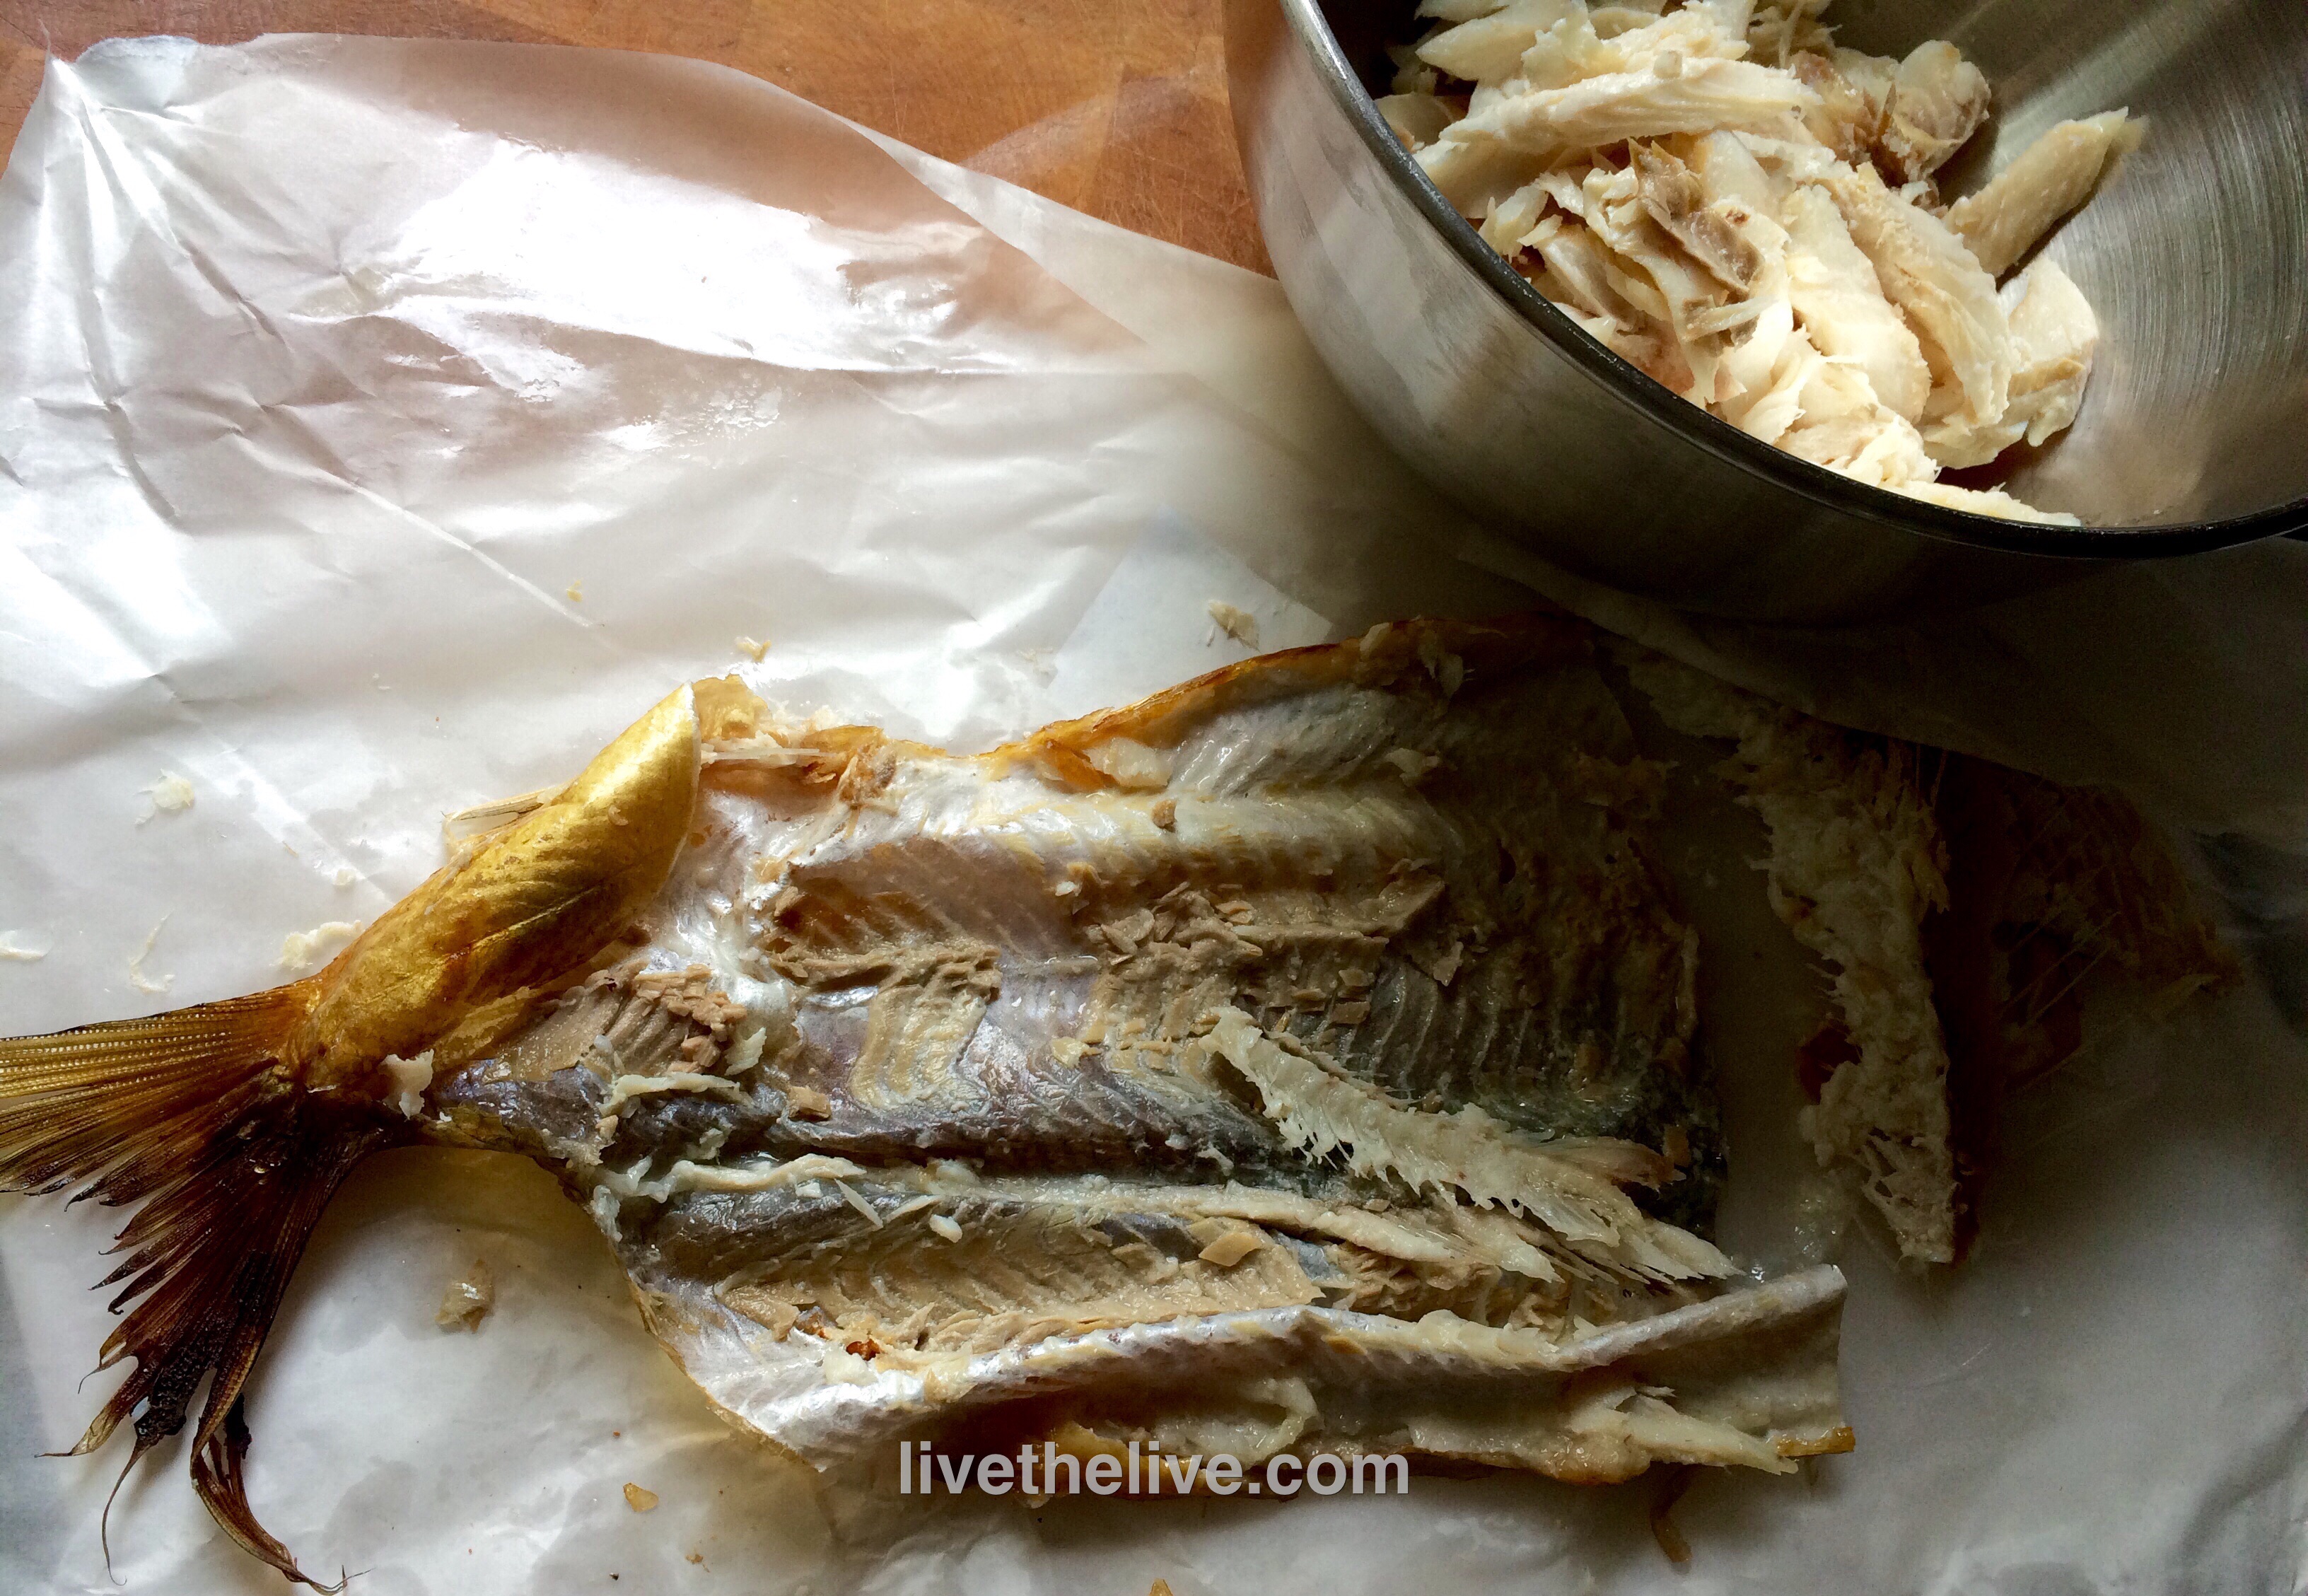
Remove every bit of meat. Double-check for bones!

Remove every bit of meat. Double-check for bones!


1/2 whole smoked whitefish, meat removed
1/2 cup mayonnaise
1/4 cup finely chopped Vidalia onion
1 tablespoon capers, finely chopped
1 tablespoon freshly squeezed lemon juice
1 hard-boiled egg, finely chopped
Freshly ground pepper
Pinch of sea salt (I like Fleur de Sel)


Remove the meat from the smoked whitefish carefully, making sure all the small bones have been removed. Double-check to make sure you’ve done this really well. Place all the whitefish meat in a bowl.

Combine all the other ingredients with the fish, mixing thoroughly using a fork. (Try not to mush it up too much!)
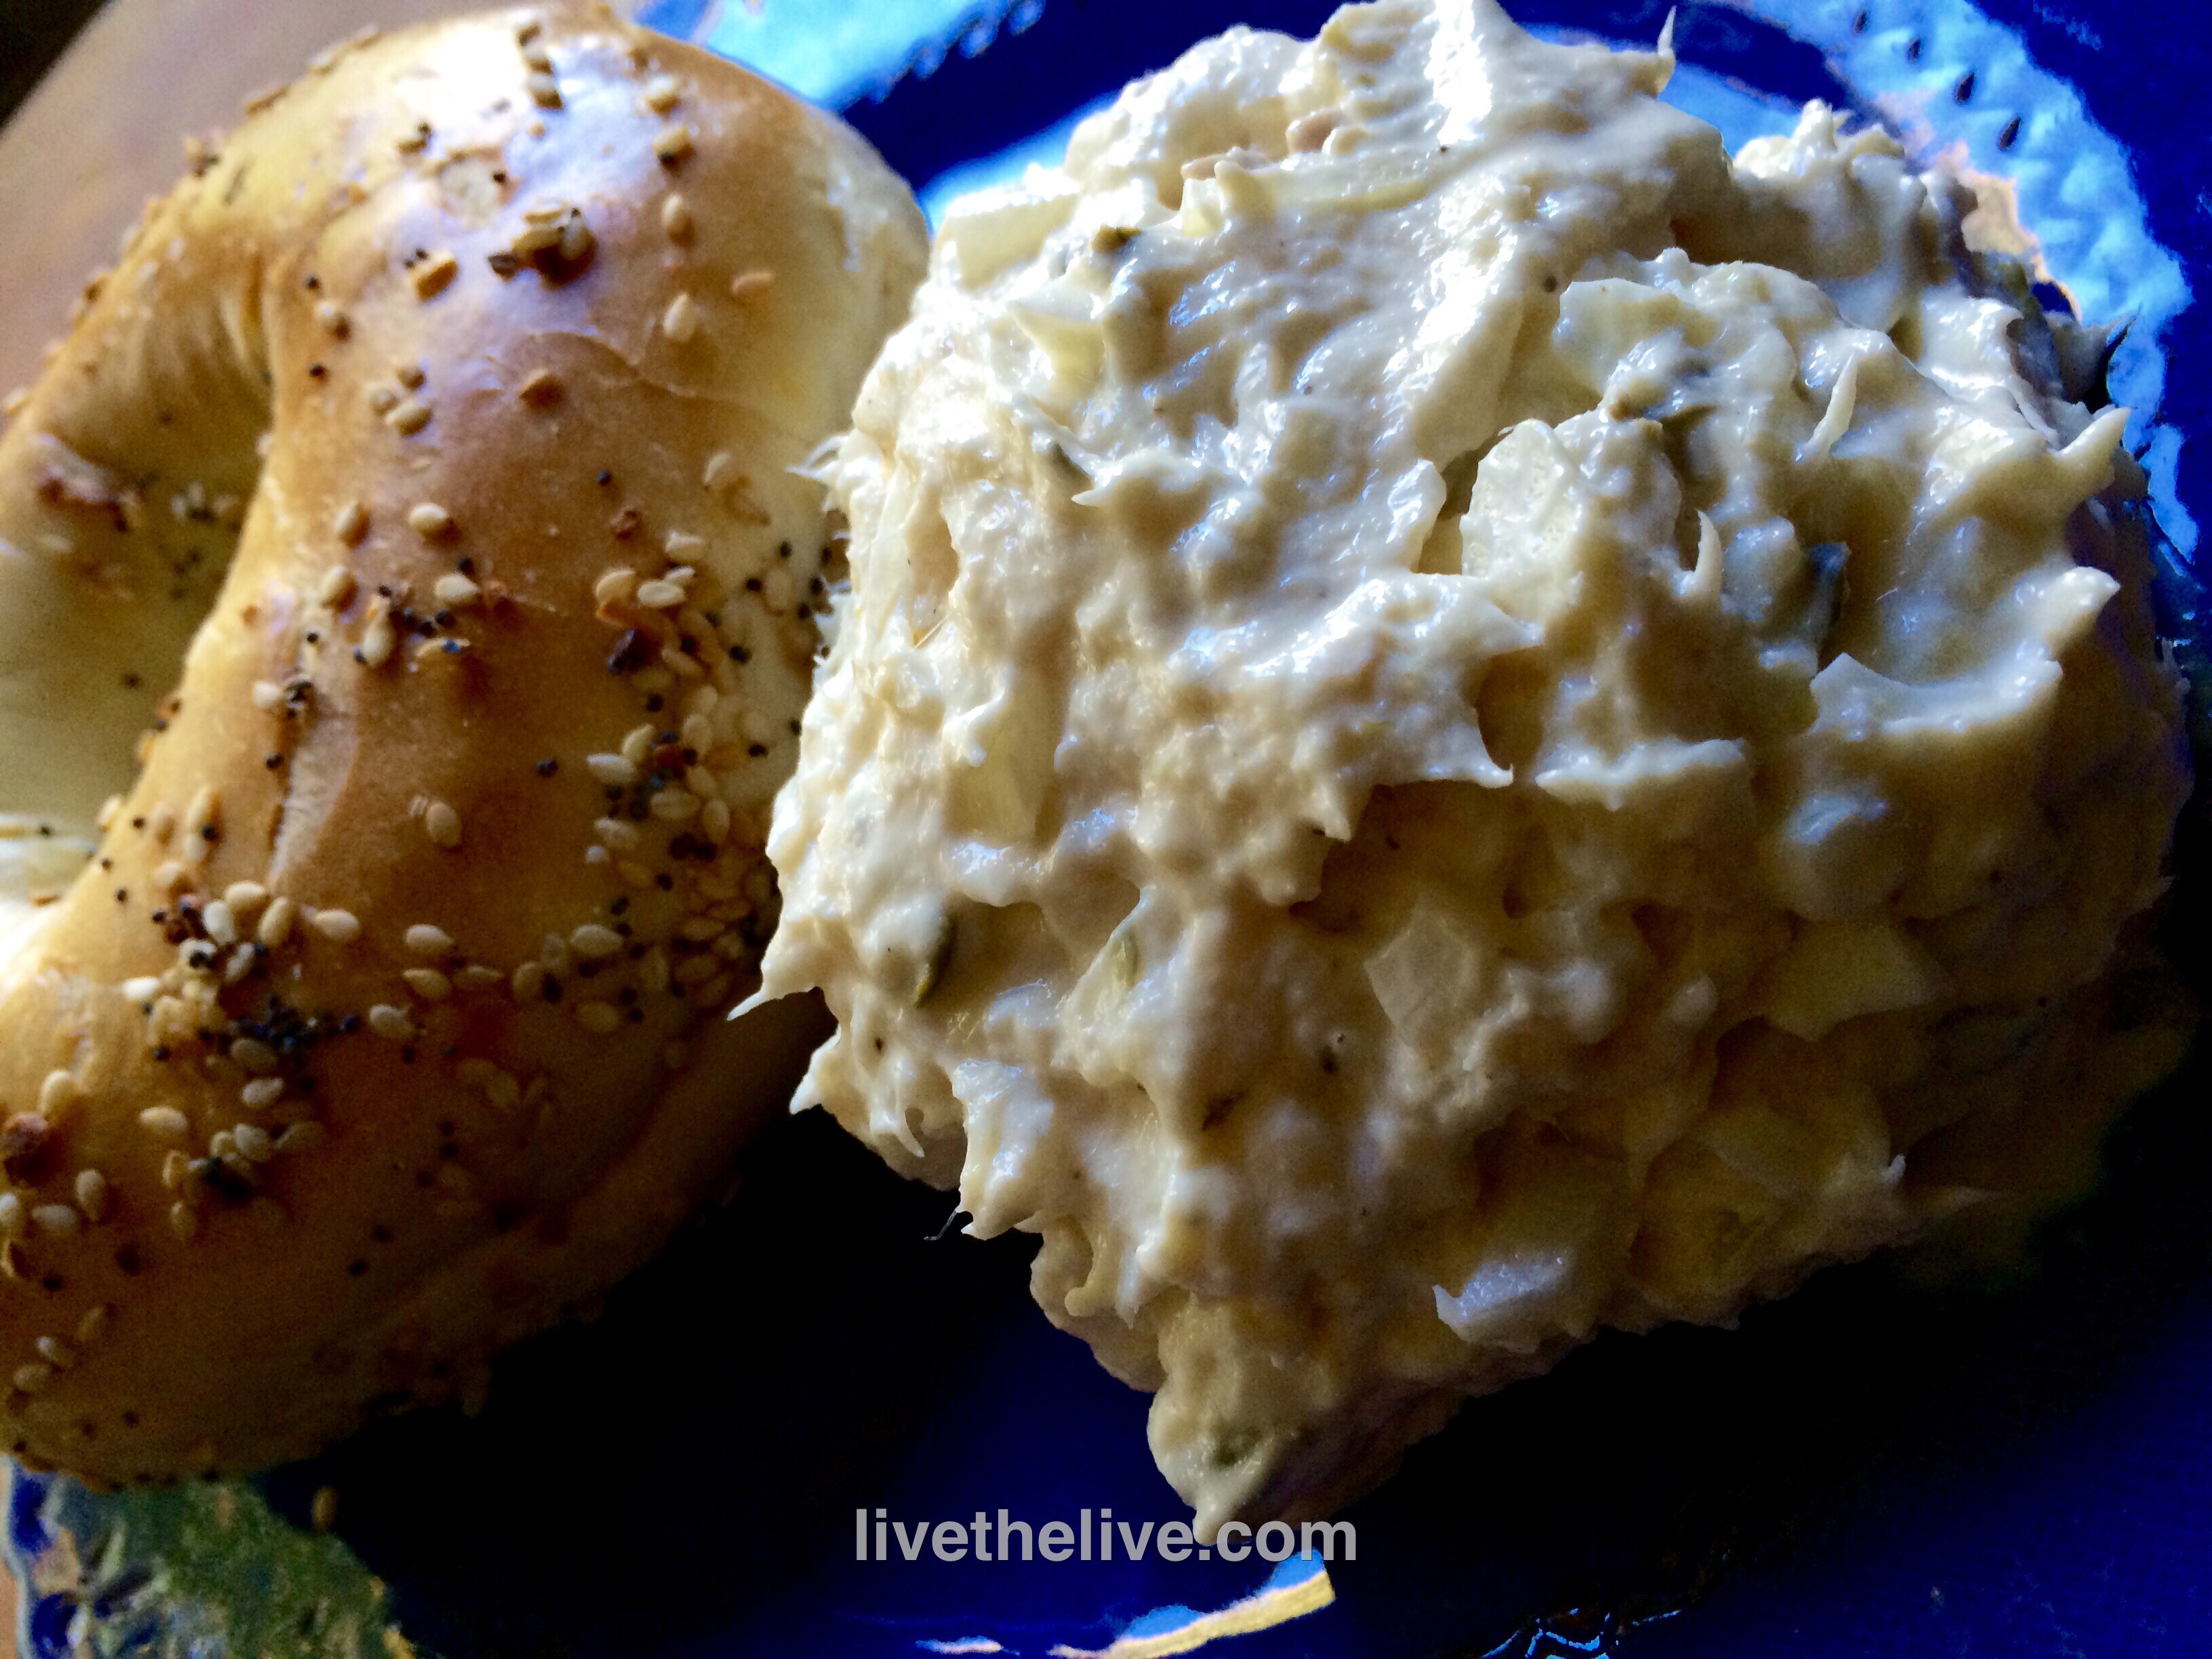
Serve with crackers, or my favorite: a toasted everything bagel from New York!
image
Here’s a shot of the real deal straight out of the smoker, at a fish store in Mackinaw City, Michigan, on the way to the in-laws’ house in the Upper Peninsula. Man, that was some good eatin’!
image

I have to give credit for this recipe where it’s due. A couple of years ago, we traveled to Washington, DC, and one of our best dining experiences was at the Blue Duck Tavern, a stunning restaurant matched by its unique and beautifully prepared plates. (Along with Chef Jose Andres’ restaurant Jaleo, it is the restaurant I recommend to any friends in the DC area, and one I would go back to in a heartbeat.)

One of the most memorable appetizers I enjoyed was the roasted beef bone marrow, which had a delicious pretzel crumble on top. The moment I had a taste, I knew that I would have to recreate this for myself at home.
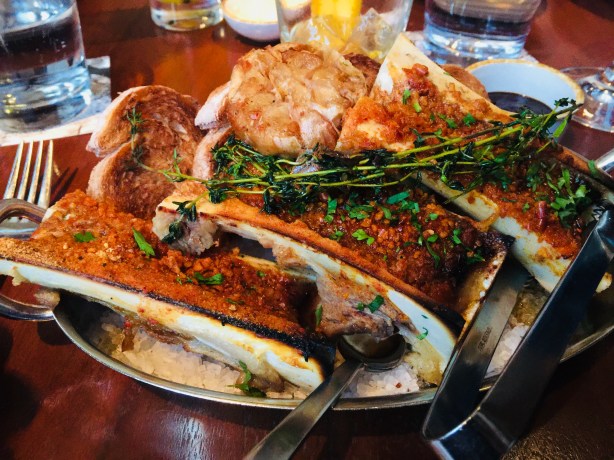
 

The bone marrow plate at the Blue Duck Tavern in Washington, DC. (Enough garlic for ya?)


Bone marrow played an important role in the evolution of early man. Perhaps that’s why some of us still have that primitive craving for it.

Early man had small teeth and ate anything he could lay his hands on, especially meat. But he was no hunter. Attracted by circling vultures, he probably scavenged the leftovers from a big kill such as an antelope left in a tree by a leopard, or a large animal such as a wildebeest that had been slaughtered by lions.

Because meat is relatively easy to digest and rich in calories and nutrients, early man lost the need for the big intestines of apes and earlier hominids. This freed up energy for use by other organs. This surplus of energy seems to have been diverted to one organ in particular – the brain. But scavenging meat from under the noses of big cats is a risky business, so good scavengers needed to be smart. At this stage in our evolution, a big brain was associated with greater intellect. Big brains require lots of energy to operate: the human brain uses 20% of the body’s total energy production. The concentrated calories and nutrition found in meat was responsible for an increase in the brain size of early humans.

But around two million years ago, telltale cut marks on the surface of animal bones reveal that early humans were using crude stone tools to smash open the bones and extract the marrow. Stone tools allowed early man to get at a food source that no other creature was able to obtain – bone marrow. Bone marrow contains long chain fatty acids that are vital for brain growth and development. This helped further fuel the increase in brain size, allowing our ancestors to make more complex tools. Many historians believe that the blunt force required to break bones with tools to extract the bone marrow was a crucial ingredient in the development of the human hand, and the unique dexterity it has over that of apes.

Of course, these days, we can simply go to our butcher and ask them to slice some beef bones for us so that we can enjoy the marrow like our ancestors did. It’s much more civilized.


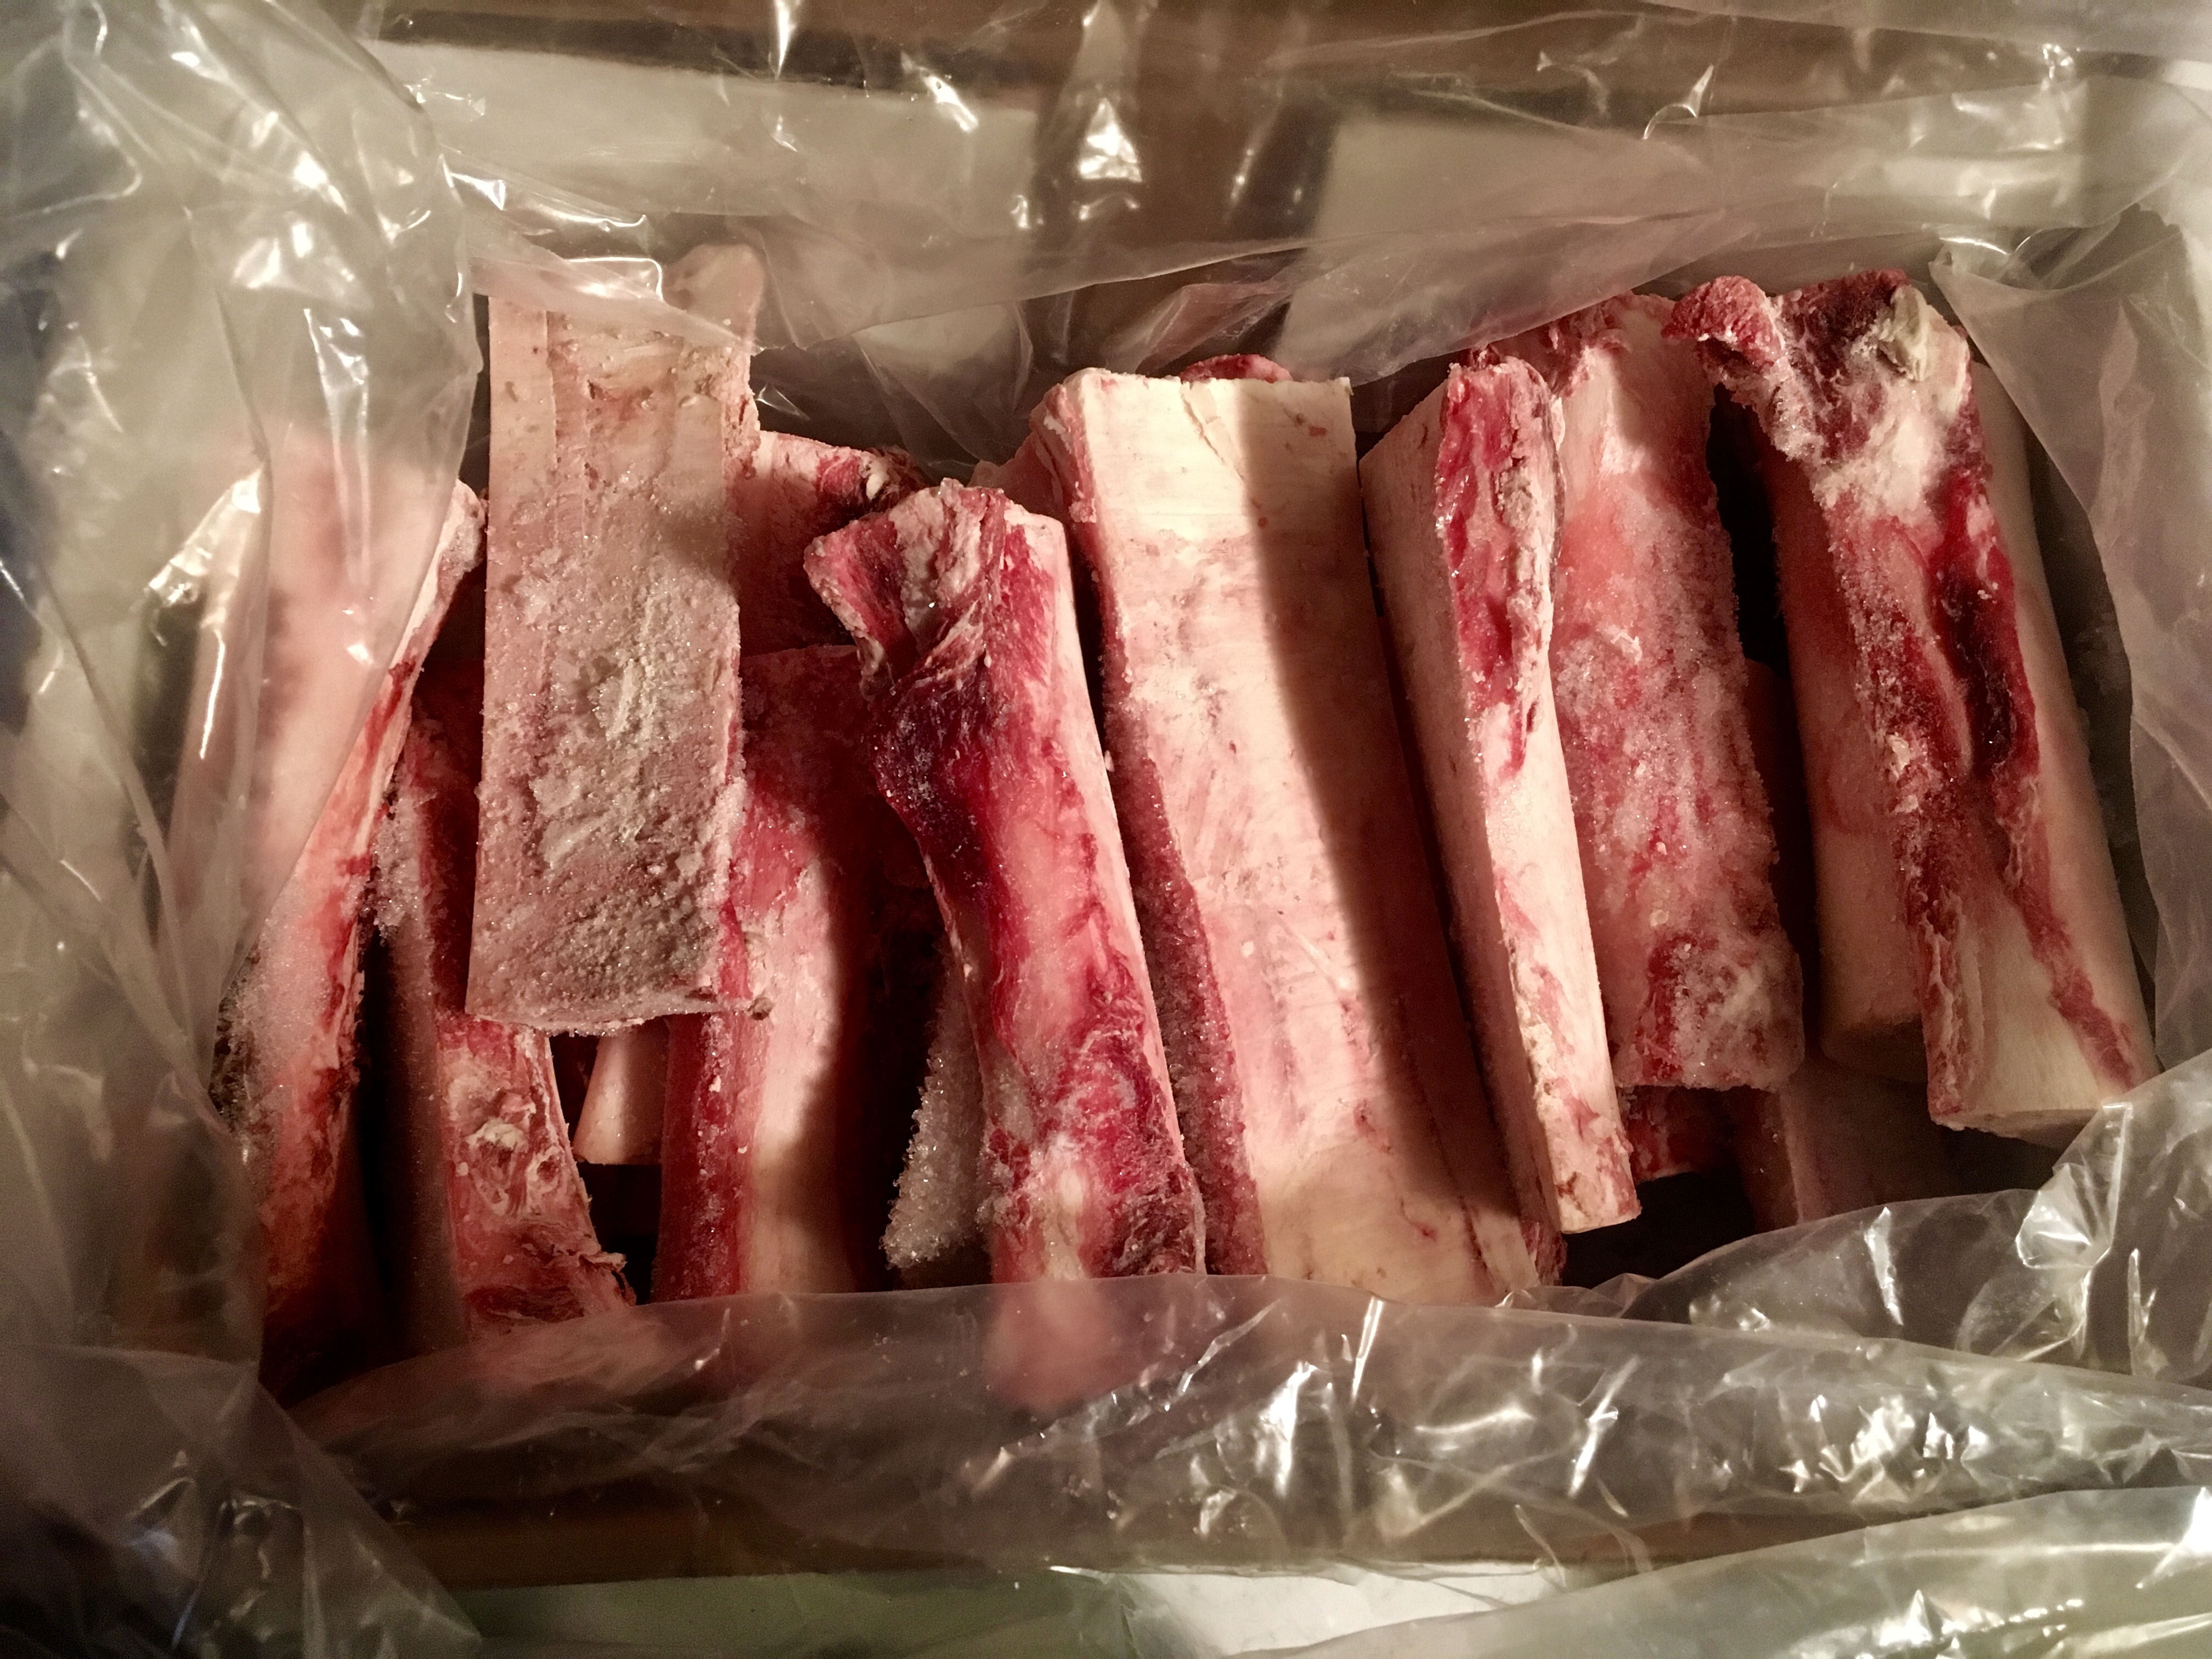
My box o’ frozen bones. I ordered about 25 lbs. of marrow bones from Slanker’s, a grass-fed beef farm in Texas.


They key to roasting marrow bones properly is to keep an eye on them. The bones can go from frozen solid to blazing hot in no time, and that means the marrow can go beyond its rich, gelatinous perfection into a puddle of fat at the bottom of your pan in mere moments.


3 lbs. beef marrow bones (I like them sliced lengthwise)
3/4 cup finely ground salted pretzel sticks
1 teaspoon dried parsley flakes
1 teaspoon granulated onion
1/2 teaspoon granulated garlic
1/4 teaspoon black pepper
olive oil


I keep the beef bones frozen, moving them to the fridge until I’m ready to roast them.

Pre-heat the oven to 450 degrees.
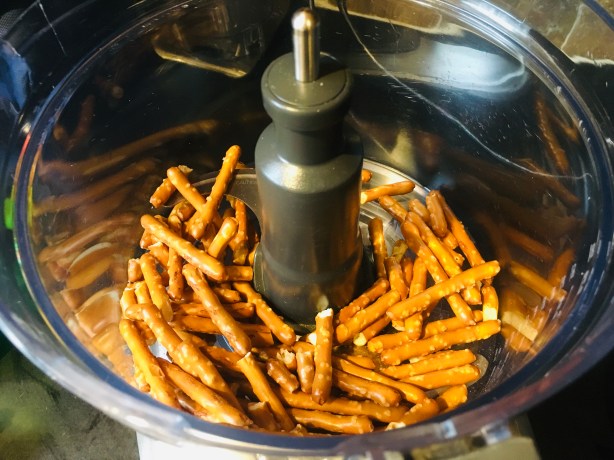
 

Grind them up!

Place a handful of salted pretzel sticks in a food processor, and pulse them until the pretzels are ground fine. When you’ve got 3/4 cup of ground pretzel powder, move it to a bowl and add the parsley, onion, garlic and black pepper. No salt is needed if the pretzels are salted.
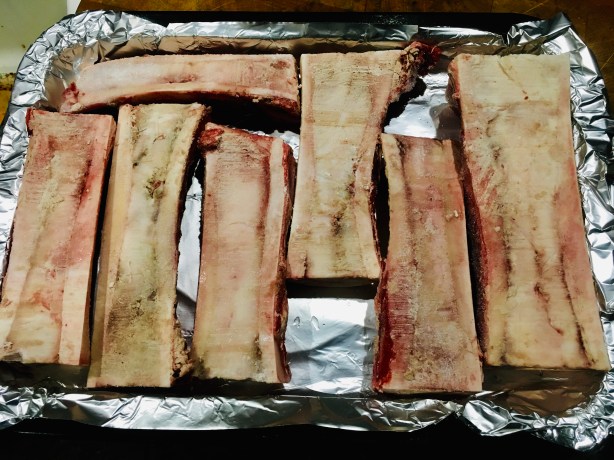


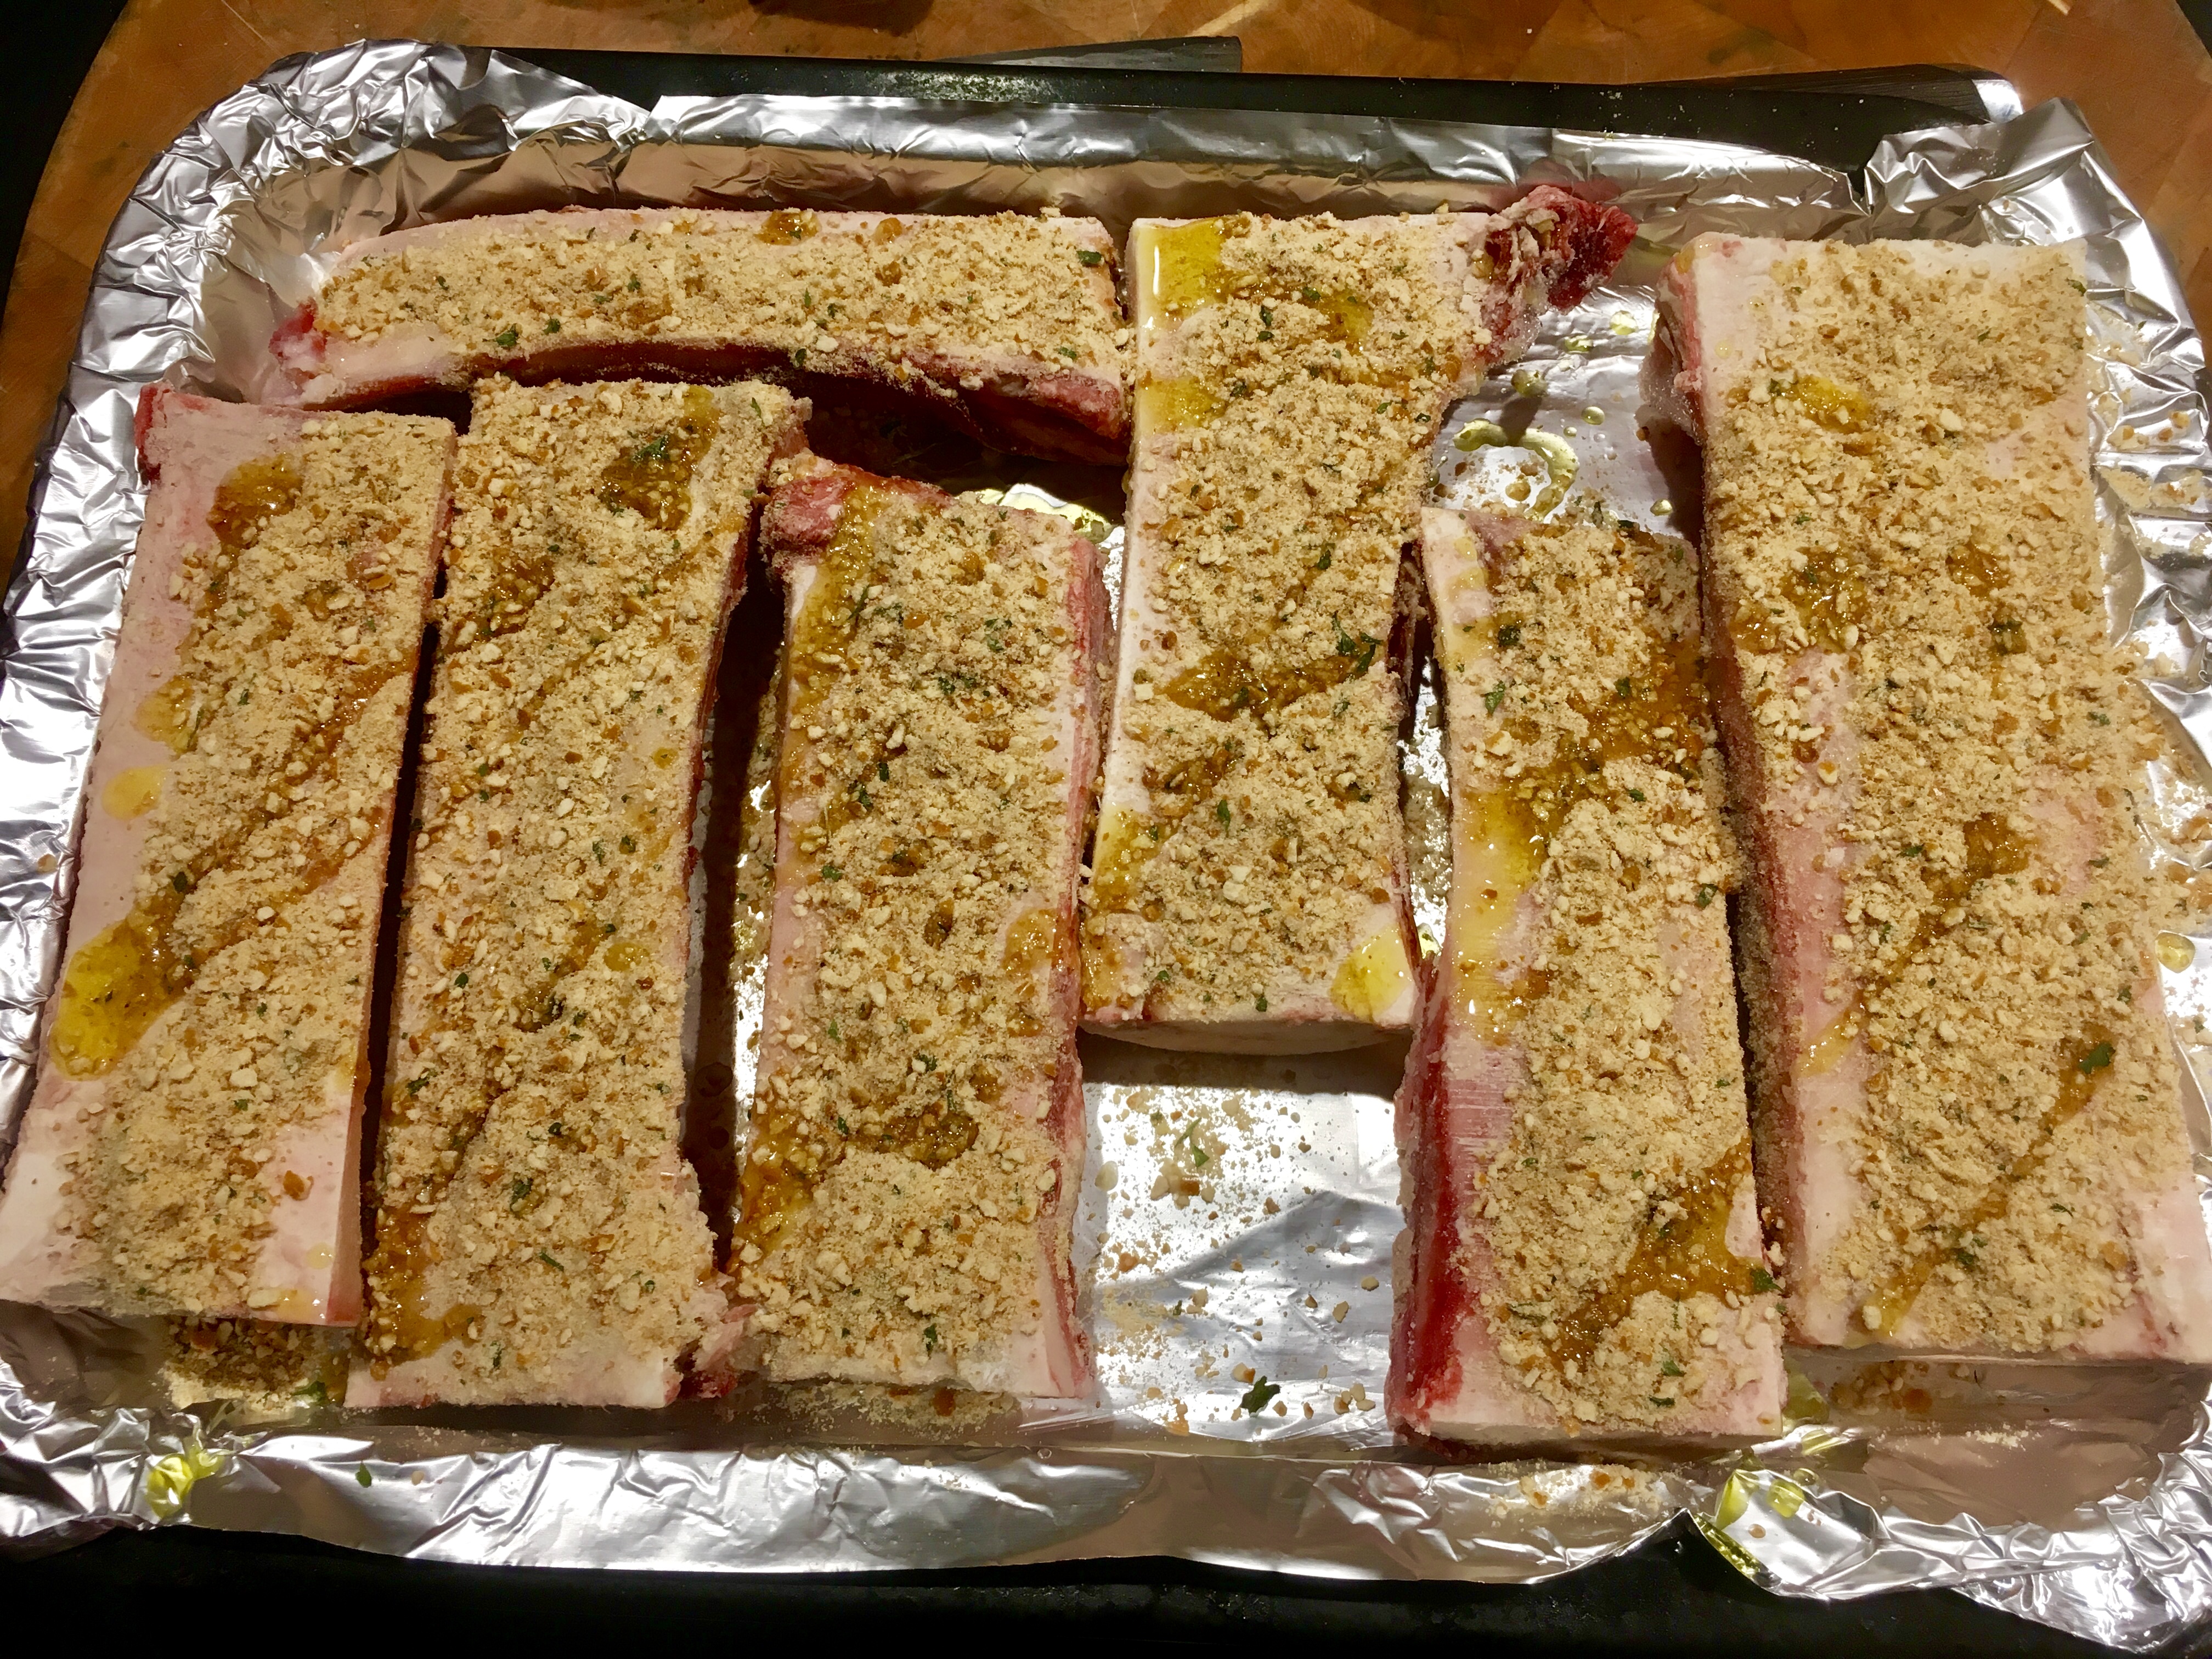
Lay the bones flat on a baking pan. If they wobble, place them on a layer of coarse salt to hold them steady. Sprinkle the pretzel mix on the bones, a little drizzle of olive oil on top, and place them in the oven.


Now you watch…there’s that one point where they go from “not quite yet” to perfection to “Oops! Too much!” …so be careful!


Perfection!


Some toasted bread on the side is all you need!


If you’re cooking gluten-free, try Snyder’s of Hanover GF pretzels. They are awesome…you’ll never know the difference.
 

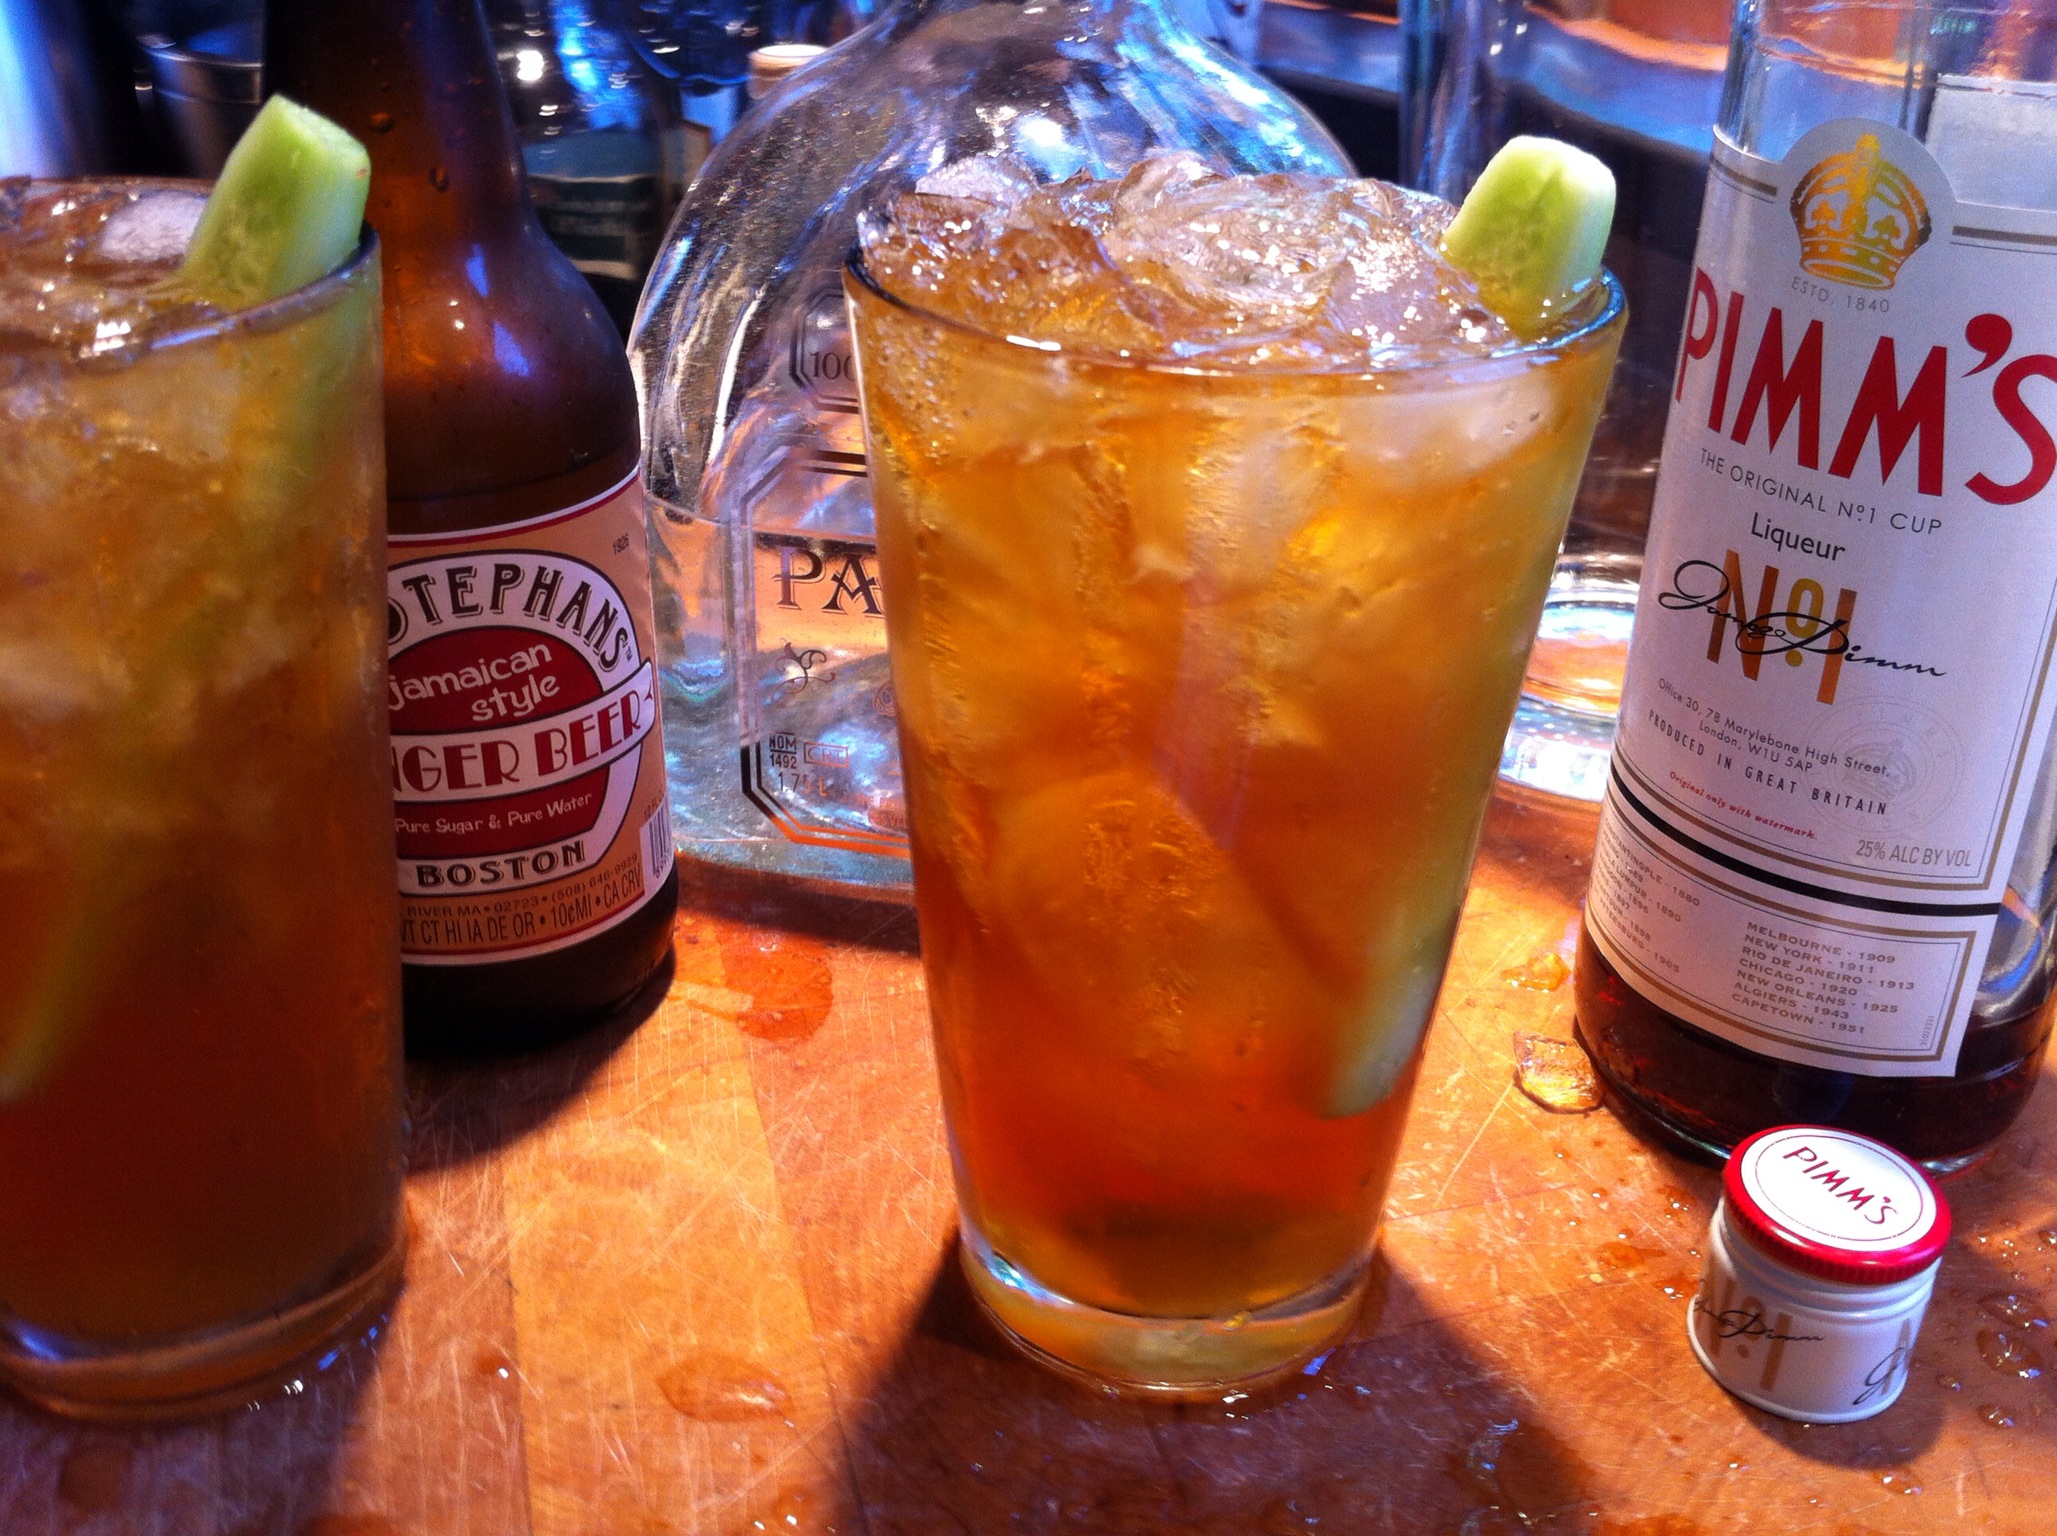
I love tequila. I love Pimm’s. And I love Dark & Stormies. I’m a lush. This cocktail has an interesting nod to all three.

tequila cup


3 oz. Patron silver tequila
1.5 oz Pimm’s No. 1
good squeeze of fresh lime juice
Chilled ginger beer
Ice cubes
Fresh mint
Cucumber slices (optional)

Combine the tequila, Pimm’s and lime juice in a highball glass filled with ice.
Place slices of cucumber in the glass, if desired.
Top it with your favorite ginger beer and stir gently.
Garnish with a mint sprig.

It’s #NationalFrenchFryDay so what better way to celebrate than to talk about the Parmesan truffle fries we recently had at The Capital Grille?


The best.


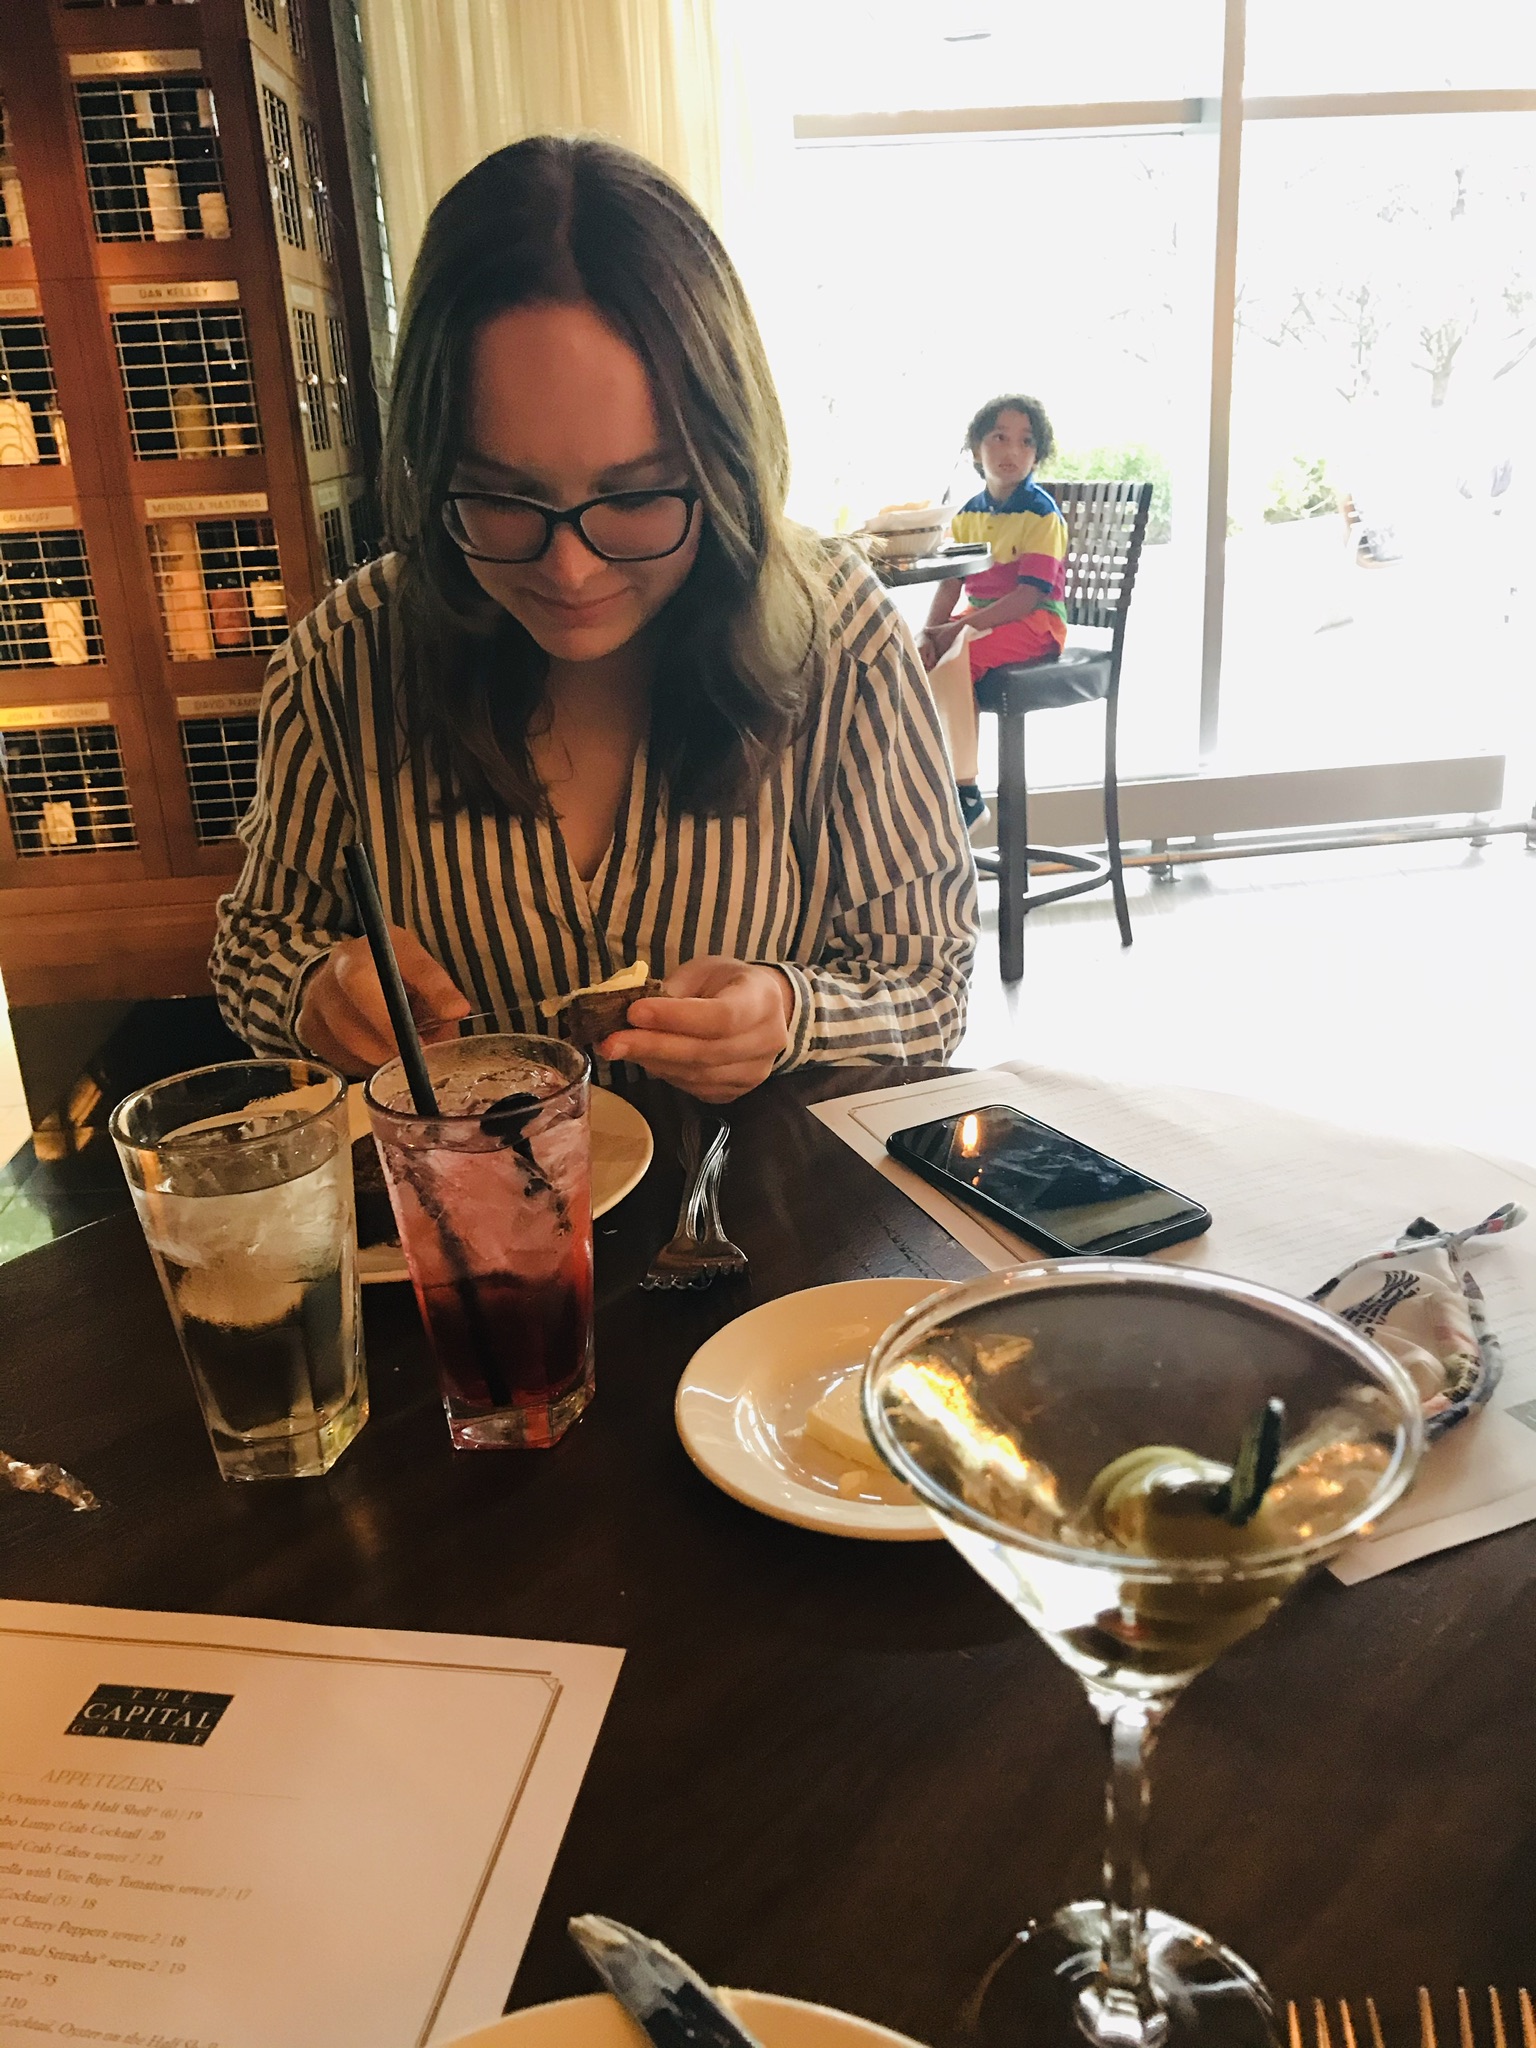
My daughter and I have been going to The Capital Grille in Providence, RI, every few months for what we call a “fodder-dodder dinner” for several years now. It’s a great opportunity for us to chat, have a few laughs, and enjoy a great meal.

But with the pandemic, a lot has changed…

No valet parking. (It’s one of the great deals in Providence because it’s always free at The Capital Grille.) It meant we had to drive around the corner to a parking lot. No big deal…there were spaces reserved for Capital Grille customers.

Here in Rhode Island, indoor dining is a somewhat recent event. And even though the state says it’s OK, and even though I really want to support my local restaurants, I still hesitate dining indoors everywhere. But certain restaurants, like The Capital Grille, I know will do things right.

Wearing masks. Social distancing. Extra diligence with cleanliness, although this place has always been spotless. And hey, what a surprise, not a single customer complaining about the extra measures taken for everyone’s safety. No one’s “rights” were threatened.

All the employees wore masks, and we took ours off only once we got seated at our “usual” table. (We sit in the bar area at one of the small high-top tables. The bar seats were all removed, and the few tables that were left in the bar area were spread far apart.) If we needed to use the restrooms, the masks went back on while walking through the restaurant.

The menu was limited. The bar menu, my personal favorite, was gone. Some of the small bar plates were listed under appetizers, but a few items, like the tenderloin sliders, lamb lollipops, and most significantly, the burgers, were not.

Since my daughter always ordered a wedge salad, and a cheeseburger with bacon and Parmesan truffle fries, she was a bit bummed that no burgers were on the menu. But it only took her a second to decide that a filet mignon was a good choice, and it came out a perfect medium-rare, and was devoured in minutes.

Although I very often order seafood at the Capital Grille, I went for the gusto a had the 22-oz. bone-in ribeye…also cooked perfectly.

Always a great time at The Capital Grille!


We split a wedge salad to start (there’s never a problem with them dividing the salad and bringing it to the table on 2 separate plates), and then we discussed what sides we should order. For my daughter, the much-loved Parmesan truffle fries were a no-brainer. I tried to go for something green and healthier, but let’s face it: a huge dish of creamed spinach or brussels sprouts with chunks of bacon is hardly low-calorie. So I decided to one-up her order of fries by getting the larger serving for the table. Steak and fries…what could be better?

A Shirley Temple for her and a Stoli Elit martini for me made the meal complete. Despite being really full, we ordered the amazing cheesecake to go, to enjoy the next day.

We may never completely return to “normal,” whatever that is. But it looks like The Capital Grille is rising to the challenge, and we’ll be back!


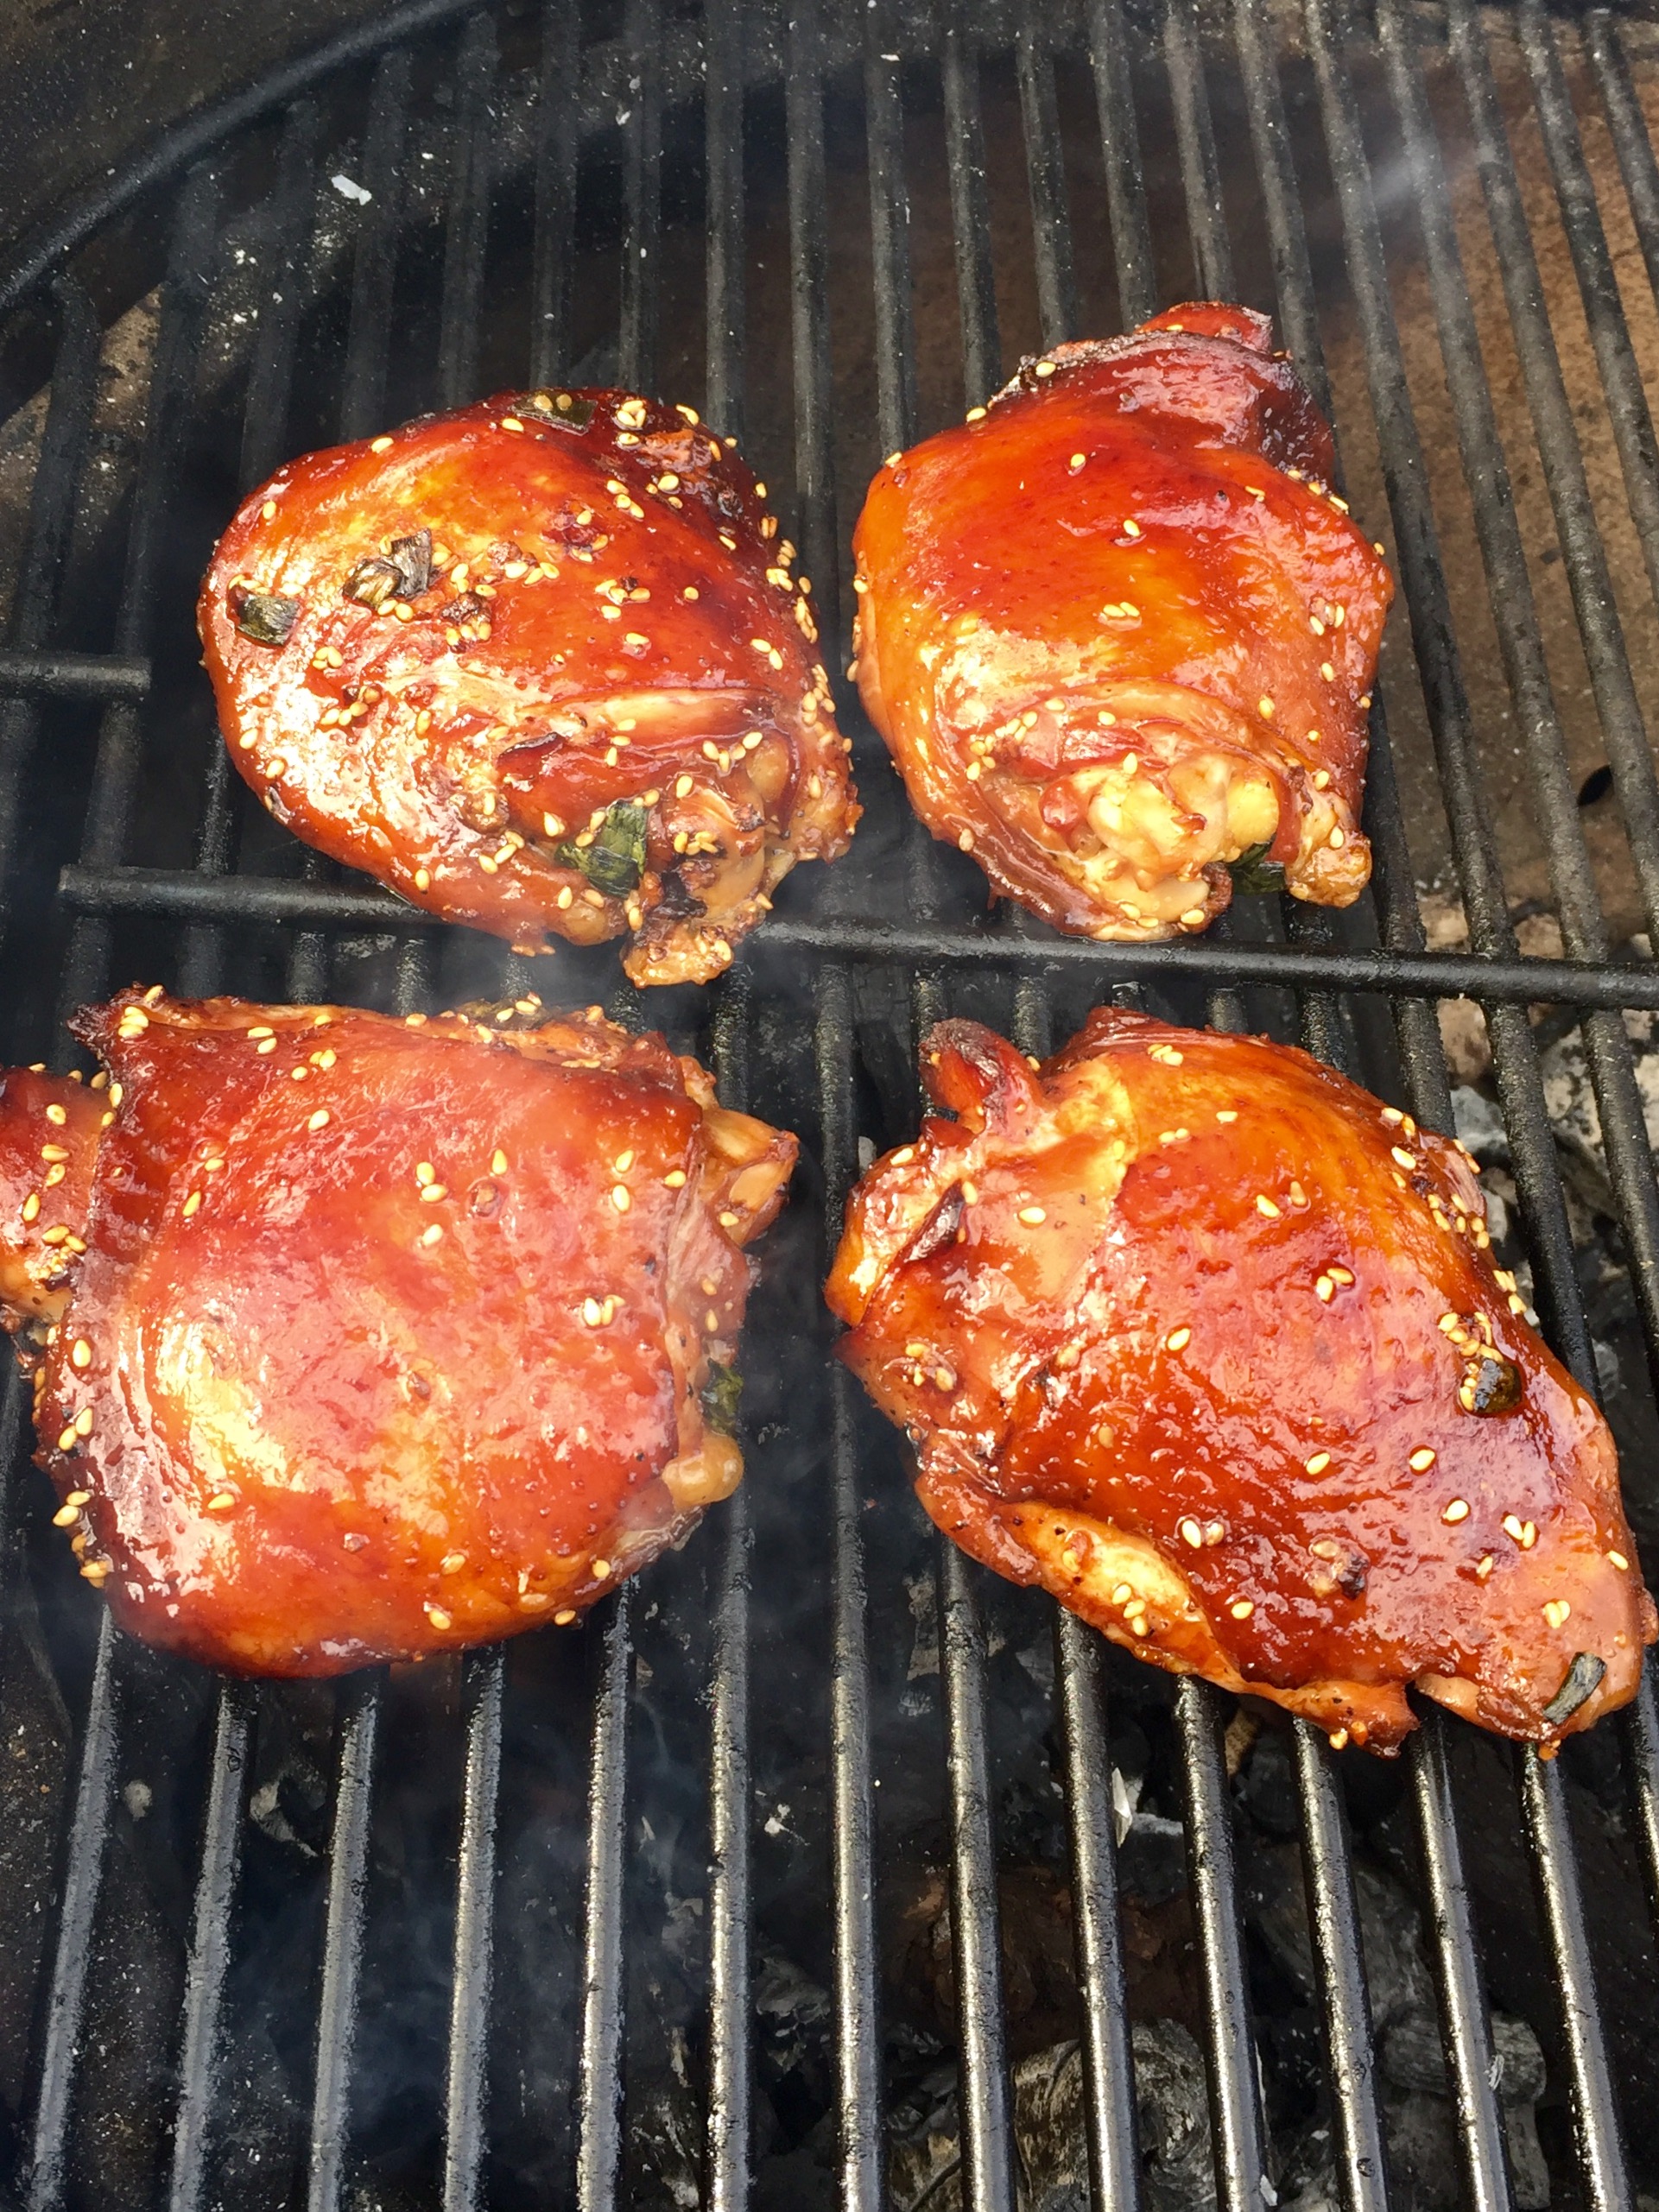
Bulgogi is the name given to the most common form of Korean barbecue. Unlike the daeji bulgogi that I cooked in a previous blog, this one is not based on a chili sauce that can take the roof of your mouth right off.

I used chicken, though this would work with pork as well, and for the best flavor, it’s best to marinate the meat in the fridge overnight.

FullSizeRender (12)

2/3 cup soy sauce
1/2 cup chopped scallions
6 tablespoons sugar (I use organic cane sugar)
5 tablespoons fresh garlic, grated or through a garlic press
5 tablespoons sesame oil
1 tablespoon sesame seeds
1 teaspoon black pepper
5 lbs. chicken pieces (skin-on thighs work best)


Combine all the ingredients except for the chicken in a bowl and mix well.

Place the chicken pieces in a large Ziploc bag and pour the marinade in. Seal the bag well and squish it around to make sure the marinade makes contact with the chicken. Place the bag in a bowl (to prevent accidental leakage) and keep it in the fridge overnight. Squish the bag around every few hours to make sure the marinade does its job.

When you’re ready to cook the next day, pre-heat the oven to 350 and remove the bag from the fridge and let it come to room temperature. Place the chicken on a sheet pan (discard the remaining marinade) and bake it for an hour.

Light a hot grill and push the coals to one side of the grill. Place the chicken pieces on the cool side of the grill and close the lid, opening the vents. Every few minutes, turn the chicken pieces over so they get nice grill marks but
don’t burn.


FullSizeRender (11)

I’ve always been fascinated by Korean barbecue. Every time I see it on TV or catch a recipe on an e-mail blast, my mouth waters and I say to myself that I’ve got to experience it some day. But the painful reality is: Korean barbecue can be really spicy…and I’m a total wuss.

Korean barbecue 101: Gogigui means “meat roast” in Korean, and it refers to the method of roasting beef, pork, chicken, and other meats. Meats can be marinated or not. Bulgogi is the name of the most common Korean barbecue. Meat is marinated with soy sauce, sugar, sesame oil, garlic and pepper, and then grilled. Galbi uses beef short ribs, and adds onions to the marinade. And the hot stuff is daeji bulgogi, because the marinade isn’t soy sauce-based, but based on the hot-n-spicy Korean chili paste known as gochujang.

All of the marinades looked delicious, but the hot one with gochujang would be my biggest challenge, so I decided to start there. I found a great recipe, and quickly realized that I would have to turn the heat way down if I was actually going to try to eat it! For example, the original recipe called for 2 tablespoons of white pepper. I totally left it out. And it called for a full cup of gochujang. Not only did I cut that part in half, I doubled many of the other non-spicy ingredients.

So is it authentic Korean barbecue? Probably not. But it’s my version of it. It’s got lots a flavor and still carries a bit of heat.

For gluten-free diets: finding GF hoisin and soy sauce is easy. Look for the La Choy brand. But I haven’t been able to find gochujang that has a GF label.


image


3/4 cup ketchup
1/2 cup gochujang
1/2 cup hoisin sauce
1/2 cup honey
1/2 cup soy sauce
1/4 cup brown sugar
2 tablespoons freshly grated ginger
1 tablespoon freshly grated garlic (I use a garlic press)
1 tablespoon unseasoned rice vinegar
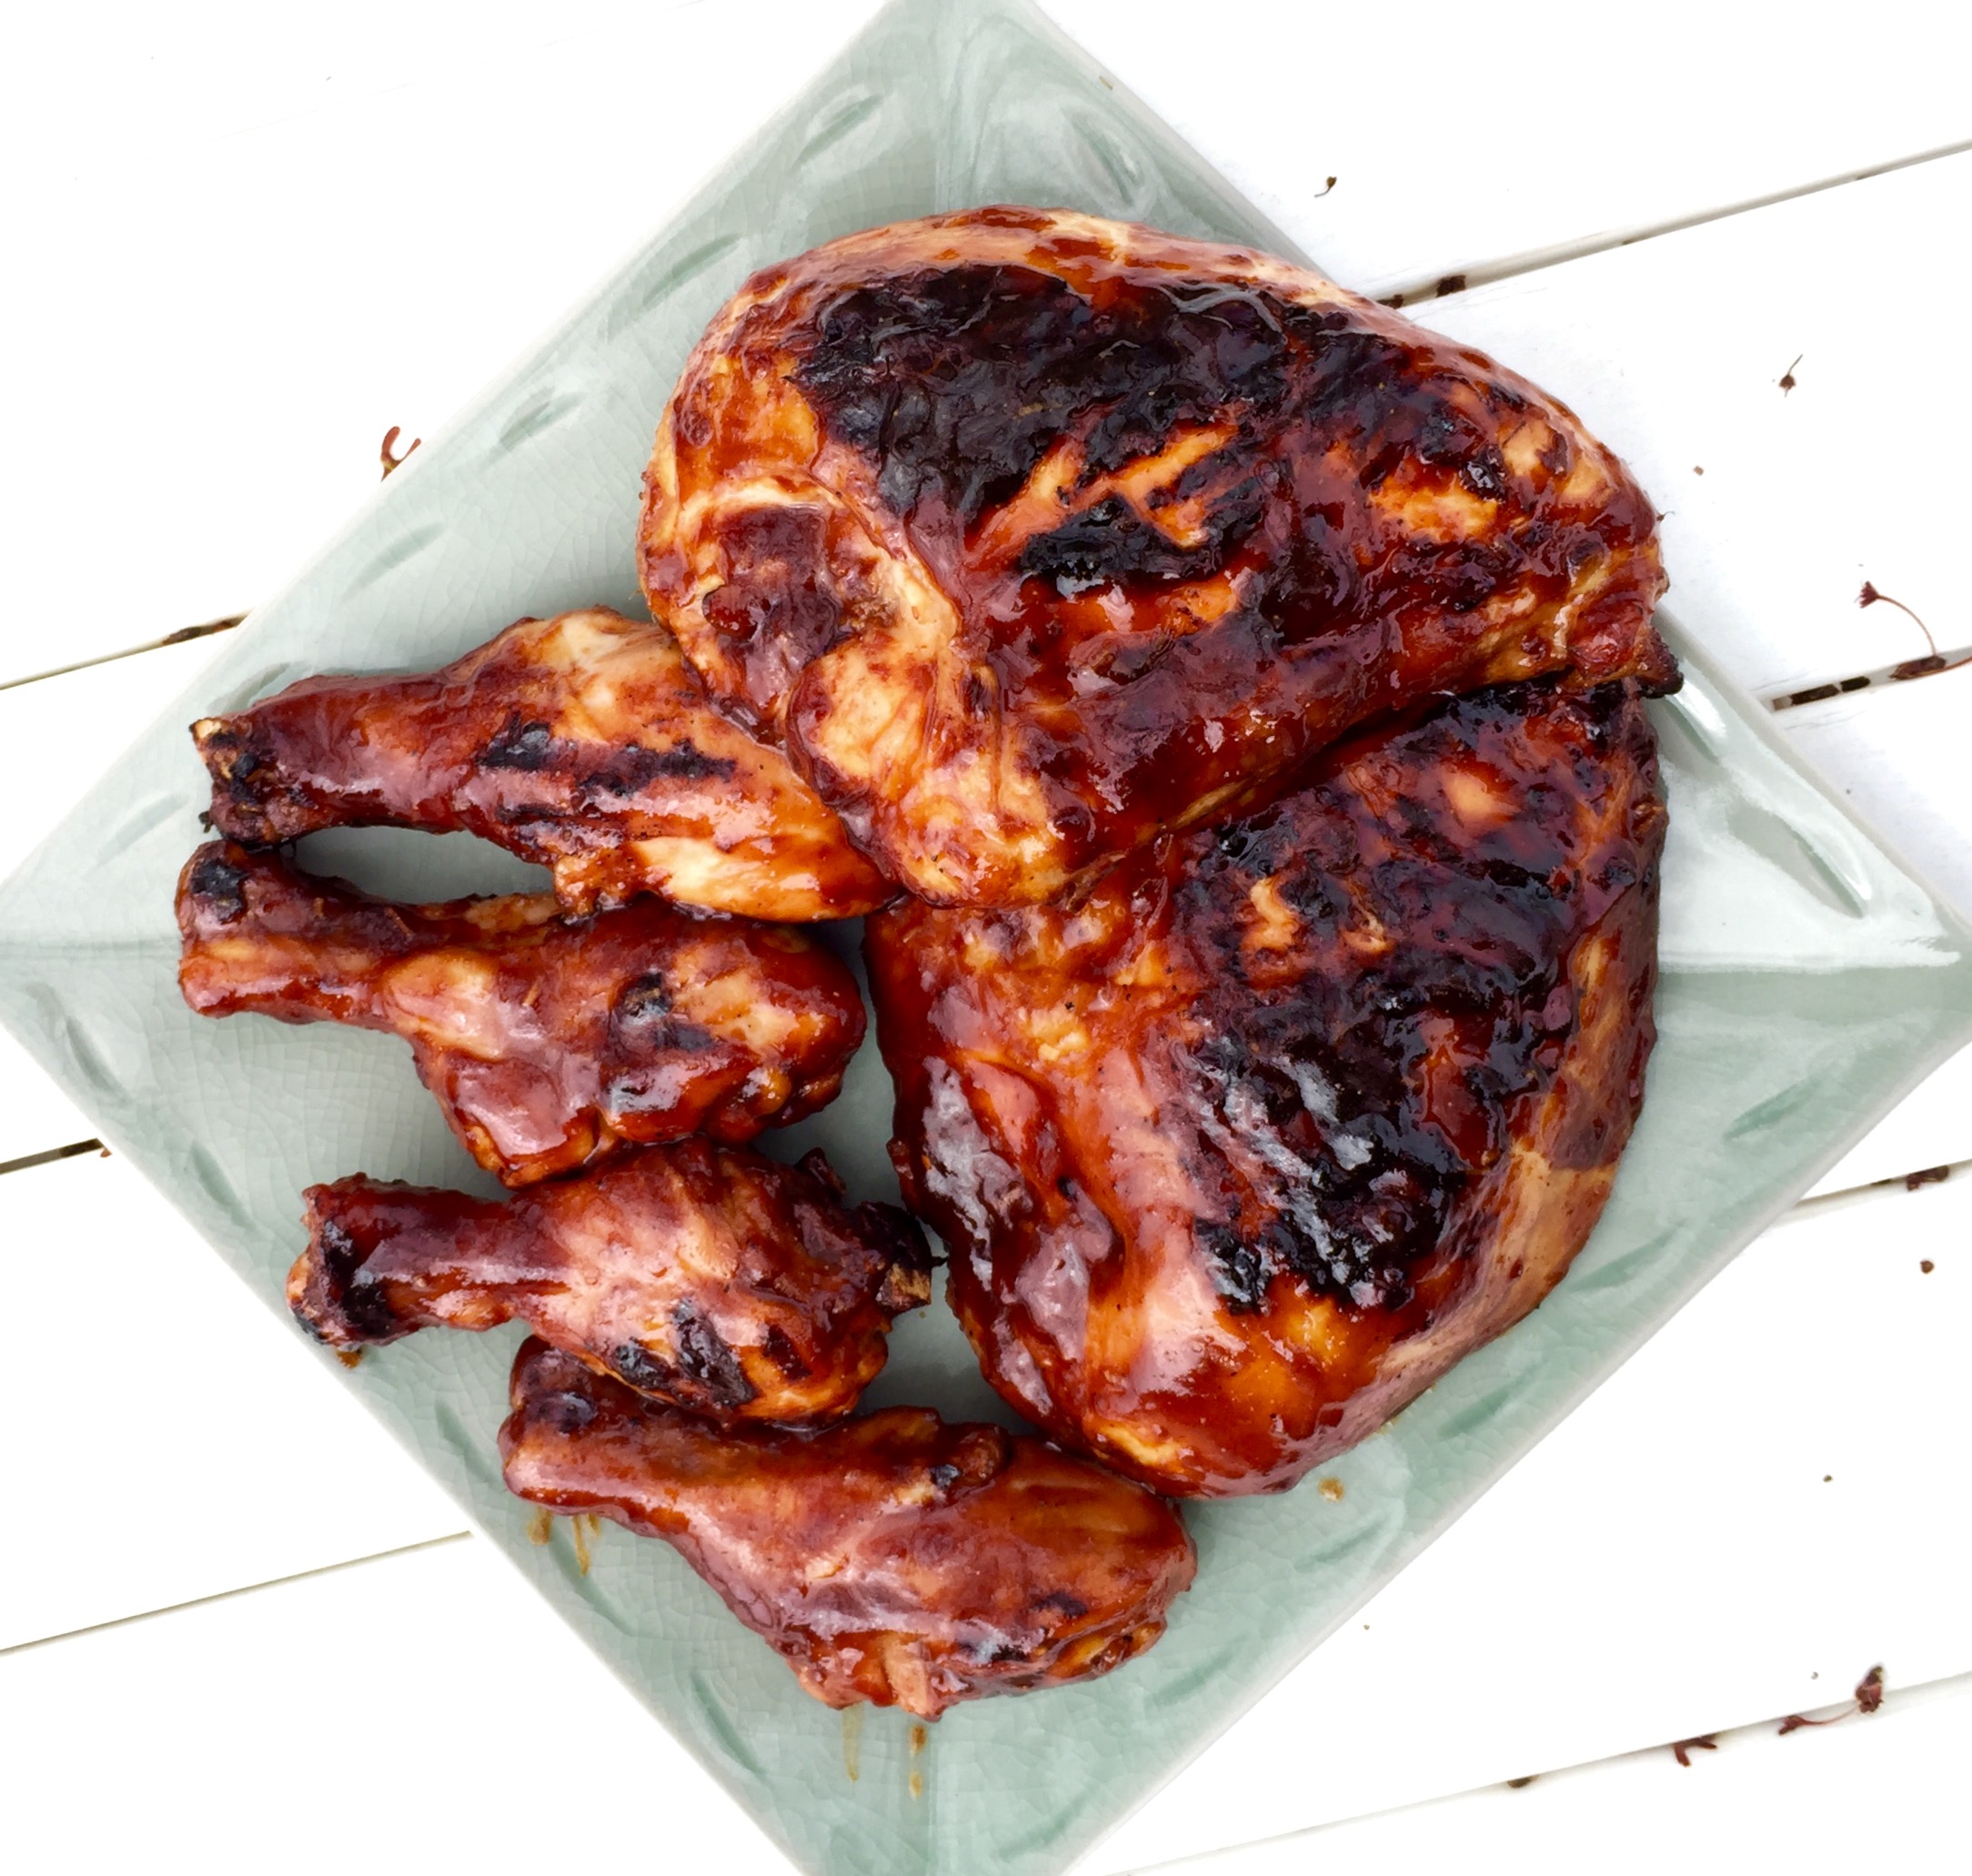
4 lbs. chicken pieces


Pre-heat the oven to 500 or its top temperature.

In a bowl, mix everything but the chicken pieces. Brush the sauce onto the chicken pieces, then wrap them in aluminum foil. (I like to tear a long piece of aluminum foil and lay it on top of a sheet pan. I place the chicken pieces on the foil, brush them with sauce on all sides, then fold the foil over the chicken, making one large pouch that holds all the meat.) Leave the pouch on the sheet pan and place it in the oven, then lower the oven temp to 350.

Cook the chicken for about an hour at 350, making sure it’s almost completely cooked. Juices should run clear, not bloody, when you poke it with a fork.

Start a hardwood fire on your grill. Push the coals to one side of the grill so you have a hot side and a cooler side with no coals underneath it. Place the chicken pieces on the cool side of the grill (if you put it on the hot side, it will stick and burn), brush with more sauce, and put the lid on the grill, making sure you have the vents open for air circulation.

image

See those 2 black bits in the foreground? That’s where the chicken stuck to the grill because I placed them over the hot coals. Don’t do that.

After a few minutes, lift the lid, flip the chicken pieces over, brush them with sauce again, and close the lid. Keep doing this until the chicken is nice and caramelized, with tasty grill marks.

If you want to serve some of the sauce on the side, it’s important to pour some of the sauce off and set it aside in the very beginning, so you’re not using the same sauce that the basting brush touched the raw chicken with.


Just because I’ve got a garden full of fresh veggies, it doesn’t mean I have to gorge on nothing but salads! Sometimes, a refreshing cocktail is just what I need after a long day of yard work. This one fits the bill!

Imagine a vodka mojito, using cucumbers….


4 fresh cucumbers, peeled and seeded
Small ice cubes
1 cup loosely packed fresh mint leaves
2 teaspoons granulated organic cane sugar
3 tablespoons fresh lime juice
4 oz. vodka (I like Tito’s)
1 oz. orange liqueur (I like Cointreau)


Peel and seed the cucumbers. Coarsely chop them and then purée them in a food processor until smooth. Strain them through a fine sieve, pressing the solids to extract as much liquid as possible. Or, if you have one, use a juicer. Set the extracted cucumber juice aside.

To a large glass pitcher, add the mint leaves, sugar and lime juice. Muddle the ingredients so that the mint leaves release their oils. Add 3/4 cup (at least) of the cucumber juice. Add the vodka and Cointreau. Muddle again briefly.

Fill tall drinking glasses with ice cubes. Strain the cocktail into the glasses. Garnish with a cucumber spear or peel…or mint.

If you look online, there are a  million ways to make onion rings. So, in doing my research, my first step was to decide how I wanted them. Did I want a big, thick batter? Or something extremely light? Or something somewhere in the middle?
I’m not a fan of onion rings that have more batter than onion. After all, my nickname is “Ponas Svogunas,” which means ”Mr. Onion” in Lithuanian.
So, after looking through dozens of recipes, I finally came up with one on my own that really satisfied my craving for onion and also a craving for a great crunch.
The set-up requires four trays, and lots of messy dunking before it goes into the oil. But it’s all worth it in the end!
I have a deep fryer, but the basket in it is small, so I can’t fry as many onion rings at one time as I’d like. So using a larger pan with a shallow pool of oil was the answer: it allowed for more onion rings to be fried in a single batch.
Yellow onions, sliced abut 1/4″ wide


In the first pan..
2 raw eggs, scrambled
In the second pan…
1 cup whole wheat flour
1 teaspoon baking powder
In the third pan…
2 more raw eggs, scrambled
In the fourth pan…
2 cups Panko breadcrumbs
1 teaspoon salt
1 teaspoon granulated onion
1 teaspoon granulated garlic
I like to fry with peanut oil, so I pour an inch or two into a large pan and heat it to 340°, using a thermometer.
I peel the onions and cut them into quarter-inch wide slices, breaking them up into rings. (If a couple of rings of onion stick together to form a thicker ring, I don’t have a problem with that!)
Once that’s done, the procedure is really simple: dunk the onion rings in the first pan with the egg, coating them well. Then dunk them into the second tray with the whole wheat flour, shaking off any excess. Then dunk them into the third tray with the egg, making sure it’s completely coated. And finally, dunk them into the fourth tray with the seasoned Panko breadcrumbs, again, shaking off any excess.
Drop the onion rings into the hot oil and be sure to flip them so they cook on both sides. Cook until they’re golden brown. Place them on a sheet pan with a metal rack to cool.

Skip the necktie. If your dad’s a food nut, he deserves something better! All of these ideas have been rigorously tested by our panel of experts (OK, just me), and get a big thumbs up. This article was originally published a few years ago, but I’d still be happy to get any of these for Father’s Day!


Masterbuilt Electric Digital Smokehouse: I’m a bit of a purist when it comes to grilling. I refuse to use a gas grill because I think there’s no difference between that and my kitchen stove. I use real hardwood charcoal, with real smoke and real flavor. But when it comes to smoking meats, basic smokers require constant maintenance so that the temperatures don’t fluctuate. I’m just too busy for that, especially if I’m cooking something low and slow for about 12 hours. So I have a digital smoker. I plug it in, set the time and temperature, and then periodically add wood chips through a side drawer to smoke the meat. I can literally set it and forget it. I have it cook through the night, so I wake up to a beautifully smoked slab of meat in the morning.


Cognac! How can you go wrong with booze for Father’s Day? But if you’re looking for something really special to give Dad (or your favorite blogger), it’s Kelt XO. What makes Kelt XO special is that before bottling, they place the barrels of cognac on board ships that sail the world for months at a time. During this time, the cognac gently rocks back and forth in the barrels, slowly acquiring a smoothness you can’t find in other spirits. Each bottle even comes with a tag that tells you exactly what ports around the world your cognac has been to. Worth the search at high-end liquor stores.

jack daniels


Jack Daniels smoking chips: Whether you have a smoker or not, these chips will make anything you cook taste better. Made from the old oak barrels that they use to age Jack Daniels, you get a serious hit of whiskey in every bag…and in your food. Simply toss a handful of chips you’ve soaked in water for about a half hour, and they will infuse the food on your grill with flavor. You can also use them dry, on charcoal or gas grills.


Cookbook favorites: “Jamie at Home,” by Jamie Oliver (a great combination gardening/cookbook), “Charcuterie,” by Michael Ruhlman and Brian Polcyn (the best book on how to cure and smoke meats), “Barbecued Ribs, Smoked Butts, and Other Great Feeds,” by Jeanne Voltz (my absolute barbecue Bible!), and “Martin Yan’s Feast: The Best of Yan Can Cook” by Martin Yan (the authority on Asian cooking.)


Redi-Check Remote Cooking Thermometer: Even someone who has barbecued all their lives runs the risk of burning or undercooking a roast or a large bird. Opening the grill and jabbing the meat with a thermometer several times causes the juices from the meat to run out, leaving it dry…and every time you open the grill, you lose precious heat. This is the better solution: You stick the needle into the roast or bird and leave it in there the entire time it cooks, so no juices leak out. You plug it into the monitor which then calls you when the meat is ready (from as far as 100 feet away!) You set the time or temperature, and then get to join your guests for the party.

smoking gun


Smoking Gun: There are times when you don’t need a full-on smoker. All you want to do is smoke a small piece of fish or a hunk of cheese.  You simply take some of the finely ground wood chip powder (comes with the gun) and place it in the pipe-like bowl. Light it, and the Smoking Gun will blow that smoke through a hose into the Ziploc bag where your piece of fish is waiting for its magical transformation to smoky deliciousness.


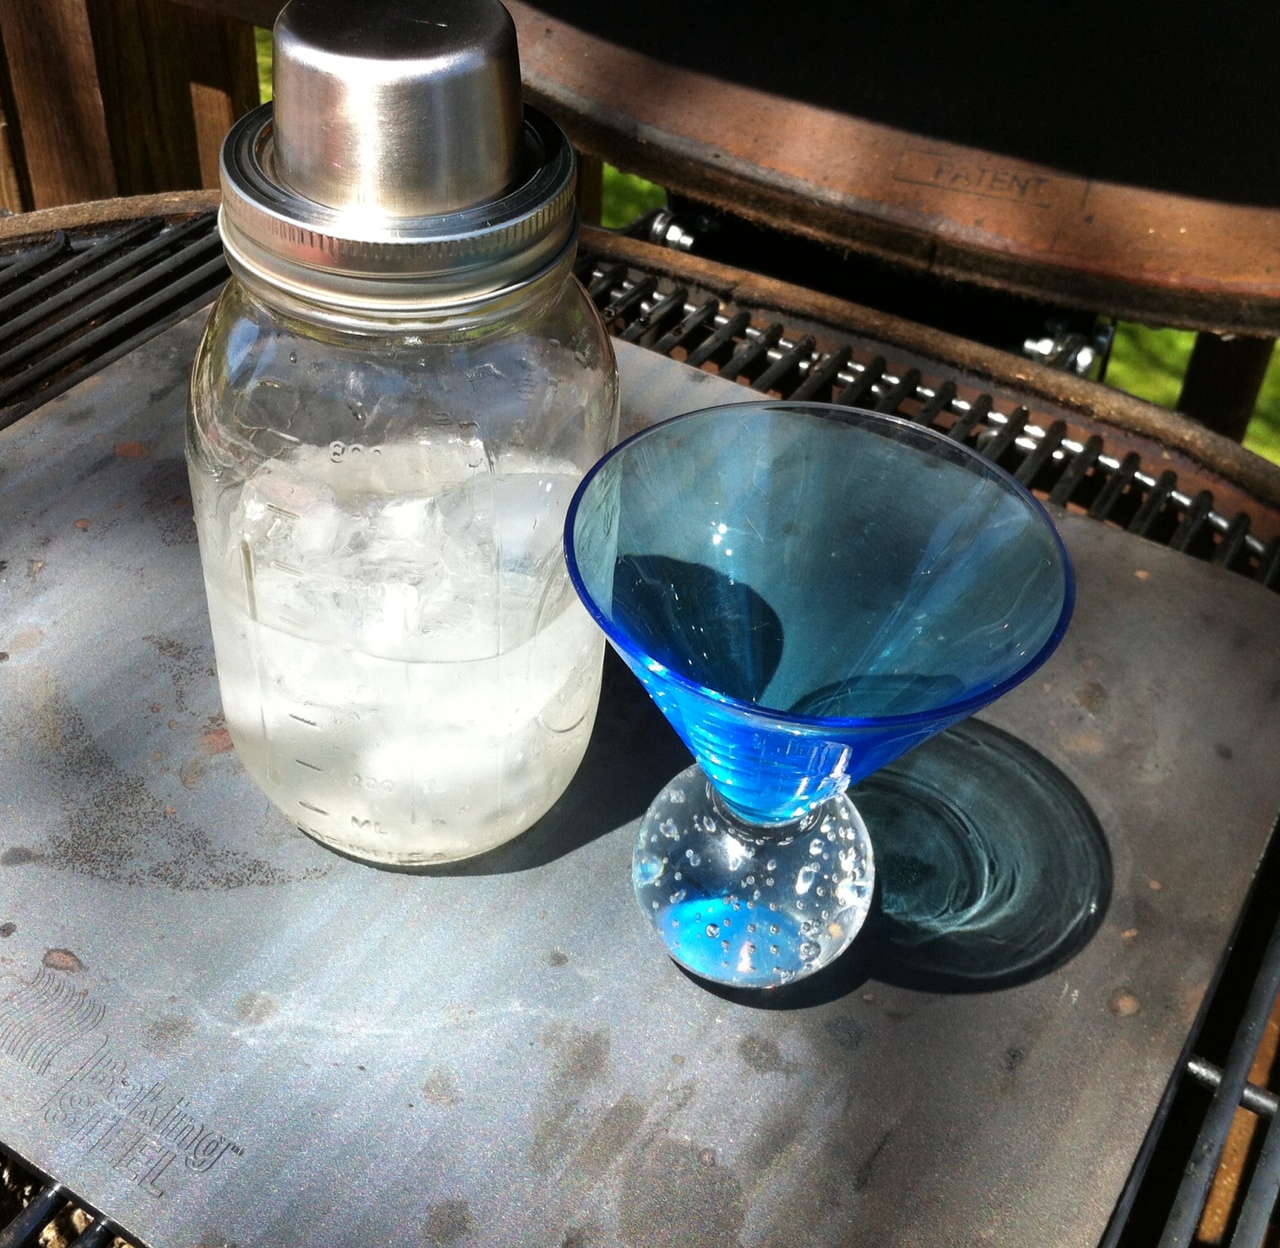
Mason jar cocktail shaker: A fun new way for Dad to make his martini.

mason jar, baking steel


Oh, and by the way…dads don’t care if your gift is late. You can still buy it now and give it to him later!

It used to be that only the big distilleries were able to age their finest spirits in charred oak barrels. But now, there’s a movement goin’ on…and hand-crafted oak barrels are available to aficionados at home.

Companies like Redhead Barrels (http://www.redheadoakbarrels.com) are offering oak barrels for aging that range in size from 1 liter to 20 liters. And that’s where this enthusiast comes in: with a 1-liter barrel, I’m able to age my favorite spirit–vodka, rum, whiskey, bourbon, mixed drinks, anything–in just a few weeks, elevating the flavors to levels previously unknown.


wood

My  1-liter barrel arrived with the spigot and bung separately. Curing the barrel is necessary before using it. I do this by rinsing the barrel out a few times to remove any loose pieces of wood chips or splinters that may still be inside. I hand-turn the spigot into the barrel until it fits snugly and place the barrel in the sink on the included stand. I fill the barrel with very hot water…and watch. Some barrels are totally watertight and will not leak. Others may take literally a few days of repeated fillings with hot water before it thoroughly seeps into the wood, expanding the wood fibers to seal the barrel.

Once there are no leaks, it’s ready to go. I empty the water out of the barrel and fill it with my favorite spirit. Because there is more wood surface area to less liquid (as compared to large barrels), alcohol will age faster…in weeks instead of years. Once I’ve aged it as much as I want (tasting it along the way is the best way to determine this), I simply pour it into a bottle to stop the aging process. I rinse the barrel out thoroughly, and I’m ready to age yet another spirit.

I chose to age a cocktail that I first savored at the Greenhouse Tavern in Cleveland, Ohio, the brainchild of talented chef Jonathon Sawyer. The call it a Negroski, their take on a Negroni. It features equal parts Campari, Cocchi sweet vermouth, and OYO stone fruit vodka. They make large batches of it and keep it in a barrel until they serve it. So enamoured my wife and I were with this drink, that I begged the bartender to give me the recipe.

Doing the math, equal parts of each ingredient meant 1 1/3 cups of each to make a quart…which fit perfectly in my 1-liter barrel. Once I corked the top with the bung, it was time to let it age.

A slight daily rotation of the barrel gently rocks the liquid inside, exposing it to the barrel’s charred wood interior, giving it more flavor. And at the end of  a week, I was ready for my first tasting: the wood had a subtle influence, rounding out the flavors. I wanted a little more, so I waited another week…even better, but not quite there. It took a total of 3 weeks before the drink reached its flavorful peak.

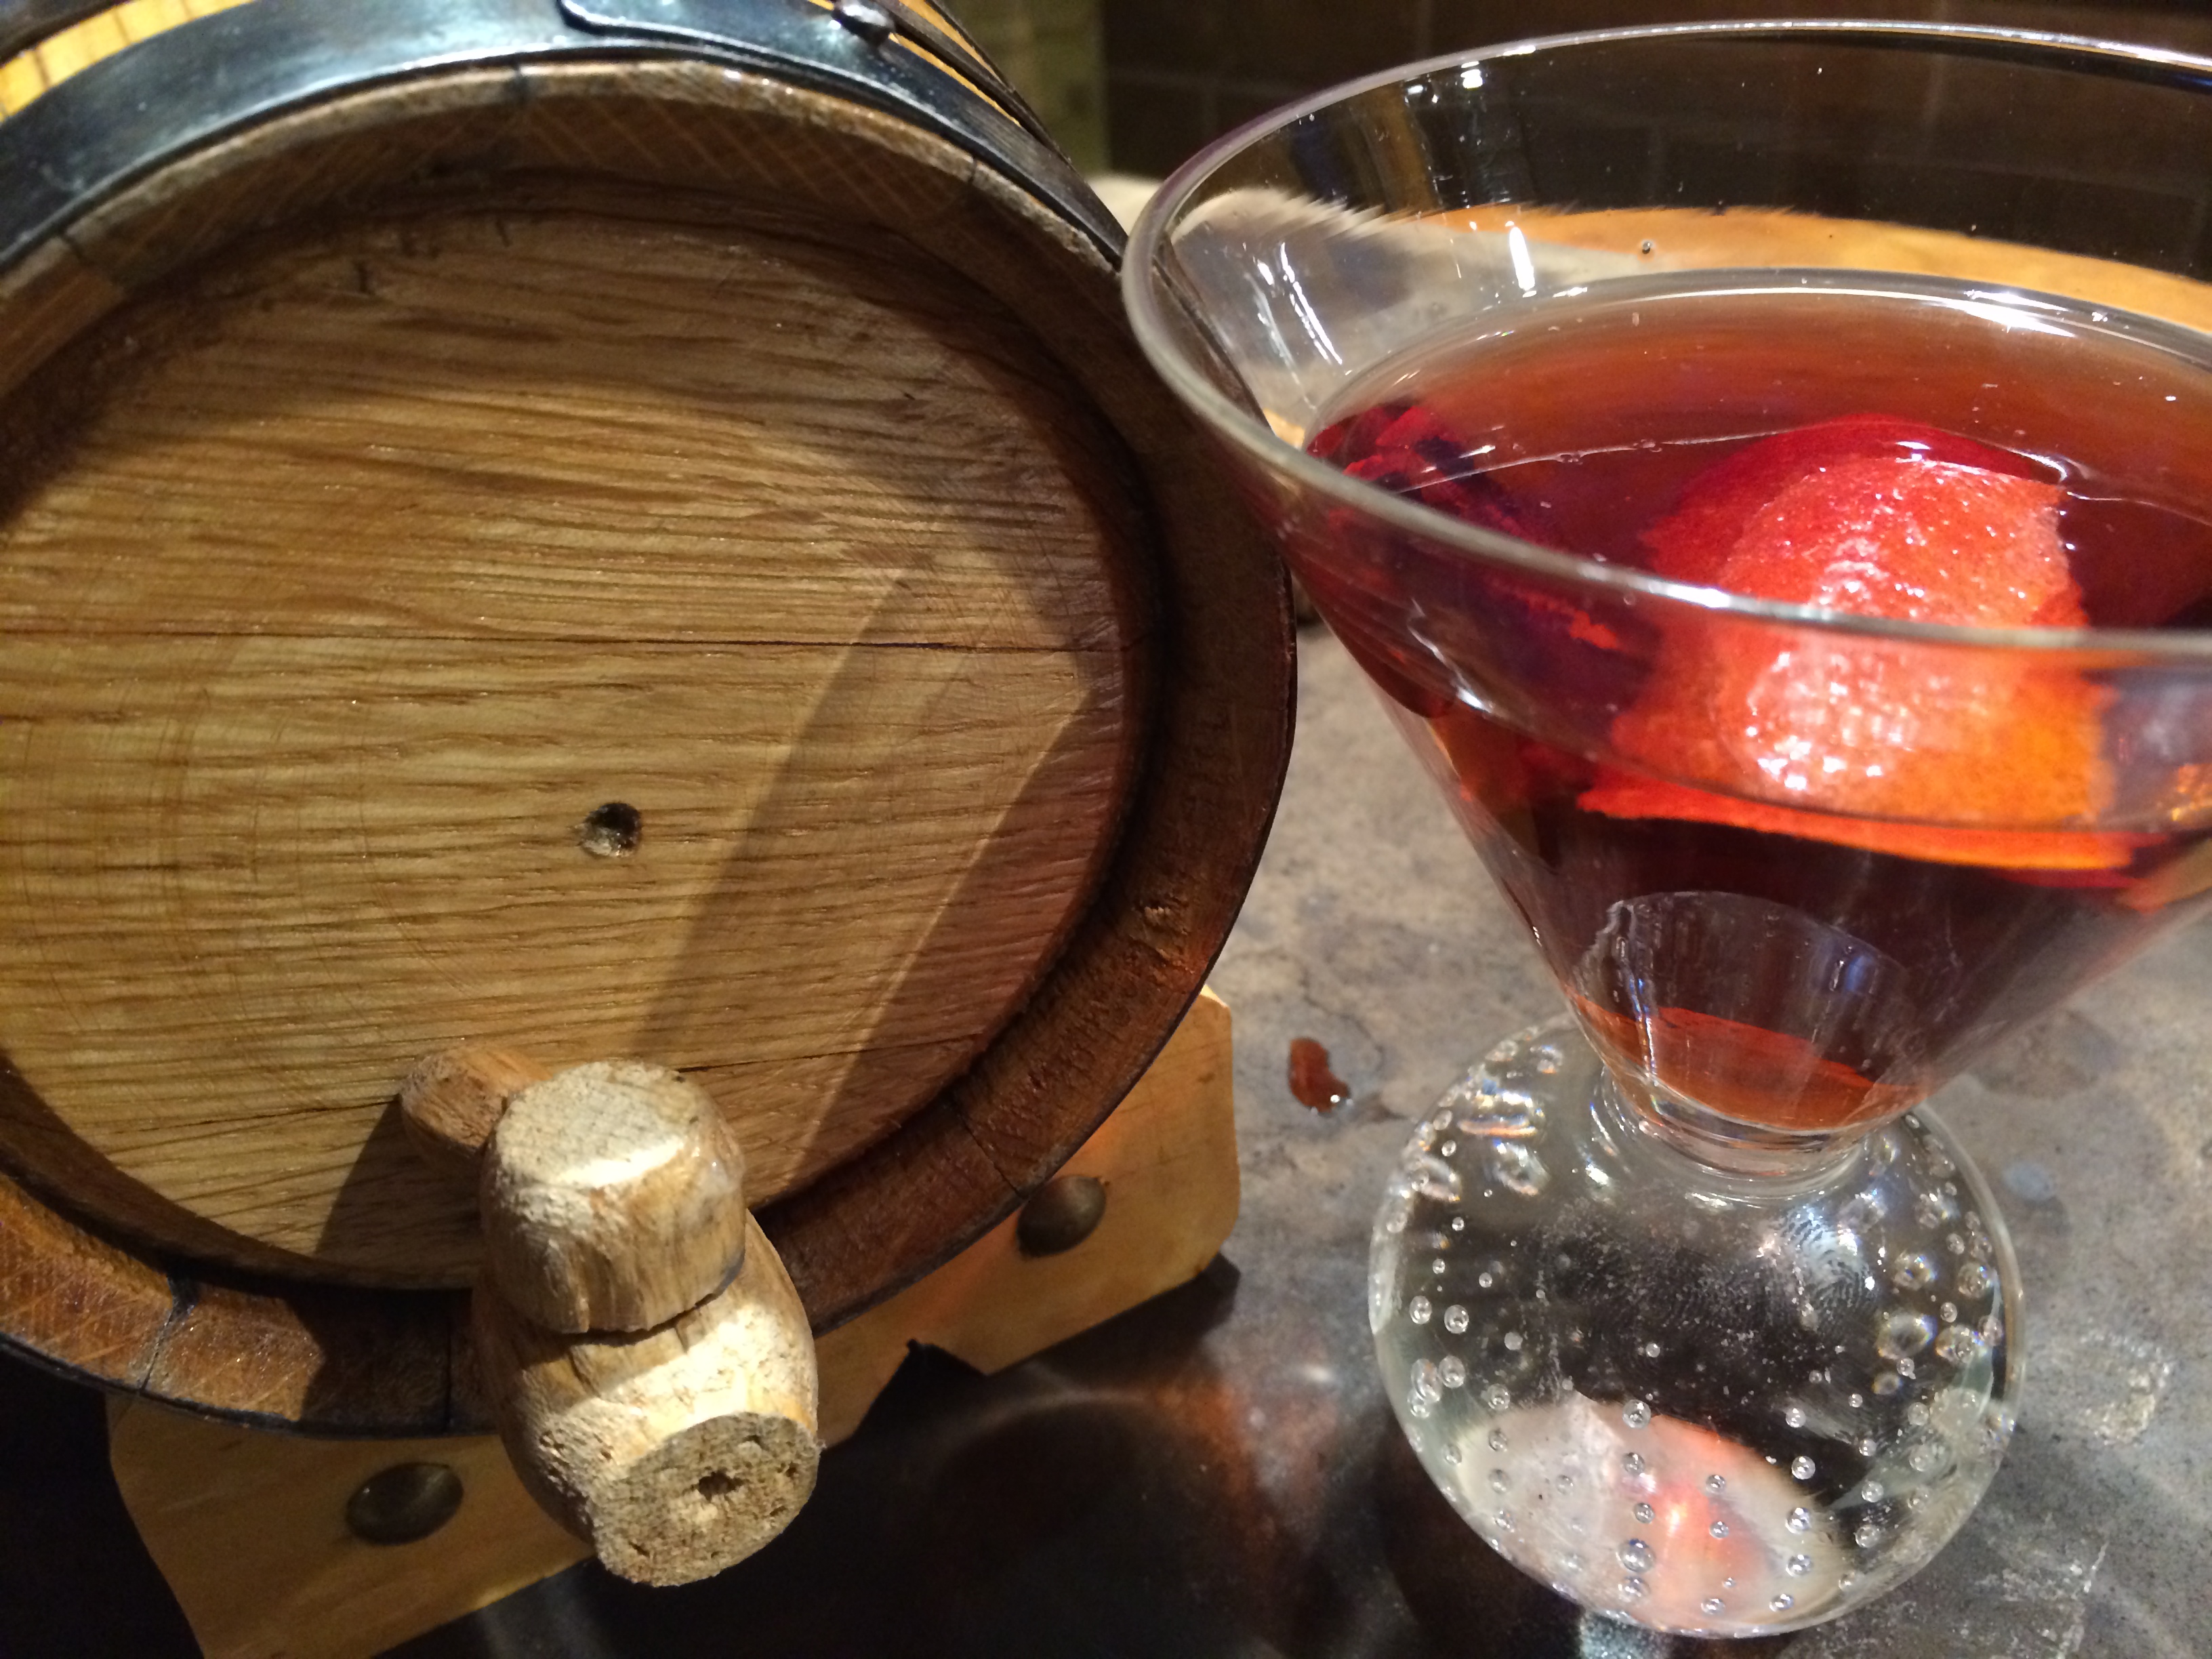
I poured some of the drink into a cocktail shaker with ice, stirred briskly with a spoon, and strained it into a martini glass, garnishing with a twist of blood orange peel. Delicious!


cask


Since my first batch, I’ve aged Manhattans, my homemade Lithuanian honey liqueur (Krupnikas), and even simple spirits. It’s amazing how an average whiskey becomes something quite spectacular after just 3 weeks of aging!