Archive for the ‘Food’ Category
THE DIFFERENCE BETWEEN WHISKEY AND WHISKY
Posted: December 5, 2025 in Cocktails, Drinks, Food, mixology, UncategorizedTags: booze, bourbon, liquor, whiskey, whisky
CLASSIC CLAM DIP
Posted: November 26, 2025 in Food, Recipes, Rhode Island, seafoodTags: appetizer, chips, clam, clam dip, food, recipes
A few years ago, we were invited to a very cool retro summer party: cocktails and appetizers from the 60’s, and everyone contributed to the music by bringing in their favorite songs on vinyl.
We were also asked to contribute to the apps, so I brought waffle chips with clam dip.
2 8-oz. packages cream cheese, softened
3 6-oz. cans of chopped clams, drained, liquid reserved from one can
1 tablespoon fresh lemon juice
2 teaspoons Worcestershire sauce
1/2 teaspoon salt
1/4 teaspoon black pepper
Combine all the ingredients, except the clam liquid, in a bowl and mix them well with a fork.
Add 1 tablespoon of the clam liquid and mix well. Keep adding the clam liquid until the dip reaches a consistency you like.
Serve with the potato chips.
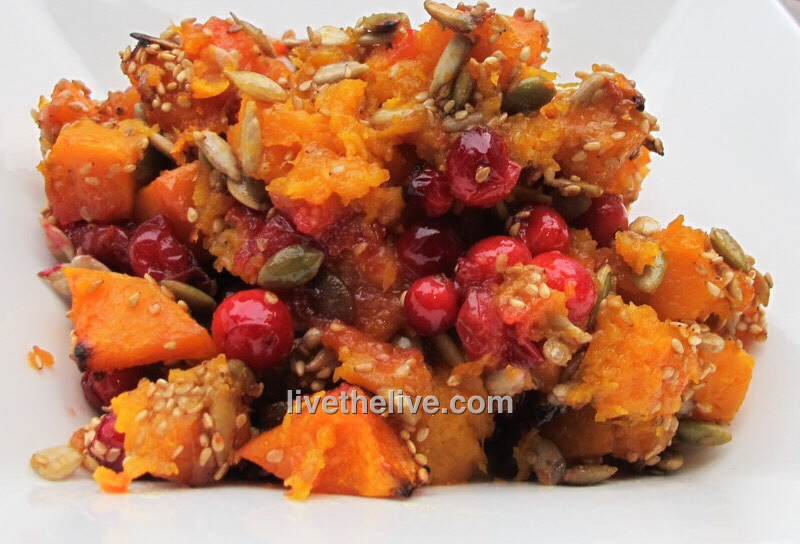
ROASTED BUTTERNUT SQUASH WITH CRANBERRIES
Posted: November 19, 2025 in Food, Recipes, Thanksgiving, turkeyTags: cranberries, food, recipes, side dish, squash, Thanksgiving
With Thanksgiving around the corner, I’m sharing my favorite holiday dishes I post every year around this time.
My Mom loved that nasty, gooey cranberry log that oozes out of the can. It would hit the bowl with a splurt and would wiggle for about an hour. I’m more than happy to avoid that and make this delicious side dish, which has become a staple at our Thanksgiving table every year…
1 medium-sized butternut squash, washed and peeled with the seeds removed
Olive oil
Salt
1 cup fresh cranberries
¼ cup sunflower seeds
¼ cup pumpkin seeds or pepitas
¼ cup sesame seeds
¼ cup maple syrup, more if you like it really sweet
Pre-heat the oven to 400 degrees.
Once you’ve washed, peeled and seeded the butternut squash, cut it into ½” cubes. Sprinkle a little olive oil and salt on them and toss them to coat. Then spread the squash cubes in a single layer on a baking sheet. Bake them for about 30 minutes or until they’re golden on the edges.
Remove the squash from the oven and pour the cranberries into the hot tray. Mix gently. Pour the squash/cranberry mix into a smaller, deeper baking pan.
Increase the oven temperature to 425.
In a separate bowl, combine the sunflower seeds, pumpkin seeds and sesame seeds. Sprinkle the seeds evenly over the squash/cranberry mixture. Drizzle the maple syrup over everything and place the baking pan in the oven. Cook for another 20 minutes, until the seeds have roasted.
Drizzle a bit of maple syrup over the top just before bringing the pan to the table.
A DELICIOUS GLUTEN-FREE BROWNIE
Posted: November 16, 2025 in Food, Recipes, UncategorizedTags: brownies, cake, chocolate, desserts, food, GF, gluten-free, recipes
Generally speaking, I’m not a fan of many gluten-free desserts or snacks. Gluten-free food isn’t any healthier than a food that contains wheat. It’s just that some people are allergic to gluten–it’s as simple as that.
That being said, this brownie/cake combo is full of great flavor, thanks to ground hazelnuts.
When buying hazelnuts, remember that you want raw nuts. Try to get the best quality you can find. No surprise: Amazon is a great source for that.
9 oz. ground hazelnuts
5 1/2 oz. (2/3 cup) sugar
4 oz. (1 stick) unsalted butter
4 eggs
1 oz. cocoa powder
1 tablespoon baking powder
Pre-heat the oven to 350.
Pour the hazelnuts into a food processor and grind them as fine as you can. It won’t be powdery, like flour, but like tiny particles. Dump them into a separate bowl.
Back in the food processor bowl, add the sugar and butter and pulse until combined. Crack the eggs in a separate bowl, and add them slowly to the sugar and butter, pulsing to mix in between each addition.
Pour the ground hazelnuts into the mixture a little at a time, pulsing after each addition. Add the cocoa powder and baking powder, straining them through a sieve to keep out lumps, and pulse again. Scrape down the sides of the bowl and give it all one last mix.
Pour the batter into a buttered pan and bake at 350 for 30 minutes. The brownies will rise as they bake, so make sure your pan is deep enough to accommodate the dough rising as it cooks. Otherwise, you’ll get a brownie overflow!
BRINING A TURKEY
Posted: November 12, 2025 in brining, Carnivore!, Food, marinade, Recipes, salt, Thanksgiving, turkeyTags: brining, food, recipes, salt, Thanksgiving, turkey
I get requests to publish my holiday recipes every year, so, with Turkey Day on everyone’s mind, let’s get it started…
I have to admit, I’m not a big fan of turkey. All things being equal, a roasted chicken is, in my opinion, a lot tastier. So turkey needs help. And one great way to give it lots of flavor is to brine it. No matter what method you prefer to cook your bird, brining it beforehand will make it so much tastier and juicier. It’s easy to do.
It’s basic high school science: the brine has a greater concentration of salt and water than the molecules of the protein (in this case, a turkey) that is soaking in it. By simple diffusion, the protein molecules suck up the salty water and keep it. When you cook the meat, some of the water evaporates, but the meat still has far more moisture in it than it would have without the brine soaking, and you get a moister, more flavorful bird.
Some people use giant syringes to inject their turkeys with crazy solutions, but I think that the old way is still the best when it comes to brining. Get a big pot, fill it with the brine, and soak the bird in it. Done.
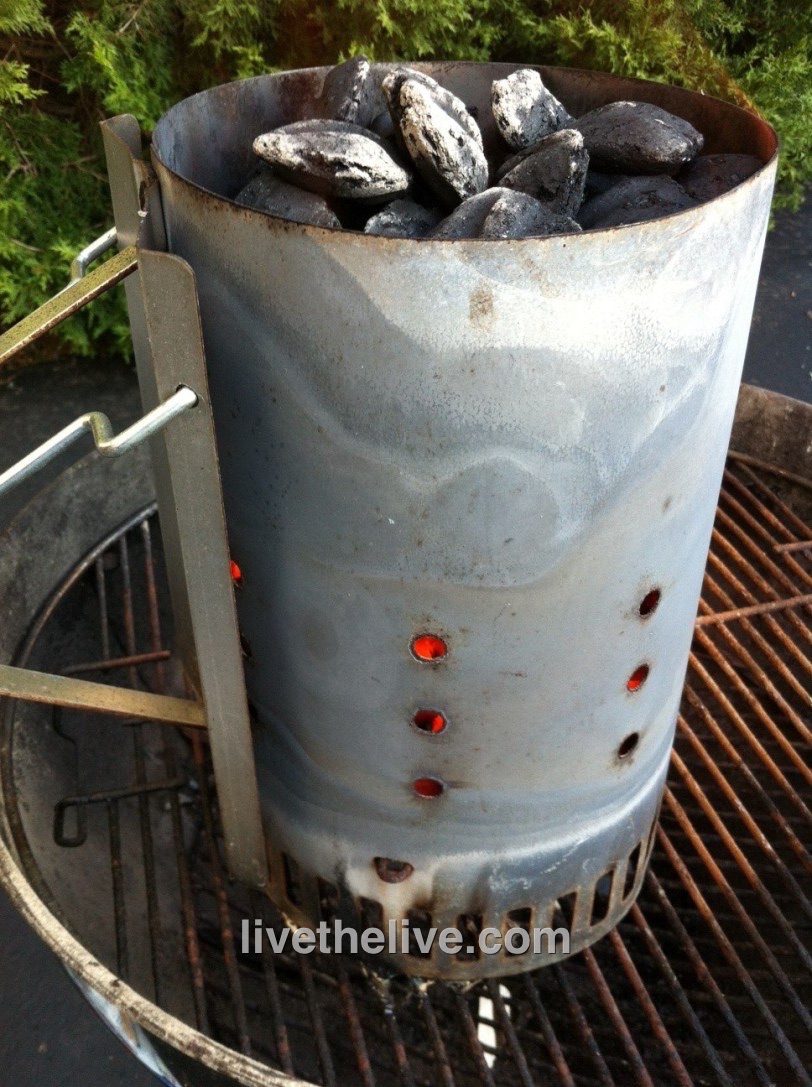
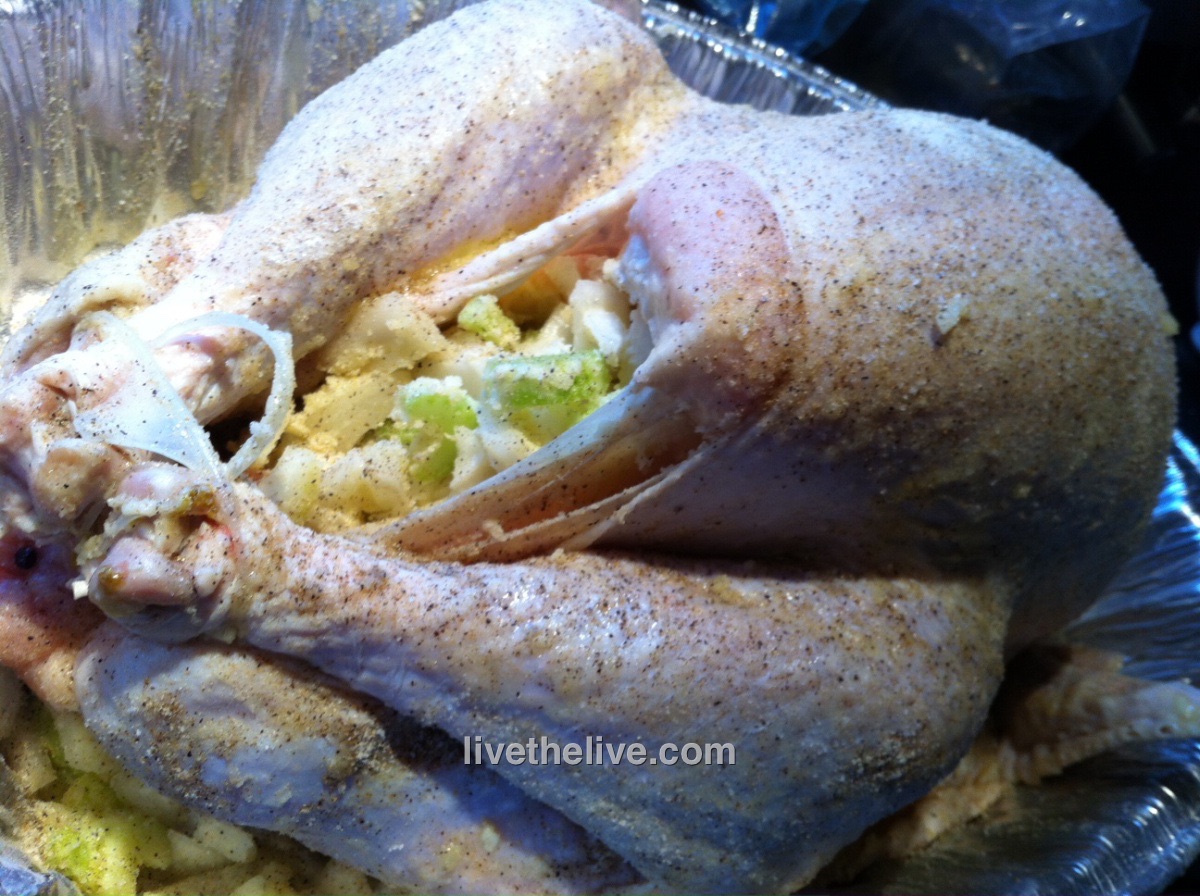
Here’s my tried-and-true turkey brining recipe. Once the brining is done, you can cook the turkey whatever way you like best. I use a method where I grill it inside a Weber grill with charcoal. It comes out smoky and absolutely amazing. I’ll have that info in my next blog.
You must thaw the bird before brining, so use your favorite method to thaw your turkey so that it’s ready on Thanksgiving morning. Brining can take 4 to 6 hours, so start early!
For this recipe, you’ll need a large pot to boil the brine ingredients, and then a larger pot to hold the turkey submerged in the brine. I use a turkey no bigger than 15 lbs. for two main reasons: there are only 3 people in our family, and the Weber grill I will later use can’t handle anything bigger.
1 gallon of water
2 onions
3 carrots
3 stalks celery
1 cup Kosher salt (I use Diamond Crystal…see below)
1 tablespoon black peppercorns
1/2 cup light brown sugar
1 1/2 teaspoons whole allspice
4 bay leaves
1 gallon of ice water
14–15 lb. turkey, thawed
Pour the first gallon of water in a large pot. Quarter the onions, carrots and celery (no need to peel them) and add them to the water. Add the salt, black peppercorns, brown sugar, allspice, and bay leaves. (I specify Diamond Crystal Kosher salt because all Kosher salt does not weigh the same! For example, Morton Kosher salt is much heavier for the same 1-cup measurement, so the brine will be saltier.)
Let the pot come to a boil for a few minutes. Remove it from the heat and let the brine cool down to room temperature.
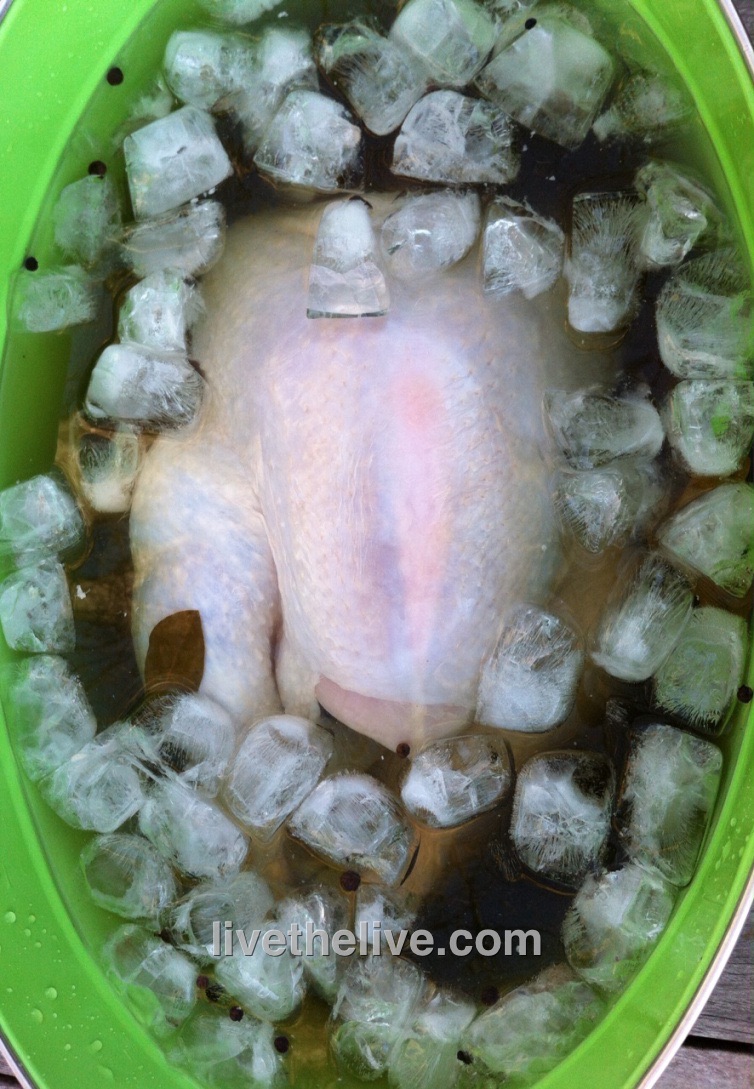
Remove the giblets from the thawed turkey and place the bird in a container just big enough to hold it and 2 gallons of liquid.
Pour the now-cooled brine over the turkey, then pour in the gallon of ice water.
Make sure the turkey doesn’t float up by placing a plate on top. Put the turkey container in the fridge (or a cold garage or basement) for 4 to 6 hours, flipping the turkey over in the container halfway through.
After 4 to 6 hours, drain the turkey, rinsing off any spices that stuck to it, then pat it dry with paper towels. Now it’s ready to cook, using your favorite recipe.
If I’m brining a turkey for Thanksgiving, I do the brining in the morning and the turkey is ready to cook by early afternoon. And grilling it on a Weber grill only takes a couple of hours. It’s fast, requires no basting, and is absolutely delicious! That’s next time!
A “SAFE” HOLIDAY EGGNOG
Posted: November 9, 2025 in Cocktails, drink recipes, Drinks, Food, mixology, UncategorizedTags: cocktails, drinks, eggnog, food, holidays, liquor, recipes
Right now, I’m trying out a new eggnog recipe, which I will post later if successful. It’s based on Alton Brown’s aged eggnog recipe, which uses a dozen raw egg yolks. He mixes the yolks with sugar, and then adds a LOT of alcohol to it, in the hopes of killing any salmonella bacteria that might be lurking about. The egg yolk/sugar/booze mix sits in sealed Mason jars in the fridge for at least 3 weeks, giving the alcohol time to do its job. Only then is the dairy added. Seems to make sense, but I’ll let you know when it’s done. But this recipe does take time. So if you want to whip up a pretty darn tasty eggnog in a hurry, my recipe below, one that I get asked about every year, is the way to go…
Let’s face it: there’s no such thing as healthy eggnog. This recipe is absolutely delicious but is also a heart attack in a glass. I updated this recipe a couple of years ago so that you don’t need to worry about salmonella (because you’re not using raw eggs)…though the alcohol will certainly still get you! (So I guess calling it “safe” is a matter of opinion!)
The solution is to buy pasteurized eggs.
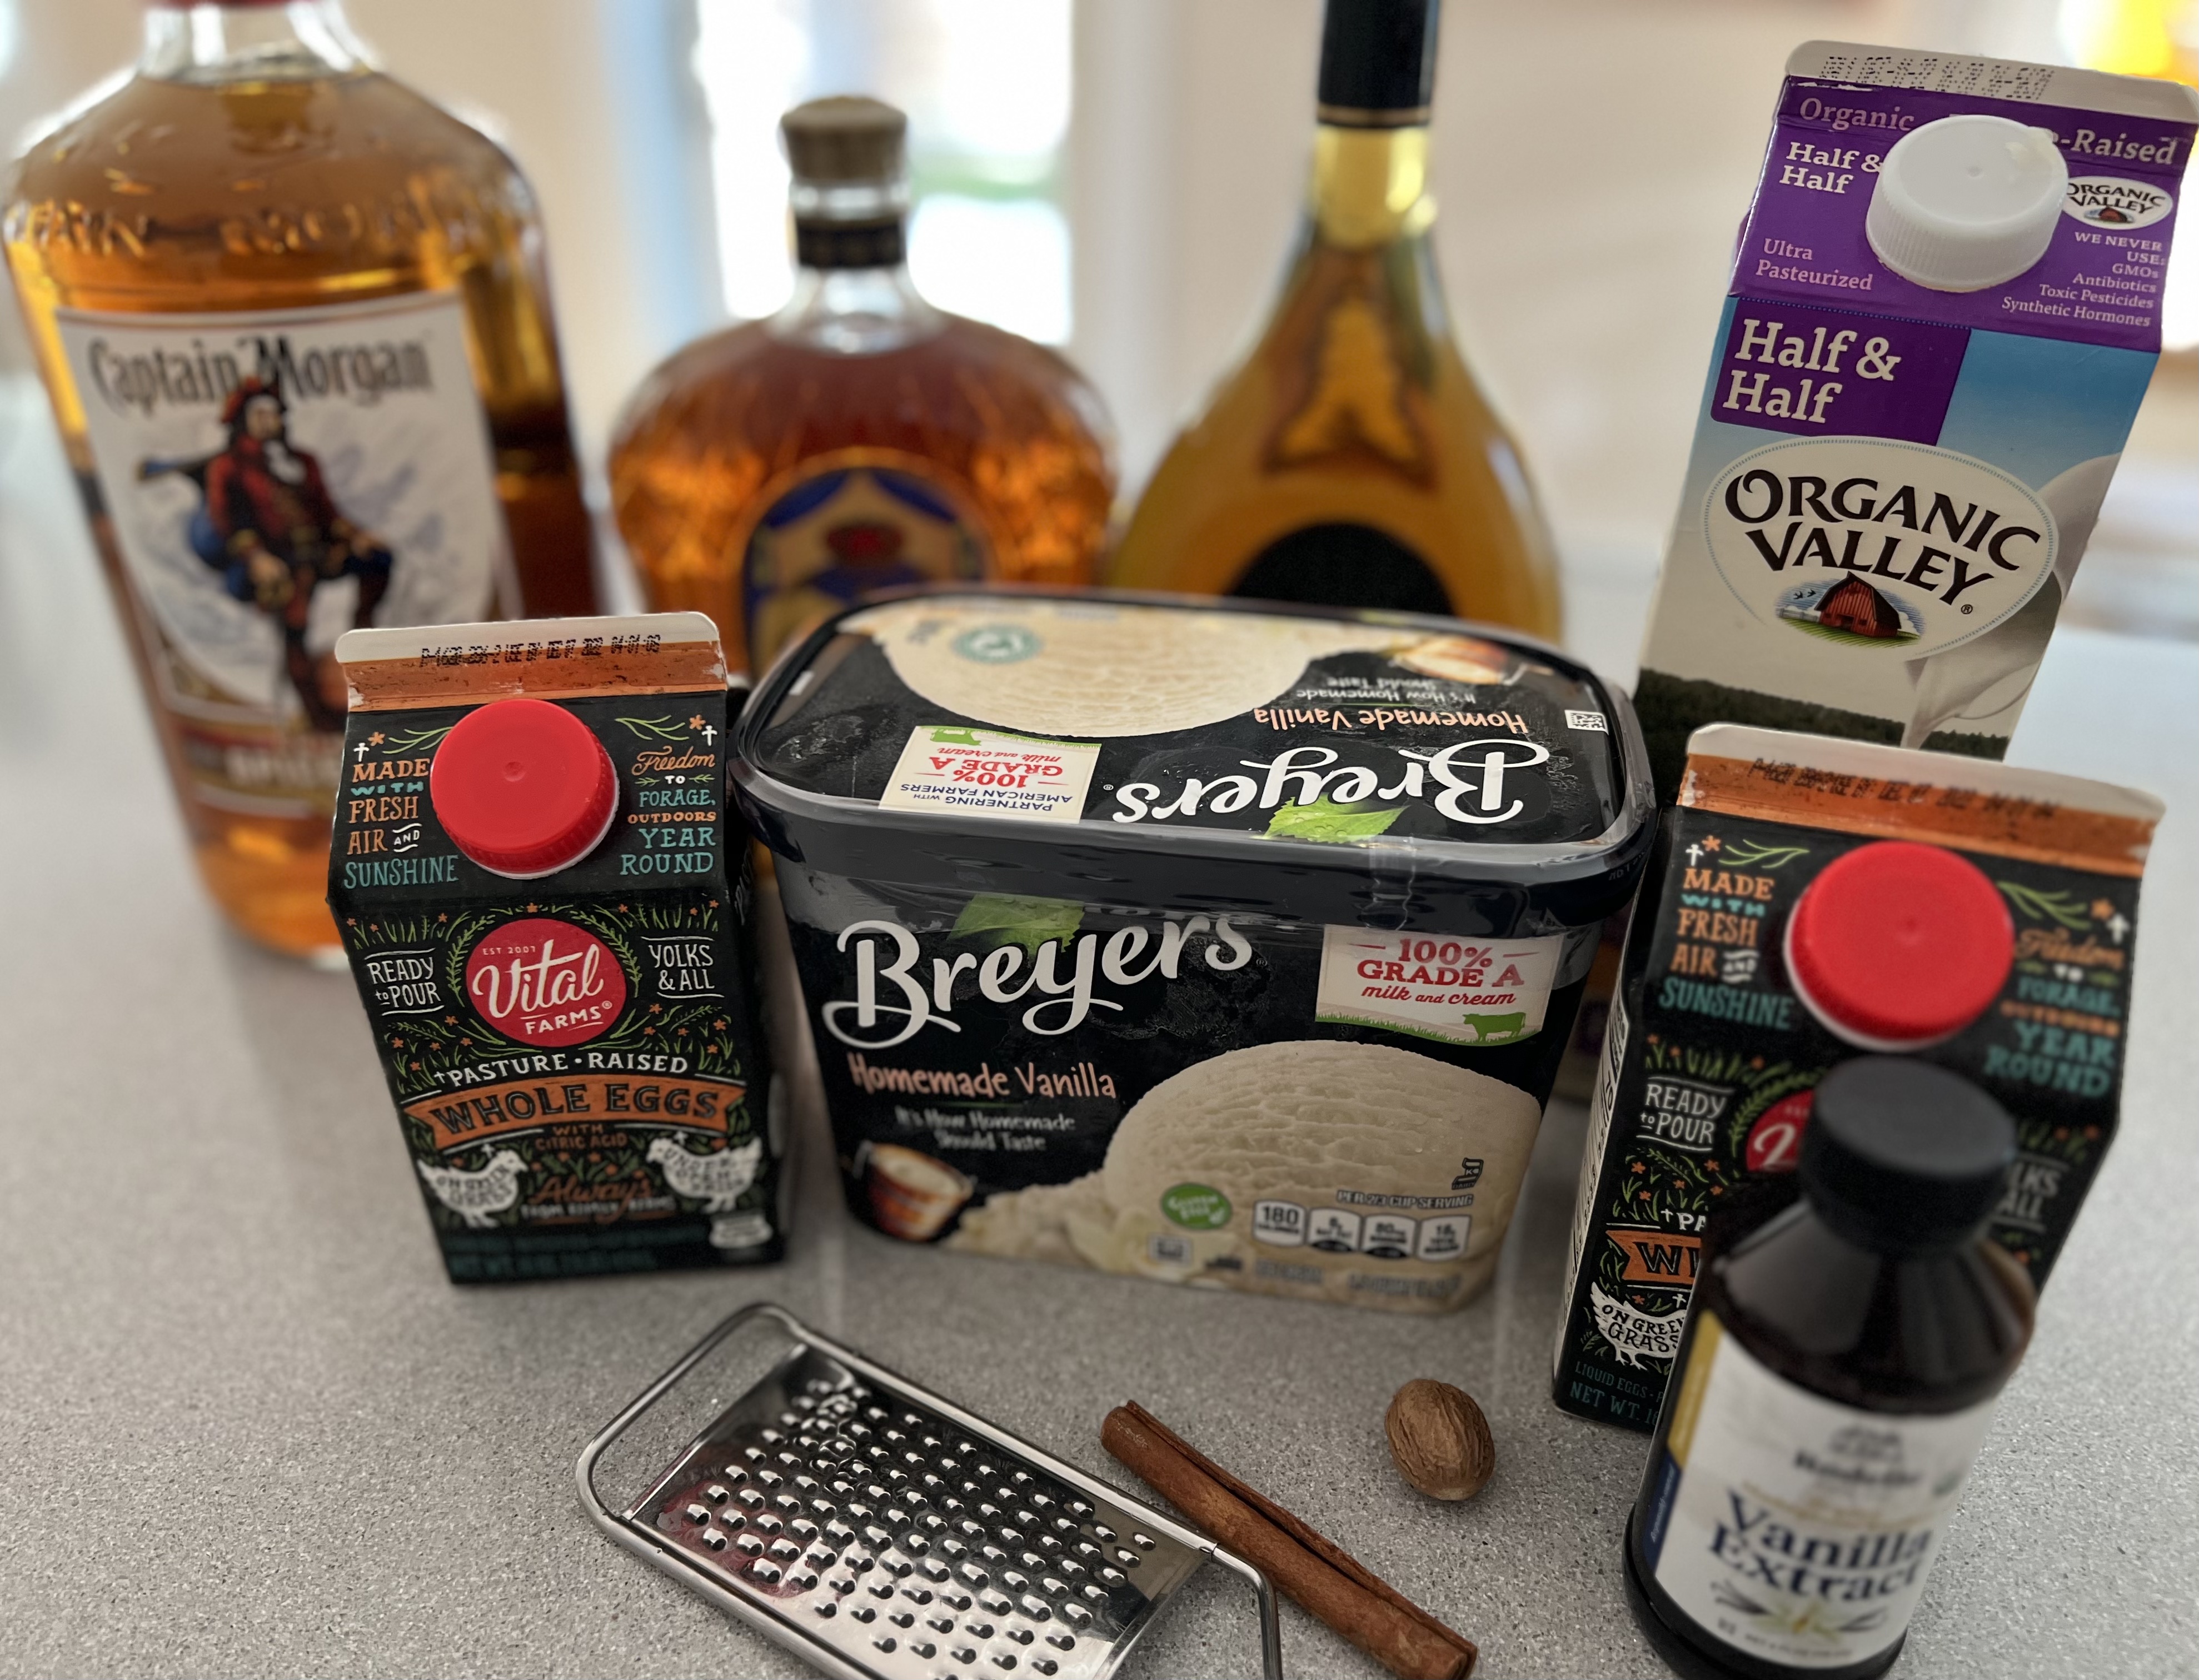
Some supermarkets now carry whole eggs in the shell that have been pasteurized, though they are hard to find. But the Whole Foods near me does carry pasteurized real whole liquid eggs under the Vital Farms name, and they work perfectly with this recipe. The original recipe called for 15 (!) raw eggs. A 16-oz. container of Vital Farms liquid eggs is the same as about 9 eggs. So I need one full 16 oz. container, and then another 10 oz. or so for this recipe.
Now the only thing I need to worry about are too many calories and too much alcohol!
1.5 quarts vanilla ice cream (I use Breyer’s)
1 pint half & half
Just over 26 oz. Vital Farms liquid whole eggs (the equivalent of 15 whole raw eggs)
1 teaspoon vanilla extract
1/2 teaspoon cinnamon
1/2 teaspoon nutmeg
1/4 cup pure maple syrup
6 oz. of each:
spiced rum (I use Captain Morgan)
whiskey (I use Crown Royal)
brandy (I use E&J)
I let the ice cream soften one day in the fridge. I carefully mix the ice cream, half-and-half, eggs, vanilla, cinnamon and nutmeg in a blender.
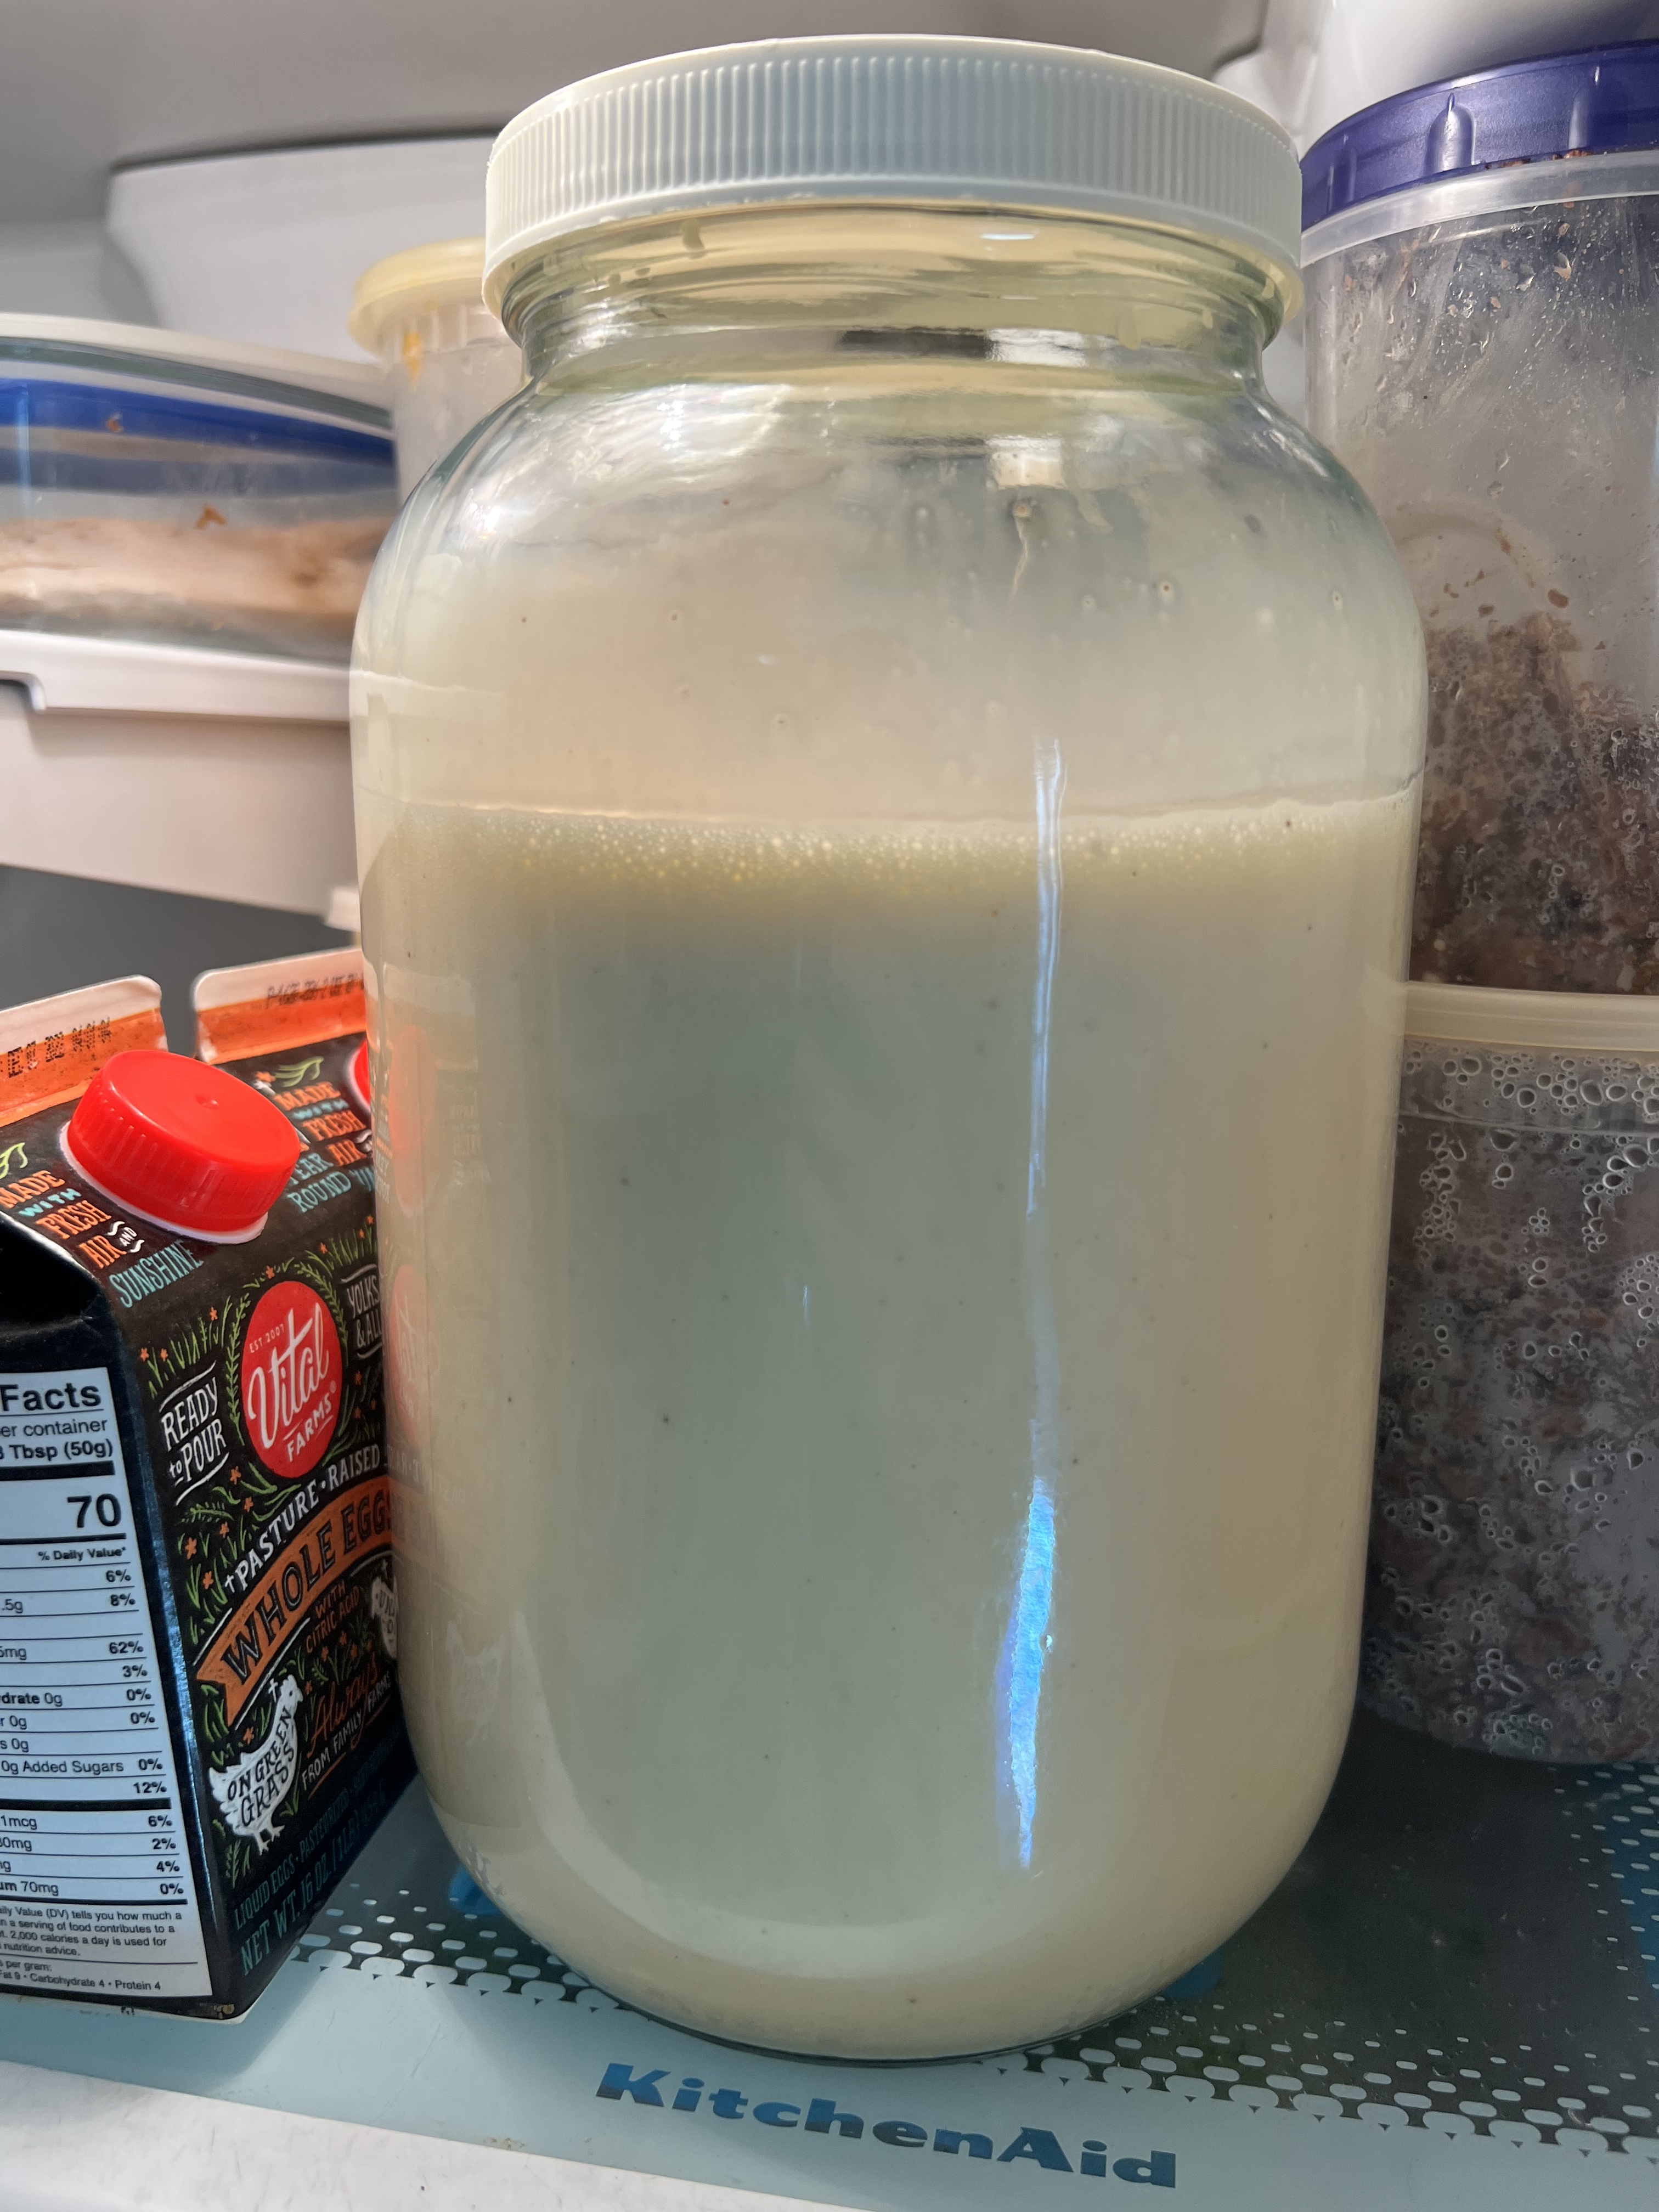
My blender is pretty big, but I find that it’s full at this point. So I pour everything into a gallon-size glass jar.
To the jar, I add the maple syrup and all the liquor. Then I whisk everything together, making sure I get down to the bottom of the jar.
After it’s fully mixed, I place the lid on the jar, and move the eggnog to the fridge, where I let it sit for at least 12-24 hours for the flavors to blend. Even longer is better.
One final mix and taste to determine whether I want more cinnamon, nutmeg or maple syrup, and it’s good to go!
And by the way, it’s pretty darn tasty with coffee! Just imagine a variation on a White Russian, with eggnog and freshly brewed coffee, and a bit of a drizzle of maple syrup on top!
Cheers!
THE BEST ONION DIP FROM SCRATCH
Posted: October 31, 2025 in Food, Recipes, UncategorizedTags: dip, food, onion, recipes
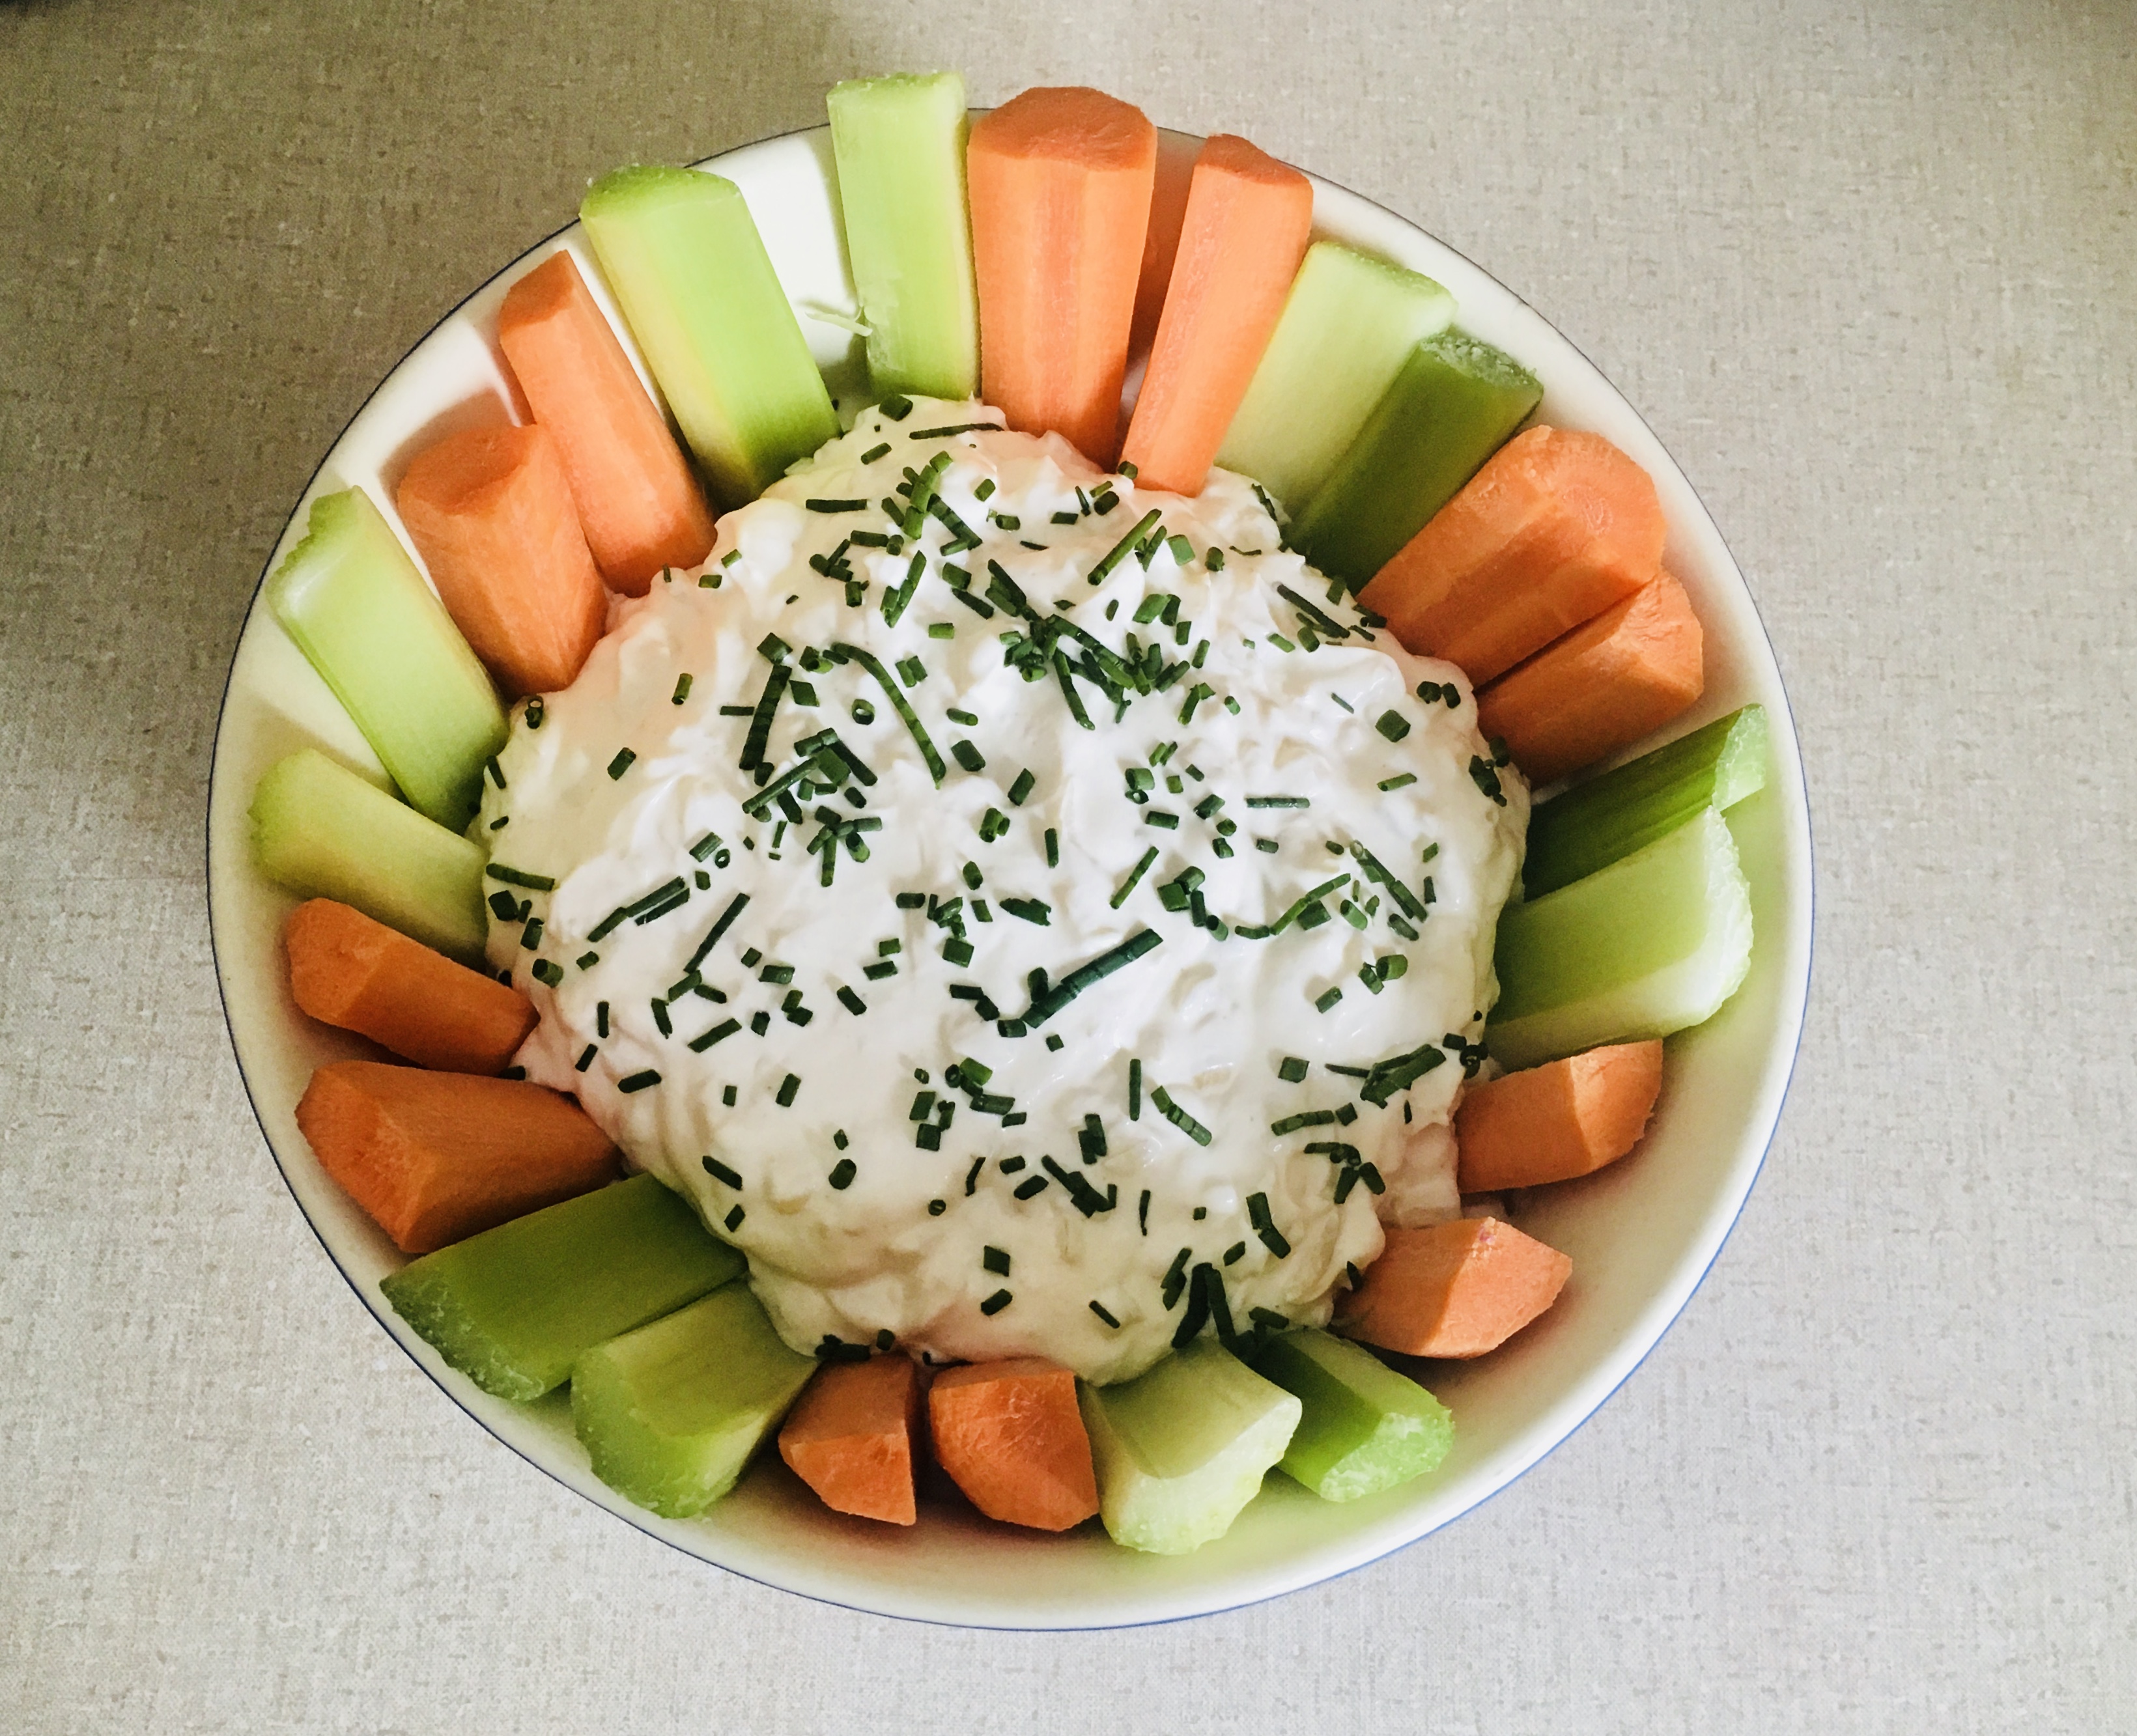
I love onion dip, and really good onion dip is hard to find…you’ve got to make it. It’s not difficult to do, and it’s worth the effort. Great with chips or veggies, it’s perfect for TV binge munching, or to bring to a party.
2 tablespoons olive oil
1 1/2 cups diced sweet onions
1/4 teaspoon salt
1 1/2 cups sour cream
3/4 cup mayonnaise
1/4 teaspoon granulated garlic
1/4 teaspoon white pepper
1/2 teaspoon salt
chopped chives, to garnish
In a pan over medium heat, sauté the onions in the olive oil and salt until they are soft and barely caramelized, about 15 minutes. Remove them from the heat and set them aside to cool to room temperature.
In a bowl, combine the rest of the ingredients except the chives, then add the cooled onions and mix well.
Refrigerate the dip and stir again before serving. Sprinkle the chopped chives on top to garnish.
WILD BOAR BELLY WITH SEARED SCALLOPS AND ESPRESSO GLAZE
Posted: October 26, 2025 in Carnivore!, fleur de sel, Food, pork, Recipes, salt, scallops, seafoodTags: food, pork, pork belly, recipes, scallop, wild boar
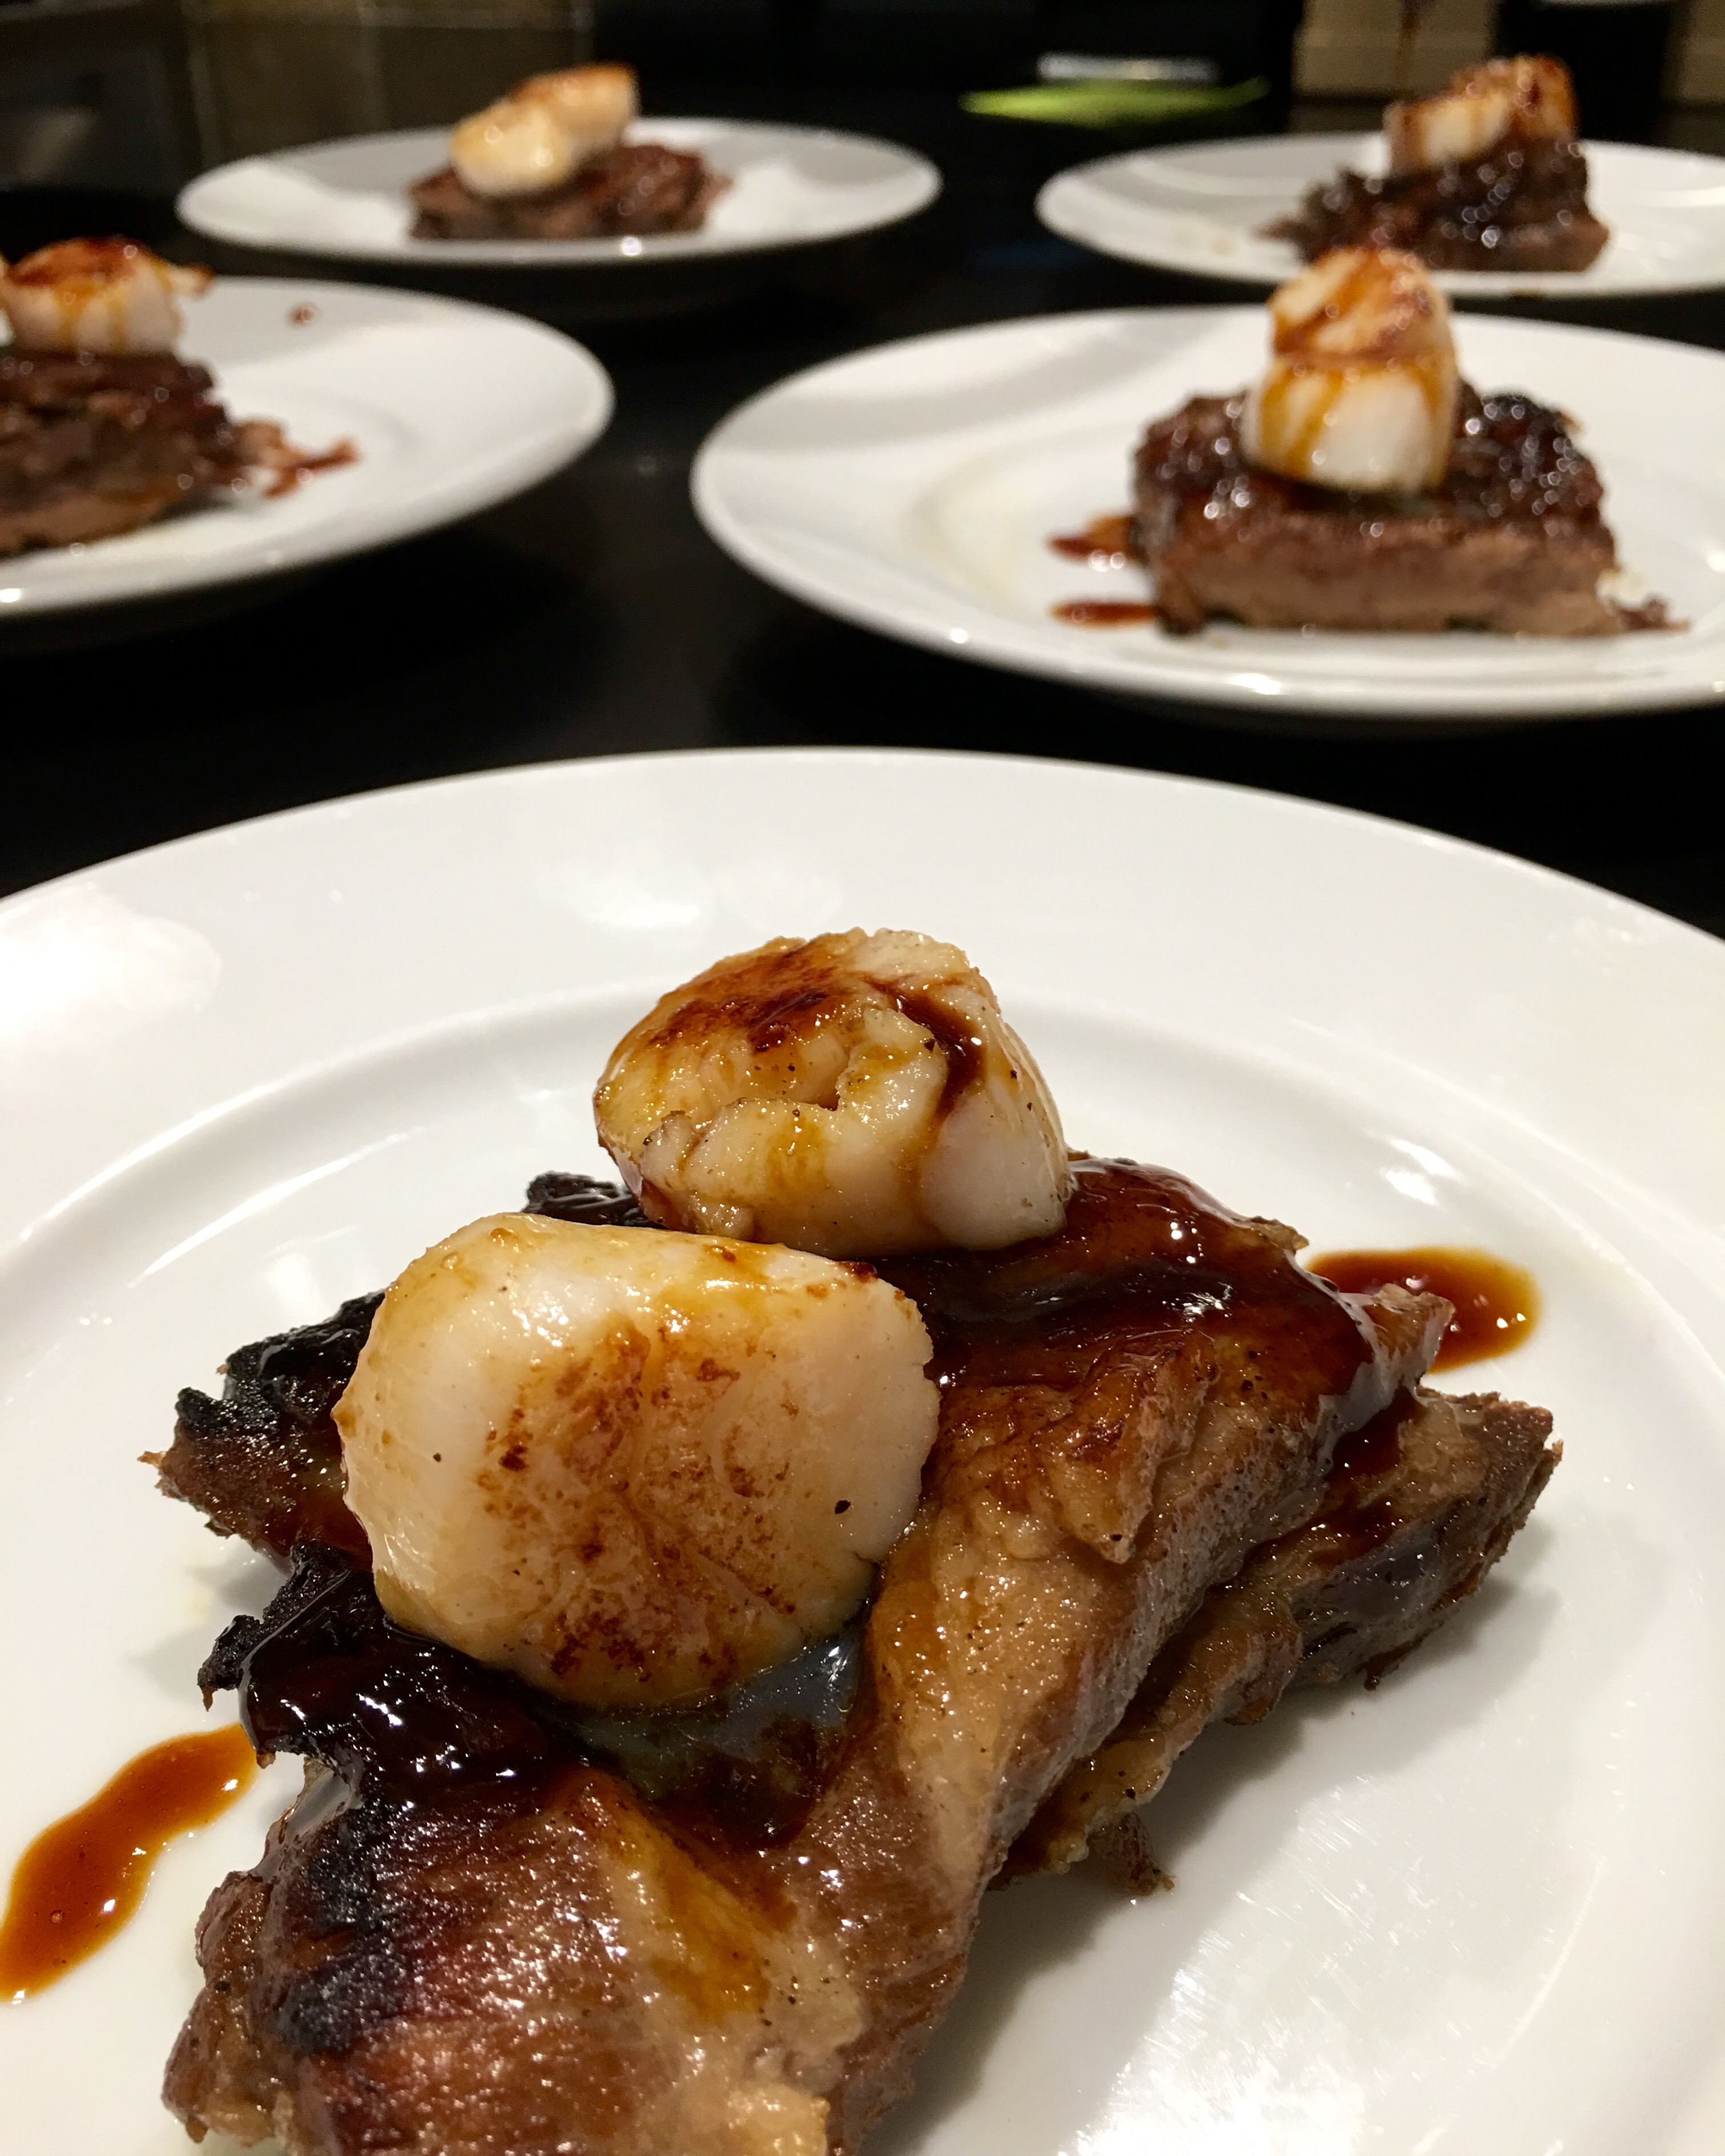
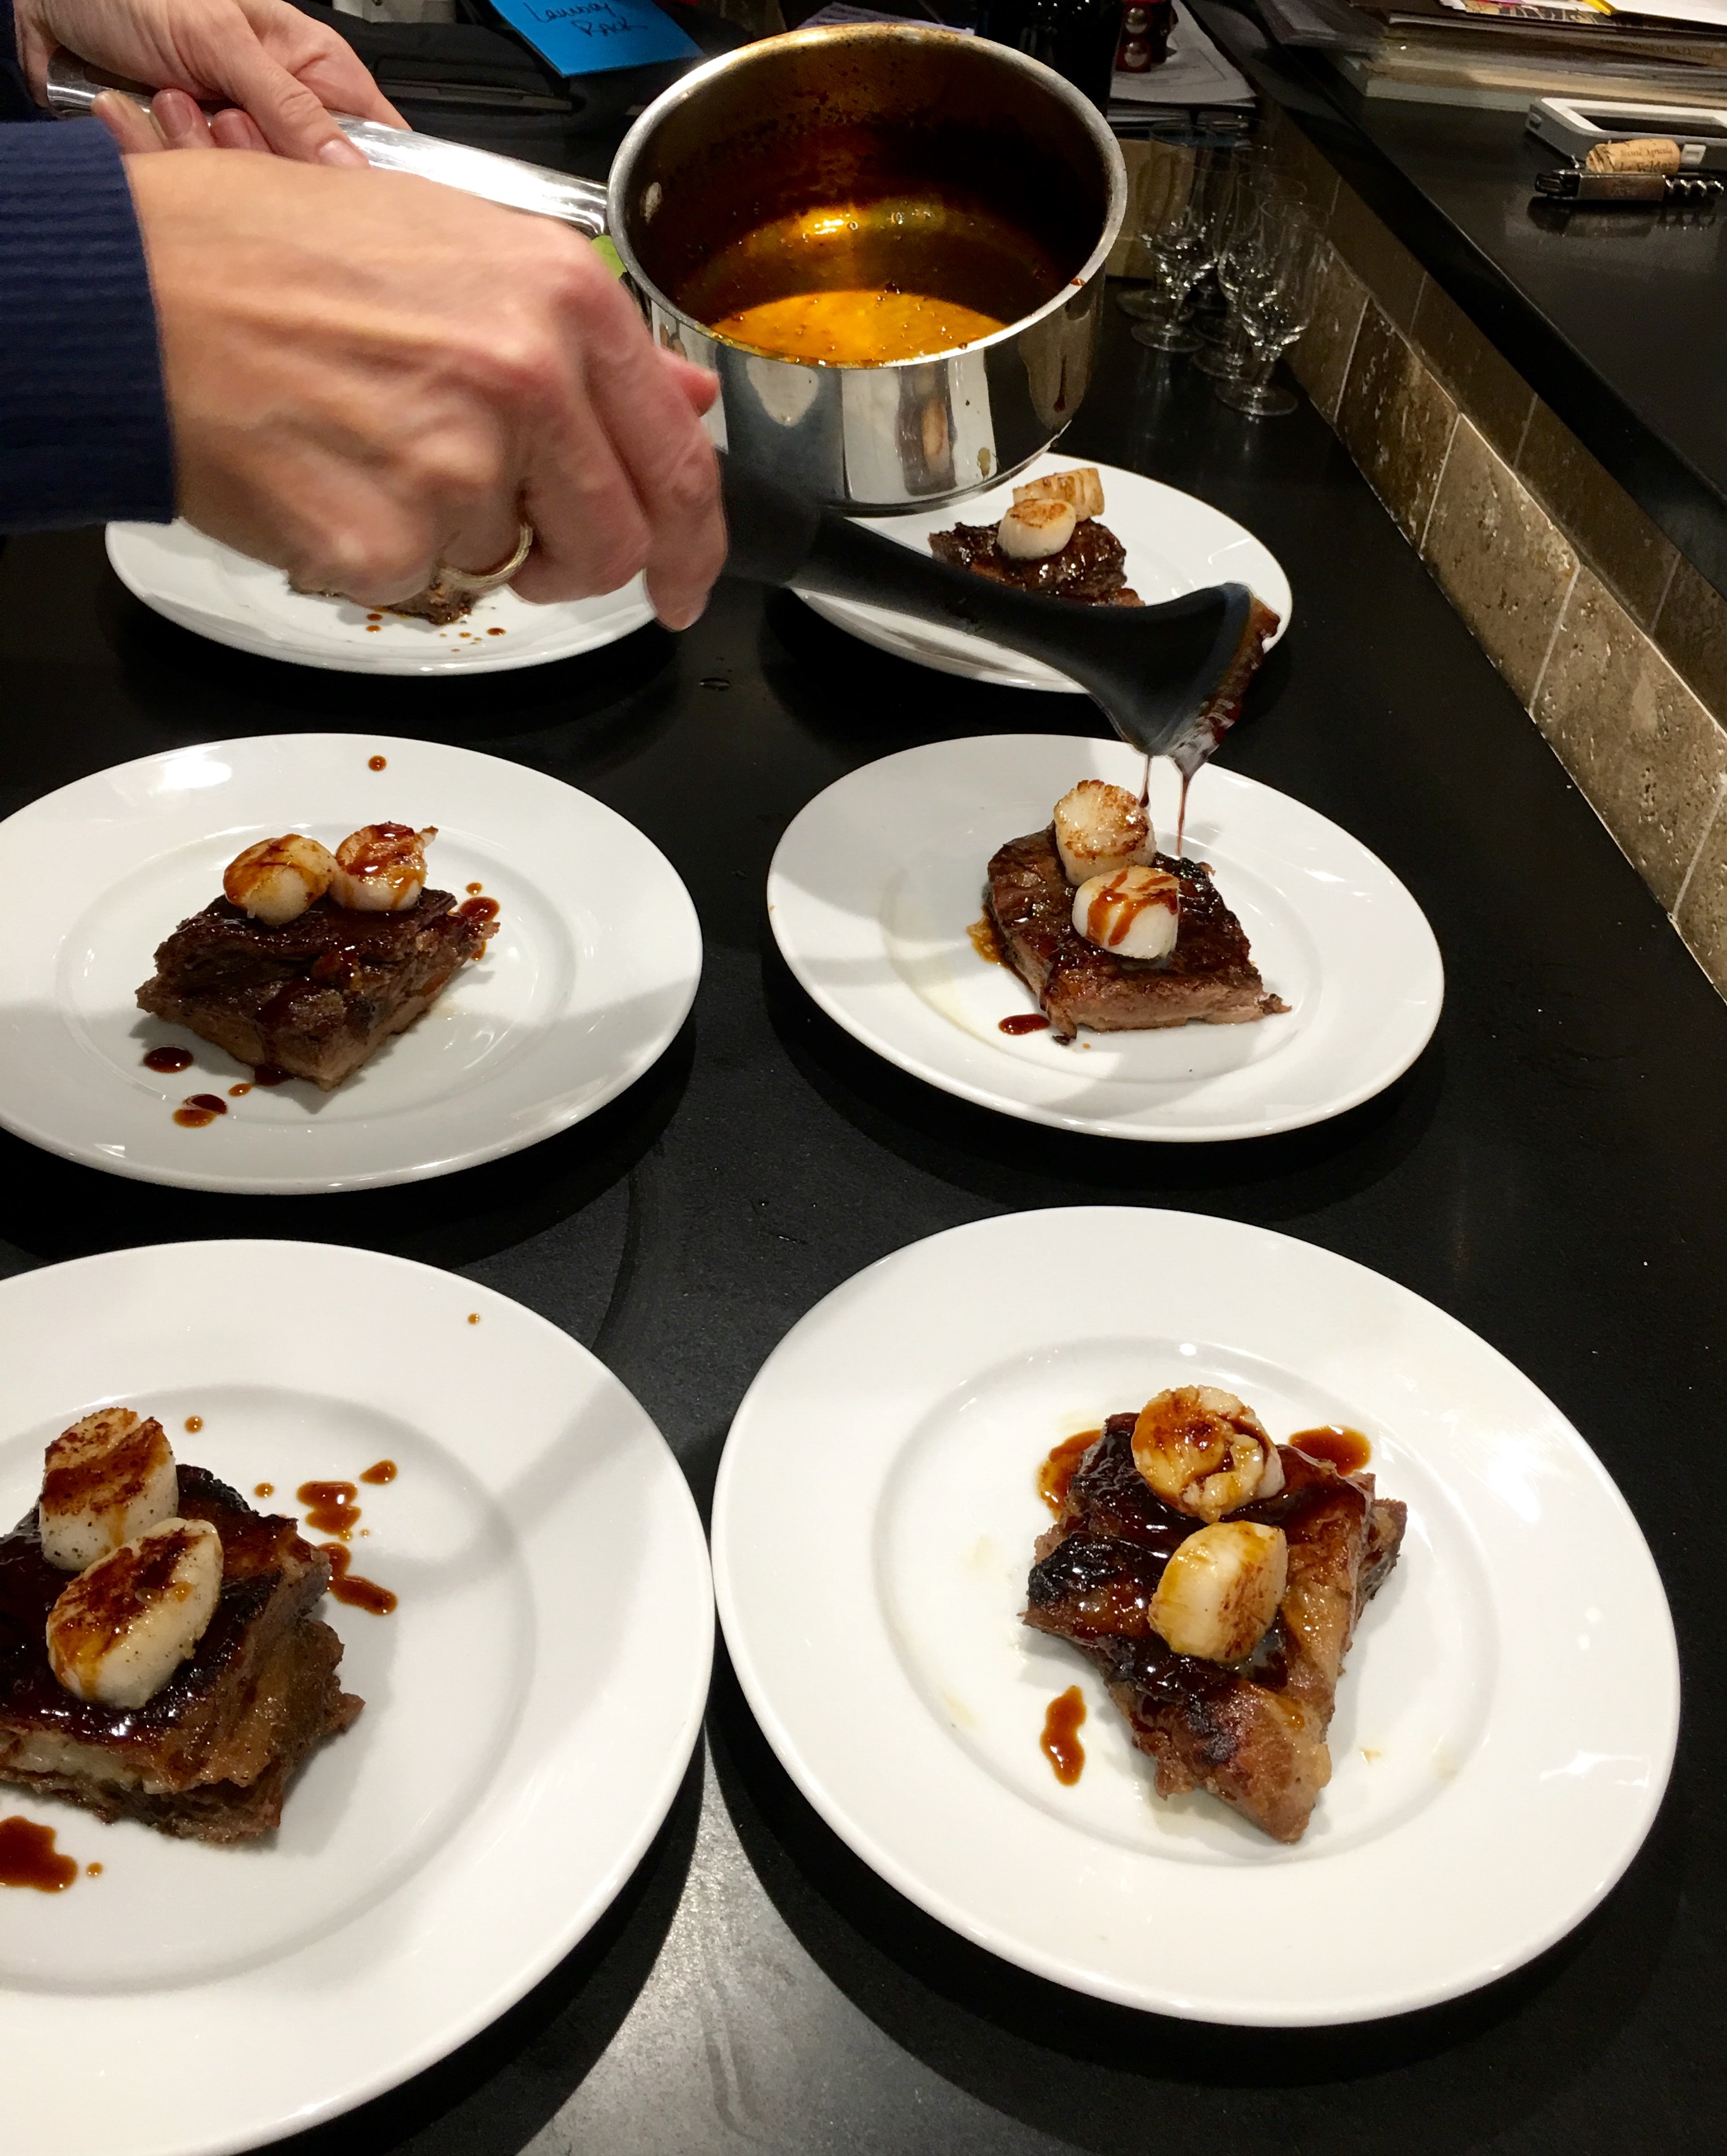
This is a rich, delicious, and unusual surf-and-turf, using wild Texas boar (I got it as a gift from my buddy, Dr. Chezwick!) and locally caught Rhode Island scallops. Wild boar is an ingredient usually only found online, so substituting pork belly, which you can find at your local butcher shop, is a great alternative.
For the pork belly…
3 lbs. fresh pork belly
salt and pepper
1–2 tablespoons leaf lard or olive oil
1 carrot, coarsely chopped
1 celery stalk, coarsely chopped
1 onion, roughly chopped
1 fennel bulb, quartered
2 sprigs fresh thyme
1 teaspoon black peppercorns
4 cups beef stock
1 cup hard cider or apple juice
Pre-heat the oven to 350.
Season the belly with salt and pepper. On medium-high heat, melt the leaf lard, then sear the meat on all sides in an oven-proof pot big enough to hold it in one layer. Add the carrot, celery, onion, fennel, thyme and peppercorns and continue cooking for another 5 minutes, until caramelized.
Add the beef stock and the cider. Cover the pot with a lid or seal it with aluminum foil, and braise the belly in the oven for 3 hours, until tender.
Remove the pot from the oven, carefully remove the pork belly, and put it on a plate. Cover it with foil. If you’re cooking earlier in the day, you can place the belly in the fridge at this point.
Strain the leftover braising liquid from the pot and discard the vegetables and thyme. Skim off the excess fat. If you’re starting this dish earlier in the day, you can put this liquid in the fridge and the fat will harden, making it easier to remove.
For the glaze…
braising liquid, strained
1 tablespoon espresso
1 tablespoon honey
In a small saucepan, reduce the brazing liquid by half, then add the espresso and honey. Cook a few more minutes until the sauce thickens. When it coats the back of a spoon, it’s ready. Set it aside.
For the scallops…
Fresh scallops
salt and pepper
When you’re ready to serve, heat a pan on high heat with a little more leaf lard. Cut the belly into equal pieces and sear them on all sides for about a minute. Place the scallops in the same pan, seasoning with salt and pepper, and sear them on both sides, being careful not to overcook them.
To serve, place the belly on a plate. Top it with a scallop or two. Drizzle the glaze over the top. Season with Fleur de Sel or other finishing salt and serve it immediately.
HOME MADE BEEF AND VENISON JERKY
Posted: October 24, 2025 in beef, Carnivore!, Food, jerky, marinade, RecipesTags: beef, food, GF, gluten-free, jerky, marinade, recipes