Sausage is something most home cooks don’t even try because of the amount of work it needs: grinding the meat with that perfect fat-to-lean ratio…keeping everything on ice…buying a sausage stuffing machine and the casings to go with it.
It’s a big hassle, requiring some special equipment and a lot of time. And the clean-up is a pain.
Here’s a ridiculously easy method I discovered that allows me to slap together some very tasty sausage in just minutes. I prefer to use ground pastured Berkshire pork for this, because it’s humanely raised and absolutely full of flavor. But any good quality ground pork will do. I’ve found that most ground pork is already pretty fatty: usually a 70/30 ratio…and that’s perfect for this recipe. (By the way, if you don’t eat pork, I would venture a guess and say that 70/30 beef would work just as well with this recipe.)
If you’re watching calories, like I am, you know that fat is the biggest killer. But you’ll find that a well-cooked sausage patty renders out a lot of fat, and if you go one step further and really give it a squeeze between paper towels after cooking, you’ll find that 1 gram of cooked ground pork = about 2 calories. Compare that to bacon, where the fat doesn’t render out as quickly: 1 gram of bacon = 5 calories. All that porky sausage goodness for fewer calories! It’s not diet food, but hey…

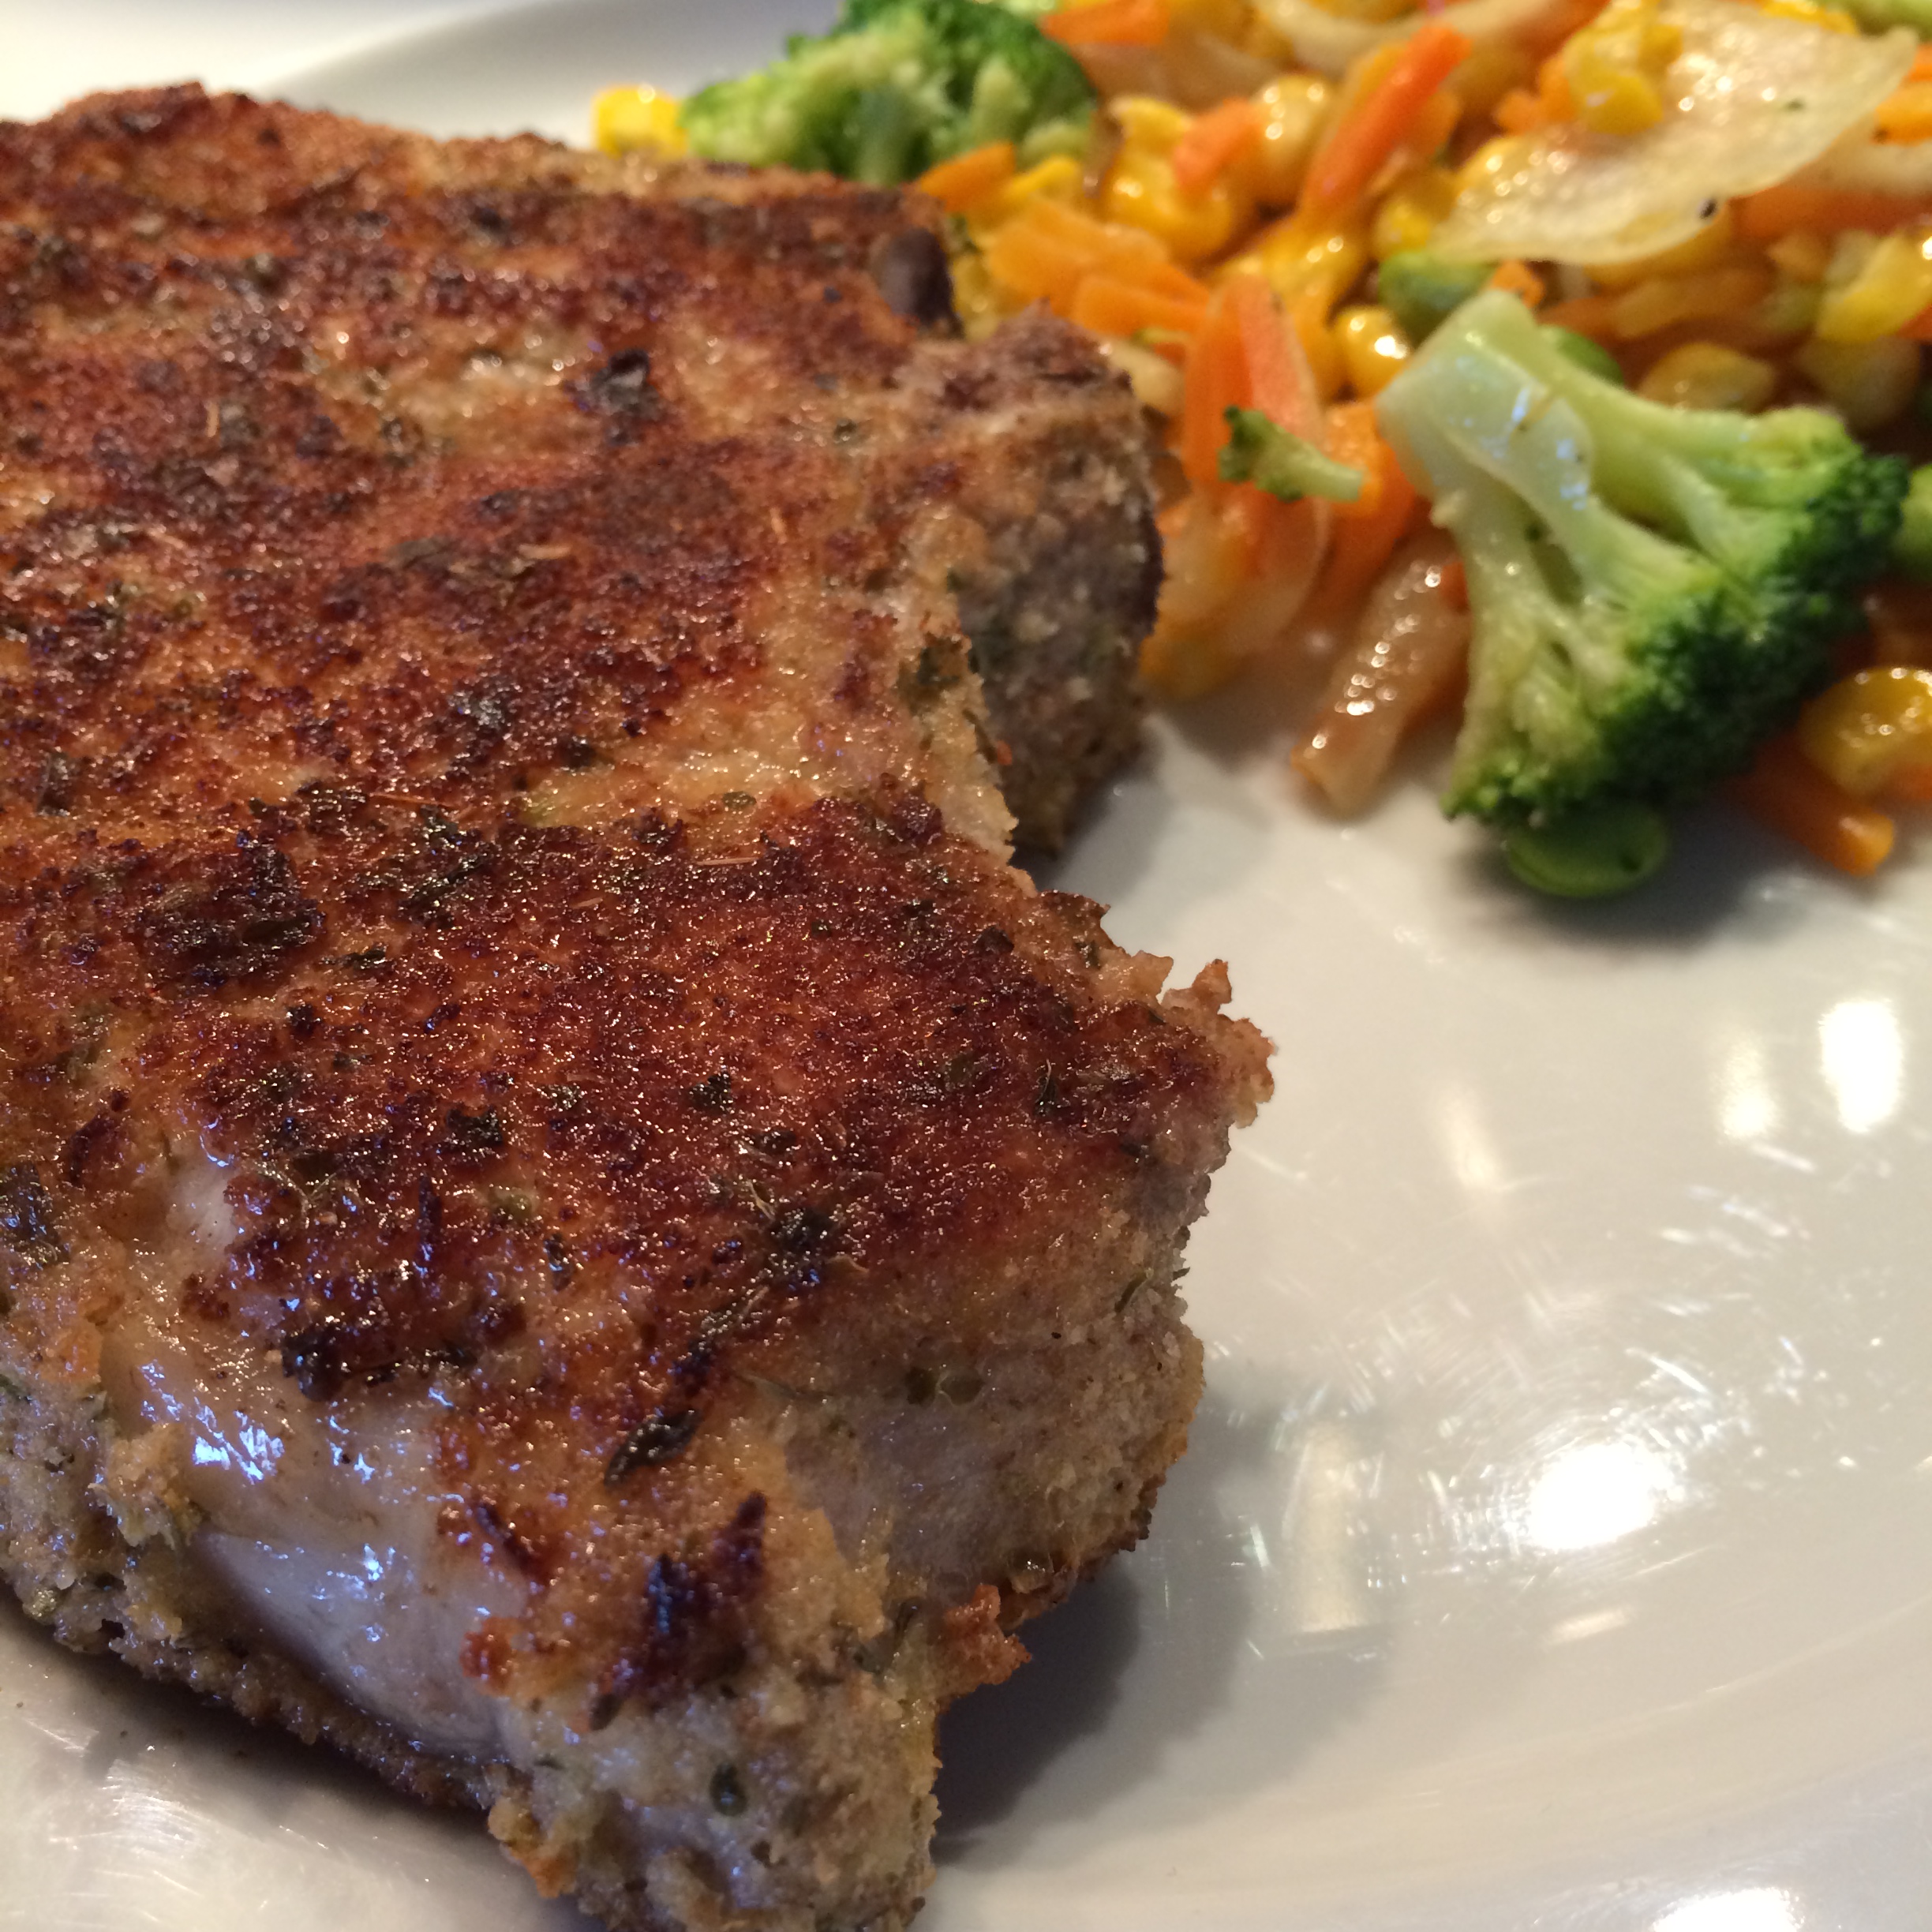
Delicious homemade sausage.
1 lb. ground pork (the best quality you can get)
1 teaspoon salt
1/2 teaspoon pepper
1/4 teaspoon sage
1/4 teaspoon rosemary
1/4 teaspoon thyme
1 egg
I like to combine the salt, pepper, sage, rosemary and thyme in a bowl first, mixing them together well. That way, when I’m seasoning the pork, it’s all evenly distributed.
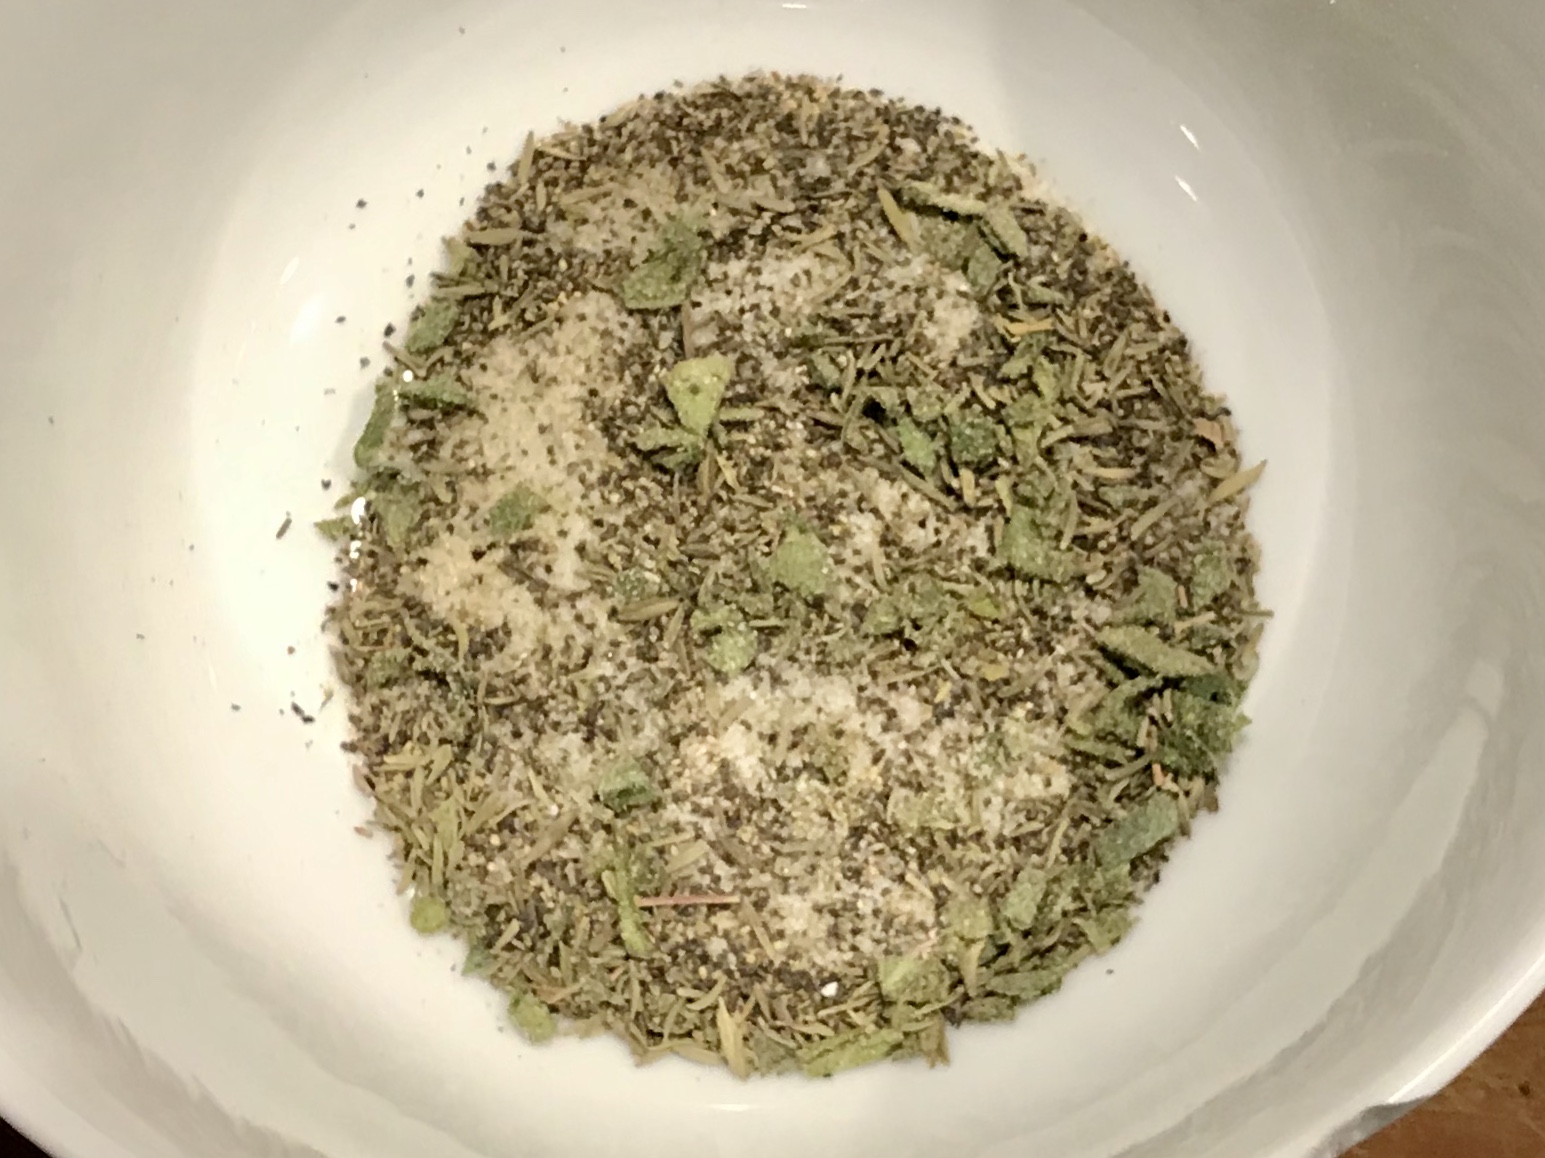
All the seasonings mixed together.
Combine the pork, the seasonings and the egg in a bowl and mix well. Place the bowl in the fridge for at least 15 minutes to let the meat rest. Overnight is even better. (Do it the night before, and you’ve got it all ready to cook the next morning with your eggs!)
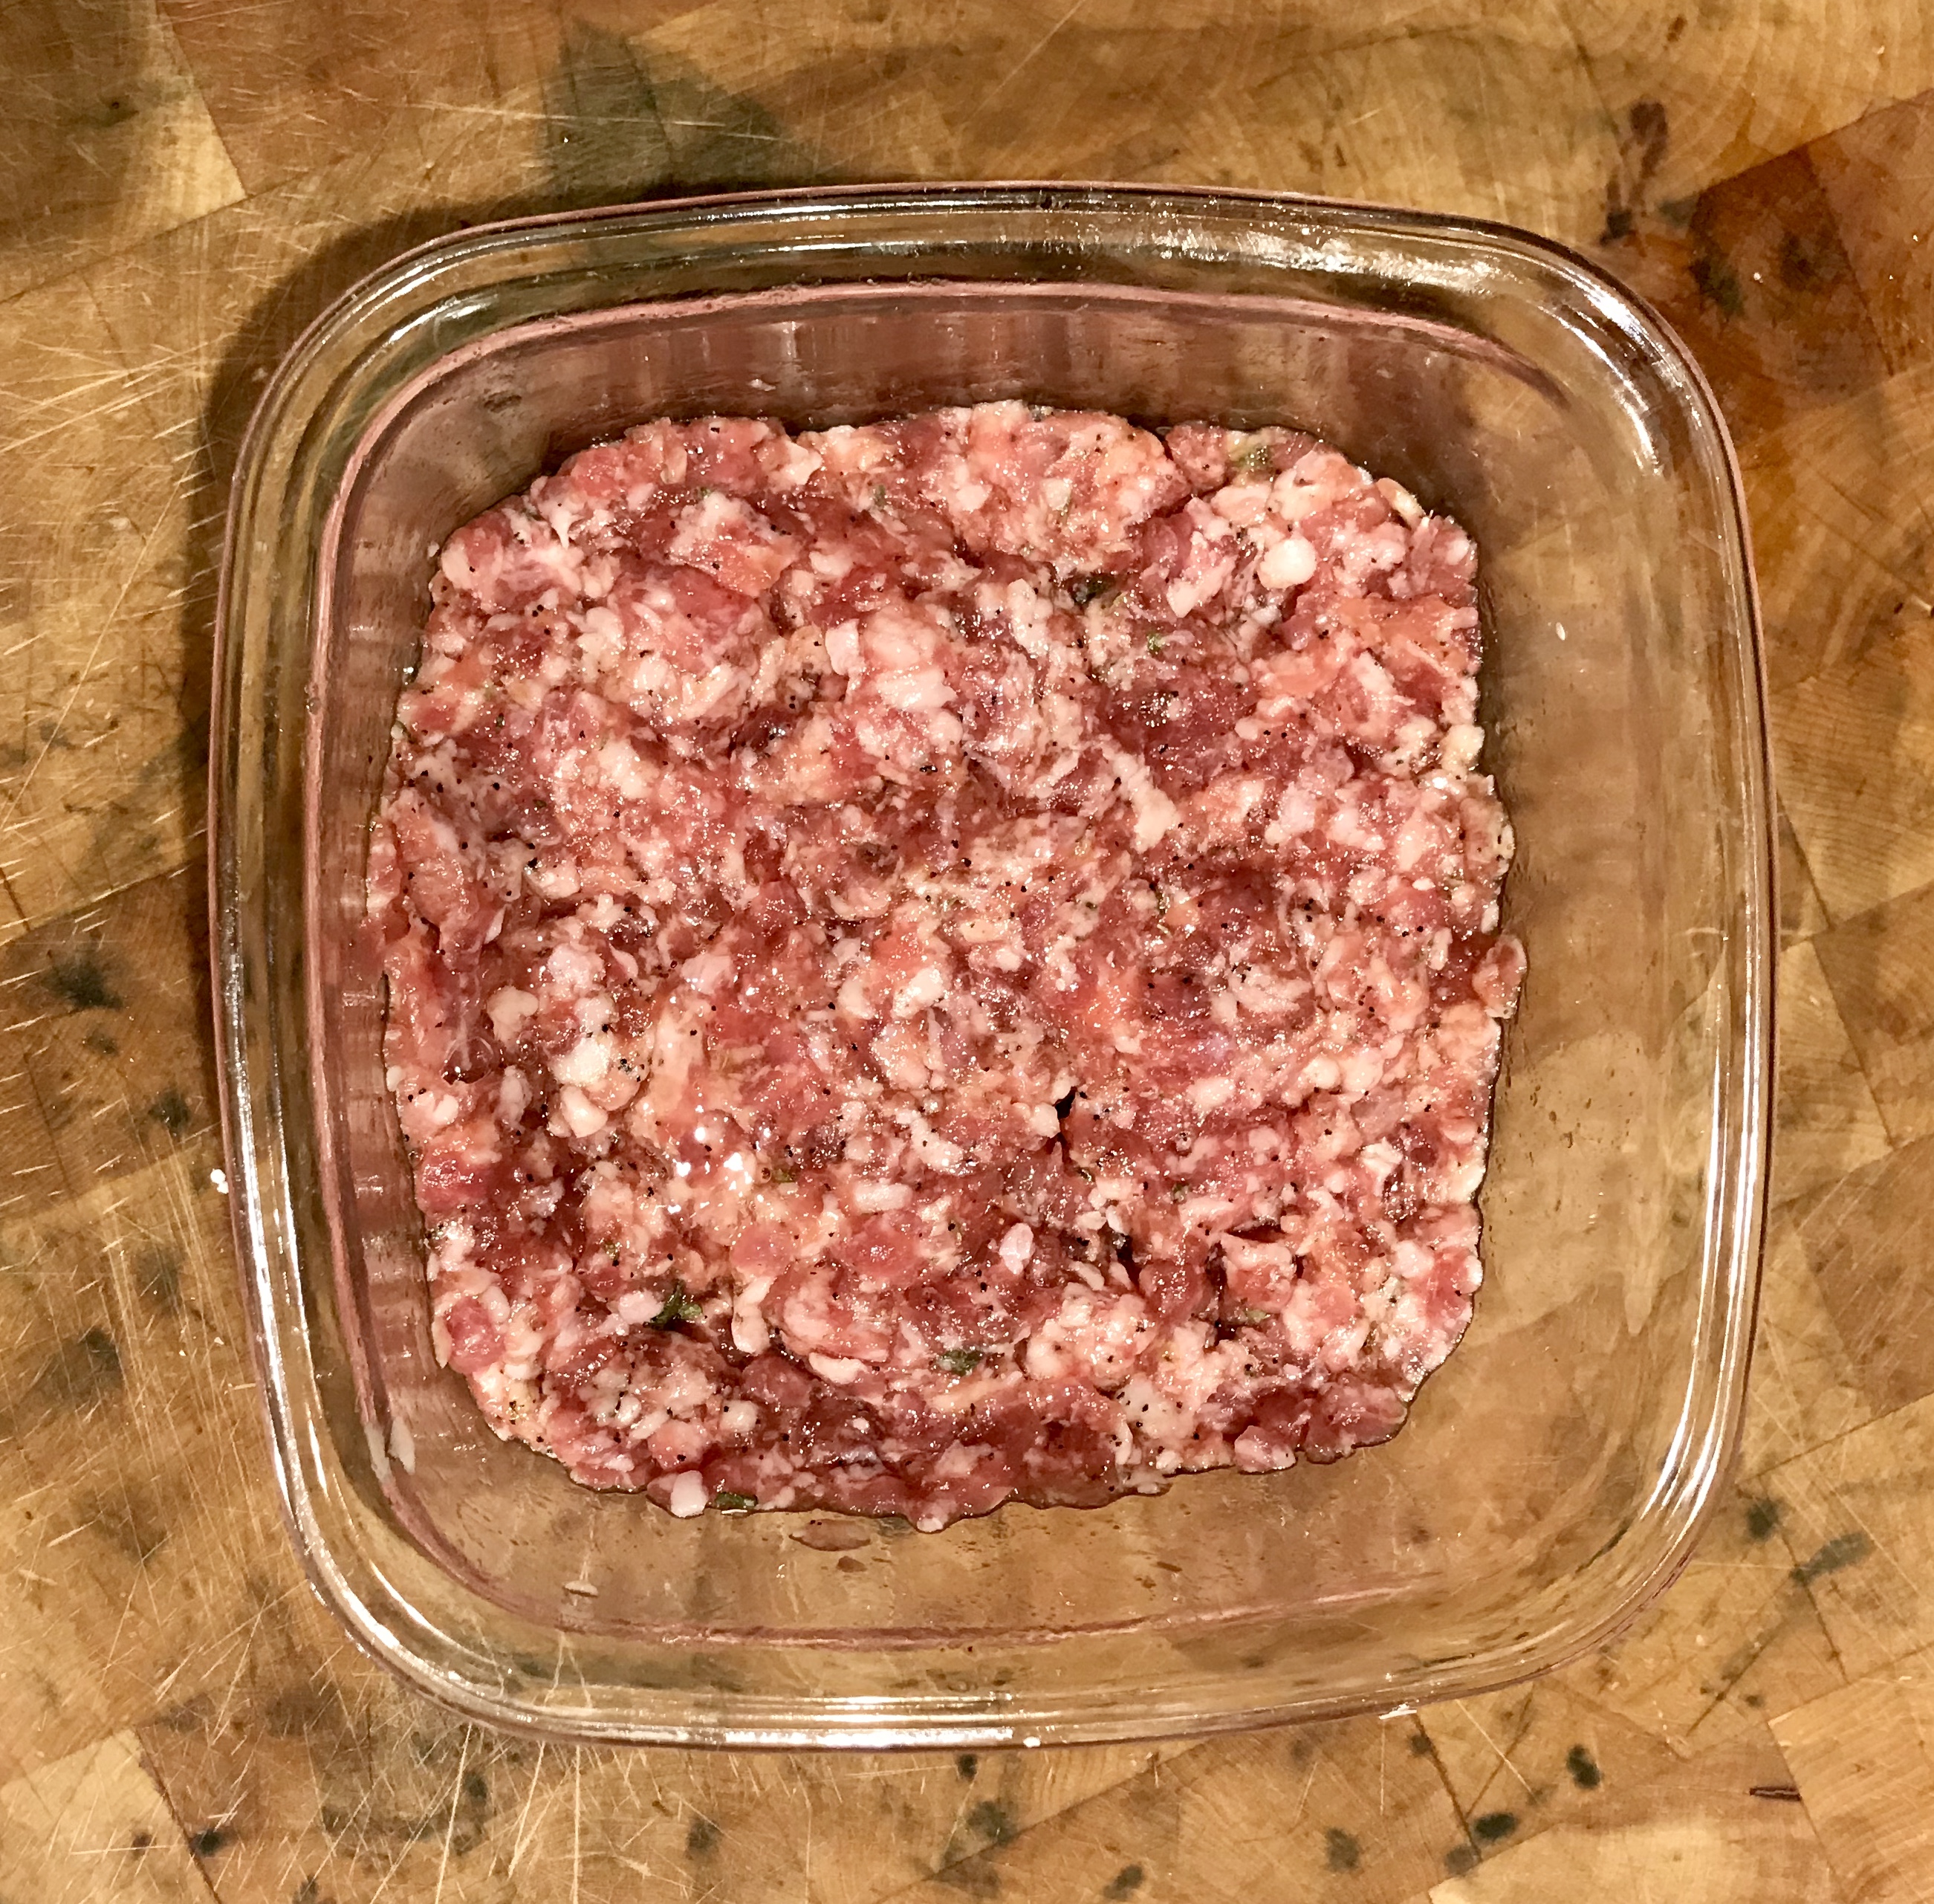
The sausage mix has rested overnight. Time to cook!
In the morning, if you’re not sure if you’re going to like the pork the way you’ve seasoned it, simply grab a pinch of the meat off and fry it in a pan to taste it. If you like what you have, fry away. If not, season the meat a little more before making the patties. These are your sausages, after all!

A 1/4 cup measure makes it easy to make equally-sized sausage patties.
I like to use a 1/4 cup measure to scoop out sausage patties. Once I’ve got them all made, I heat a pan over medium-high heat. No oil is necessary, because the pork has plenty of fat!
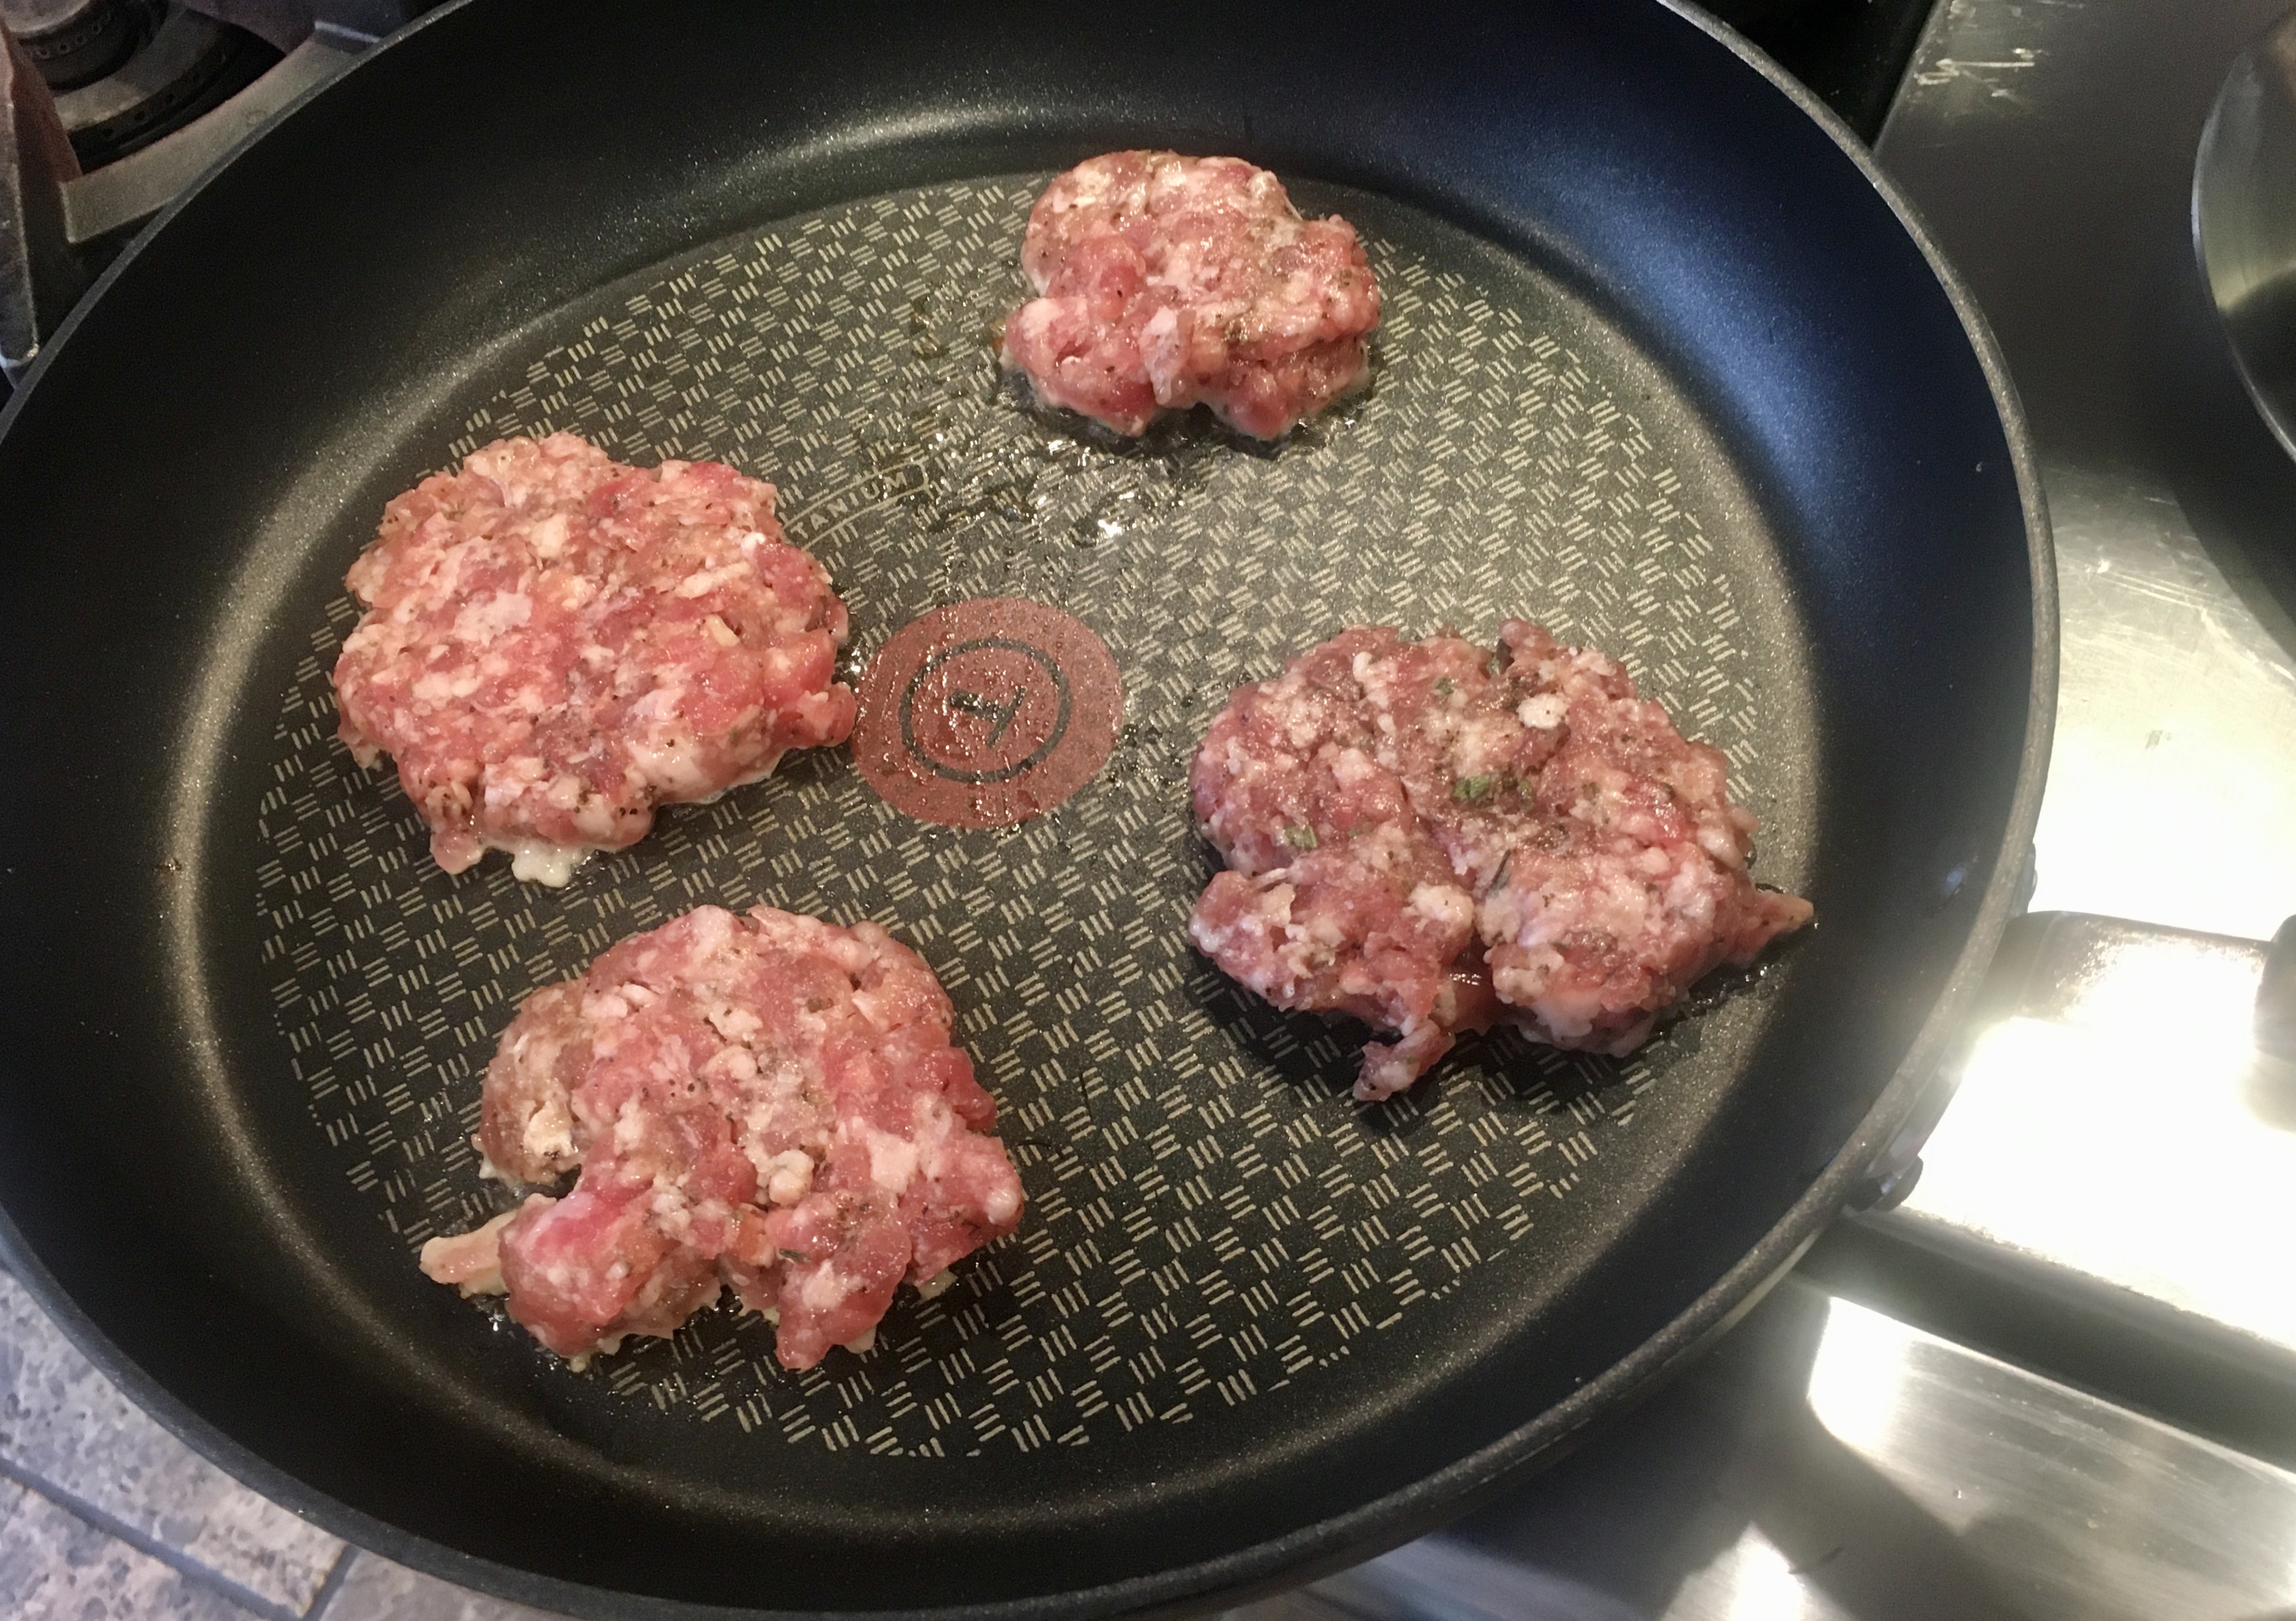
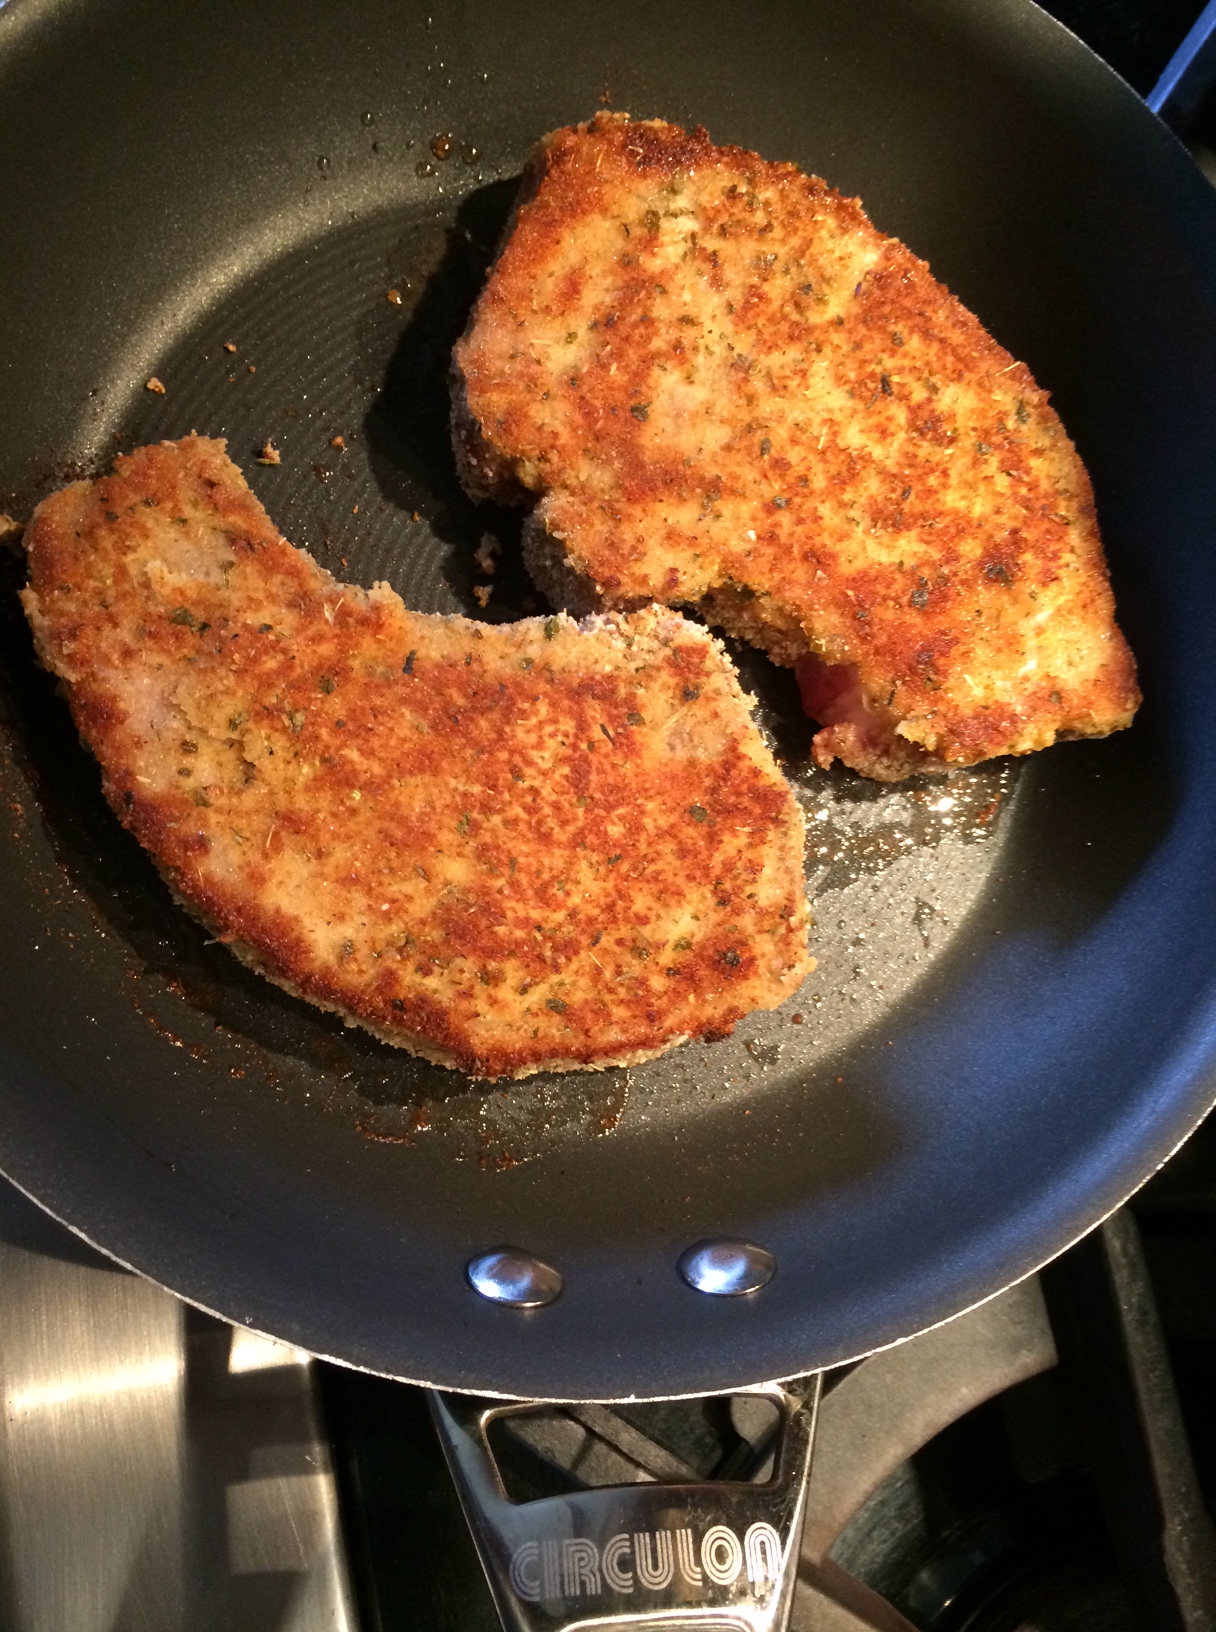
Once the patties are in the hot pan, I squish them down flat.
Once I’ve placed the patties in the hot pan, I squish them down with a spatula, and cook them on one side until it’s nice and crusty. Then I flip them, squish them down again, and continue cooking all until they’re golden brown on both sides. Remember: you’re starting with raw pork, so make sure it’s cooked all the way through.

They look like they’re done!
Delicious, and no casings to worry about. The patties freeze well, whether you freeze them raw or cook them a bit first. If you’re going to freeze them, place them on a sheet pan and pop that in the fridge for about an hour, until the patties are frozen solid. Then place them in a freezer bag or container. That way, the patties won’t stick to each other.

Ready for the freezer!
When cooking them straight out of the freezer, I like to drop the frozen patties into a non-stick pan and I add just a touch of water. I put a lid over the pan and let it cook for just a minute, flipping the patties and cooking for a minute more, to thaw them out. Then I remove the lid off the pan, and let the patties cook all the way through. The water will evaporate, and the patties will have enough fat in them to cook without adding any more.