I find little or no difference between the stove in my kitchen and an outdoor gas grill…so I don’t own one. I can make a perfectly delicious steak by searing it in a cast iron pan on the stovetop, then finishing it in a hot oven. So, for me, if the real reason for outdoor grilling is flavor, nothing can replace a hardwood charcoal grill.
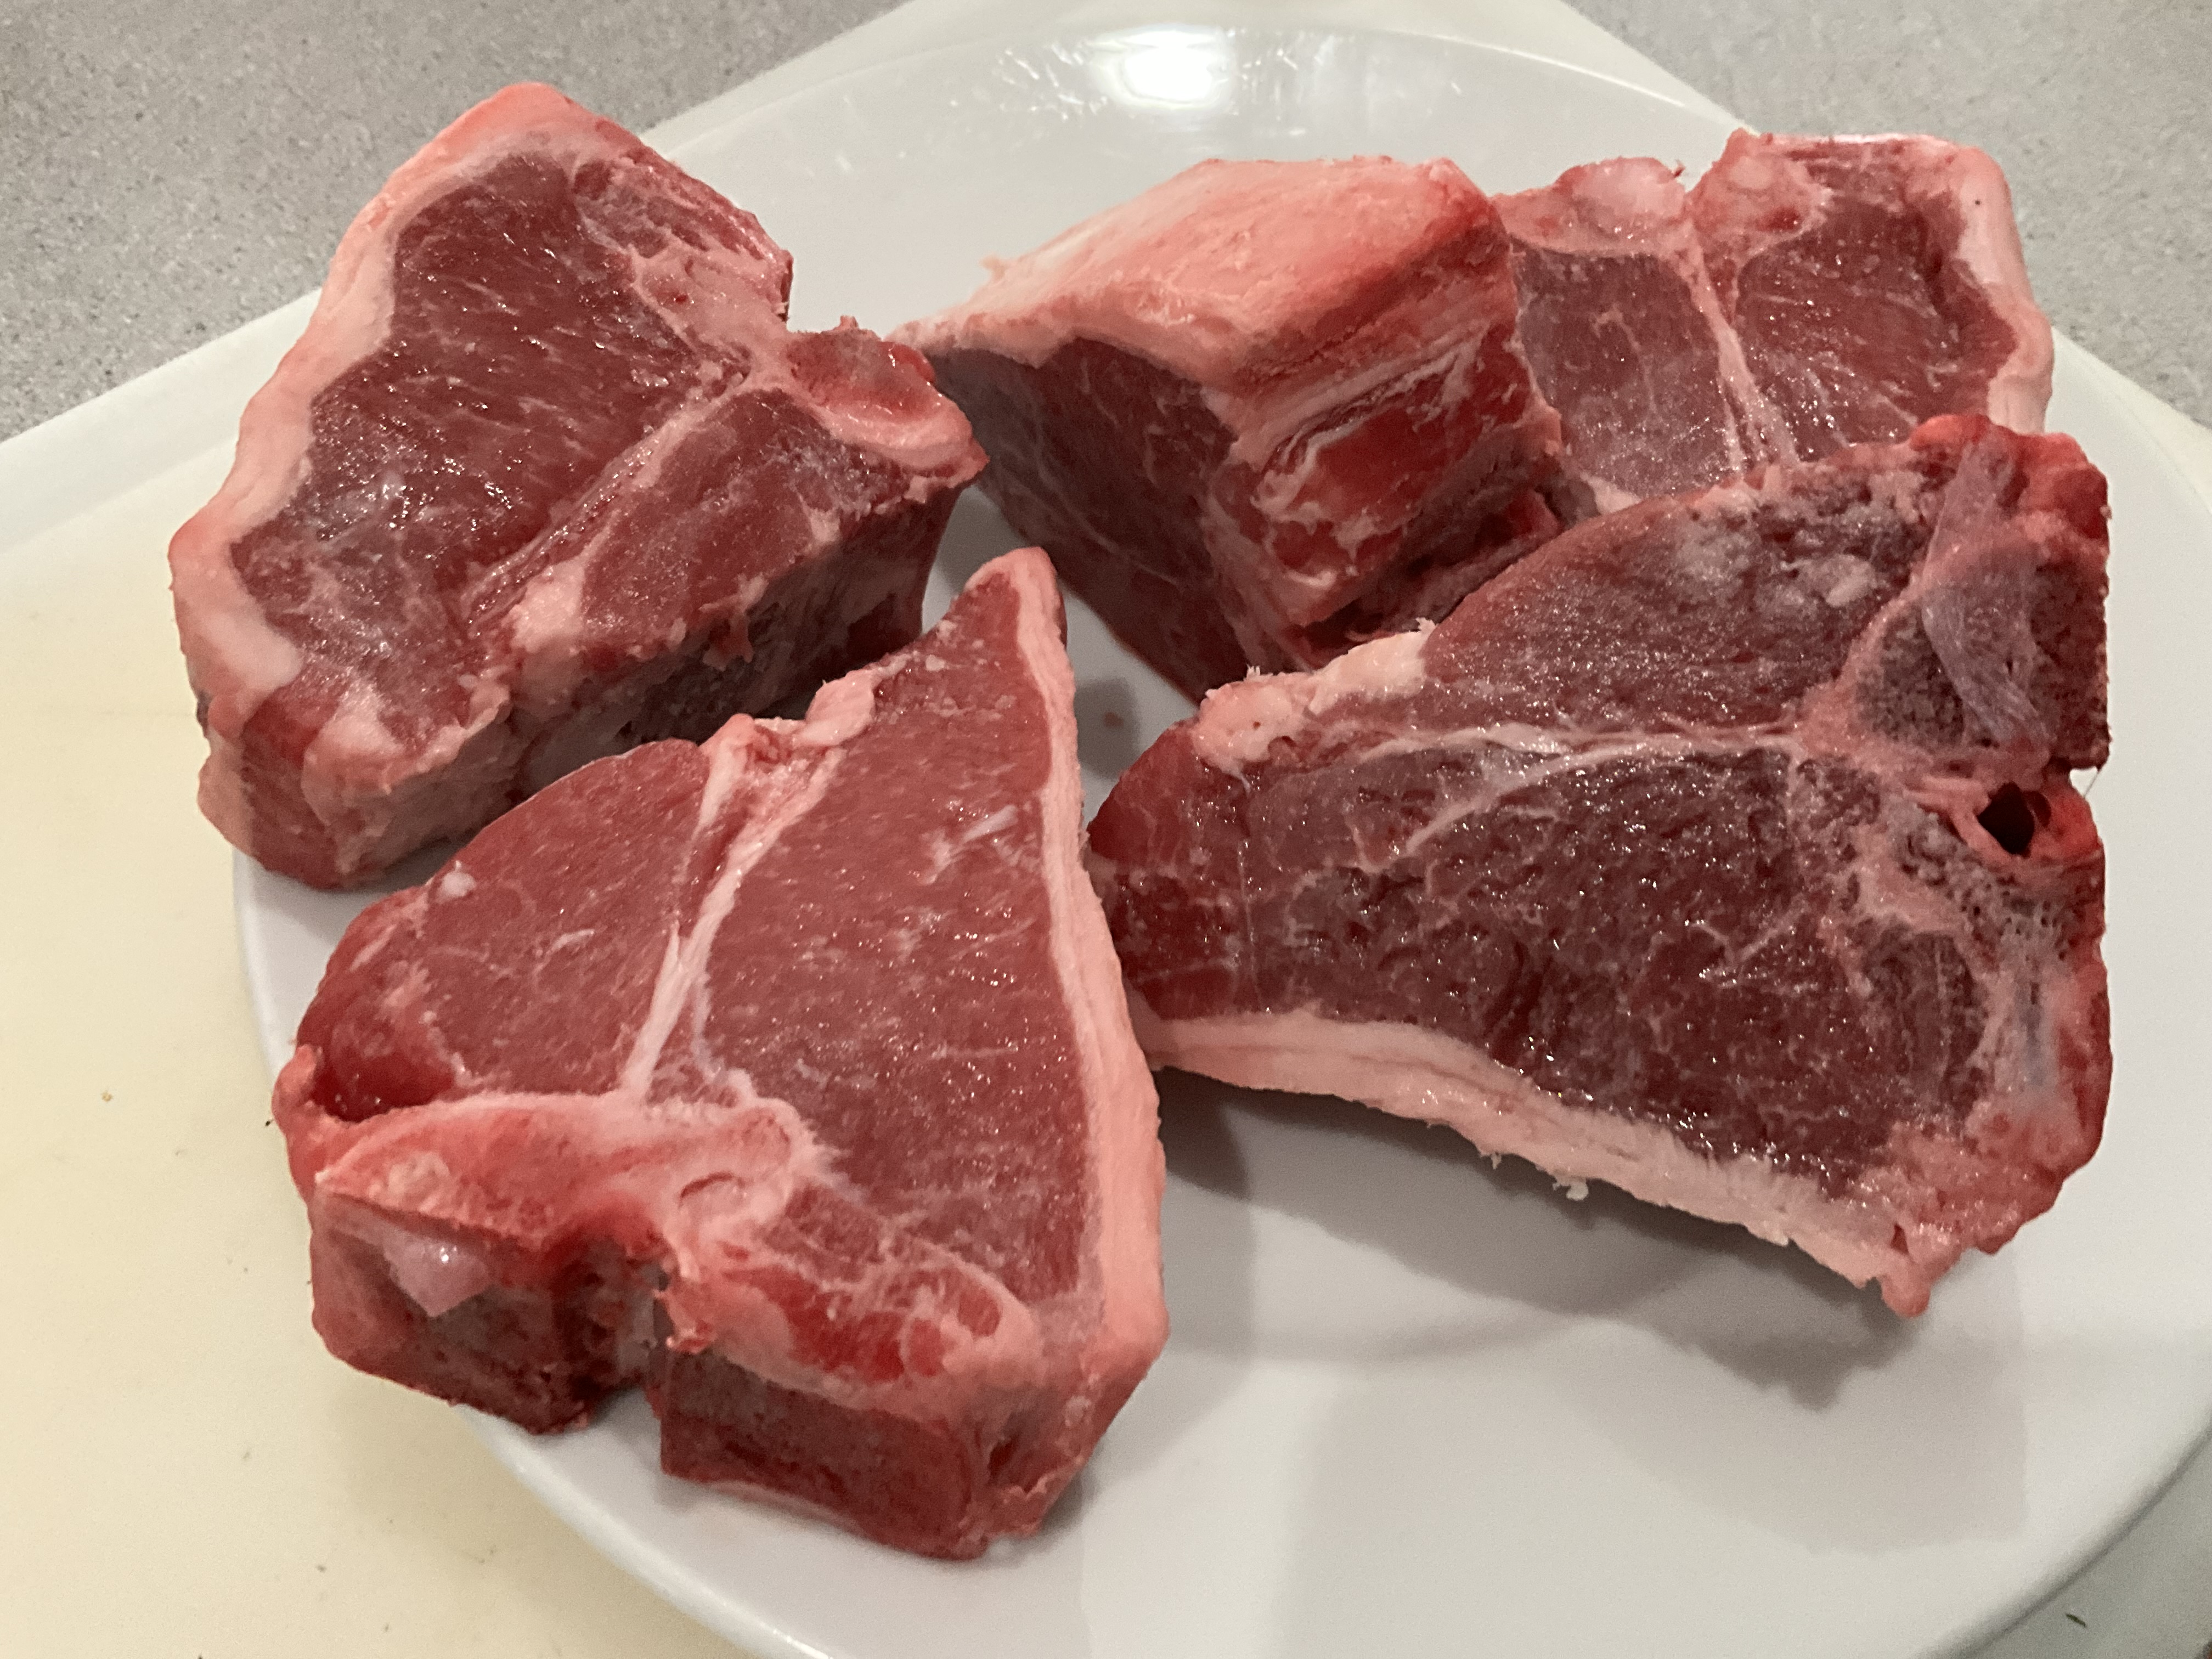
Besides the quality and source of my beef, wood and smoke are what make the difference between a good steak and a great steak.

I know the #1 argument for going with gas over hardwood charcoal is time. “It takes too long to start a charcoal grill.” That’s completely untrue. It takes no more time to light a charcoal fire than it does to start up a gas grill.
Of course, it starts with the grill itself. The classic Weber is still an awesome choice. For larger cooking needs, I also have a Primo ceramic grill.
Then I get a bag of hardwood charcoal. I’m not talking charcoal briquets, like Kingsford, that have a ton of additives in them. And I’m definitely not talking about Match Light. I’m talking pure hardwood charcoal, easily found in supermarkets and home stores.
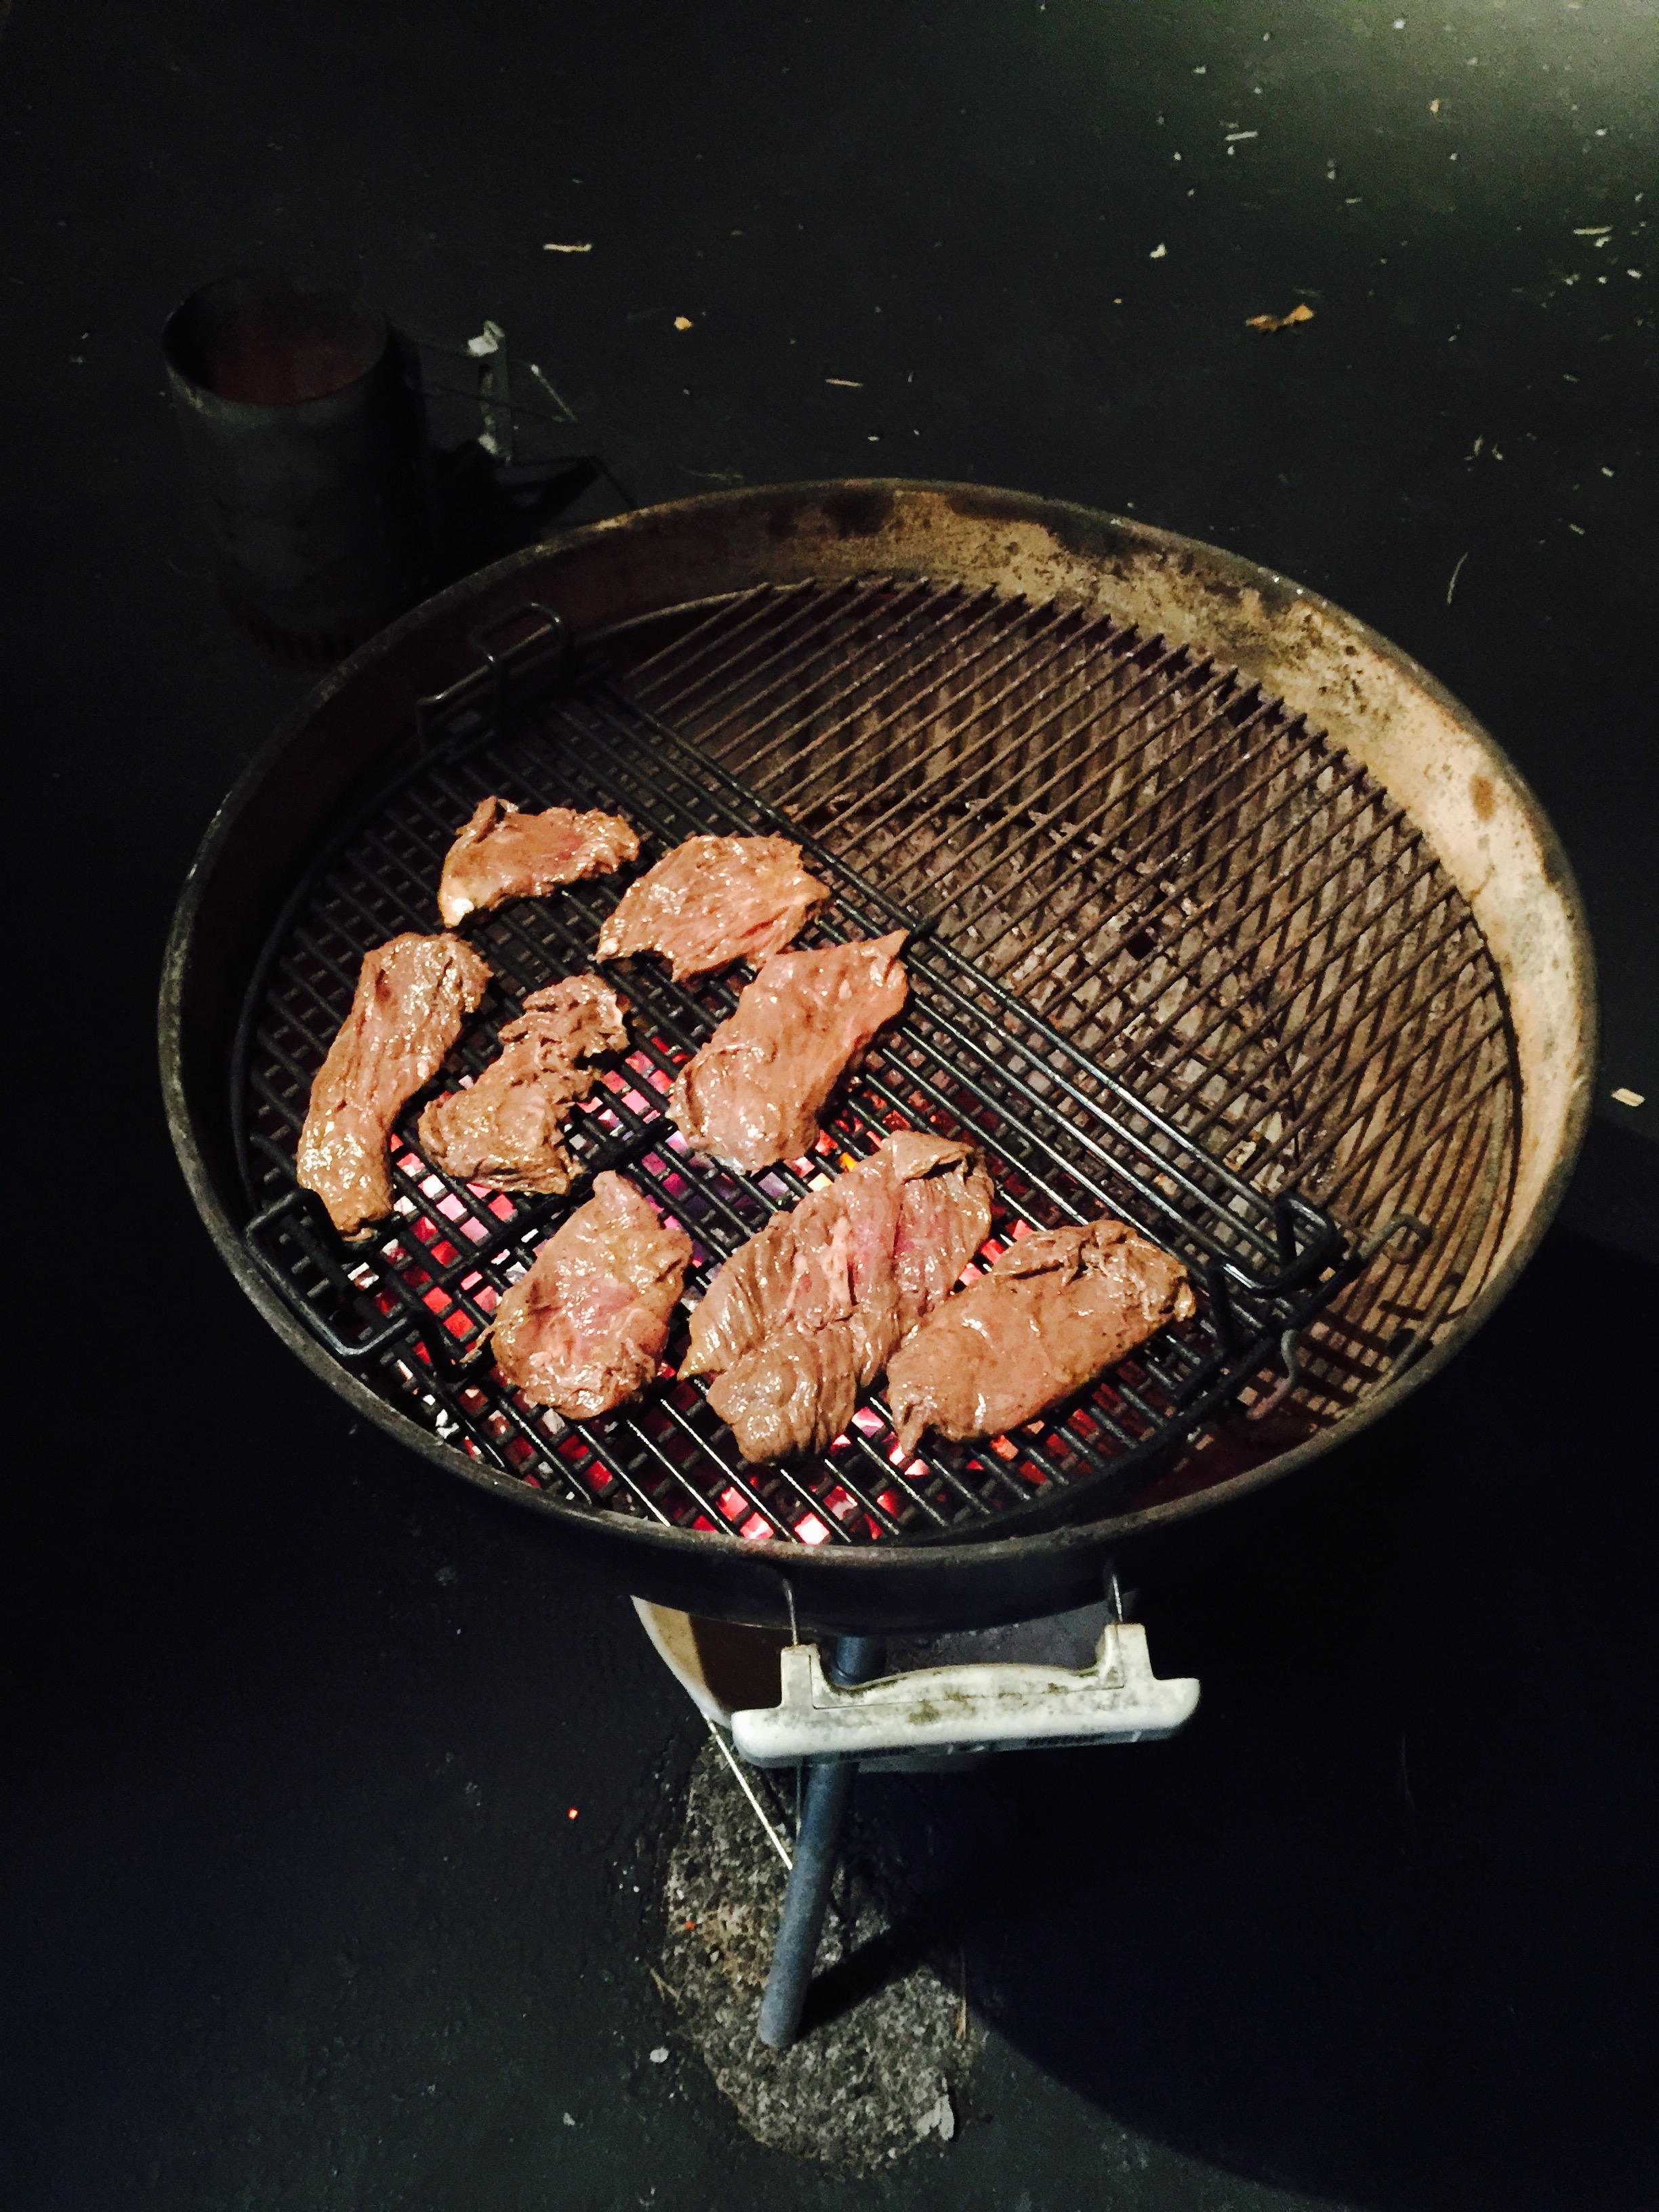
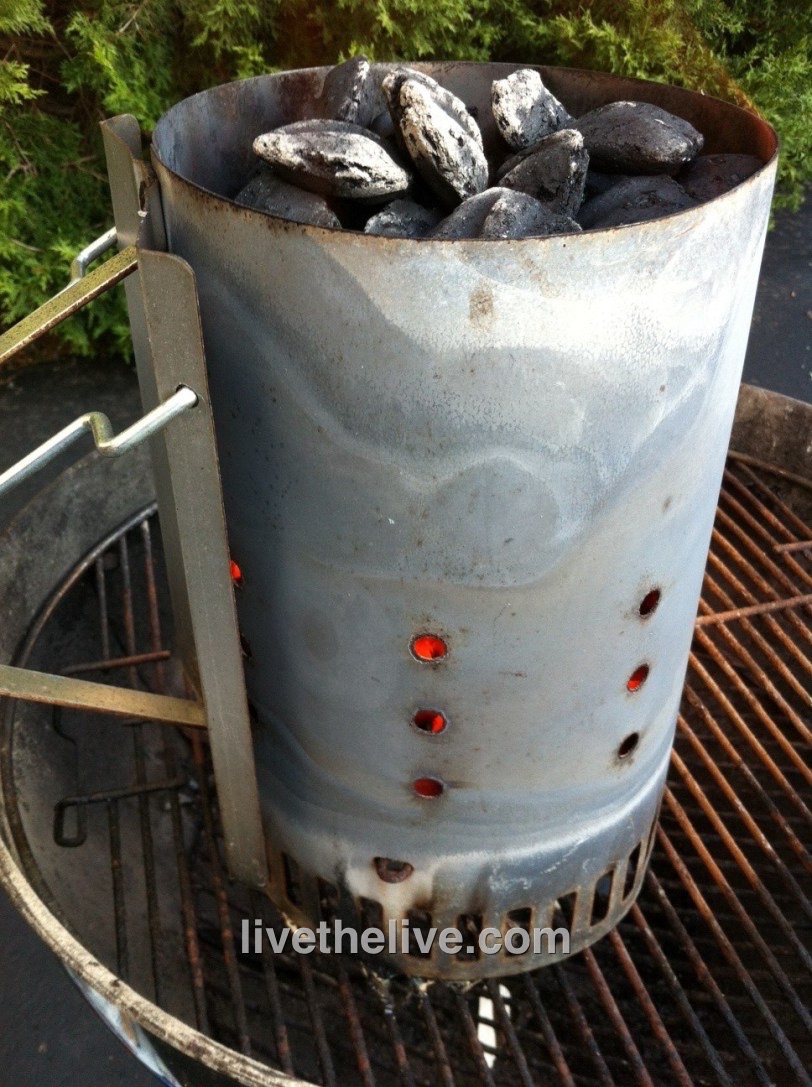
Next: a charcoal chimney. It’s a metal tube with a handle and a grate at the bottom. I crumble a couple of sheets of newspaper into the bottom, pour charcoal into the top, light it, and I have hot coals in 10 minutes without lighter fluid.
And I NEVER use lighter fluid! Why spend good money on a great steak only to make it taste like gasoline?
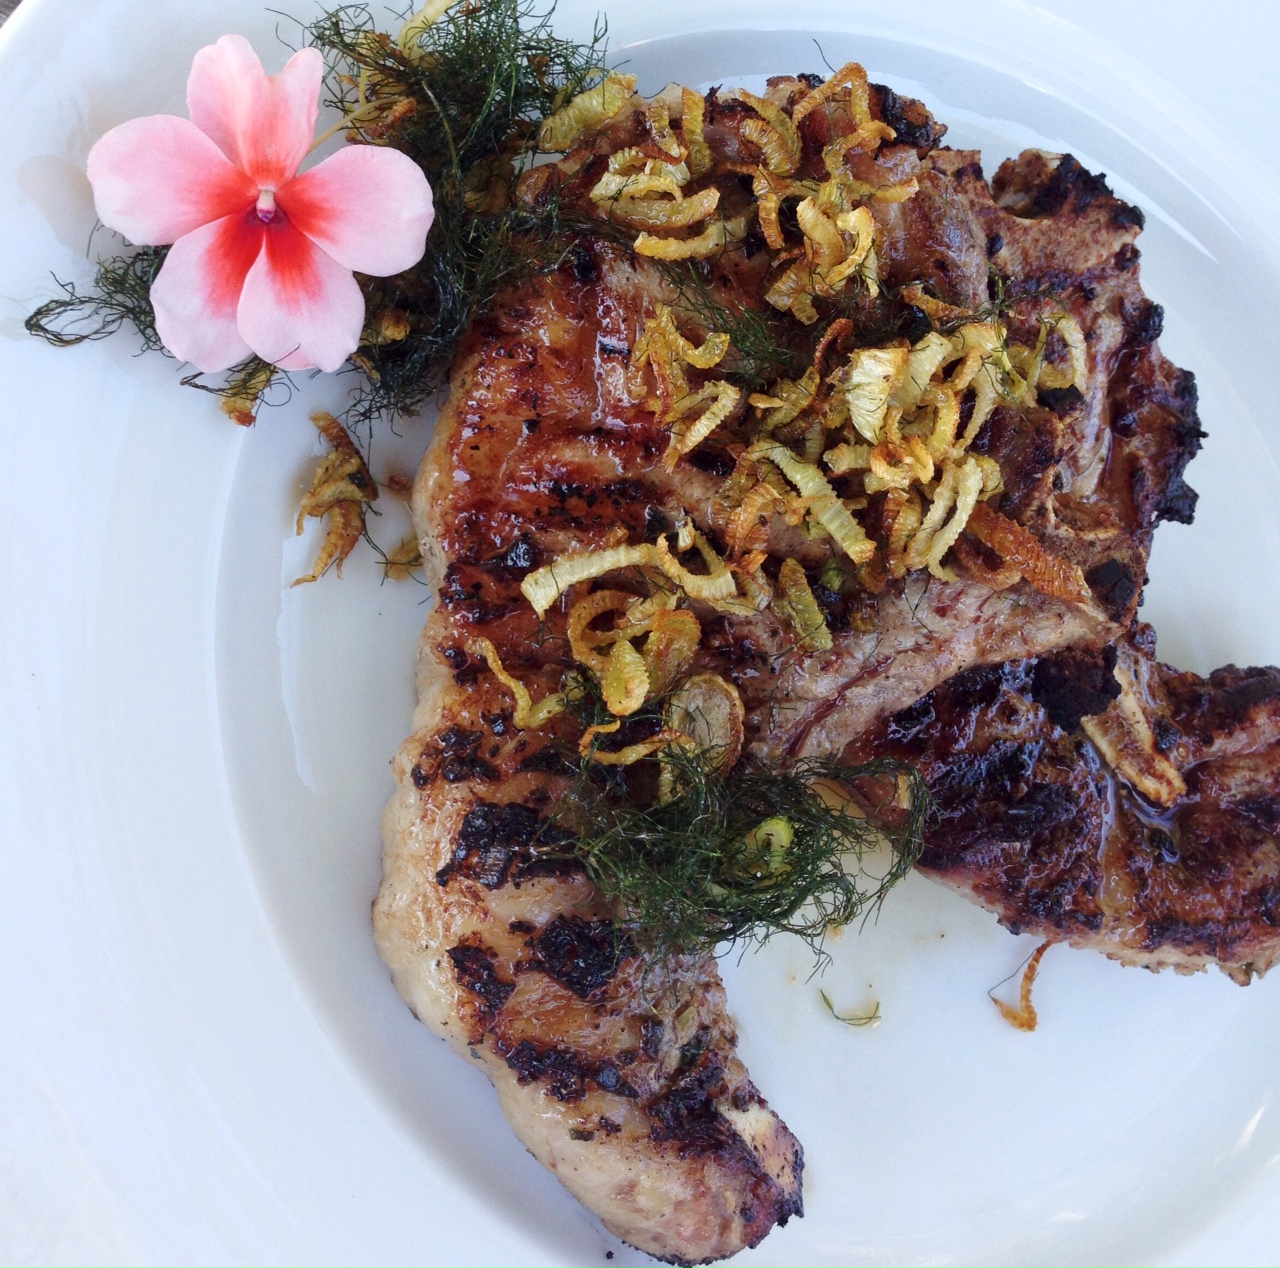
The variety of wood chips available for smoking is another flavor factor when it comes to grilling with charcoal. My personal favorite is hickory, especially when I’m cooking pork or chicken. But apple, cherry, oak, mesquite: they all impart their own unique flavors. And they’re all available in most home stores where you find all the other barbecue gear.
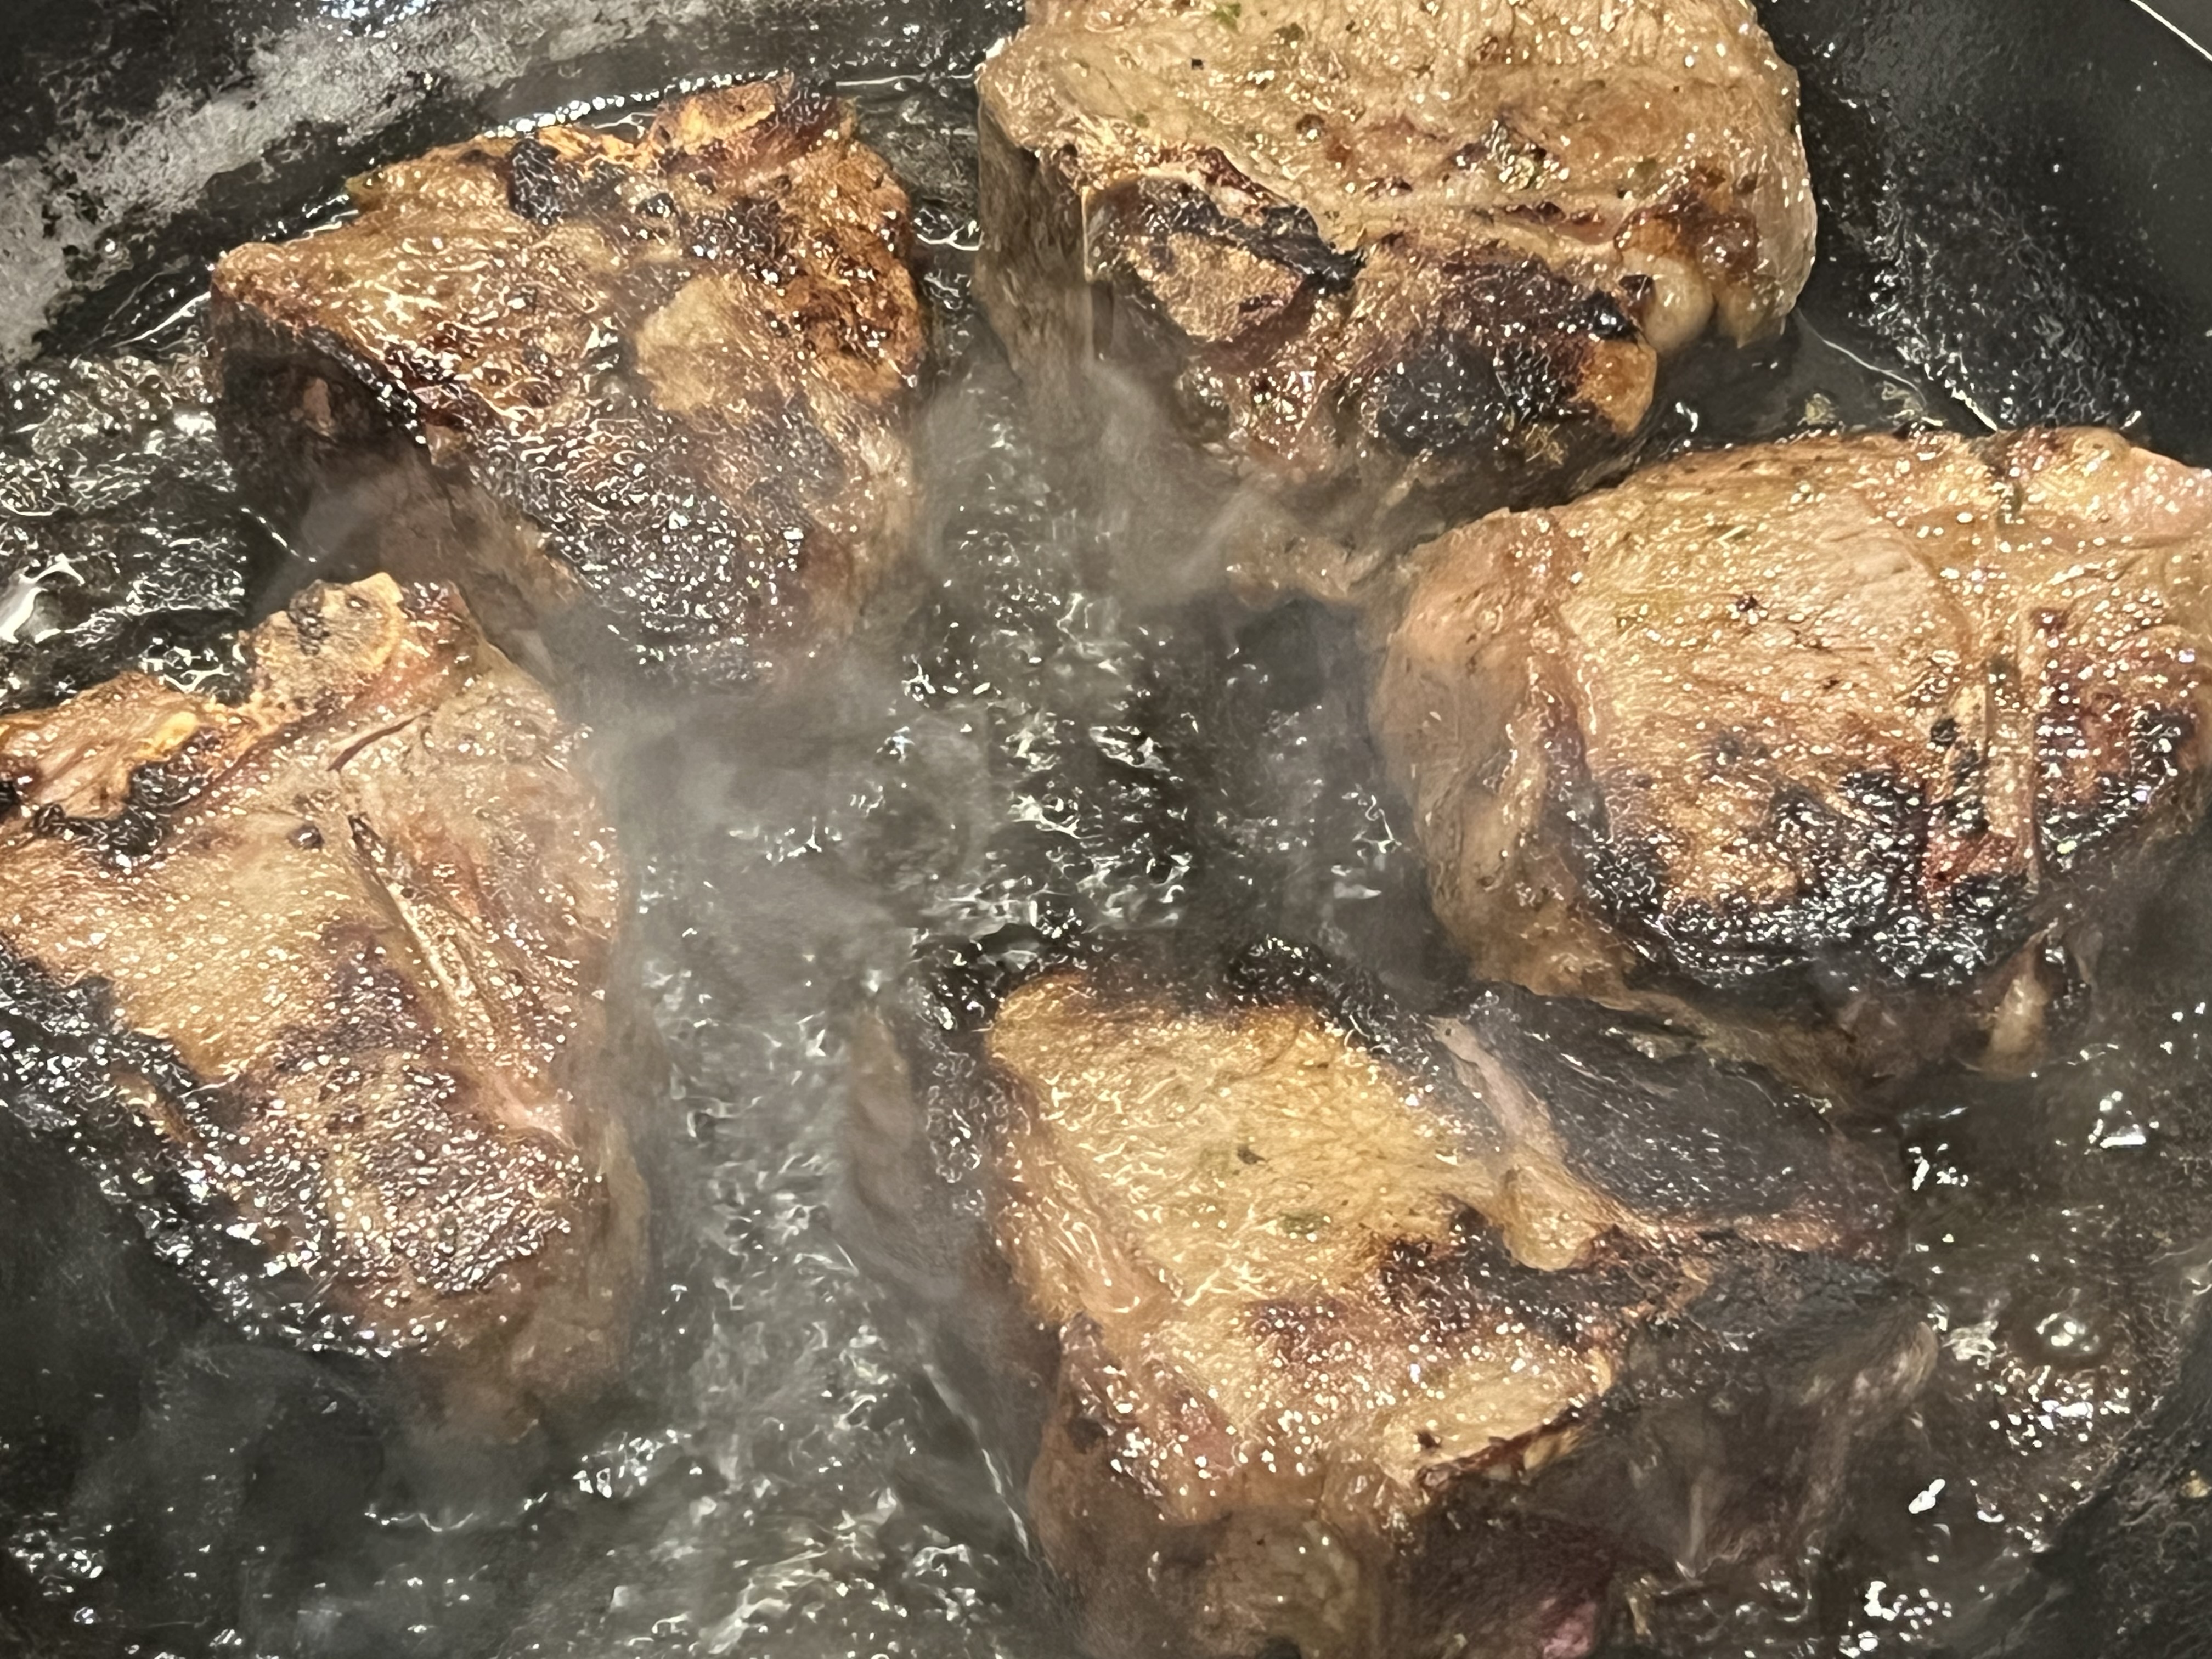
Although I have an electric smoker for those low-and-slow jobs, like a big ol’ brisket or pork shoulder, I don’t need it when grilling a steak. I simply soak some wood chips in water for about a 1/2 hour before grilling (I’ve found that hot water speeds the process up), drain the water, and then sprinkle the moist chips on the hot coals in my grill. I throw the meat on the grill, close the lid (opening the vents, of course) and off we go.
So now, in 10 minutes, I’ve got a grill that’s ready to cook a steak with…about the same time as gas.

If you say: “I don’t cook with charcoal because it’s so messy!” …I honestly don’t know if you and I can be friends.
Because I’m using a small amount of hardwood charcoal for the average dinner, I don’t have to clean out my grill every time I use it. After a while, yes, some ashes pile up in the bottom of my grill and I have to dump them. But because they’re pure wood ashes, I can dump mine into my strawberry or raspberry patch. They love the stuff.
You still have to clean a gas grill after a while, and it always runs out of propane halfway through cooking when you have guests over for dinner. So where’s the convenience in that?
Charcoal grills give you everything you could ask for: low maintenance, ease of use–no propane tanks, valves and igniters–real wood flavor, not lava rocks, and the thrill of cooking meat over a real fire, bonding with the caveman in you. Grab a beer–or even better: a bourbon on the rocks–and start grilling!