If I’m at a steakhouse and craving beef, I’ll usually order a cut like porterhouse or ribeye…great cuts of meat that need nothing more than a little salt and pepper, and a skillful grillmaster. The prep on that slab of meat before it even hits the grill has already been done: carving, dry-aging, trimming.
At home, I eat only humanely raised grass-fed beef. It’s expensive, so I buy the cuts that cost less, but need a bit of TLC before cooking. A cut like beef flap, which comes from the bottom sirloin butt (the back of the animal), looks like a skirt steak, a hanger steak, or a flank steak because of its thinness, but each comes from a different part of the animal.
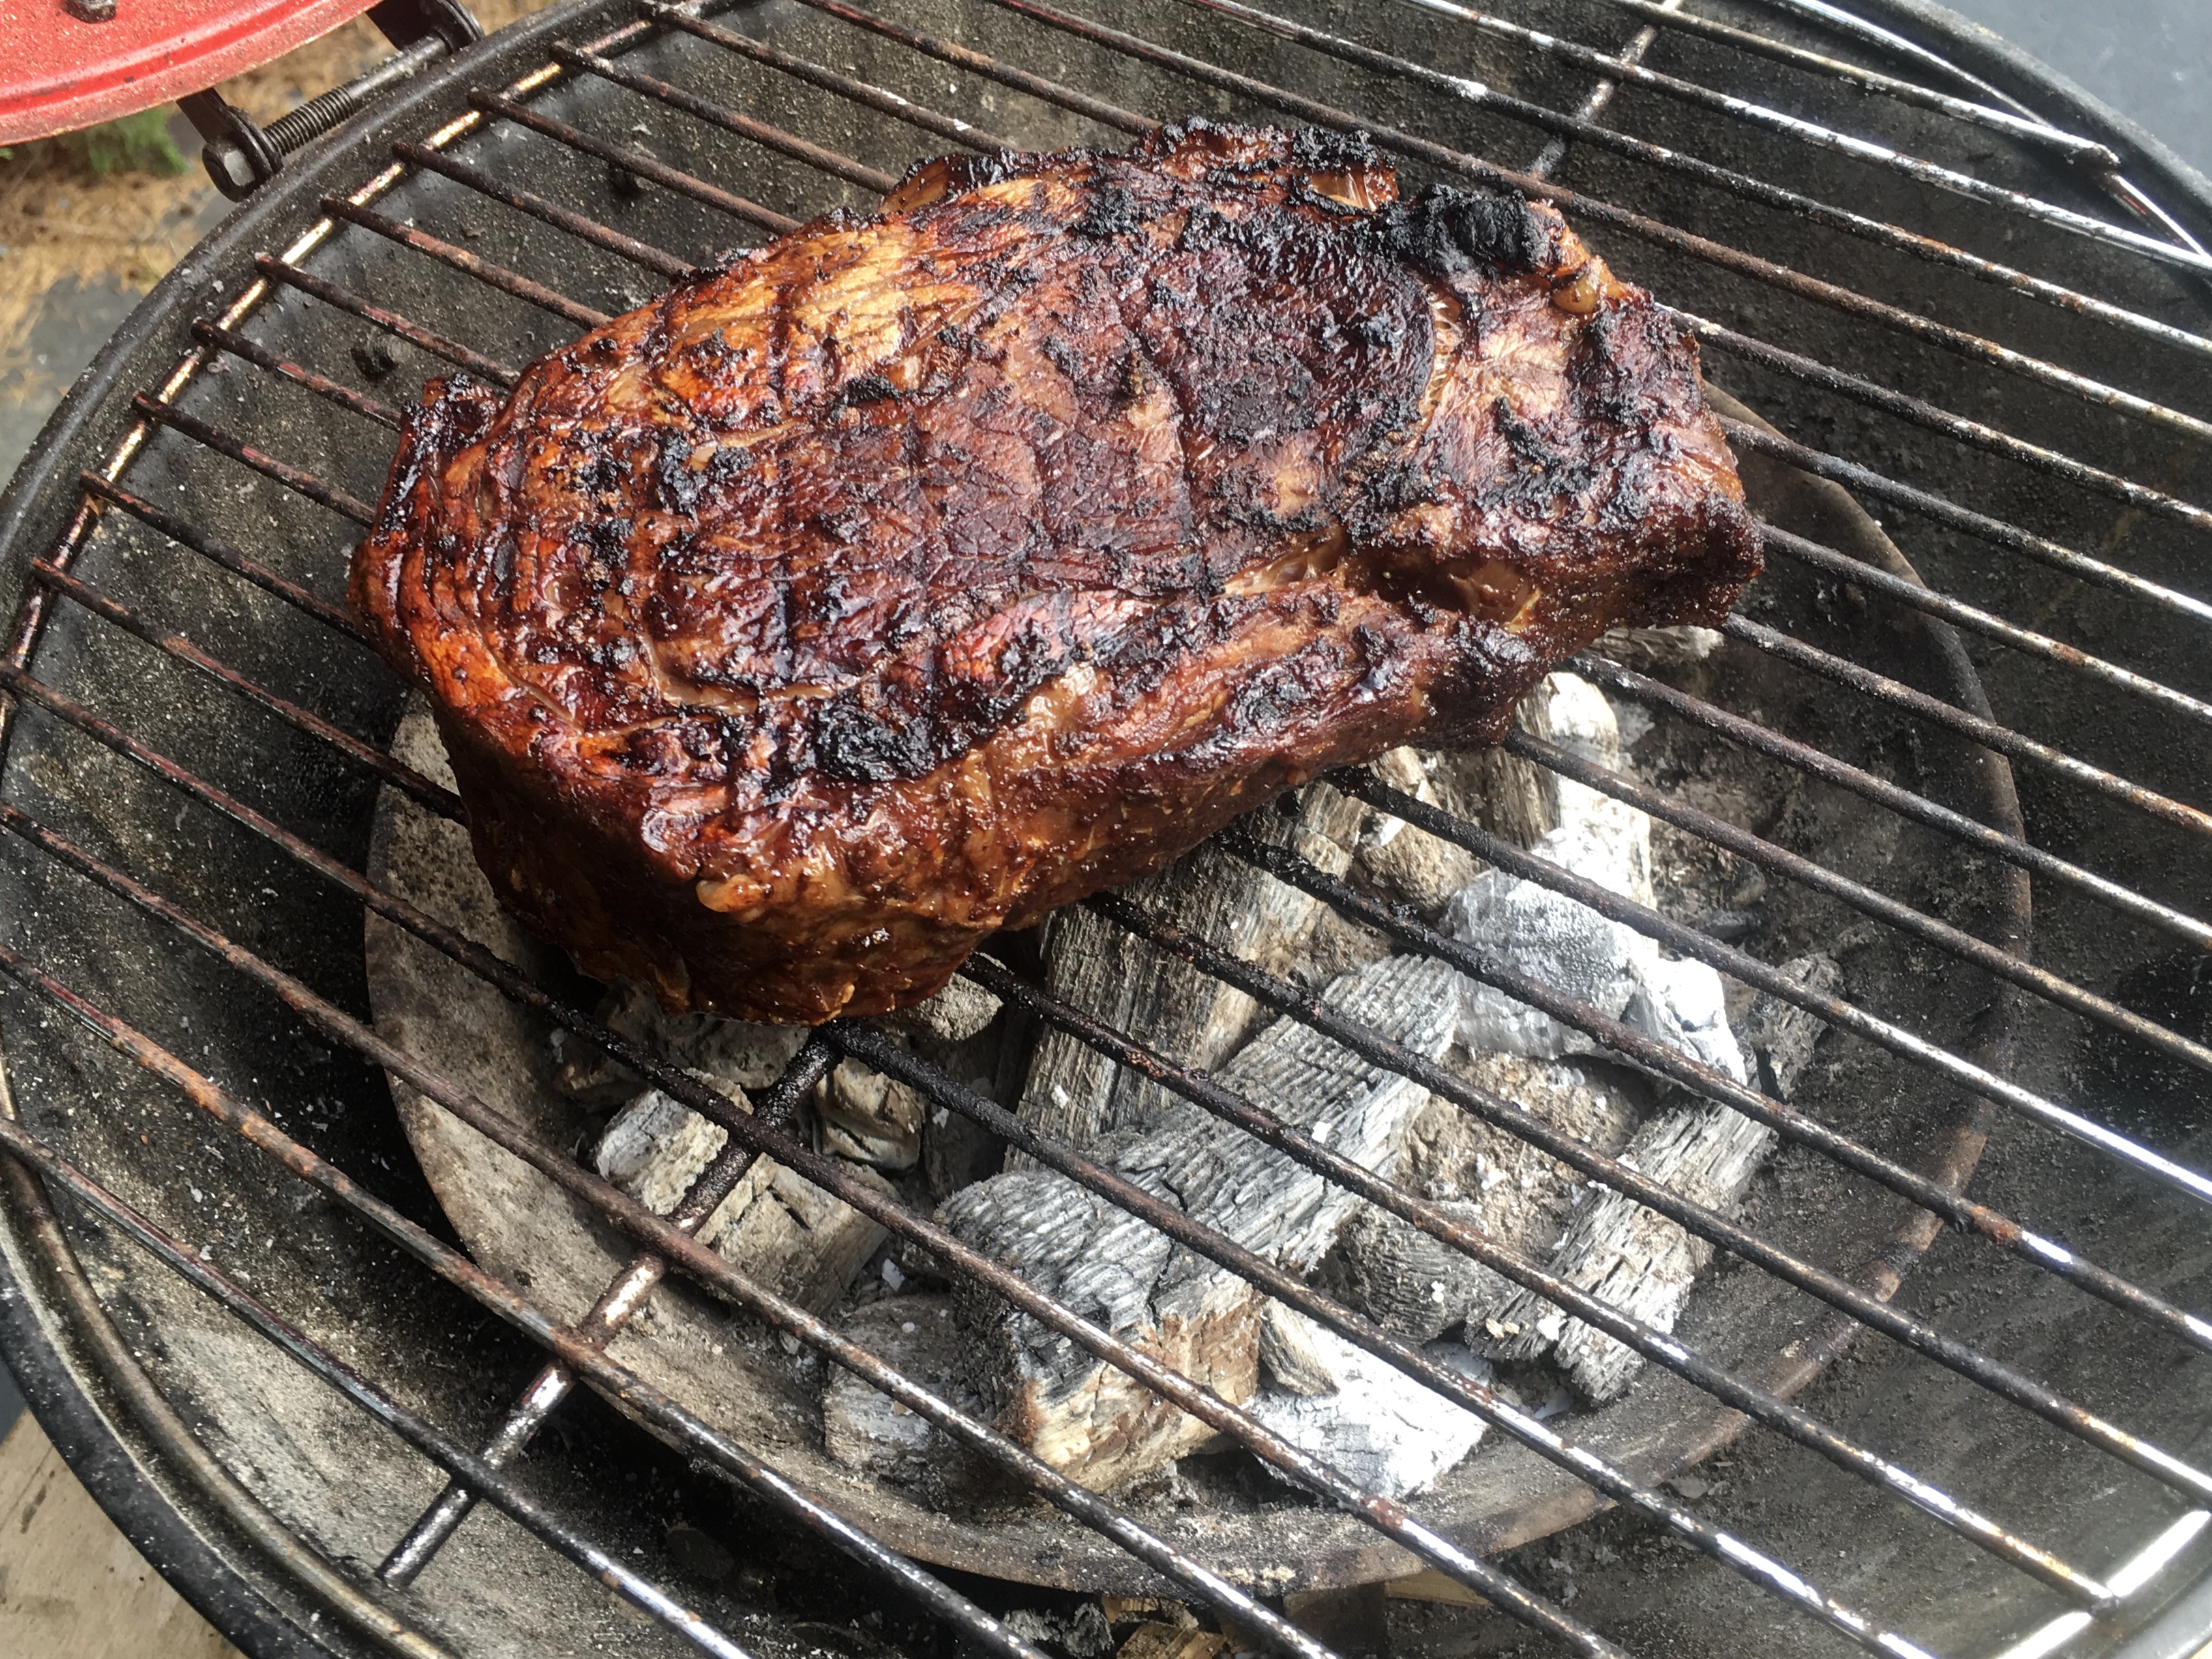
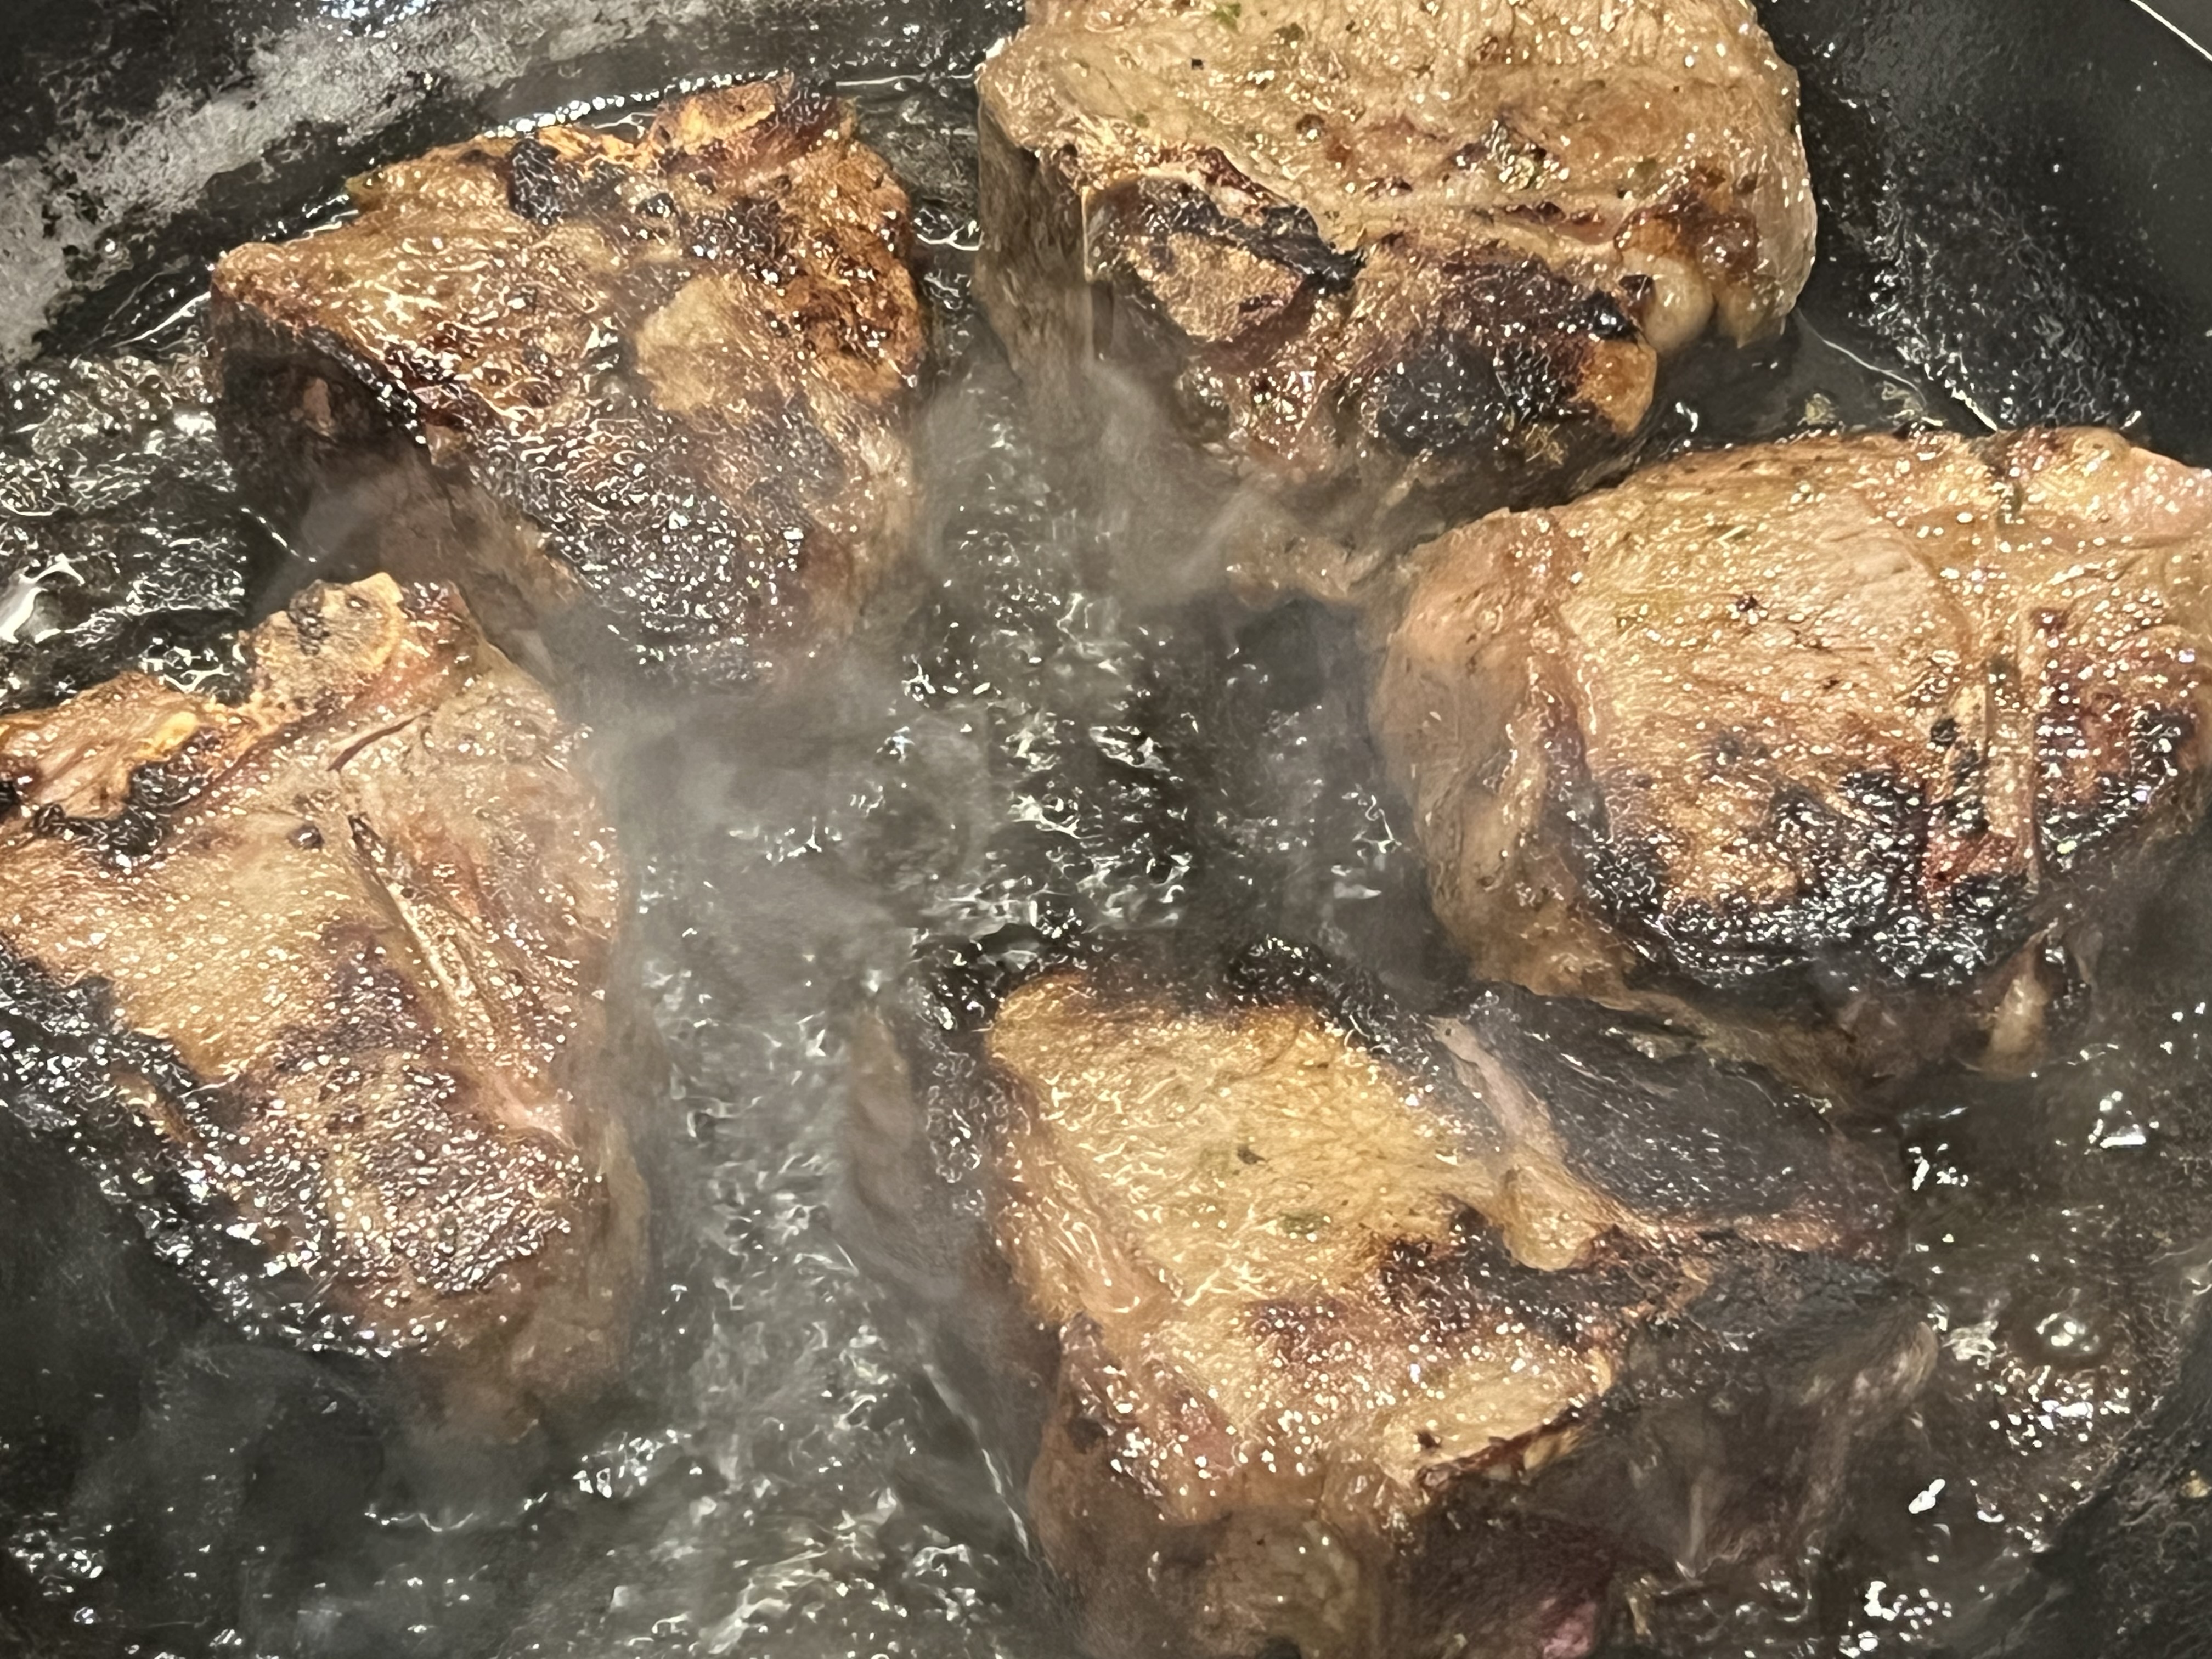
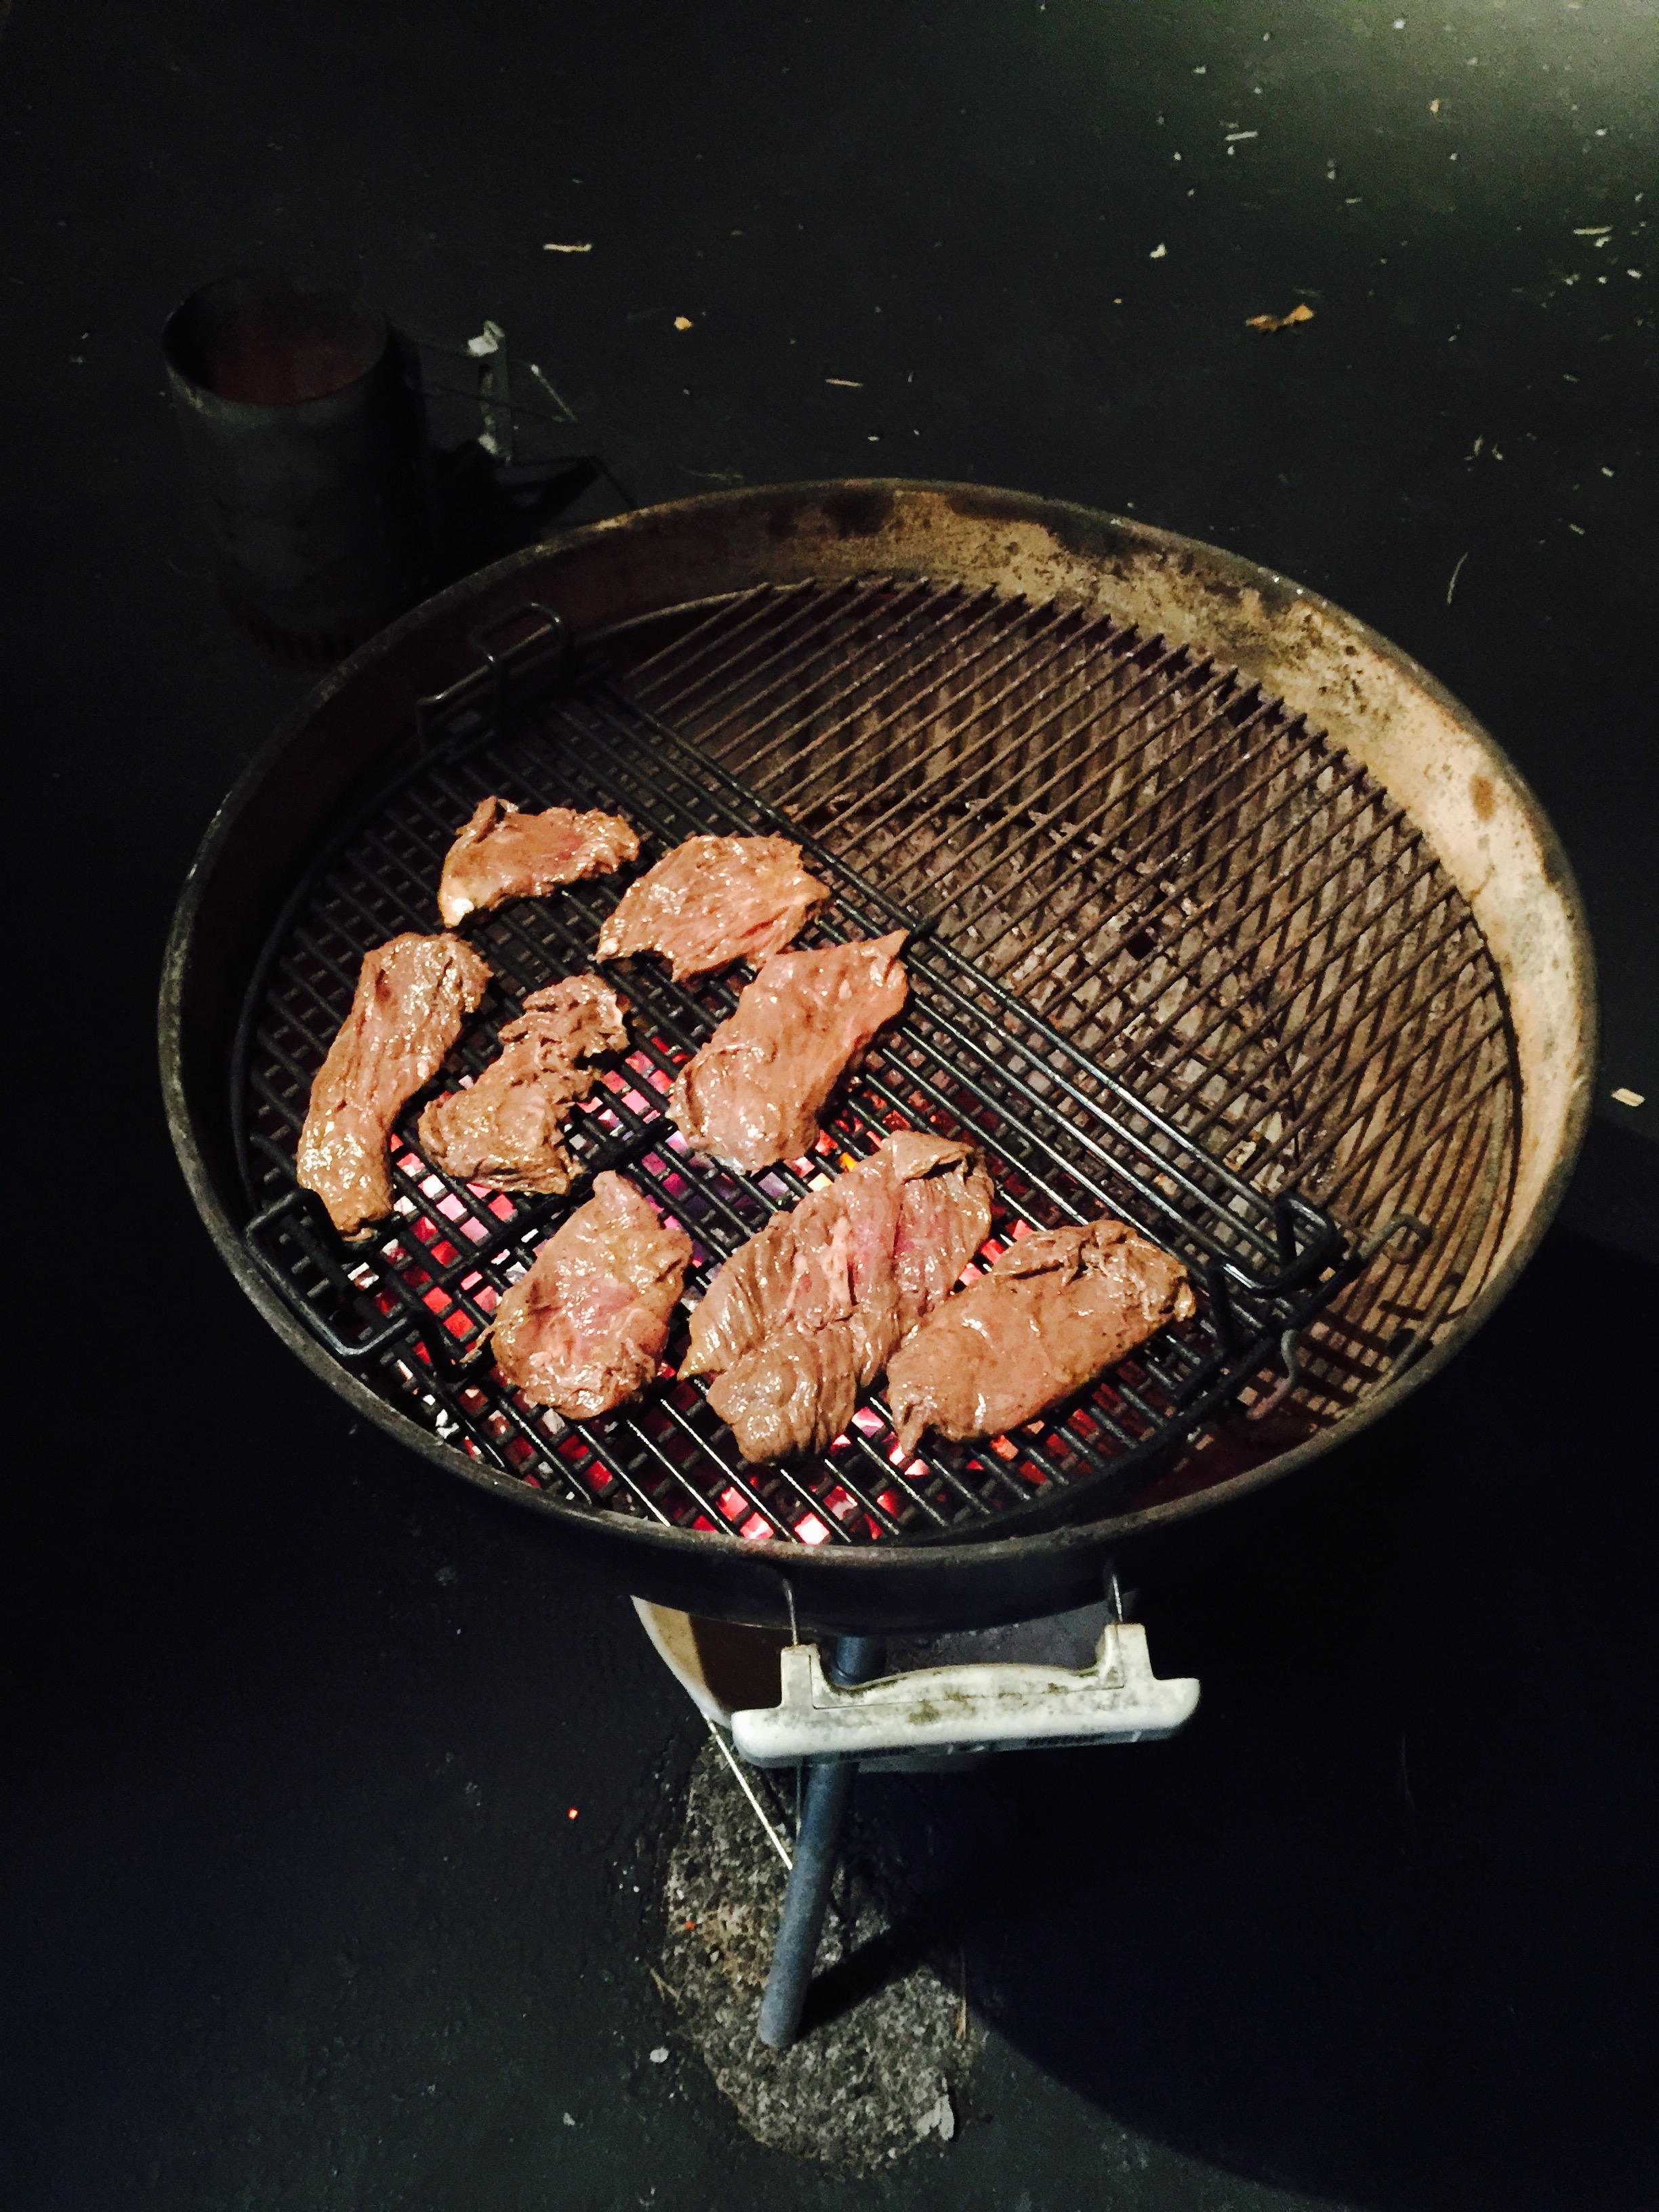
Though the beef flap is somewhat thin, I will often slice it lengthwise into two thinner pieces, because the meat’s thickness often varies, which can give you uneven cooking. I like to cook it hot and fast on a hardwood fire grill, but still keep it medium-rare. If the weather is really unforgiving, like it is right now, cooking the beef in a hot cast iron skillet works really well, too.
Marinades are the key to tenderizing and flavoring tougher or cheaper cuts of meat. What you put in your marinade really depends on what flavors you like.
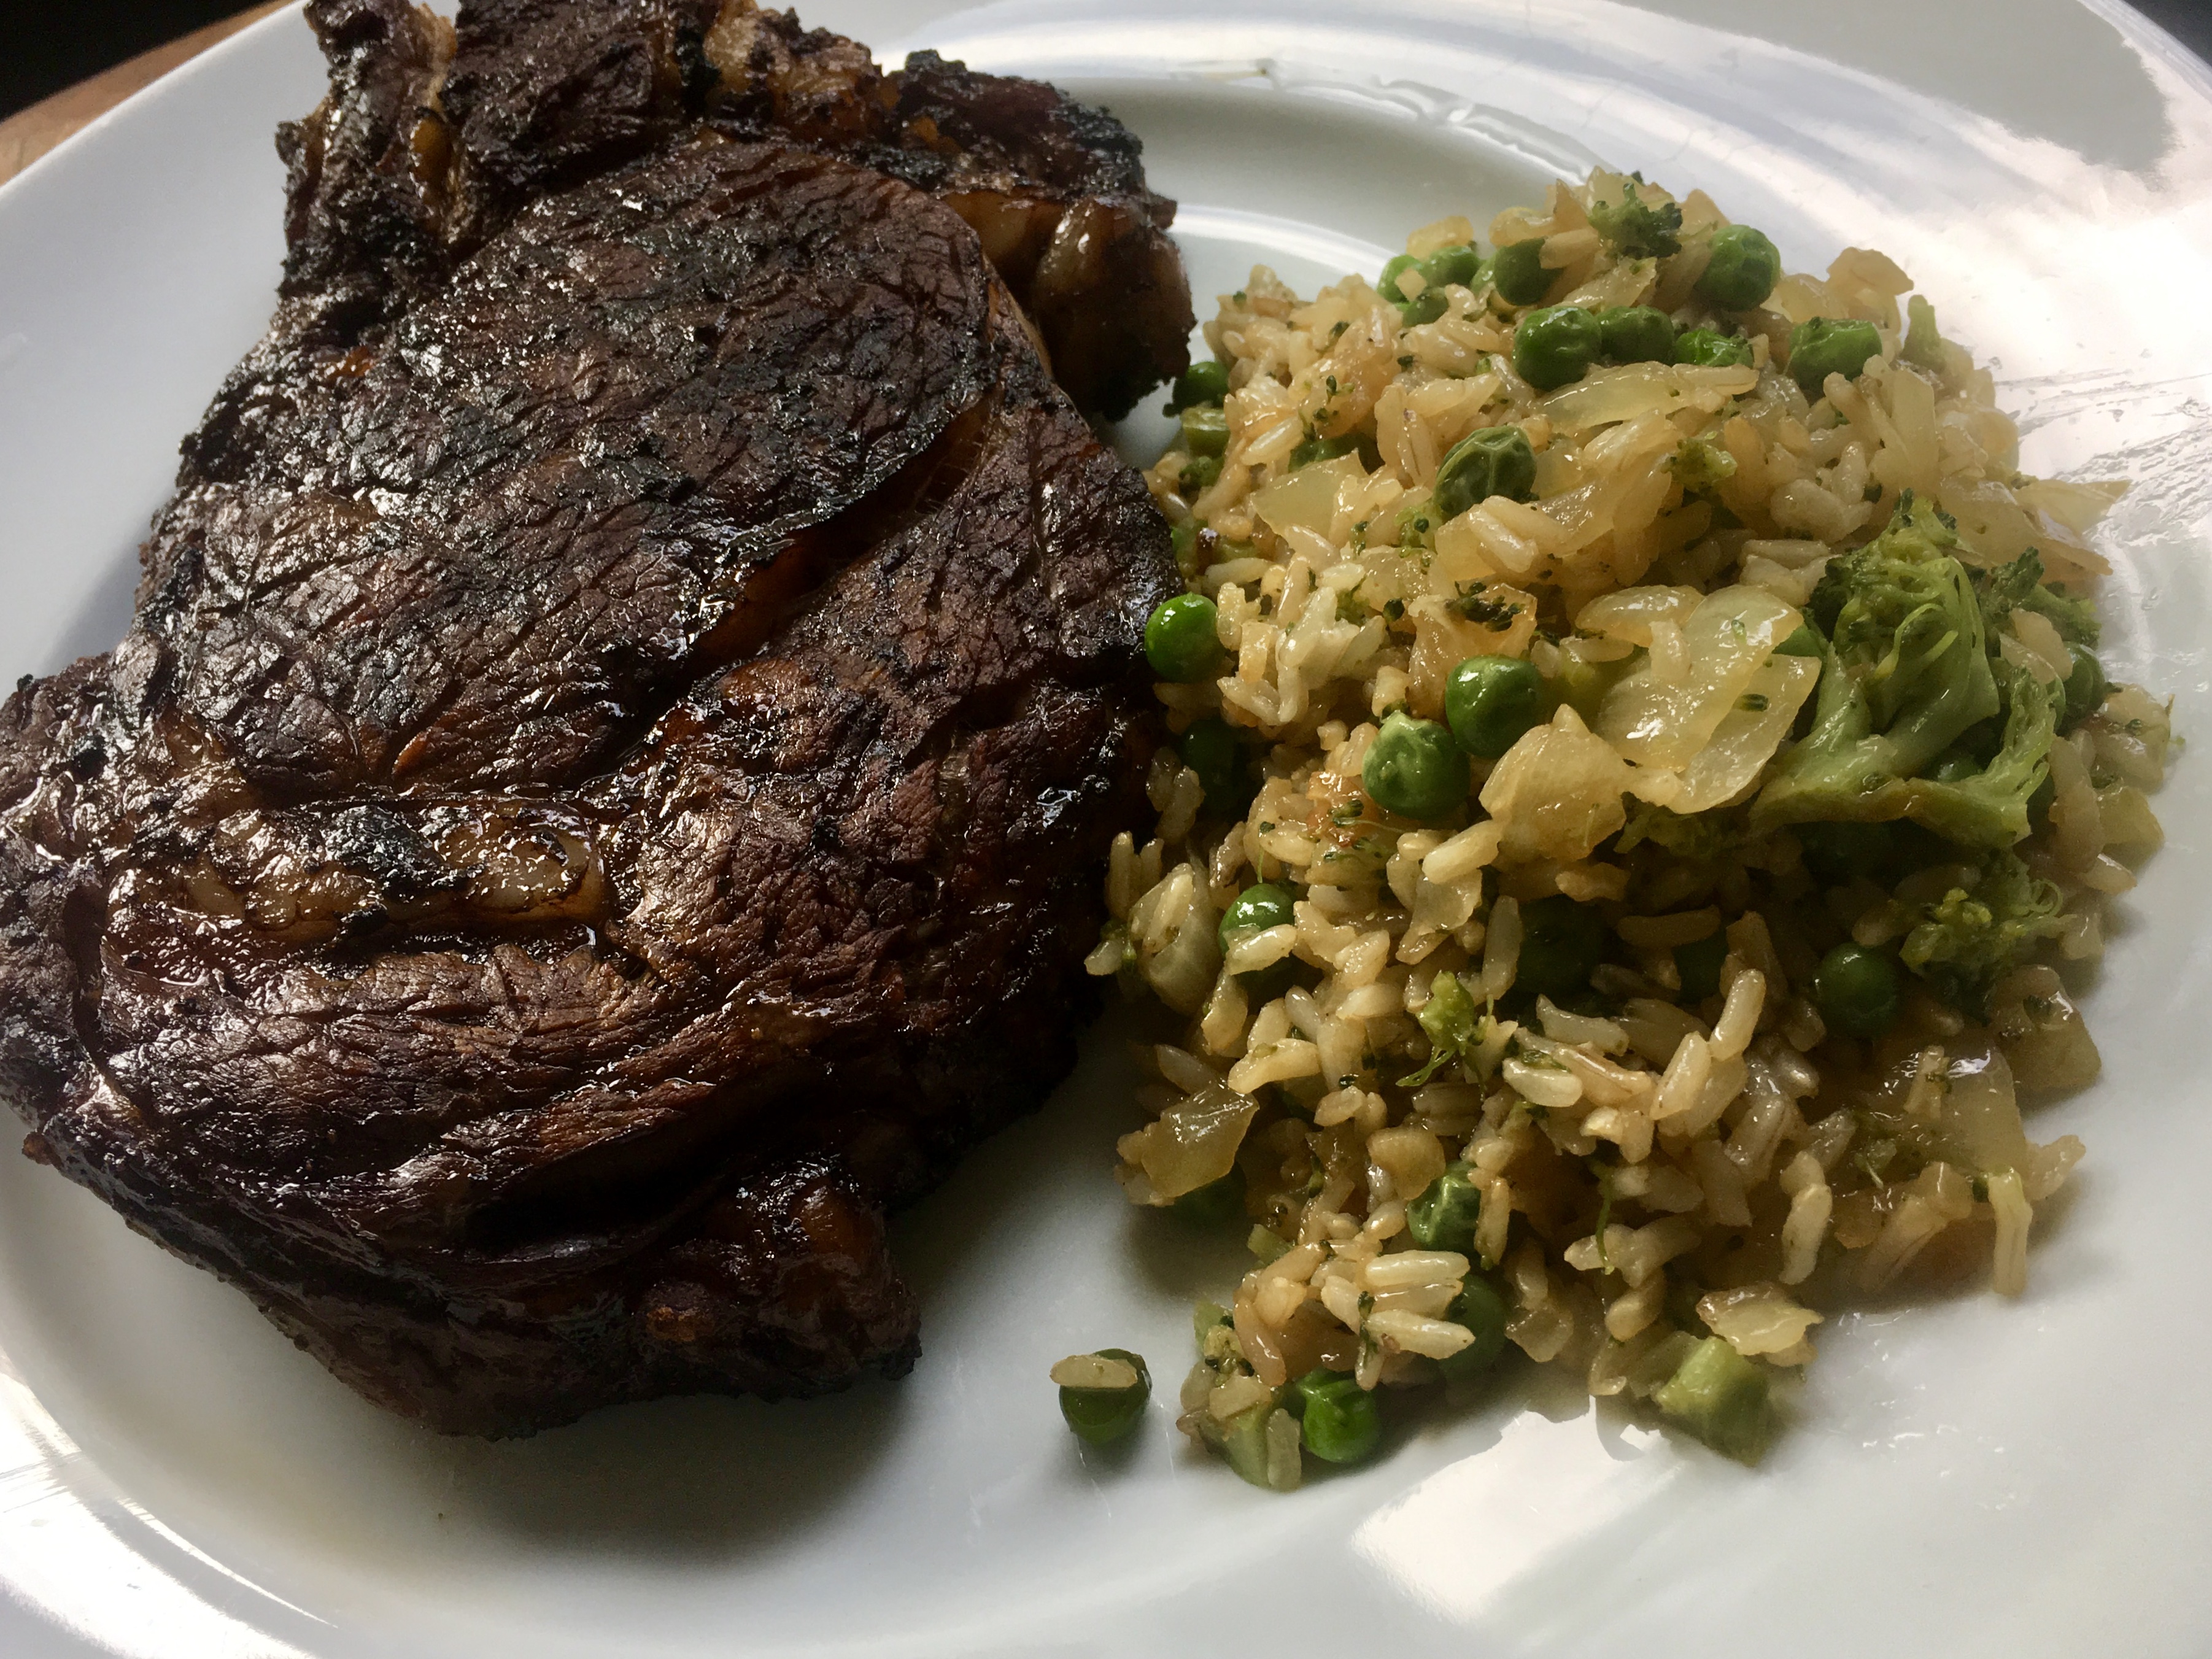
The recipes below are for 3 to 5 lbs. of beef. I always make more, because leftover marinated grilled beef makes an awesome steak and egg breakfast the next day!
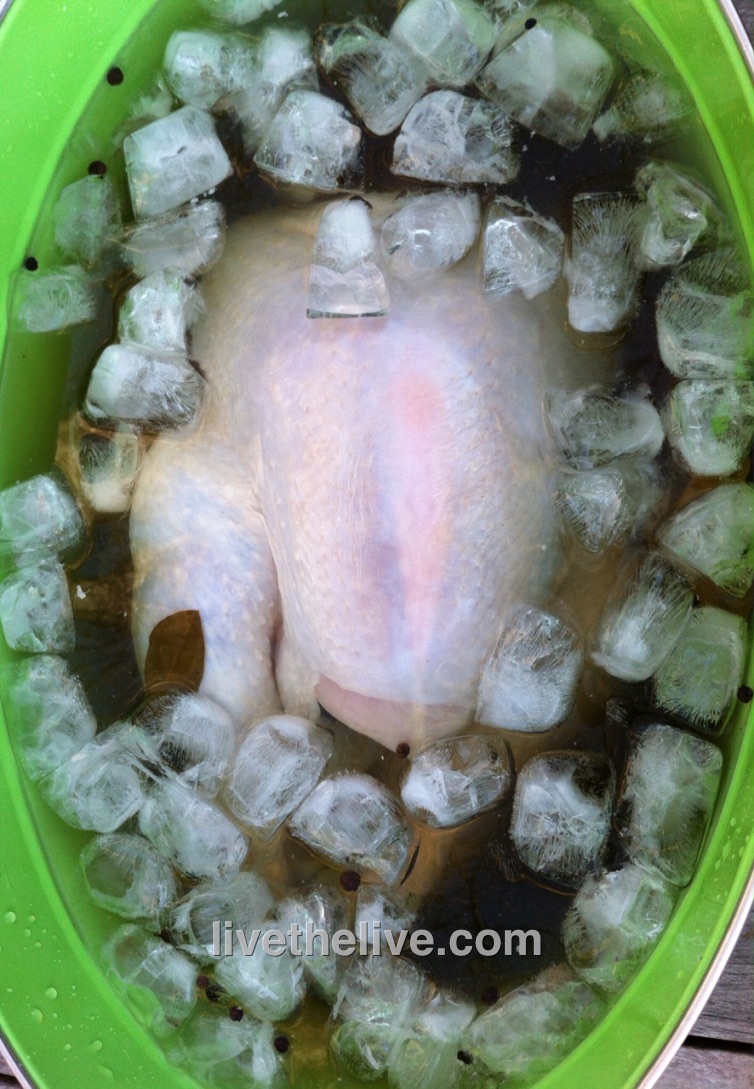
A cold night is no excuse not to grill!
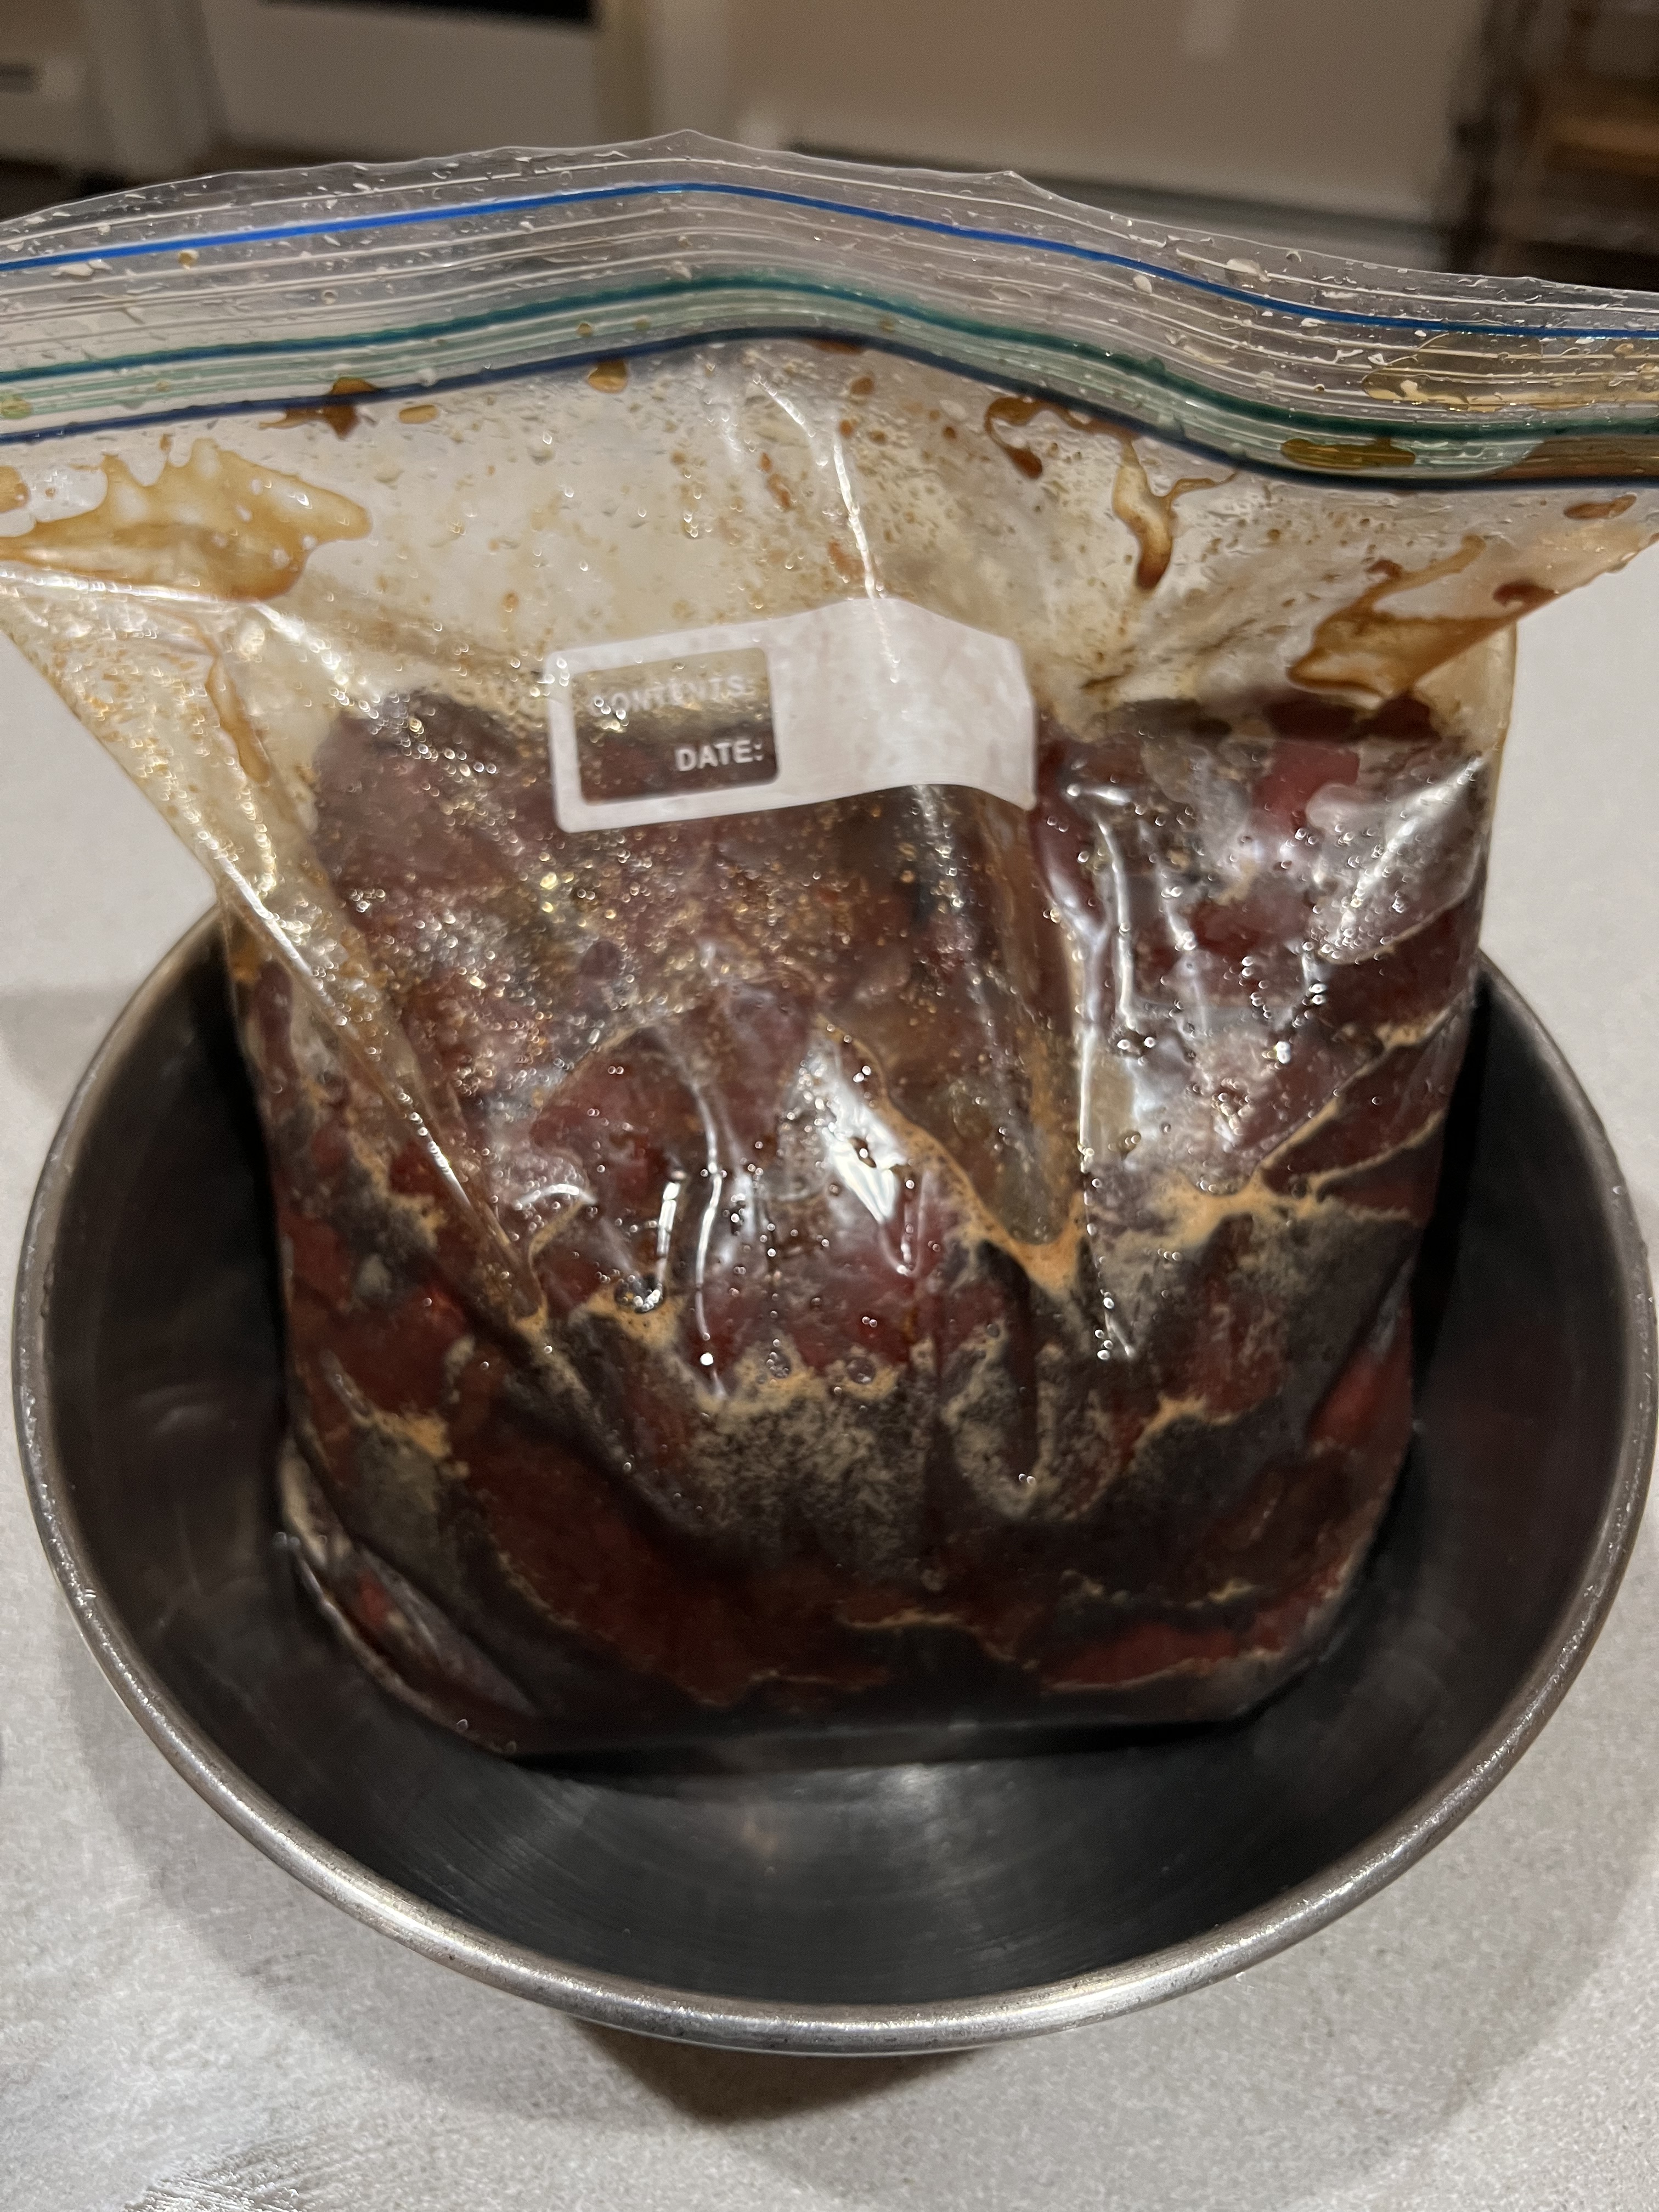
The instructions with all of these marinades is basically the same: combine all the ingredients in a bowl. Cut the beef flap (or whatever cut of meat you’re using) to a manageable size so that it fits a gallon-sized Ziploc bag easily. (Smaller, thinner pieces will also absorb the marinade better.) Place the beef in the bag, and then pour the marinade into the bag. Squeeze the excess air out and seal the bag. Gently squish the bag around so that the marinade makes contact with all the meat. Place the bag in a bowl in the fridge overnight, squishing the bag every few hours to make sure the marinade penetrates the meat. The bowl will prevent any accidents from happening in your fridge in case the bag leaks. The next day, remove the bag from the fridge and let it come to room temperature before grilling the meat. Discard the leftover marinade.
ALZ MARINADE #355
1/4 cup olive oil
1 lemon, zest and juice
1 tablespoon Worcestershire sauce
1 tablespoon soy sauce
1 teaspoon garlic salt
1 teaspoon Dijon mustard
Combine the ingredients. Marinate the meat overnight in the fridge or several hours at room temperature. Grill.

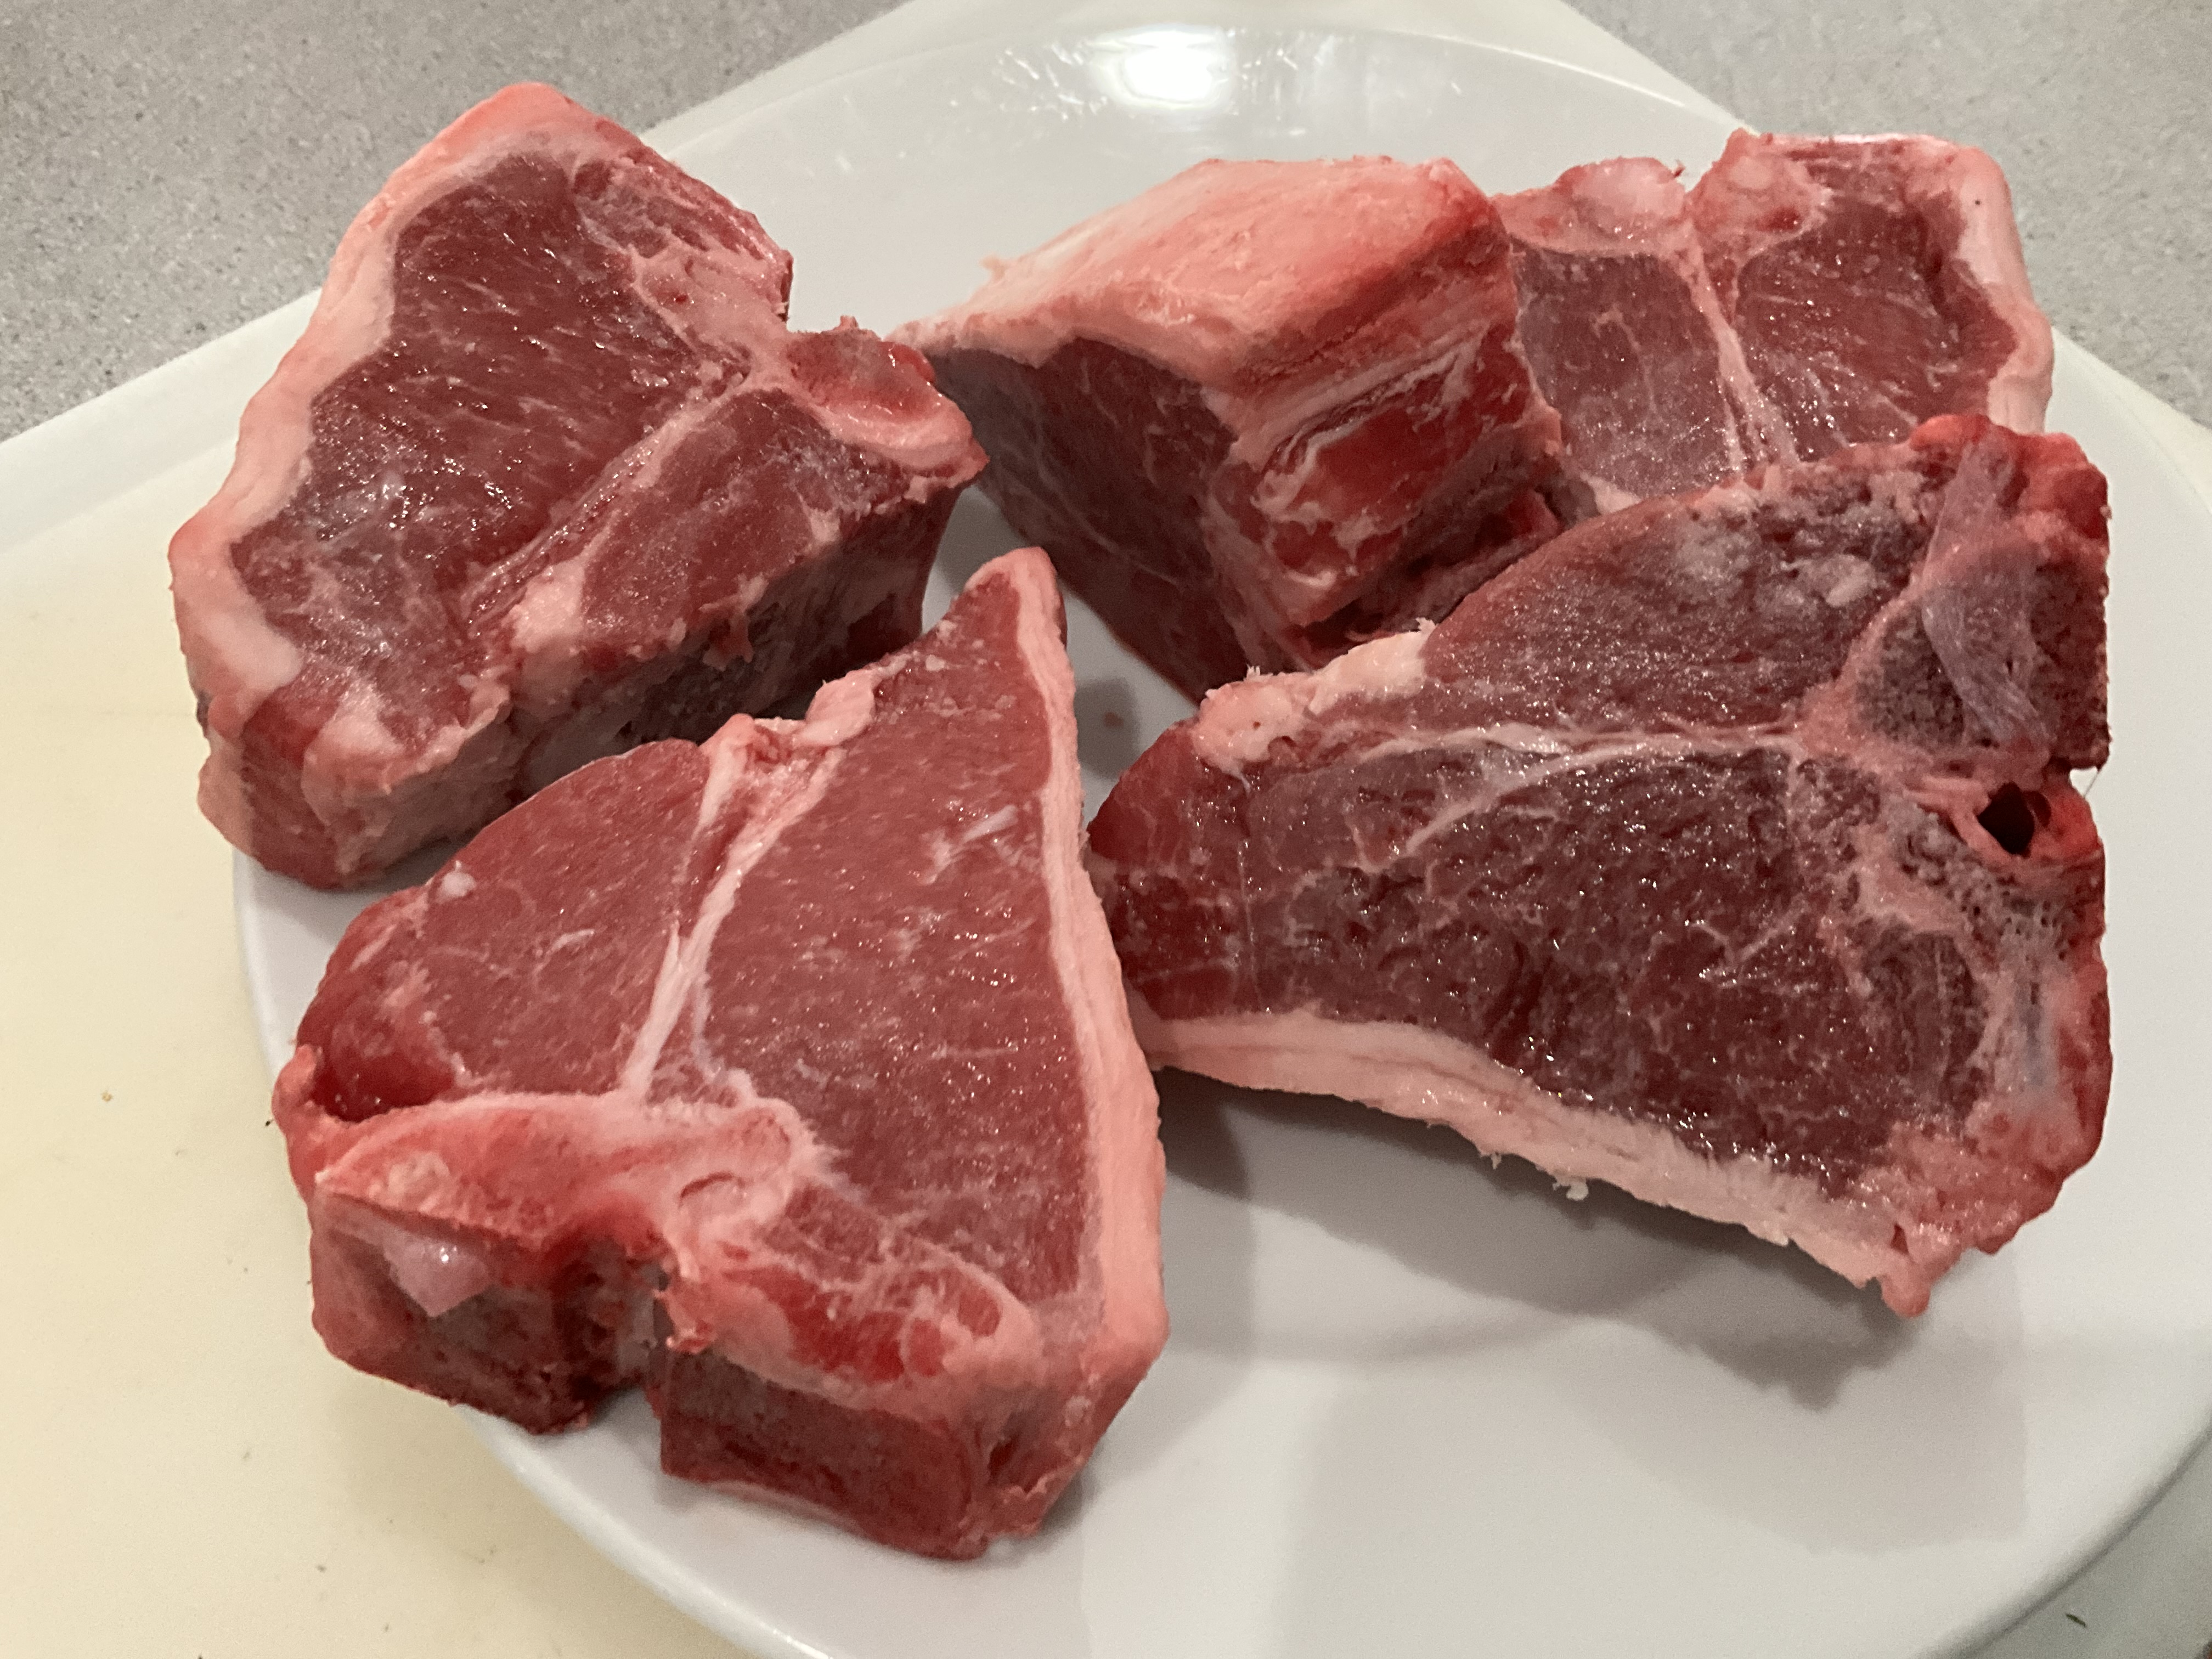
Marinating beef flap.
On the North Fork of Long Island, in the middle of wine country, there’s a restaurant that’s been around for a long time: a sort of hole-in-the-wall place you might not think twice about visiting, unless you hear that they’ve got a special secret marinade for their beef. The place is called The Elbow Room (I think they’ve expanded to a second or third location by now), and though I wasn’t impressed by the quality of their beef, I was impressed with its flavor. Here, with the help of friends, is what we think comes as close to that marinade as we can get. Gravymaster is a product you can find in any supermarket, usually in the gravy section. This marinade also works well with beef tips or a London broil.

1 cup soy sauce
1/4 cup Gravymaster
2 large Vidalia onions
2 cloves of garlic
2 teaspoons celery seed
1/2 teaspoon black pepper
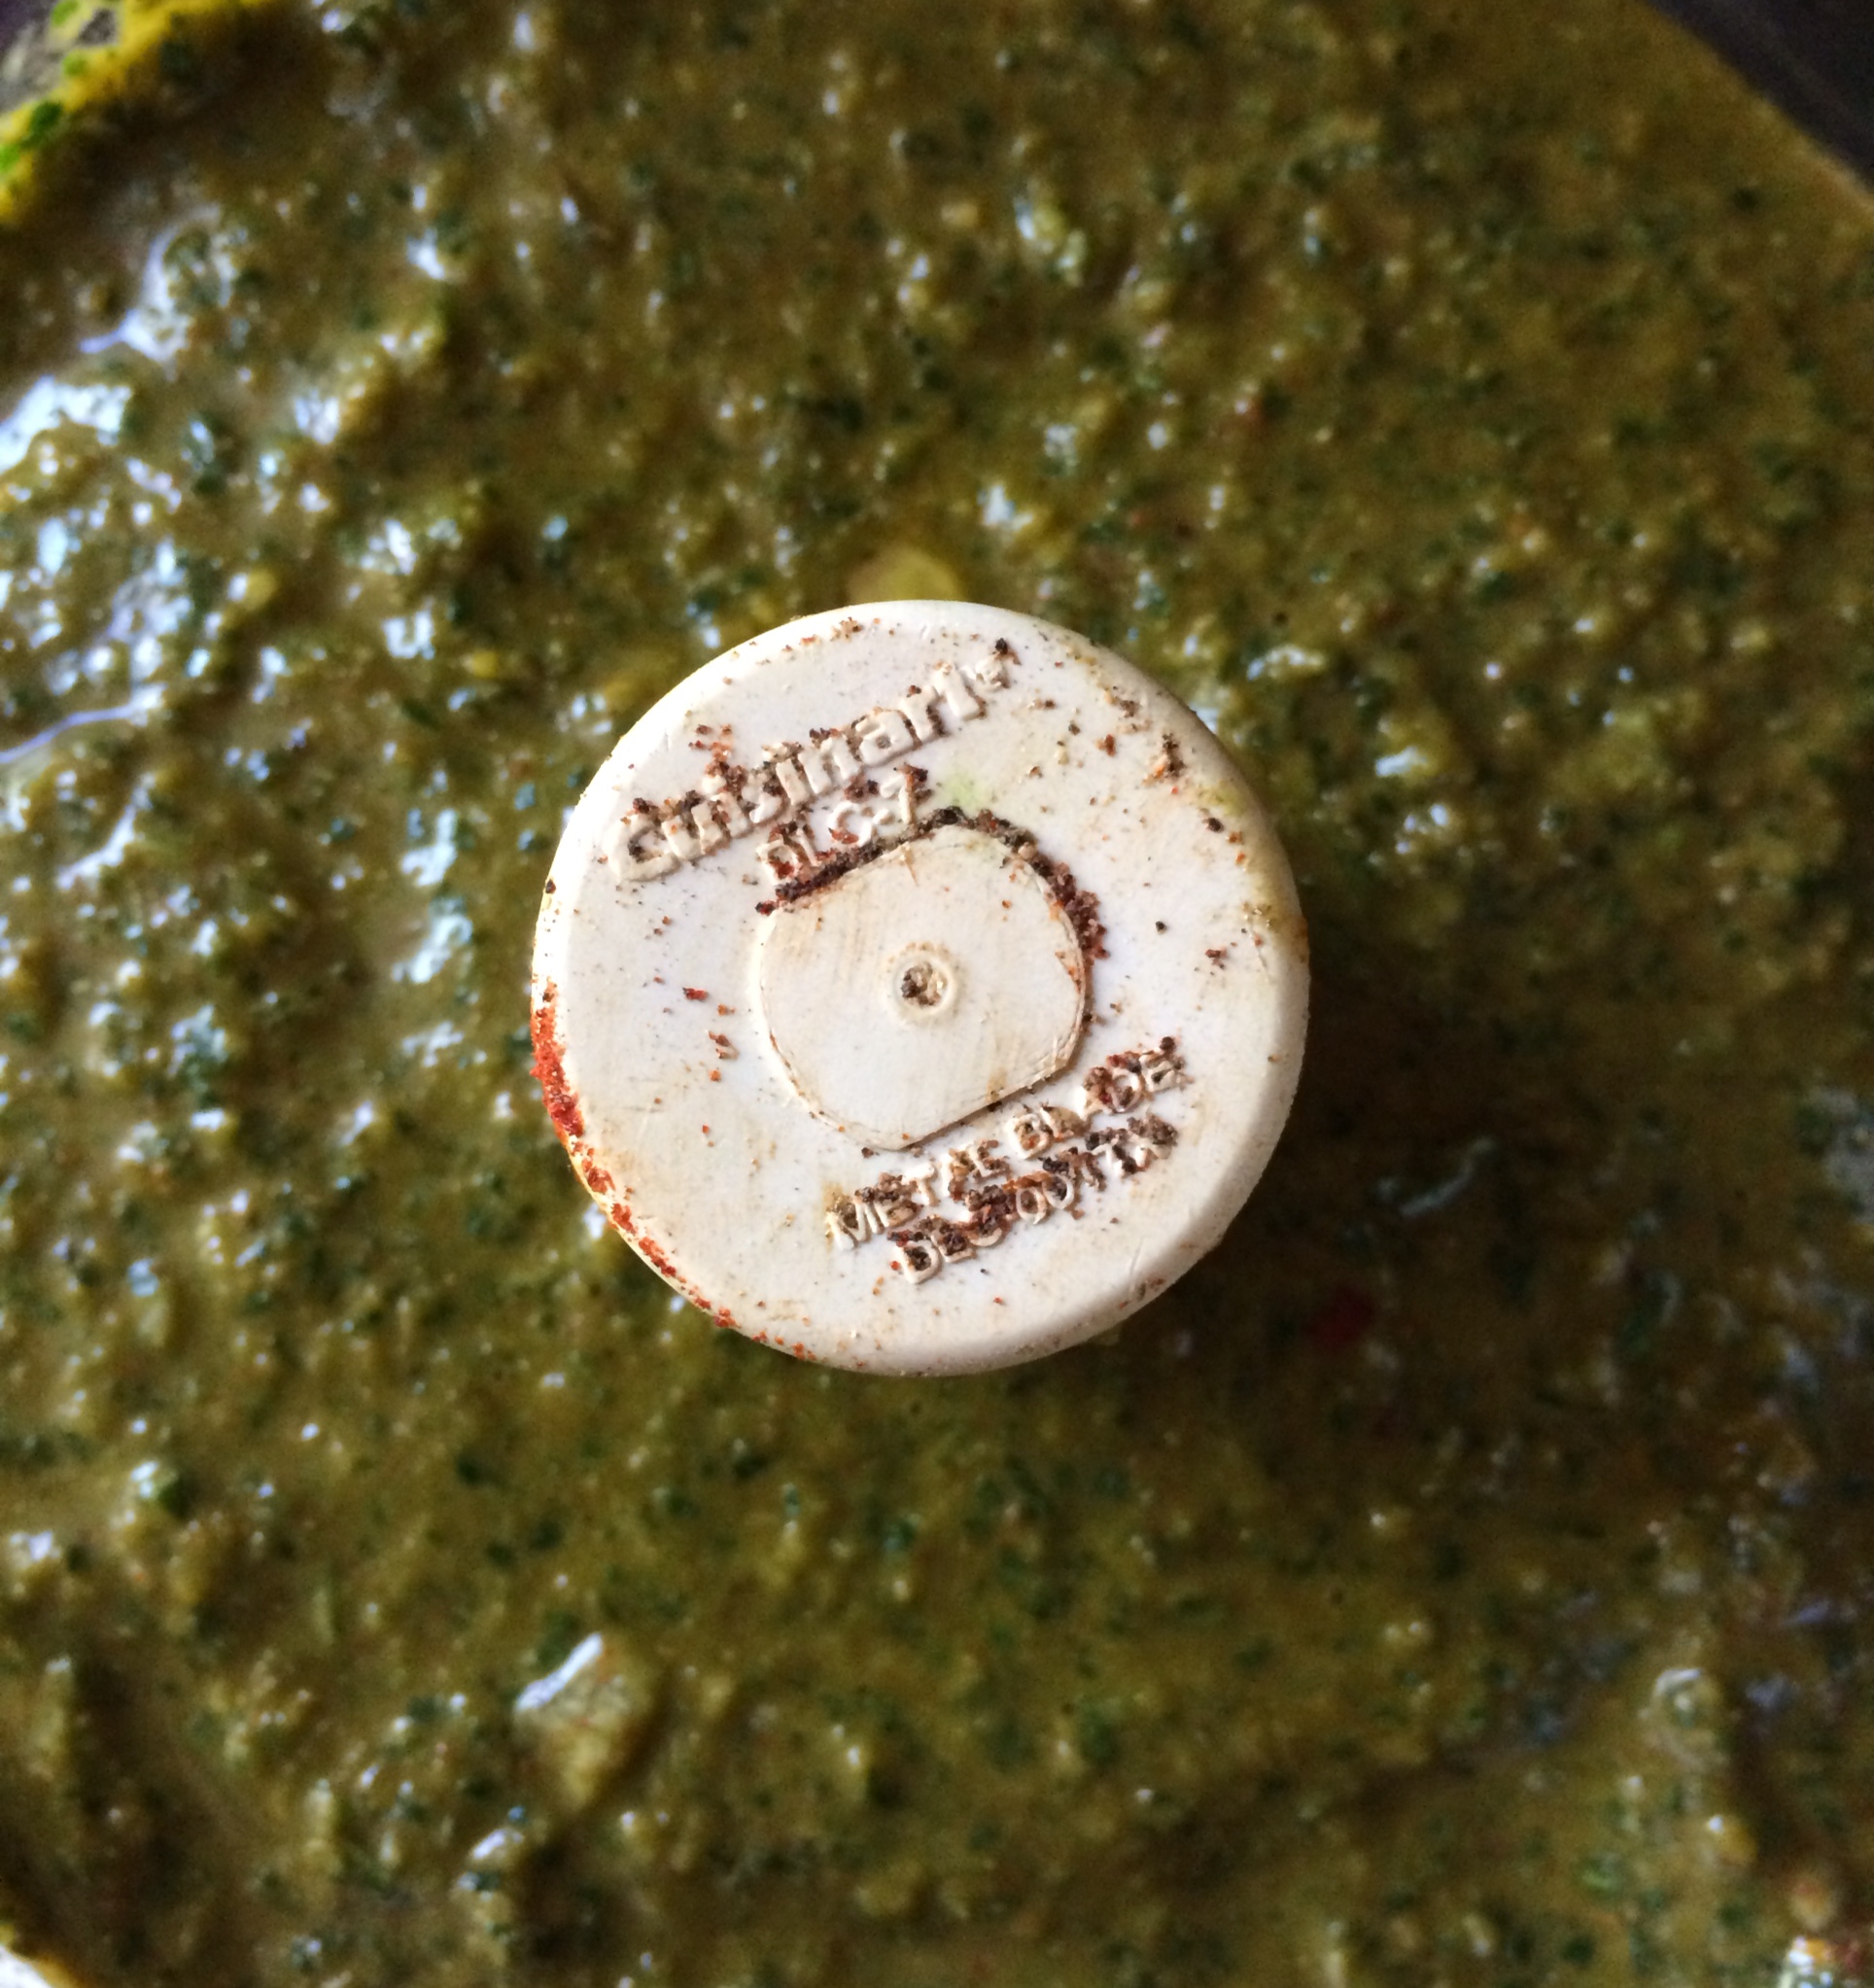
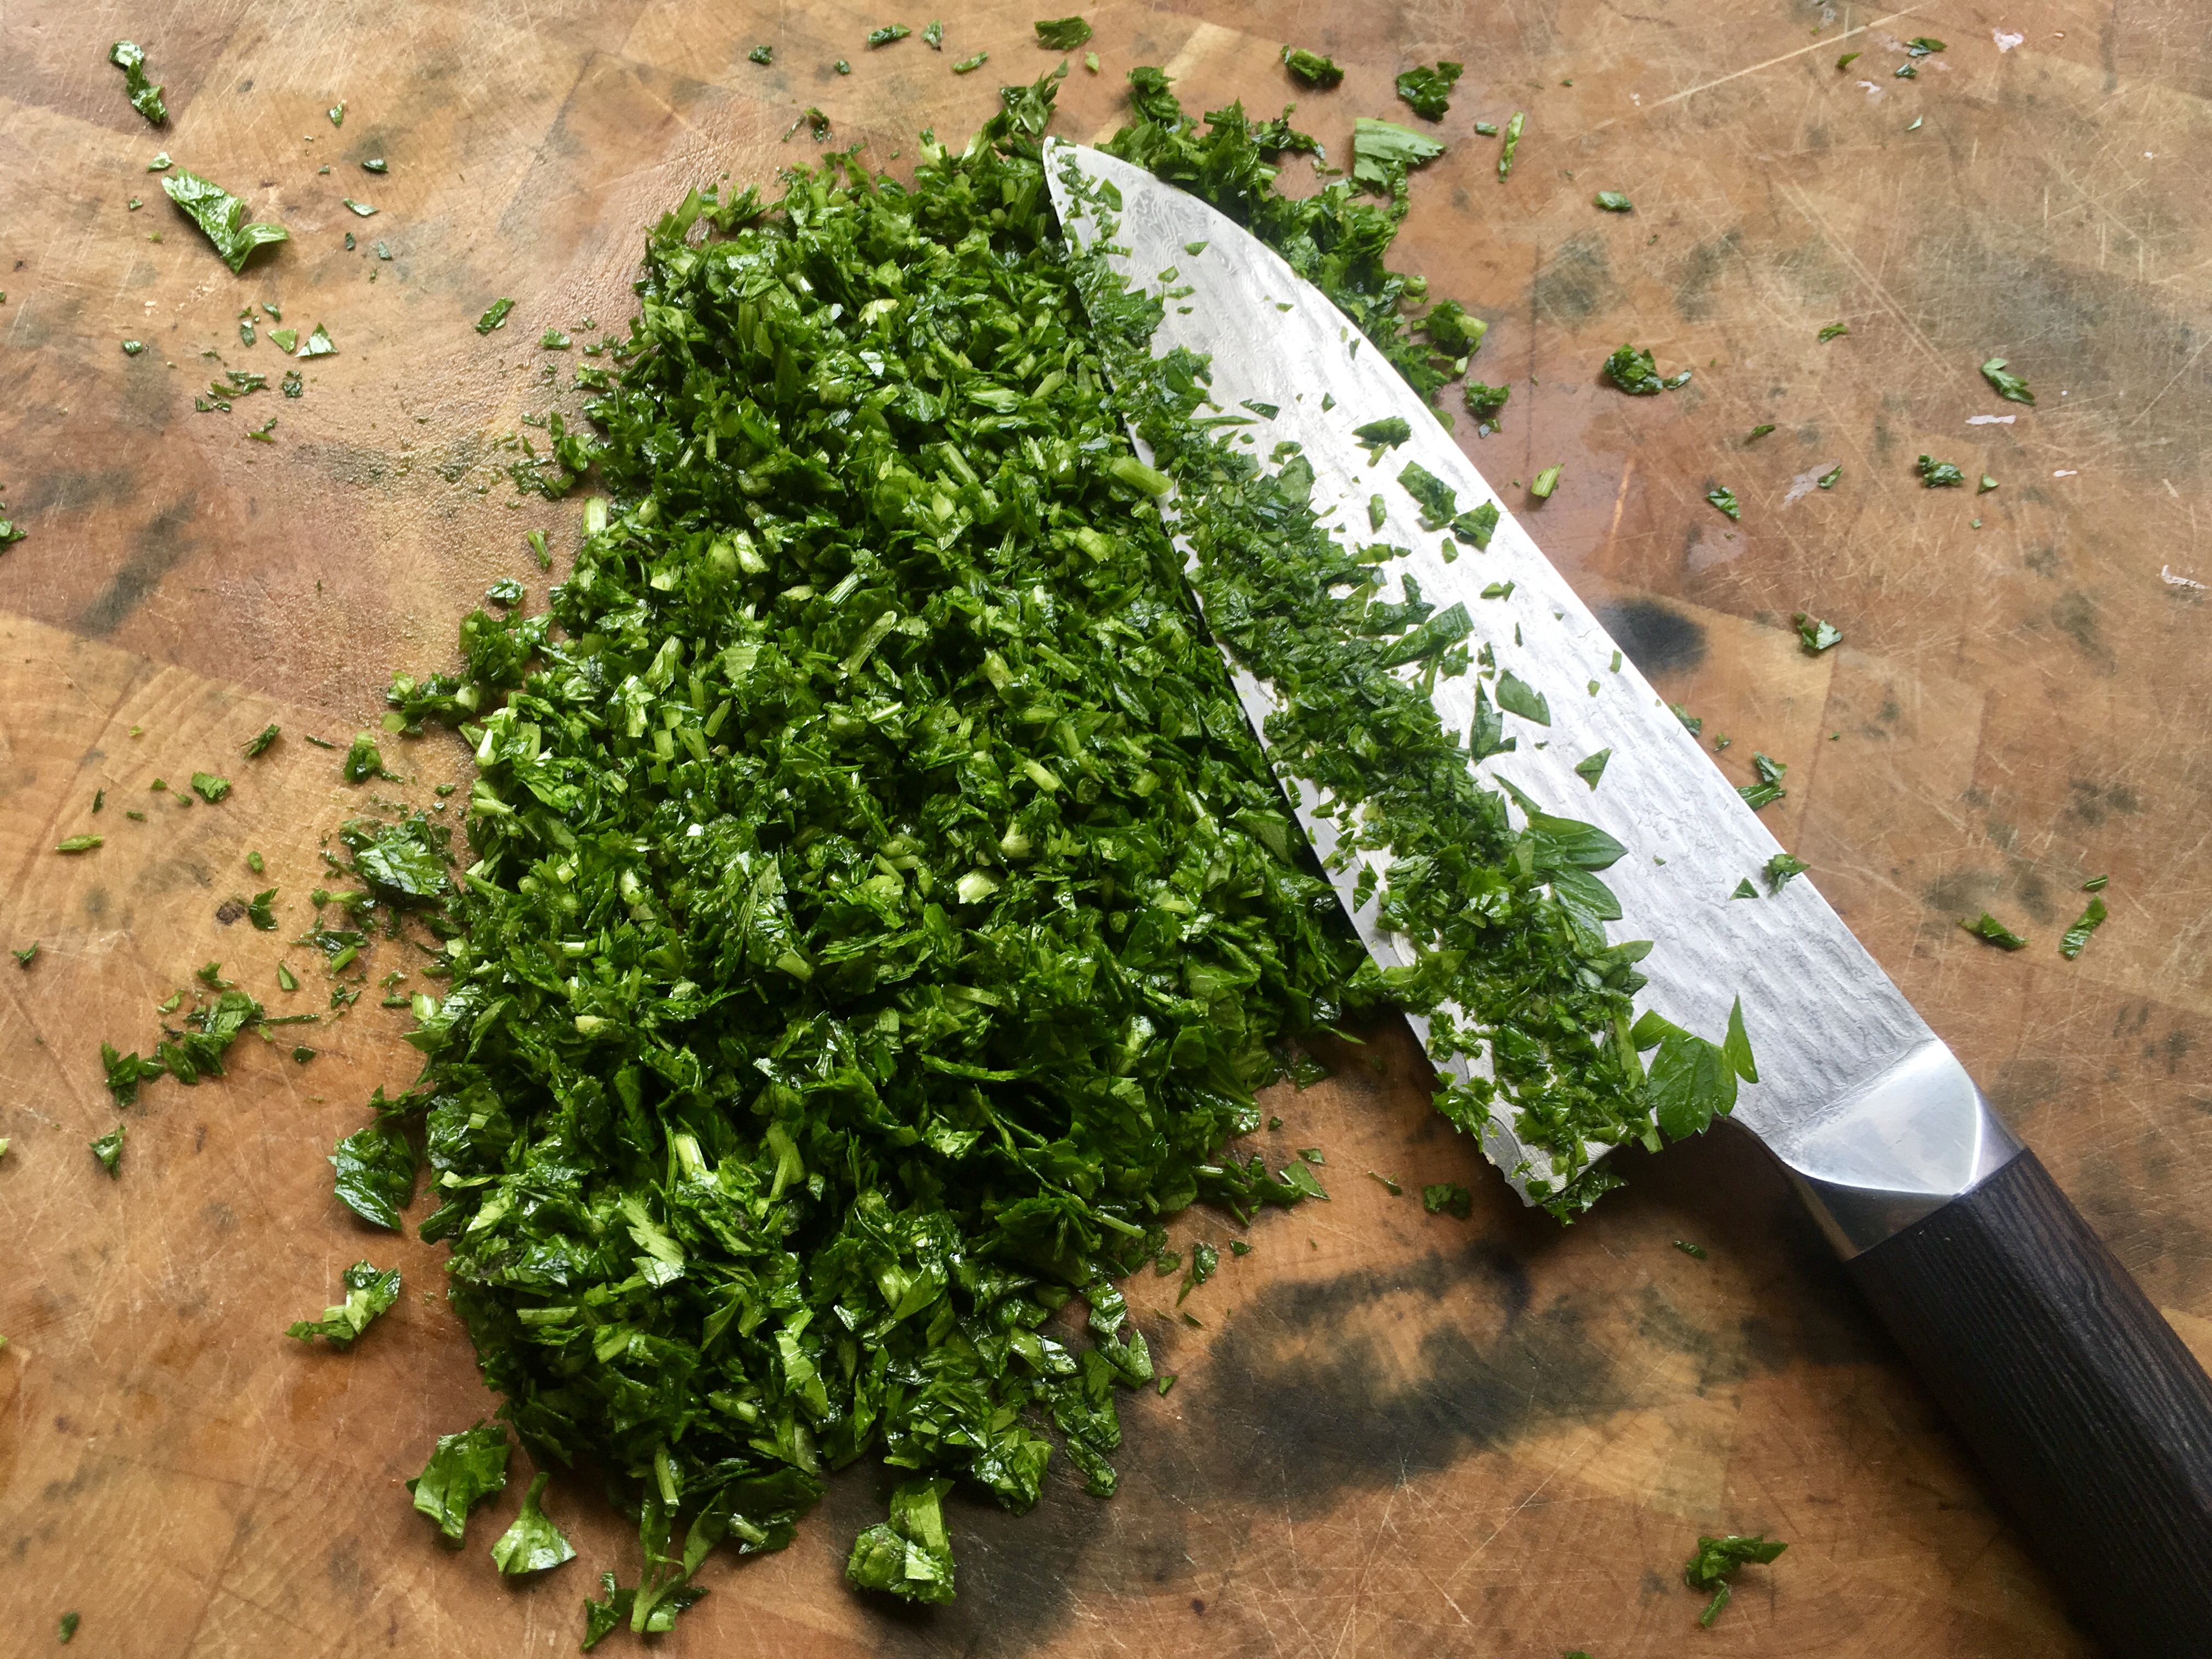
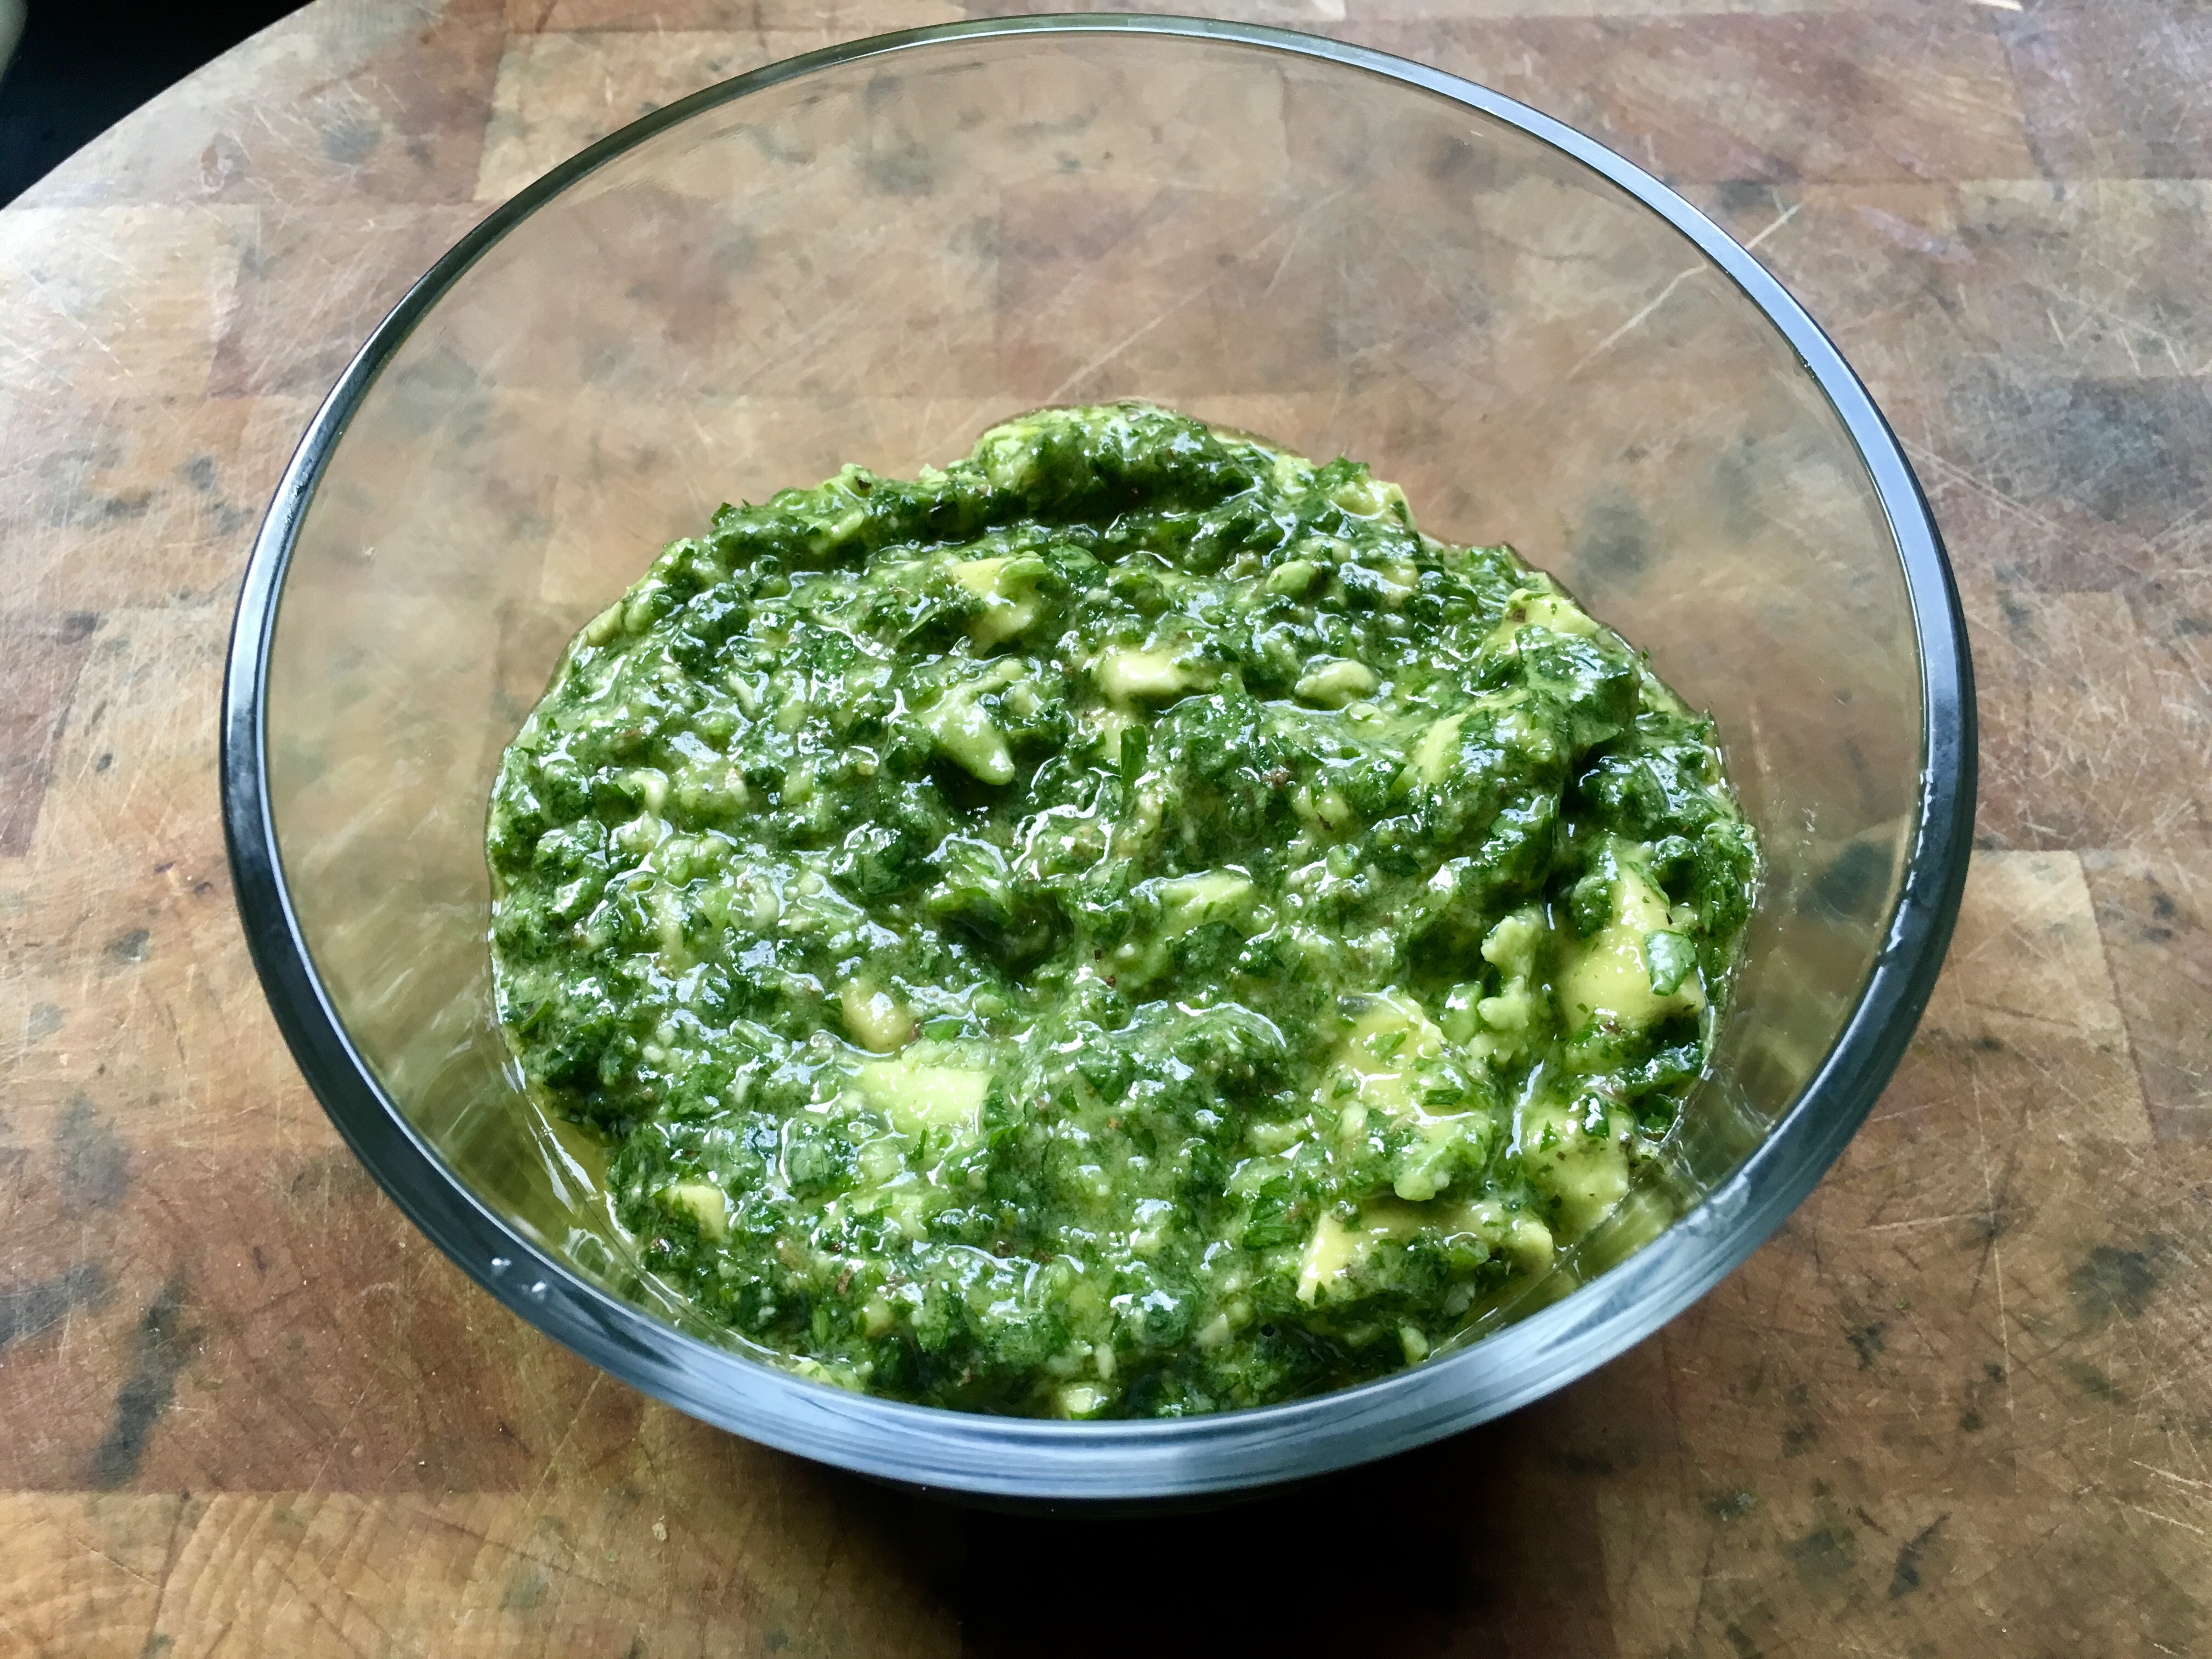
Combine the onions and garlic in a large food processor and purée. Add the remaining ingredients and run the processor until it’s smooth and sort of resembles root beer (below.)

Marinate the meat overnight in the fridge or for several hours at room temperature. Grill. Awesome with beef sirloin tips (below.)

This incredibly simple marinade falls into the “Italian” category. You could almost use it as an Italian dressing on salads, but it works really well as a marinade for beef.
1/2 cup olive oil
1/4 cup balsamic vinegar
2 teaspoons Kosher salt
1 teaspoon pepper
The balsamic vinegar I use is not the expensive aged stuff that costs a fortune. It’s the $9-a-bottle stuff you can find in any supermarket. Simply combine the ingredients. Marinate the meat in the fridge overnight or for several hours at room temperature. Grill.