Archive for the ‘Recipes’ Category

I don’t have the patience to boil Mason jars and lids and all that. But I love me my pickles, especially when this year’s garden cranked out cucumbers in record numbers!

This is such an easy way to make great pickles, it’s almost unbelievable…and no water is needed! The salt extracts just enough moisture, like when curing meat, to make it work. This method works great if you want fresh pickles to eat immediately, but if you want to keep them for longer periods of time, you’ll have to go back to the old tried-and-true methods.

Fortunately for me, I devour these pickles as soon as they’re ready!

I originally used a plastic bag for this, but a plastic container also works well. Use what you have.
pickles

fresh cucumbers
sea salt or Kosher salt
a handful of fresh dill
a couple of cloves of garlic, thinly sliced

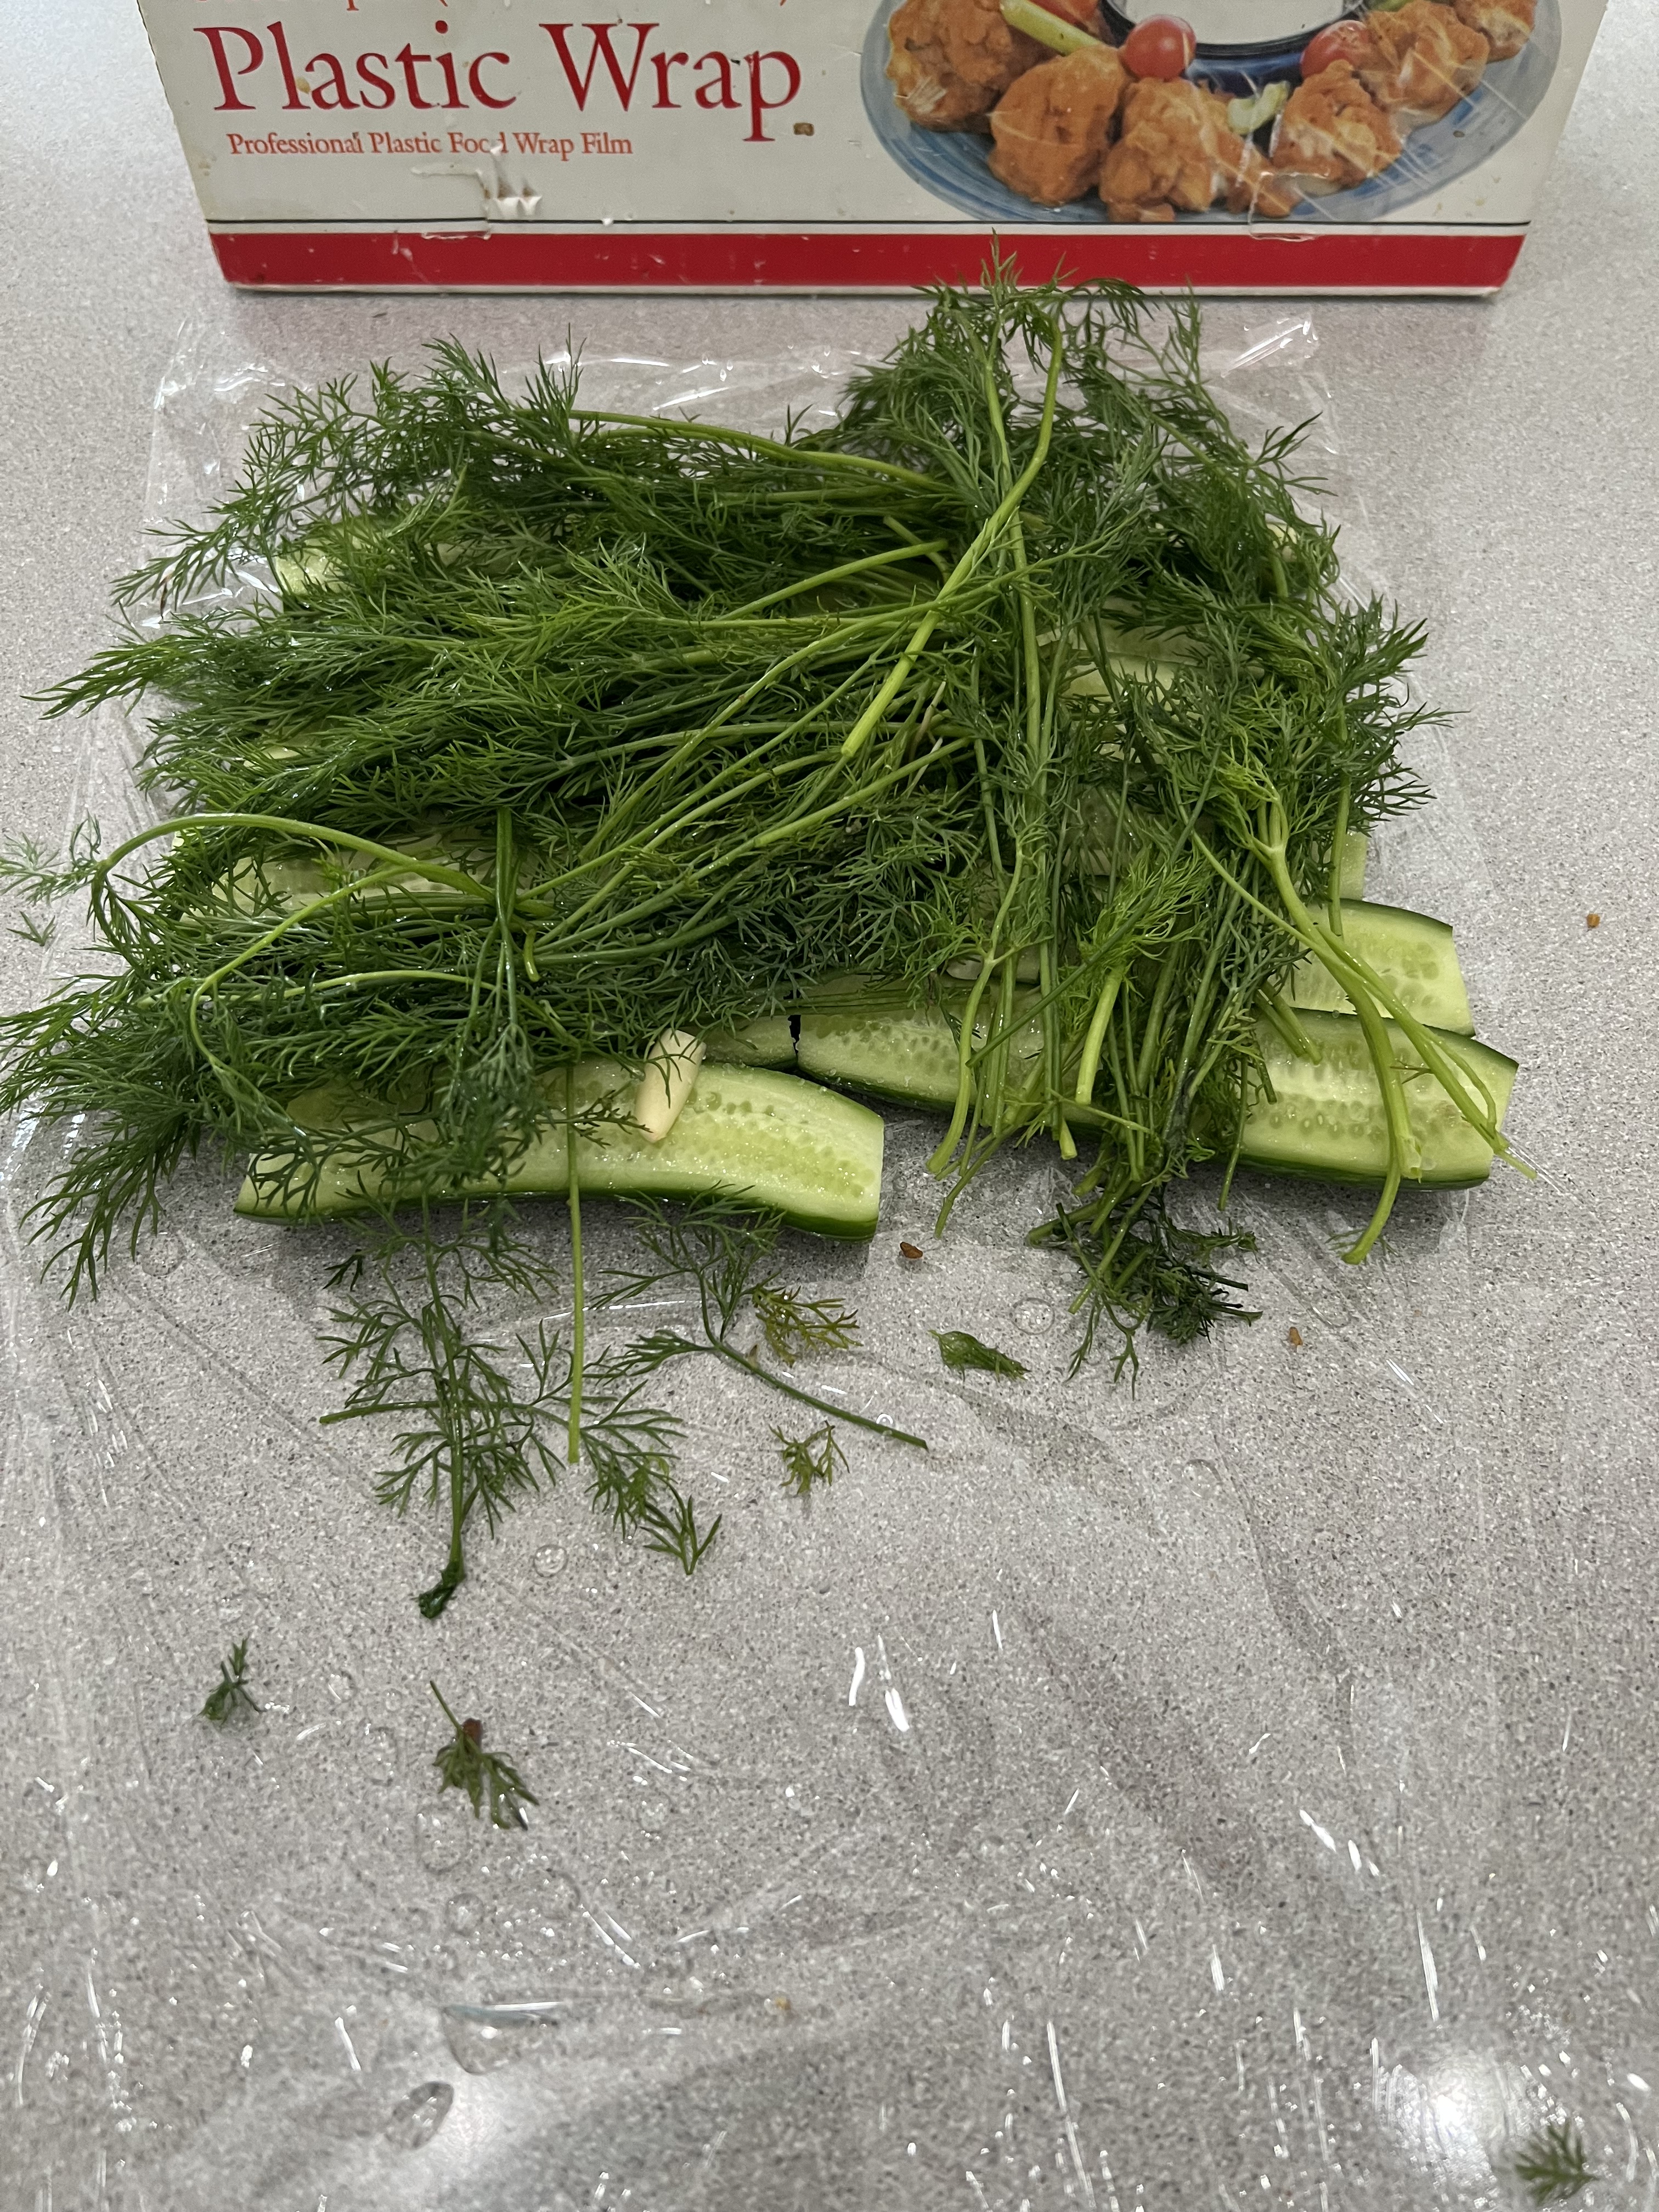
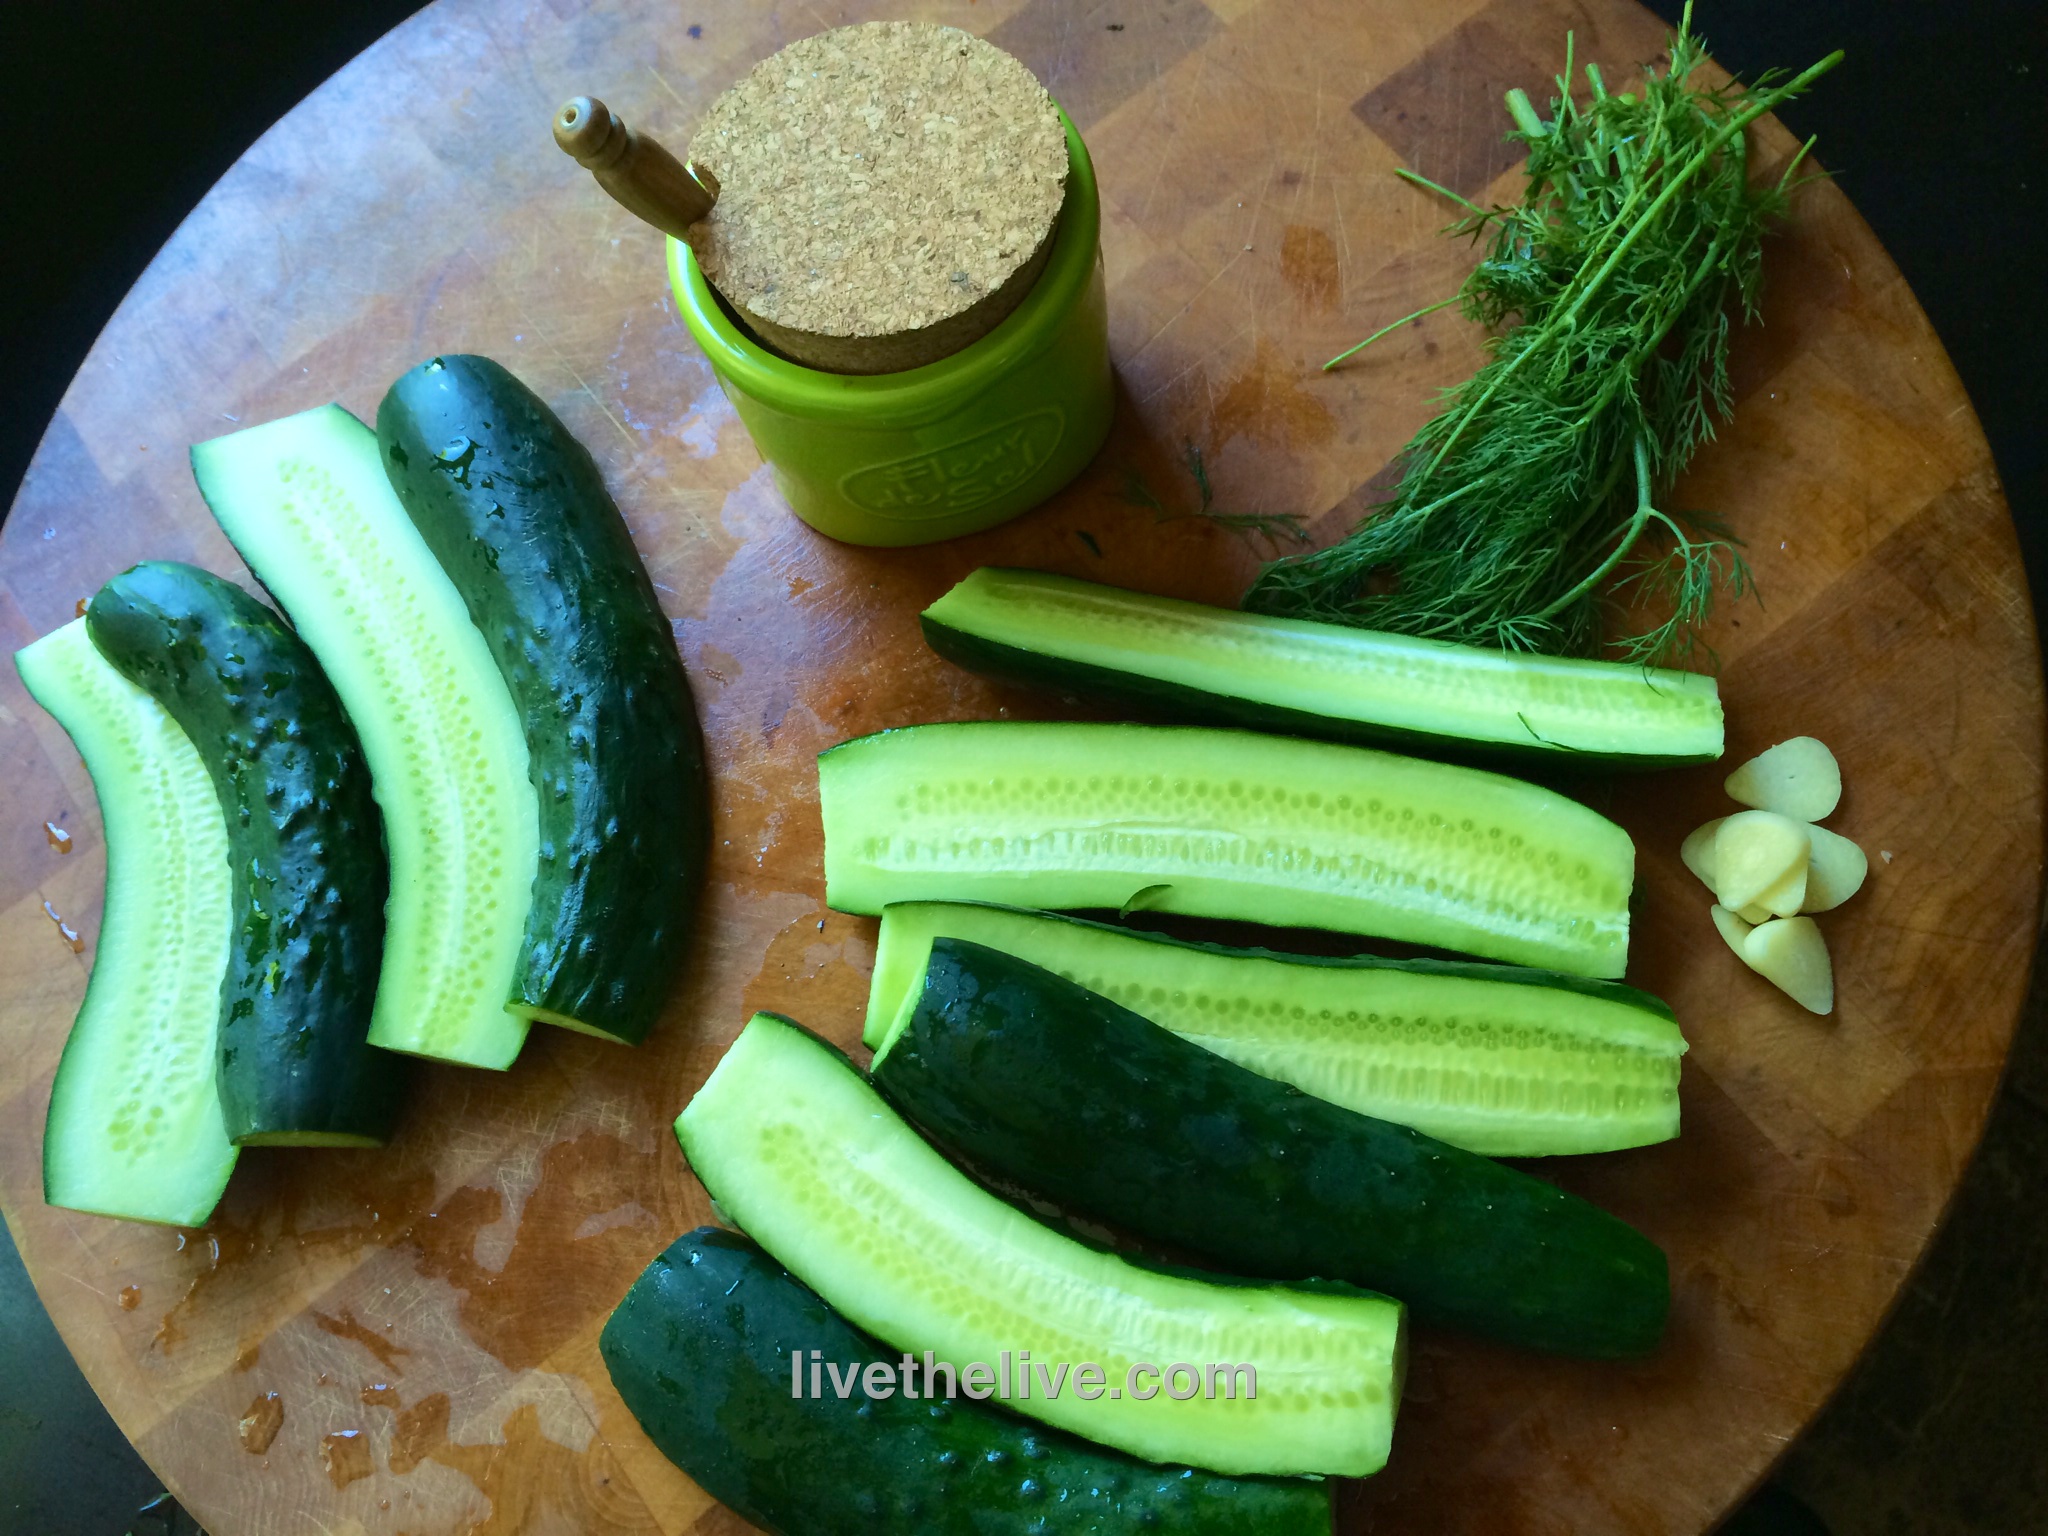
Cut the ends off the cucumbers and then slice them lengthwise, in half or in quarters. Lay them neatly next to each other in one layer in a container, or on a piece of plastic wrap, skin-side down. Sprinkle the salt over the cucumbers. Sprinkle some of the chopped garlic on top. Then, tear off some fresh dill and lay it to cover the pickles.

If using a container, you should be able to get a second row of pickles on top of the first, again sprinkling with the salt, garlic, and topping with dill.

Placing the lid on the container, squeeze out as much air out of the container as you can.

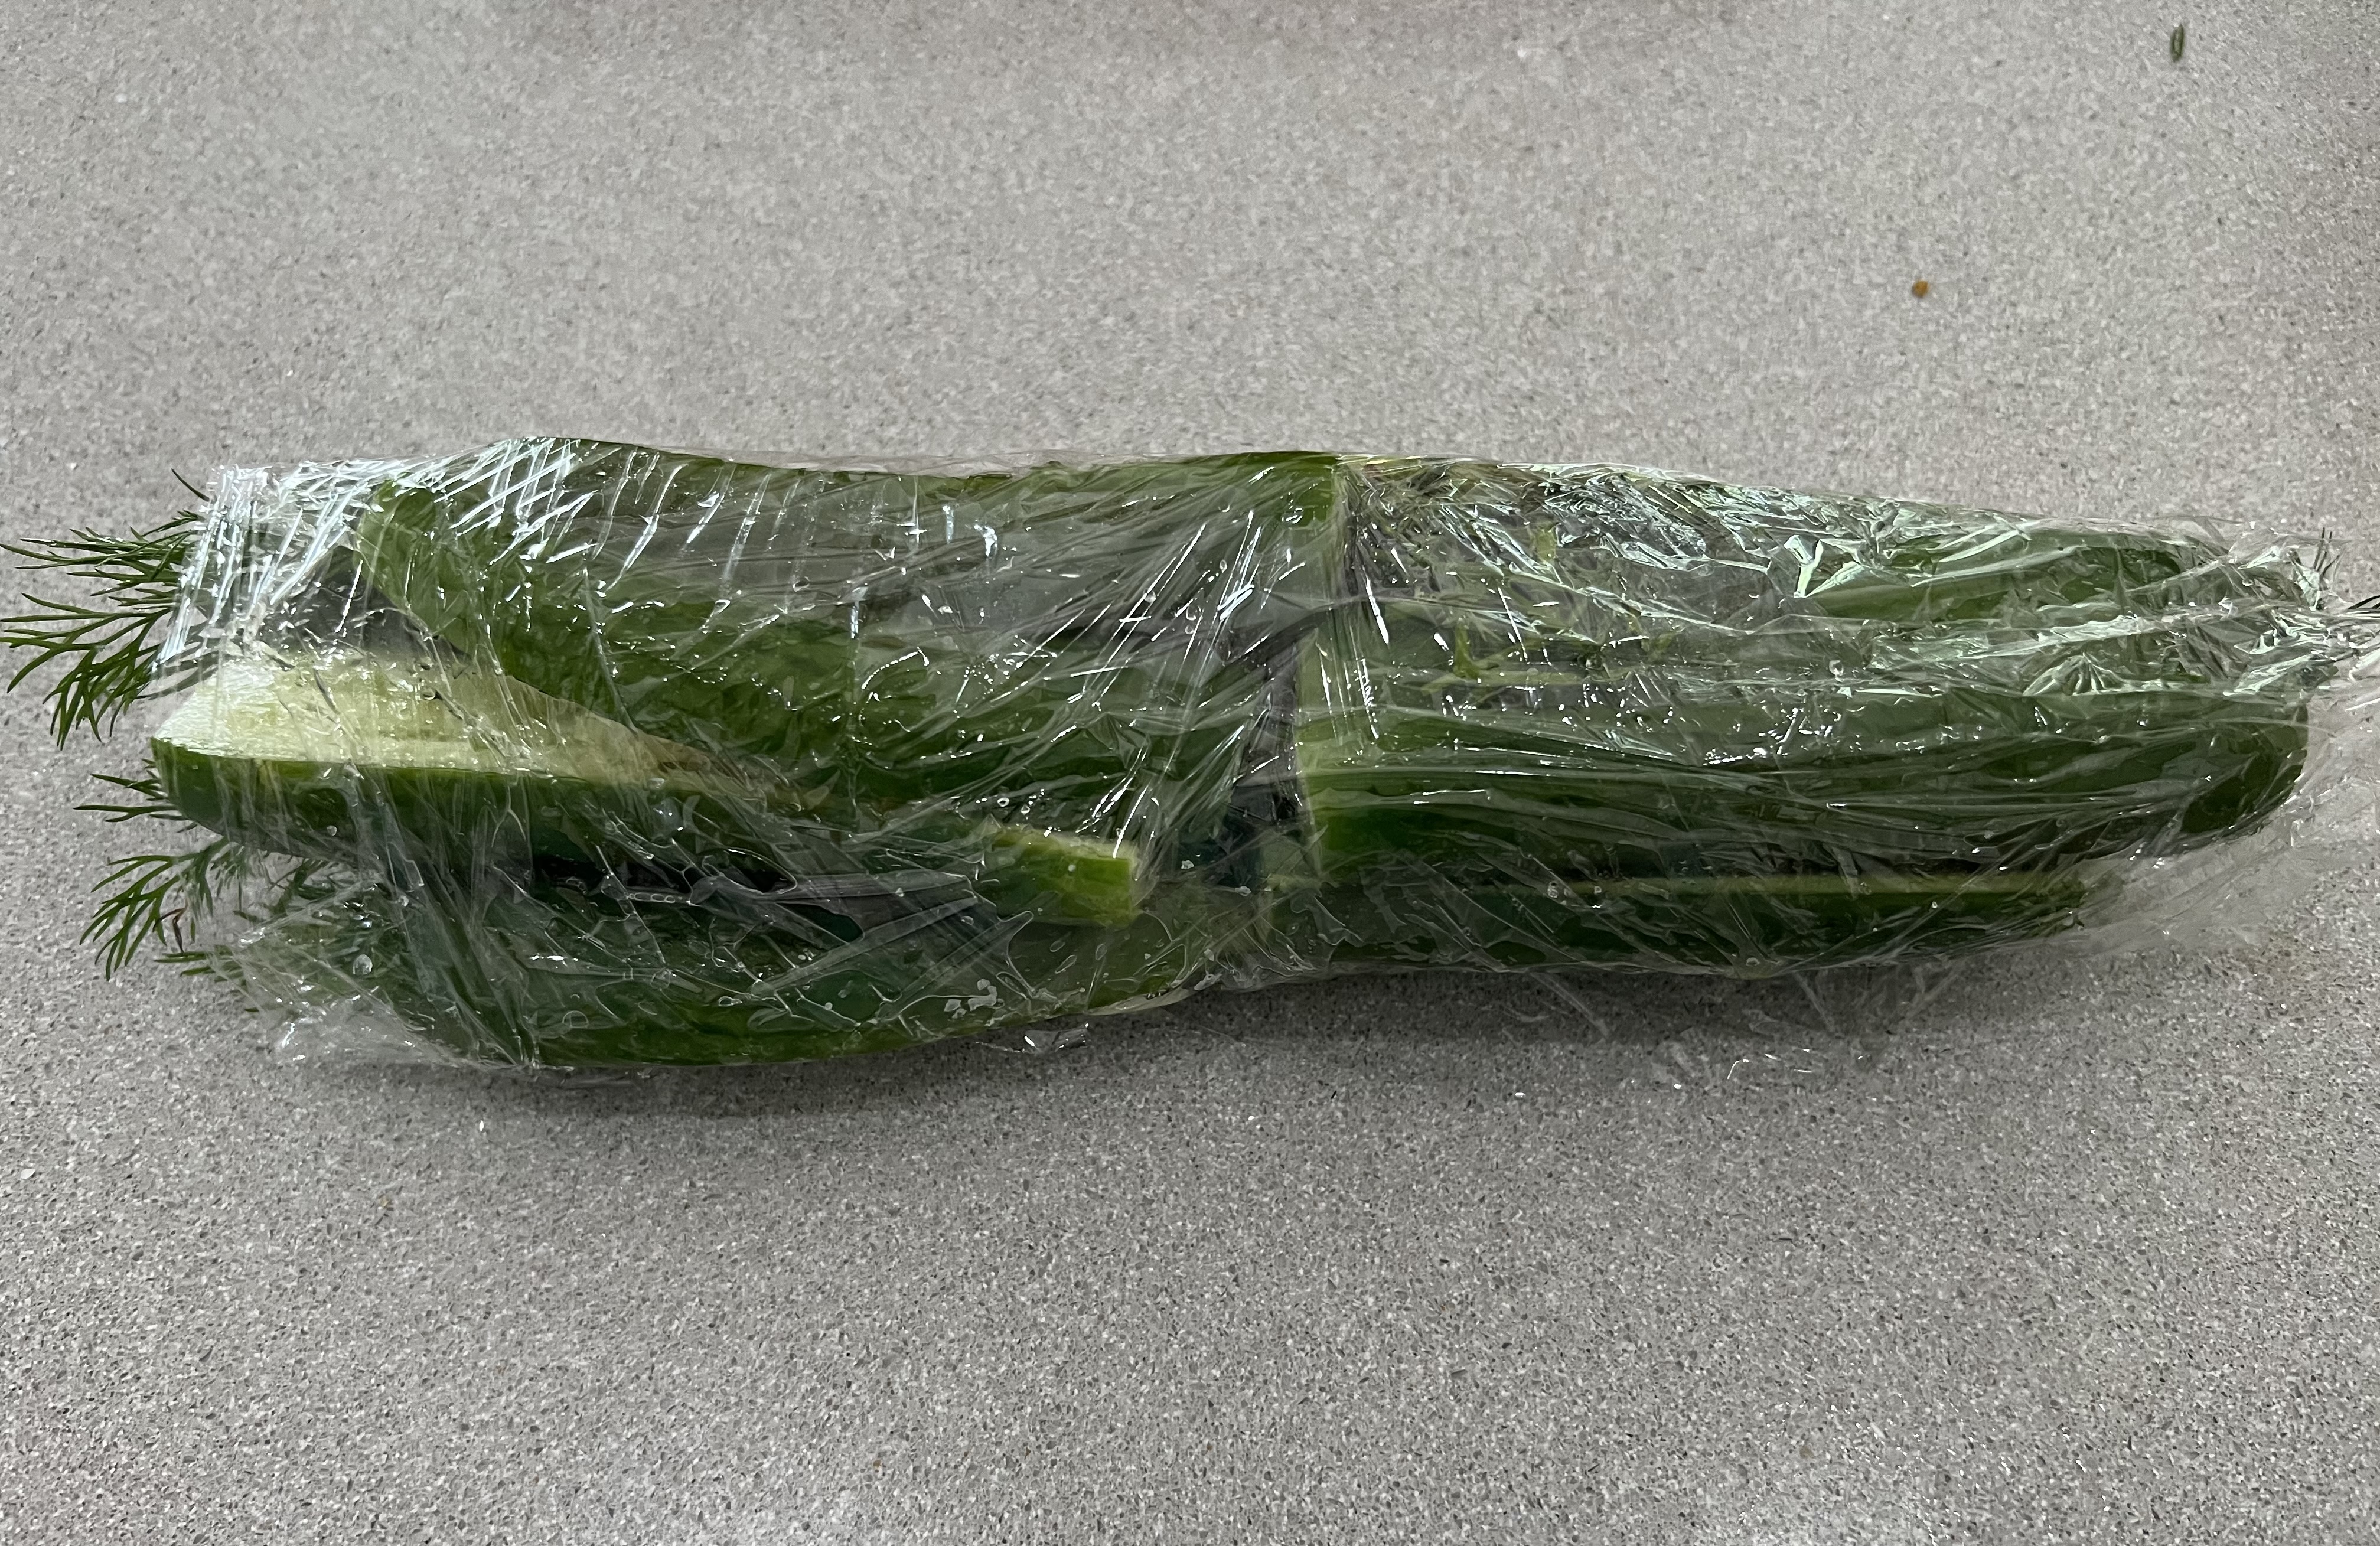
If using plastic wrap, roll it up tightly and place it inside a Ziploc bag, and seal it.

Put the container or bag  in the fridge overnight. Making sure the lid is tightly sealed on the container, flip it over every few hours. (I always put a plate underneath it when it’s upside down in case it leaks a little.) 

The plastic wrapped pickles don’t need to be flipped.

The pickles will be ready to eat the next day, but they’re even better after 48 hours.

The definition of a consomme is: “a clear soup made with concentrated stock.” I might add “mind-blowing” to that sentence, especially with this recipe. The key to success– and this is crucial–is to use absolutely garden-fresh, in-season ingredients. If you try this with greenhouse or supermarket tomatoes, you’re just wasting your time.


FullSizeRender (9)

4 1/2 lbs. of fresh garden tomatoes (my favorite is the heirloom: Brandywine)
1 large bunch of fresh basil, leaves and stems
1 2-inch piece of fresh horseradish, peeled
1 clove of garlic, peeled
1 tablespoon white wine vinegar (I use Alessi)
2 oz. vodka (I use Tito’s)
sea salt and pepper

Remove the core of the tomatoes, but leave everything else, including seeds and skin.

Put all the tomatoes, basil, horseradish, garlic, vinegar and vodka in a blender or food processor. You might need to do this in batches if your equipment can’t handle it all.

Process until you get a kind of slush.

Line a mixing bowl with a double layer of cheesecloth and pour the tomato slush mixture into it. Gather up the corners of the cheesecloth carefully, and tie them securely so you can lift the bundle up by the knot. Hang the bundle from a hook over a clean bowl in the fridge so that it catches the liquid that drips out, and leave the whole thing in there overnight. The liquid that drips out will be clear.


Cheesecloth bundle dripping overnight in the fridge.

Cheesecloth bundle dripping overnight in the fridge.


To serve, chill bowls (or in this case: the sipping glasses) in the fridge. When you’re ready to serve, ladle out the consomme and garnish each with a tiny basil leaf. A drop of excellent quality olive oil is optional.


Synthetic cheesecloth apparatus. The real thing works better.

Synthetic cheesecloth apparatus. The real thing works better.


I tried using a synthetic cheesecloth for this recipe, and I found that it doesn’t filter out enough of the solids to make a clear consomme. You could use it along with real cheesecloth, just to use the stand, or just hang it all in real cheesecloth, as described in this recipe.

As I’ve mentioned previously, I love the Kona-crusted NY strip at the Capital Grille, so much so that it inspired me to make a coffee rub of my own. I’ve been using it on steaks and burgers for years. But recently, I used it on a slow-smoked pork shoulder for the first time, and it was fantastic!

I used a smaller pork shoulder, about 6 lbs., and smoked it for about 12 hours. Obviously, if you use a larger hunka meat, you’ll need more time. I prefer a bone-in shoulder over boneless. I think it gives greater flavor.

Rubbed and ready to smoke!

My coffee rub is easy to make, and I usually make a lot of it at once, since it stores well.

3 tablespoons brown sugar
1 tablespoon Kosher salt
1 tablespoon ground coffee (use your favorite)
1 teaspoon granulated garlic
1 teaspoon granulated onion
1 teaspoon unsweetened cocoa powder

I mix all the ingredients well, then rub generously on the pork shoulder before placing it a 250-degree smoker for about 12 hours. I use an electric smoker, which allows me to set the temperature and forget it, with the exception of occasionally adding hickory chips. I love just a hint of smokiness…I don’t want the rub to be overpowered by the smoke.

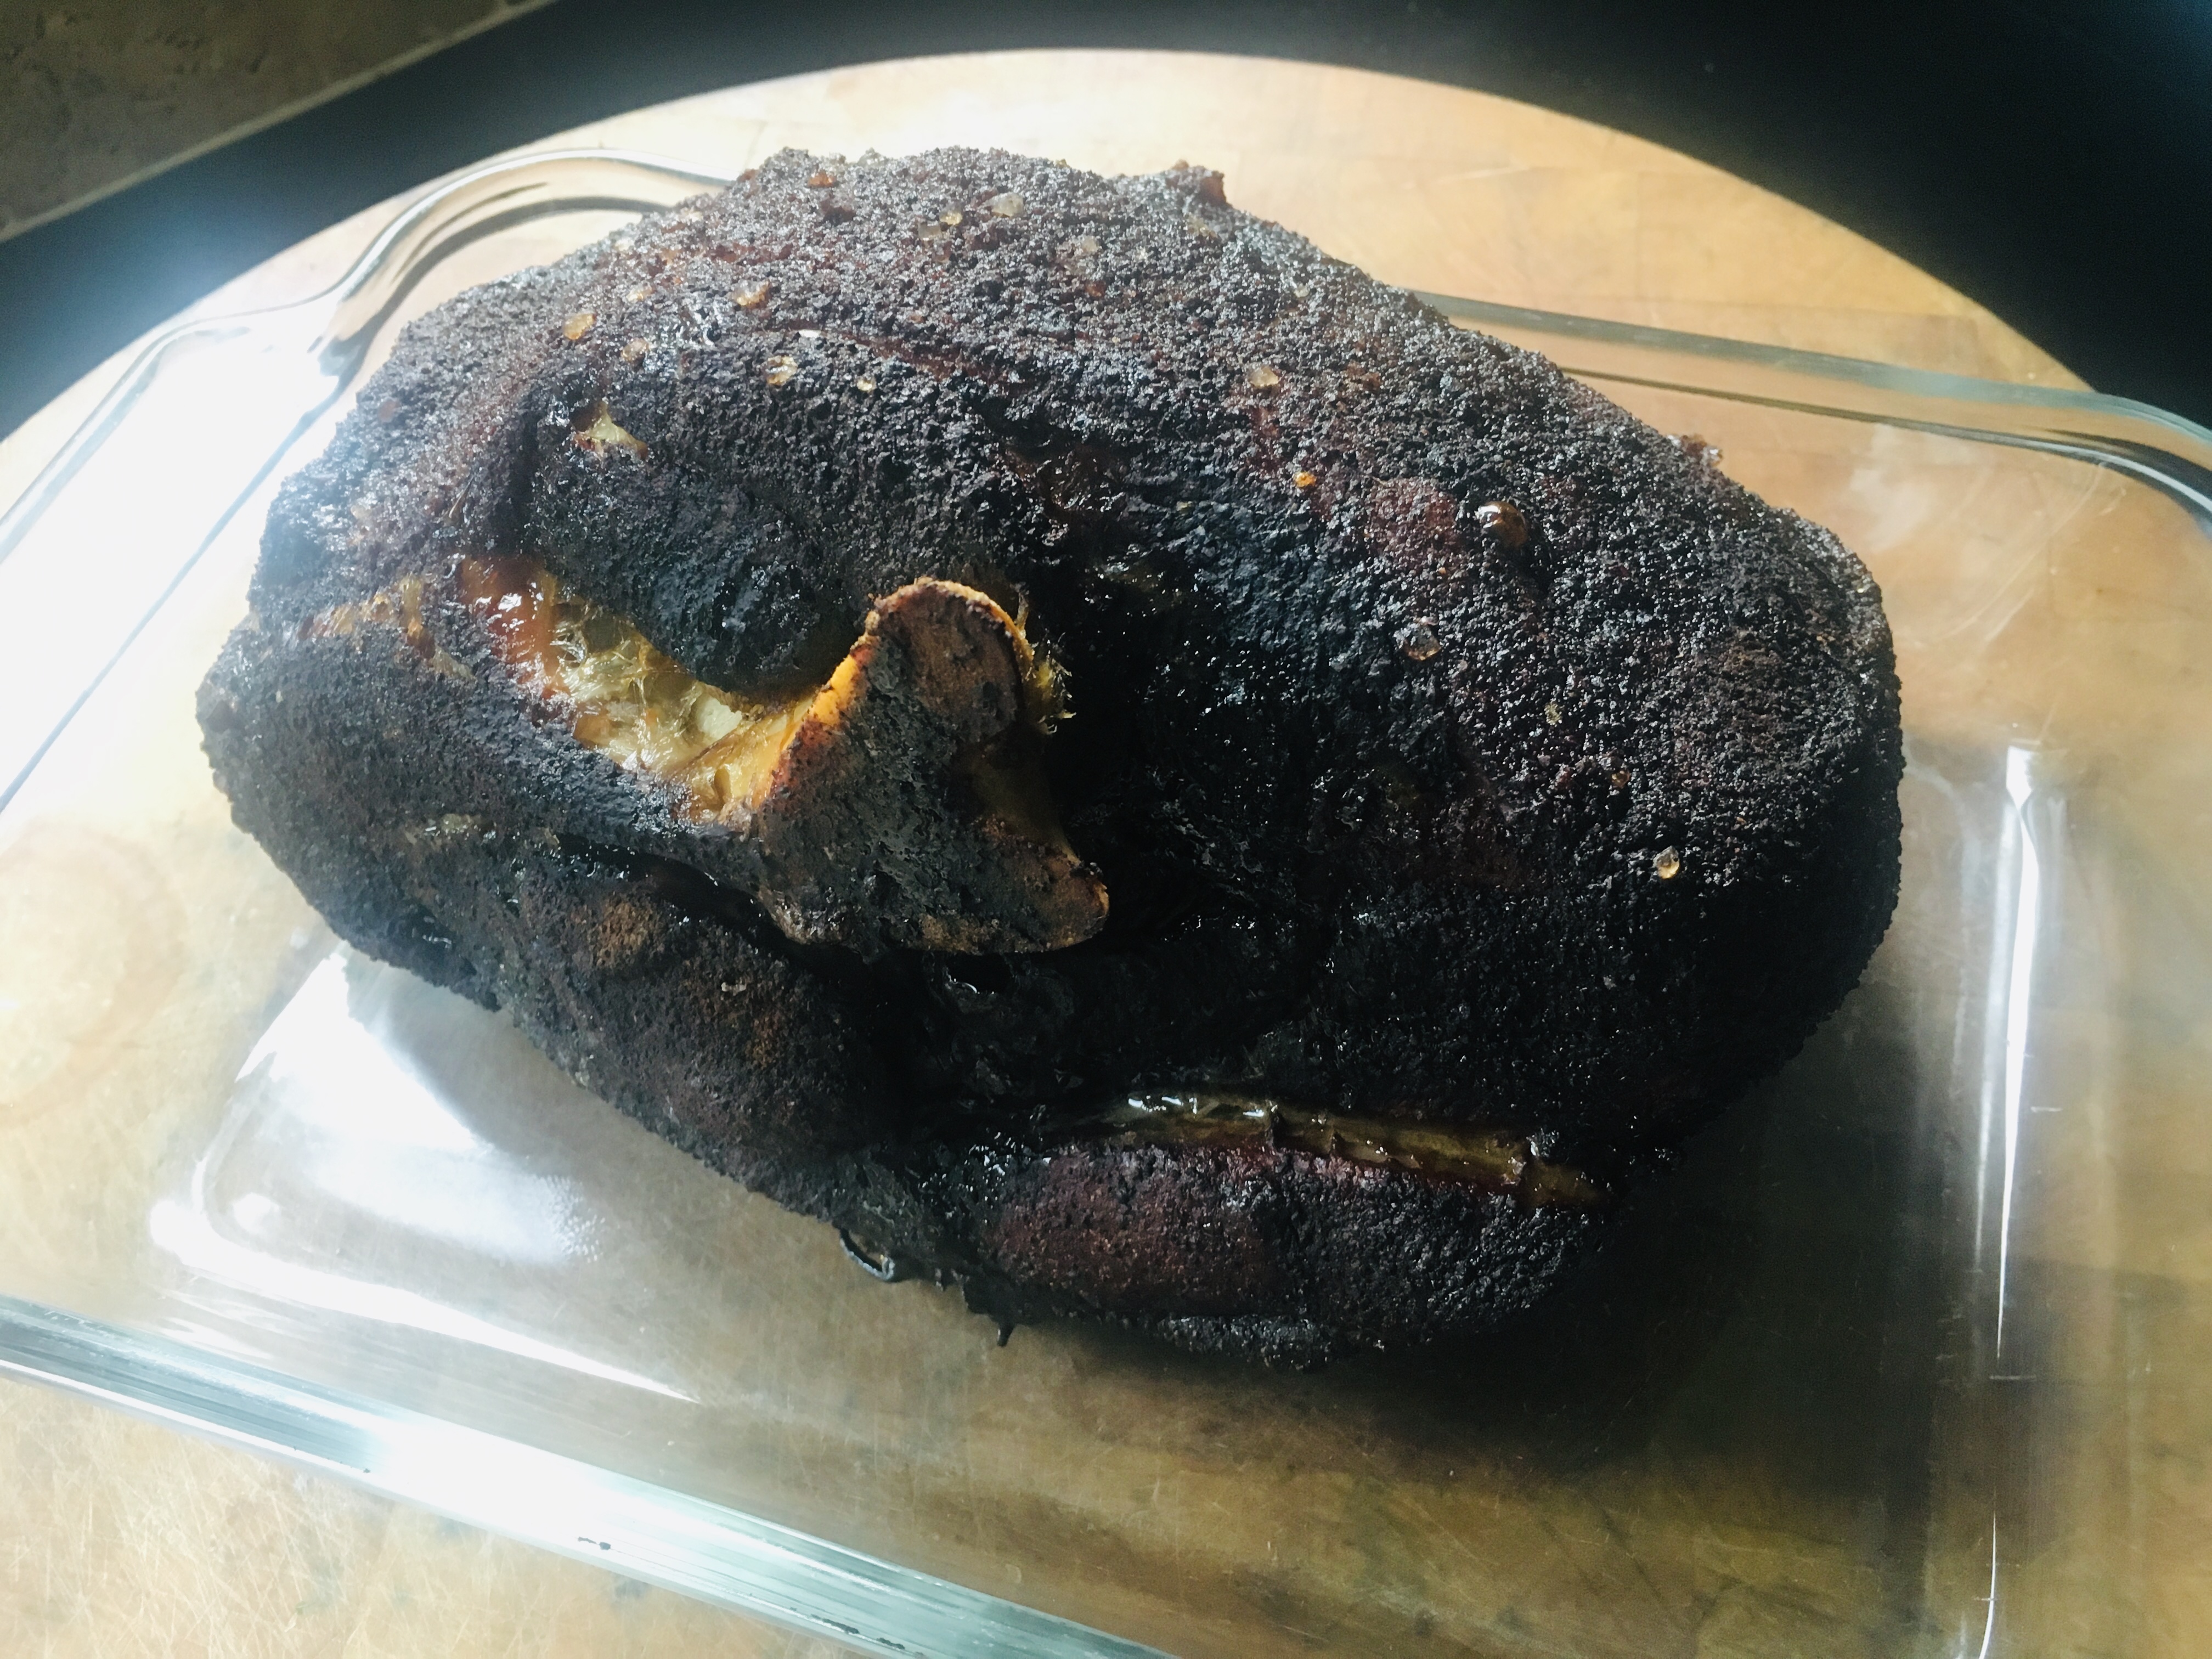
Perfectly smoked, with the bone easily sliding out of the shoulder.

The brown sugar in the coffee rub creates a beautiful crust on the meat, which goes really well with the pork and the barbecue sauce I make.

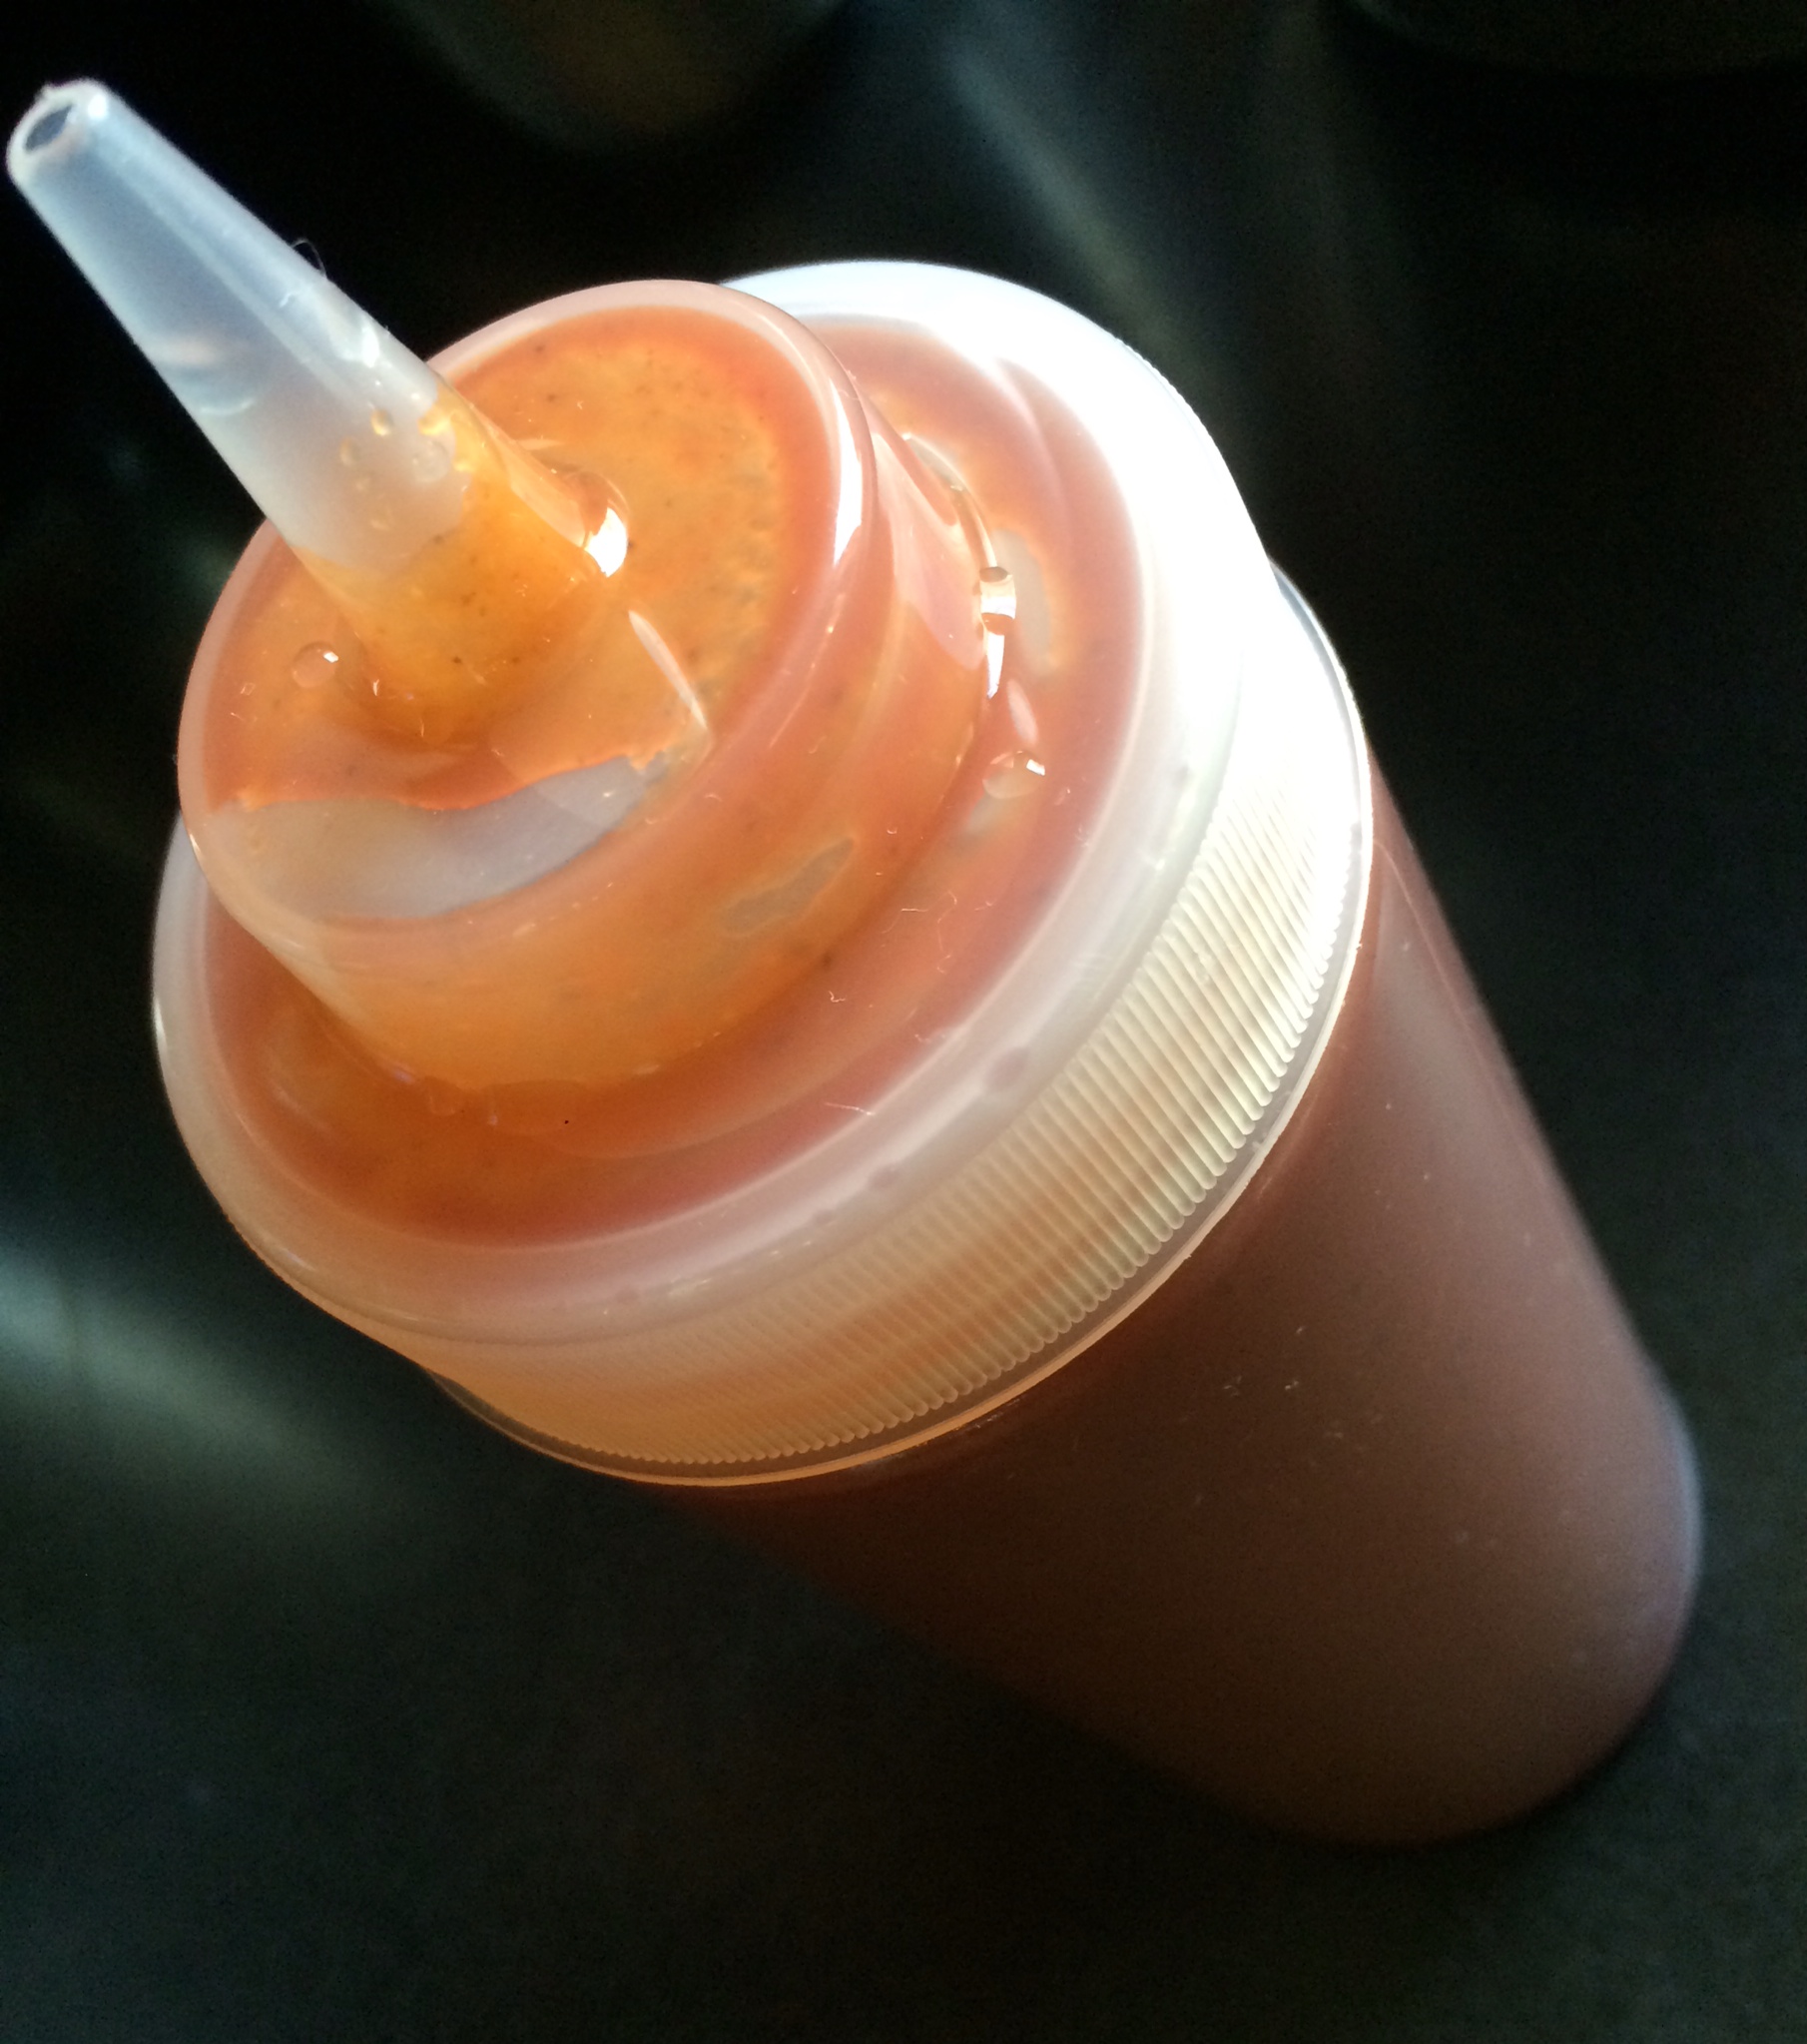
The barbecue sauce uses much-needed vinegar. It cuts through the rich fattiness of the pork, and is absolutely delicious.

2 cups ketchup
3/4 cup water
6 tablespoons cider vinegar
6 tablespoons white vinegar
6 tablespoons brown sugar
3 tablespoons Worcestershire sauce
1 tablespoon chili powder
2 teaspoons salt
2 teaspoons black pepper
1 1/2 teaspoons cumin

Mix all the ingredients in a saucepan and simmer until the flavors have blended, about 20 minutes. Remove from heat and cool to room temp. If you store it in an airtight container in the fridge, it’ll stay good for a few months.

A beautifully smoked pork shoulder, amazing barbecue sauce…what more do you need for an amazing pulled pork sandwich except a toasted brioche bun and perhaps some of my world-famous home fries on the side?

The home fries? That recipe is for another blog!

My daughter and I recently had our quarterly “fodder/dodder dinner” at our Providence Capital Grille. Their signature cocktail, the Stoli Doli, reminded me it was time to make a new batch of what I like to think is an upgraded version: my Velvet Elvis.


A Stoli Doli is simply Stoli vodka that has been infused with fresh pineapple. If you sit at the bar at the Capital Grille, you won’t be able to miss the very large jar of freshly-cut pineapple pieces swimming in vodka. They literally pour it “from the tap,” and serve it straight up, like a martini, or on the rocks. It’s delicious, and I’ve certainly had my share of them.

I decided to make my own at home one day, to serve to my friends at an upcoming party. But to my disappointment, I didn’t have any Stoli vodka in the house. (An embarrassment to most Lithuanians.) But…I found a bottle of Stoli Vanil, the vanilla-flavored vodka, and it was a real game-changer! I used that instead of regular Stoli and I came up with a sweeter, smoother drink that is now legendary among my friends.


VELVET ELVIS

2 ripe, sweet pineapples, peeled, cored, and sliced
1.75ml Stoli Vanil

Find a gallon-sized glass jar with a lid. Peel, core and slice the pineapples and drop the pieces in the jar. Pour the vodka in, mix well, and seal the jar. Keep it at room temperature for 7–10 days, giving it a gentle shake every day.

After 7–10 days (don’t worry…a little longer won’t hurt anything), strain it, squeezing the pineapple pieces to get every bit of liquid out. Discard the pineapple pieces. (As much as you might think they would be fun to munch, they’ve given up all their flavor to the cocktail, and taste terrible!)

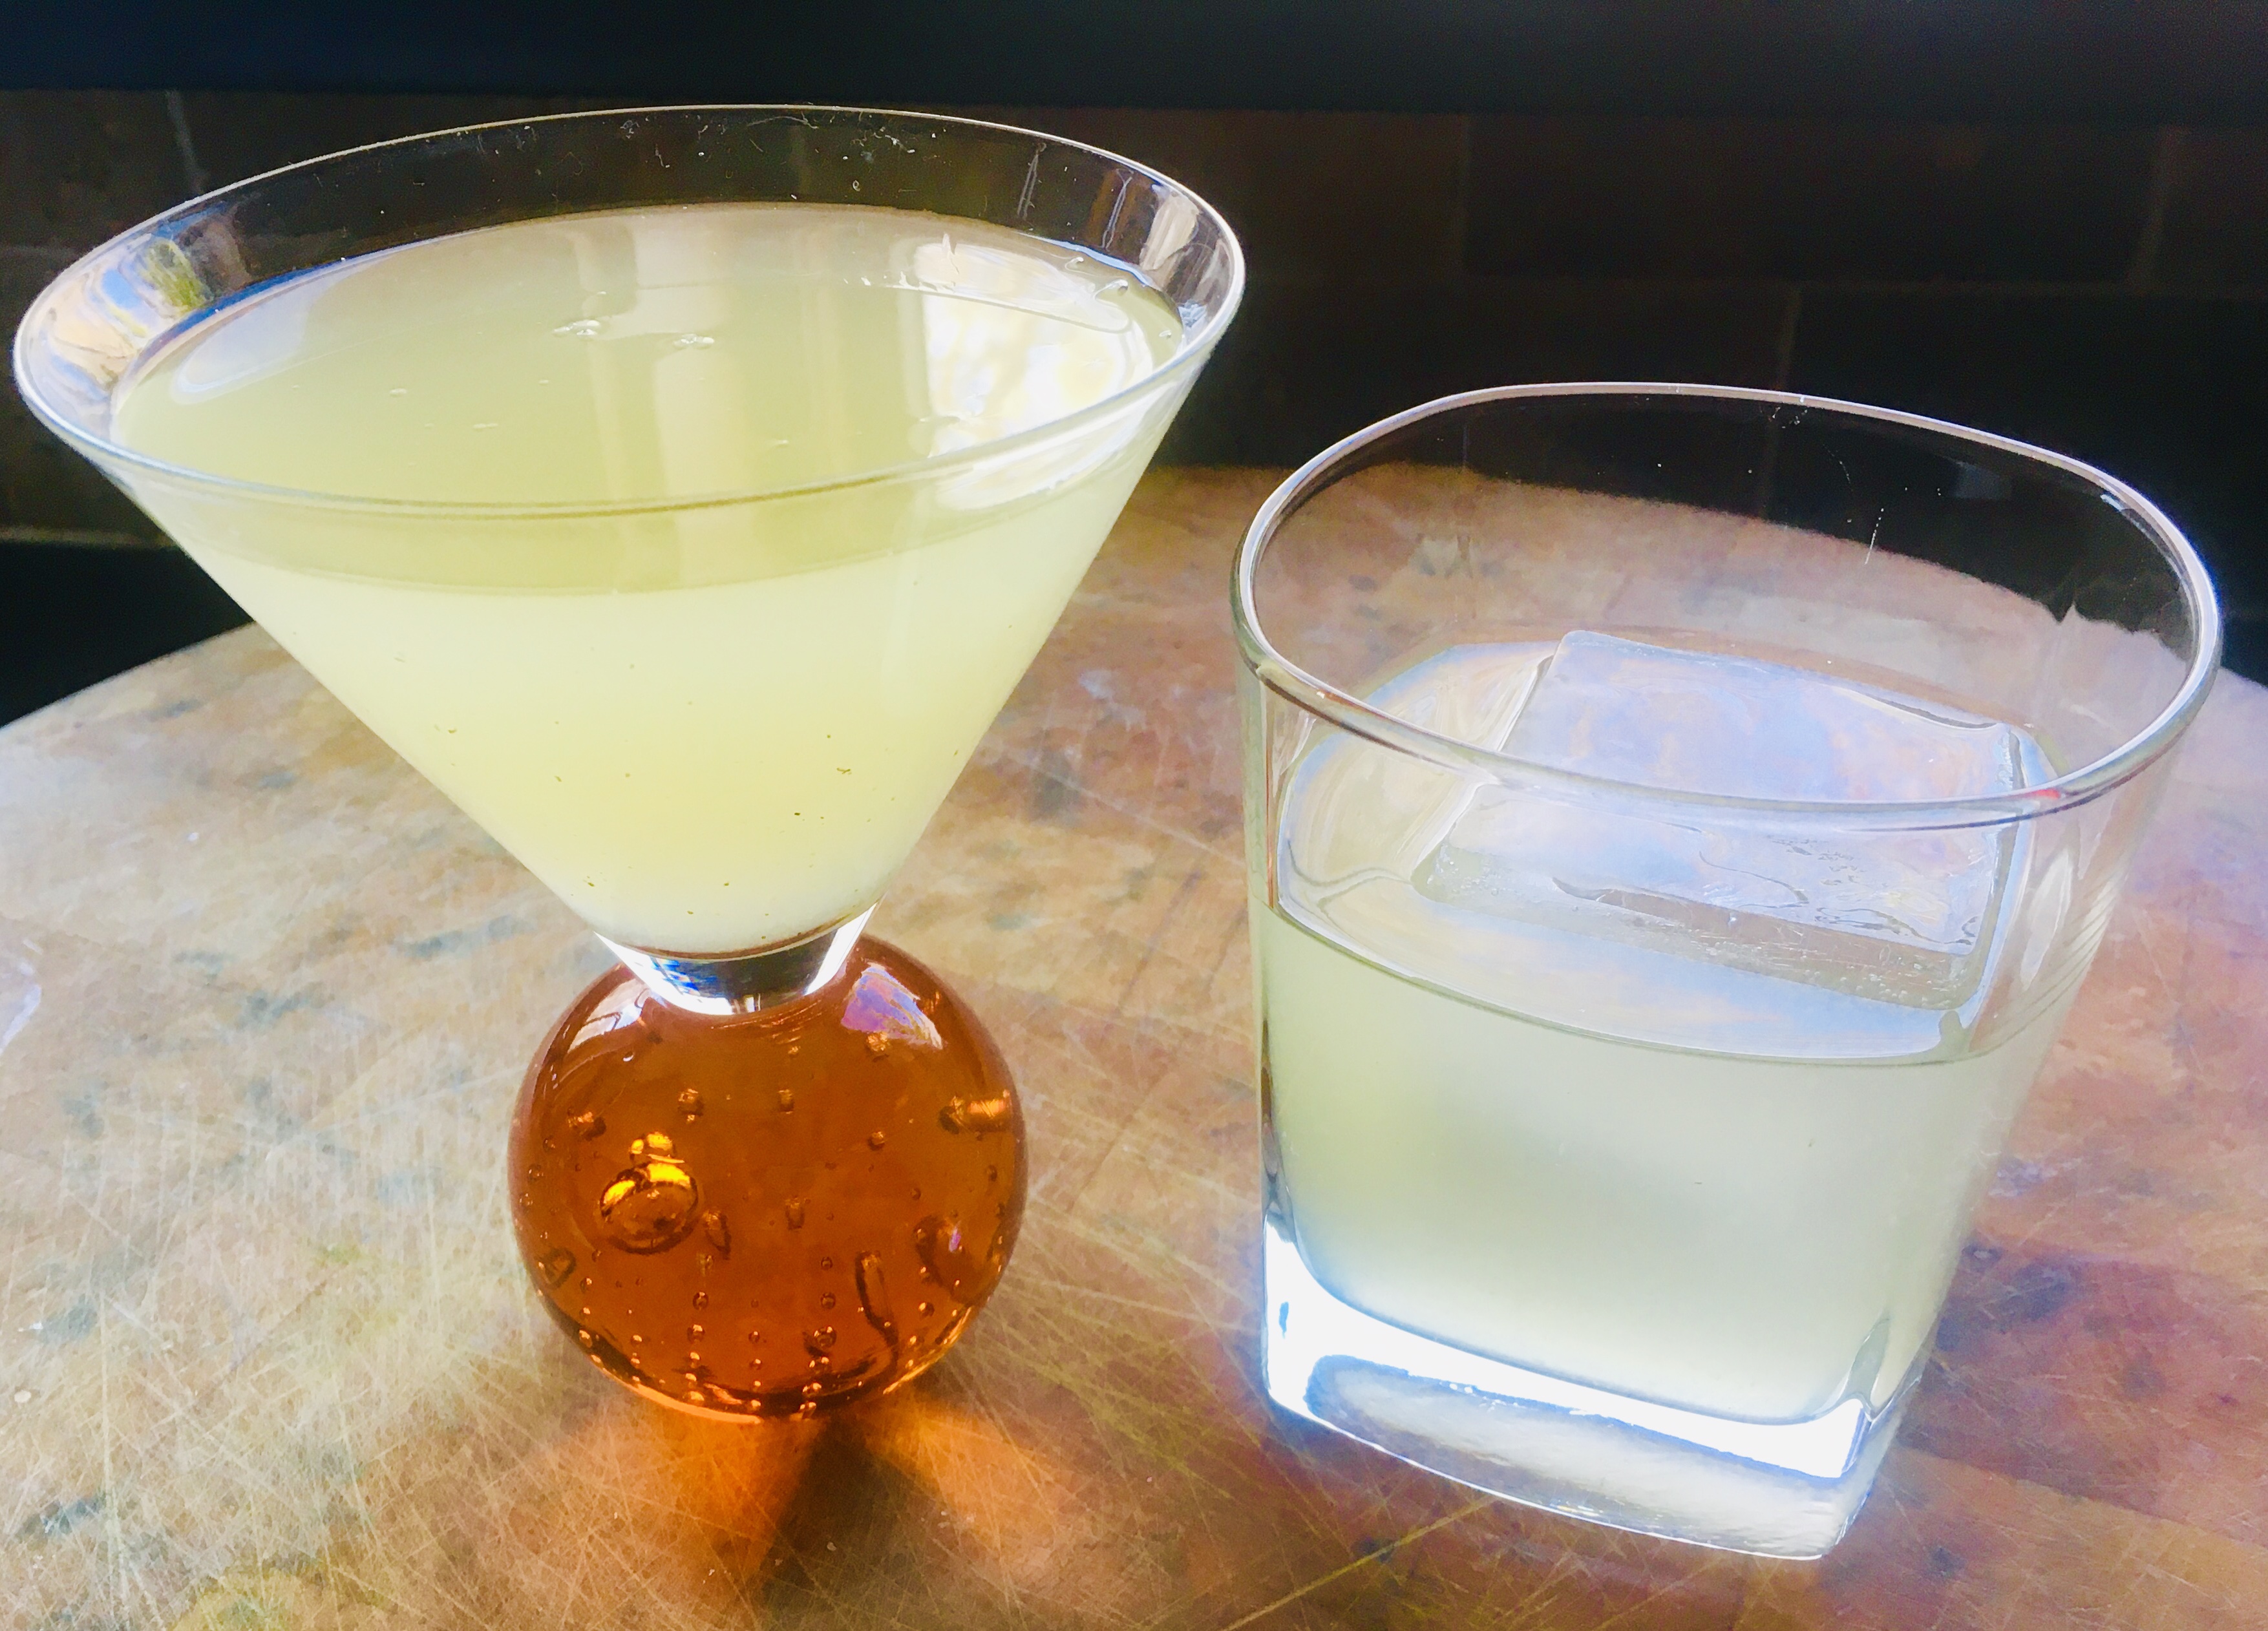
Keep the Velvet Elvis refrigerated. Serve with rocks (or 1 big rock!), or shaken and poured into a martini glass.


As a martini, or on the rocks!

GREAT ONION RINGS AT HOME

Posted: August 10, 2023 in Food, frying, Recipes
Tags: , , ,
If you look online, there are a  million ways to make onion rings. So, in doing my research, my first step was to decide how I wanted them. Did I want a big, thick batter? Or something extremely light? Or something somewhere in the middle?
I’m not a fan of onion rings that have more batter than onion. After looking through dozens of recipes, I finally came up with one on my own that really satisfied my craving for onion and also a craving for a great crunch.
The set-up requires four trays, and lots of messy dunking before it goes into the oil. But it’s all worth it in the end!
I have a deep fryer, but the basket in it is small, so I can’t fry as many onion rings at one time as I’d like. So using a larger pan with a shallow pool of oil was the answer: it allowed for more onion rings to be fried in a single batch.
Onions, sliced about 1/4″ wide (I like using Vidalias)


In the first pan..
2 raw eggs, scrambled
In the second pan…
1 cup self-rising flour
In the third pan…
2 more raw eggs, scrambled
In the fourth pan…
2 cups fine breadcrumbs
1 teaspoon salt
1 teaspoon granulated onion
1 teaspoon granulated garlic
pinch of dried oregano (optional)
I like to fry with peanut oil or grapeseed oil, so I pour an inch or two into a large pan and heat it to 340°, using a thermometer.
I peel the onions and cut them into quarter-inch wide slices, breaking them up into rings. (If a couple of rings of onion stick together to form a thicker ring, I don’t have a problem with that!)
Once that’s done, the procedure is really simple: dunk the onion rings in the first pan with the egg, coating them well. Then dunk them into the second tray with the self-rising flour, shaking off any excess. Then dunk them into the third tray with the egg, making sure it’s completely coated. And finally, dunk them into the fourth tray with the seasoned breadcrumbs, again, shaking off any excess.
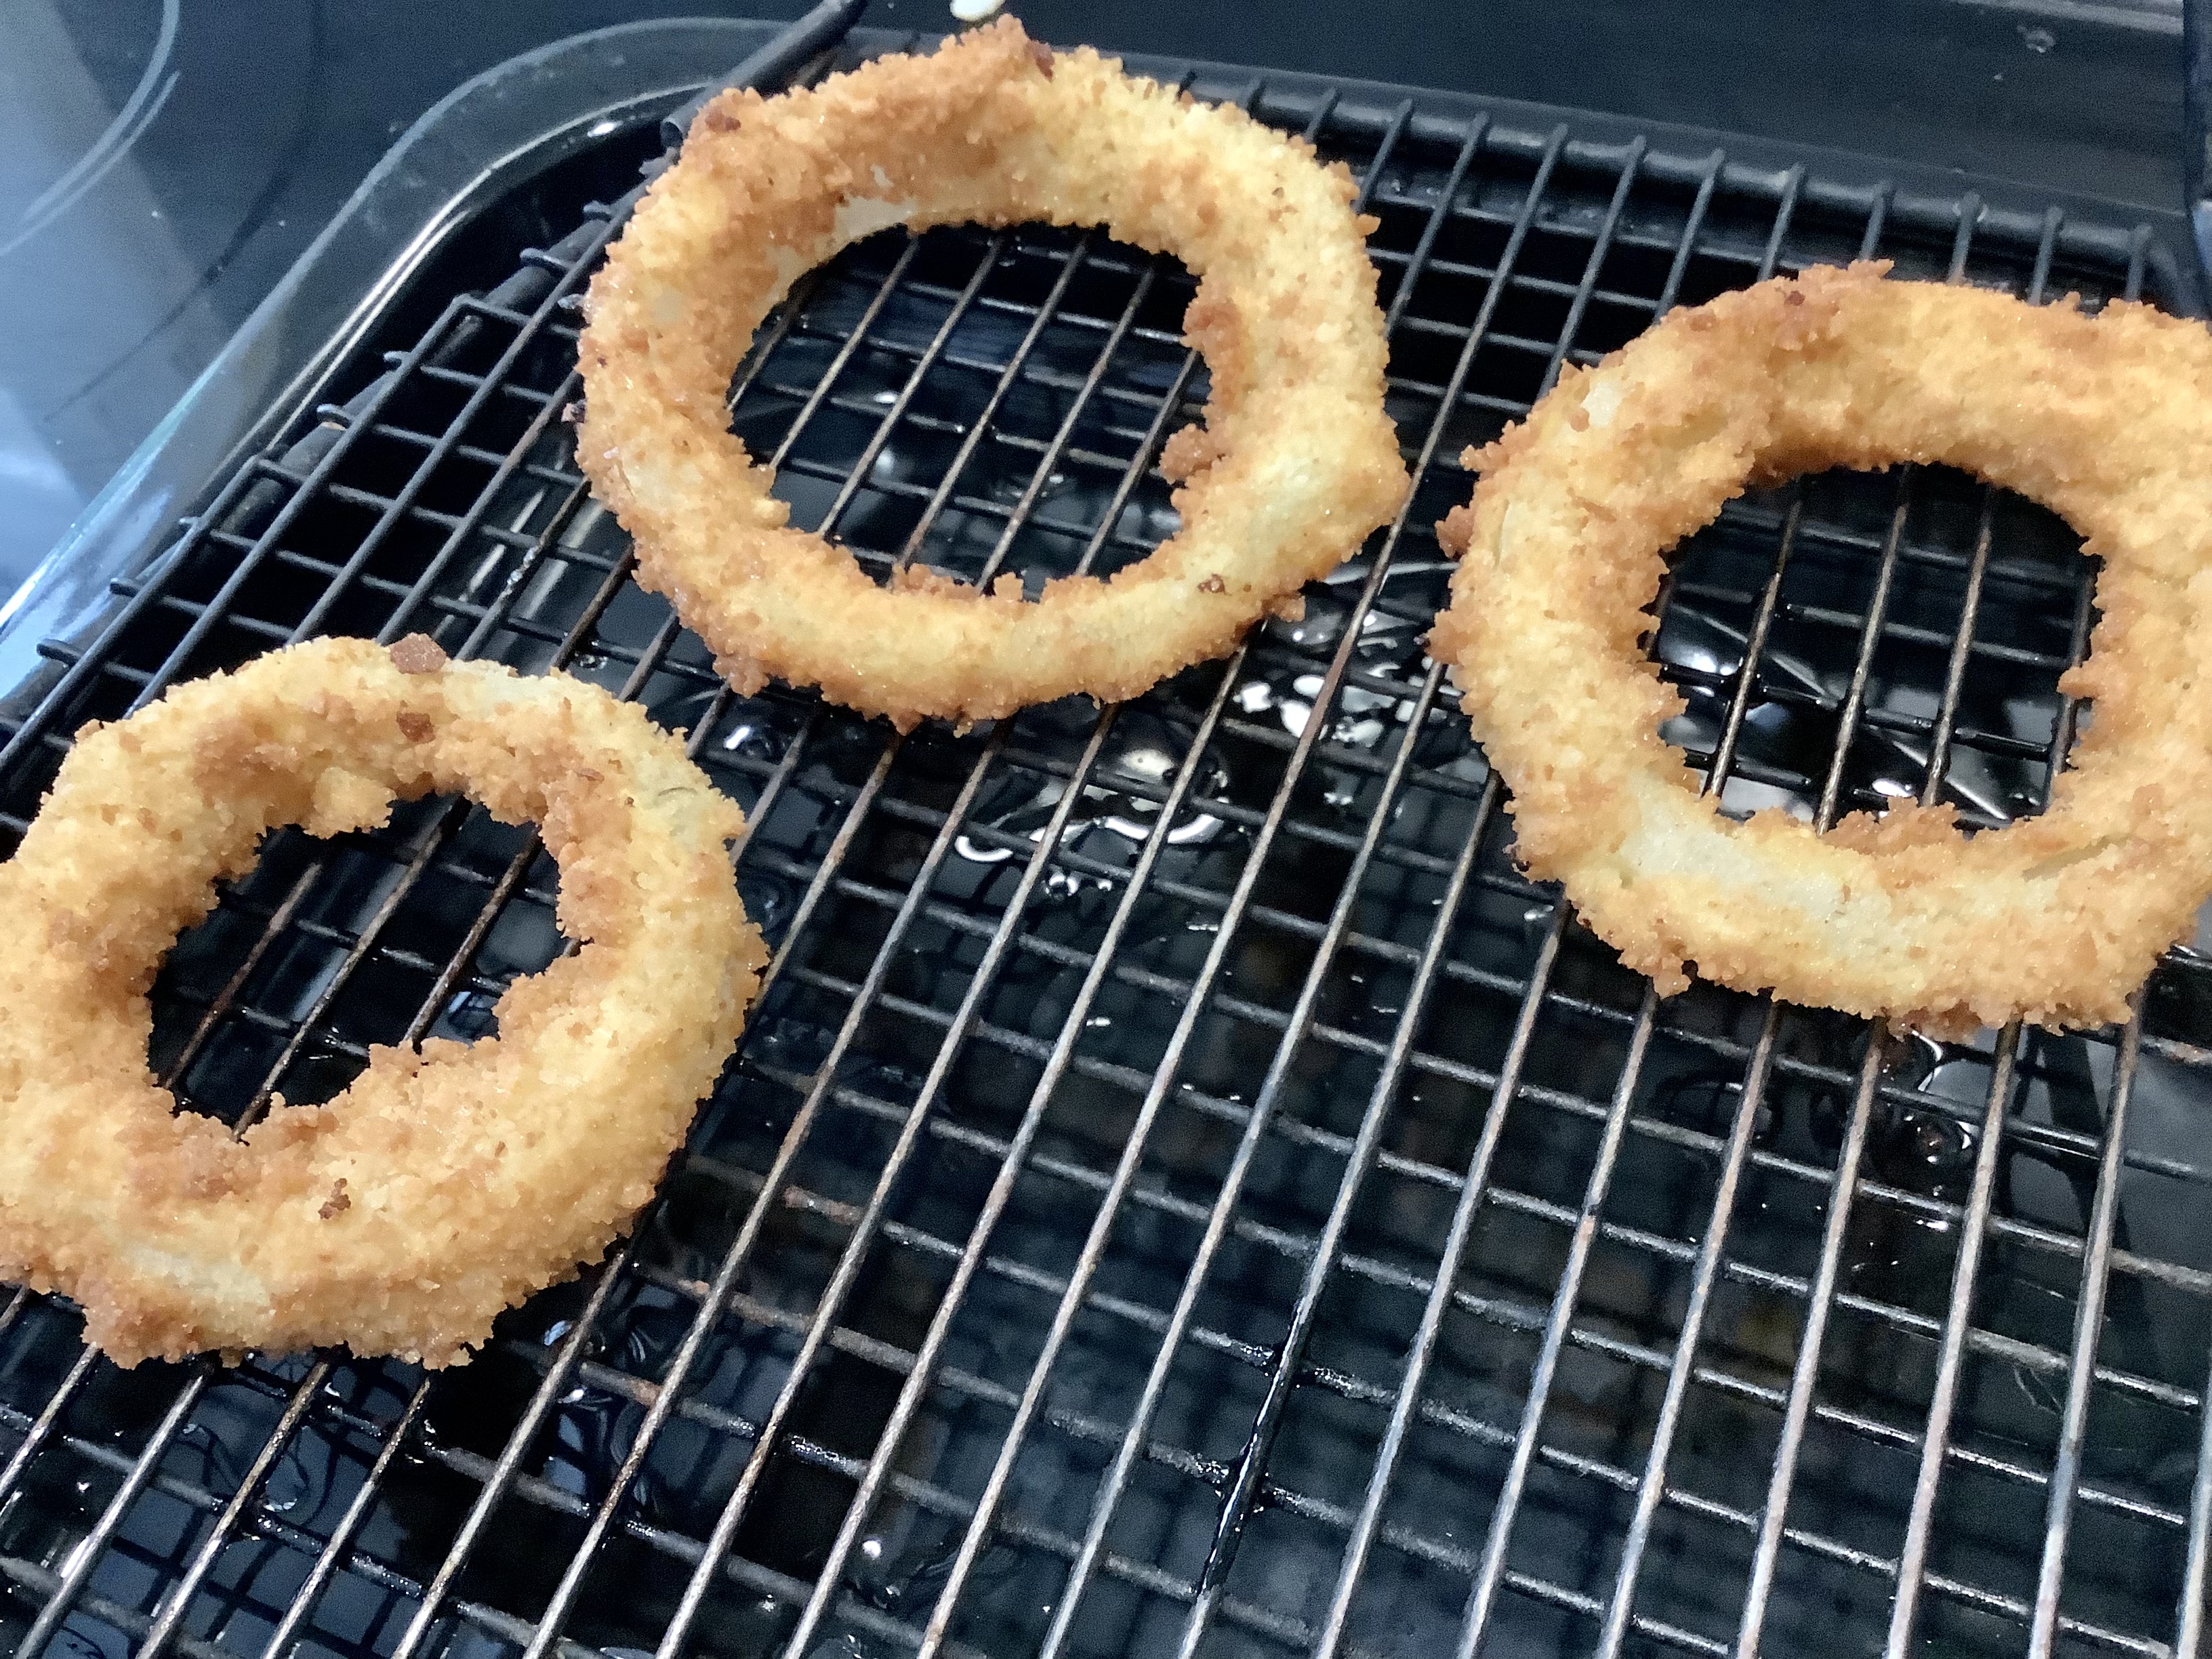
Drop the onion rings into the hot oil and be sure to flip them so they cook on both sides. Cook until they’re golden brown. Place them on a sheet pan with a metal rack to cool.

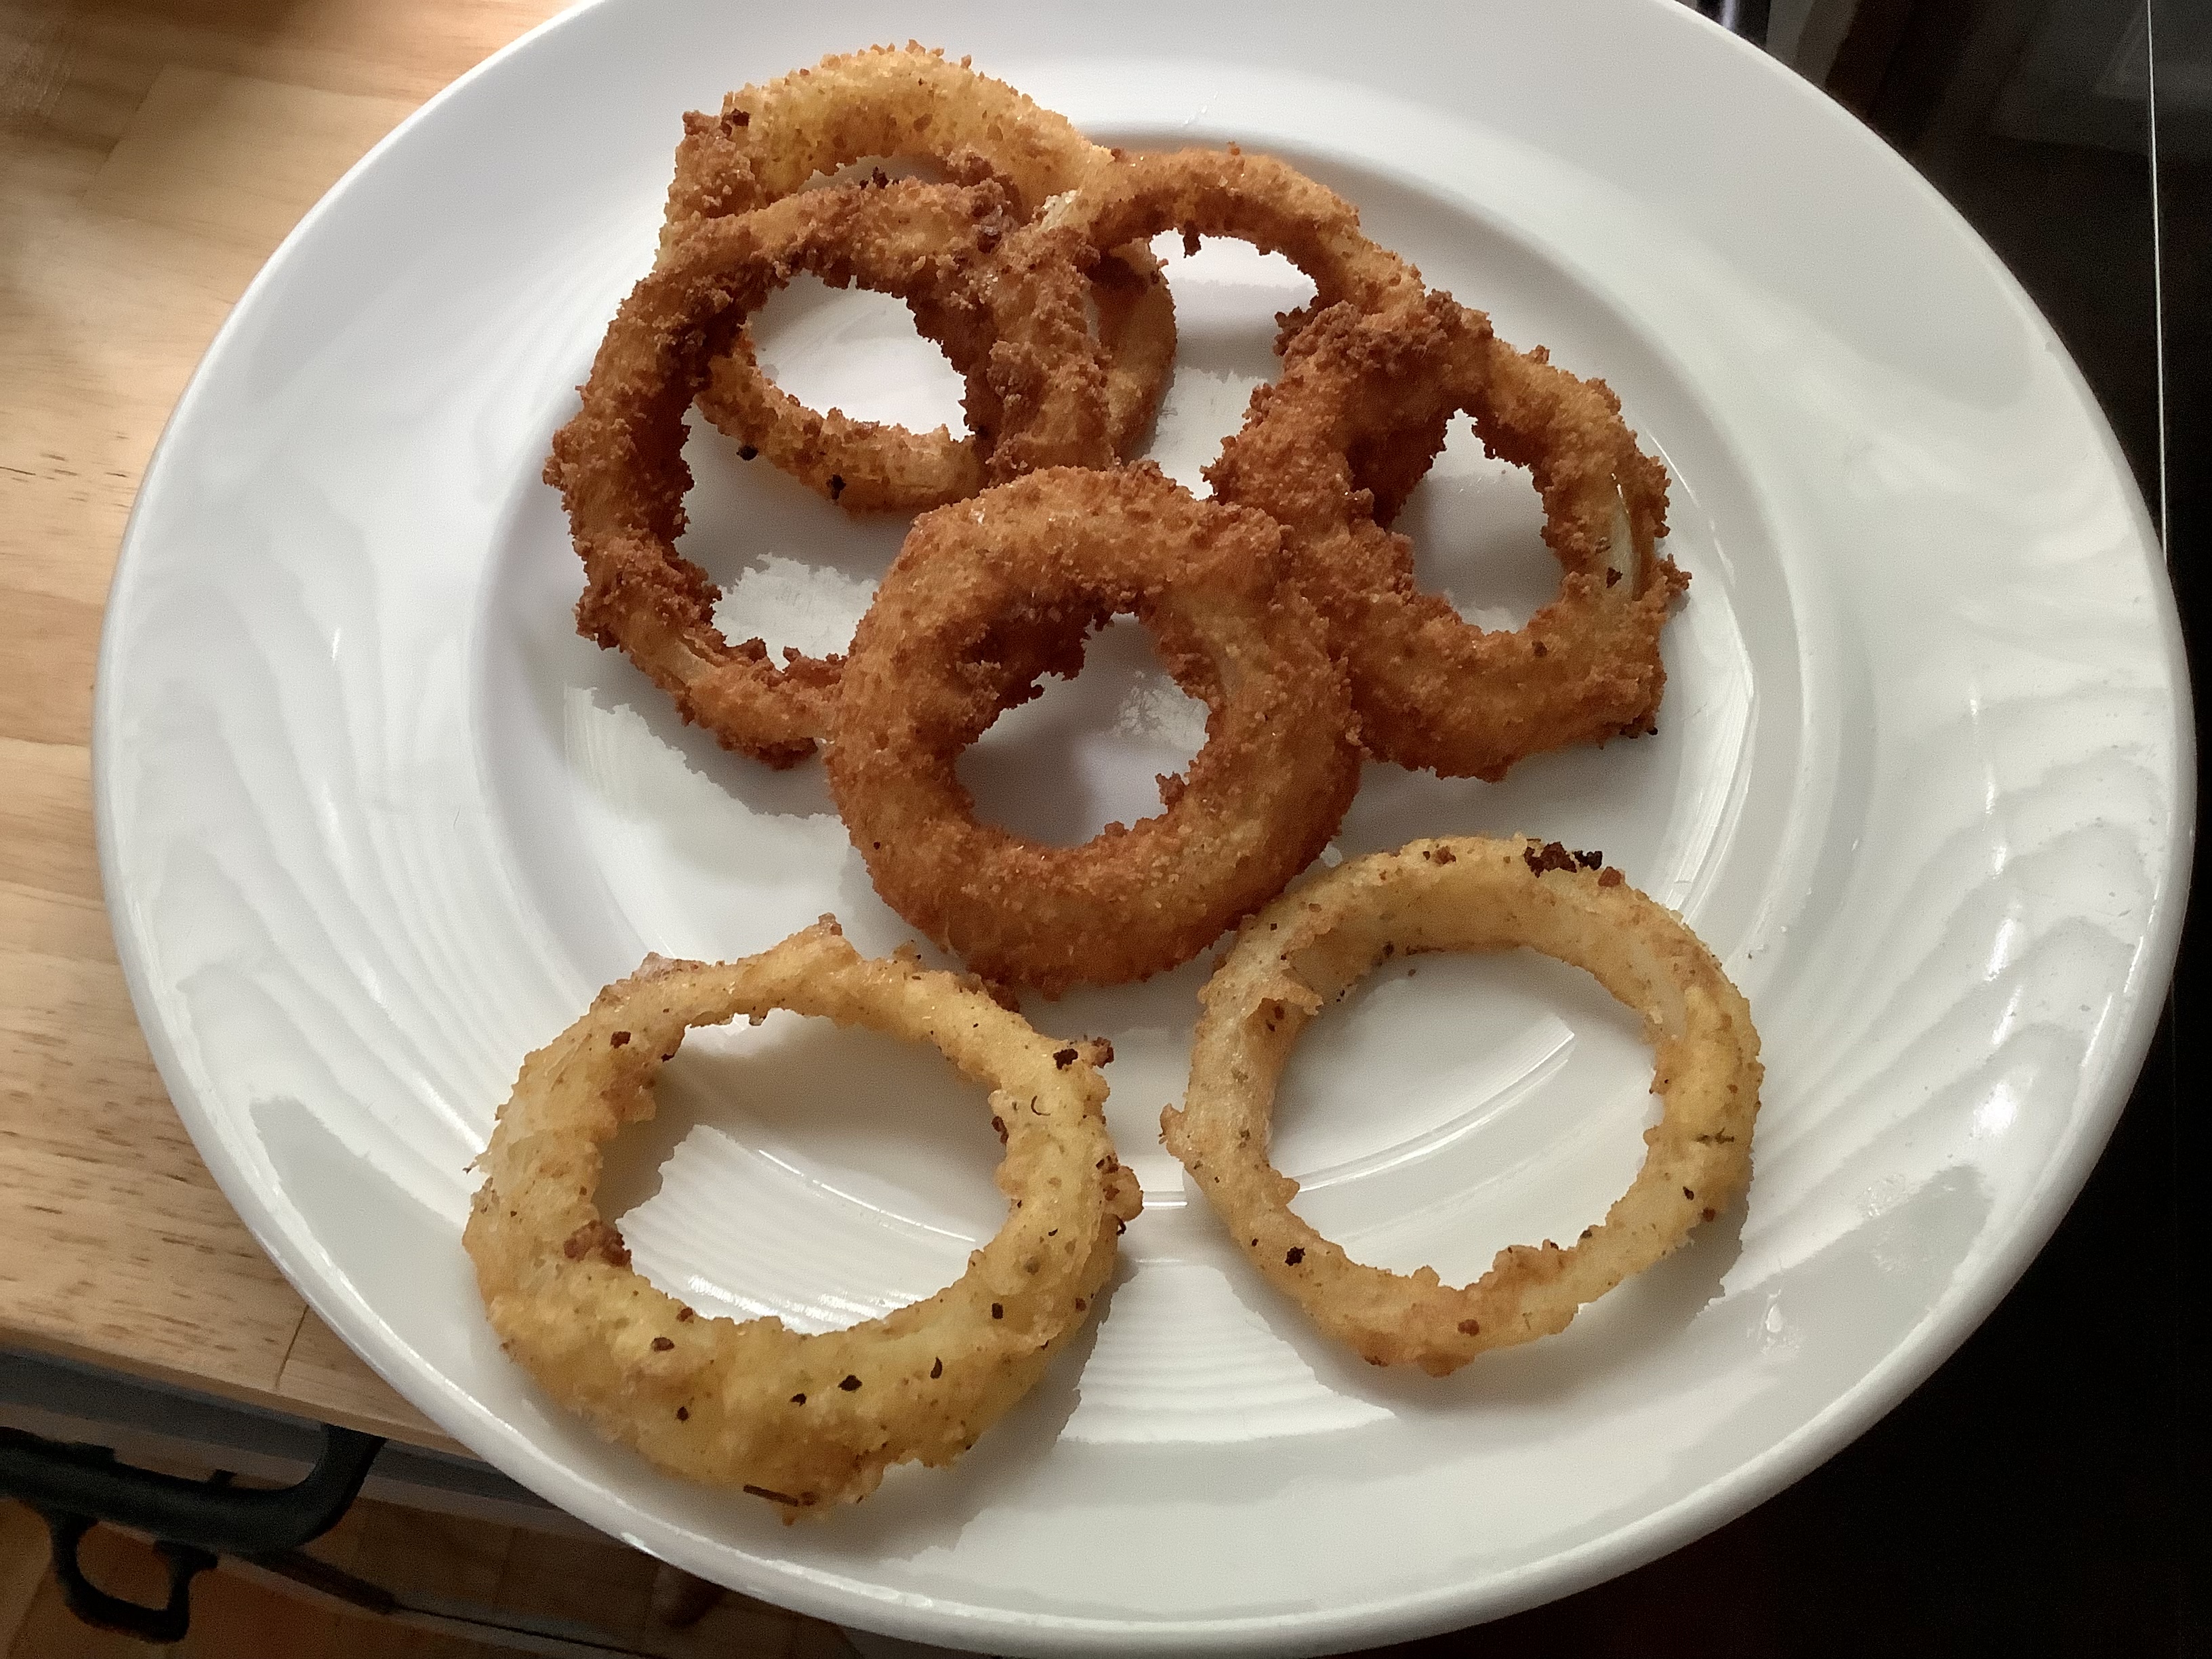
I experimented with three variations. The top brown ones follow my recipe. The ring on the bottom right is dipped in egg and the flour mix only. The ring on the bottom left is dipped in egg, then the flour mix, back to the egg, and the flour mix again. The breadcrumb procedure is still my favorite way to go. Great crunch!

BEET AND QUINOA SALAD

Posted: August 1, 2023 in beets, Food, Recipes
Tags: , , , ,

Why was it that I could only find a great beet salad in a restaurant? Was there some secret to making one? Well, after some experimentation, I came up with a beet salad that I really enjoy…and it’s easy to put together ahead of time if you have guests coming over for dinner.

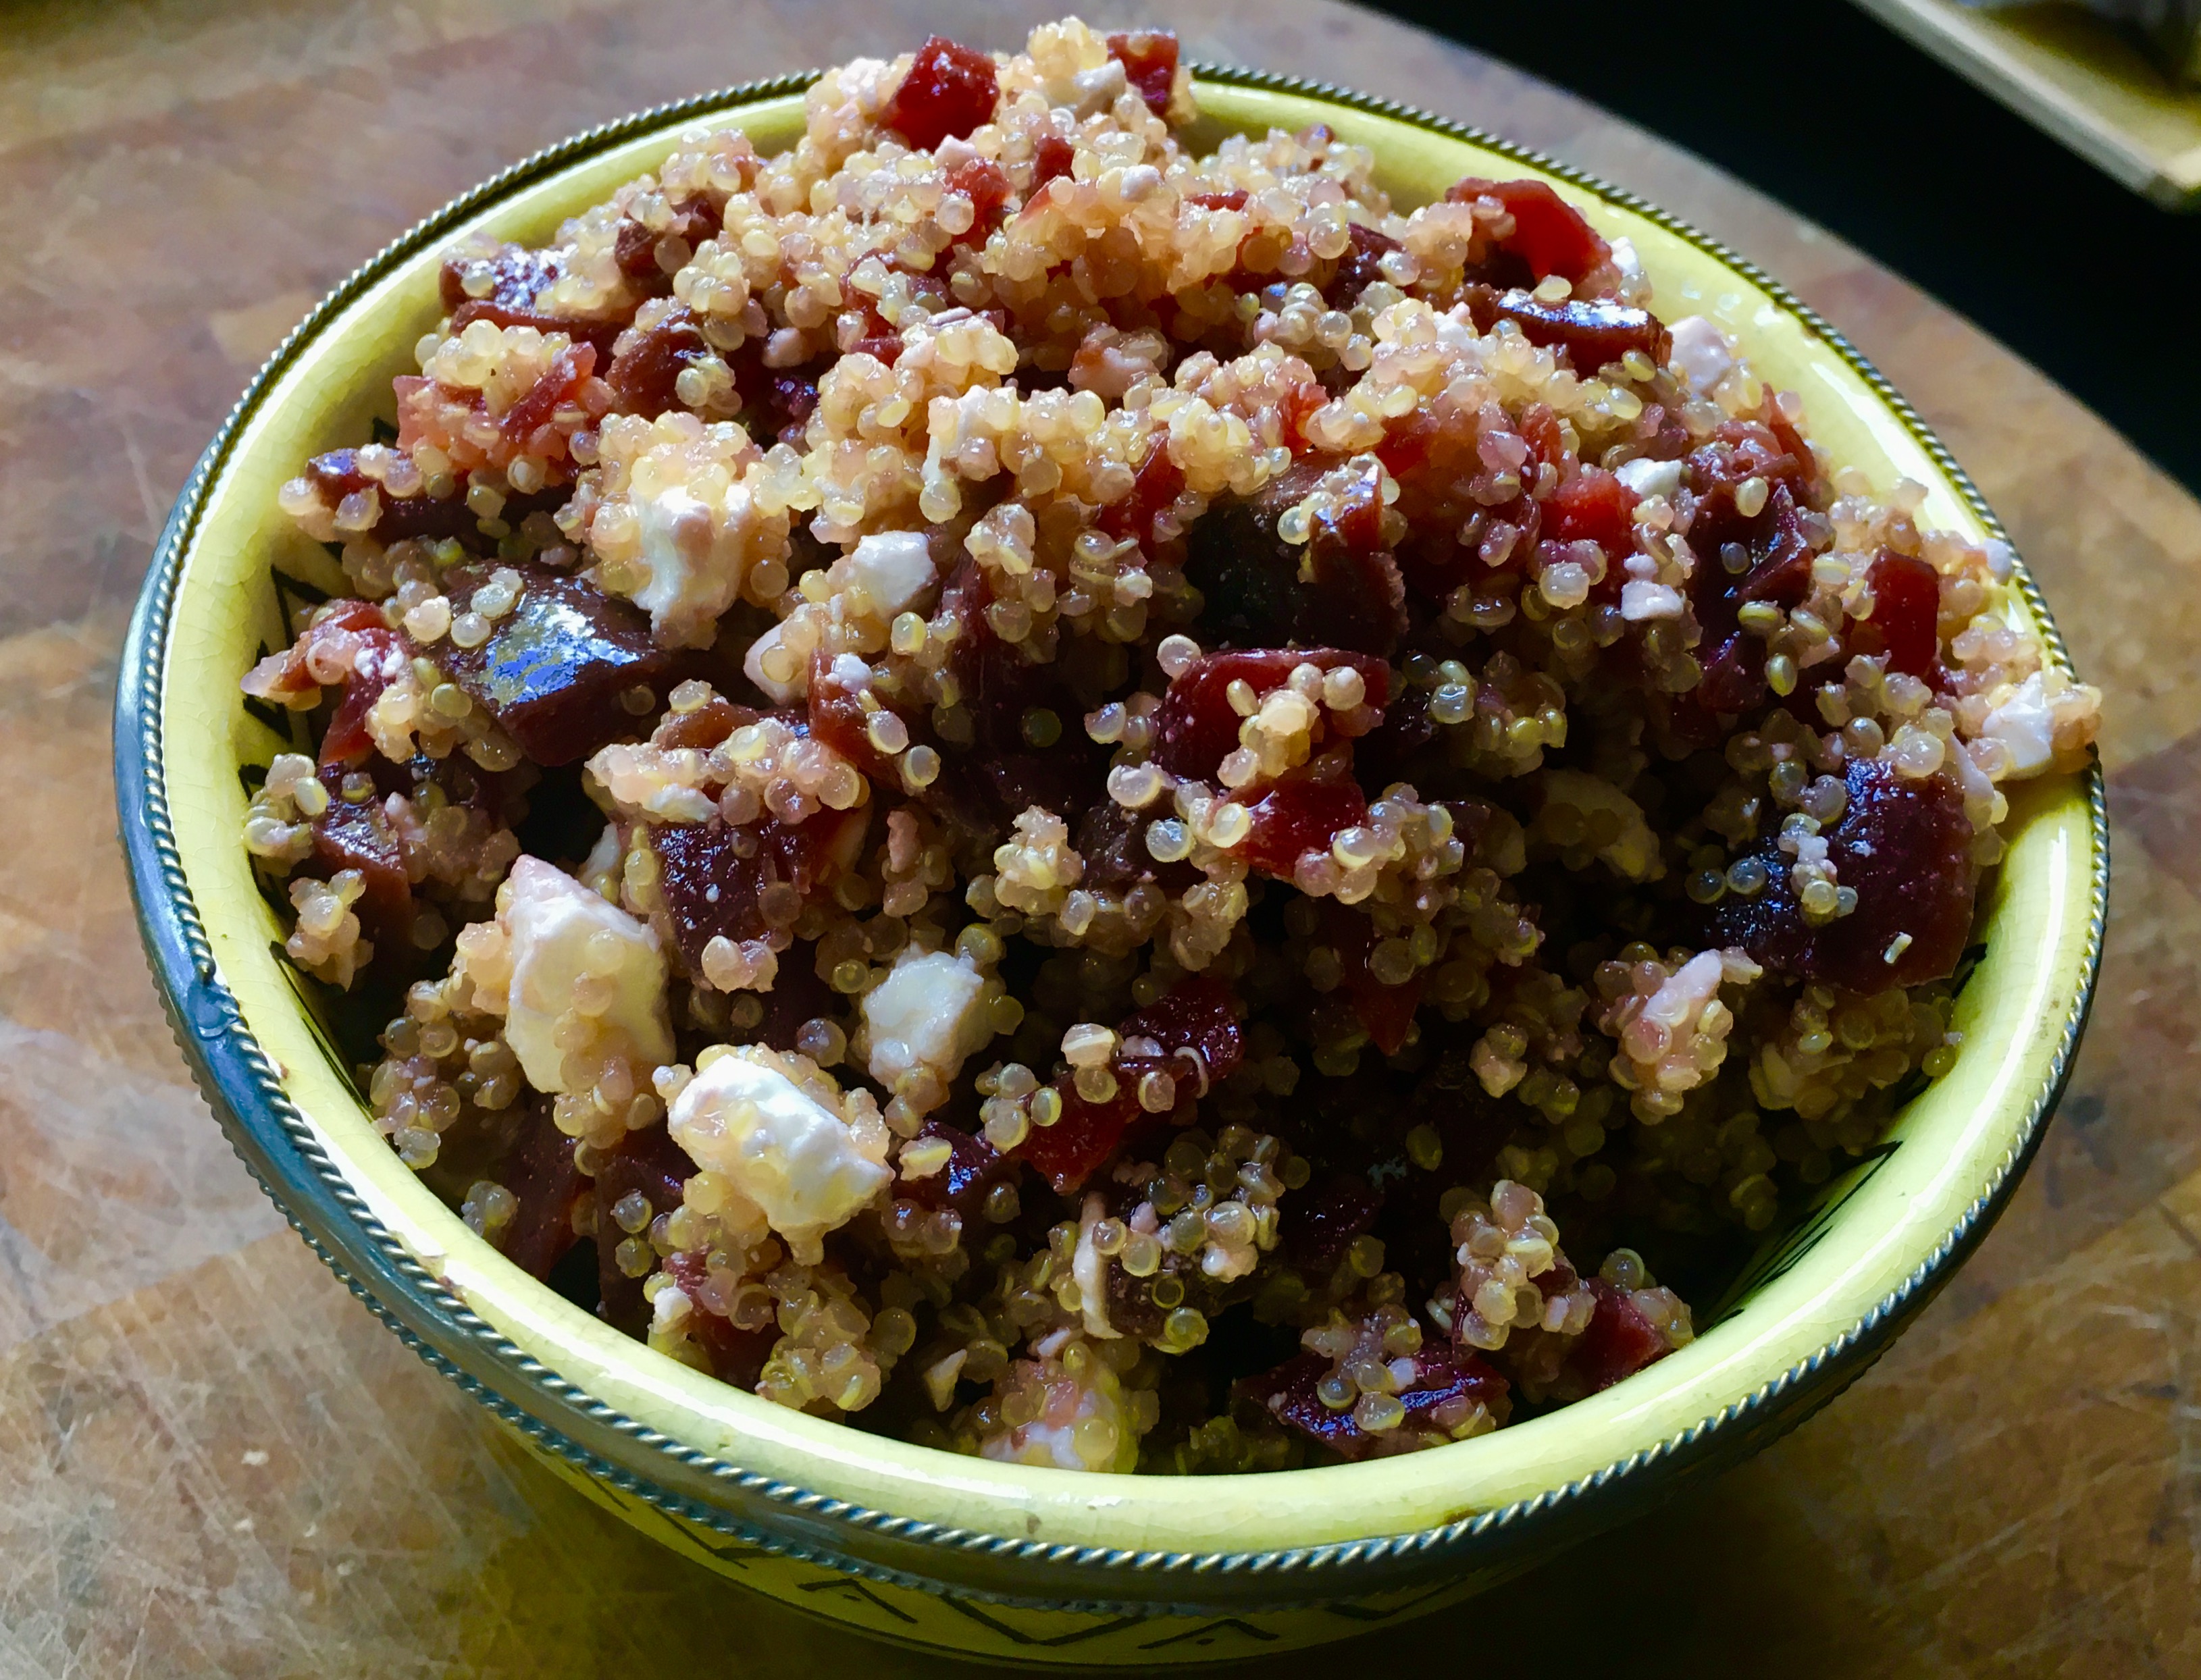
Sometimes I skip the arugula and just go for a bowl like this…

2 cups cooked quinoa
1/2 lb. beets, cooked and sliced
1/2 cup extra virgin olive oil
1/2 cup red wine vinegar
1 teaspoon sugar
1/2 clove garlic, through a press
1/2 teaspoon salt
1/4 teaspoon ground black pepper
1 scallion, finely minced
2 cups baby arugula (optional)
5 oz. feta cheese, crumbled

Prepare the quinoa according to the package instructions. I like to substitute half of the water with homemade chicken stock.

While the quinoa is cooking, combine the olive oil, vinegar, sugar, garlic, salt and pepper in a separate bowl.

Once the quinoa has cooked, place it in a bowl and add half of the dressing, mixing gently with a fork to fluff up the quinoa. Place it in the fridge to cool completely.

I like to use the product LoveBeets, available in any supermarket. The beets come fully cooked and peeled, ready to slice.

Chop the beets to the size you like and place them in the bowl of quinoa. Add the scallions, arugula and cheese. Toss to combine.

When the mixture has cooled down, give it a taste and add more of the dressing if needed. This tastes great at room temperature as well.

Sometimes, a cool adult beverage is just what you need after a long day of yard work. The cucumber plants in my garden have started producing, so it’s time to make this refreshing cocktail!


4 fresh cucumbers, peeled and seeded
Small ice cubes
1 cup loosely packed fresh mint leaves
2 teaspoons granulated organic cane sugar
3 tablespoons fresh lime juice
4 oz. vodka (I like Tito’s)
1 oz. orange liqueur (I like Cointreau)

Peel and seed the cucumbers. Coarsely chop them and then purée them in a food processor until smooth. Strain them through a fine sieve, pressing the solids to extract as much liquid as possible. Or, if you have one, use a juicer. Set the extracted cucumber juice aside.

To a large glass pitcher, add the mint leaves, sugar and lime juice. Muddle the ingredients so that the mint leaves release their oils. Add 3/4 cup (at least) of the cucumber juice. Add the vodka and Cointreau. Muddle again briefly.

Fill tall drinking glasses with ice cubes. Strain the cocktail into the glasses. Garnish with a cucumber spear or peel…or mint.

If you grow your own cucumbers and mint in your garden, this cocktail tastes even better…a fine reward for a job well done!

Who says you have to only cook burgers and steaks on the grill? This is one of my favorite ways to enjoy clams…and without the clam knife! I always use hardwood charcoal.

image

A couple of dozen (or more) little neck clams, washed and purged
1 stick (8 oz.) of unsalted butter
1/4 cup extra virgin olive oil
1/4 cup chopped parsley
1 teaspoon dried oregano
1 teaspoon minced garlic
1/2 teaspoon dried basil
1/2 teaspoon sea salt

image

The clams should be stored in the fridge until ready to use…not in water, not on ice. Place the clams in a bowl and cover them with a wet dish towel.

About an hour before cooking, I like to purge my clams to remove as much grit as possible. I fill a large bowl with cold water, add sea salt and some corn meal to it, and mix it around. Then I add the clams to this bowl and let them sit in this liquid for an hour. They will suck up the corn meal and spit out sand and grit. After an hour, I pour off the water/salt/meal/grit mix, and thoroughly wash the clams. Now they’re ready to grill!

I start my hardwood charcoal grill and divide it in half: coals on one side, no coals on the other.

While the coals are heating up, I grab a disposable aluminum foil tray and place it on a burner on my kitchen stovetop over medium heat. I add the butter, olive oil, parsley, oregano, basil, garlic and salt, and stir it all to combine. Once the butter has melted and everything has blended, I bring the tray over to the charcoal grill and place on the side of the grill without coals. It will stay warm.

Once the coals are hot, just place the clams directly on the grill. (Use tongs, unless you want to remove all of your knuckle hair.) They’re done as soon as they open, but you can cook them as long as you like, from raw to more thoroughly cooked. As each one reaches its desired doneness, place it carefully in the aluminum tray, making sure you don’t lose any of that precious liquid inside the clam shell. Give it a swish in the butter and herb mix.

When all the clams have been cooked and are in the tray, serve them with that herby butter sauce on top of pasta…or simply eat them with a fresh baguette. A glass of great white wine is a must.

image

Really easy and really delicious!

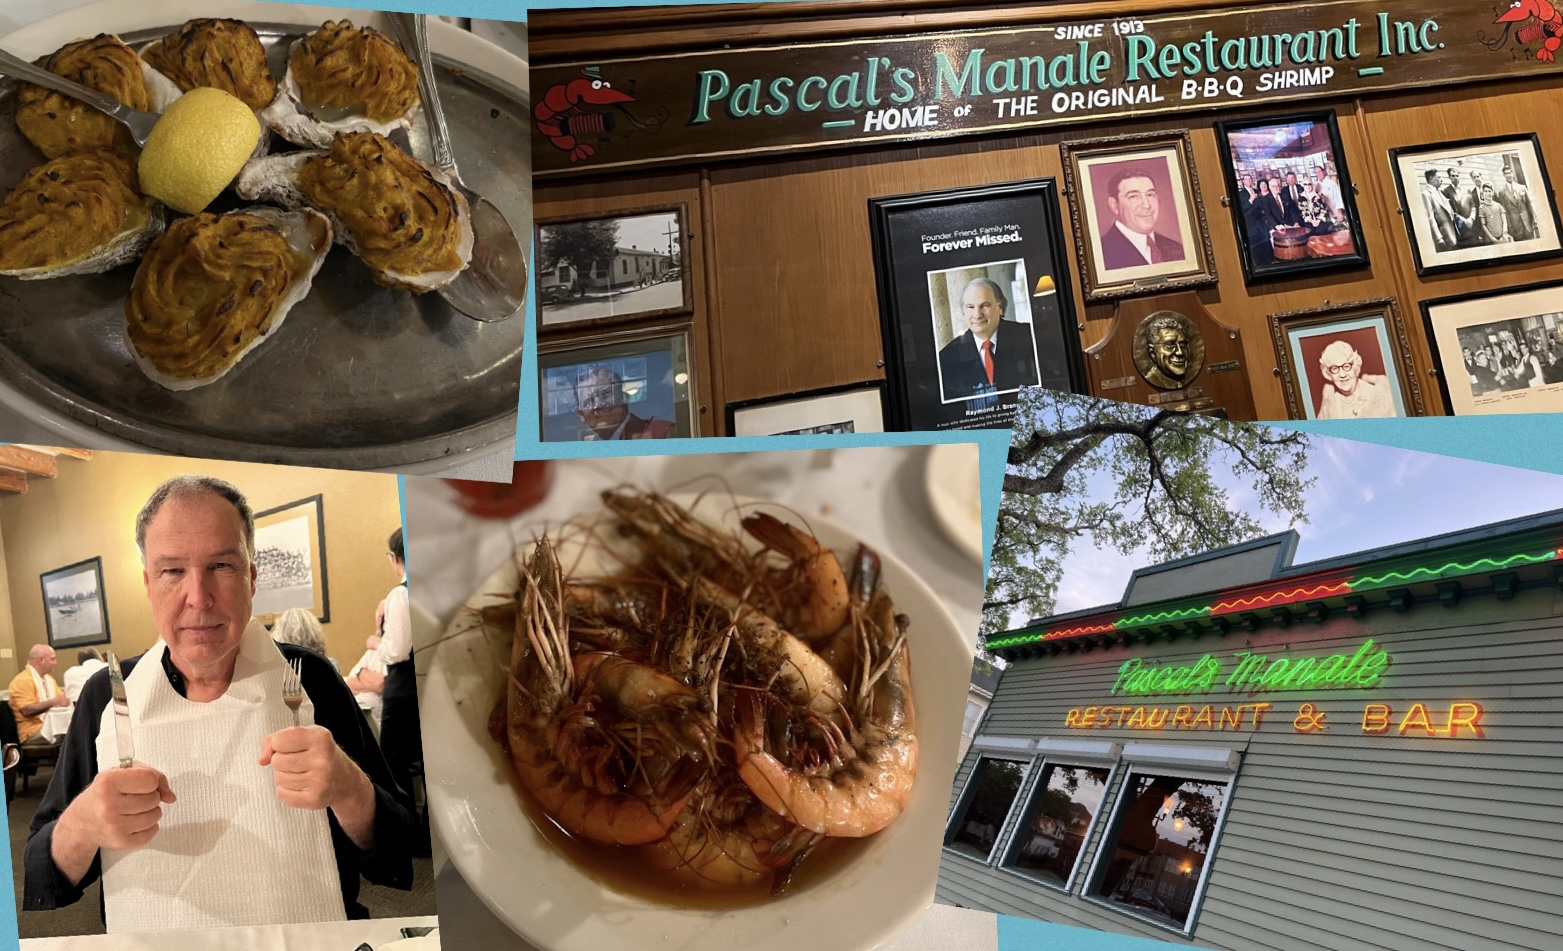
One of my favorite dishes to come out of New Orleans is Barbecue Shrimp, so on a visit to the Crescent City last year, I had to make a stop at the place where it all started.

The first unusual thing you notice about the classic dish, New Orleans Barbecue Shrimp, is that it’s not cooked on a barbecue grill and it has no barbecue sauce.

So why the name?

Its origin goes back to the mid-1950’s, to an Italian restaurant in New Orleans called Pascale’s Manale. The story goes that a regular customer had just returned from Chicago, where he had dined on an amazing shrimp dish. He asked the chef at Pascale’s Manale to try to replicate it, and what resulted was actually better than the original. And though no barbecue grill or sauce was used, it is believed that they gave it the name “BBQ Shrimp” to cash in on the backyard barbecuing craze that was all the rage at the time. Whatever they call it, I have to say that it’s worth a special trip to have the dish!

The classic New Orleans Barbecue Shrimp is served with shell-on shrimp, so you have to make a big, buttery mess of yourself as you devour it. And it’s served with plenty of crusty French bread.

Sometimes I leave out the bread and go for rice instead. And I’ll peel the shrimp completely, using the shrimp shells to make the stock I cook the rice in.

image
For the seasoning…
1 1/2 teaspoons salt
1 1/2 teaspoons fresh ground black pepper
1 teaspoon fresh rosemary, very finely chopped
1/4 teaspoon oregano
1/4 teaspoon granulated garlic
1/4 teaspoon granulated onion
1/4 teaspoon paprika
1/4 teaspoon dried thyme
1/8 teaspoon cayenne pepper
1/8 teaspoon white pepper

Mix all the seasoning spices and set them aside.

image
For the BBQ shrimp…
2 lbs. large wild-caught American shrimp, peeled and de-veined
1 stick butter (4 oz.)
1/2 cup beer
1/4 cup Worcestershire sauce
olive oil
For the rice…
1 cup rice (I like organic basmati)
2 1/4 cups water or seafood stock (see below)
1 teaspoon olive oil
1/2 teaspoon Tony Chachere’s Original Creole Seasoning

image

Cook the rice following the directions on the package. I like using stock instead of water when I cook my rice, so after peeling all the shrimp, I toss the shells in a saucepan full of water and I boil the heck out of it, strain it, and use that stock to cook the rice. I add the olive oil and the Tony Chachere’s (available online or at your favorite food store) to the stock before cooking.

To cook the shrimp, I heat a little olive oil in a large skillet over moderate heat. Then I add the shrimp, and sear them on one side (about 30 seconds) and then flip them over to sear on the other side (another 30 seconds.) I’m not trying to cook them all the way through, just get them a bit caramelized. Then I remove the shrimp from the skillet and set them aside.

(I serve the BBQ Shrimp over the rice with broccoli. If you want to use broccoli, add a little butter and olive oil to the same pan you seared the shrimp in. Cook until the broccoli is nicely caramelized, then remove from the pan and set aside.)

In the same skillet, I heat the butter until the foam subsides. Then I add the beer, Worcestershire sauce, and 2 teaspoons of the seasoning mix. I mix well, then add the shrimp and broccoli back in the pan, simmering for about 5 minutes, stirring occasionally.

Serve over the rice!

When it’s done right, gazpacho is one of the most delicious summer soups you’ll ever have. The secret, of course, is using super-fresh veggies. That’s why I crave it at the first sign of a vine-ripened tomato in my garden or a local farm stand. When my tomato plants have dozens of ripening fruits on them every day, I eat some in salads…I make tomato sauce with others…but the reddest and ripest become gazpacho!


I never make this out of season, and I’m always wary of restaurants that do! Very often, they’ll try to hide the taste of older veggies by adding too much salt or lots of spice.

The consistency of gazpacho is a personal preference. I like mine a bit chewy…not chunky like salsa, but not watery like soup…somewhere in between the two is perfection.

All the work is pretty much in the slicing, peeling and chopping…so I do it carefully.


1 large Vidalia onion, peeled and roughly chopped
1 carrot, peeled and roughly chopped
5 large tomatoes, peeled, seeded, and roughly chopped
2 medium cucumbers, peeled, seeded, and roughly chopped
6 sprigs of flat-leaf parsley
1/2 cup olives, drained  (I like kalamatas)
1/2 cup good quality extra virgin olive oil
Juice of 1/2 a large lemon
3 tablespoons white vinegar
Sea salt and freshly cracked black pepper

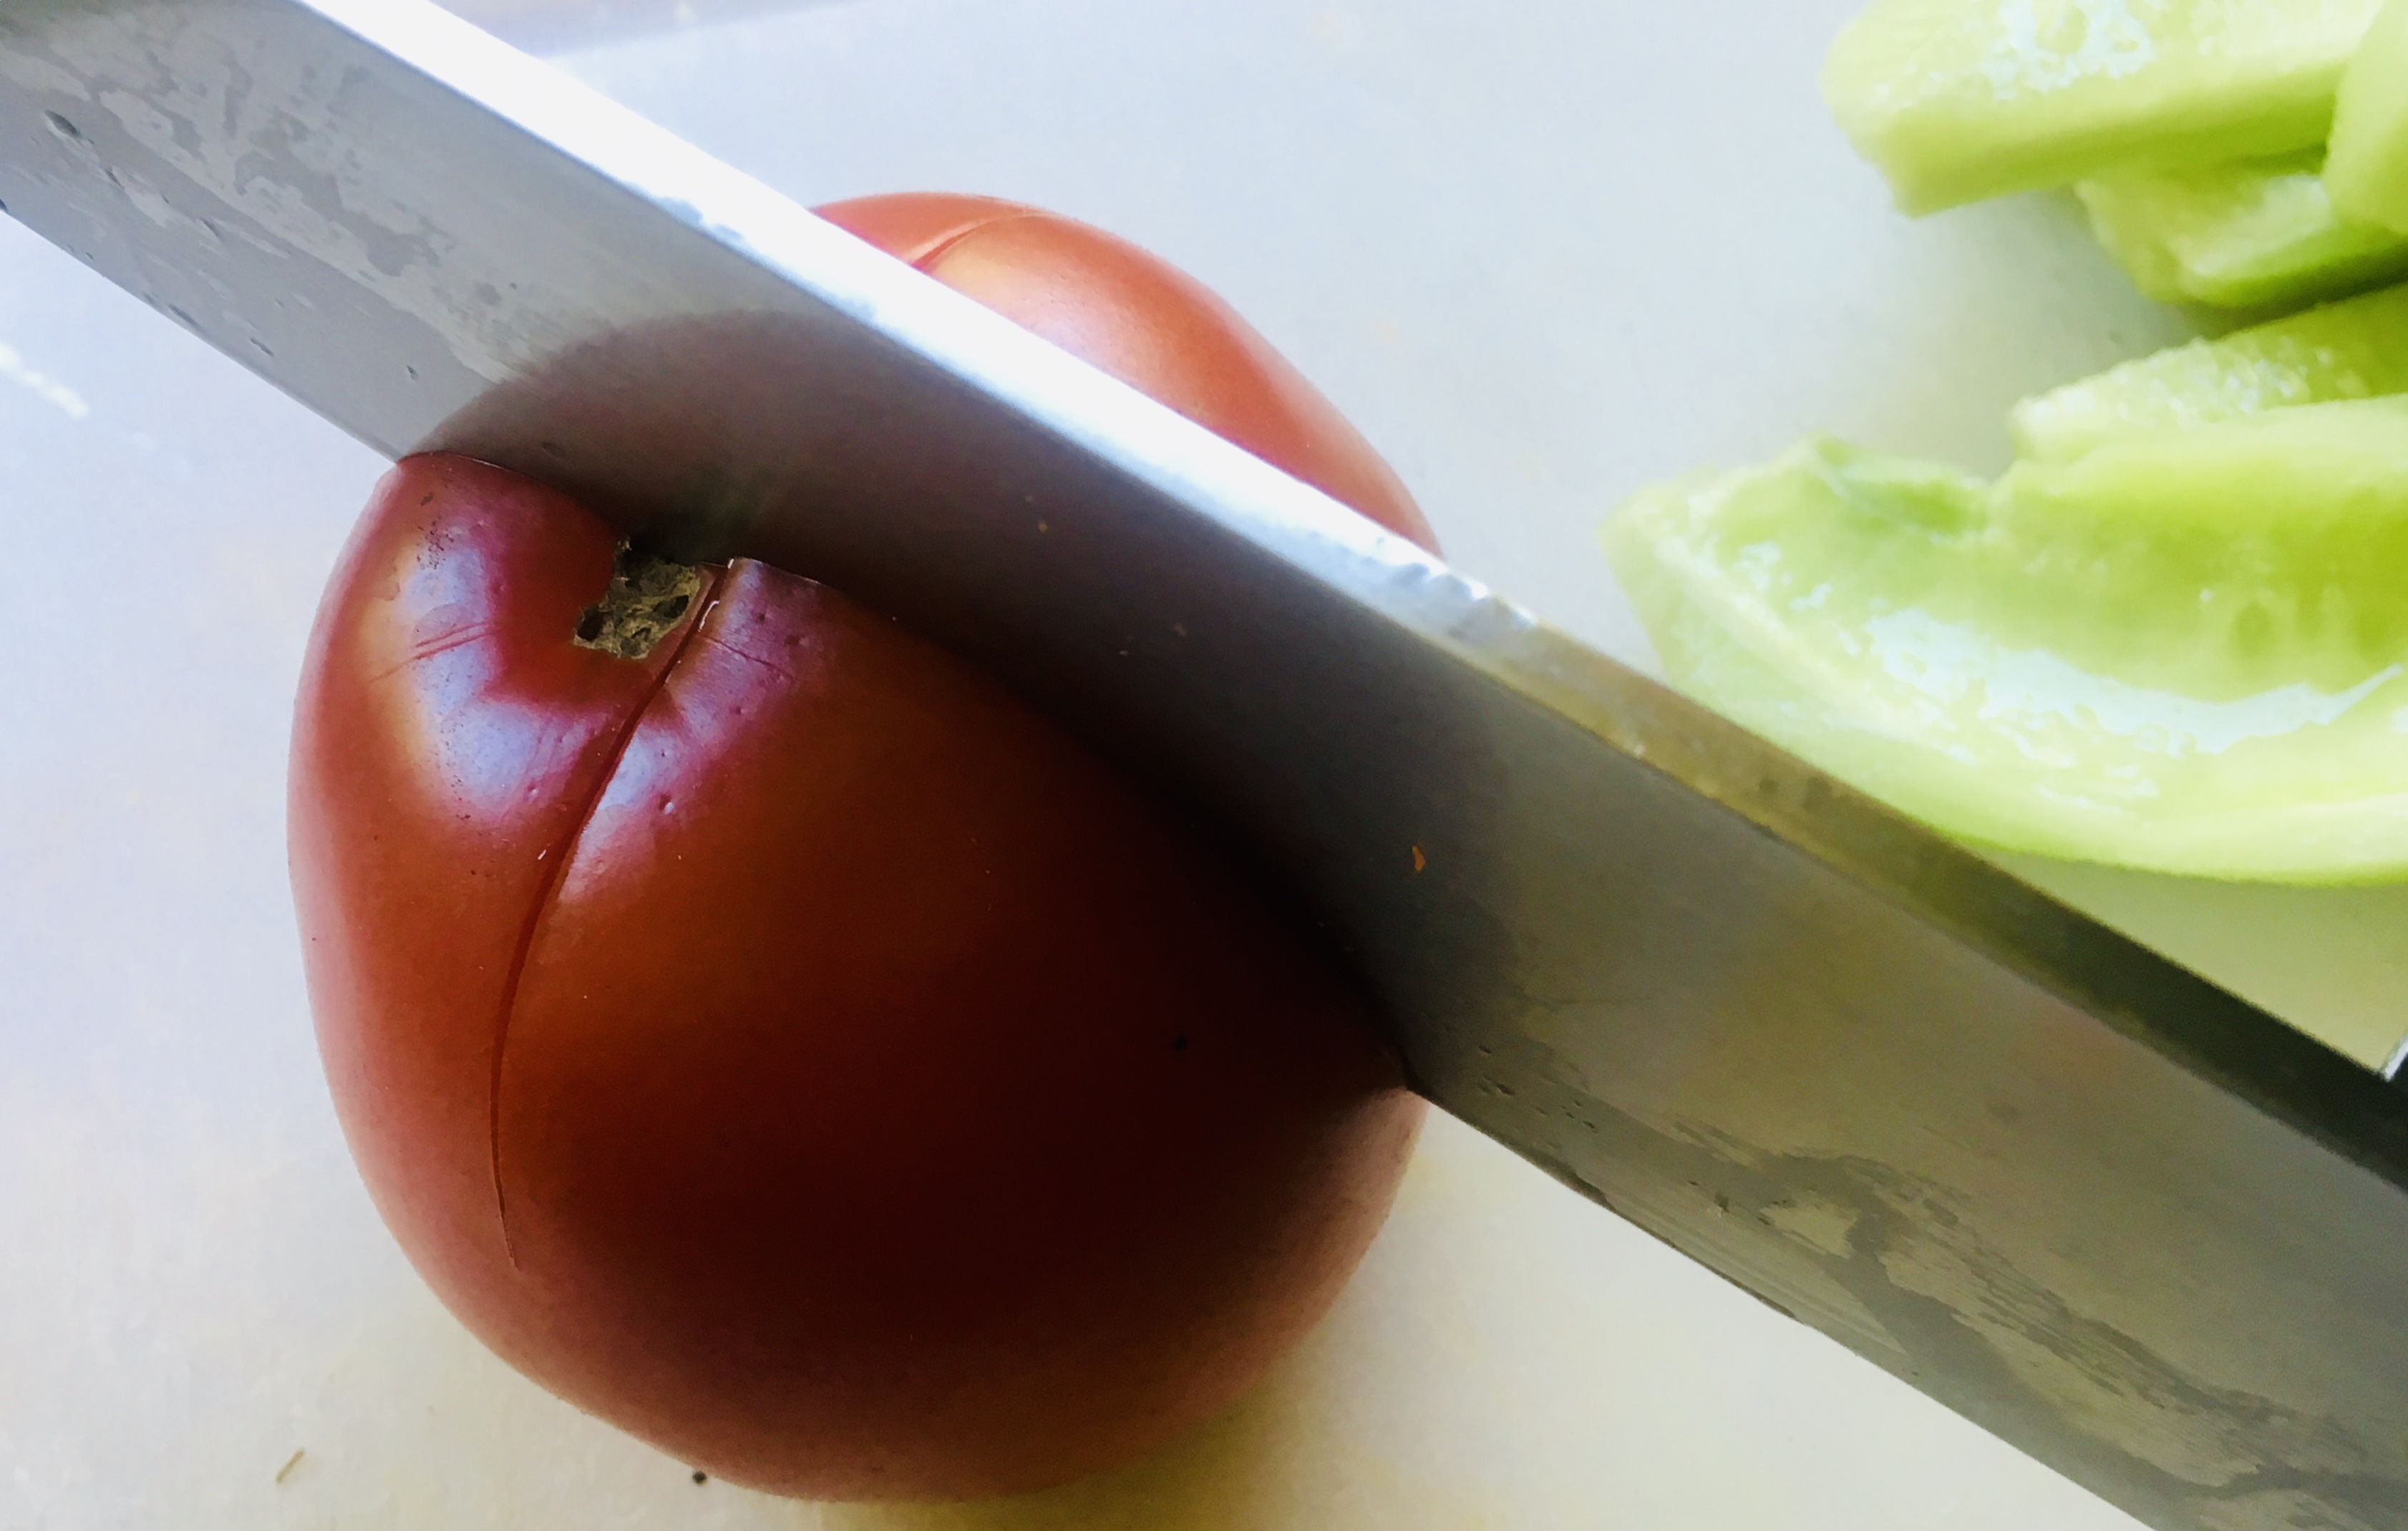
An easy way to peel tomatoes is to turn them upside down and make an X with a knife, puncturing the skin. Drop the tomatoes in boiling water for about 30 seconds, and the skin will start peeling away from the meat. Scoop the tomatoes out of the water, and immediately drop them into a bowl of ice water, letting them cool for 5 minutes. The skin will peel right off. Cut the tomatoes in half and (over the sink!) gently press your thumbs into the seed compartments, popping them out. Give the tomato a little shake to remove any last seeds, and it’s ready to be chopped.


Make an X, then drop the tomatoes in boiling water for 30 seconds.


While the tomatoes are cooling, you can peel and chop the other veggies.

Peel and roughly chop the onion and carrot, and place them in a food processor. Let it run for about 10 seconds.

Add the peeled and seeded tomatoes, the peeled and seeded cucumbers, and the sprigs of parsley and continue processing.

Add the olives, olive oil, lemon juice, vinegar, sea salt and black pepper.


Process until the veggies are finely chopped, and you’ve got a soup. Store it in the fridge for at least one hour to chill before serving.


Garnish with a sprig of parsley and a sprinkle of Fleur de Sel or other tasty finishing salt.