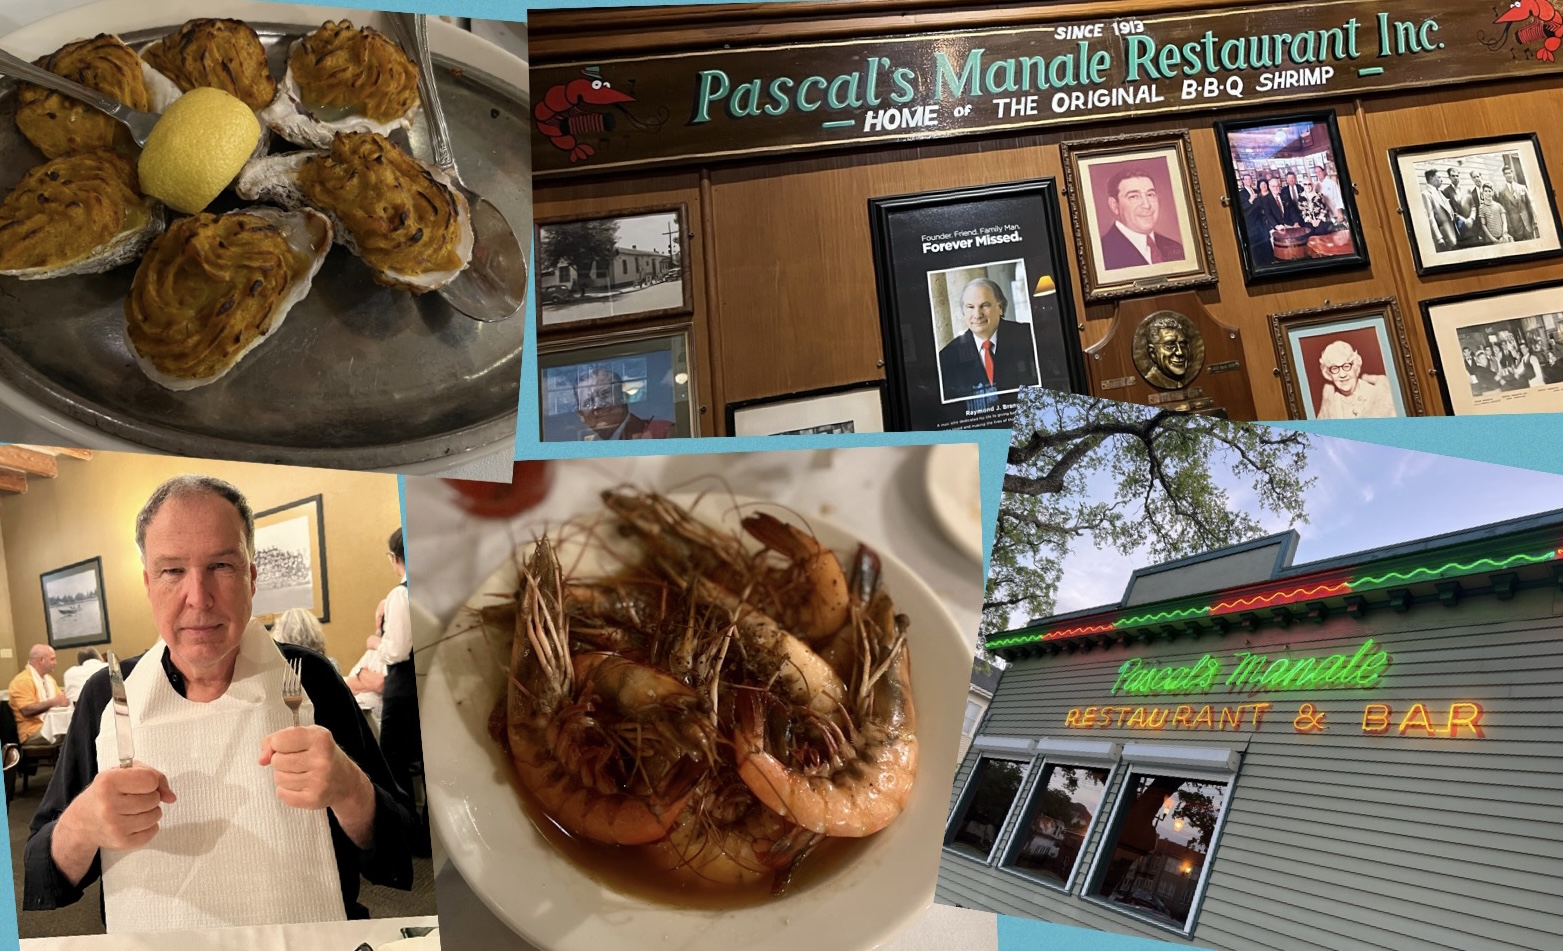
Every year for the past 7 years (not counting Covid year), I’ve hosted a BOYZ weekend at my house. and this year’s no exception. It’s coming up in a couple of weeks! One of my sure-fire all-time favorite appetizers is stuffies. My recipe is a twist on ones I enjoyed at a local restaurant, The Back Eddy, in Westport, Massachusetts. But, as always, I’ve made a couple of changes to make it my own.
Stuffies, or stuffed clams, are a very personal matter here in Southern New England. There are as many stuffies recipes as there are chowder recipes, and everyone thinks they’ve got the best one. Most stuffies that I’ve had in restaurants have too much bread and not enough of the good stuff.

I use medium-sized clams for this recipe and not the traditional quahog, a large clam often used in chowders that I find to be too chewy. Dropping the clams in hot water in the beginning helps make opening the clams a lot easier.

Just 30 seconds in boiling water is all it takes.
This recipe requires quite a bit of fresh sage, which can be expensive at the supermarket. So I grow sage in my summer garden, using it throughout the season, then snipping as much as I can at the end of the growing season to store it in freezer bags for winter use. I’ll even measure out 1 1/4 cups of fresh sage leaves (what I need for each batch of stuffies), then place that amount in the freezer bag, so I don’t need to measure later.


Freezing the sage makes it easier to chop finely later on.
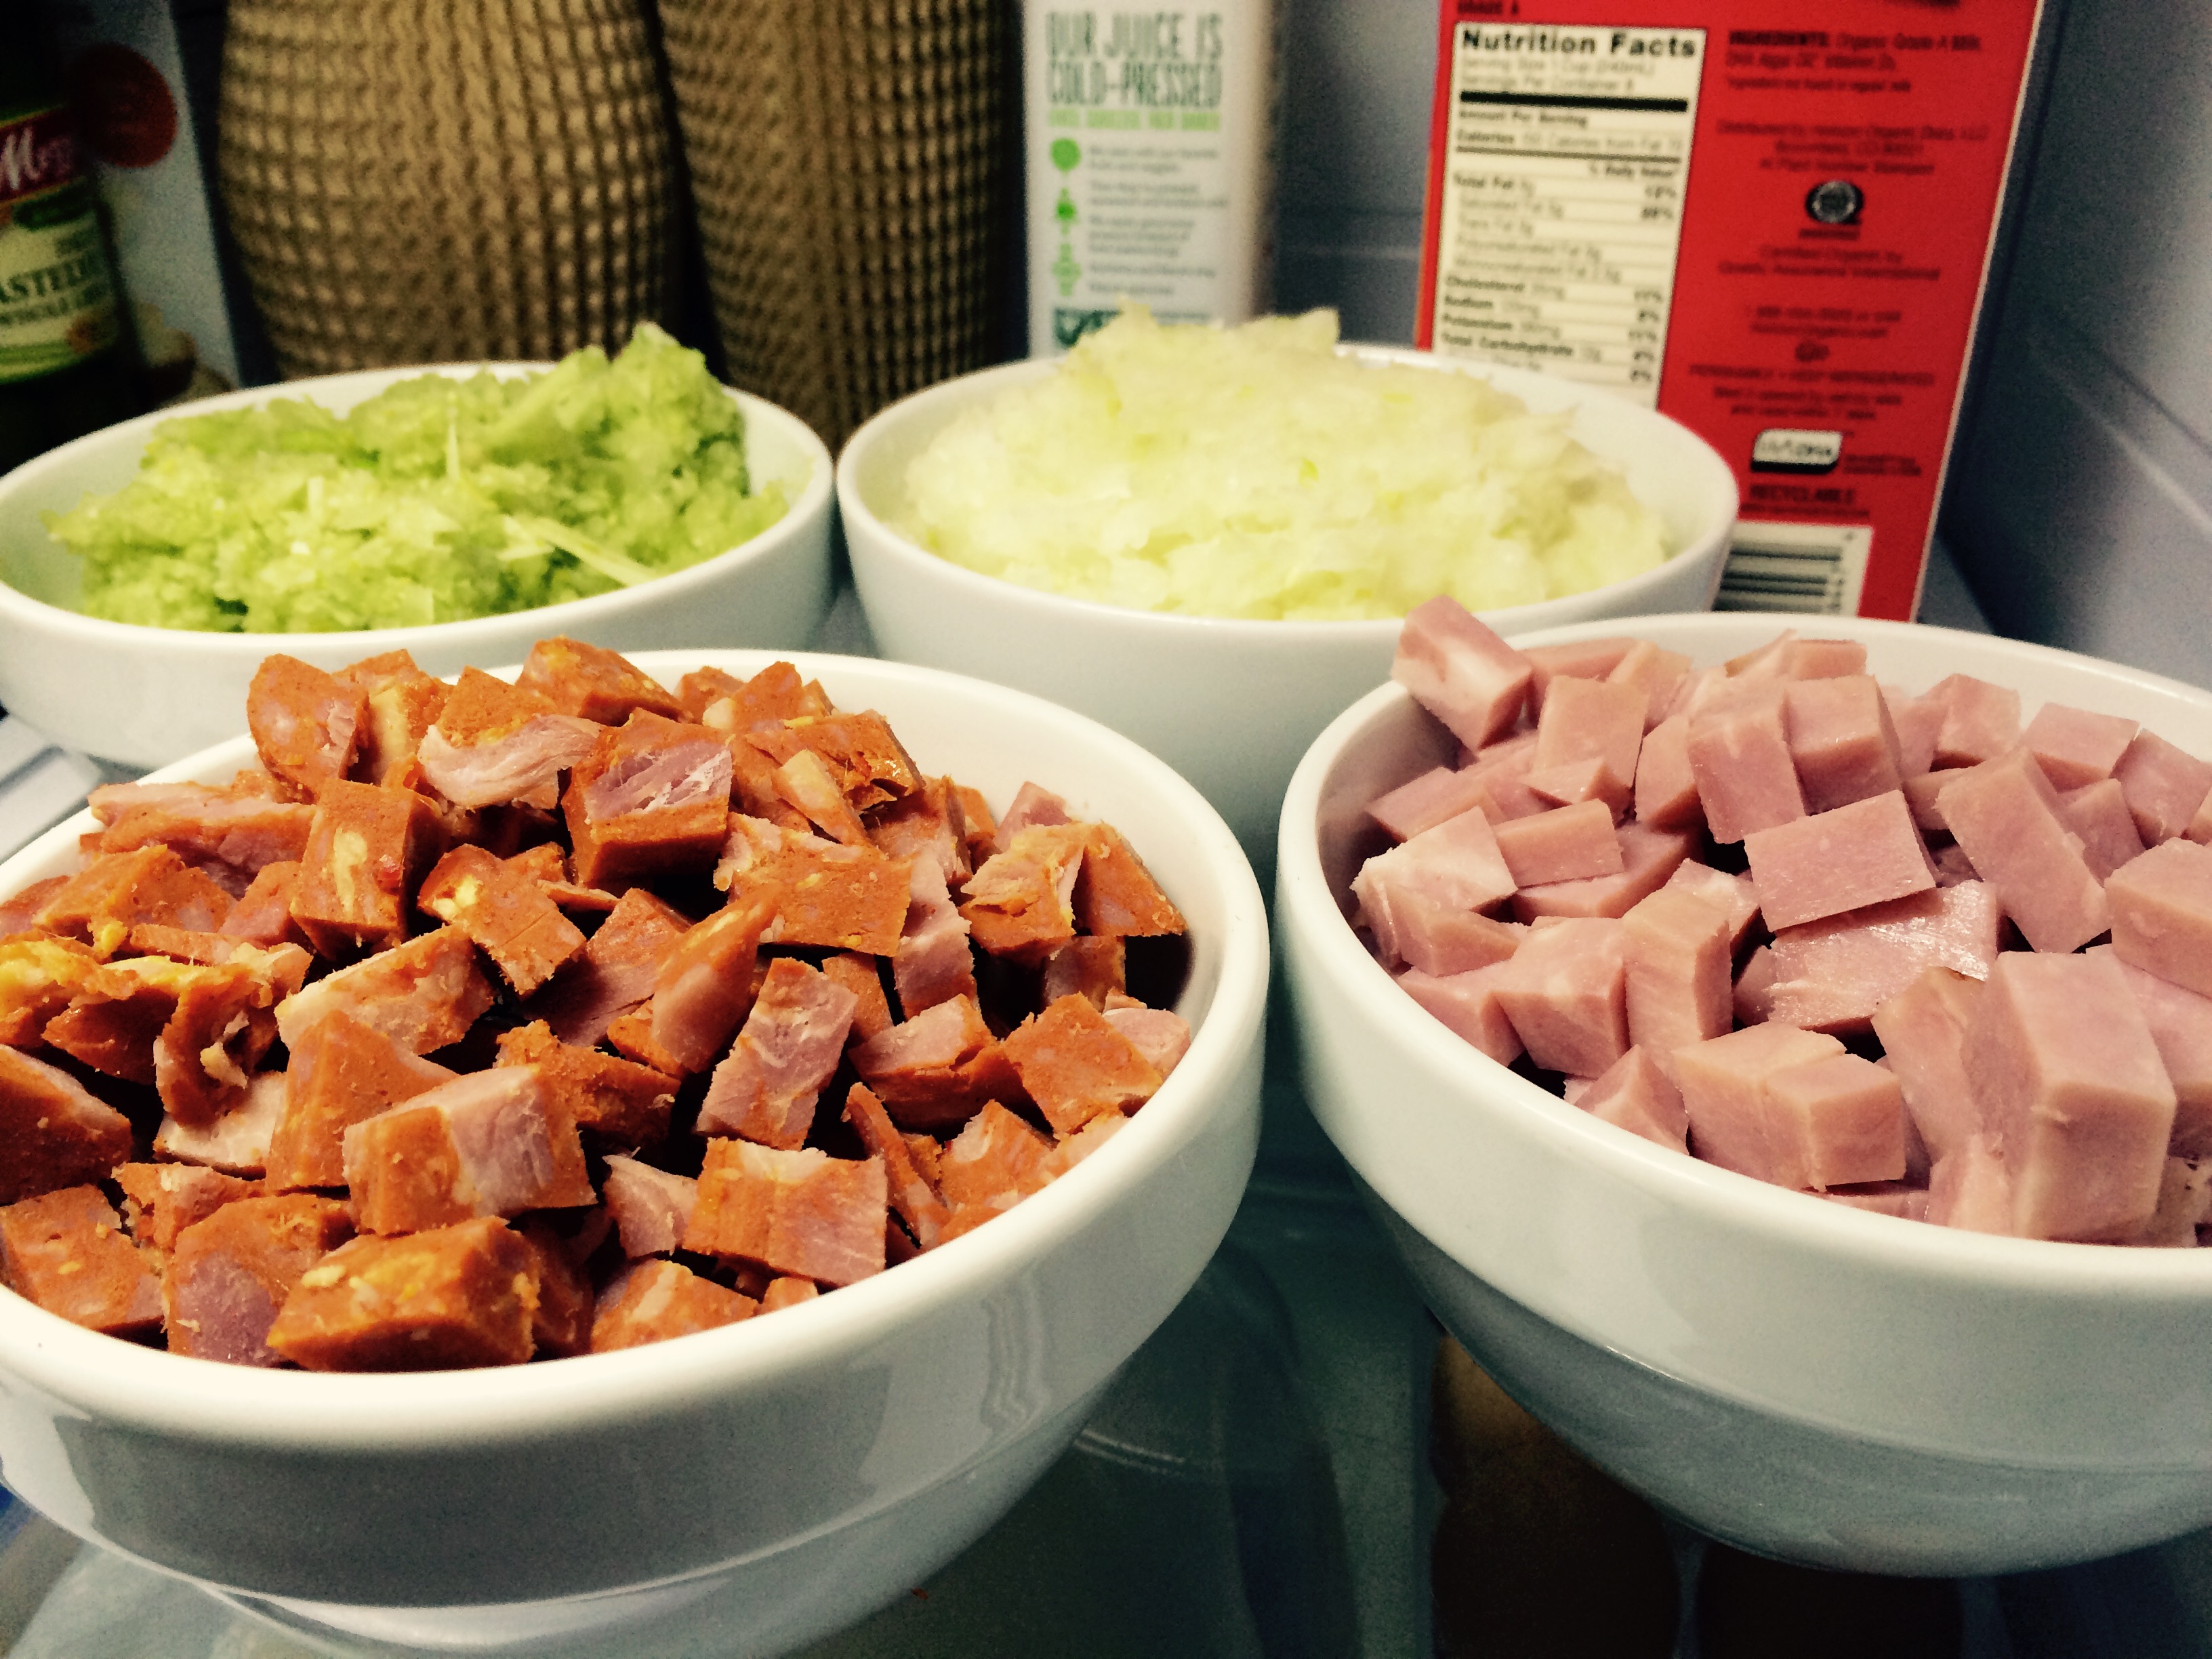
I use Portuguese chourico (since I live near Fall River and New Bedford, Massachusetts, the Portuguese capitals of America), and I think their flavor is best.
This recipe makes a lot of stuffies, but they freeze well so you can have them when you want.
This recipe is gluten-free…and you’ll never be able to tell the difference! But if that doesn’t matter to you, use toasted Portuguese bread instead of gluten-free bread. For gluten-free breadcrumbs, I buy loaves of Udi’s gluten-free frozen bread. I toast the slices, then put them in a food processor to make breadcrumbs.
I don’t like peppers in my stuffies (or my crab cakes), so I leave them out. But if you do, feel free to add them to your recipe.

4 dozen medium sized clams
1.5 pounds chopped chourico, skin removed (I use local Portuguese chourico)
3 onions, finely chopped
3 tablespoons garlic, finely chopped
3 cups frozen or fresh corn kernels
3 cups toasted and coarsely ground bread (I use Udi’s Soft & Hearty Whole Grain bread to keep it gluten-free)
3/4 cup chopped fresh oregano (or 1 tablespoon dried)
1 1/4 cups chopped fresh sage (don’t use dried)
Salt and pepper
Butter
Sambal chili paste, or chili crisp, or Chinese chili garlic sauce
Mayonnaise

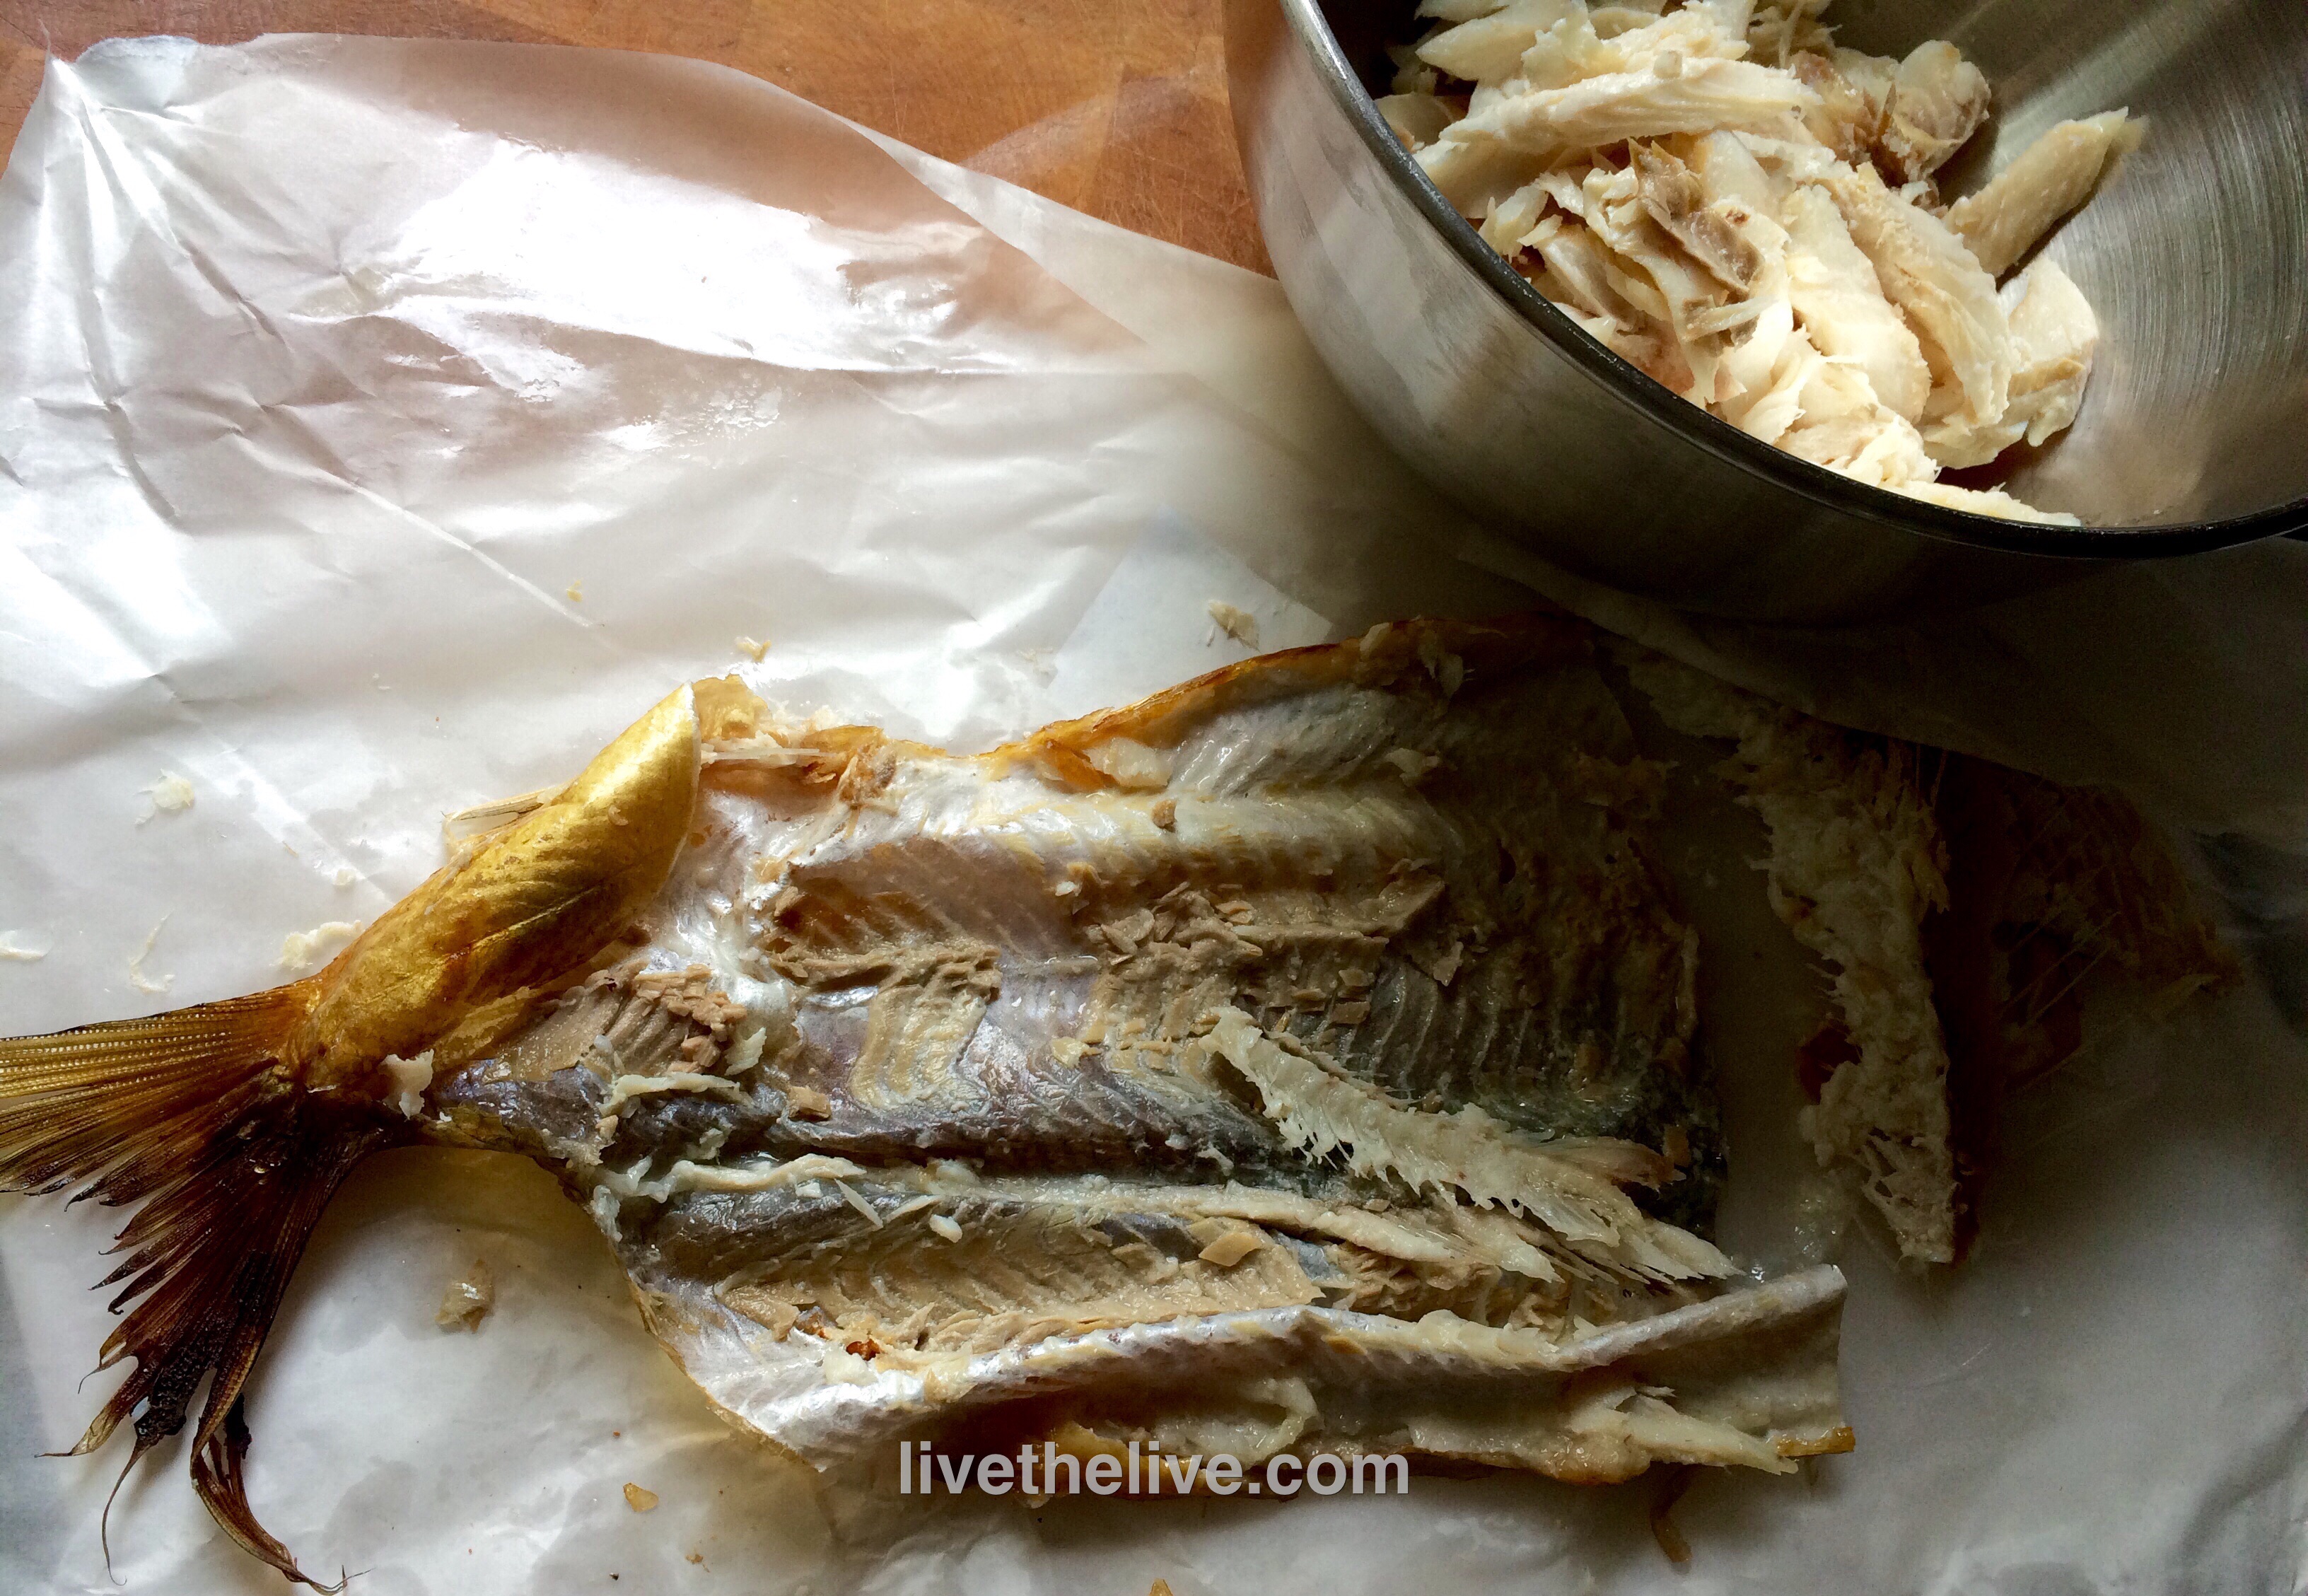
In a large pot of boiling water, drop the clams in, about a dozen at a time. Remove them after about 30 seconds, before they open. Place them in a bowl to cool. Do this with all the clams.
Open the clams with a clam knife over a bowl with a strainer, making sure you save all the liquid from the clams. Put the clam shells to the side. Throw away any broken shells, and wash the empty shell halves thoroughly, making sure there are no broken pieces.

I use a strainer to keep the sediment away from the clam meats.
Take the clam meat pieces out of the strainer, leaving the clam juice behind in the bowl. Move the clam meat to a cutting board or food processor and chop them to medium-fine. Set them aside.
I pour the clam juices carefully from the bowl into tall drinking glasses, being careful not to let the sediment get in. Then, after some time, I pour off the clam juice from the glasses, leaving even more of the sediments behind. I find that the tall glasses make it easier to see the sediments, and maximize the amount of clam juice I get.
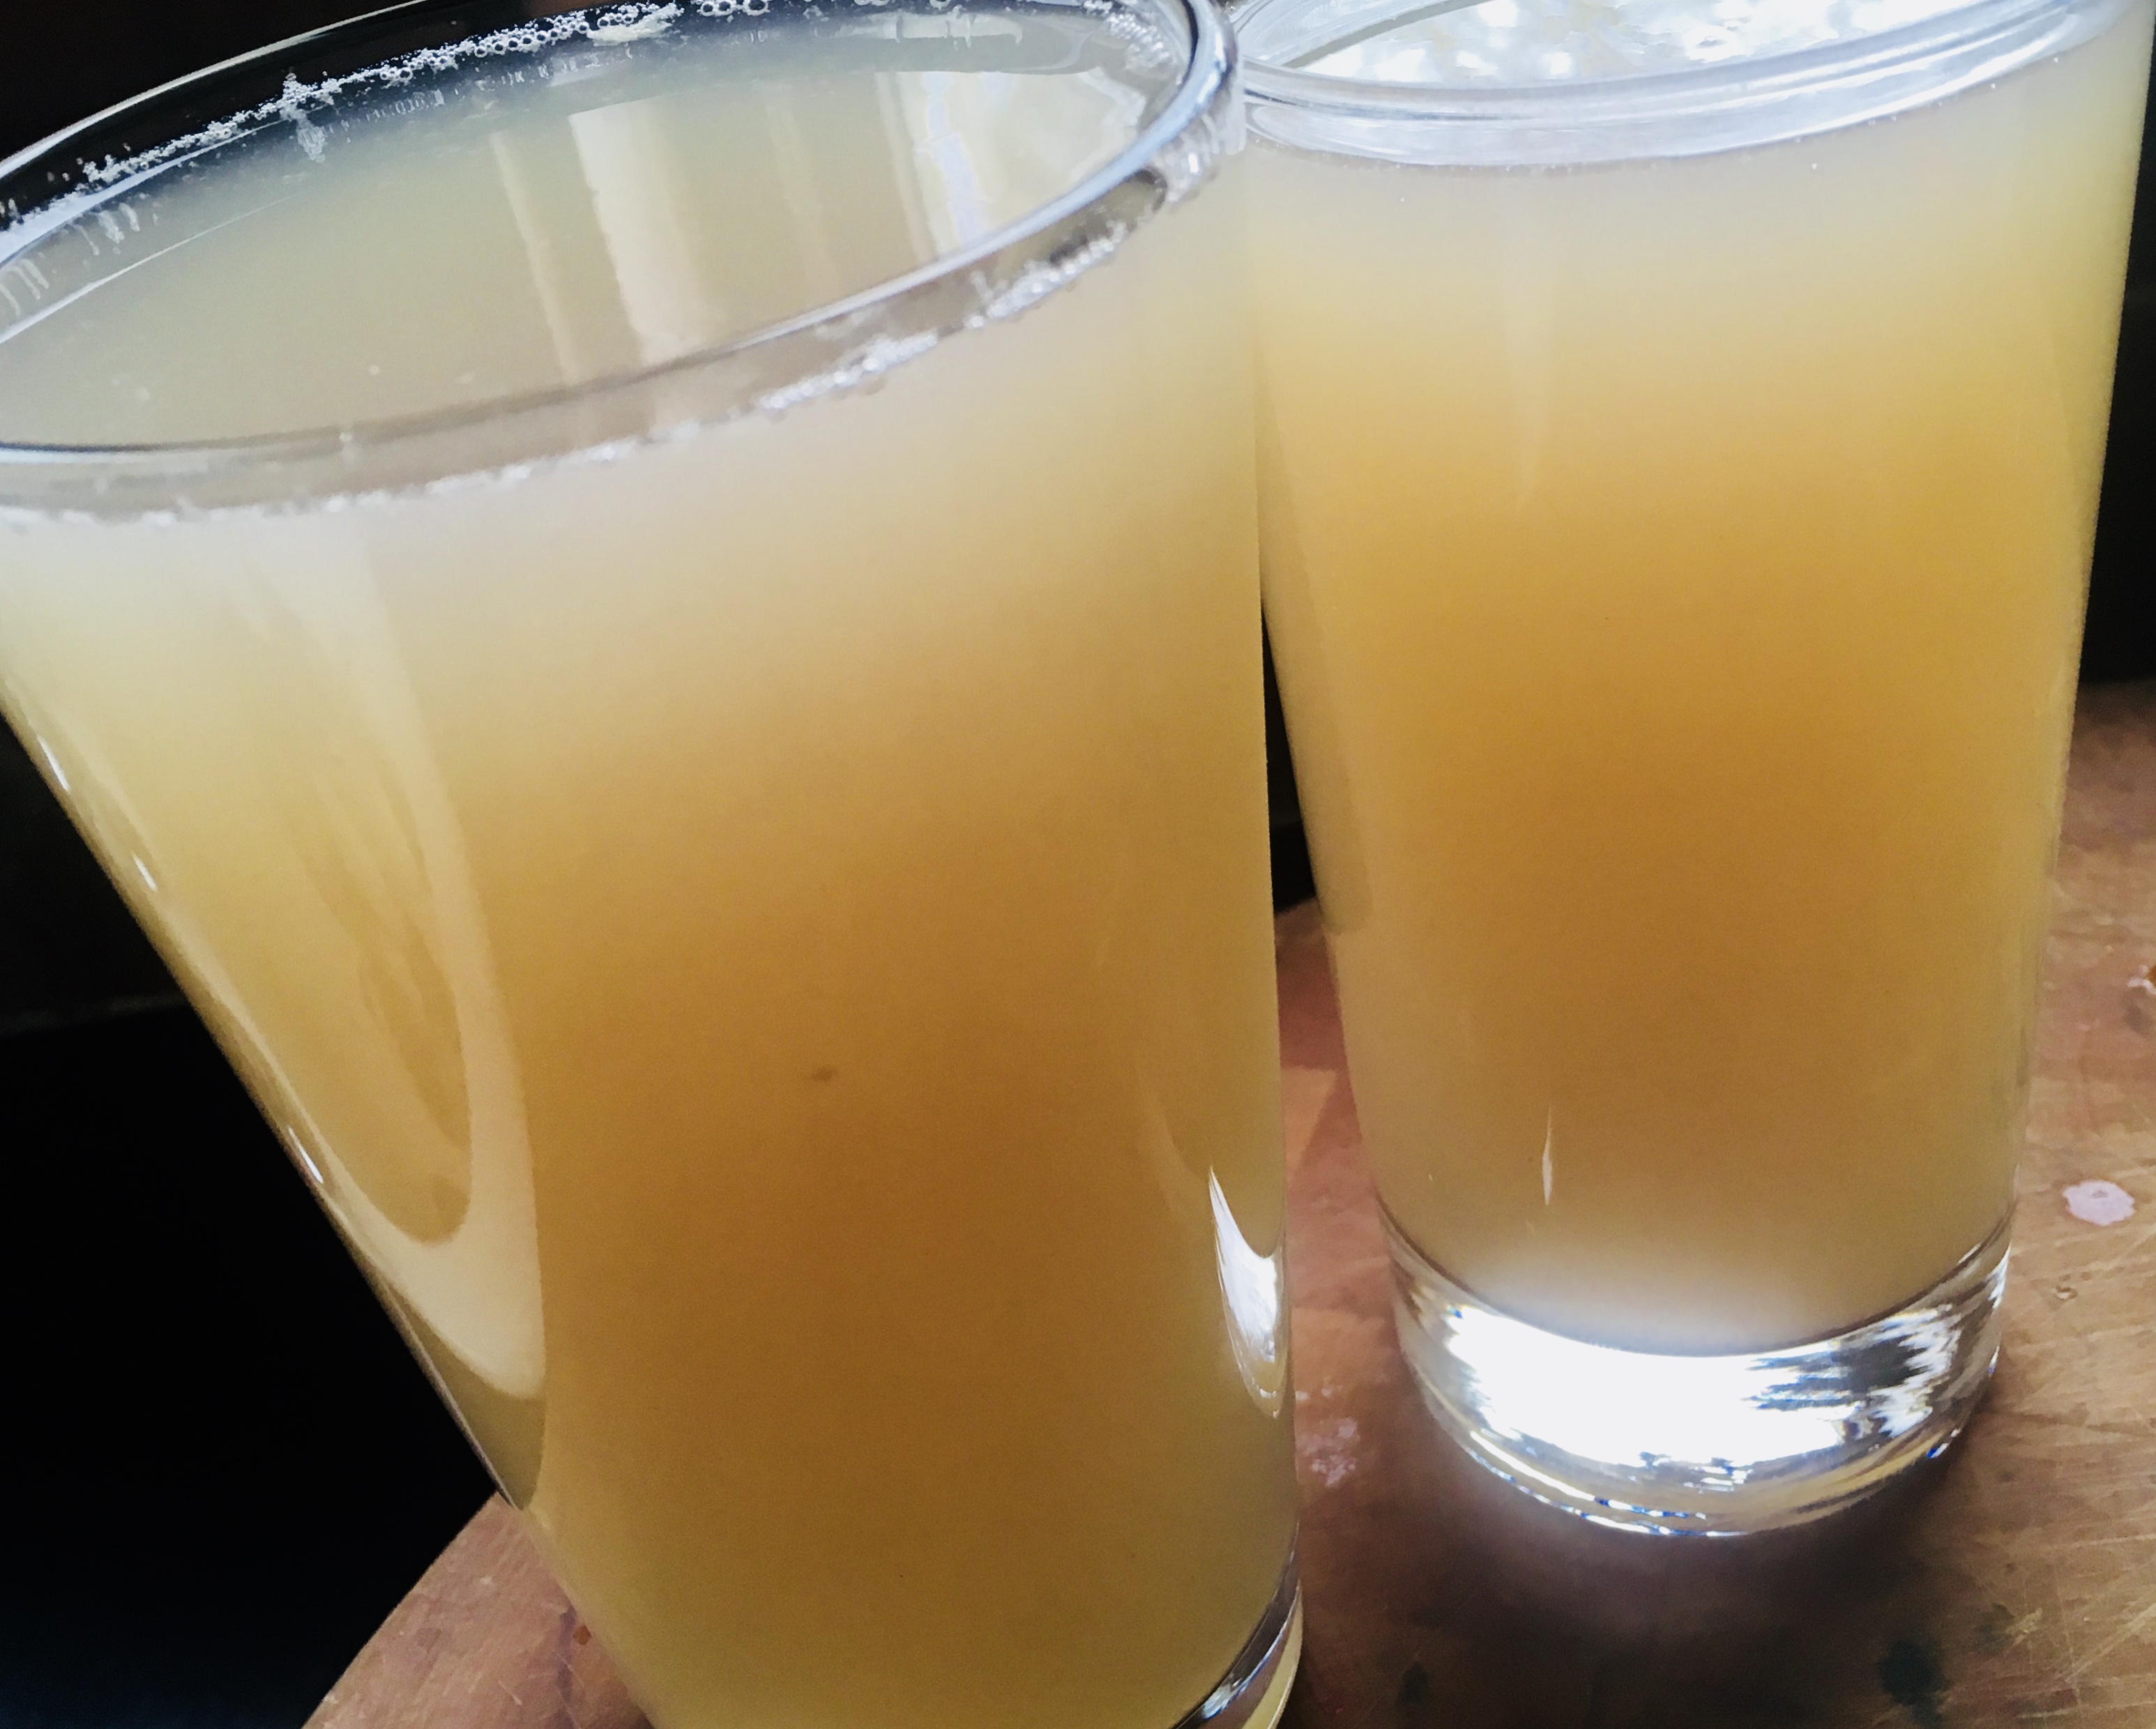
I let the clam juices sit in their tall glasses for a while, so that even more sediments get left behind.
In a large frying pan, add the olive oil, onions, and chourico and cook them on medium heat for a few minutes. Add the oregano and sage and cook a few more minutes. Add the corn and cook a few more minutes, a little more if the corn was frozen. Add the chopped clams and stir, cooking for a few more minutes. Add the breadcrumbs a little at a time until you have a nice balance of bread and other ingredients. Add the clam juice a little at a time as well, so that you can add all the breadcrumbs, but the mix isn’t runny. There’s lots of flavor in the clam juice, so use as much as you can! Season it all with salt and pepper.
Remove the pan from the heat and fill the empty clam shells with the stuffing.
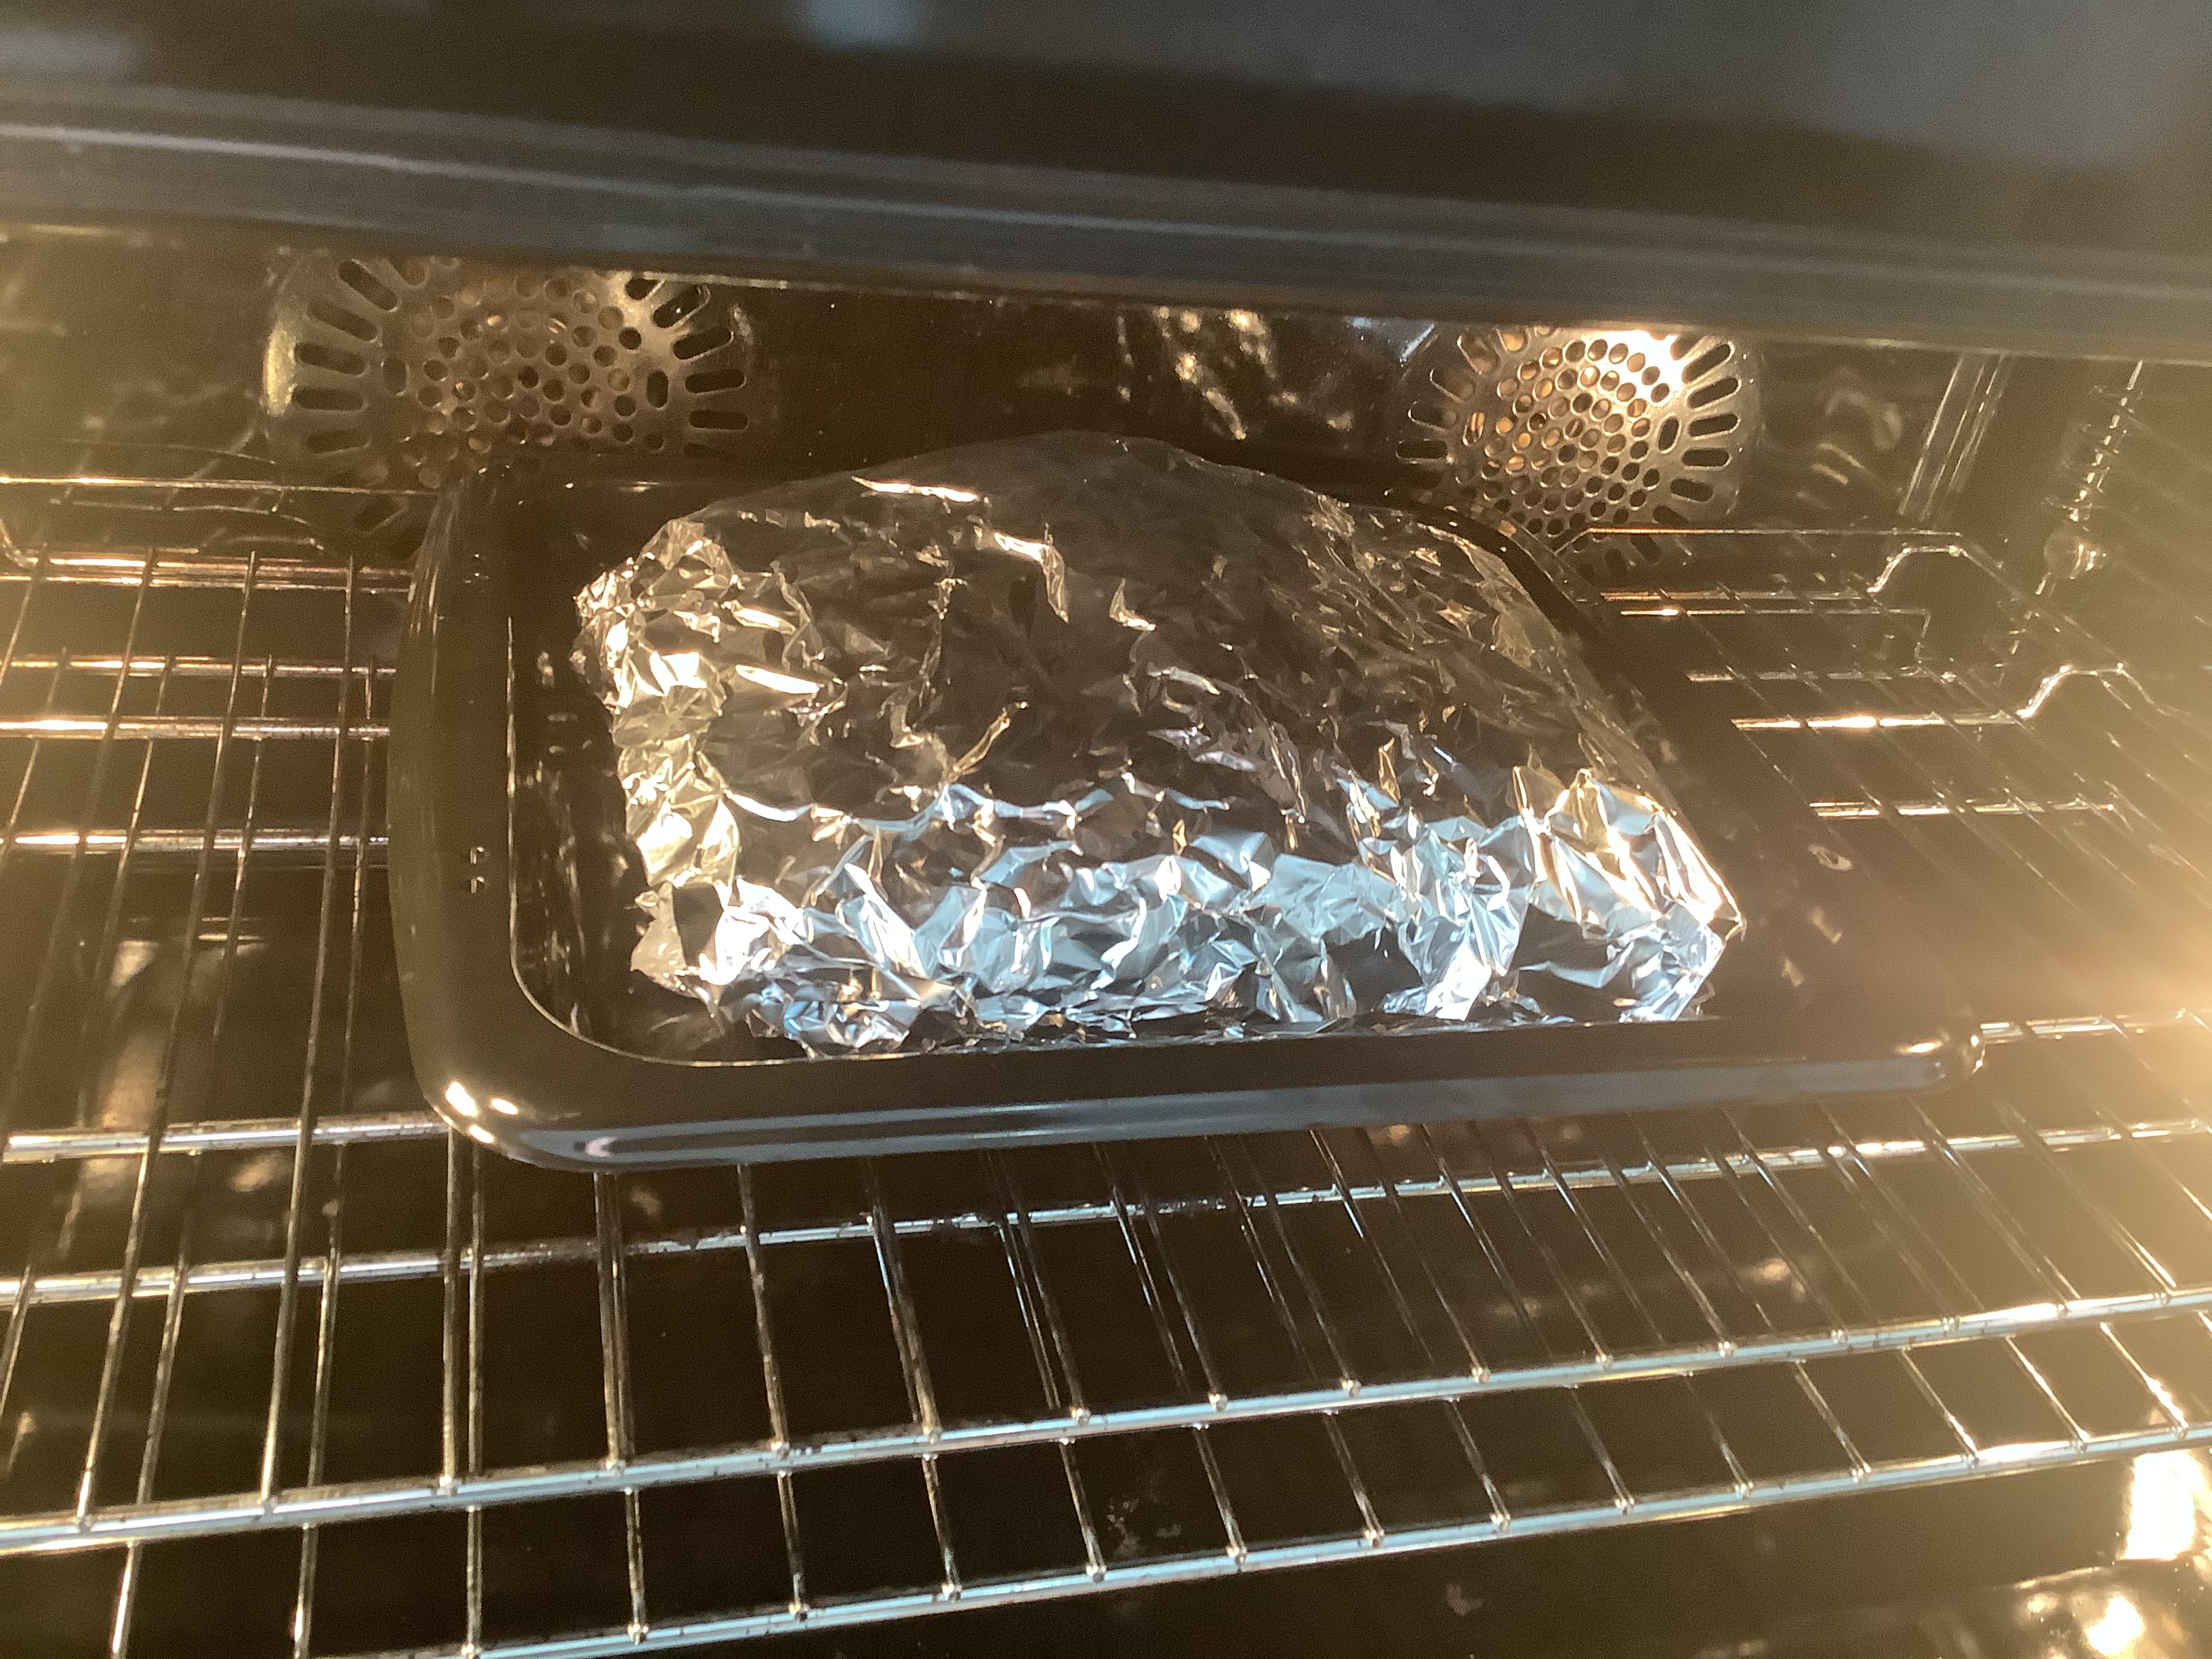
At this point, you can freeze the clams. I put them on small sheet pans in the freezer until they harden, then I wrap them 6 at a time, and put them in freezer bags. Keep them frozen!

Ready for the freezer!
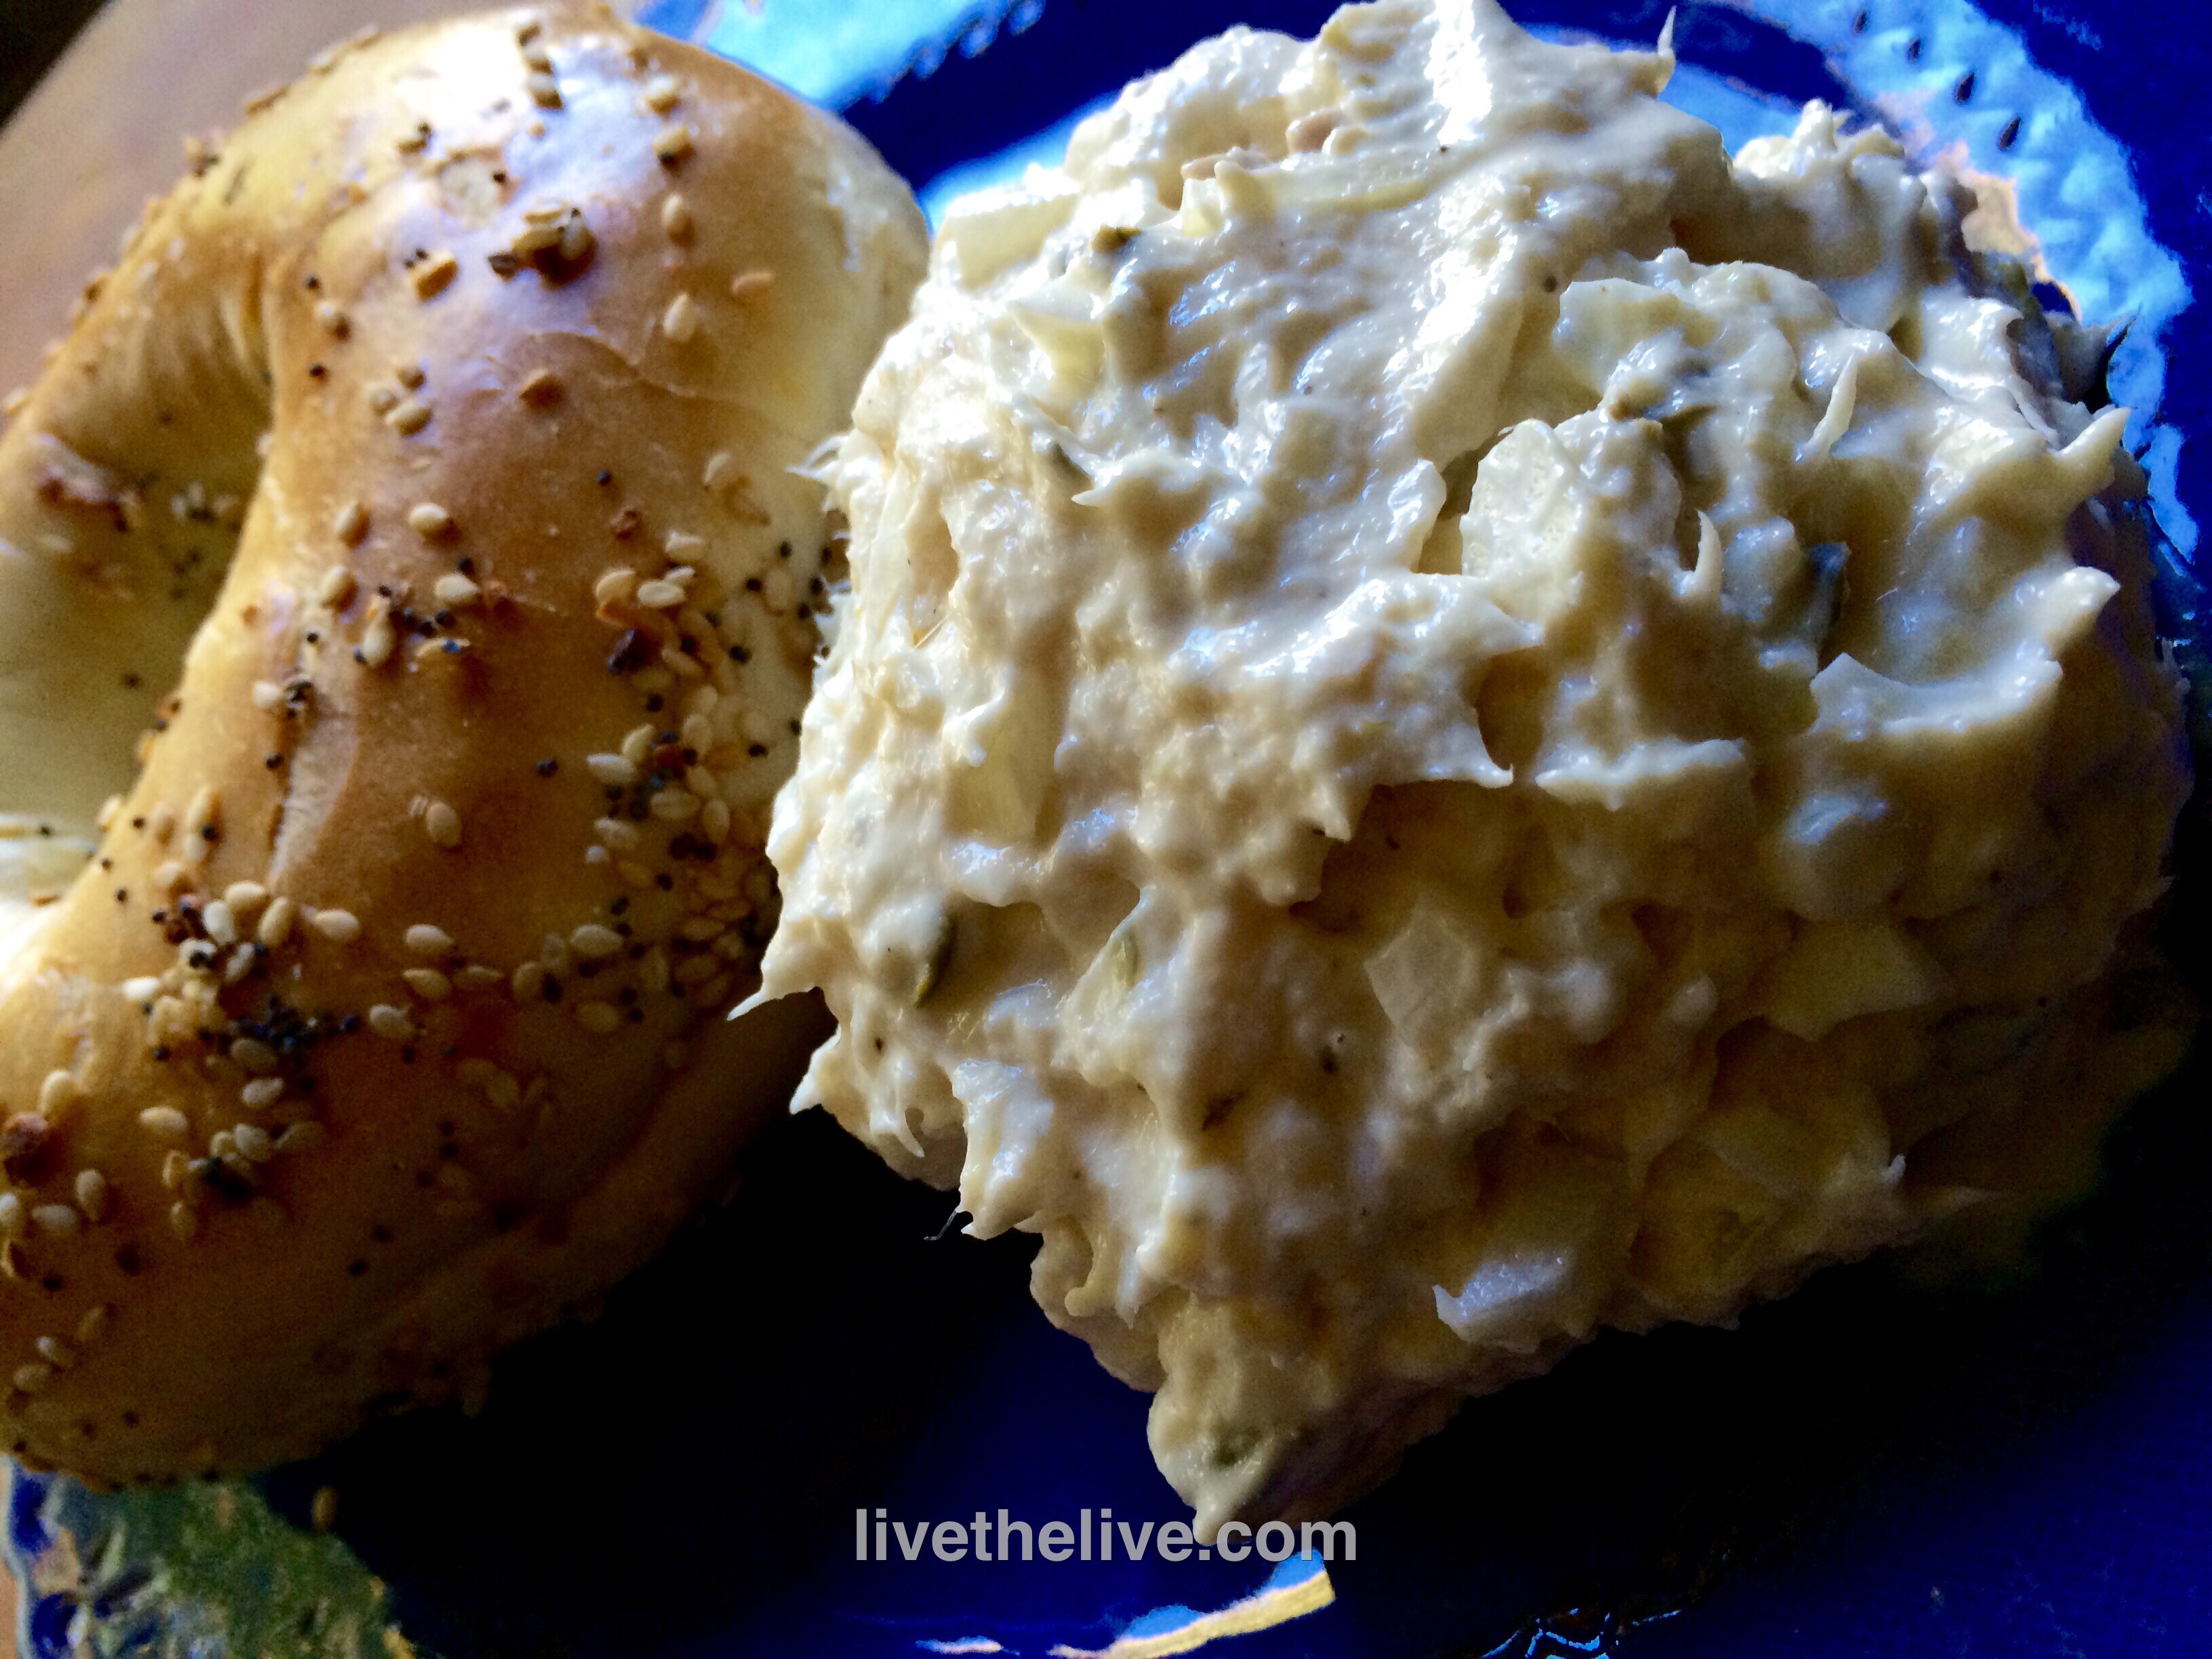
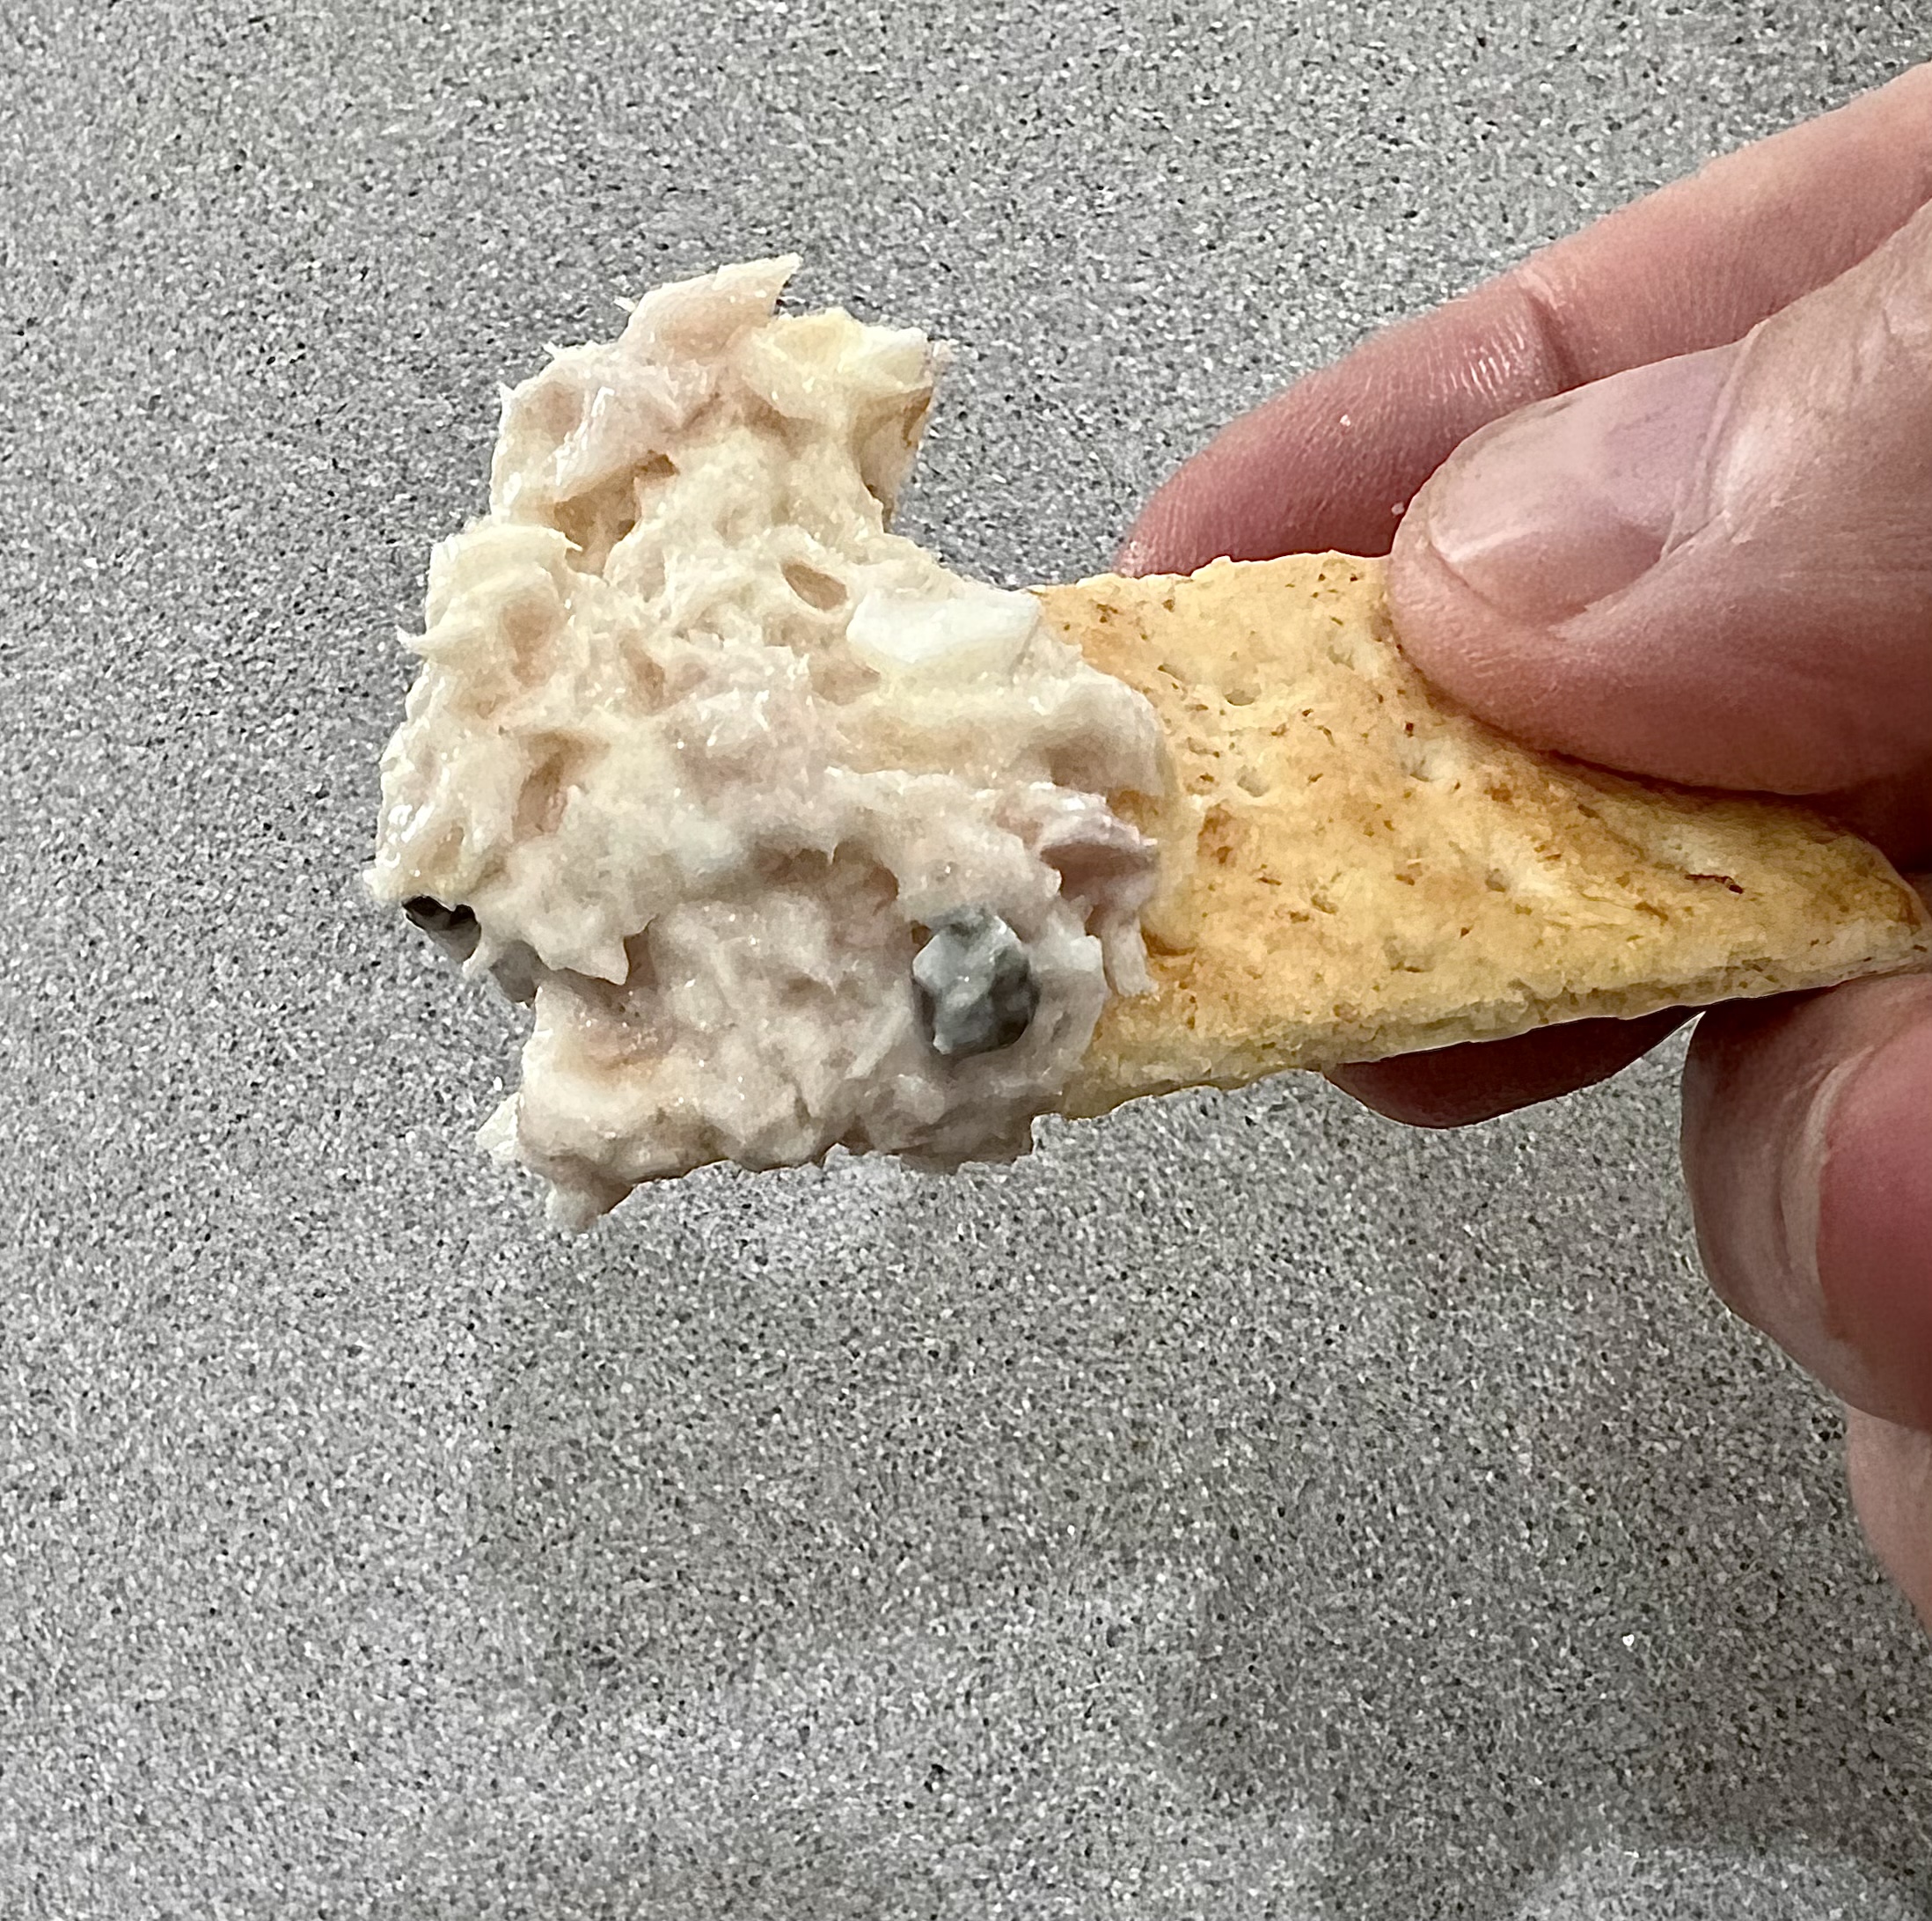
To make the aioli, mix the mayonnaise and Sambal (or your favorite hot chili accompaniment) in a bowl, to taste. Sambal is hot, so a little goes a long way. Keep it covered and refrigerated.
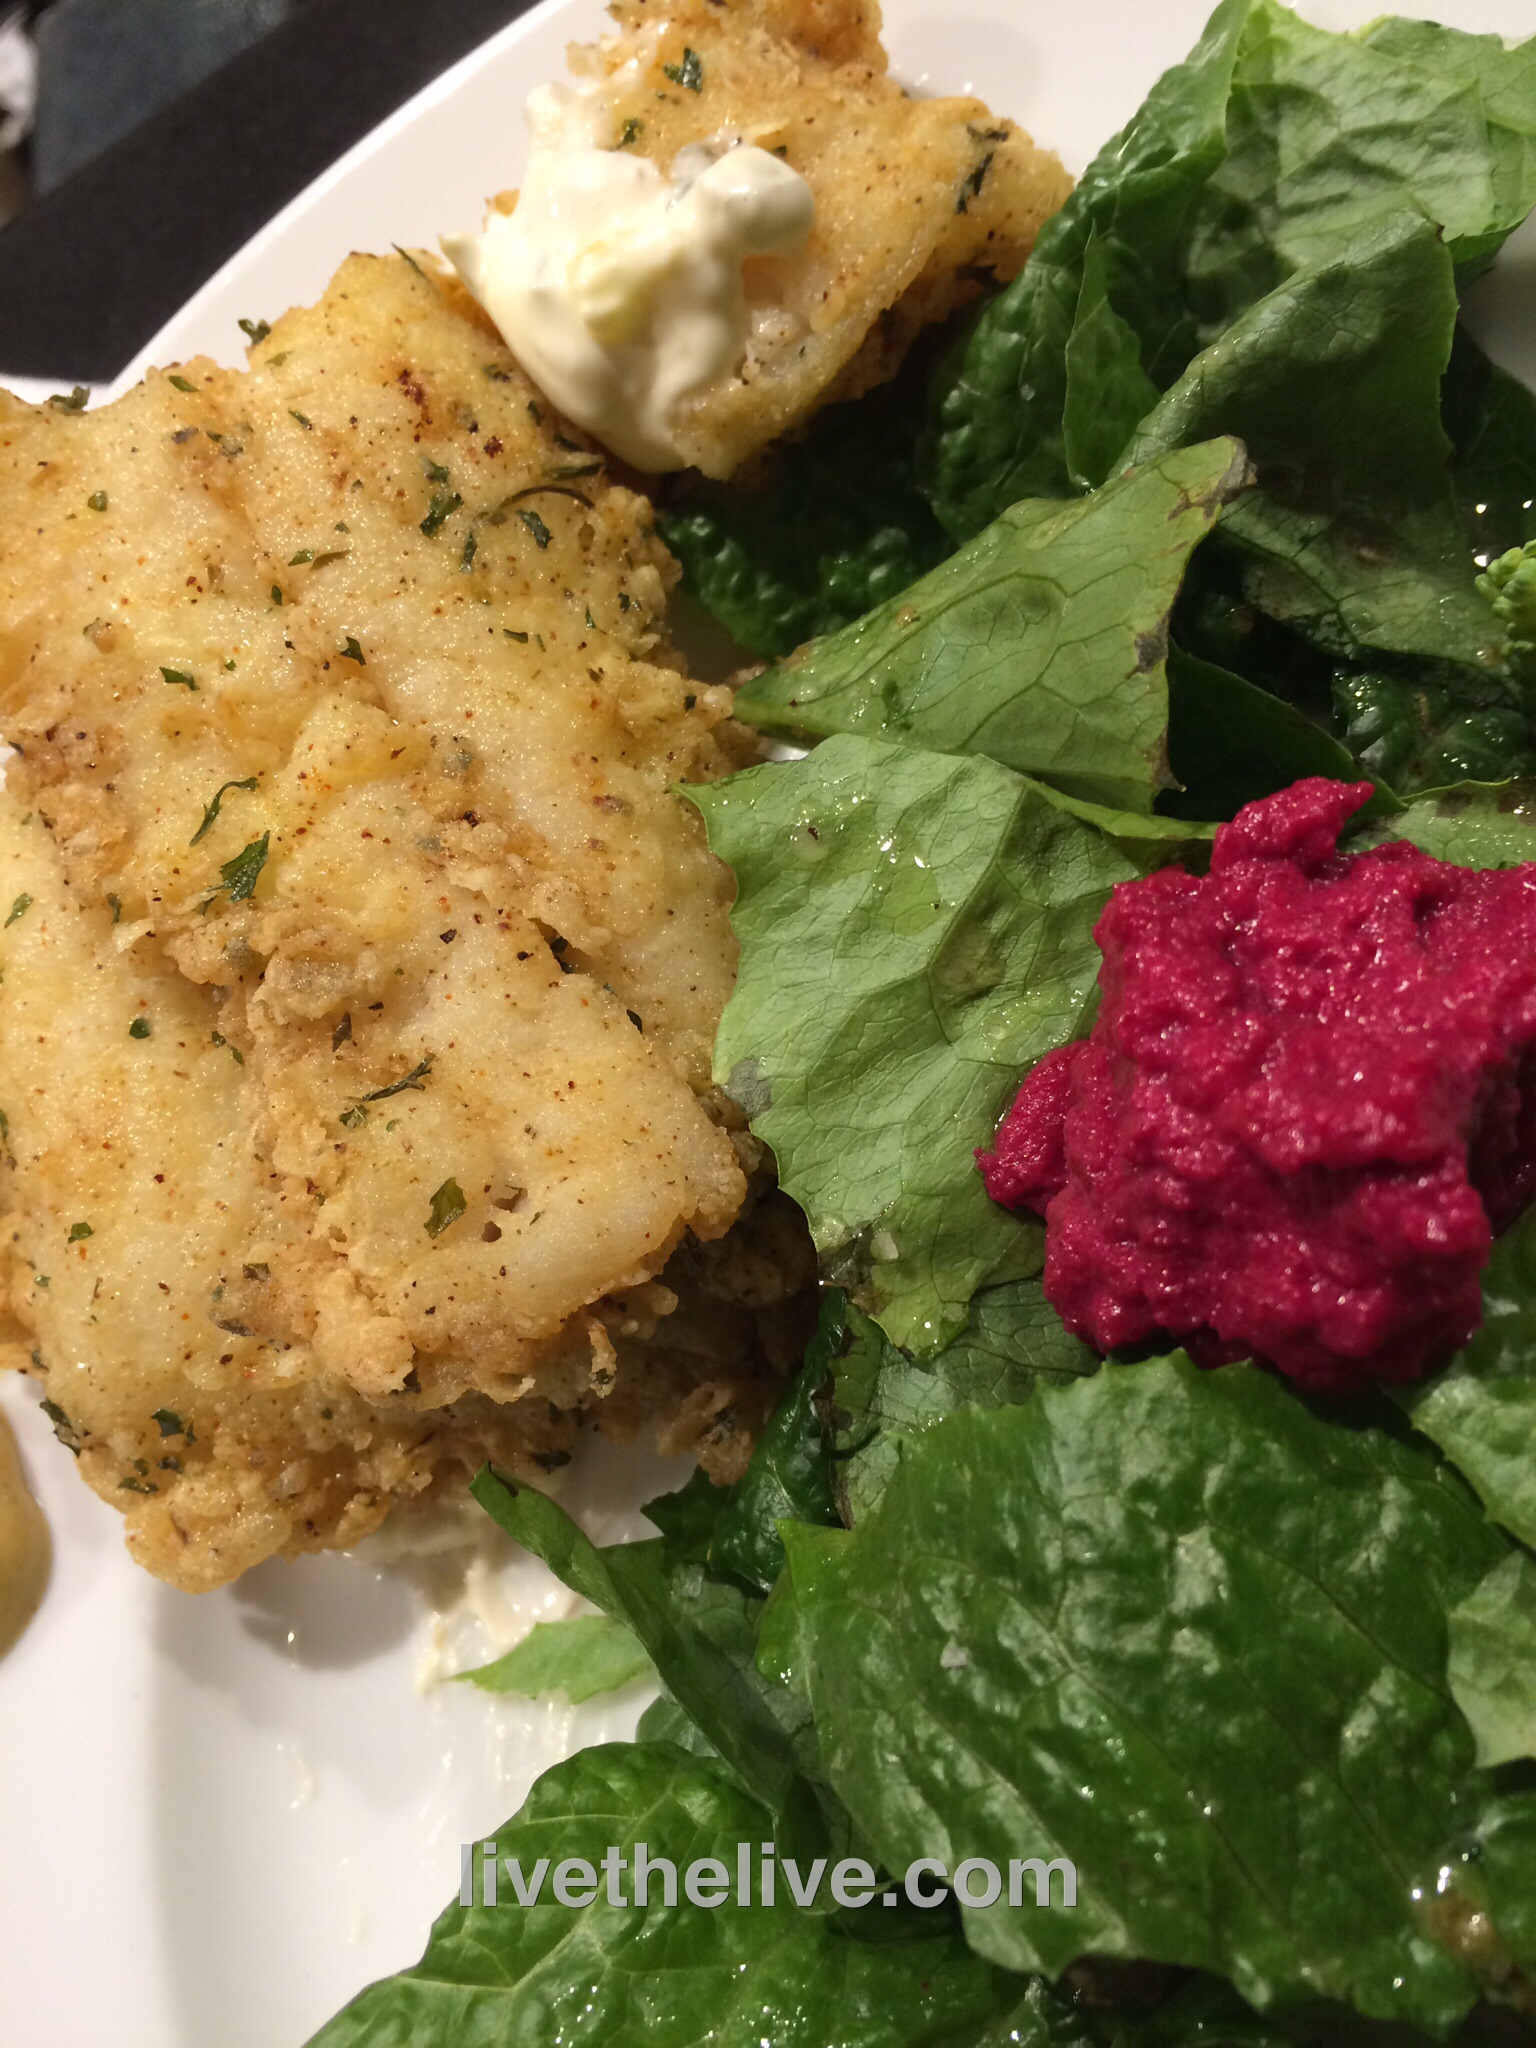
When you’re ready to bake, remove the clams from the freezer and place them on a sheet pan in a pre-heated 350° oven. Top each clam with a small ¼” square piece of butter. Bake them about 15 minutes, until the clams are sizzling and light brown. Top each with a small dab of aioli.