I’ve made some changes to my bacon blog of over a year ago, taking many more steps toward true bacon greatness. Scroll down for my updates…
There are few foods as magical as bacon. Add bacon to just about any dish you’re preparing, and it elevates it to incredible new heights of flavor. The BLT is possibly the greatest sandwich ever invented: just a few simple, fresh ingredients, when placed together, transforming into one of the most amazing treats on planet Earth.
And it all depends on the bacon.
For many years, I’ve bought my bacon on-line from Burger’s Smokehouse, a family run business in Missouri that not only sells some great bacon (get the thick-sliced country bacon—my favorite), but also smoked turkeys, ham and more. The prices are excellent and they include shipping.
But it was time to take the next step: I had to make my own bacon!
Bacon comes from the pork belly. So I bought a few slabs of insanely good pork from my friends at Fire Fly Farms in Stonington, CT (www.fireflyfarmsllc.com), and followed the simple curing techniques outlined in a great book about making all kinds of prepared meats (sausages, salamis, and of course, bacon): “Charcuterie,” by Michael Ruhlman and Brian Polcyn.
To cure bacon, all you really need is some salt and some sugar, and what they in the curing biz call “pink salt,” which is not to be confused with salt that happens to be pink, like Himalayan salt you would find in a spice catalog. Pink salt is bright pink—to let you know that this is special salt that should only be used in small quantities for curing. And the reason for that is because it has nitrites. Nitrites delay the spoilage of the meat, and help keep the flavors of spices and smoke. That’s good. But nitrites can break down into nitrosamines, which have been known to cause cancer in lab animals. But let’s face it: you would need to eat a ton of cured meat to really worry about this.
To make the basic dry cure:
1/2 lb. kosher salt
4 oz sugar
1 ounce (5 teaspoons) pink salt
Combine these ingredients well. You won’t need all of it unless you’ve got a lot of pork belly. An important note: kosher salts do not all weigh the same, so that’s why I go by the weight and not a cup measurement.
Once you rub the pork belly with the basic dry cure, place it in a Ziploc bag, squeeze the air out of it, and seal it well. Place in the fridge for about a week, flipping it over a few times to let gravity do its work. You’ll see that the salt will draw moisture out of the meat and form a brine. This brine will continue to cure your pork belly, so leave it in there.
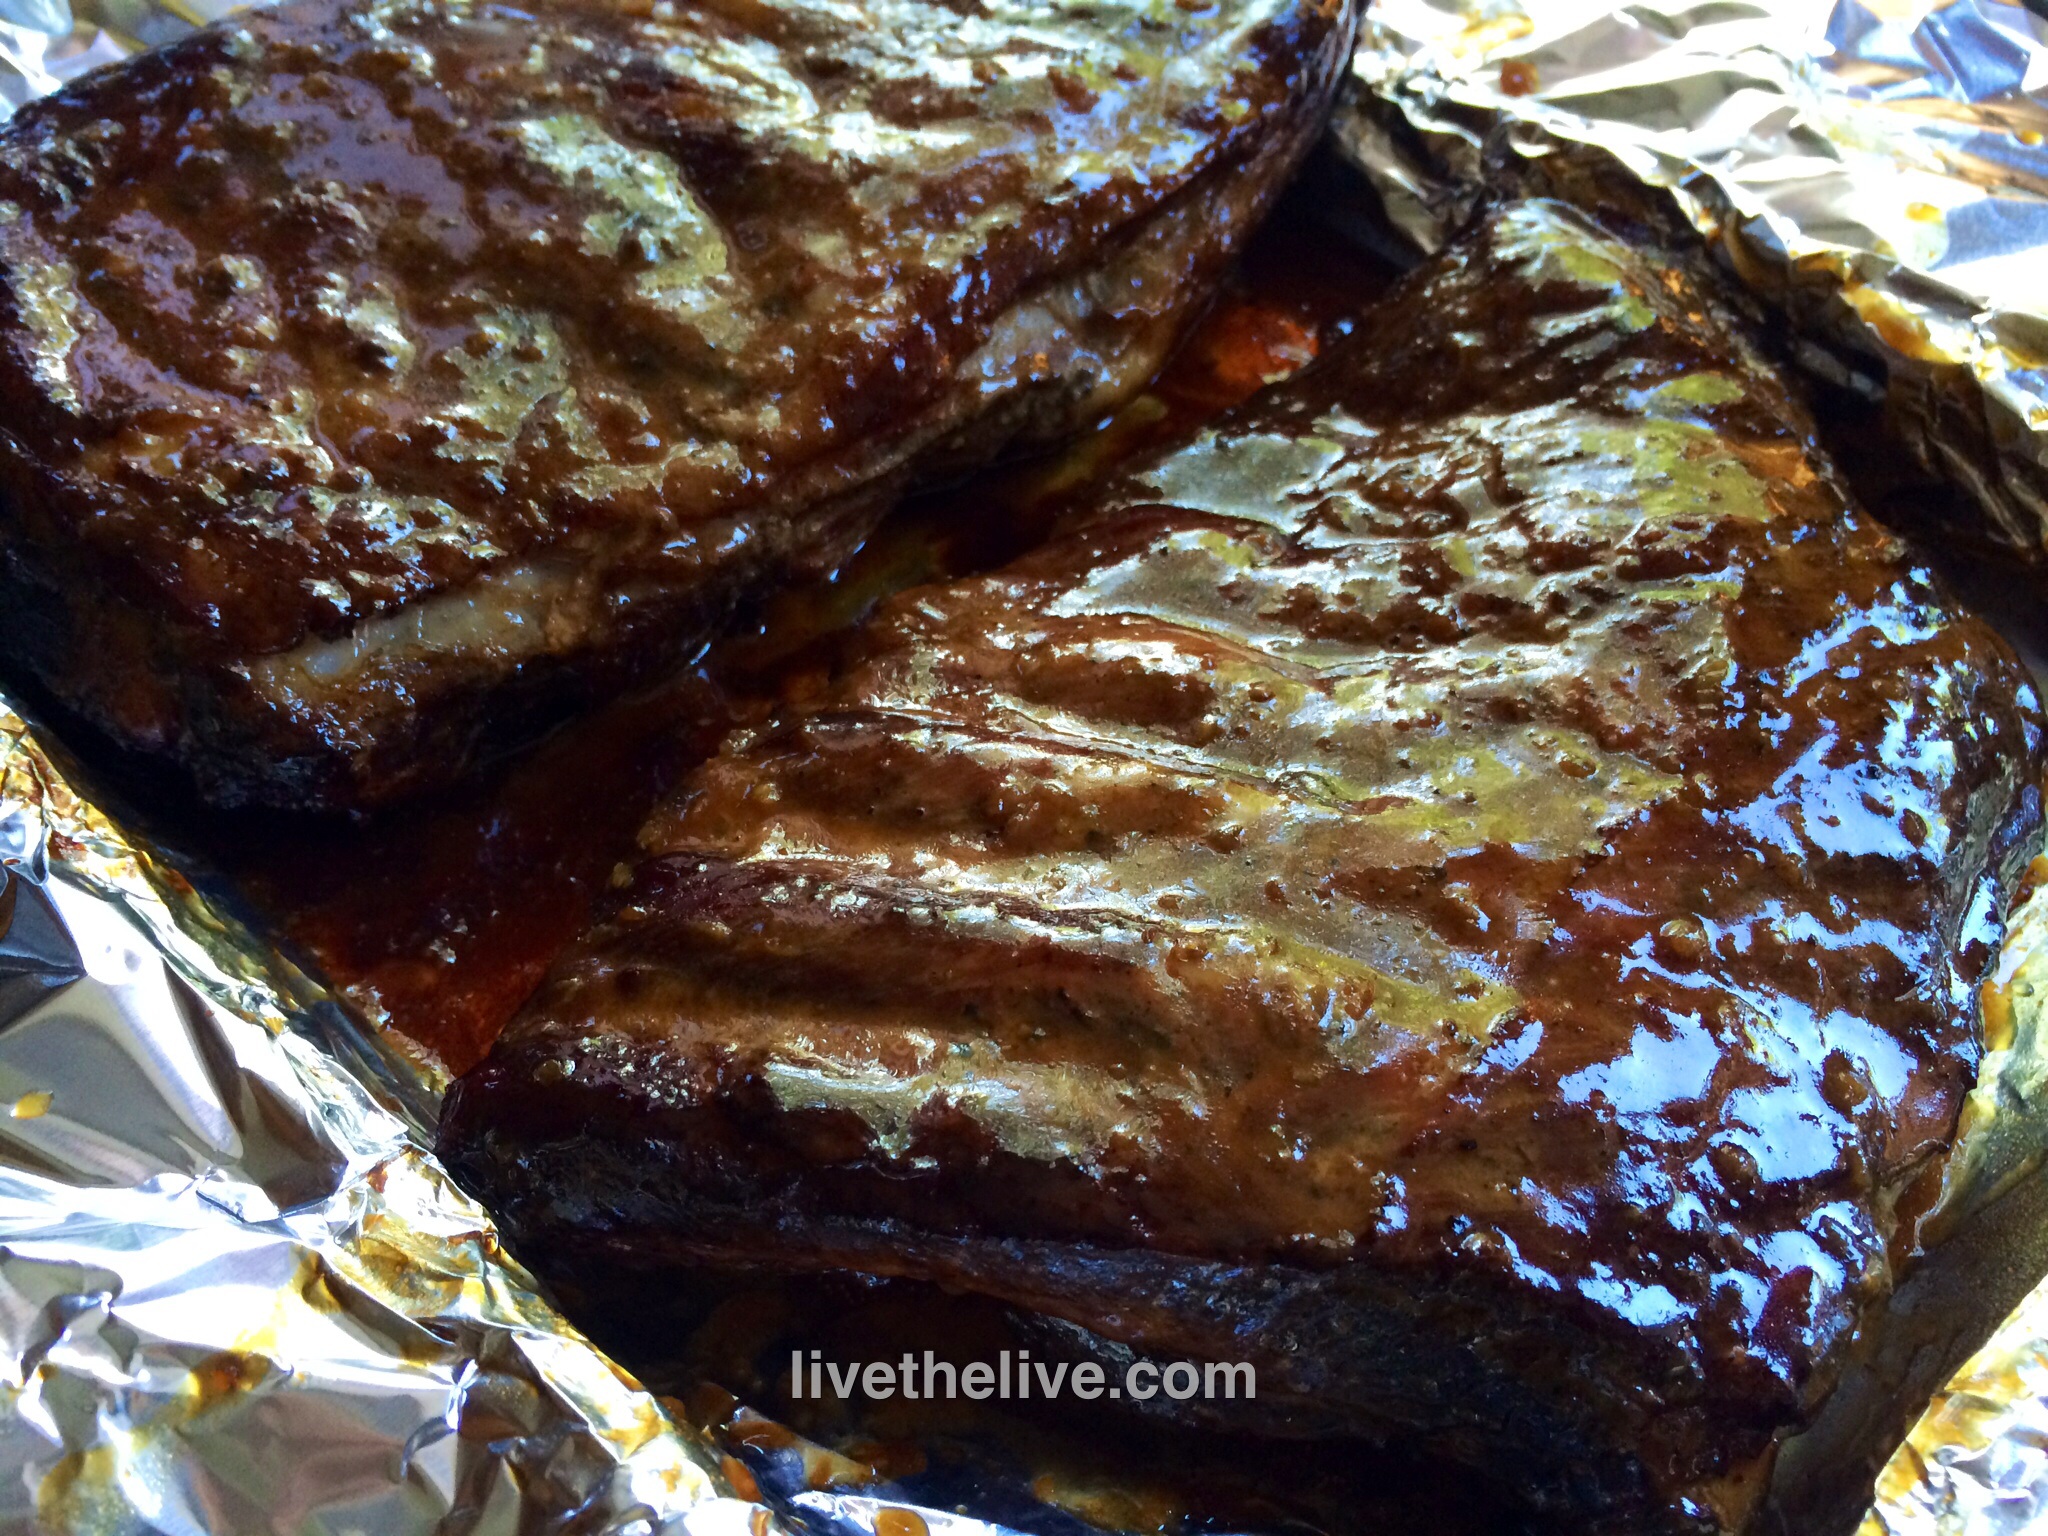
Once the pork belly has been cured, wash the brine off the meat, pat dry with paper towels. Now it’s time to cook. You can simply cook the pork belly at 200 degrees for about 2 hours, until the internal temperature reaches 160 degrees, or do what I did: place the pork belly in a digital smoker, cooking it at 250 degrees for 1 hour, then adding hickory chips and smoking it at 250 degrees for another hour.
That’s it. You have achieved bacon!
Bacon, straight out of the smoker.
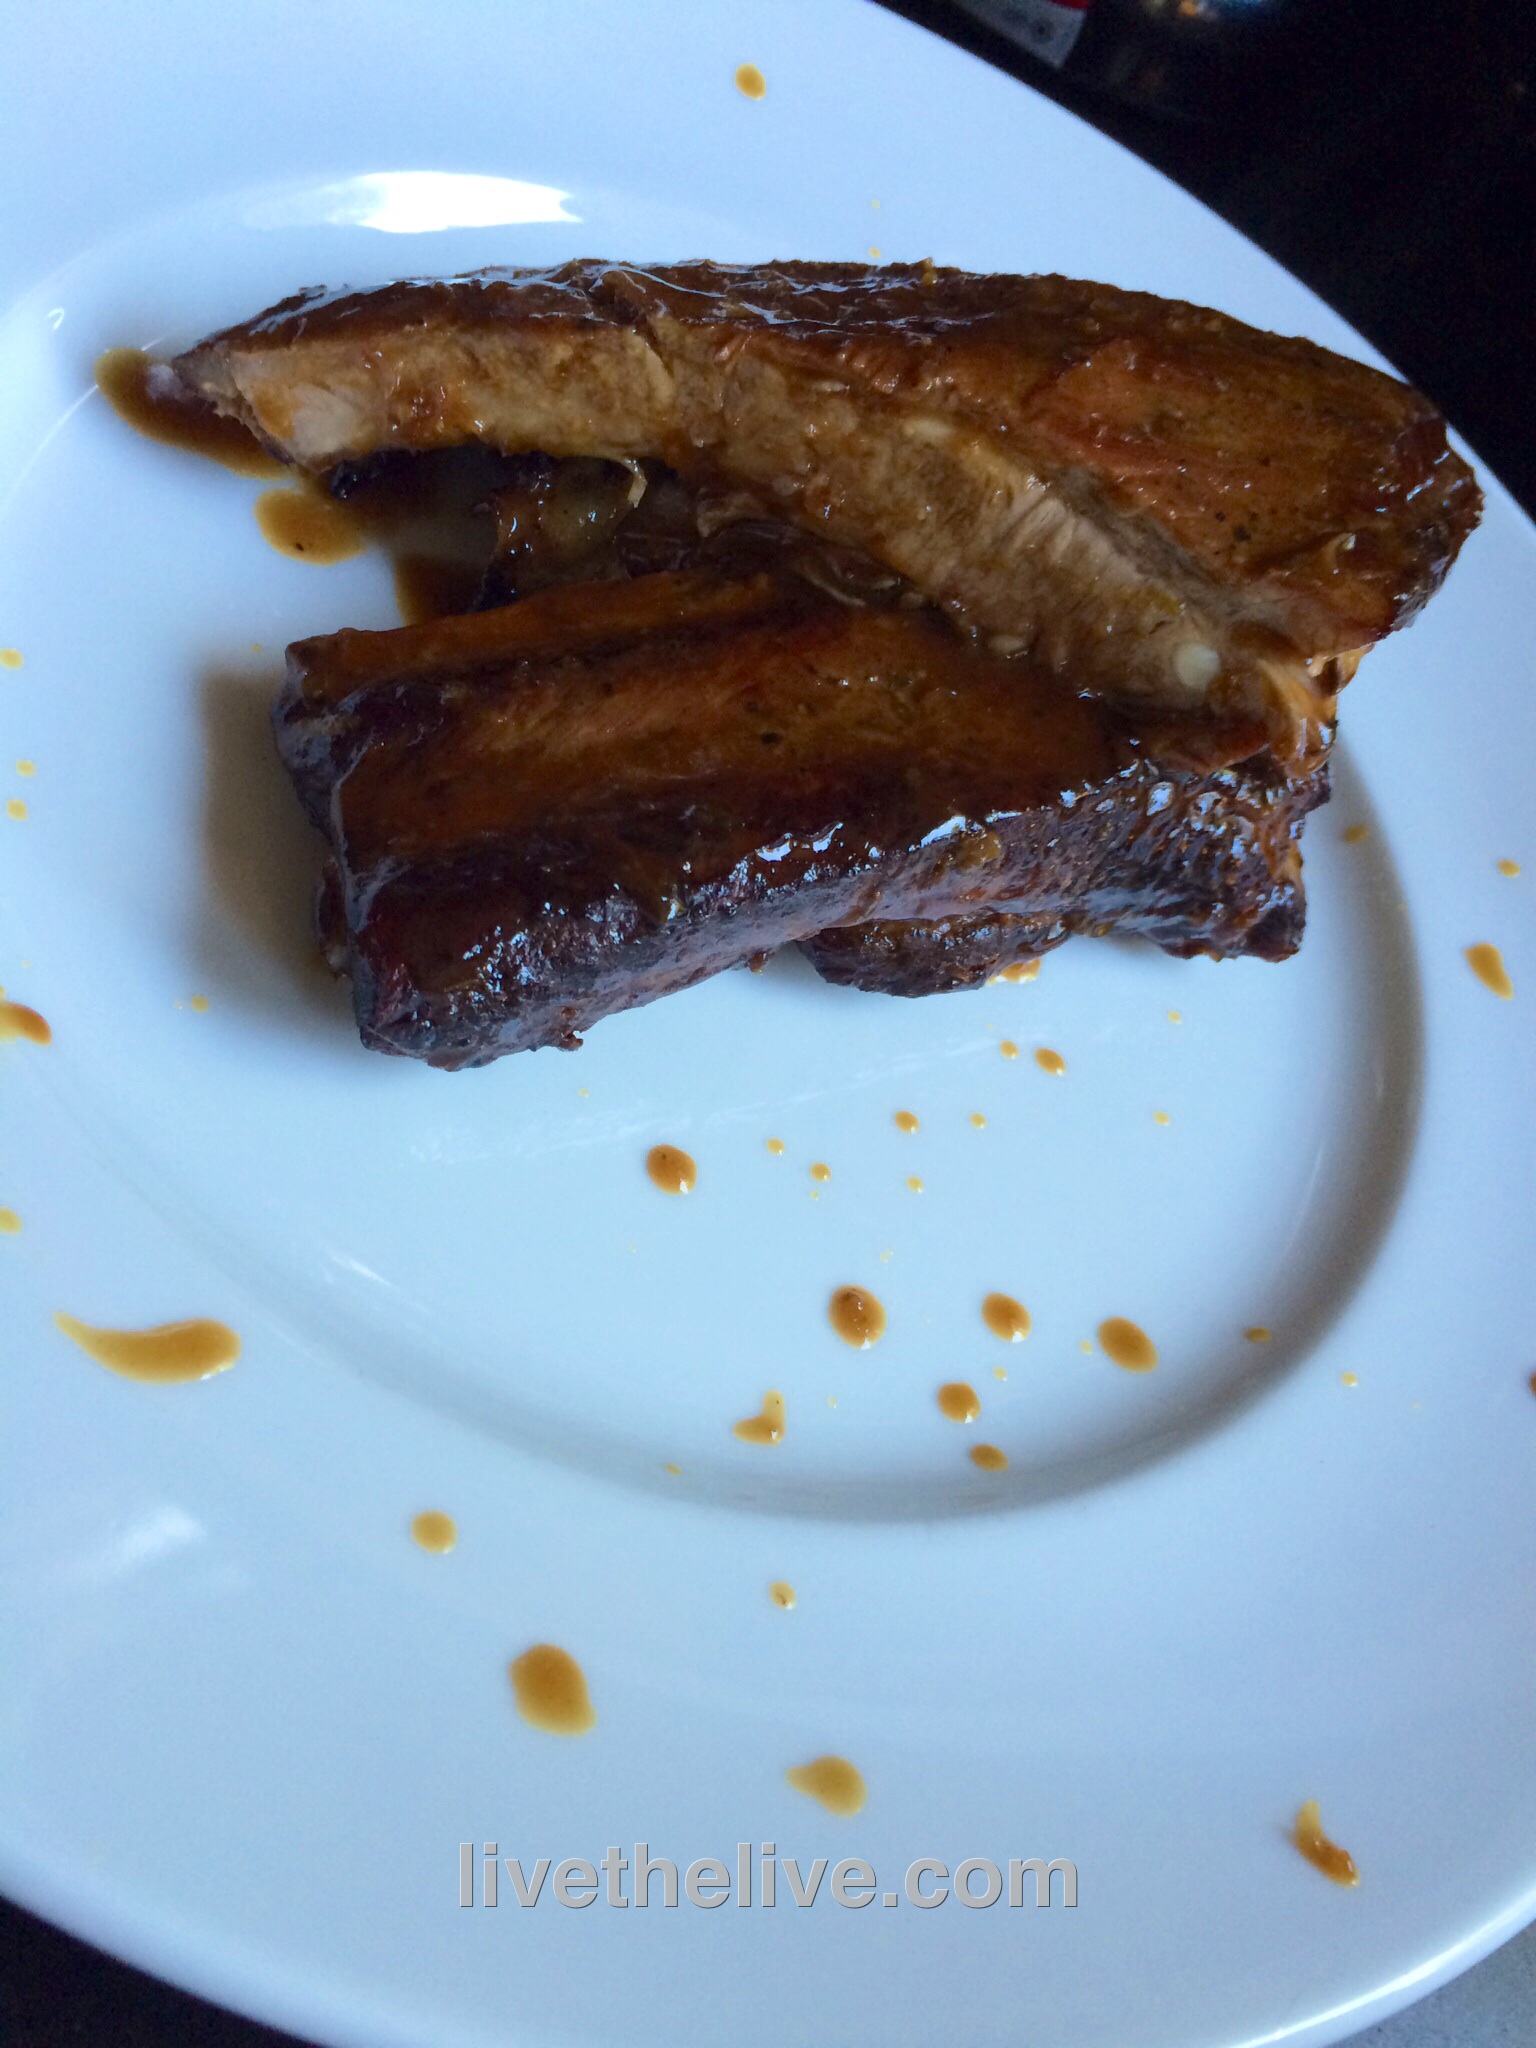
Let me tell you…that first slice you cut off that bacon and toss in a pan to lightly fry for a few moments will be the best bite of bacon you have ever had in your life!
The reward is so worth the effort. If you don’t want to bother going online or if you don’t have a local farm to buy your pork, simply go to your favorite butcher and ask for pork belly. It’s usually available. And if you’re making one slab of bacon, why not make it three or four? It freezes well. And…you will eat it. You know you will!

Sliced, and ready for frying.
Since I posted the above information, I’ve had the opportunity to tweak my bacon curing recipe. The result was a more balanced, less salty bacon with tons of flavor…
Ingredients:
1/4 cup of the basic dry rub (recipe above)
1/2 cup light brown sugar
1/2 teaspoon ground black pepper
Combine these ingredients and rub on all sides of the pork belly. Place in Ziploc bags and squeeze all the air out of them. Place in a container in the fridge and turn them over every day to let gravity do its work. A brine will form inside the bag…this is good. It will cure the pork belly. After about a week, remove the pork bellies and rinse them with cold water. Pat them dry with paper towels and then proceed to the smoker.
-

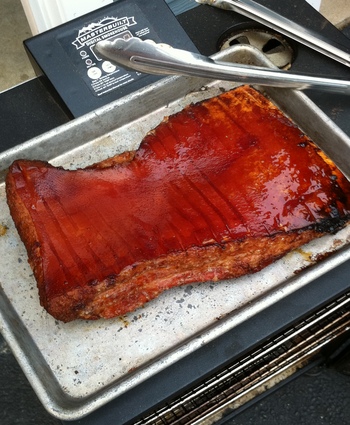
Bellies in the smoker
I use a digital smoker, so I set the temp for 250 degrees and cook the pork bellies at this temperature for one hour. I then add hickory chips and smoke the bellies at 25o degrees for one more hour.

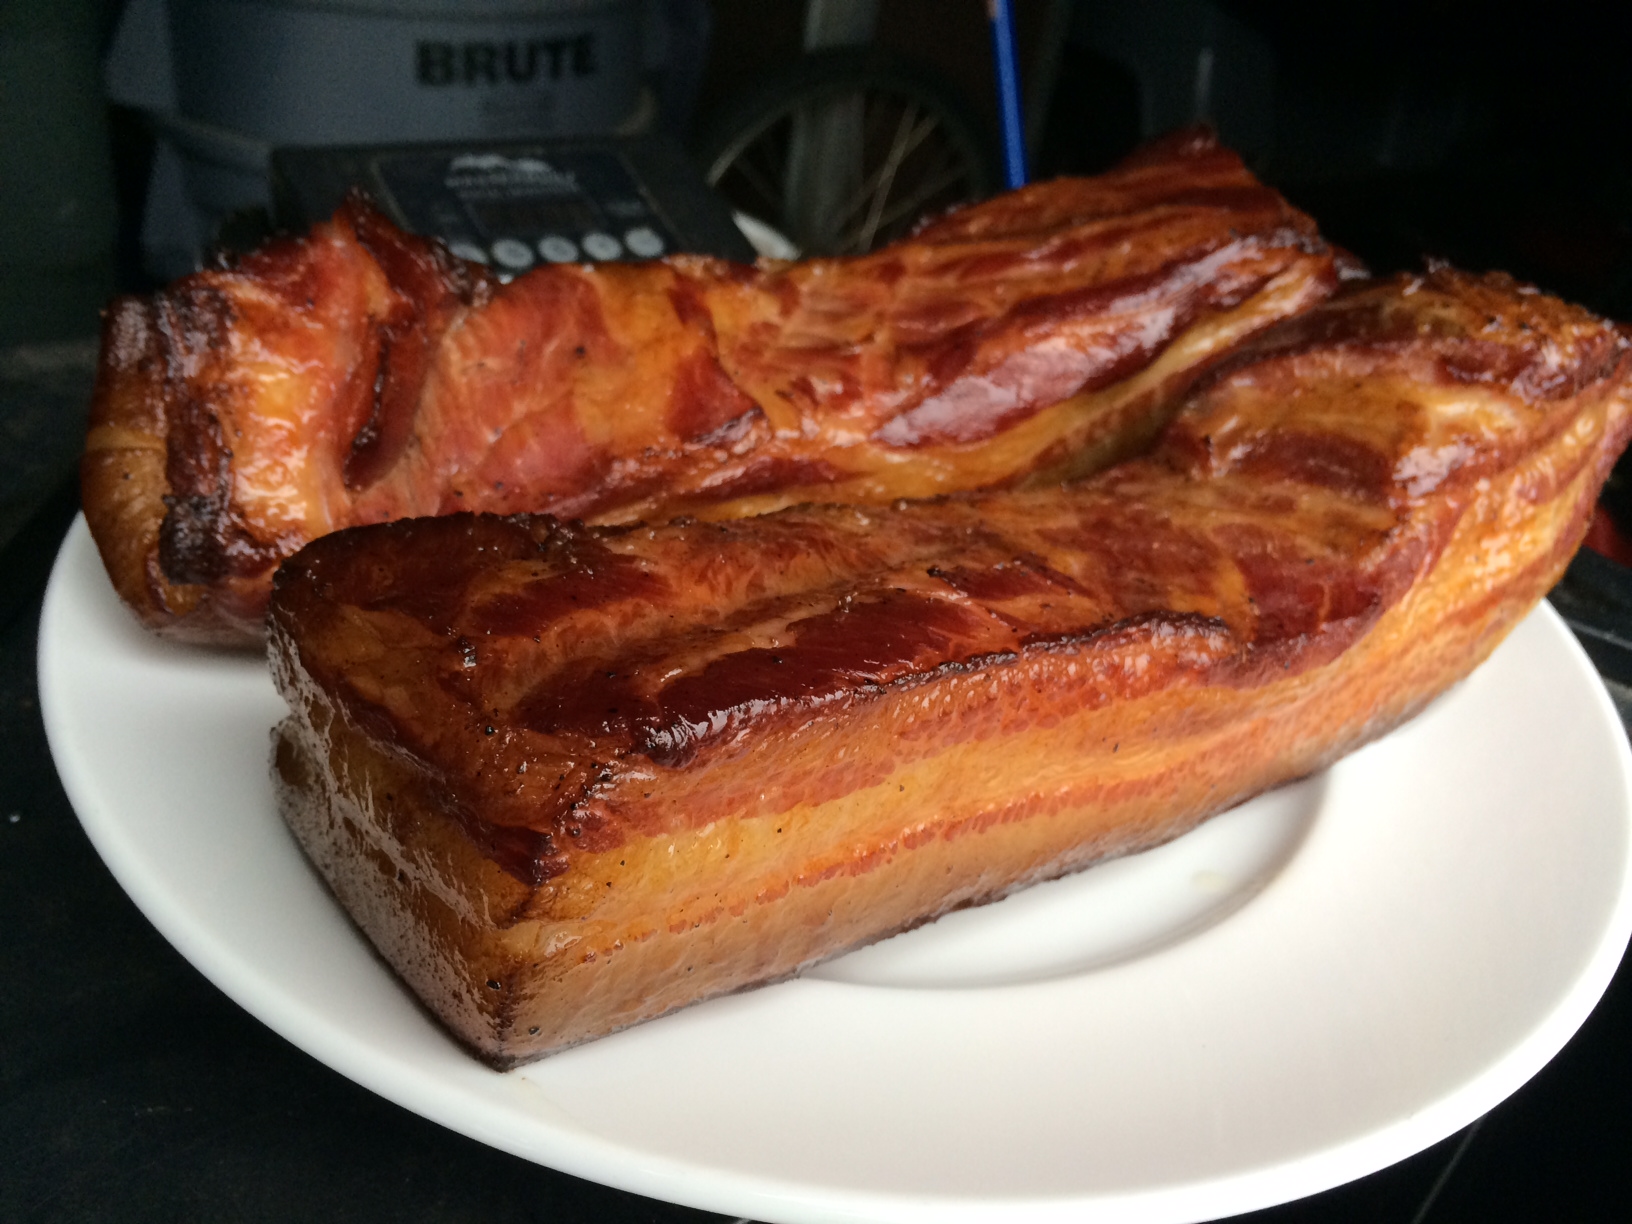
Smoked bacon
At this point, you have achieved bacon! While the bellies are still warm, you can easily slice off the pork skin off the belly. I discard it. Slice the bacon into whatever thickness you like, and fry some up immediately! Once the rest of the bacon has cooled to room temp, cut them into chunks, wrap individually, and freeze until ready to use.

Frying in the pan!