Ever since I had char-grilled oysters in New Orleans, I’ve been obsessed. I’ve made them at least once a week every week since I’ve been back. But the other day, I went to my local seafood store and I saw some beautiful clams, and I thought: Why not try those on the grill?

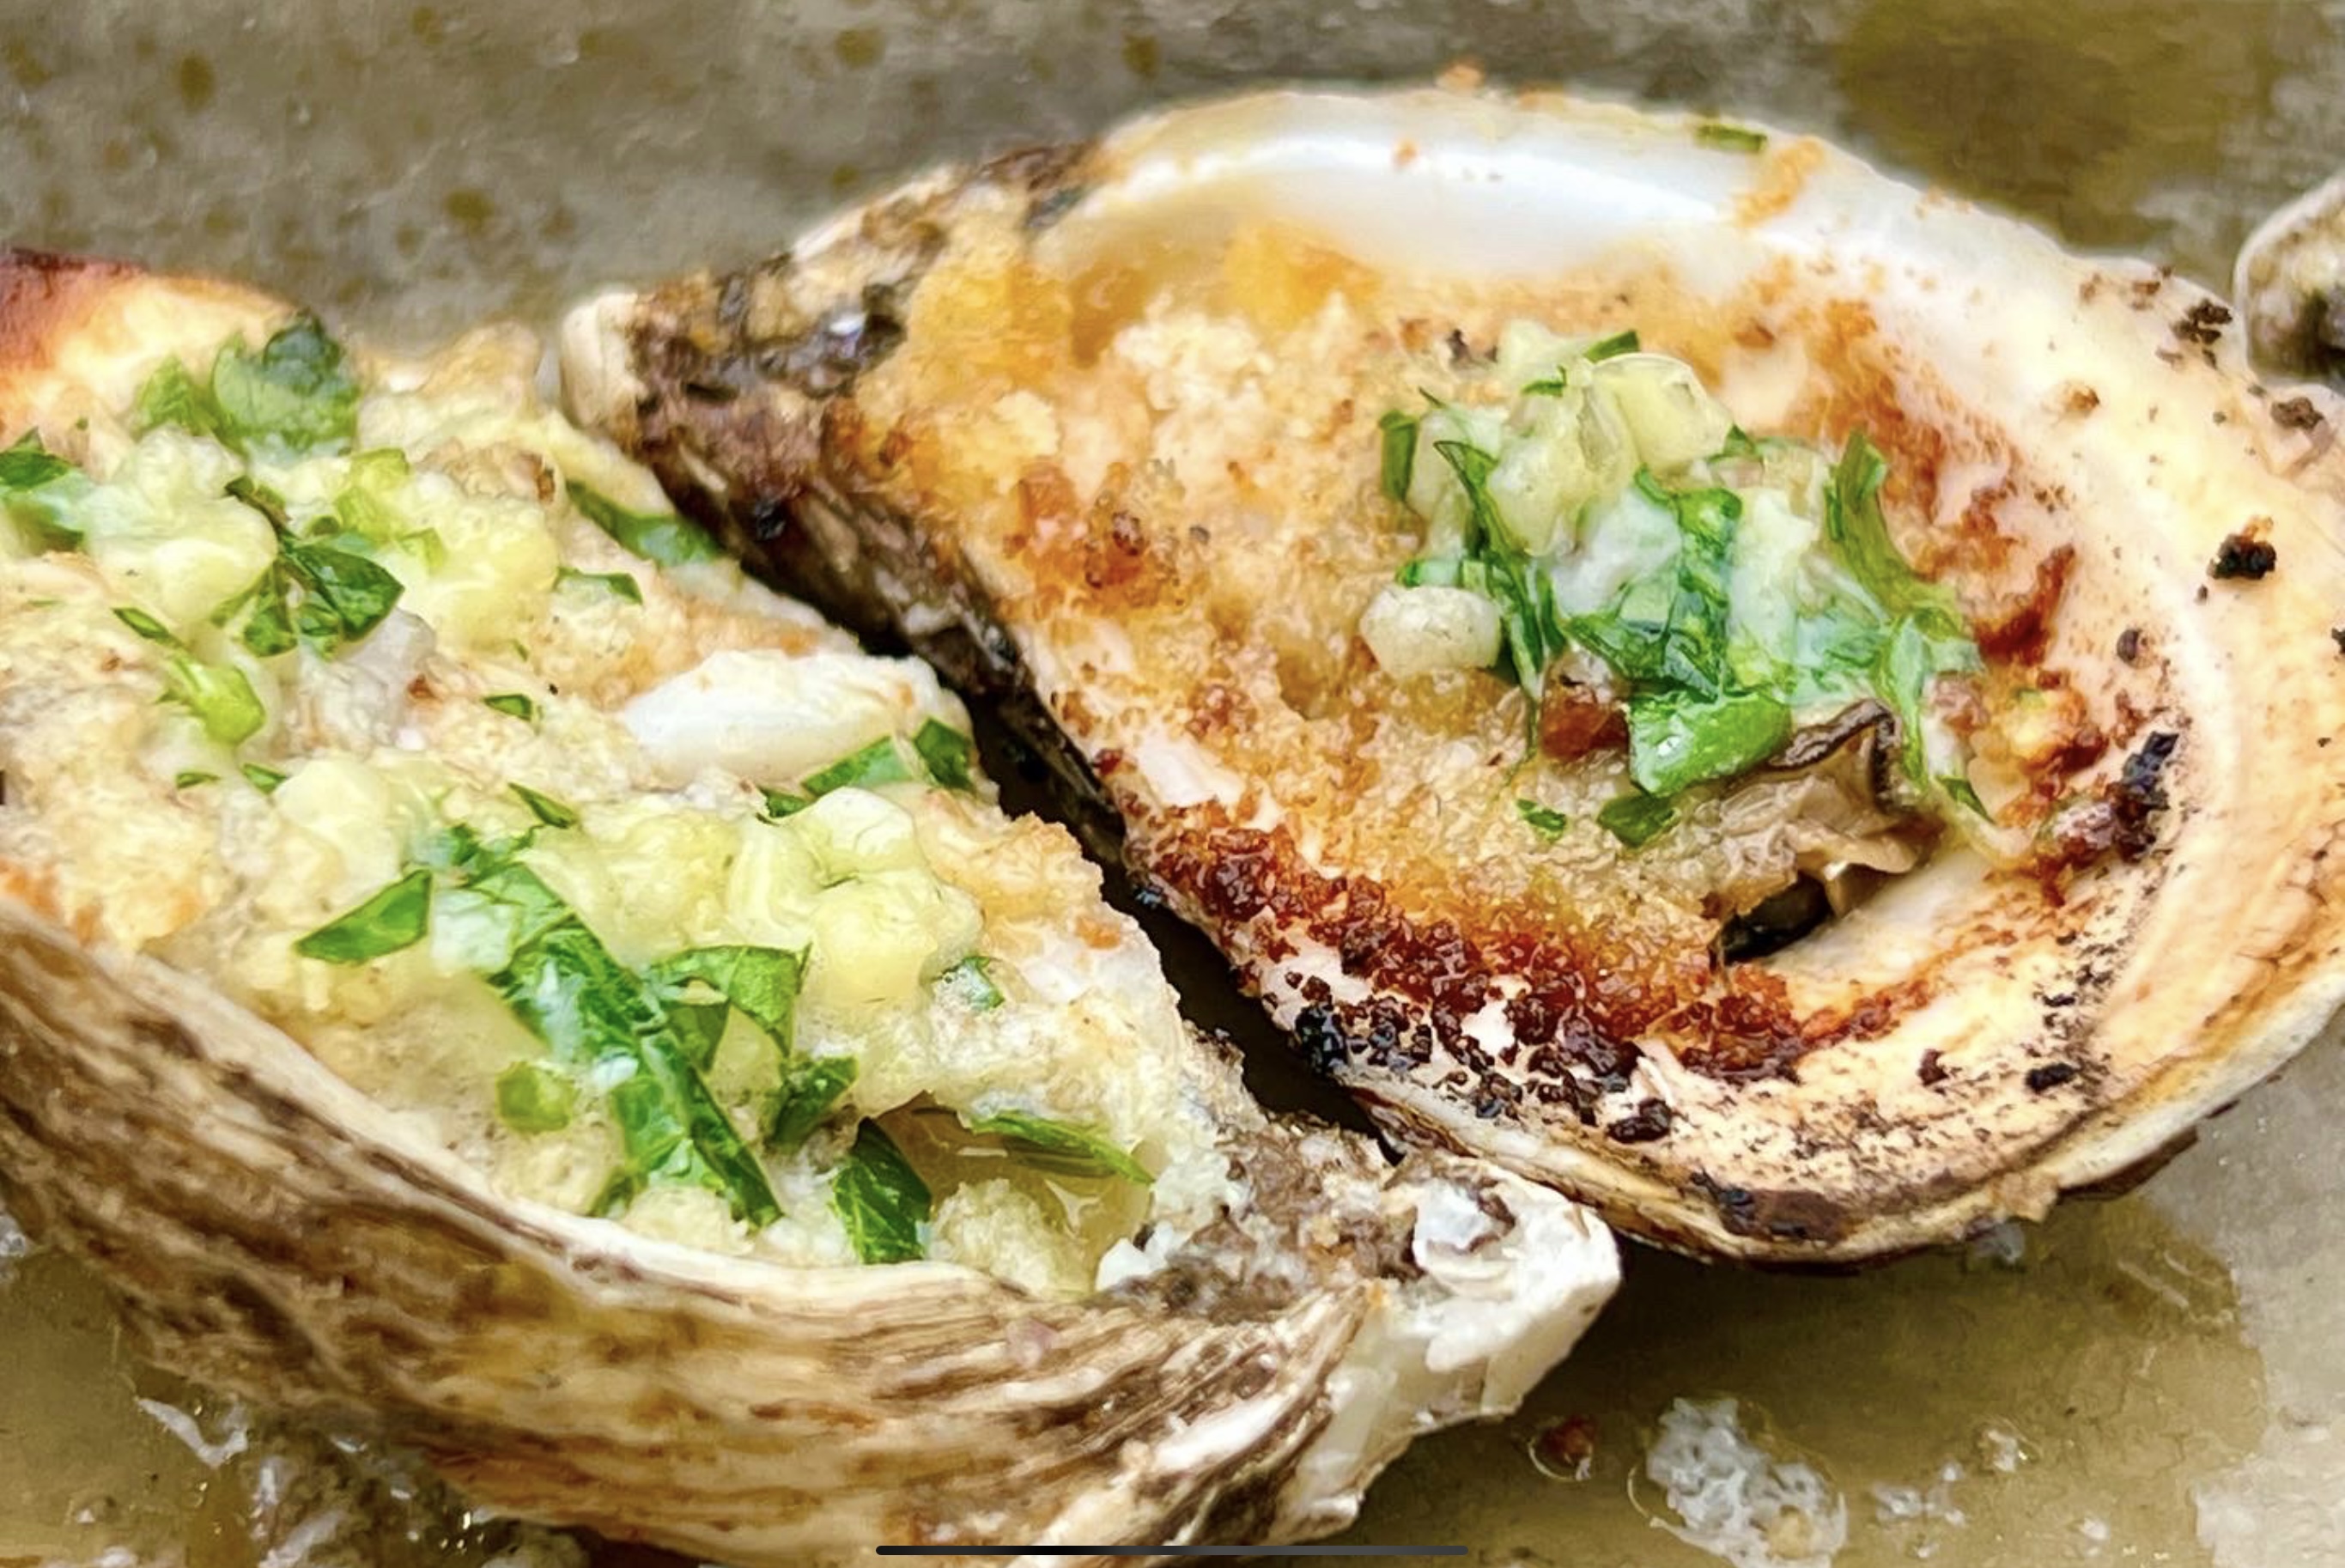
I had some friends over a couple of days ago, and I made my Oysters Rock-a-Fellow recipe for them, and I had some leftover gooey cheesy stuffing that goes on top of the oyster. I thought: Why not use it on the clams and then put them on the grill?
A hybrid recipe of two previous recipes, and it really worked!
The first step is to make the gooey cheesy stuffing mix ahead of time.
1/4 cup unsalted butter
1 small onion, finely chopped
1 garlic clove, finely chopped
1/4 cup low-fat milk
salt and pepper
3 cups (tightly packed) fresh arugula, finely chopped, about a 5 oz. container
6 oz. mild cheddar cheese (the white one), grated
6 oz. mozzarella, grated
Fine bread crumbs (Using GF breadcrumbs will keep this dish gluten-free)
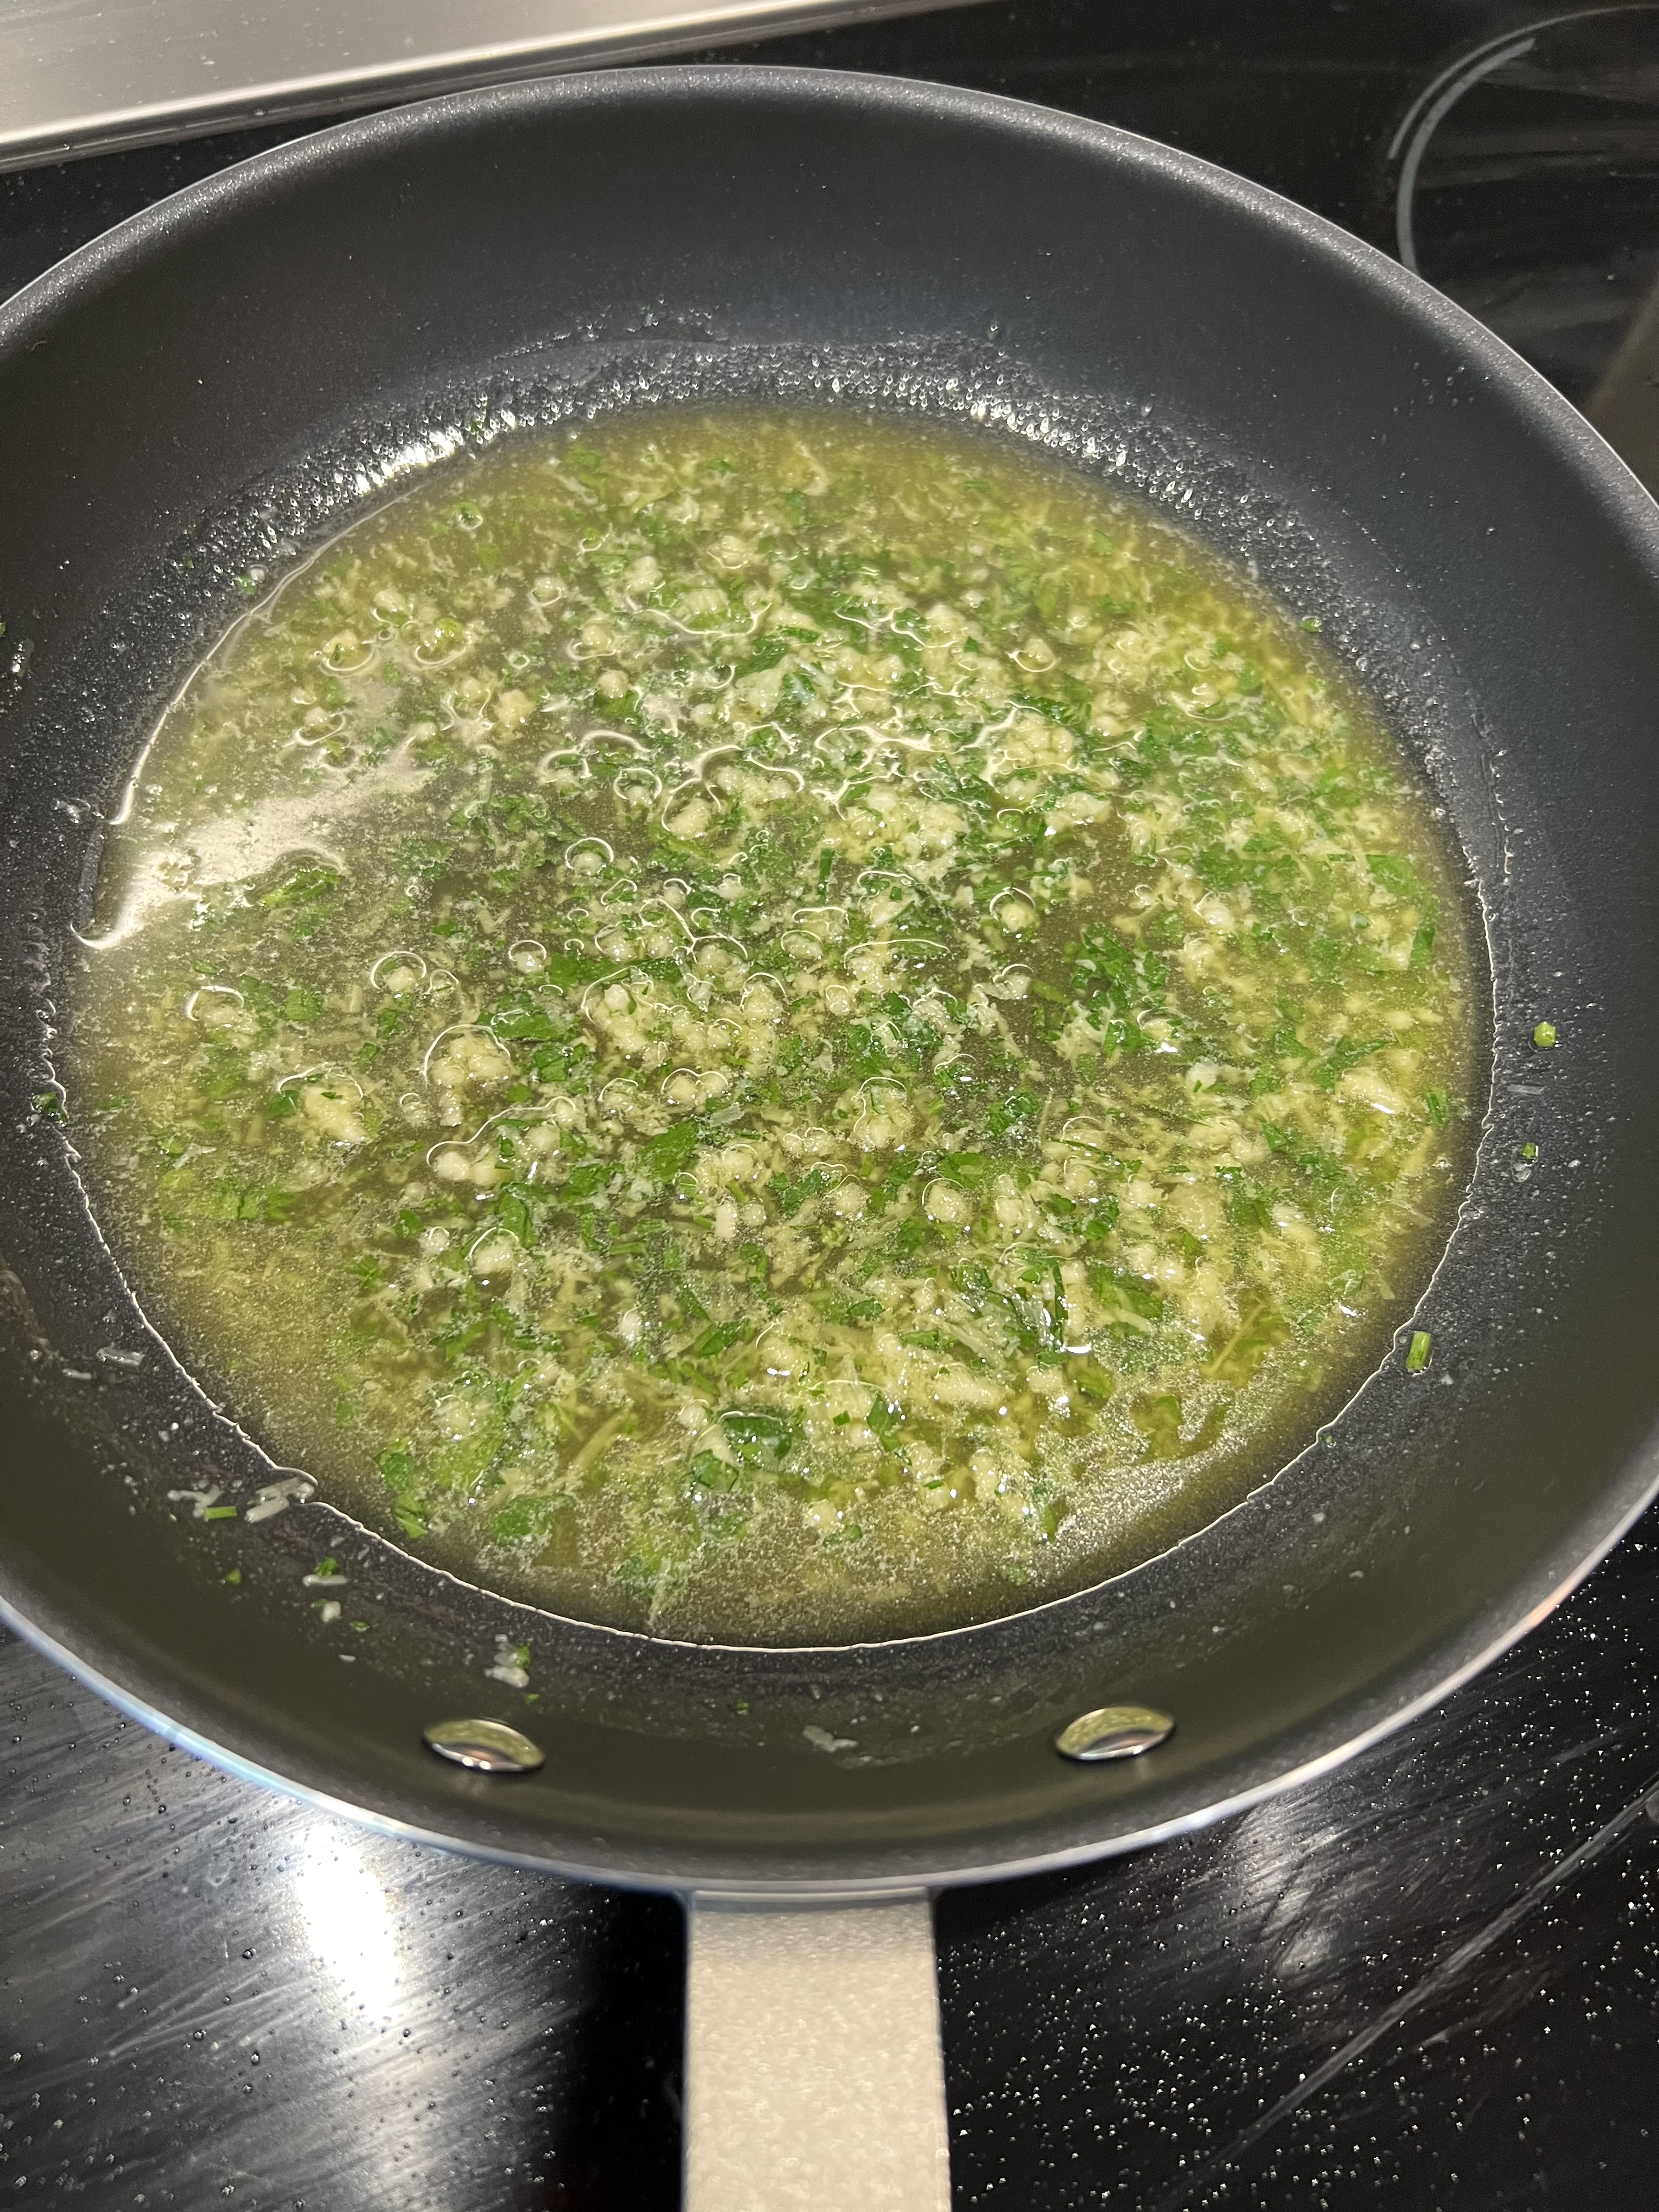
Melt the butter in a pan and add the onion and garlic. Sauté until translucent, then add the milk, salt and pepper, and the arugula. Sauté for a few minutes, stirring, so that all of the arugula wilts down.
Slowly add the cheddar until it all melts, then add the mozzarella, stirring slowly, until you have one big gooey mass of goodness in the pan.
Pour the gooey cheese mix into a shallow pan and place it in the fridge for a few hours. It will firm up and you will be able to cut it easily into cubes that you will then place on top of the clams.
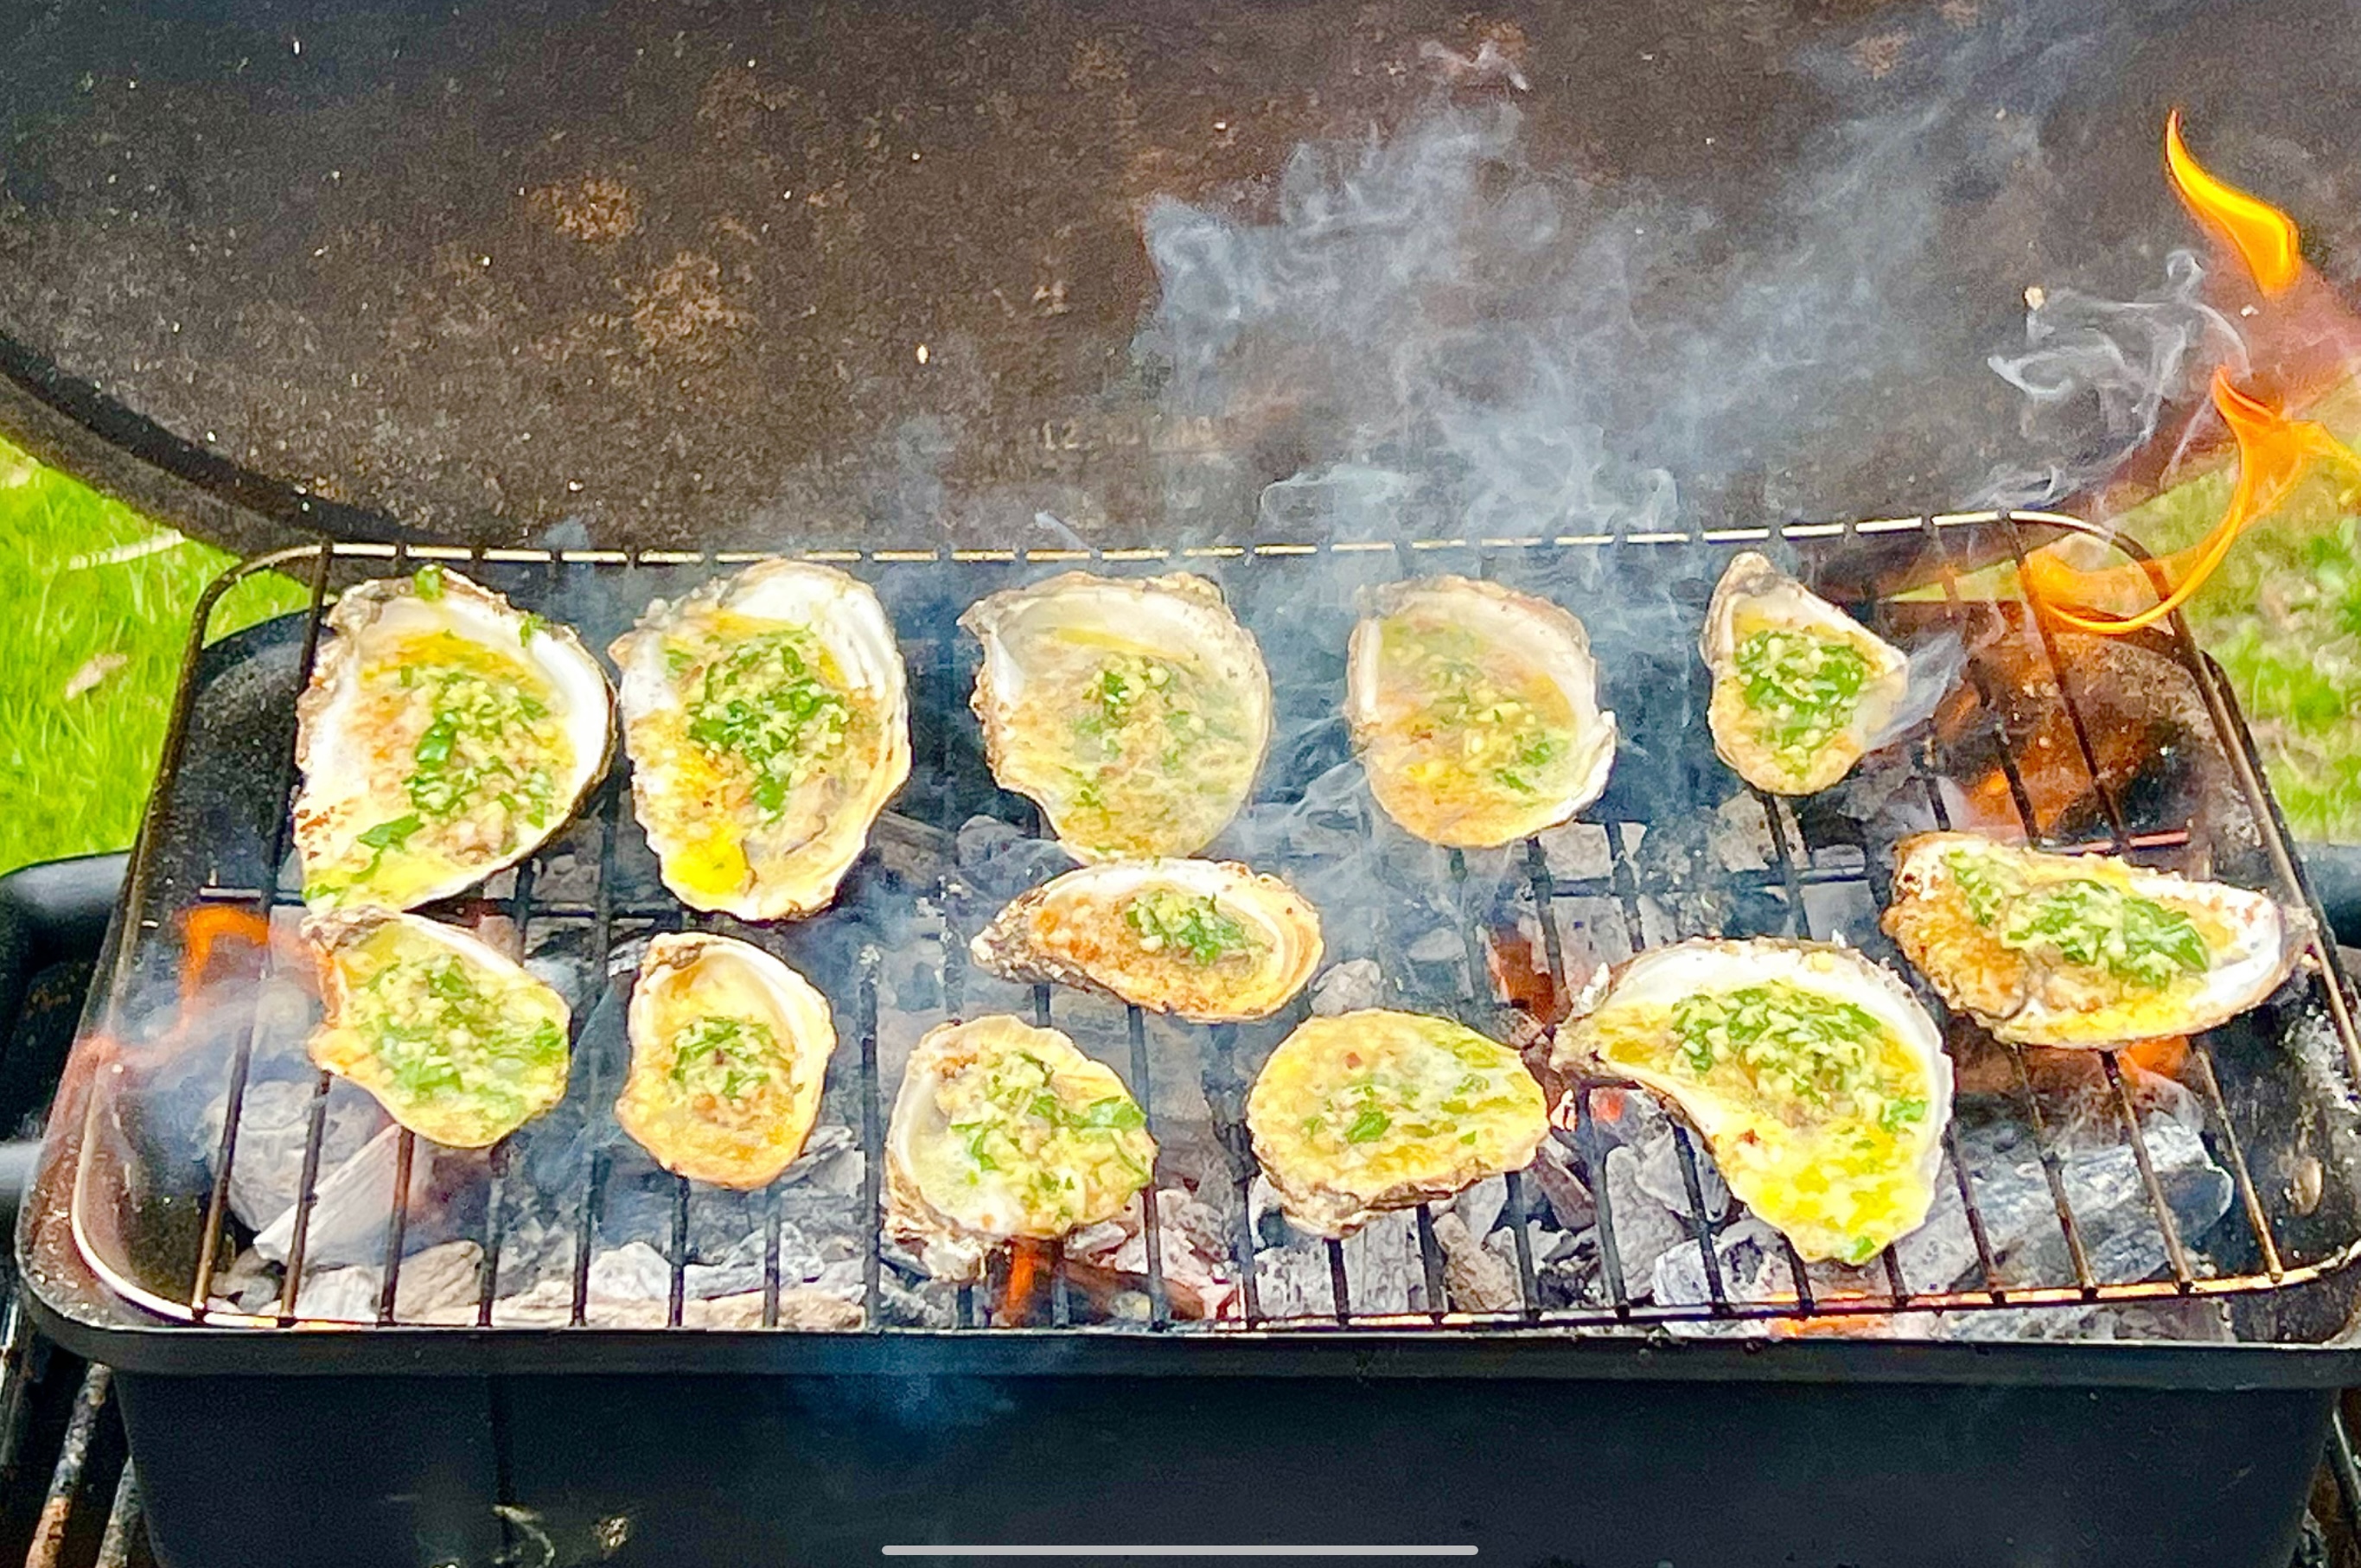
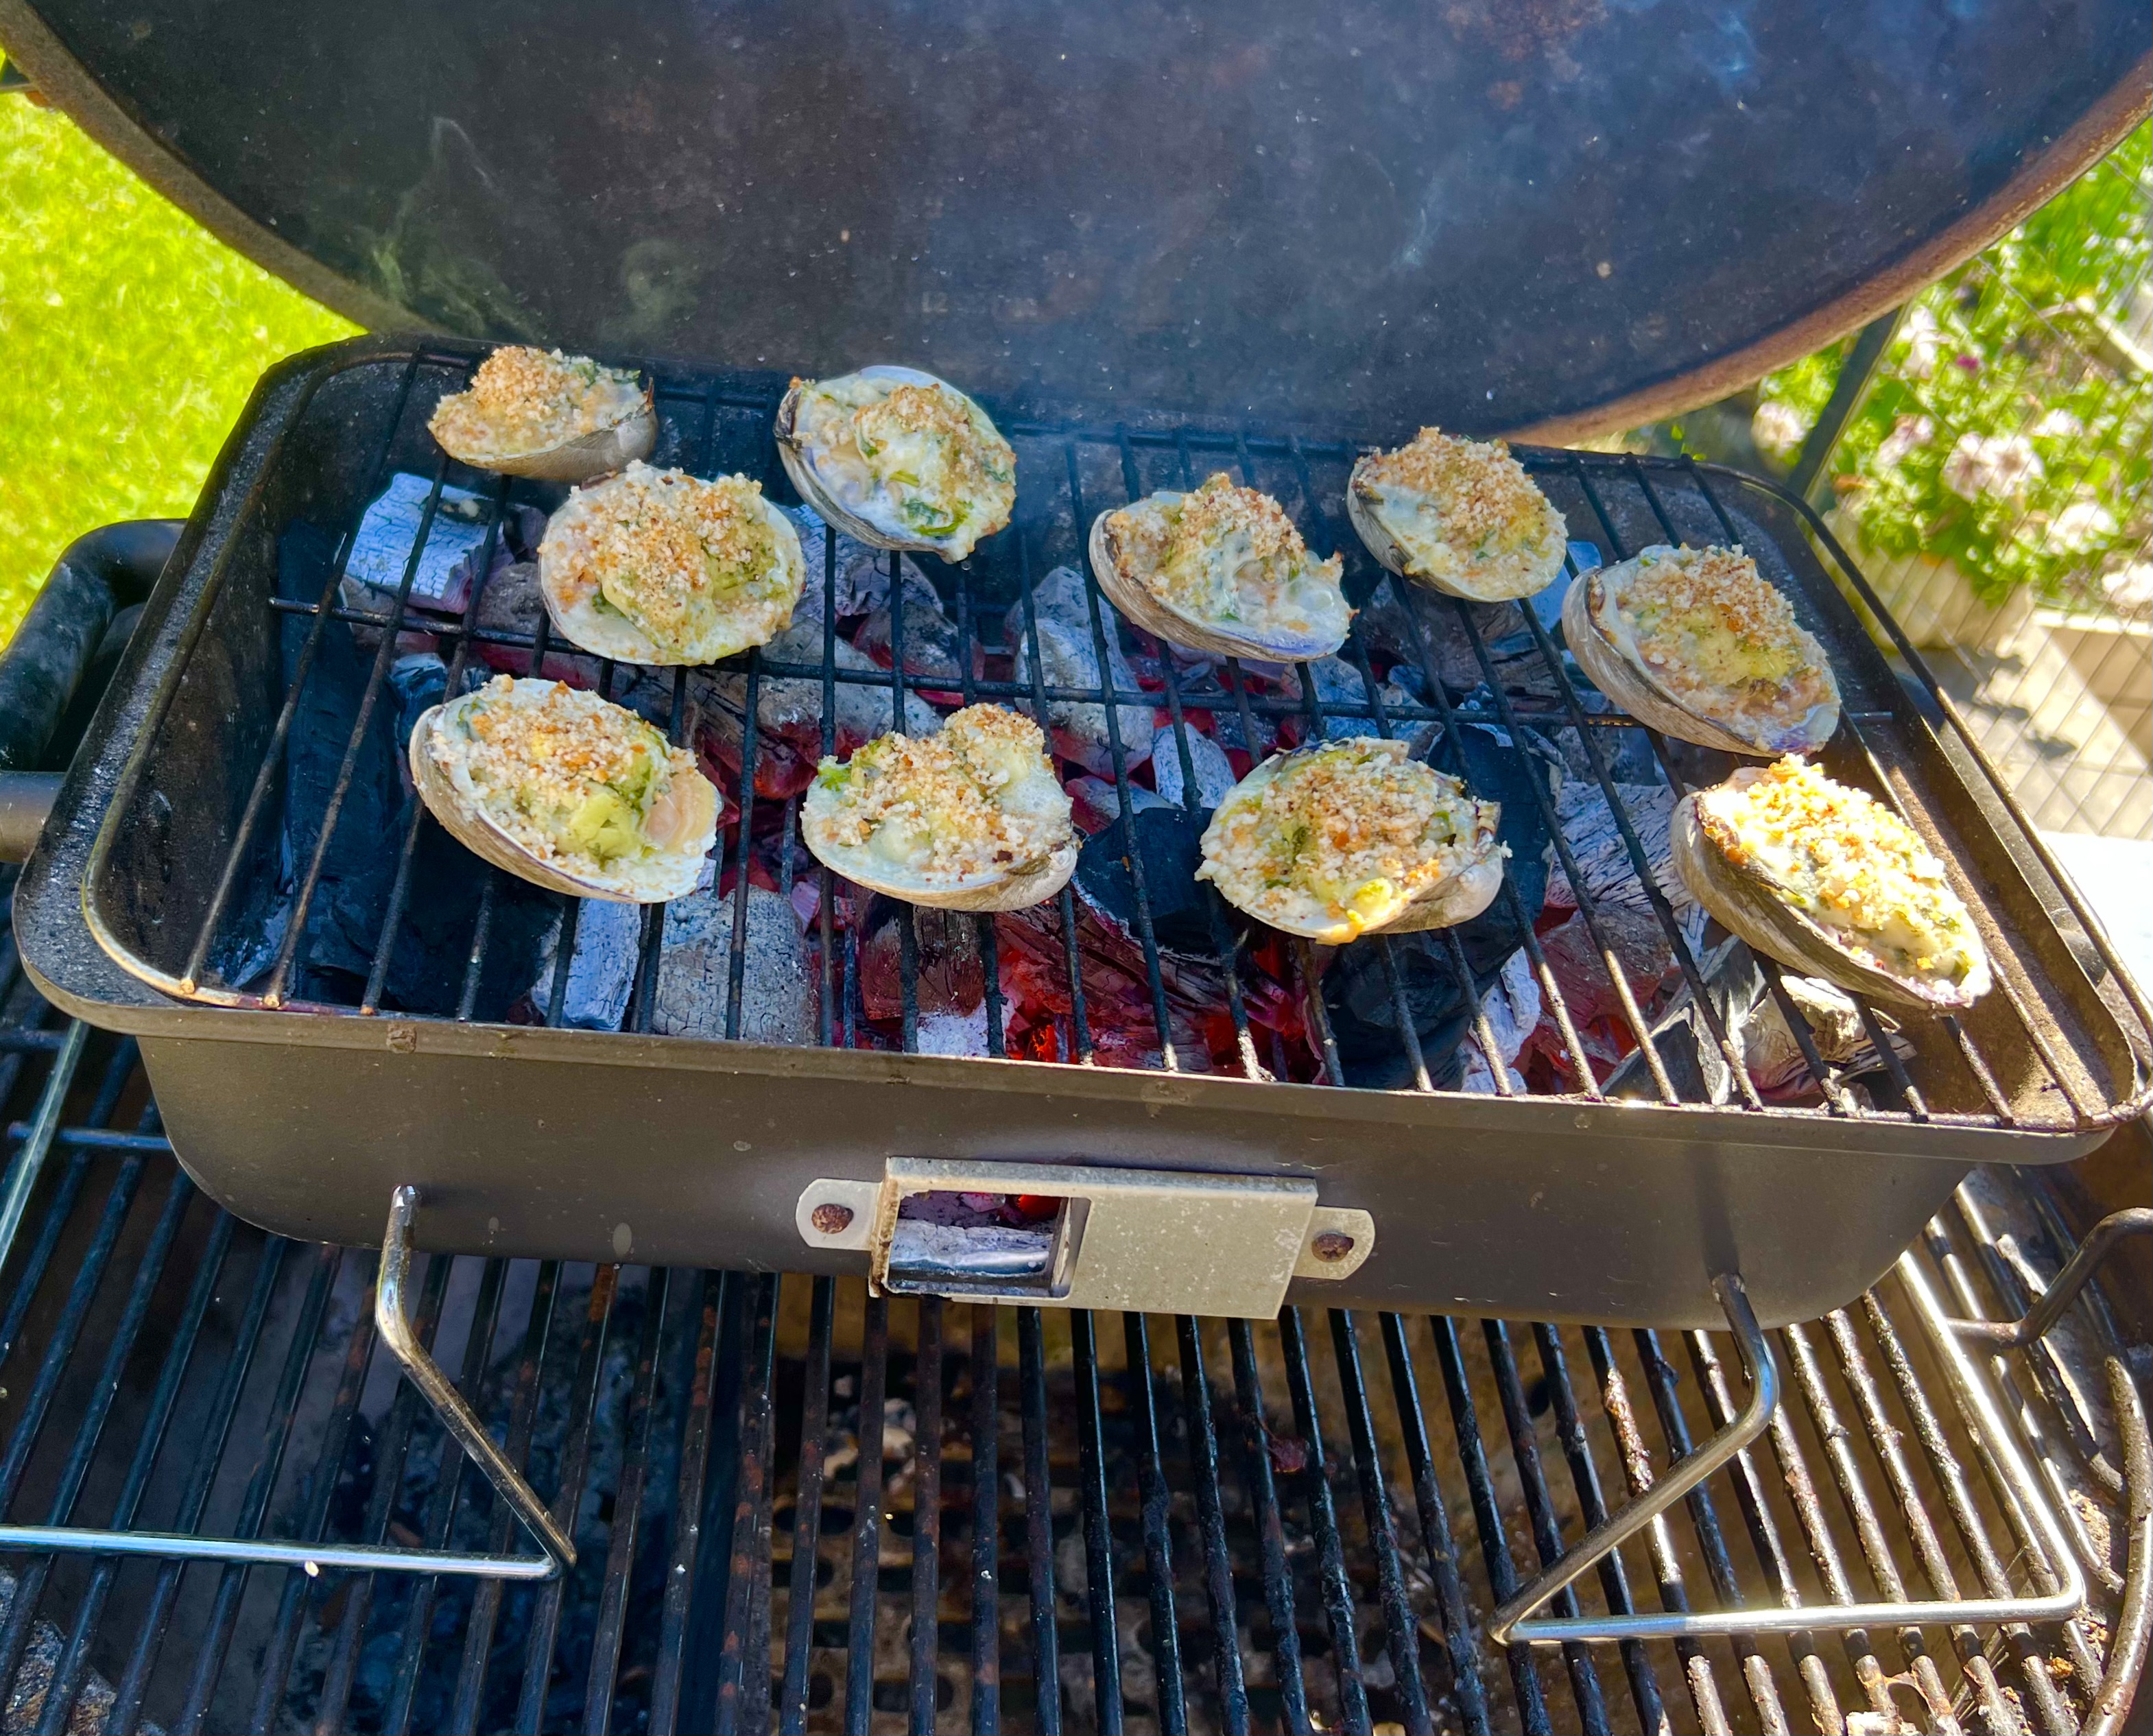
Once the cheese mixture has firmed up, and it’s time to cook, start a hardwood charcoal fire in your grill.
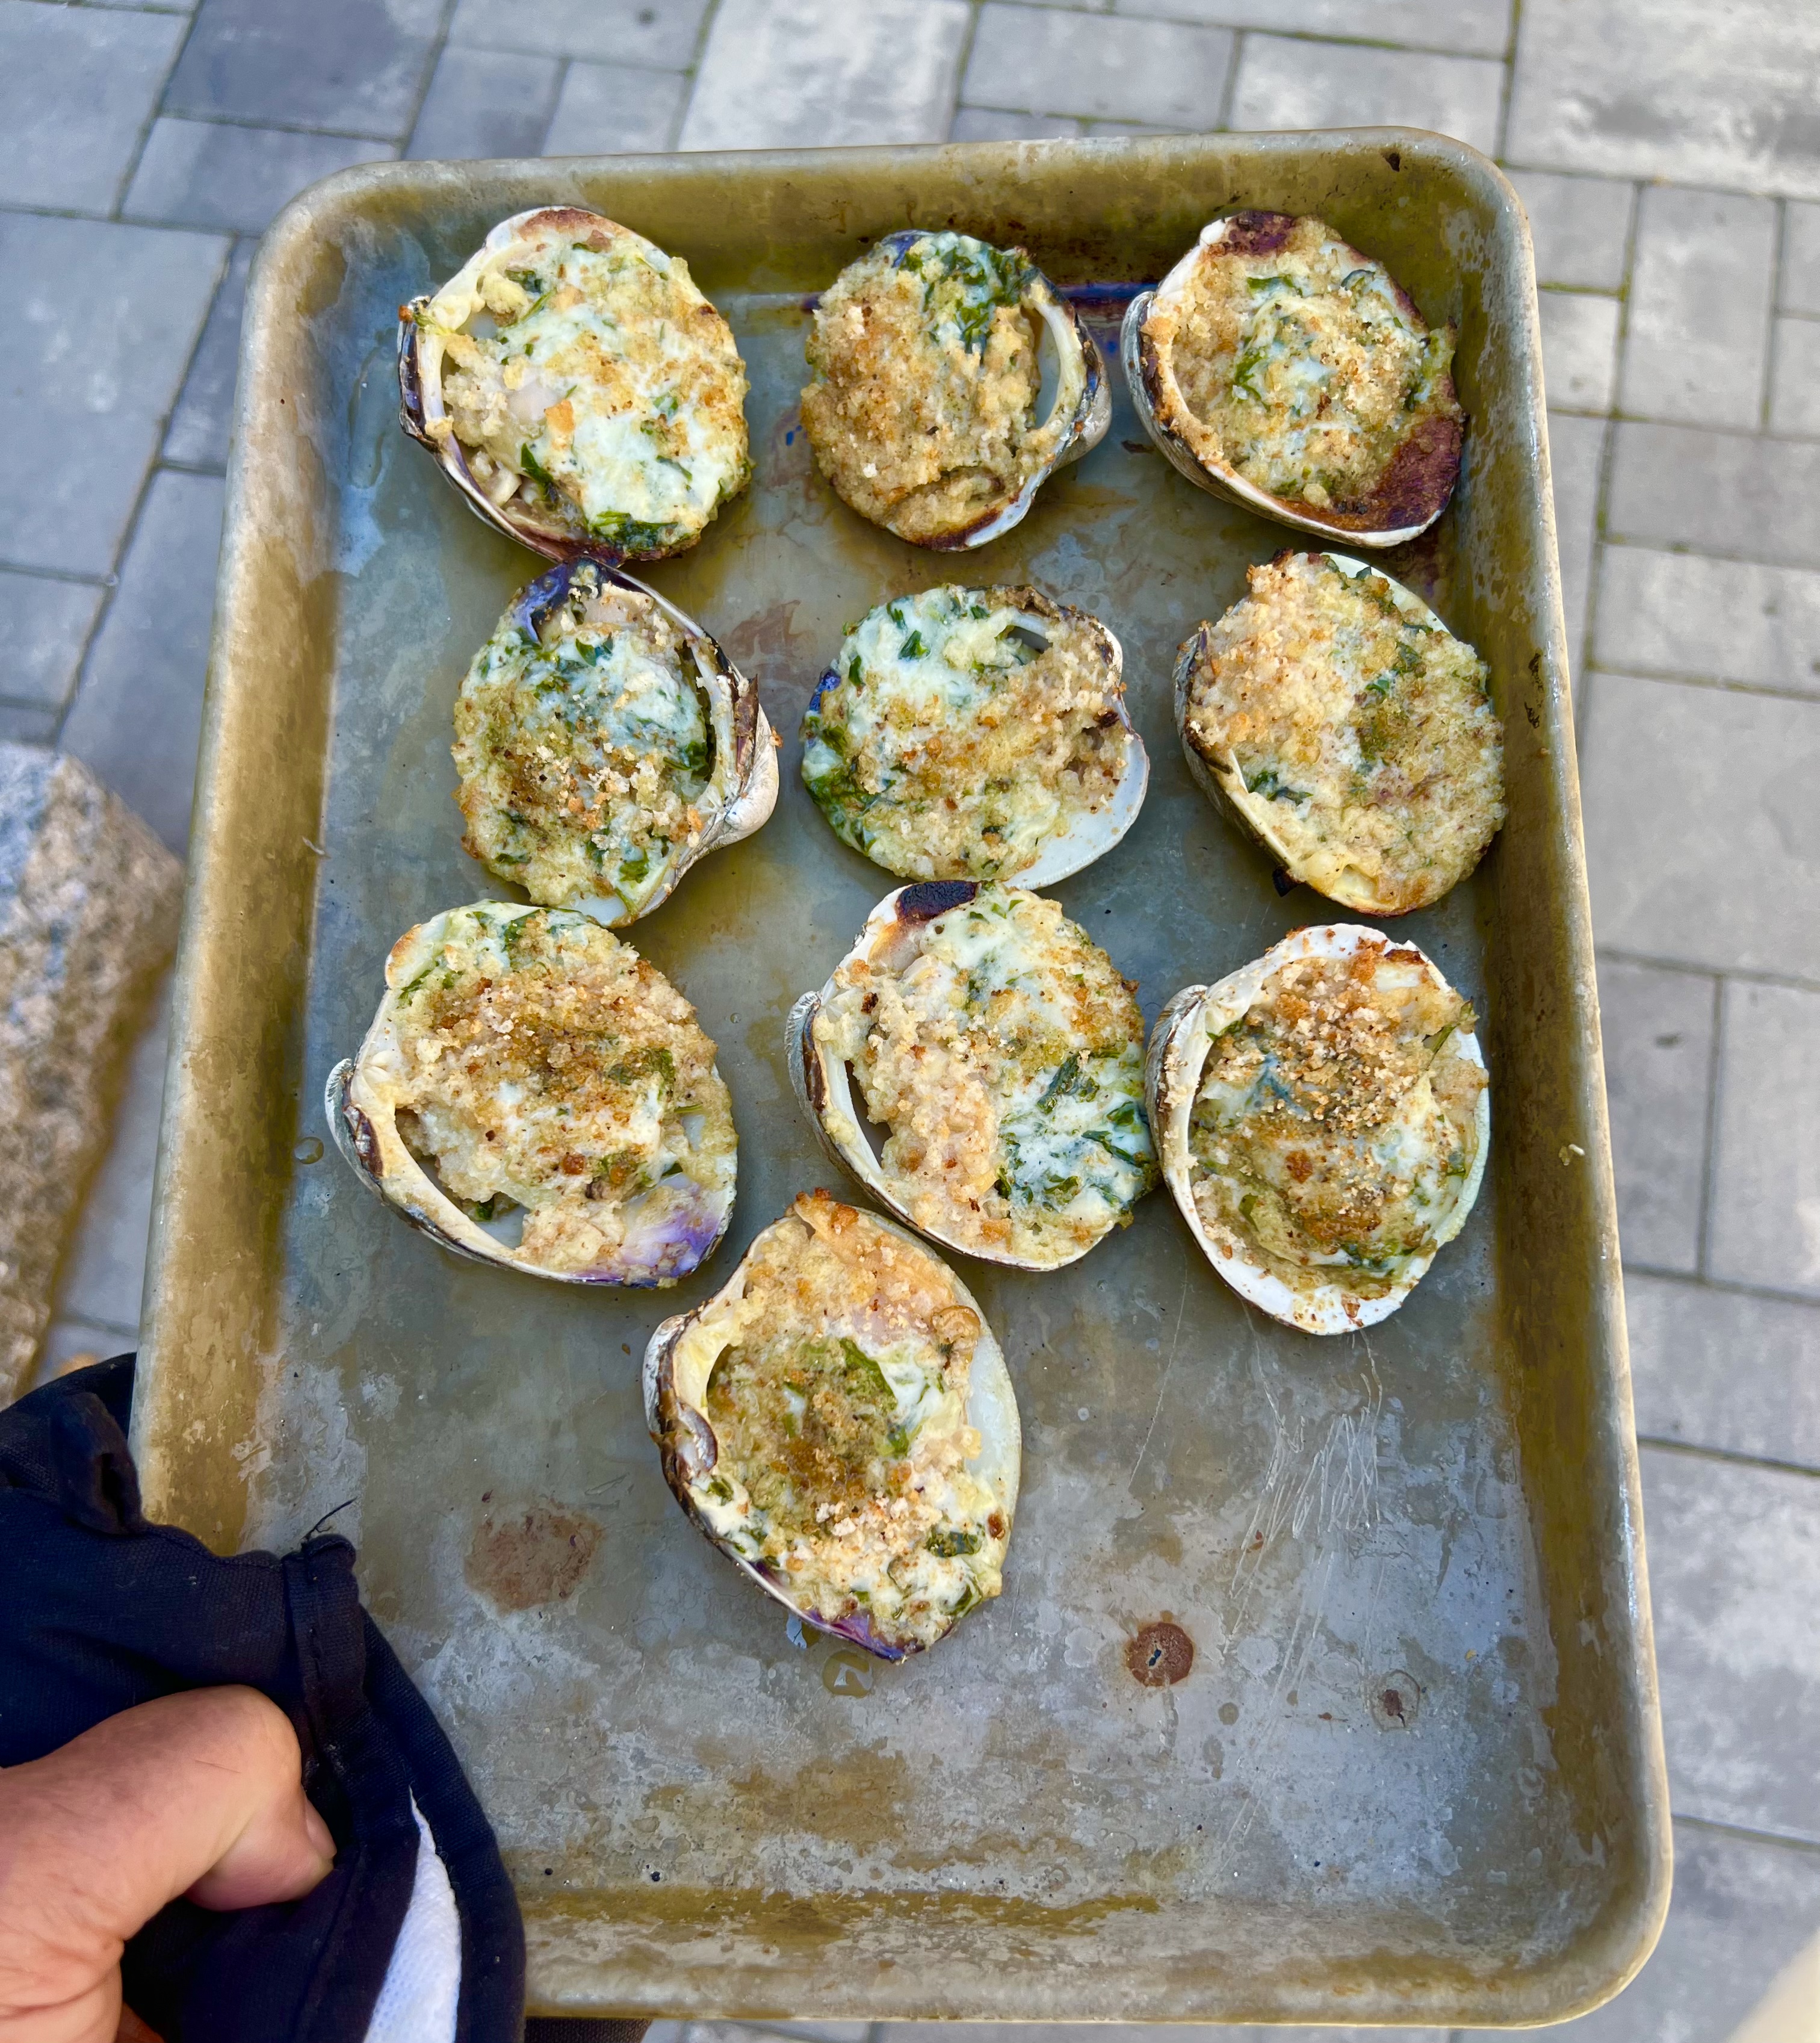
Open the clams and put them on a tray, topping each clam with a cube of the firm cheese and arugula stuffing mix.
Sprinkle the breadcrumbs on top of each clam.
When your charcoal grill fire is hot, place the clams on the grill and cook until the cheesy topping melts and the clams have a nice char to them.
They will be lava hot when they come off the grill, so give them a few minutes before eating!