Pork is magical. And though I’ve loved bacon and pork chops all my life, it’s only recently that I’ve started to appreciate other cuts of pork and how to prepare them. That includes guanciale (pronounced gwan-chee-ah-lay), meat that comes from the cheek (or jowls) of the pig and is cured but not smoked. The process is similar to making pancetta, only pancetta comes from the belly of the beast.
It all started when I wanted to make an authentic spaghetti carbonara, which uses guanciale, not bacon or pancetta as many recipes state. But finding raw pork jowls wasn’t easy at first. Many websites offered smoked jowls. But raw jowls were almost impossible to find, and I just about gave up until I visited my friends Sal and chef Aaron at the Back Eddy restaurant in Westport, Massachusetts. I told them of my dilemma and they said: “Pork jowls? Oh, we can order them for you!” I was psyched!
About a week later, I picked up my jowls, individually wrapped in hermetically sealed ¼ pound packages, and my curing began. The process is simple: salt, pepper, some fresh thyme. Rub it all over the meat, wrap it tightly, and place it in the fridge to cure for a week or two.

Finding room in my spare fridge to cure the meat was easy…everything fit snugly in a Ziploc bag. But after curing, and once I rinsed the excess salt off the jowl pieces, I had to dry them (all 24 of them since I bought 6 pounds.) So I rigged up a special hanging system that used bungy cords and vinyl cable ties. And three weeks later, I was frying up my guanciale in a saute pan and adding it to vegetables, potatoes, and pizza. I even gave guanciale gifts to my foodie friends.

Since that first curing effort, many things had changed. I have several excellent sources for pork jowls, and I buy large 3-pound jowls (big pig!) at one time. And I’ve found 1001 uses for guanciale: pizza, ragu Bolognese, adding flavor to broccoli or brussels sprouts, and more. And, oh yes…I finally made the carbonara recipe with it as well. Here’s my recipe for ragu Bolognese using guanciale: http://wp.me/p1c1Nl-Pc

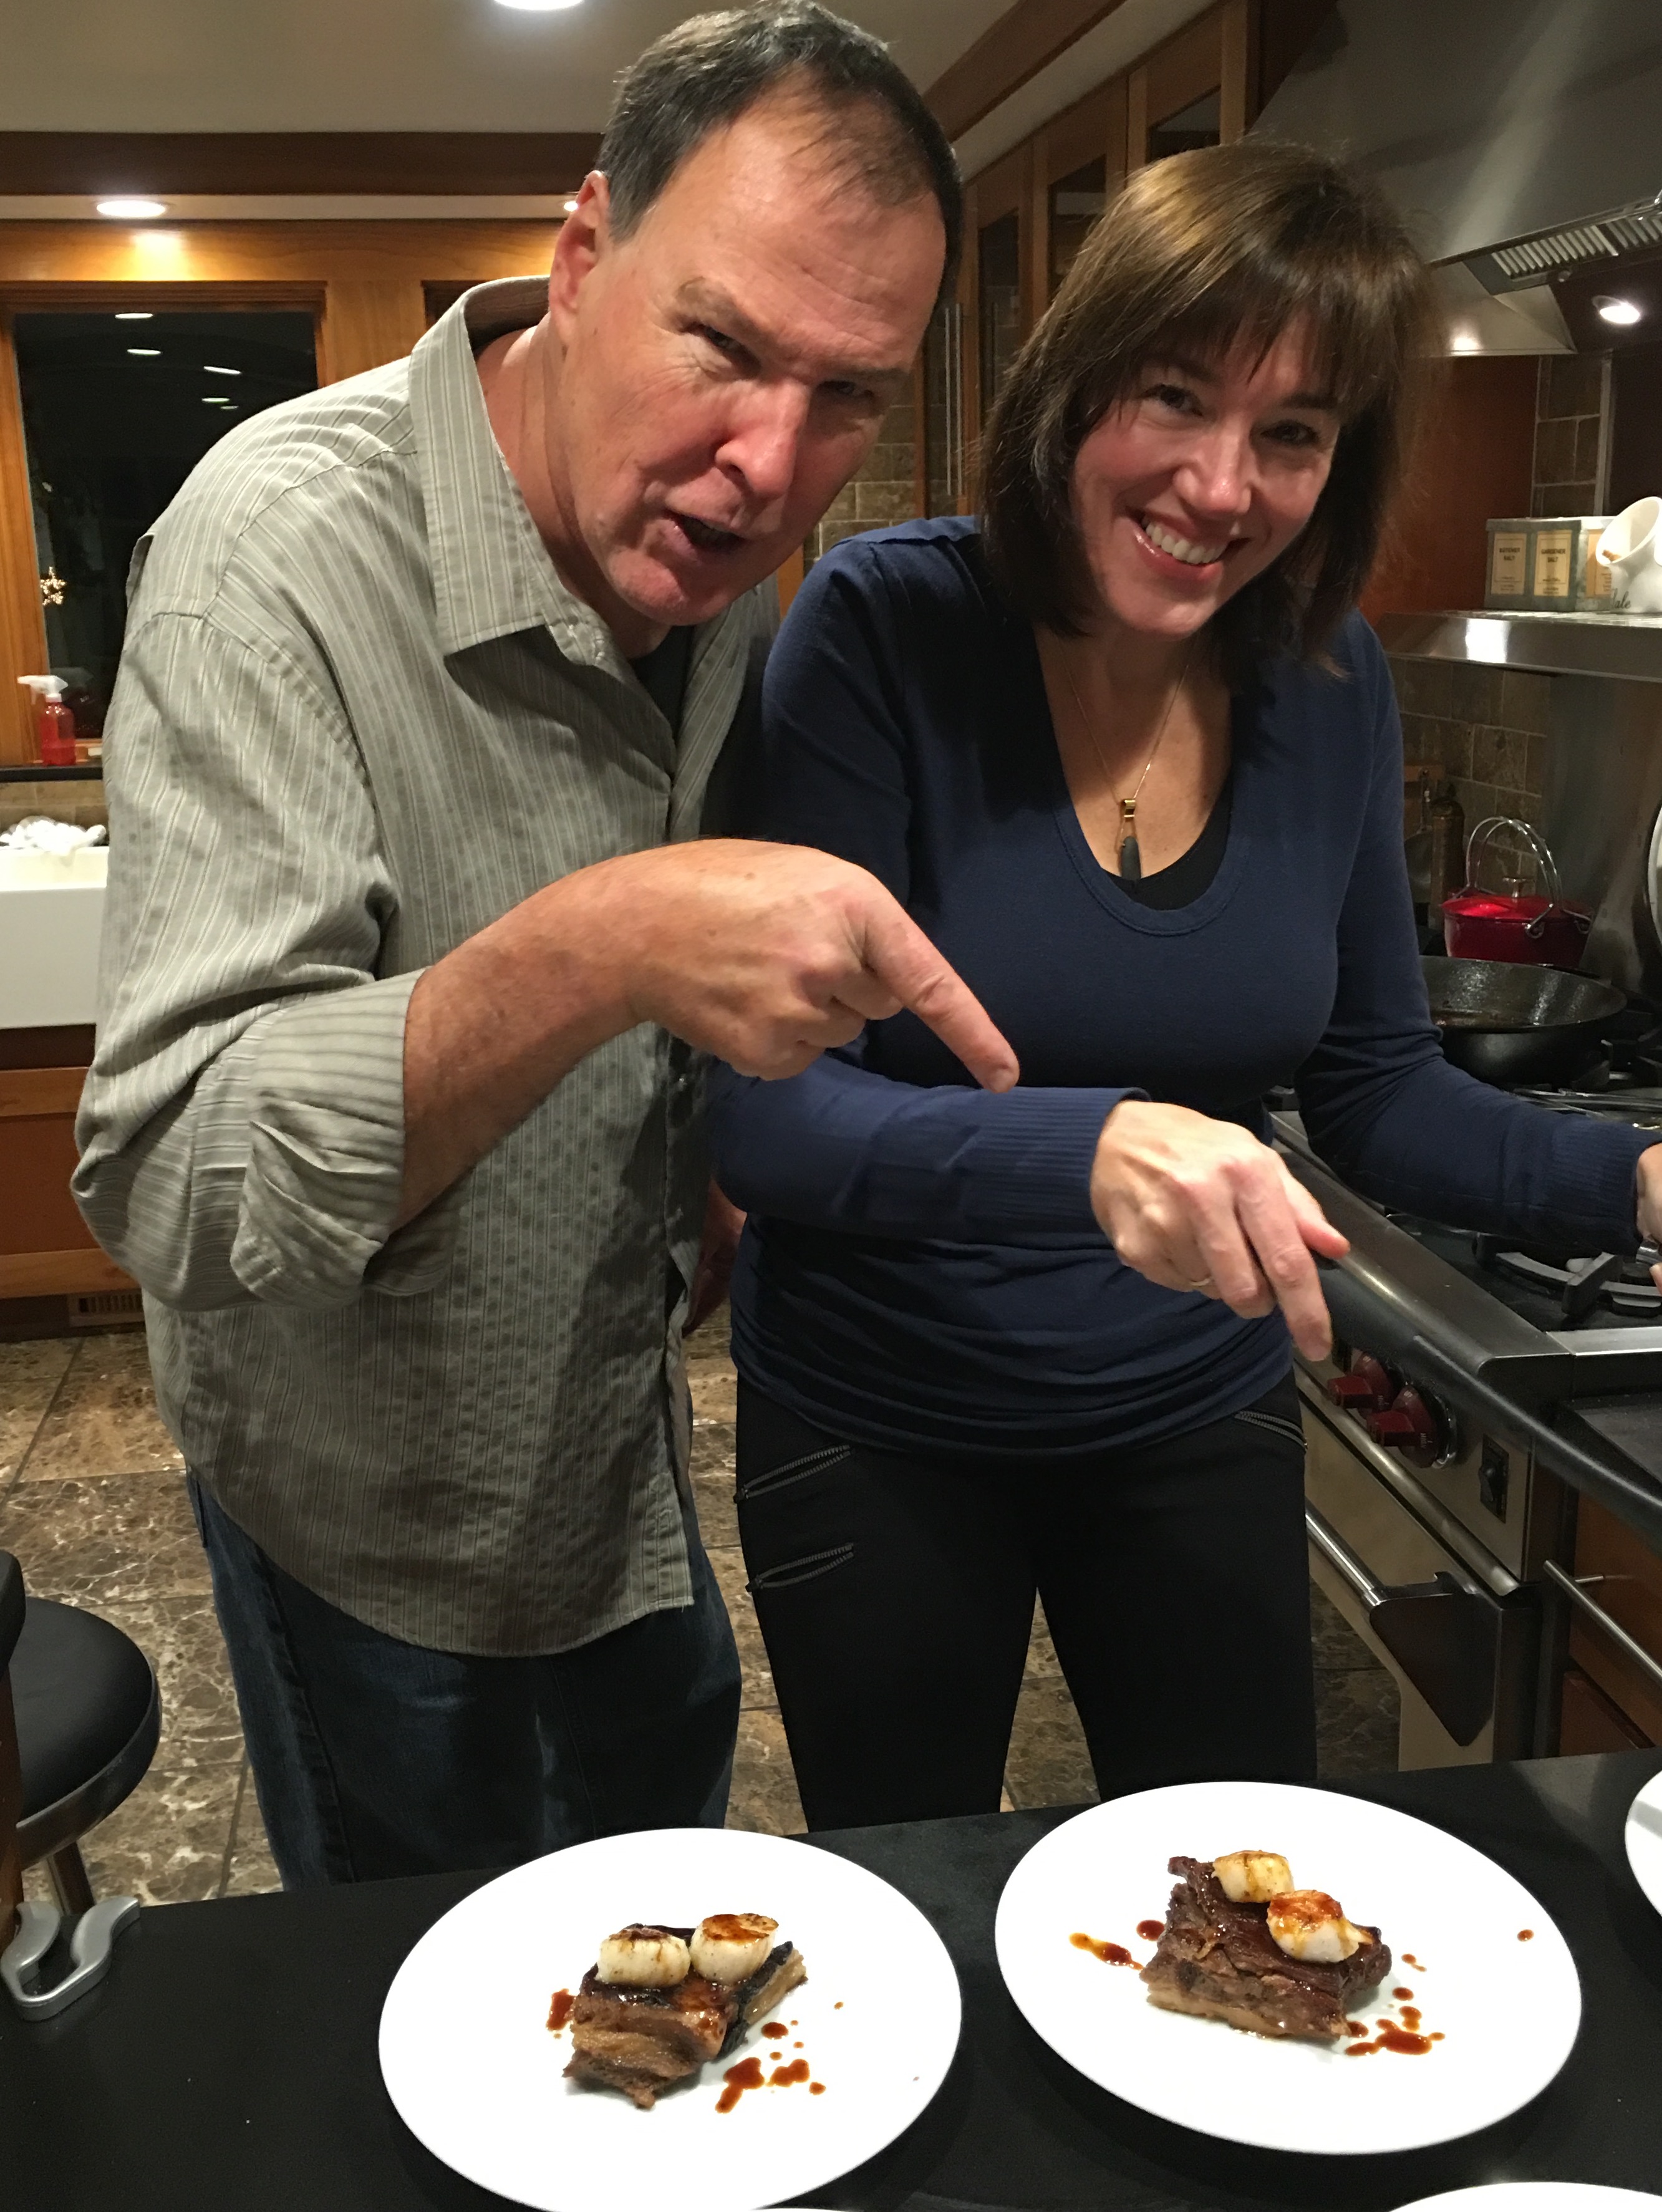
Always good to have a helper.