With a week of rain followed by a week of sunshine, the garden has really taken off. Nights are still too cool (in the 40’s) for tomatoes to go out, so they’re hanging out in my greenhouse until they’re ready to be transplanted.

Happy bees buzzing around the blossoms of my old and still productive apple tree.

Happy bees buzzing around the blossoms of my old and still productive apple tree.


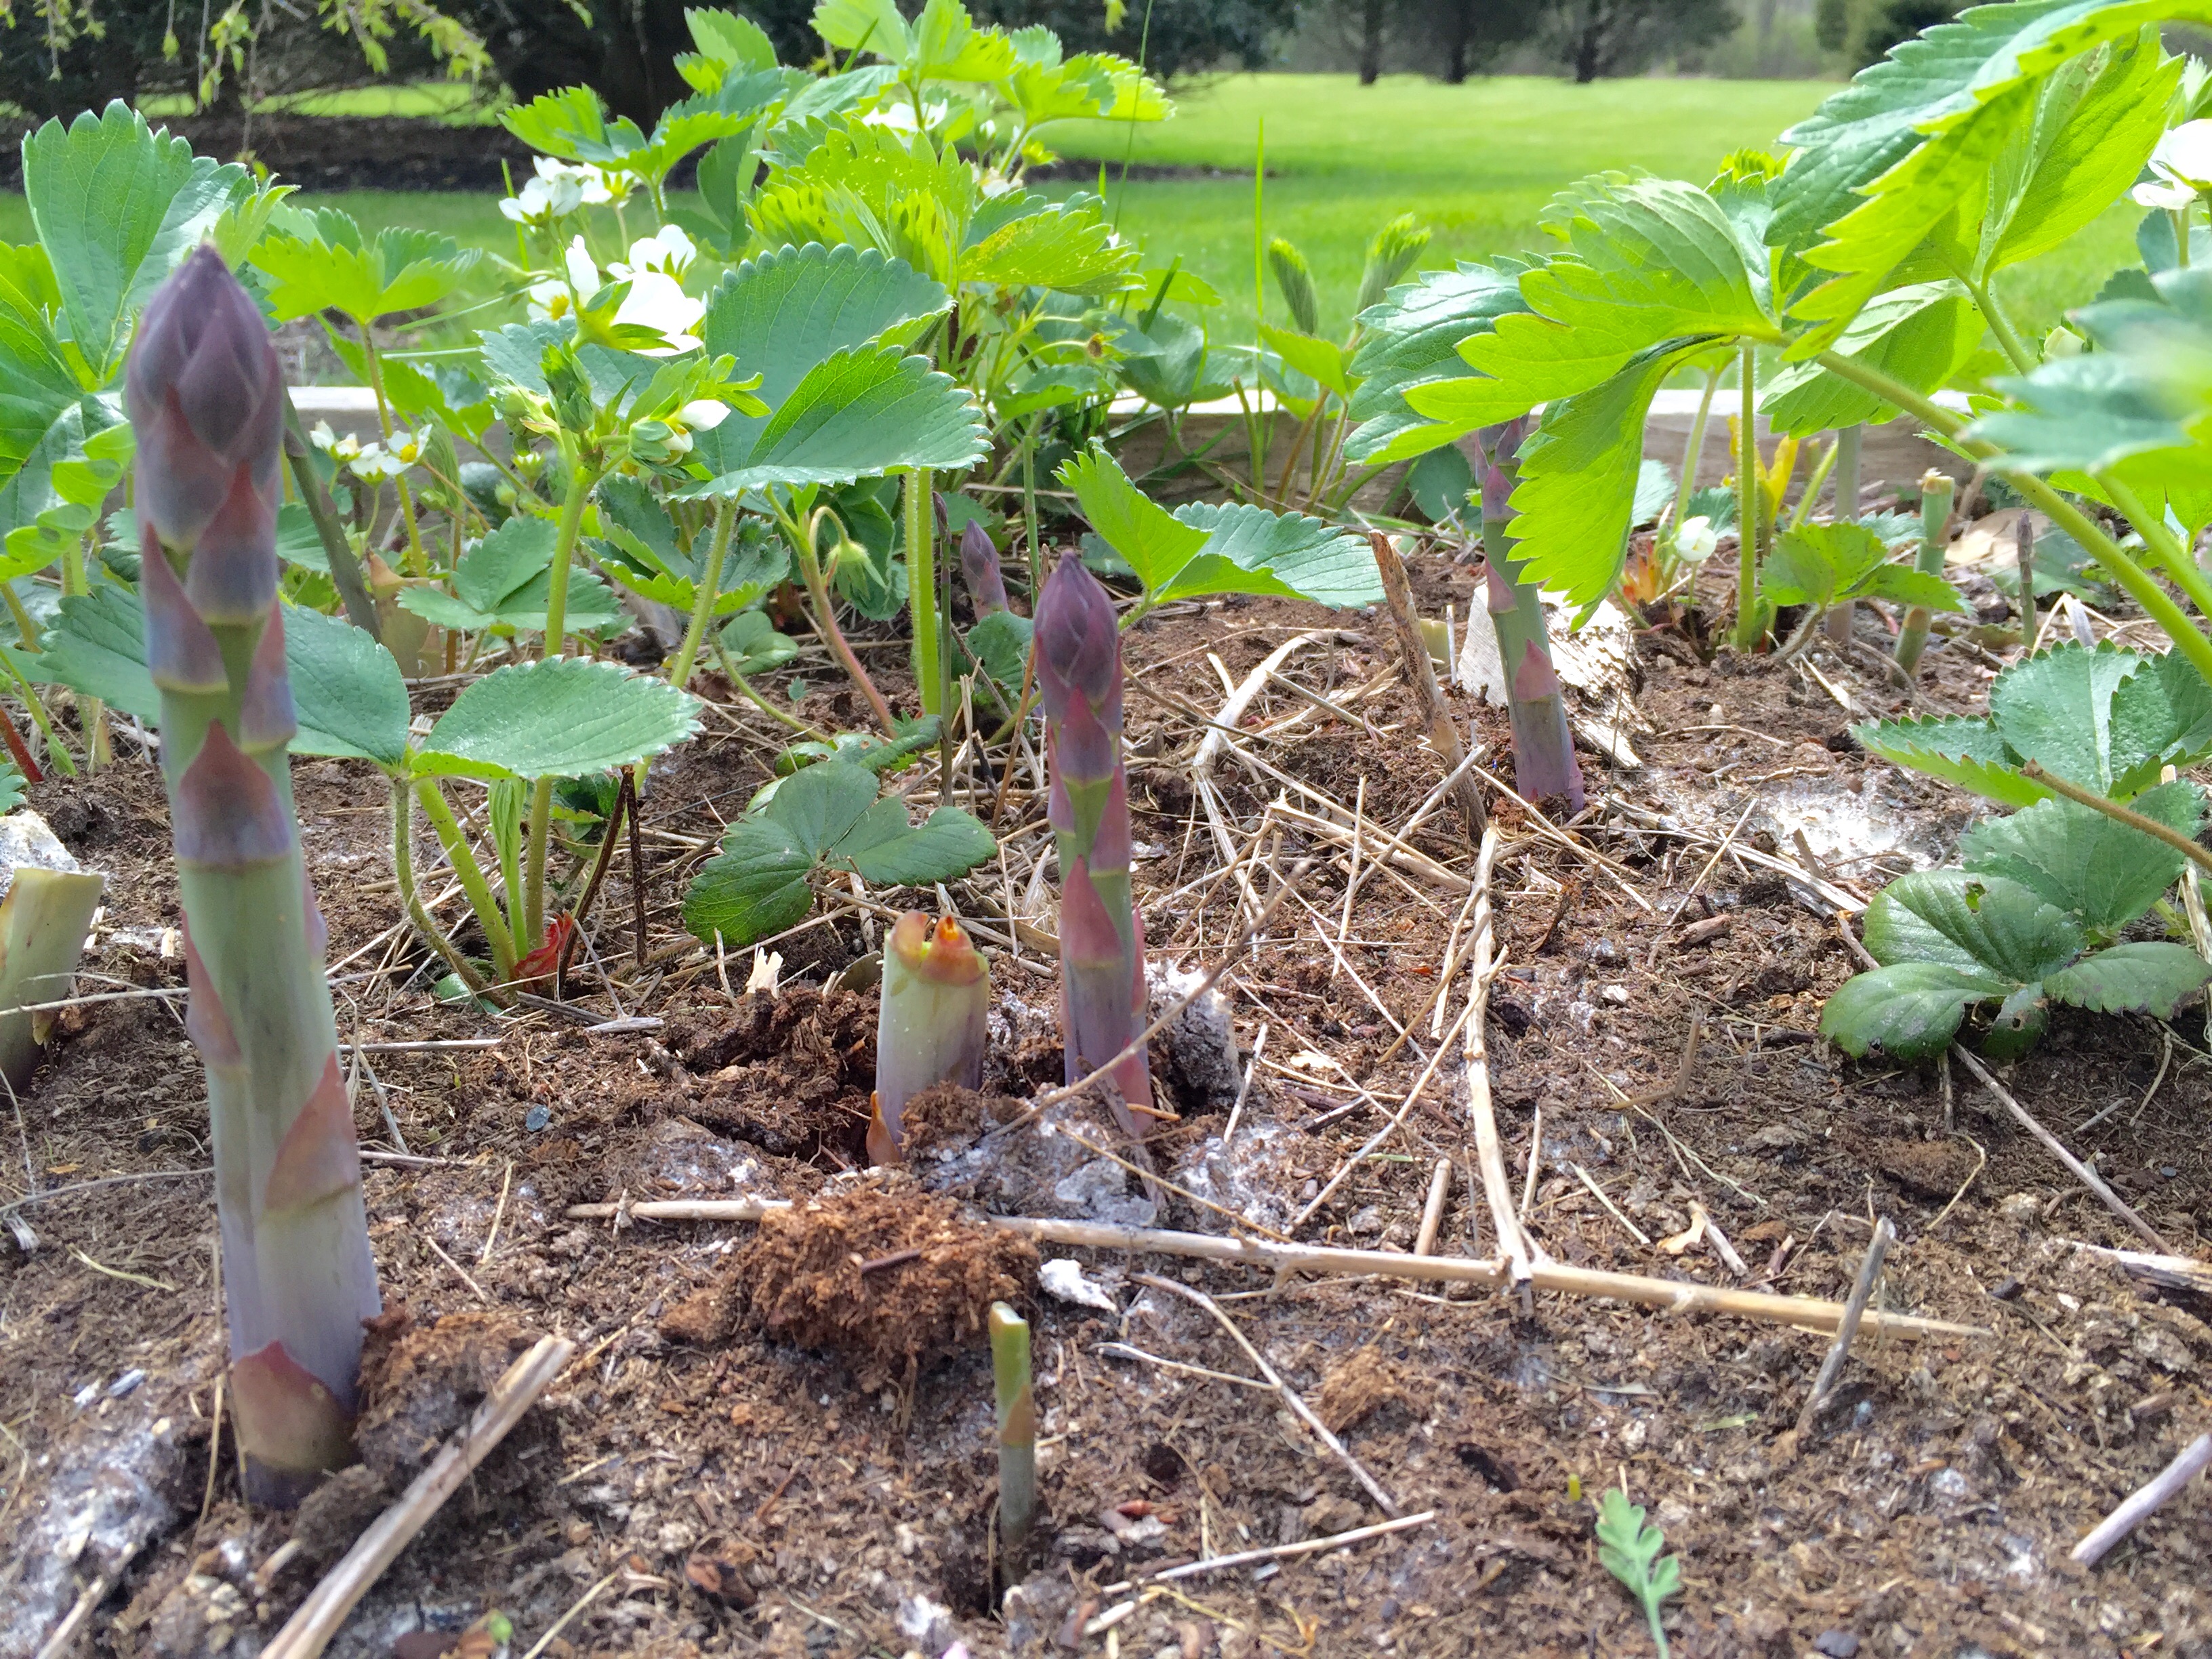
Strawberries and asparagus share the same bed. A good combination: by the time the asparagus harvest is over, the strawberries fill in the bed. And by the time the strawberries are all picked, the asparagus stalks shoot upward to produce the ferns that will recharge the plants for next year's crop.

Strawberries and asparagus share the same bed. A good combination: by the time the asparagus harvest is over, the strawberries fill in the bed. And by the time the strawberries are all picked, the asparagus stalks shoot upward to produce the ferns that will recharge the plants for next year’s crop.


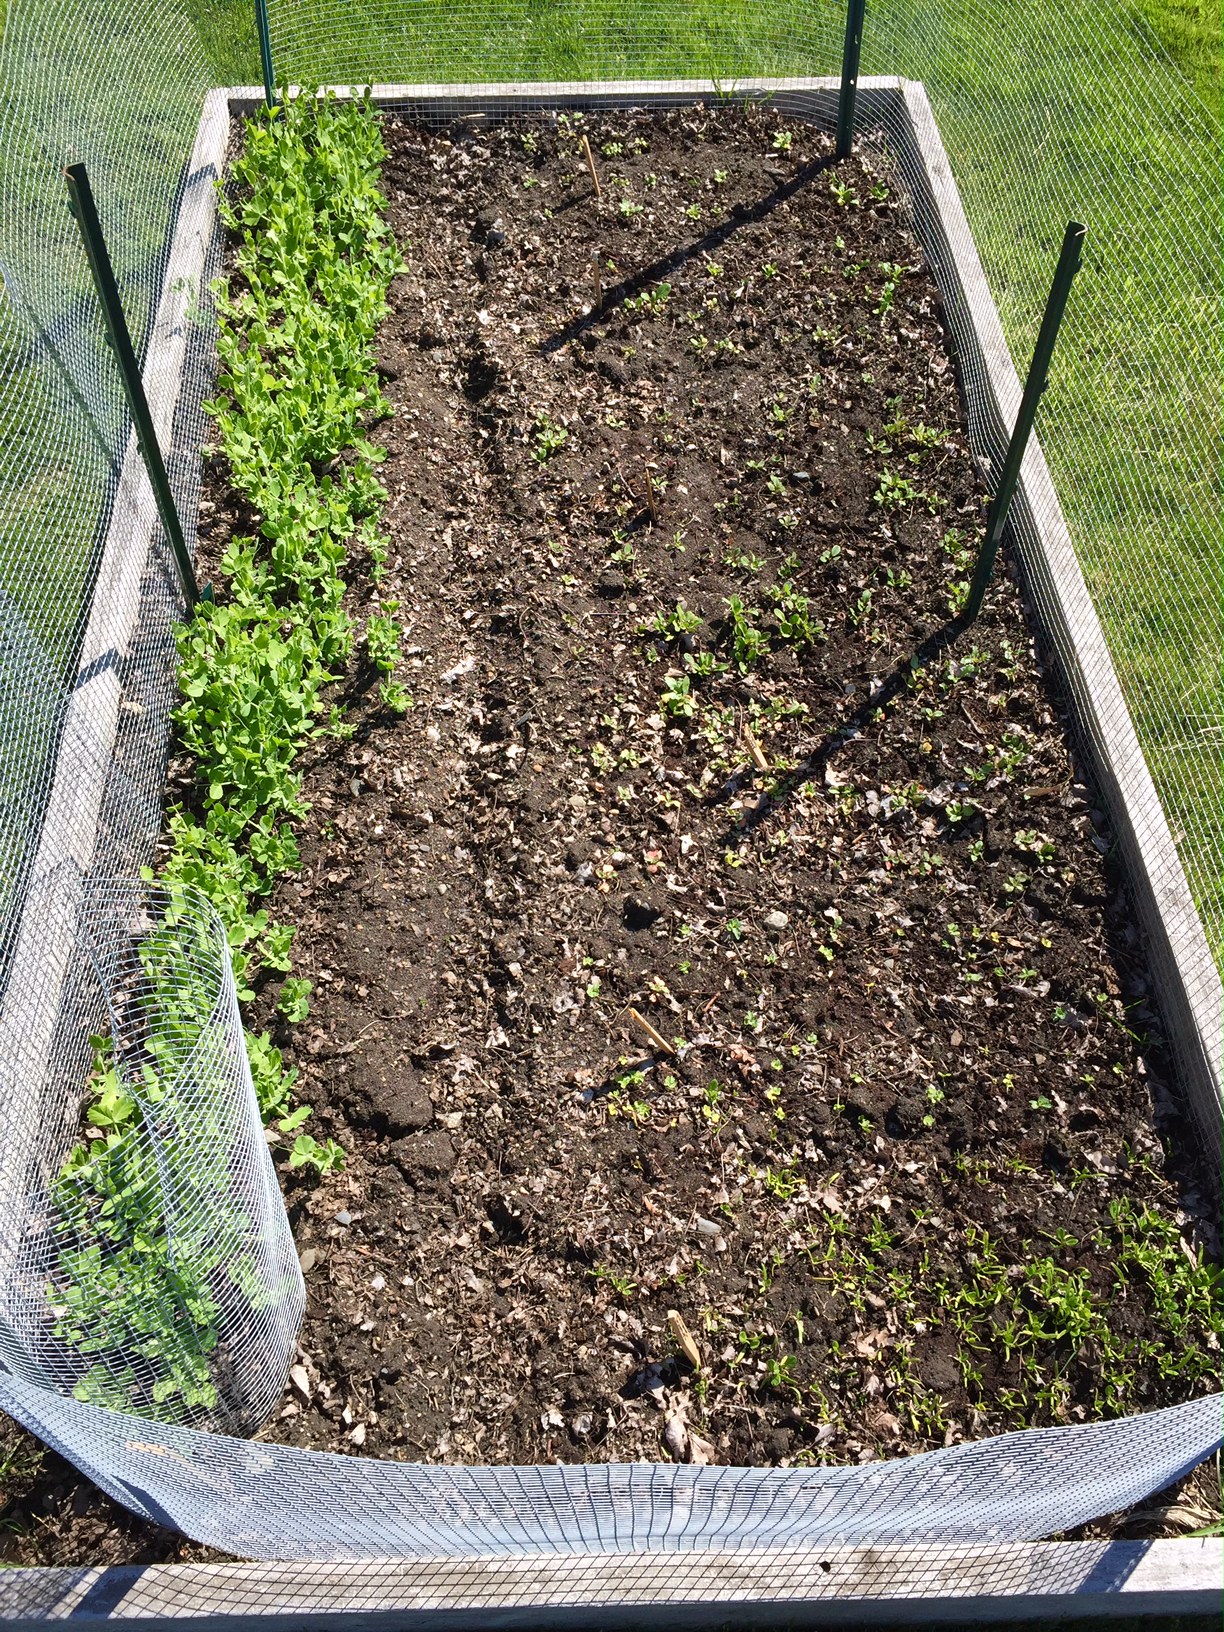
...And a check on the first bed I sowed this season: peas on the left, happy arugula, Asian greens, spinach and more on the right.

…And a check on the first bed I sowed this season: peas on the left, happy arugula, Asian greens, lettuce, spinach and more on the right.

Here’s the bed from 3 weeks ago…and the start of the season…

FullSizeRenderFullSizeRender

Fresh salads from the garden have already included: lettuce, Asian greens, scallions, arugula, spinach, asparagus, pea tendrils, fresh oregano, and kale.

I’ve always been fascinated by Korean barbecue. Every time I see it on TV or catch a recipe on an e-mail blast, my mouth waters and I say to myself that I’ve got to experience it some day. But the painful reality is: Korean barbecue can be really spicy…and I’m a total wuss.

Korean barbecue 101: Gogigui means “meat roast” in Korean, and it refers to the method of roasting beef, pork, chicken, and other meats. Meats can be marinated or not. Bulgogi is the name of the most common Korean barbecue. Meat is marinated with soy sauce, sugar, sesame oil, garlic and pepper, and then grilled. Galbi uses beef short ribs, and adds onions to the marinade. And the hot stuff is daeji bulgogi, because the marinade isn’t soy sauce-based, but based on the hot-n-spicy Korean chili paste known as gochujang.

All of the marinades looked delicious, but the hot one with gochujang would be my biggest challenge, so I decided to start there. I found a great recipe, and quickly realized that I would have to turn the heat way down if I was actually going to try to eat it! For example, the original recipe called for 2 tablespoons of white pepper. I totally left it out. And it called for a full cup of gochujang. Not only did I cut that part in half, I doubled many of the other non-spicy ingredients.

So is it authentic Korean barbecue? Probably not. But it’s my version of it. It’s got lots a flavor and still carries a bit of heat.

For gluten-free diets: finding GF hoisin and soy sauce is easy. Look for the La Choy brand. But I haven’t been able to find gochujang that has a GF label.


image


3/4 cup ketchup
1/2 cup gochujang
1/2 cup hoisin sauce (I use gluten-free hoisin)
1/2 cup honey
1/2 cup soy sauce
1/4 cup brown sugar
2 tablespoons freshly grated ginger
1 tablespoon freshly grated garlic (I use a garlic press)
1 tablespoon unseasoned rice vinegar
4 lbs. chicken pieces


Pre-heat the oven to 500 or its top temperature.

In a bowl, mix everything but the chicken pieces. Brush the sauce onto the chicken pieces, then wrap them in aluminum foil. (I like to tear a long piece of aluminum foil and lay it on top of a sheet pan. I place the chicken pieces on the foil, brush them with sauce on all sides, then fold the foil over the chicken, making one large pouch that holds all the meat.) Leave the pouch on the sheet pan and place it in the oven. Lower the oven temp to 350.

Cook the chicken for about an hour, making sure it’s almost completely cooked. Juices should run clear, not bloody, when you poke it with a fork.

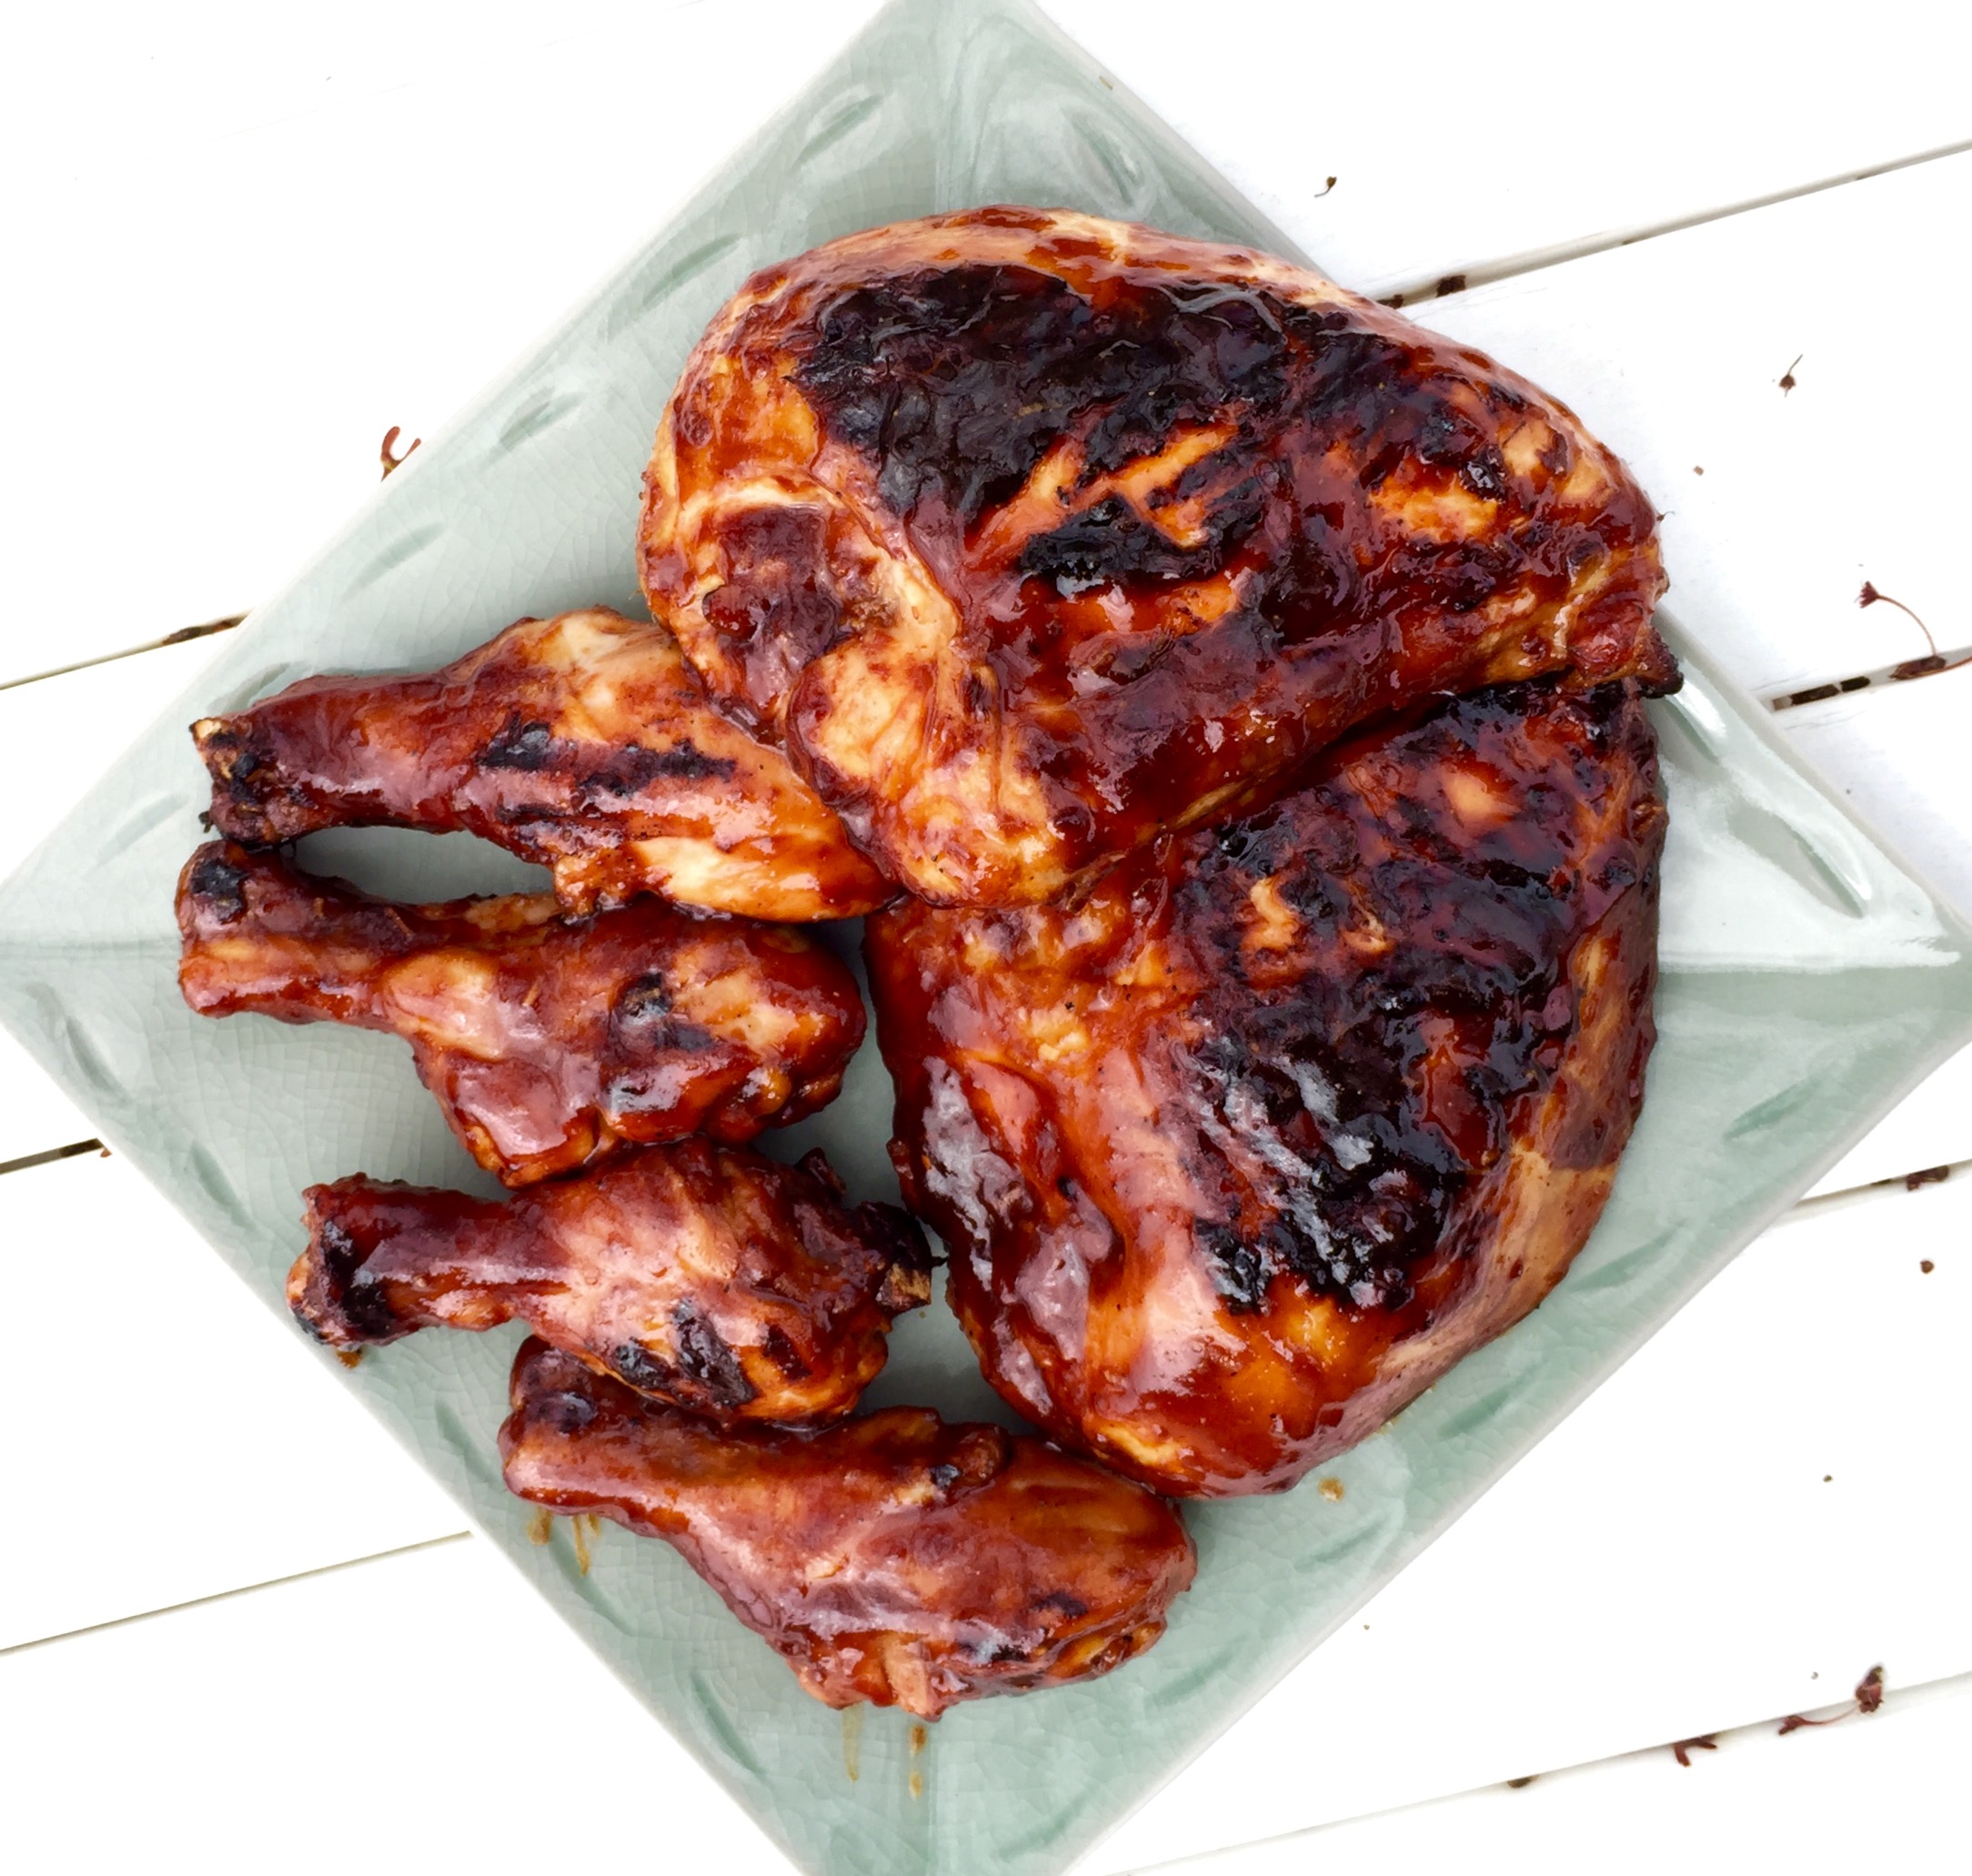
Start a hardwood fire on your grill. Push the coals to one side of the grill so you have a hot side and a cooler side with no coals underneath it. Place the chicken pieces on the cool side of the grill (if you put it on the hot side, it will stick and burn), brush with more sauce, and put the lid on the grill, making sure you have the vents open for air circulation.

image

See those 2 black bits in the foreground? That’s where the chicken stuck to the grill because I placed them over the hot coals. Don’t do that.

After a few minutes, lift the lid, flip the chicken pieces over, brush them with sauce again, and close the lid. Keep doing this until the chicken is nice and caramelized, with tasty grill marks.

If you want to serve some of the sauce on the side, it’s important to pour some of the sauce off and set it aside in the very beginning, so you’re not using the same sauce that the basting brush touched the raw chicken with.


When one of your favorite restaurants (I won’t name names) removes a profitable, bestselling dish from its menu, and the reason you’re given is that “the chef is tired of making it,” you kind of have to scratch your head and ask yourself: “What’s wrong with this picture?”

In this particular case, I decided to make it on my own. It’s really not hard to do…just takes a little time. But the end result is totally worth it.

FullSizeRender (5)

6 hard-boiled eggs
1/4 cup + extra mayonnaise
8 oz. high quality raw tuna
3 tablespoons soy sauce (I use gluten-free)
1/2 teaspoon chili oil
1/4 cup finely chopped scallions
1 teaspoon sesame seeds
fish roe (optional, see below)
handful fresh spinach, or cucumbers (see below)


The best way to hard-boil eggs is to put them in a pot of cold water. Turn the heat on high and bring to a boil. As soon as the water boils, turn the heat off and place a lid on the pot. Let it sit for 15 minutes. Perfect eggs every time. Remove the eggs from the water and cool them in the fridge.

If the tuna is frozen, let it thaw a little. If it’s fresh, you might need to place it into the freezer for about 10 minutes to firm up. That makes it easier to cube up. Slice the tuna carefully into the smallest cubes you can make. Once done, place the tuna in a bowl and put it back in the fridge until ready to use.

In a separate small bowl, combine the soy sauce and the chili oil. Set aside.

Finely chop the scallions. Set aside.

Once the eggs have cooled, peel them and cut them in half. Scoop out the yolks and place them in a bowl, starting with 1/4 cup of the mayonnaise. Add more mayo if needed. Mix well. I use a fork and try to get as many of the lumps out as possible. If you want to go crazy, you can put them in a blender or food processor to make a creamy puree. And again, you can place the puree in a piping bag and carefully squeeze out the puree into each egg half. I simply use a spoon.

Once all the egg halves are filled, place them on a spinach leaf-covered dish and put them back in the fridge until ready to serve.

When you’re ready to serve, take the tuna out of the fridge. Pour the soy sauce/chili oil mix into the bowl and mix well. Let the tuna marinate for just 2 minutes. Then pour off the excess marinade, or it’ll get too salty.

Remove the plate of eggs from the fridge and carefully put a small spoonful of tuna on top of each one. Garnish with the sesame seeds and the chopped scallions and serve immediately.

FullSizeRender

Optional: Instead of the bed of spinach, here’s another way to serve that works just as well: Peel a cucumber and cut the ends off. Slice the cuke into 1/2″ slices. Then carefully remove the seeds from the center to make a “cuke donut.” Use these as little stands to hold your eggs on the plate. When ready to serve, remove the eggs from the fridge and top them with the raw tuna without marinating it first. Drizzle the soy sauce/chili oil over the top of the eggs, garnishing with the sesame seeds, scallions, and a touch of fish roe.


The 142nd running of the Kentucky Derby revs up this Saturday at 6:34PM Eastern, and unfortunately, I’ll be working! –Working a beer festival, but nonetheless working.

The Mint Julep is such a perfect, classic and historic bourbon drink, it seems silly to wait until Derby day to have one. Of course, as any aficionado of spirits will tell you, there are as many right ways as wrong ways of making one.

The first step in my Mint Julep is making the simple syrup. I use the standard ratio of 1 cup of clean, filtered water to 1 cup of sugar, but I use an organic product like Woodstock Farms Organic Pure Cane Sugar. Place the sugar and water in a saucepan and heat until just boiling. I’ve found that it needs to reach this stage for the unbleached sugar to really dissolve. As soon as it starts to boil, remove the saucepan from the heat, and throw in a handful of freshly picked mint leaves. (I have mint growing all over my yard.) Stir to make sure the mint gets in there, and then leave the saucepan to cool to room temperature. Once it’s at room temp, strain out the mint leaves and pour the simple syrup into a bottle with a tight sealing lid, placing it in the refrigerator to cool. It will keep for about a week.

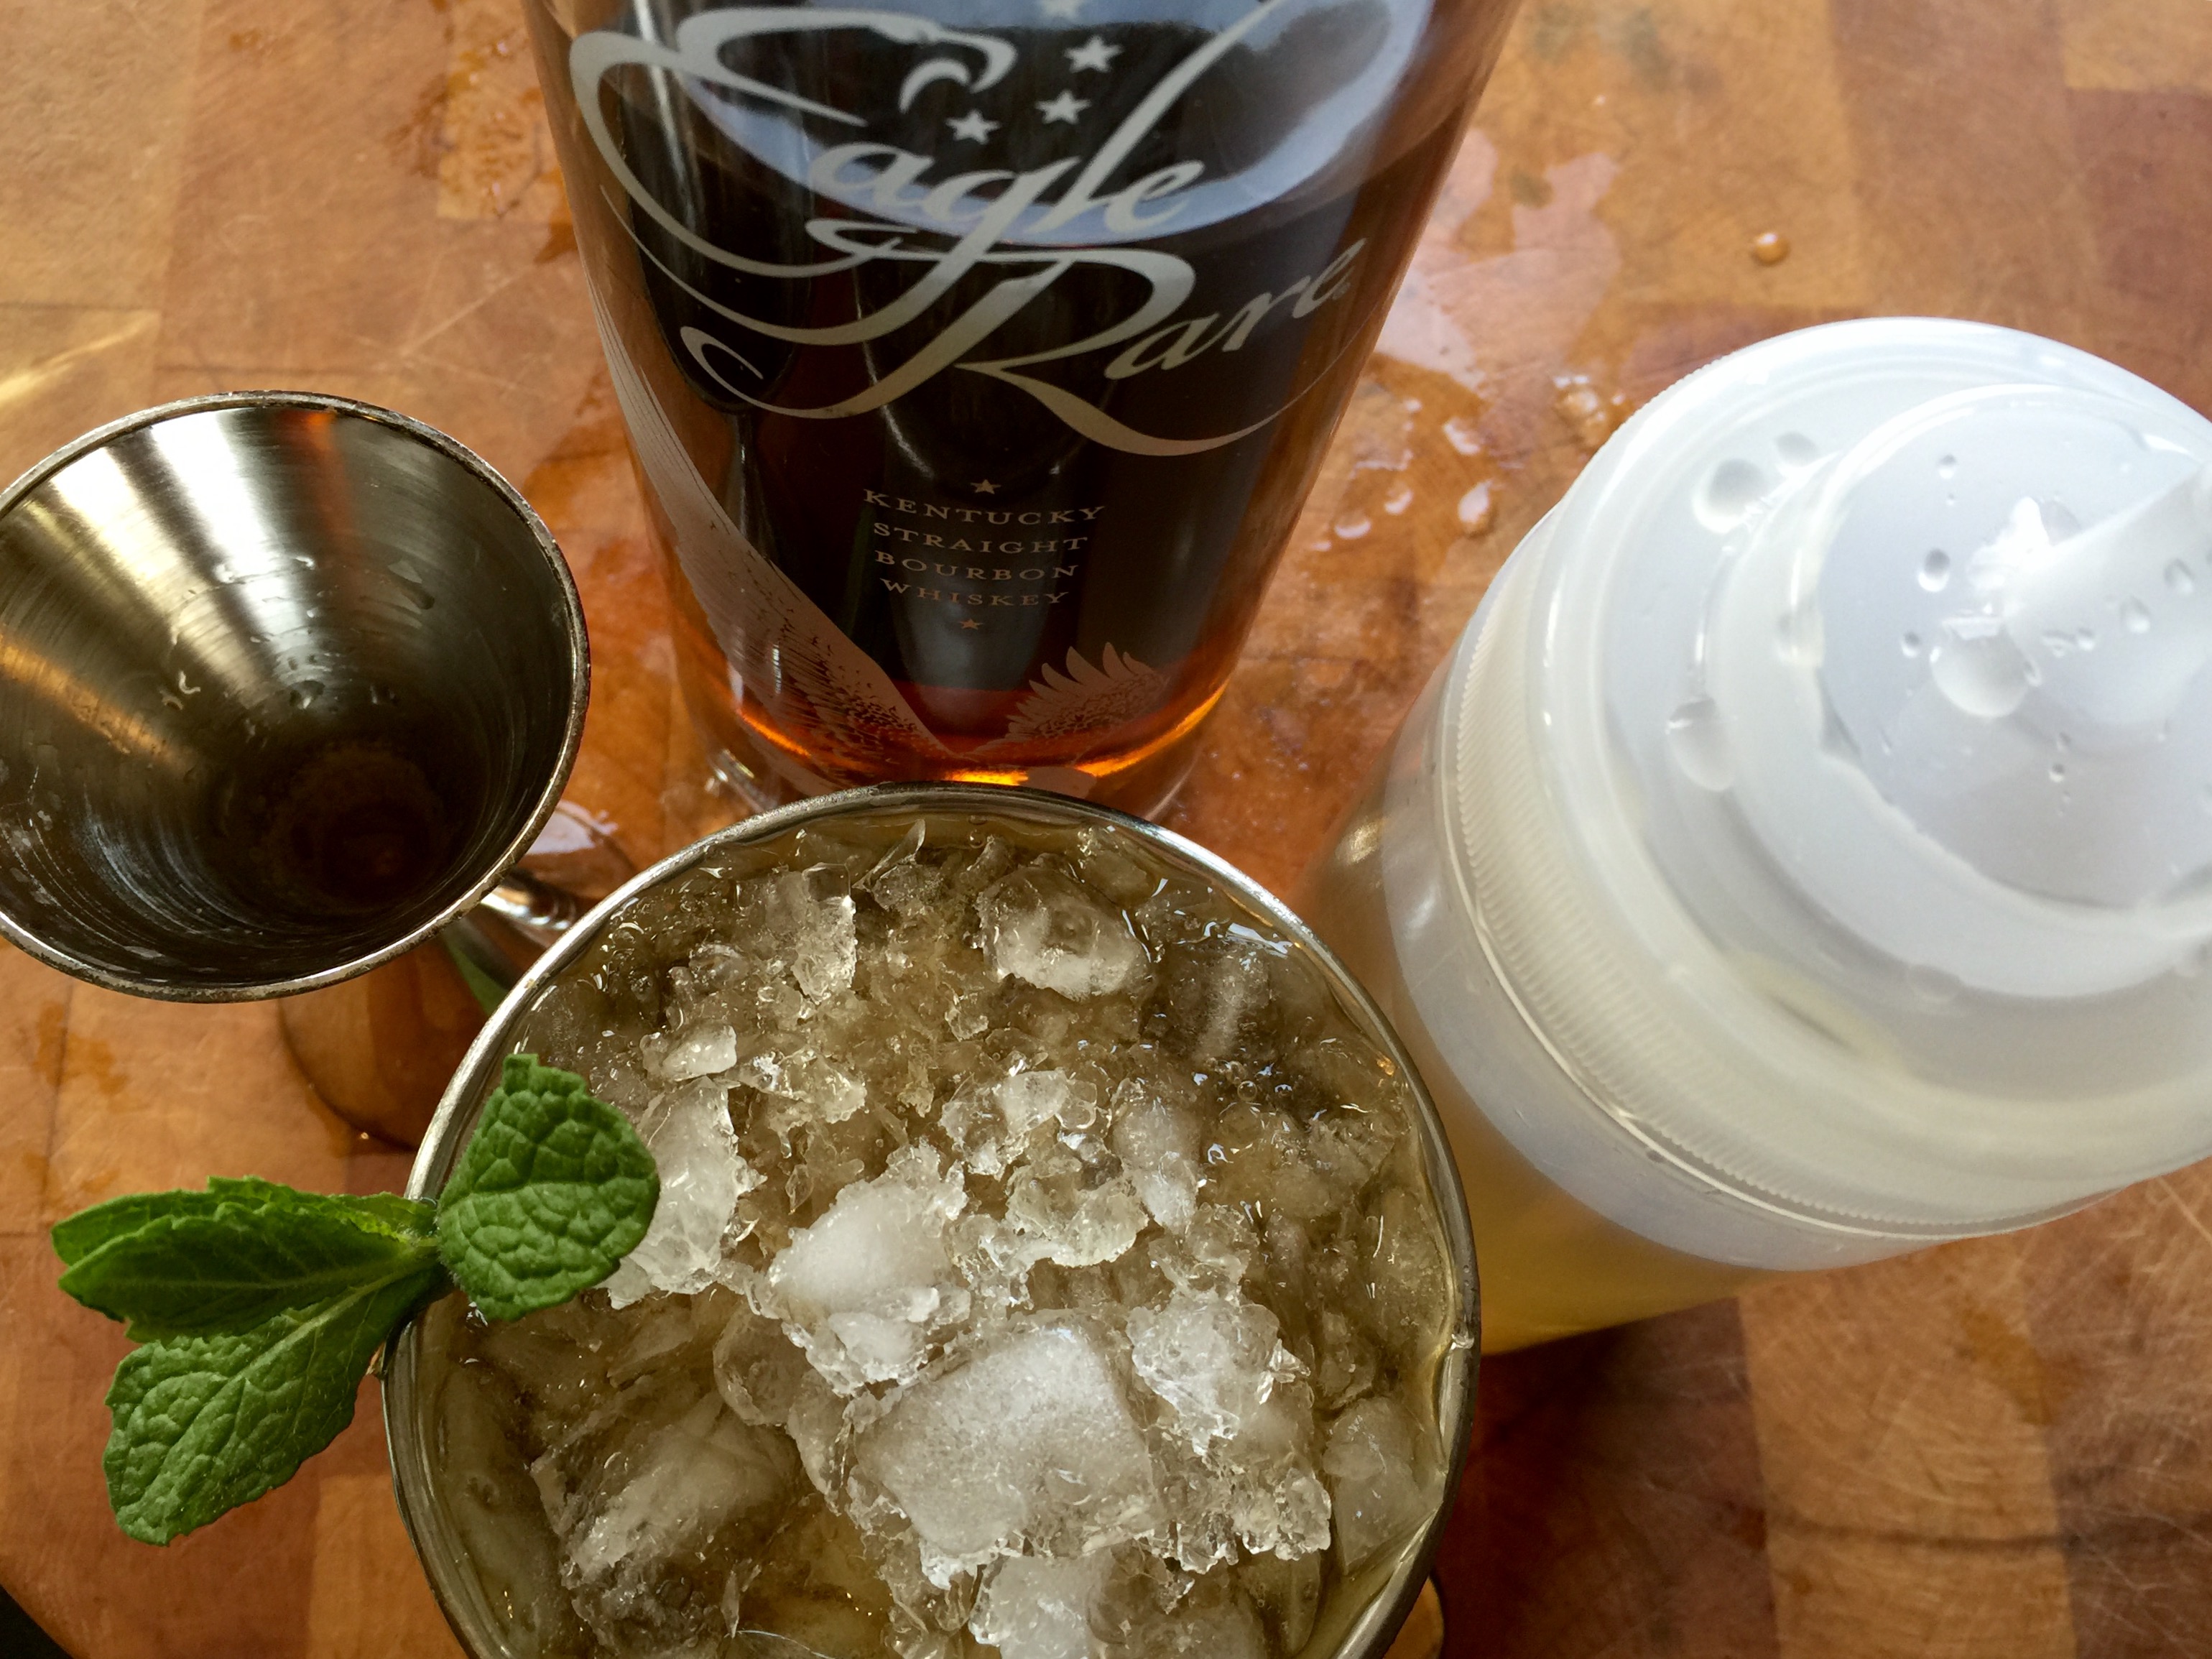
The next step is the tough part: the battle of the bourbons! The recent explosion of choices on the bourbon market has made it all but impossible for the average imbiber to know which bourbon is best for their tastes. My suggestion for this is to go to a trusted bartender and explain that you’re new to the bourbon world, and could you have the tiniest of tastes and sniffs of what he’s got at his bar. Chances are, you’ll get a sampling of some of the better known brands: Maker’s Mark, Woodford Reserve, perhaps Buffalo Trace or Bulleit, Basil Hayden, and the standard Jim Beam. This is a very good start. If you have deeper pockets, go to the manager of a trusted higher end liquor store and explain that you’ve had all the rest, now what does he think is the best? And of course, hinting to the wife and friends that “I’m trying new bourbons” around your birthday, Father’s Day, or the holidays inevitably gets you a few bottles as well! My personal favorites include Blanton’s, the now ridiculously overpriced Pappy Van Winkle, and a very reasonably priced ($32) Eagle Rare 10-year-old, my vote for best-bang-for-your-bourbon-buck.

A key ingredient for a perfect Mint Julep is crushed ice from clean, filtered water. Don’t even think of using tap water for any quality cocktail much less this one. Why ruin an expensive bottle of bourbon by going cheap on the ice? My home uses well water (no chlorine or flouride) and then my fridge filters the water before making ice, so I put the ice in a canvas ice bag and bash it to the perfect crushed size. (A thick Ziploc bag covered with a kitchen towel will work as well.) If you’ve got nasty city tap water and no filters installed, just buy a bag of good quality ice for this special occasion.

And a Mint Julep needs a metal–not glass– Julep cup. Made of pewter or aluminum, it frosts on the outside as you stir your drink, keeping your beverage ice-cold on even the hottest of days. You simply need to have one to make the perfect Mint Julep.


FullSizeRender

3 oz. bourbon (my go-to these days is Eagle Rare 10-year-old)
1 oz. mint-infused simple syrup
crushed ice
Julep cup
Fresh mint for garnish

Crush the ice and pack it into the Julep cup, letting it dome slightly over the top. Don’t worry…the alcohol will melt it.

I like to add a jigger of bourbon (1.5 oz.), then the shot of the mint-infused simple syrup (1 oz.), then another jigger of bourbon on top. Using a long spoon, stir the drink well. A beautiful layer of frost will form on the outside of the cup. Add more ice to replenish the dome and garnish with a sprig of mint.

FullSizeRender

What a week! Cinco de Mayo and Derby Day within a couple of days of each other! Let’s start it off with my favorite margarita recipe…

image

ALGARITA:

3 oz. Patron silver tequila
1 oz. Cointreau orange liqueur
4 oz. pineapple juice
1/2 a fresh lime, squeezed

Add ice to a tall glass and add Patron, Cointreau, pineapple juice and a good squeeze of lime juice from 1/2 a lime. Pour into a margarita glass (salt rim optional) and garnish with a lime wedge.

One tequila, two tequila, three tequila, FLOOR!

asparagus pastaAsparagus season has arrived in my garden. This is one of my favorite ways to enjoy it.
4 mild Italian sausages, sliced into pieces 1/2″ thick
1 lb. penne pasta
1/2 onion, finely chopped
1 cup chopped fresh trumpet mushrooms (white button mushrooms work, too)
2 cups fresh asparagus, sliced into 1-inch pieces
1 clove garlic, passed through a garlic press
1 cup homemade chicken broth
6 fresh sage leaves, finely chopped
1/2 cup freshly grated Parmigiano Reggiano cheese
extra virgin olive oil
salt and pepper
Have the pasta water boiling, and add pasta, cooking until just a bit more undercooked than al dente.
Heat a large pan, and drizzle in some olive oil. Saute the sausage pieces until browned and cooked through, but not over cooked. Remove the sausages from the pan and place them in a separate bowl. Remove all but 2 tablespoons of the fat left behind in the pan.
Place the pan back on stove and saute the onion until translucent. Add the garlic, and saute for 10 seconds. Add the sage, and saute for 10 seconds, stirring. Add the chopped mushrooms and saute for a few minutes, then add the chicken broth, and simmer until almost all the liquid has evaporated. Pour the contents of the pan into the bowl with the sausages.
Return the pan to the stove, add a little more olive oil, and on medium heat, saute the asparagus pieces. Cook until they are al dente, not too soft. Once the asparagus has reached this stage, return all the contents of the sausage/mushroom bowl to the pan to heat through. Drain the pasta, and add it to the pan as well, combining all the ingredients. If it looks too dry, add a little pasta water to the pan. Season with salt and pepper.
Make sure you serve this hot, with grated Parmigiano Reggiano on top, and drizzle lightly over the top with extra virgin olive oil.


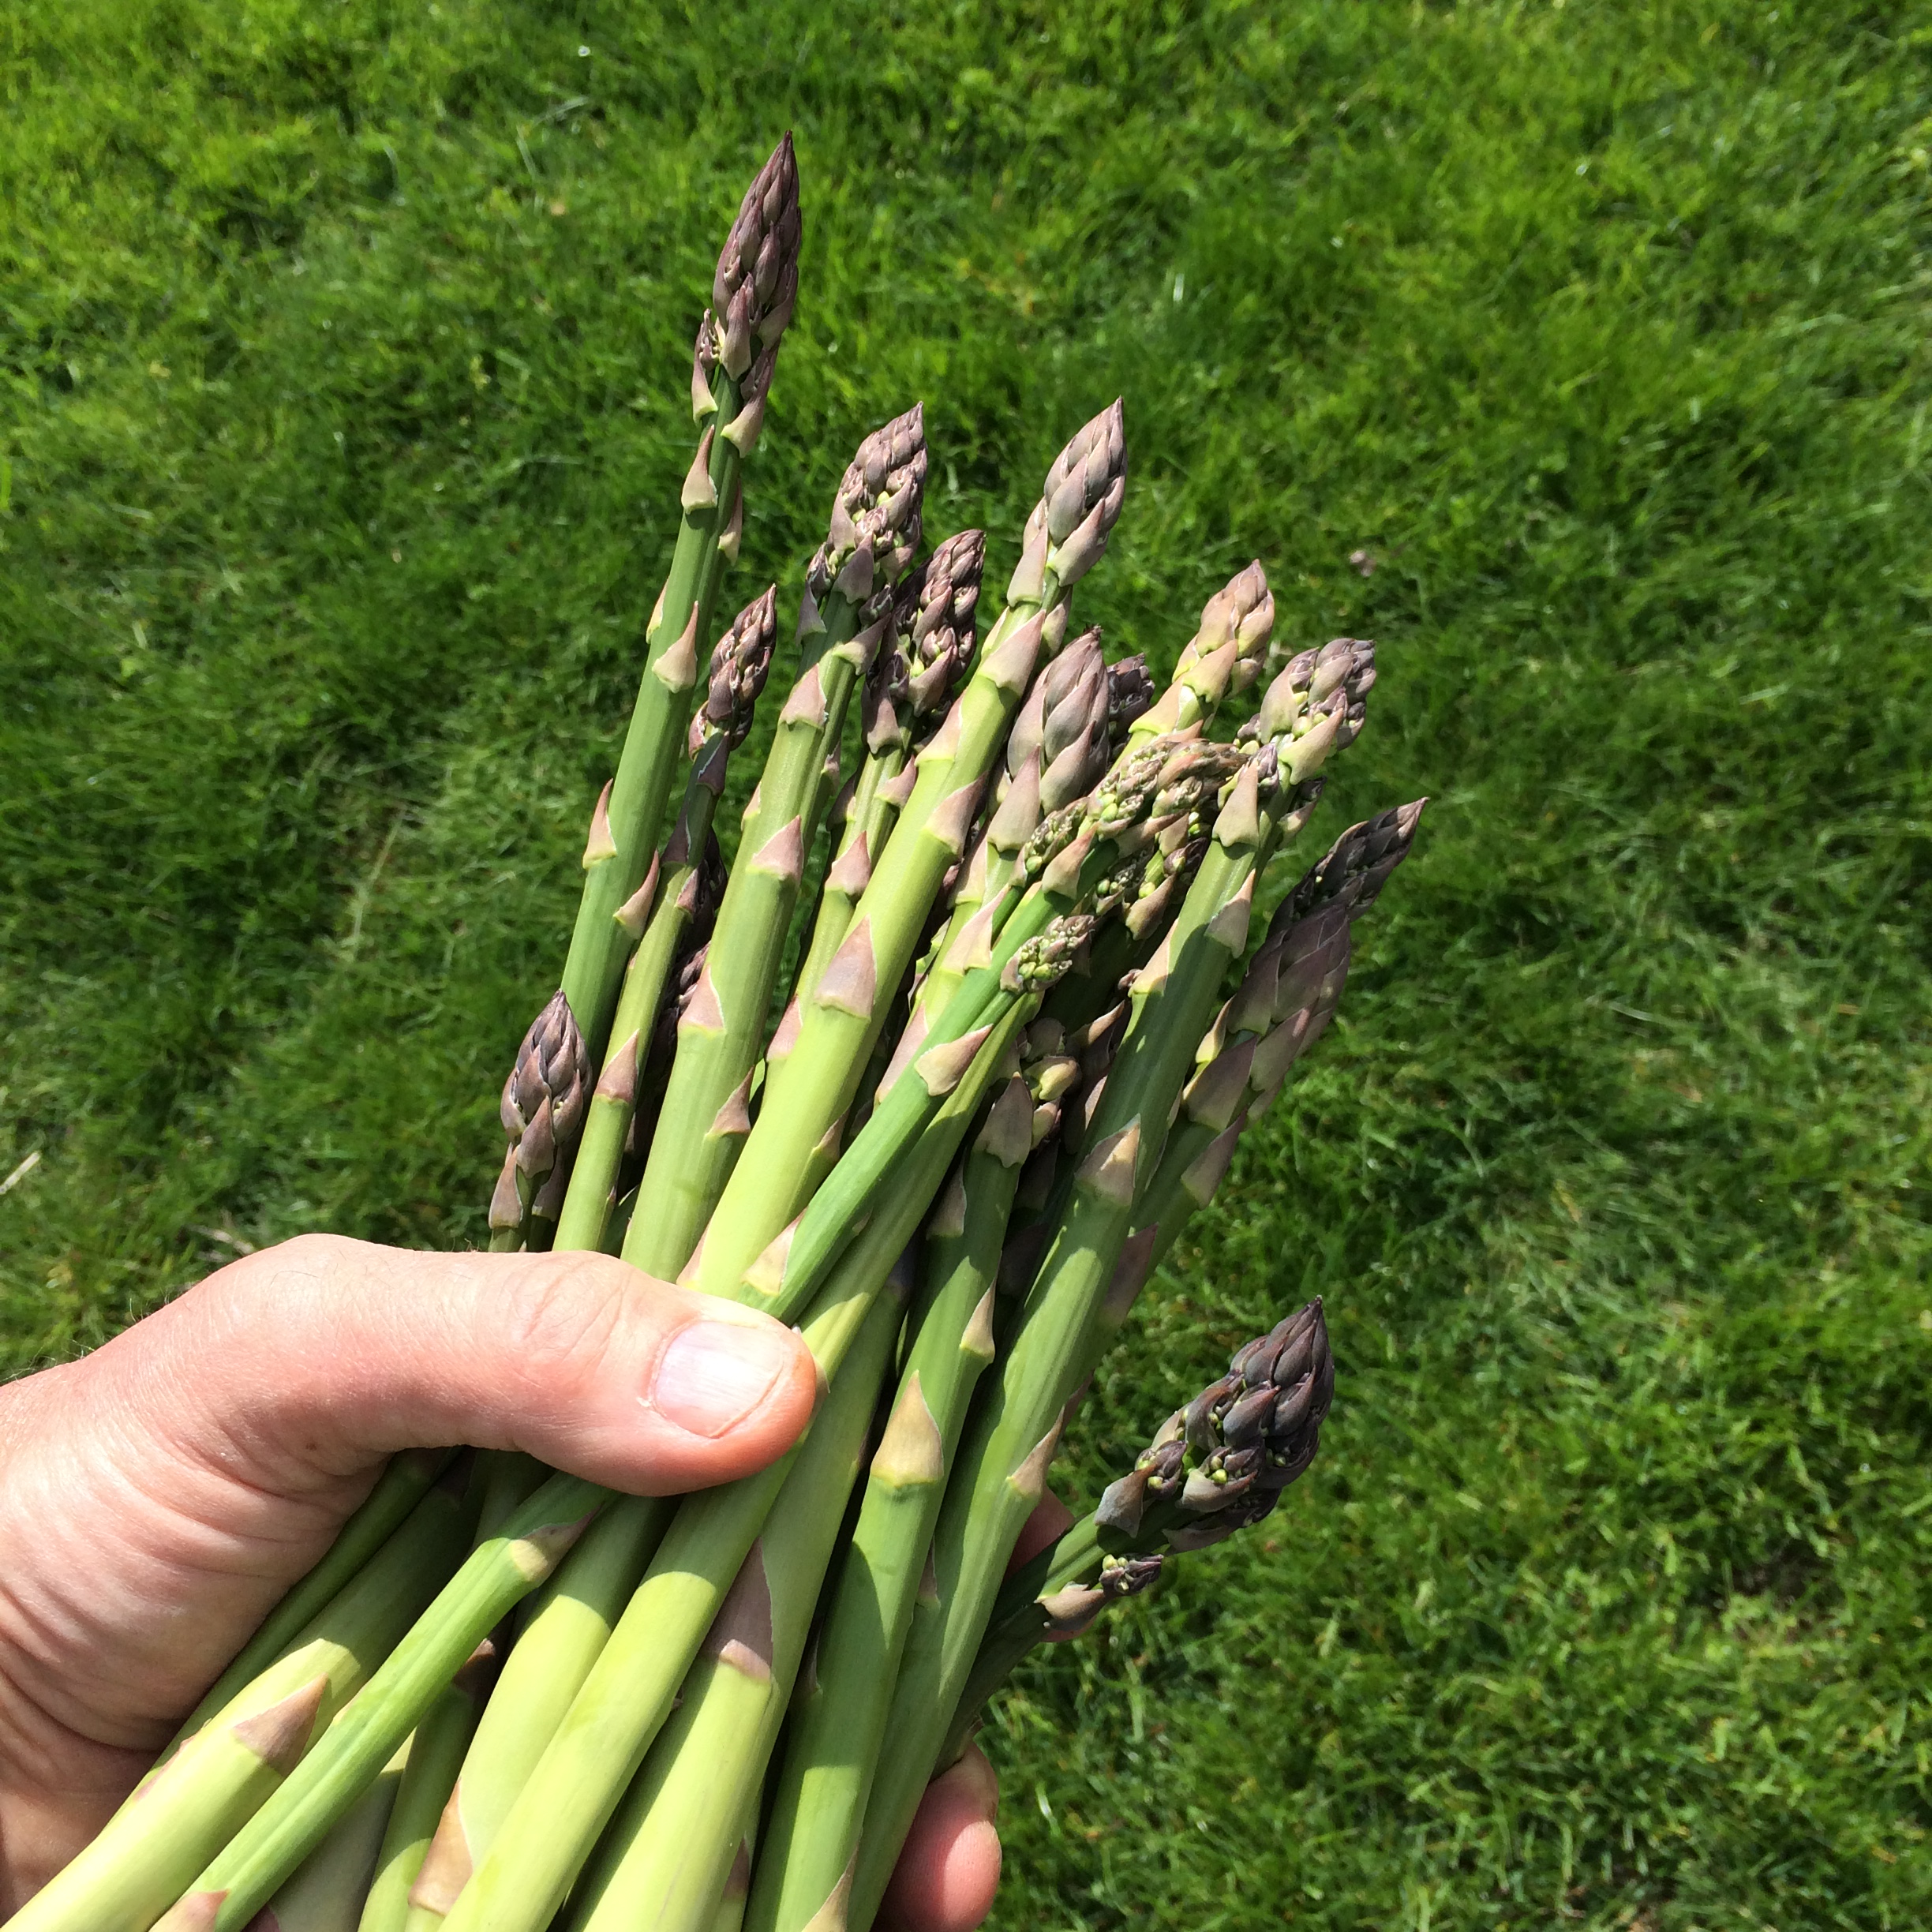
The home garden is already showing signs of activity. Overwintered kale and arugula plants are springing back to life, enough for a quick salad. Cool weather seeds that I’ve sown early: peas, turnips, radishes, broccoli raab, and others are sprouting. But nothing says the gardening season is here like my patch of homegrown asparagus taking off!

asparagus2013

Asparagus is really easy to grow. You just need the space, and the plants practically do the rest. Space them about a foot apart, and before you know it, you will have a vast network of tasty stalks sprouting through the soil every spring. They are so much better than anything you can buy in a supermarket.
In the start of the growing season, the stalks don’t even make it into the house. I cut them and just eat them straight out of the garden. Eventually, they make the move to the kitchen, where I love to simply place them on a baking sheet and drizzle a little olive oil over them. Salt and pepper…and then in a 400-degree oven until they’ve caramelized.

Midway through the season, I have so much asparagus that I just don’t know what to do with them all. My friends don’t want anymore and I can’t bear to throw them into the compost pile. So I pickle them…a really easy process that ensures I’ve got delicious asparagus year-round.

E26853F4-0B7D-487D-B343-BDA38537D4B6
PICKLED ASPARAGUS
Several bunches of asparagus spears
2 cups white vinegar
1 cup cider vinegar
1 1/2 cups sugar
3 cups water
20 peppercorns
Garlic cloves, peeled
Salt (1 teaspoon per quart-sized Mason jar. Use less for smaller jars.)
Bring the vinegar, water, sugar and peppercorns to a boil.
Trim the bottom of the asparagus spears so that spears are just slightly shorter than the height of the quart-sized Mason jar you will use. Or cut into pieces that will fit smaller jars.
Pack the jars as tightly as you can with asparagus spears. (They will shrink when processed.) Add the garlic clove and 1 teaspoon of salt to every quart-sized Mason jar…less for smaller jars.
Fill jars with the vinegar mixture and seal.
Process the jars for 10 minutes. Let them cool before placing in refrigerator.

WHY DOES YOUR PEE SMELL WHEN YOU EAT ASPARAGUS?

Asparagus contains a sulfur compound called mercaptan. It is also found in onions, garlic, rotten eggs, and in the secretions of skunks. The signature smell occurs when this substance is broken down in your digestive system. Not all people have the gene for the enzyme that breaks down mercaptan, so some of you can eat all the asparagus you want without stinking up the place. One study published in the British Journal of Clinical Pharmacology found that only 46 percent of British people tested produced the odor while 100 percent of French people tested did. (It has to do with your DNA.)

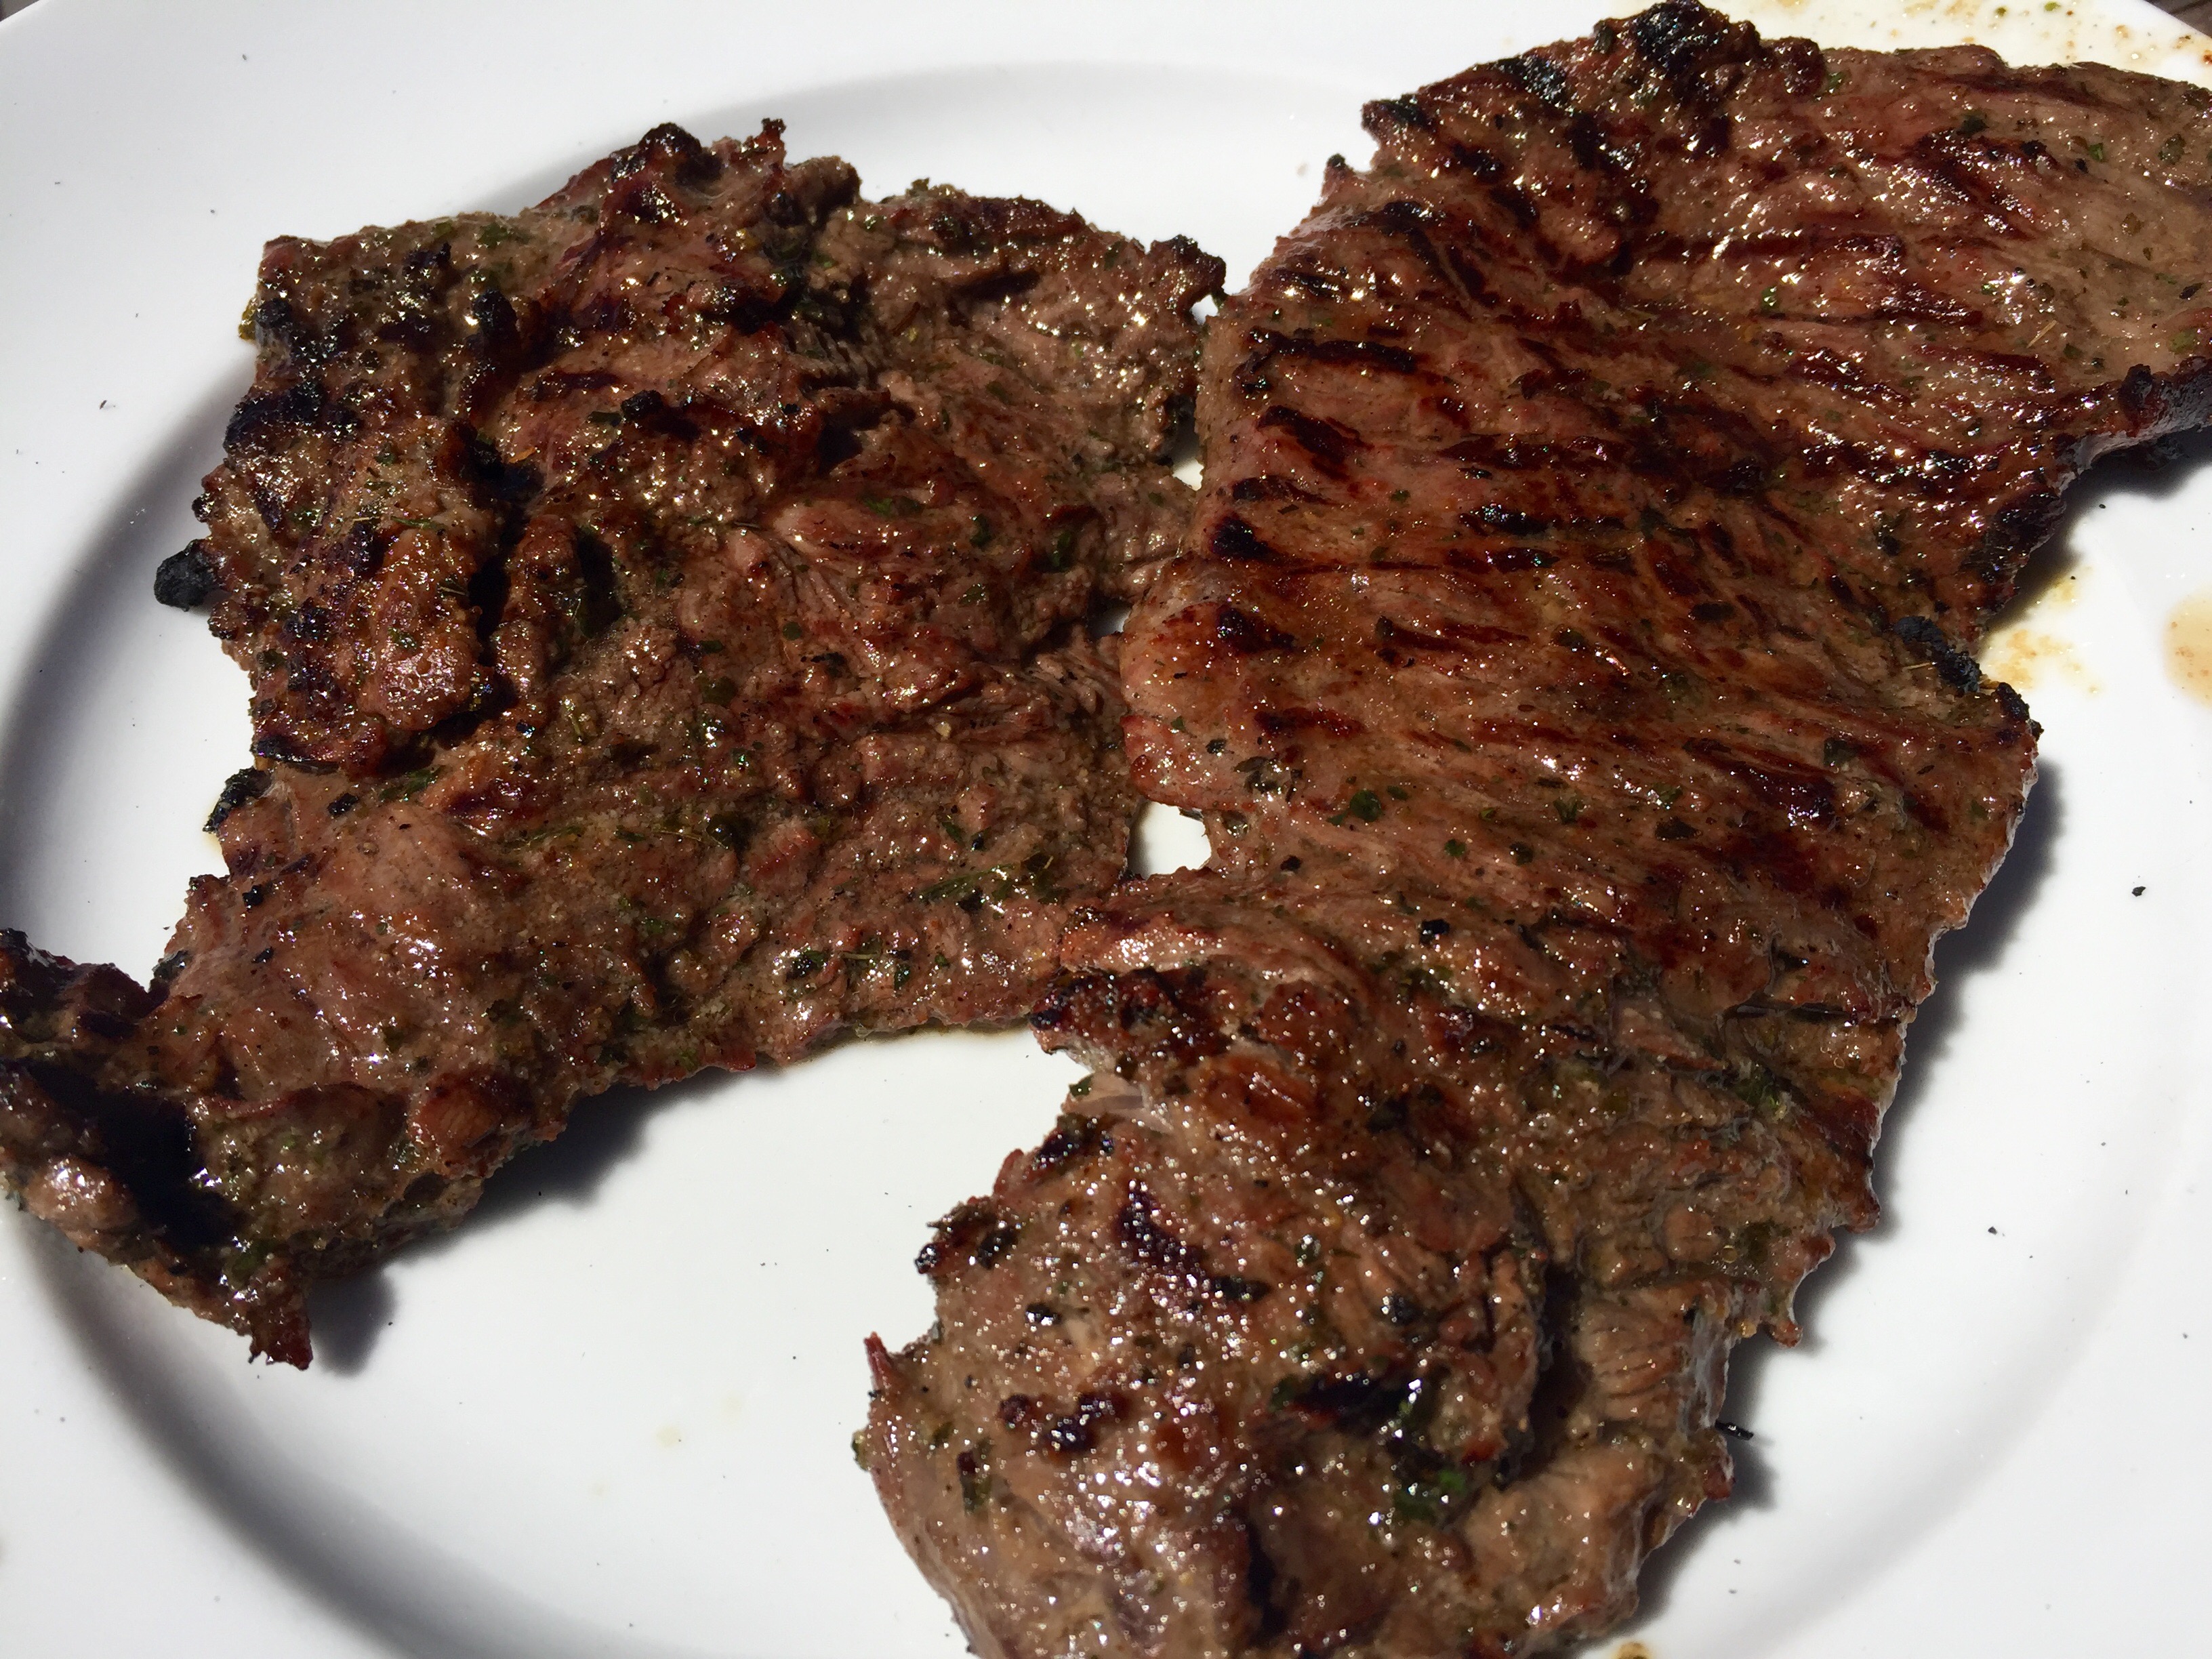
Beef flap or flap steak is a cut from the lower sirloin. It’s a long, thin cut that resembles skirt steak or hanger steak, though they come from a different part of the animal.

You can stuff and roll a beef flap, as I did in a previous blog, but it’s really hard to beat the flavor of a slab of beef that was simply marinated and thrown on the grill.

Though the beef flap is a relatively thin piece of meat, I carefully butterfly it by slicing it lengthwise with a sharp knife, to get 2 thinner pieces that really absorb the marinade.

grill3


1 lb. (or more!) beef flap steak, sliced lengthwise
2 tablespoons balsamic vinegar (red wine vinegar works just as well)
4 tablespoons extra virgin olive oil
1 teaspoon oregano
1 teaspoon parsley
1/2 teaspoon granulated garlic
1/2 teaspoon granulated onion
salt and pepper

rill2

To make the marinade, combine everything but the beef in a bowl and whisk to mix thoroughly. Place the beef in a large Ziploc bag and add the marinade. Squeeze the bag so that the marinade reaches every part of the beef. Squeeze the air out of the bag, zip it tightly, and place it in a bowl (in case of accidental spillage) in the fridge. Let it marinate overnight, squeezing the bag every few hours to let the marinade do its job. Remove the bag from the fridge about an hour before grilling so the meat comes to room temperature.

Light a hardwood fire. When the coals are really hot, place the steak on the grill and sear each side. Then flip to sear the other side. Flip again to get those fancy diamond marks on the beef. Then flip again.

grill1

The meat has little fat, so it should be nicely seared on the outside, but still medium-rare on the inside. Let it rest before slicing. When slicing, cut the beef on an angle against the grain.

I sowed some early spring seeds around March 7th in one of my raised beds. Here’s what it looked like on Day 1…

FullSizeRender


Three weeks later, germination began, albeit slowly. But you can see the happy little green seedlings popping up. On the left: peas. On the right: radishes, Asian greens, spinach, kale, arugula and others.

FullSizeRender

Now, it’s week #7, and you can see significant growth…

FullSizeRender

The peas (on the left) are about 6″ tall. Spinach (bottom right) making an appearance, too.

Another photo in a few weeks!

Mugaritz, San Sebastian, Spain

Mugaritz, San Sebastian, Spain

In the yearly listing: The World’s Top 50 Restaurants, Mugaritz consistently gets into the top 10…this year it’s at #6. A few years ago, on a trip to San Sebastian, Spain, my family and I had a chance to dine there.

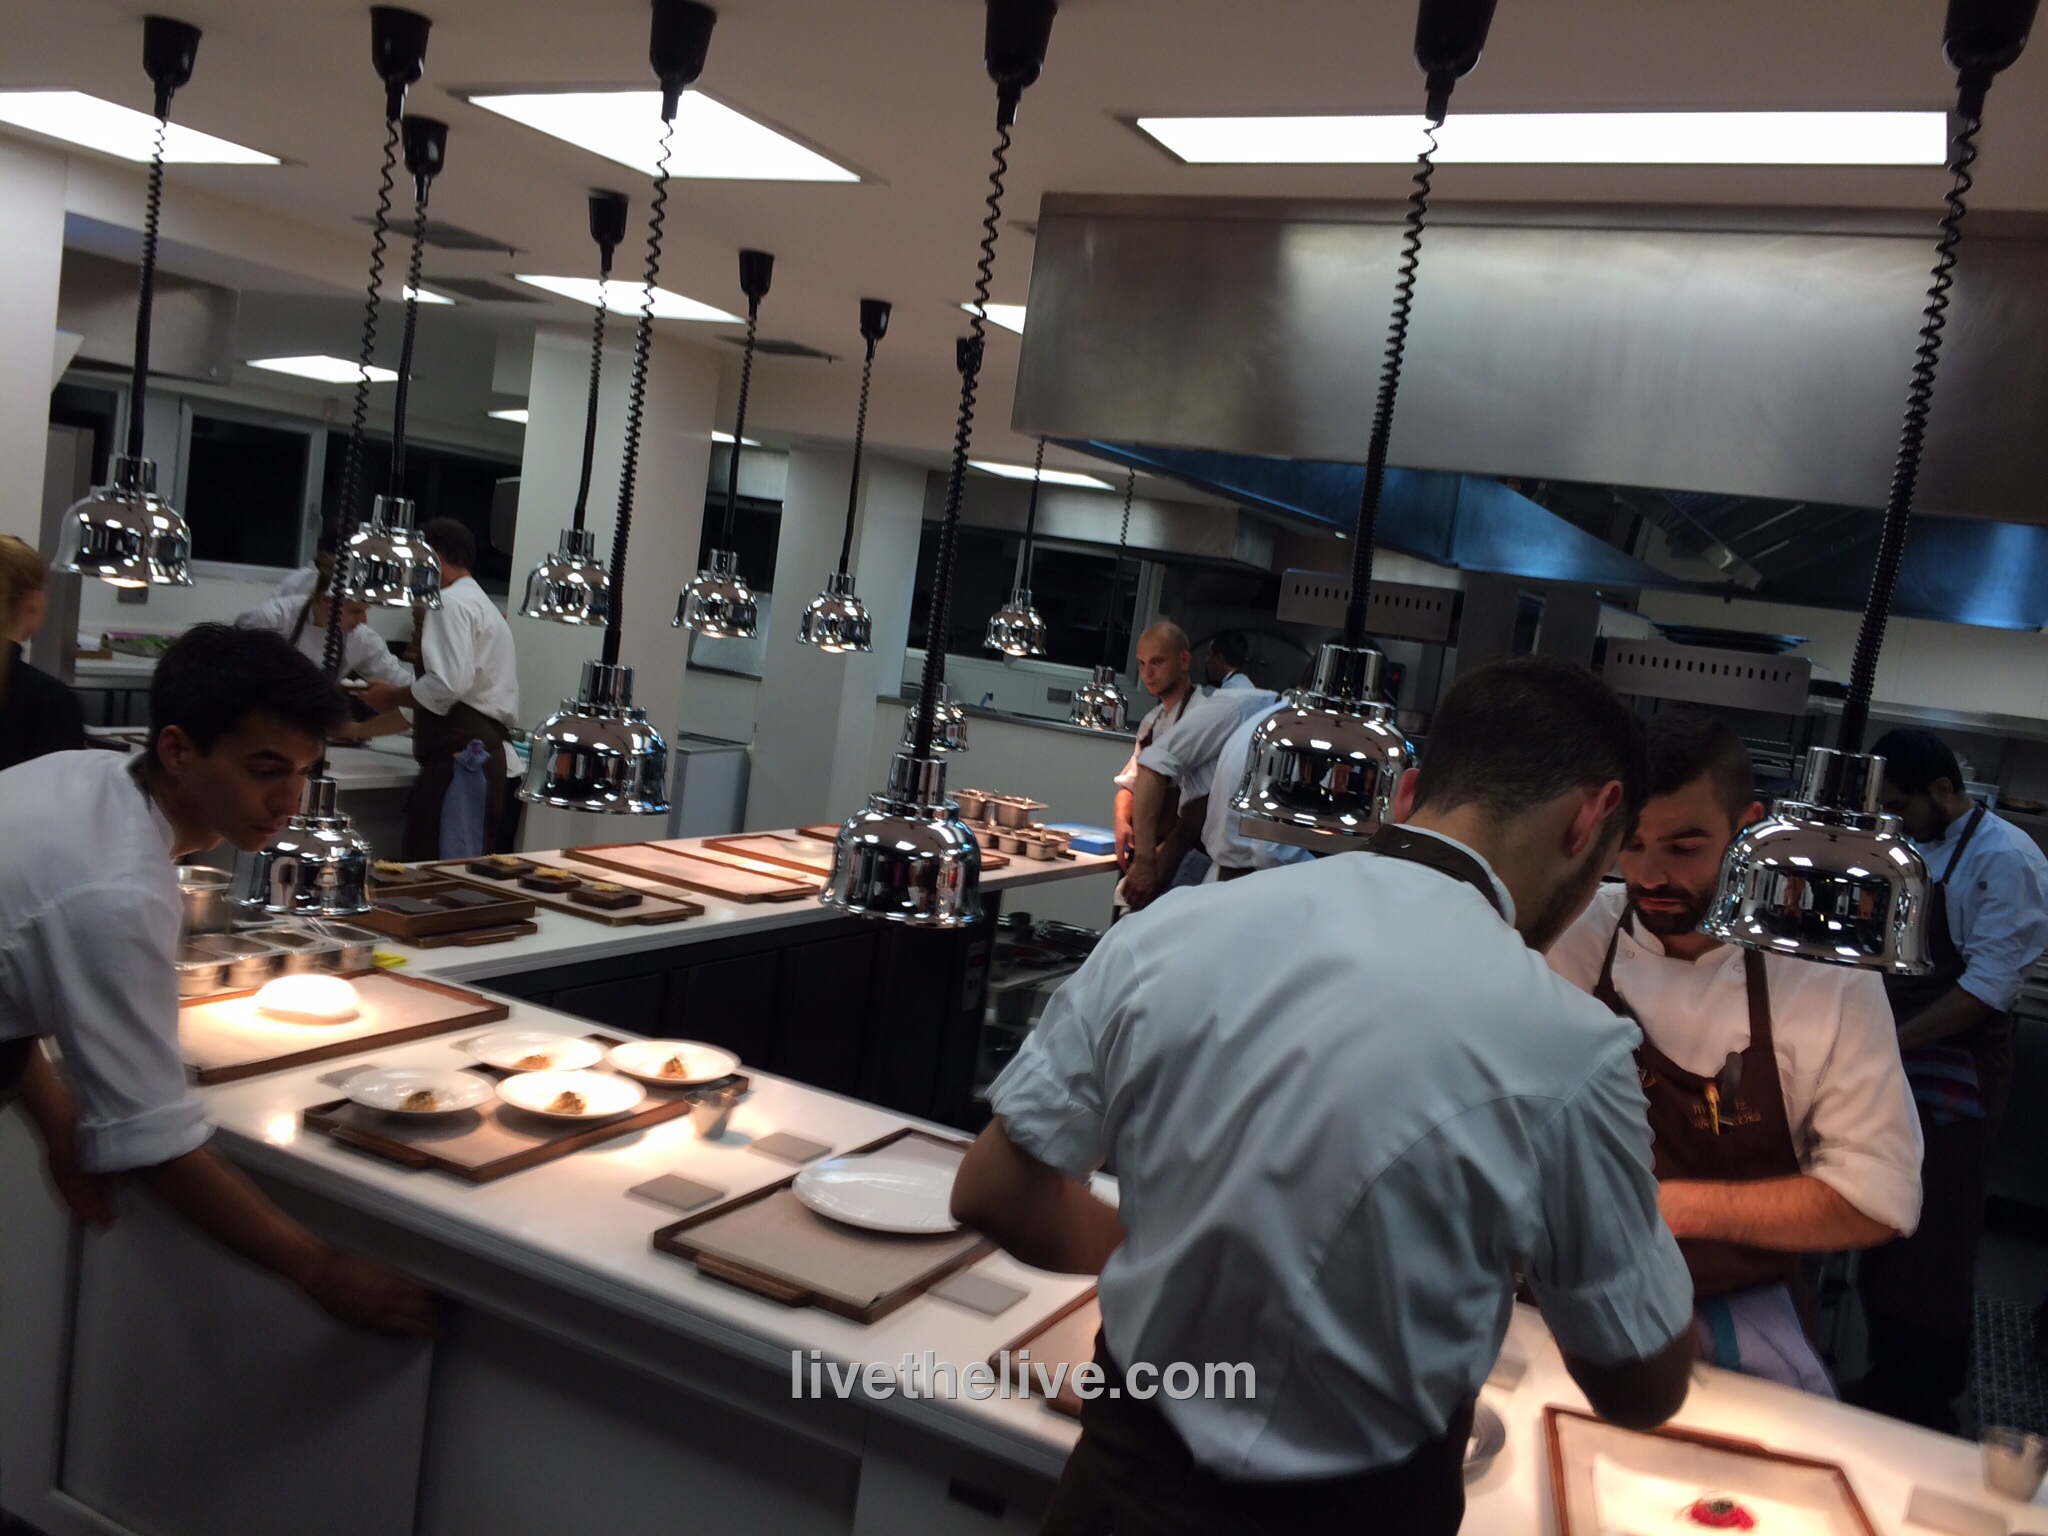
The main kitchen from outside.

The main kitchen from outside.

The dishes that acclaimed chef Andoni Luis Aduriz created were some of the most original we’ve ever enjoyed. There was a flow to our experience…a reason why one dish followed another. It was like a concert, with Aduriz at the helm as director and composer.

Mugaritz has about twenty tables. And one seating. You are there for the night. Well over twenty courses, small bites to be sure, but all intense and rich with flavors and textures that complimented each other.

The kitchen at Mugaritz.

The main kitchen at Mugaritz.

Every table got a private tour of the kitchen. And though we didn’t meet chef Aduriz, we did get to talk with his second in command: chef Ramon Perise.

Mugaritz, as Perise explained it, has three kitchens: a lower level for preparation…a middle kitchen on the main floor for cooking all the food, plating it and making it look beautiful…and then an upstairs kitchen, the laboratory, where they come up with their newest creations.

Hangin' with Ramon Perise.

Hangin’ with Ramon Perise.

With our kitchen tour, we saw the chefs setting up rows of small iron bowls on wooden stands: individual mortar and pestles for each person in the dining room. It was going to be a dish that was served to everyone at the same time, no matter where they were in the course of their meal. So when we finished our kitchen tour, we sat down, and the mortar and pestles were brought out.

Inside the iron bowl were some wet and dry ingredients: what looked like corn nuggets, a colorful cube of gelatin and other ingredients. We were instructed to grind up what was in our bowls with our personal pestle. The entire restaurant was filled with a ringing sound, like church bells going off somewhere in the distance. For a few precious minutes, every patron shared this special perfectly choreographed event as we ground up the contents of our bowls. They called it the “linking dish.”

Then, one by one, the grinding stopped. The iron bowls continued to ring for a few seconds until the sounds faded away into silence, replaced by the low murmur of conversation. And we all went back to our meals.
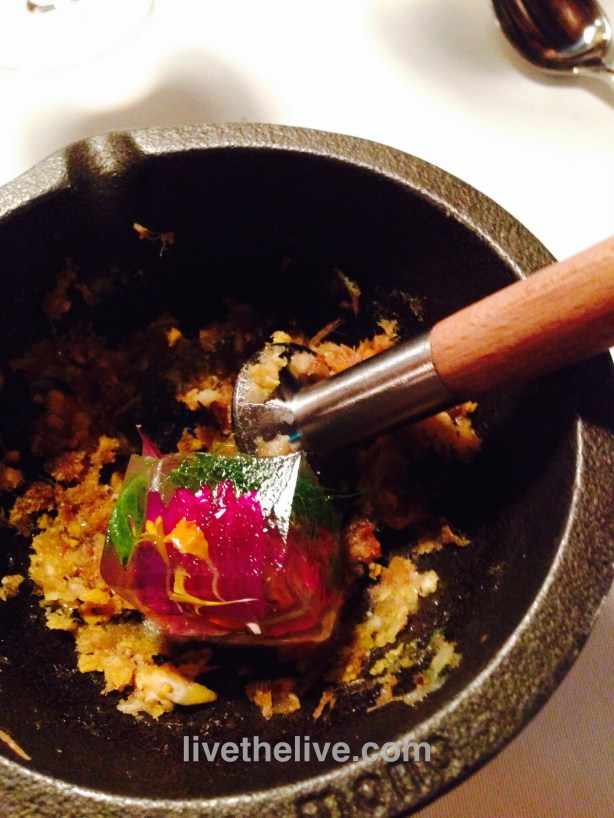
The linking dish.

The linking dish.

Our sommelier, Guillermo Cruz, was a bright, knowledgeable and enthusiastic young man that offered us thrill rides in a glass, including a much-needed digestivo half-way through the meal so that we could continue our dining experience!
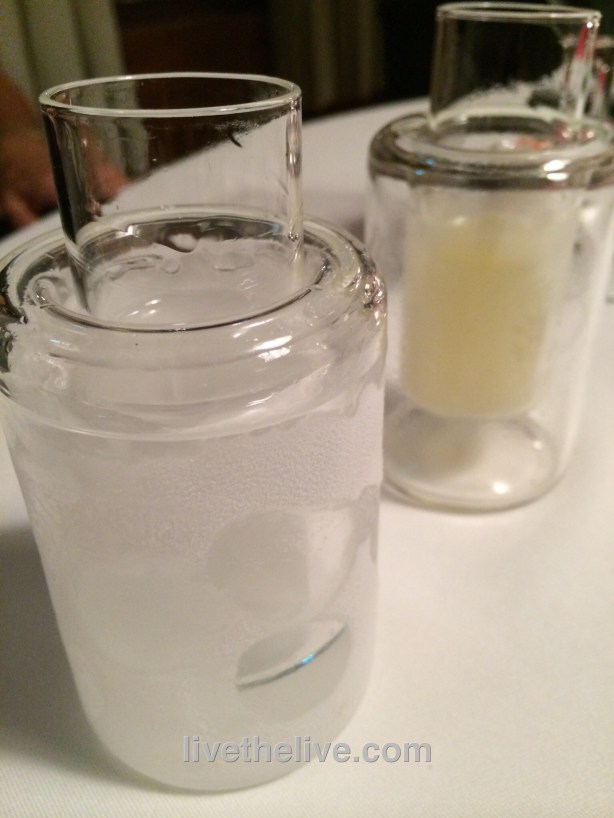
A grappa-like Fillaboa digestif from Gallicia that was made from the local Albarino grapes. Helpful in making room for more food!

A grappa-like Fillaboa digestif from Gallicia that was made from the local Albarino grapes. Helpful in making room for more food!

As Chef Perise said to us (paraphrasing): “When you leave this place…and weeks afterwards…you’re not going to remember the food. But you’re going to remember the emotions you had and the feelings you had when you were here. And that’s what we’re working for.”
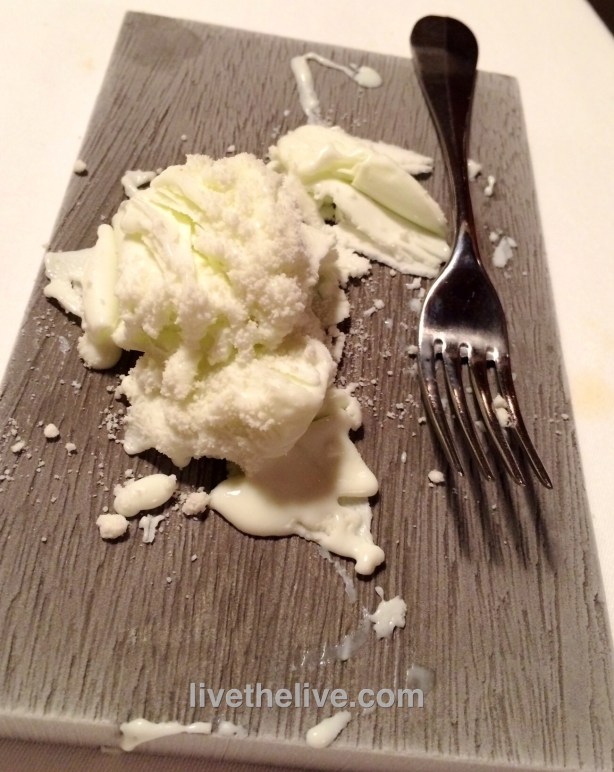
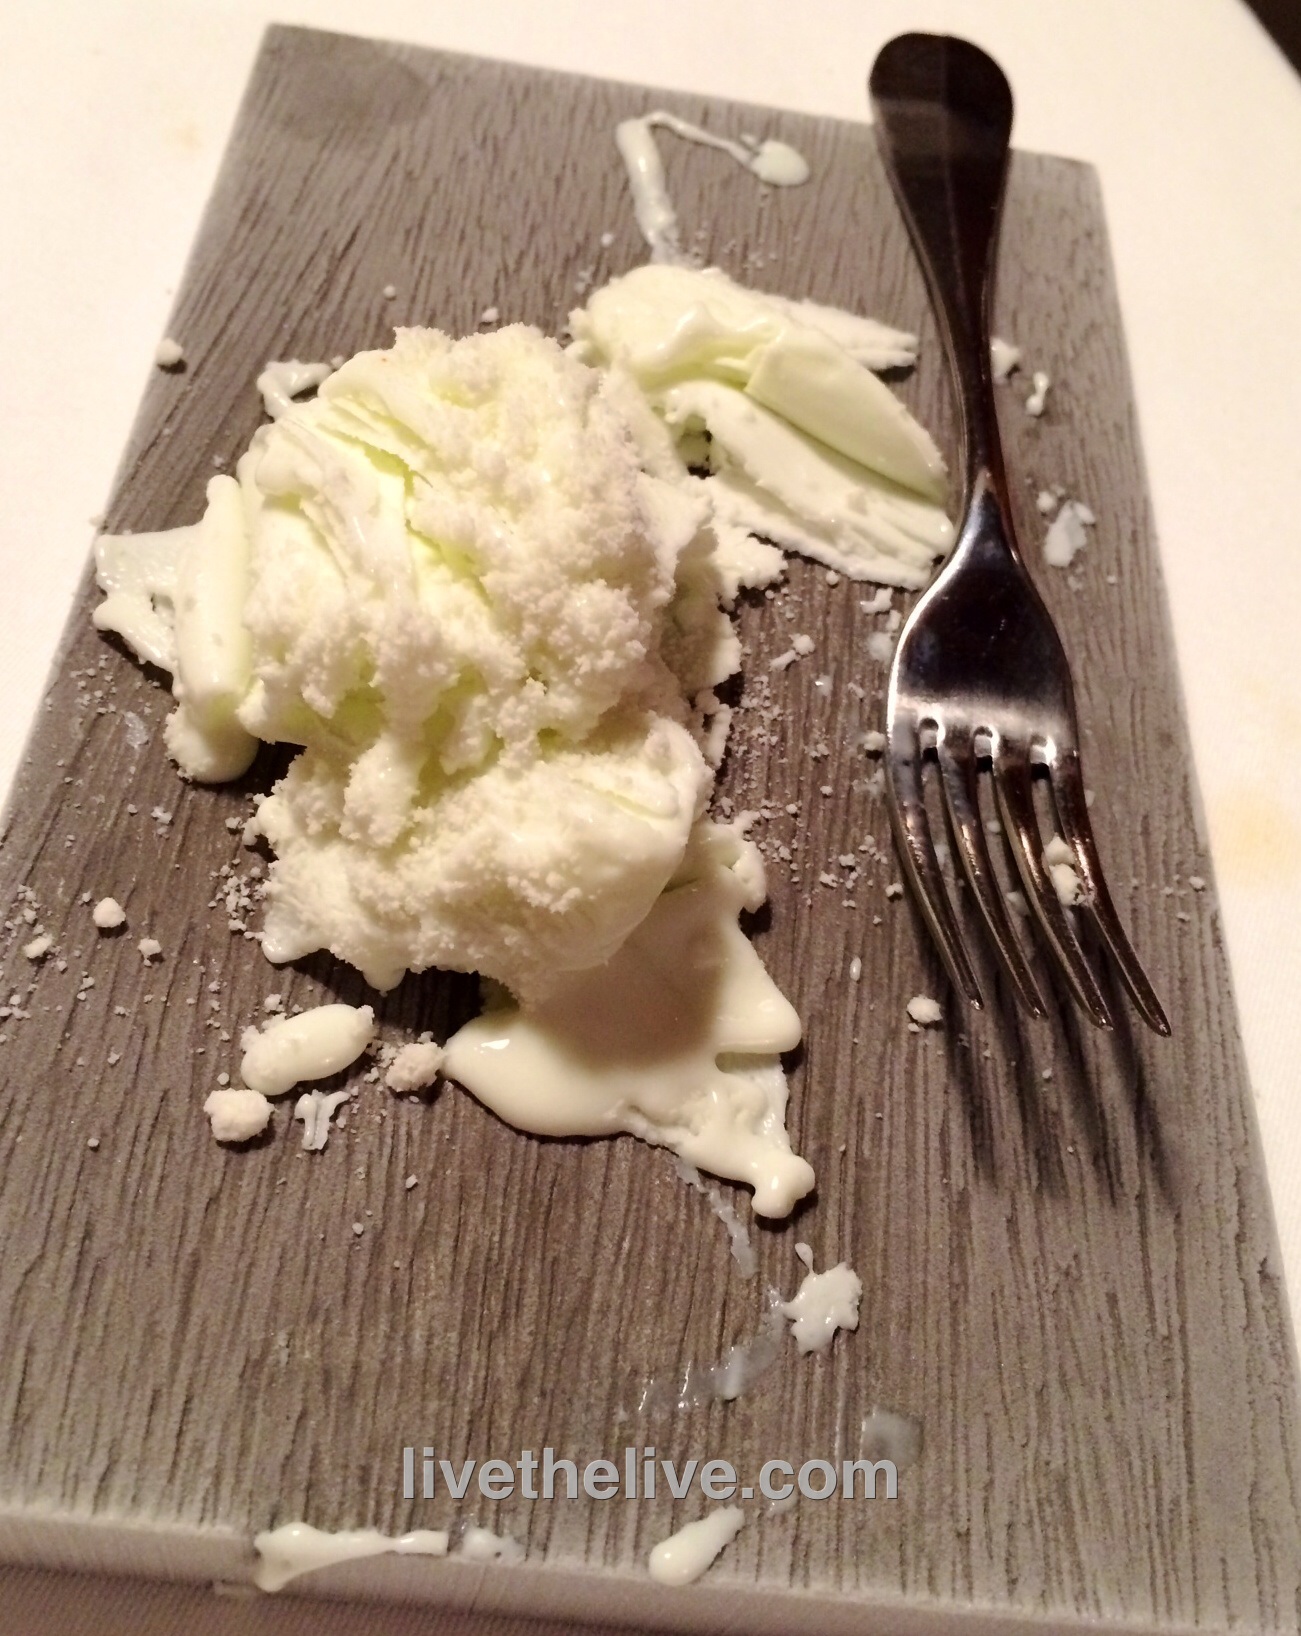
Shaved ice cream with cheese: one of many desserts.

Shaved frozen apple with cheese: one of many desserts.

Could there have been too many dishes? Is there such a thing as too much of a good thing? Is less really more?

These burning questions can only be answered with another visit to Mugaritz. I hope it’s sometime soon!