If you watch as much Food Network and Cooking Channel as I do, you’ve probably heard of Big Bob Gibson’s Bar-B-Q in Decatur, Alabama. Smokin’ and grillin’ since 1925, they put the now-famous Alabama white sauce on the map. They would smoke whole birds, then dunk the entire bird in a bucket of white sauce before returning them to the smoker to cook some more. And then they’d serve more of the precious white sauce on the side as you tore into the most amazing chicken you’ve ever had.
I lived in Mobile, Alabama 35 years ago. Never made it to Decatur. Probably never will. So it was time for me to try to recreate the magic at home. I think I did pretty well.
If you Google “Alabama white sauce,” you’ll get dozens of versions, each, I’m sure, pretty similar and pretty good. I did just that, and then tweaked it to make it my own.
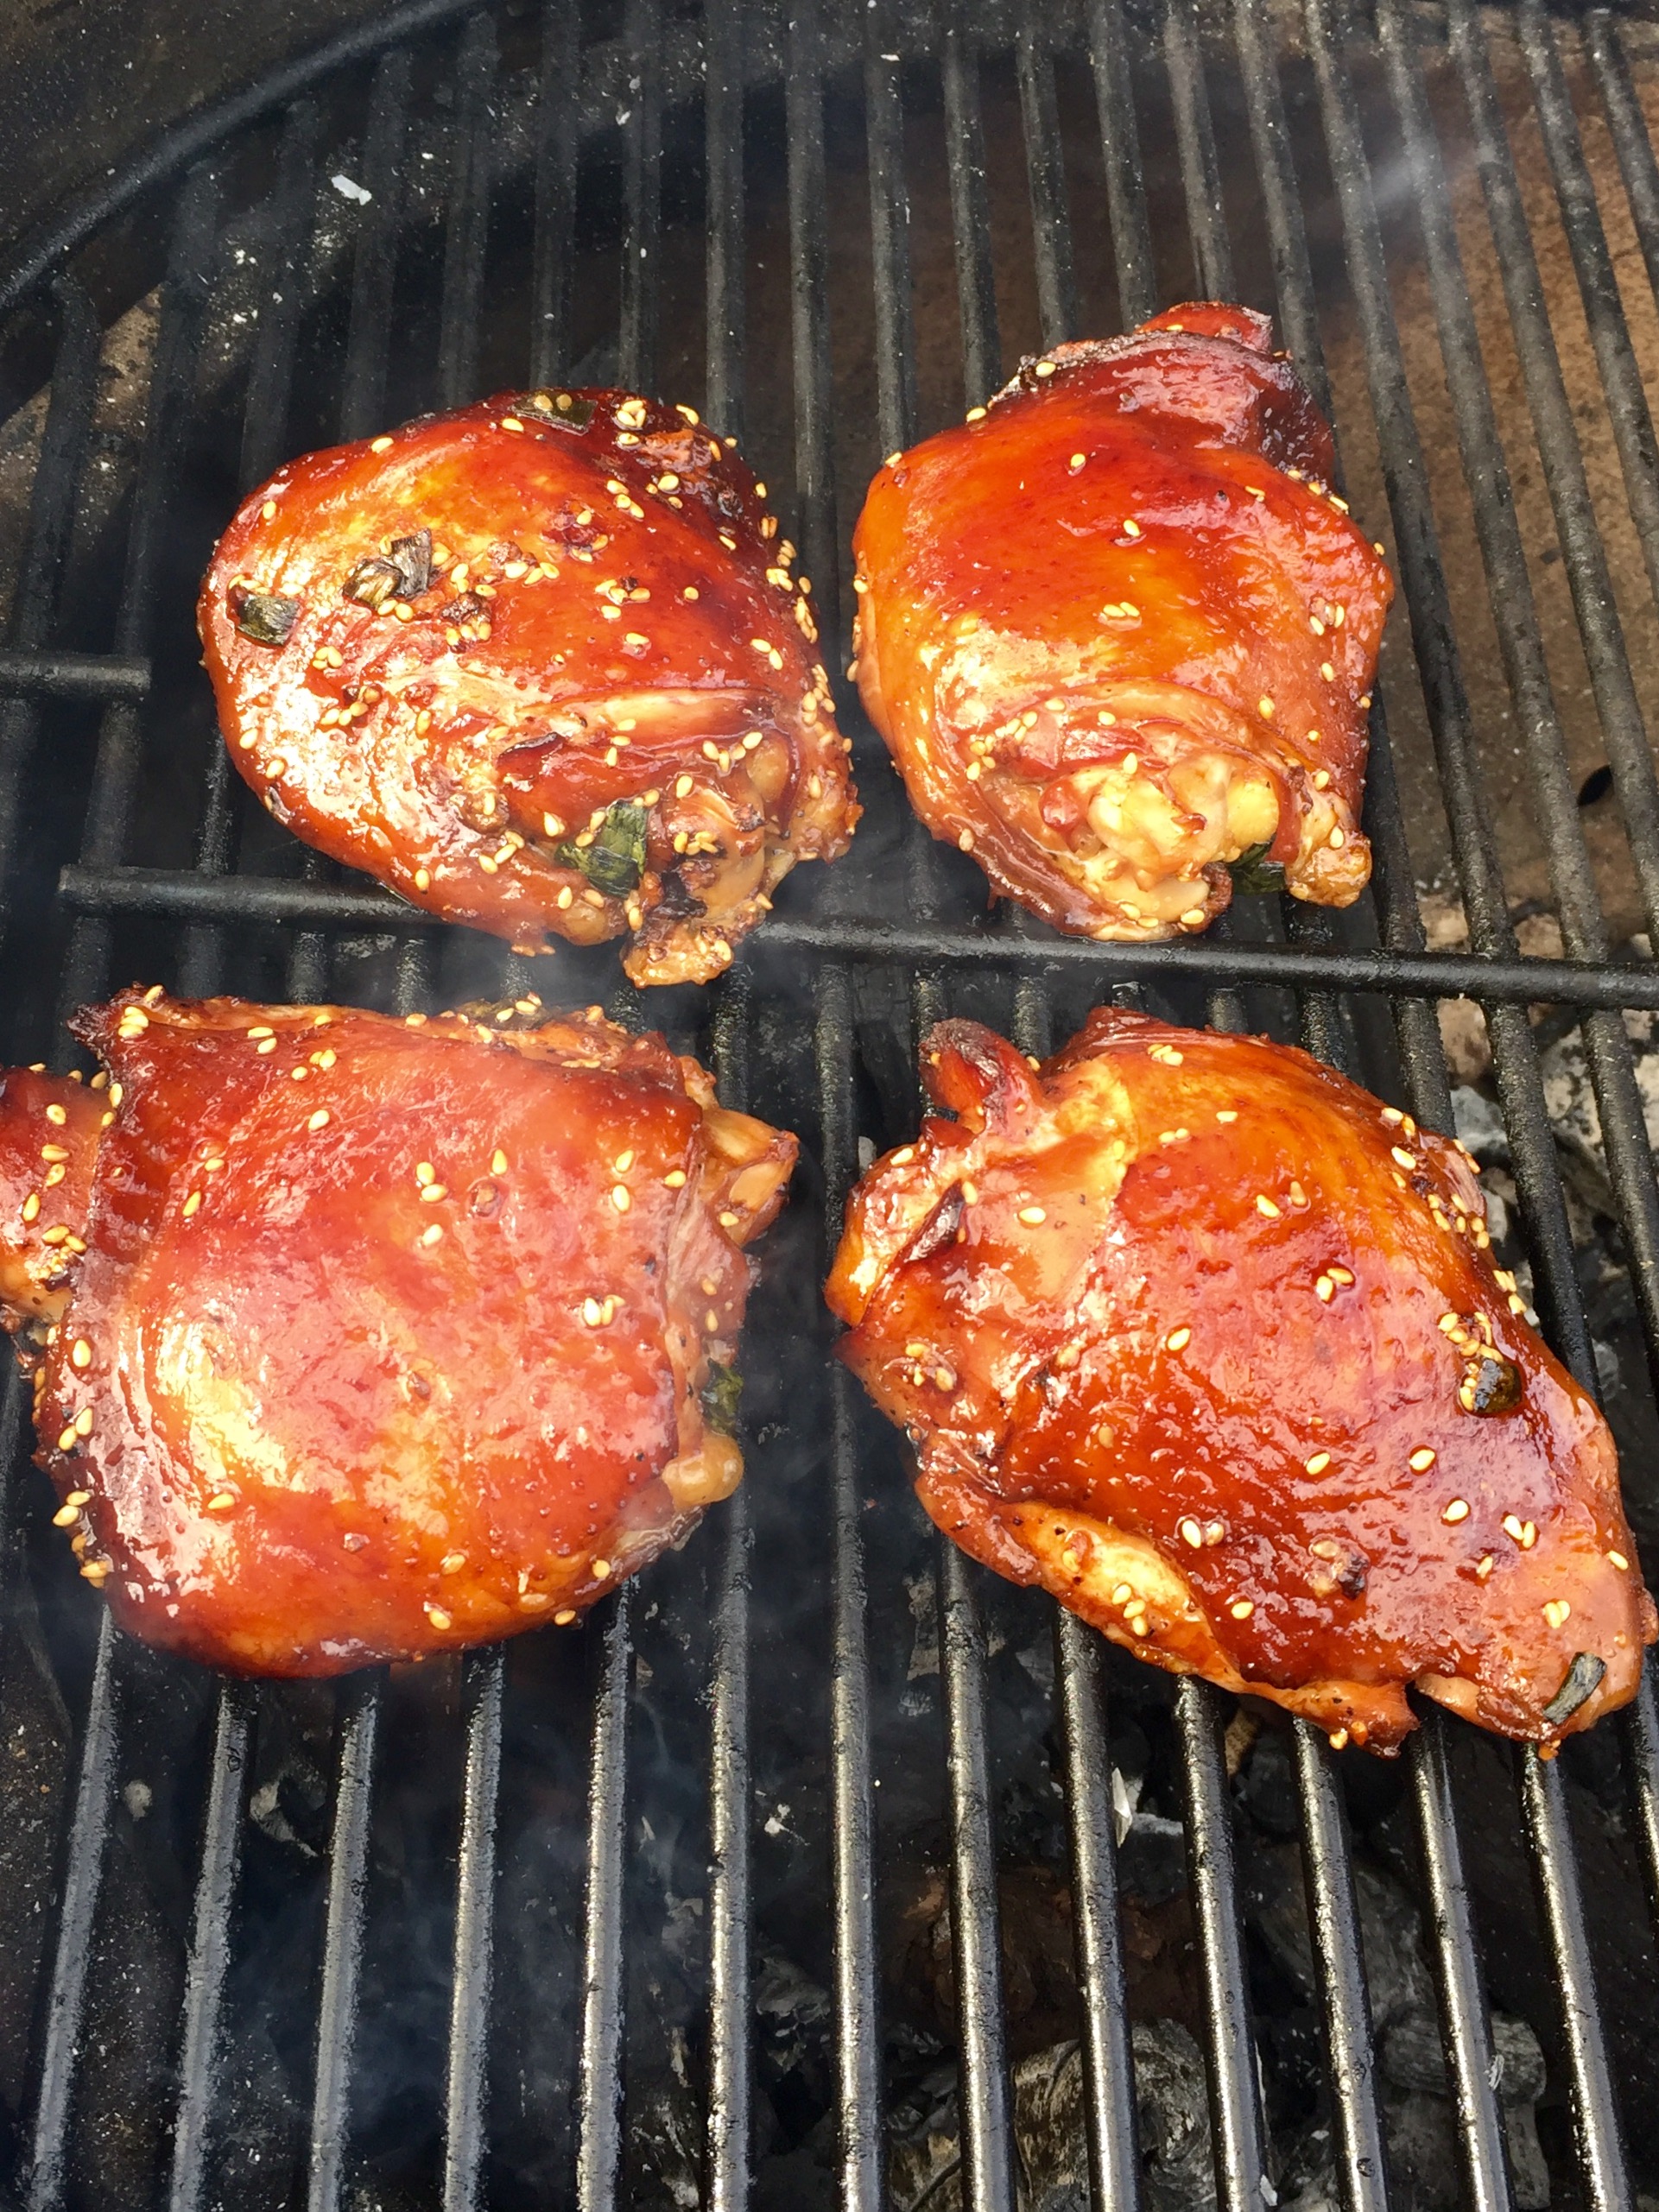
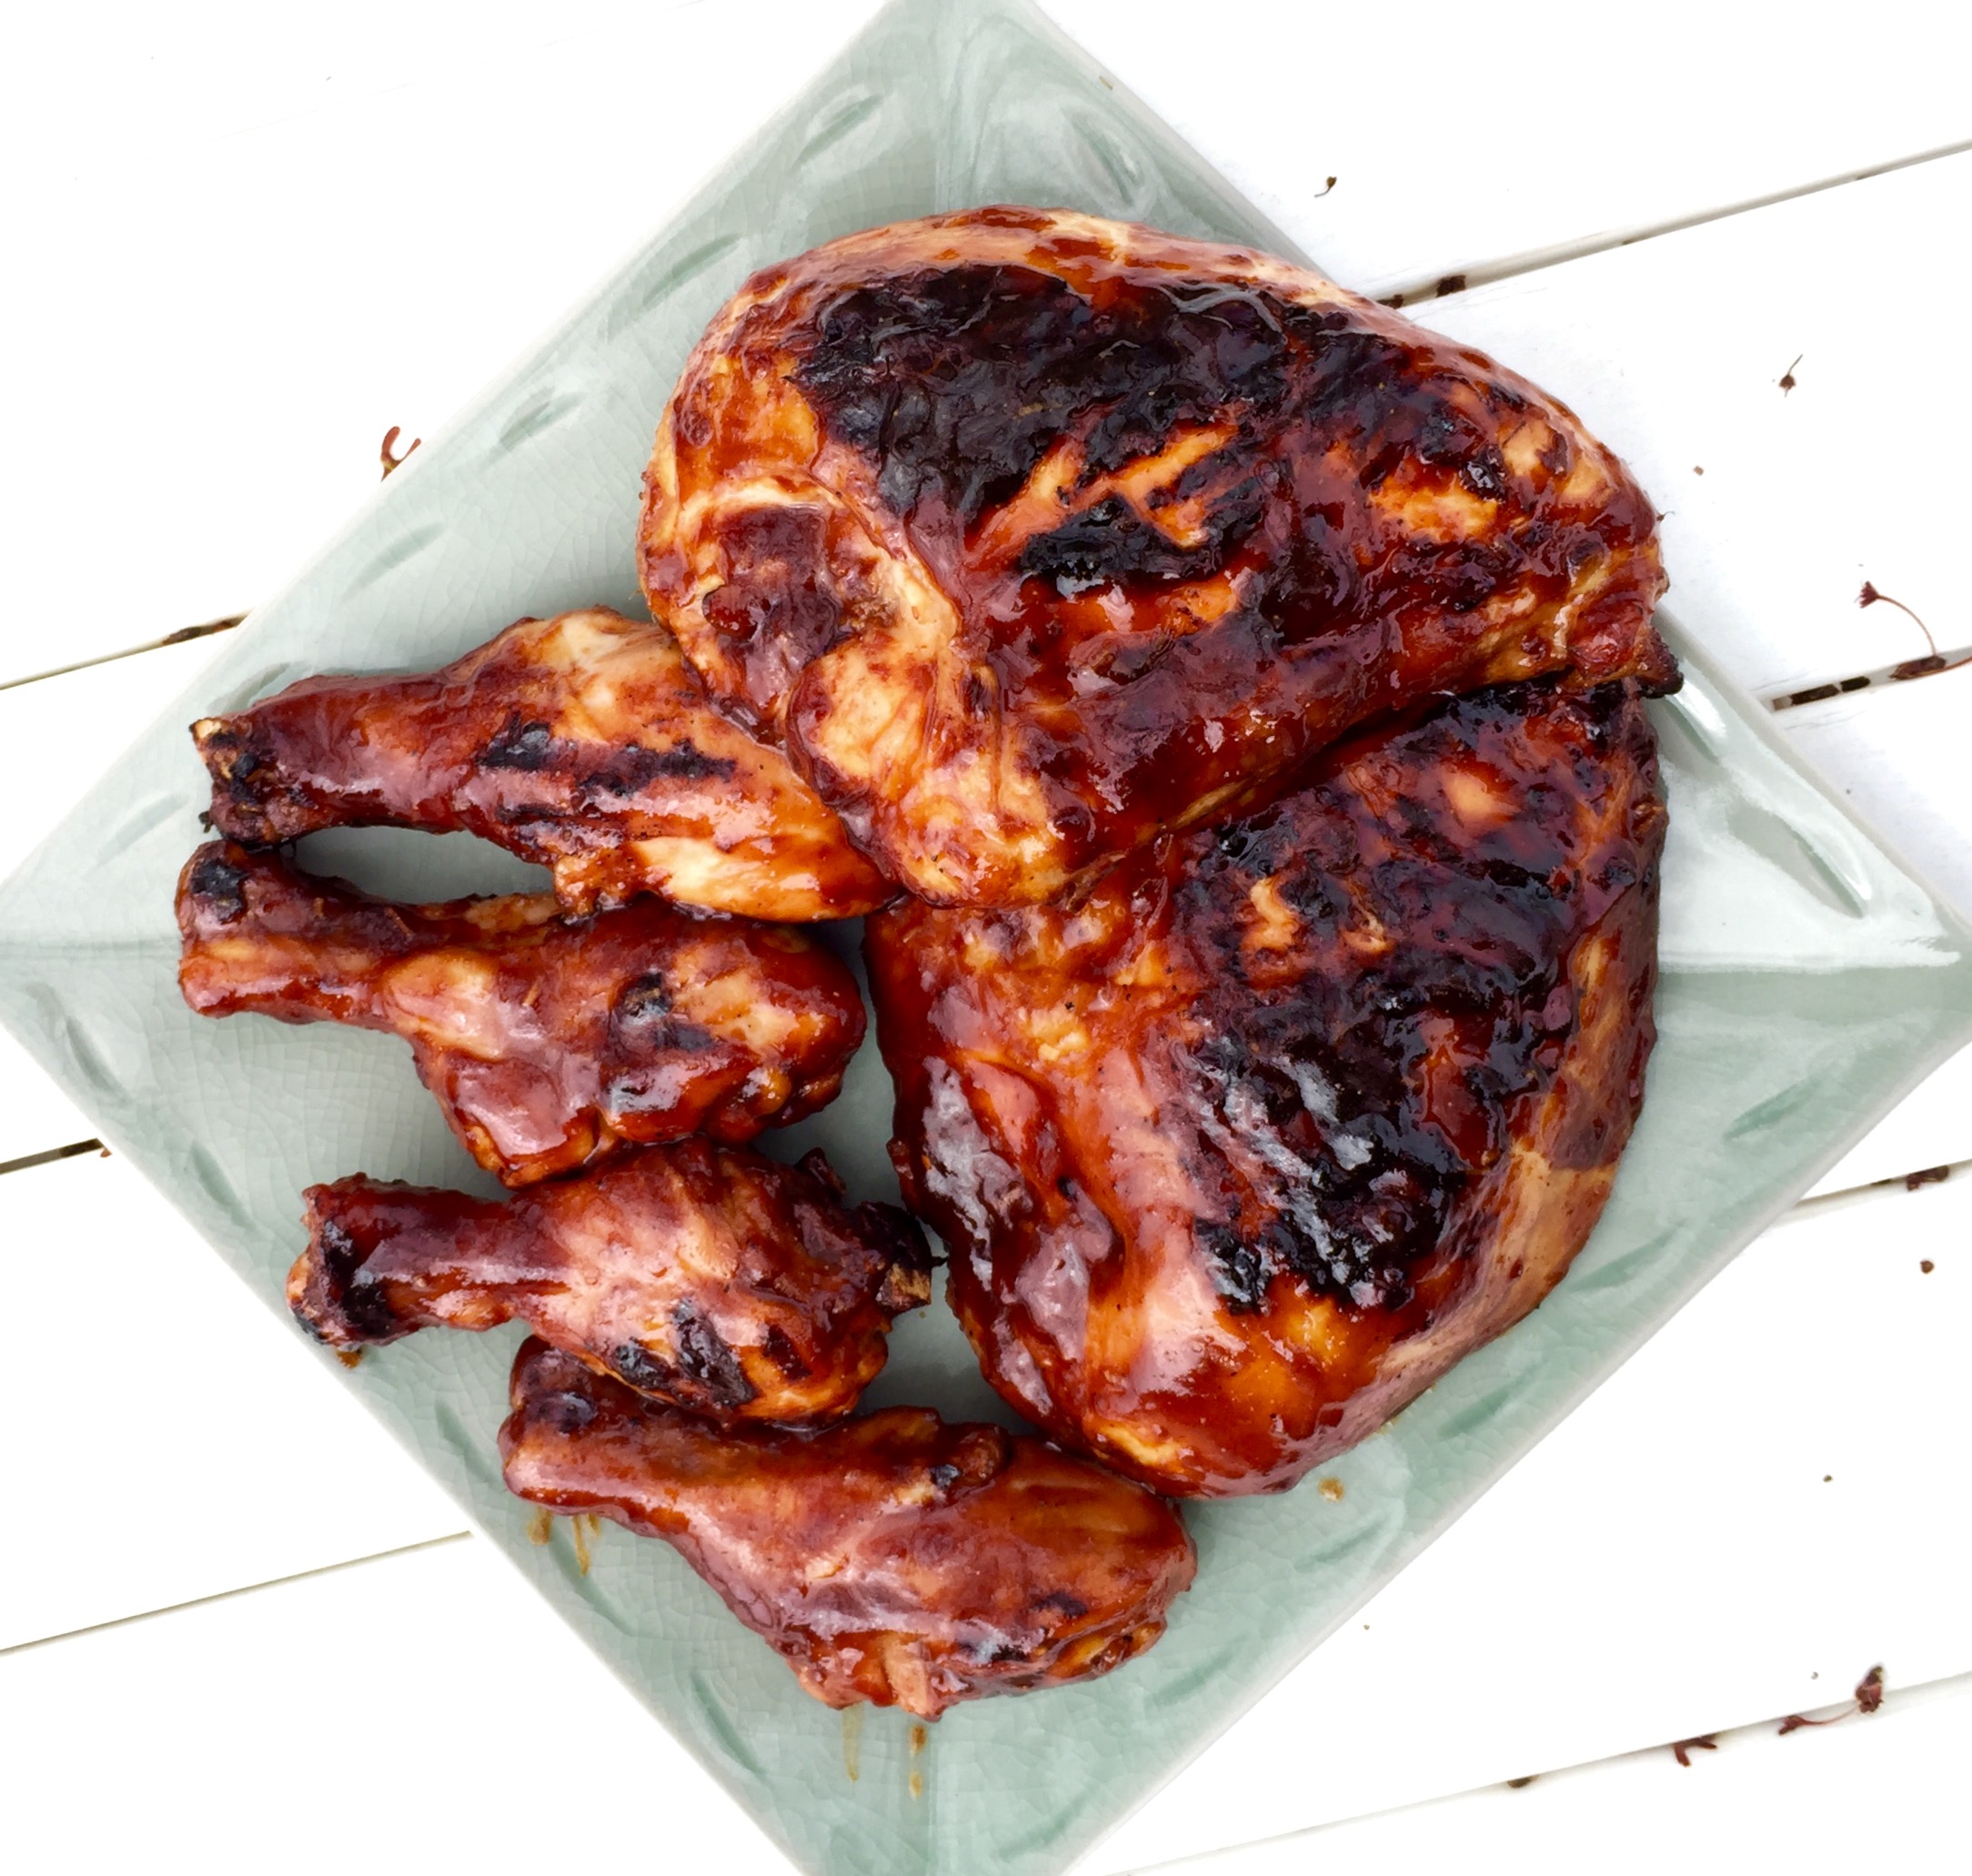
I don’t smoke the birds. I simply season them with salt and pepper, and roast them in a convection oven at 350. When they’re almost done, I brush the chicken all over very liberally with my white sauce…bottom of the bird, too. Then it goes back in the oven for a little bit more.
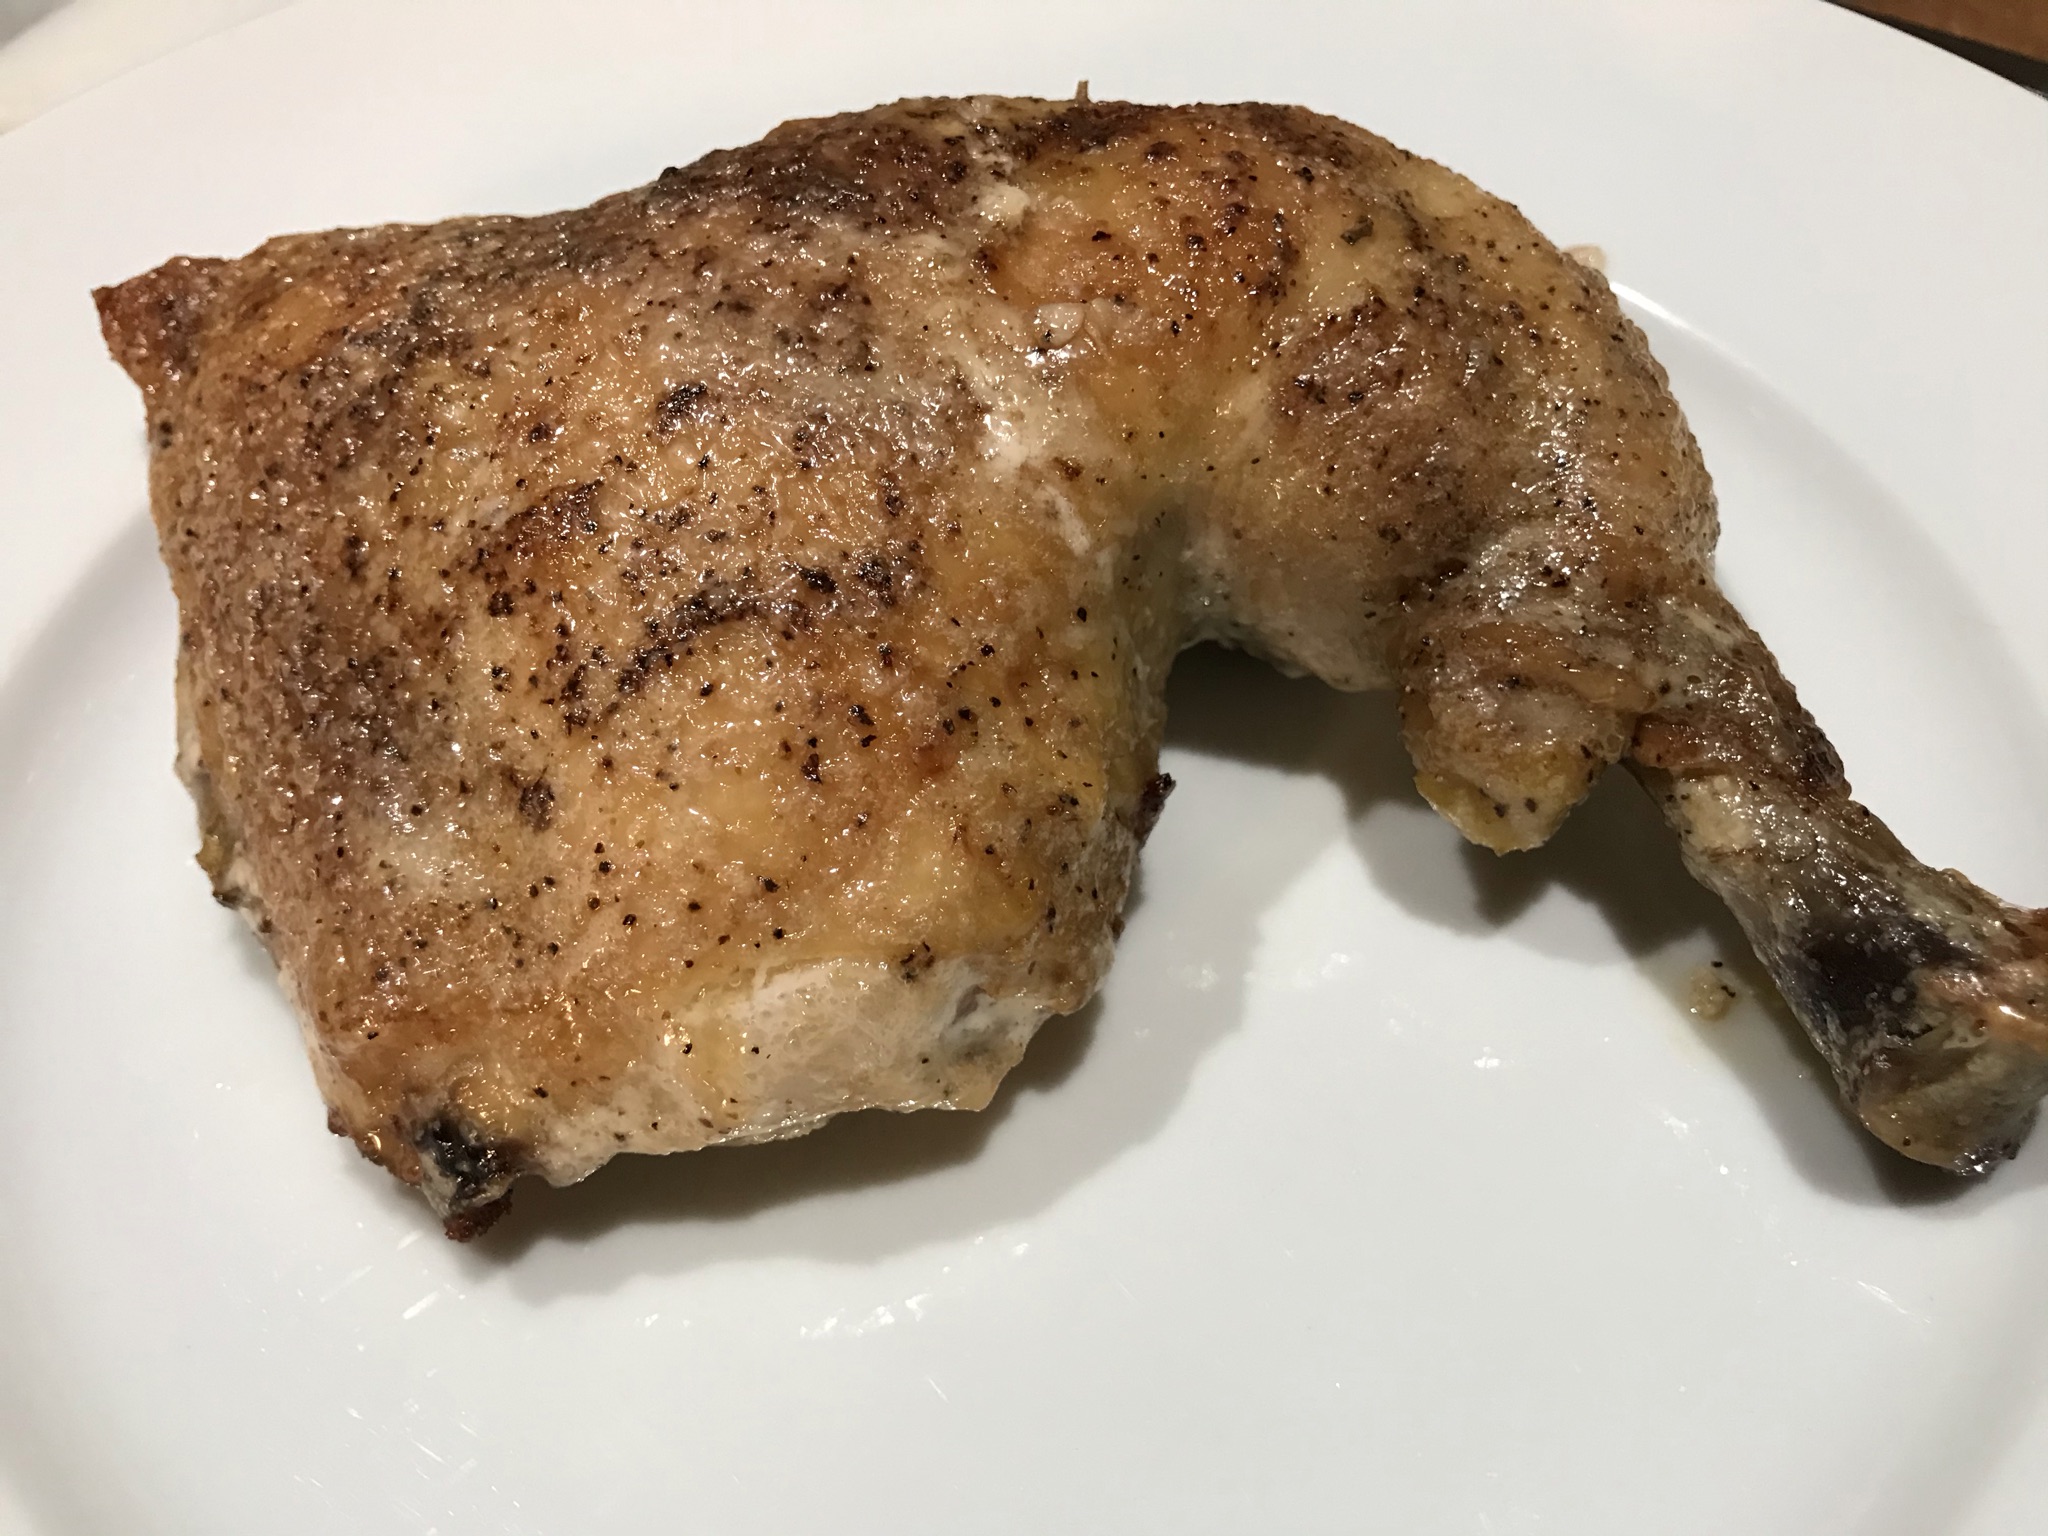
Parts work as well as whole birds. I love using leg quarters for this recipe.
1 cup mayonnaise
4 tablespoons buttermilk
4 tablespoons white vinegar
2 teaspoons Dijon mustard
1 teaspoon ground black pepper
1 teaspoon granulated garlic
1 teaspoon granulated onion
1/2 teaspoon salt
1/2 teaspoon sugar
Combine all the ingredients and mix well. I like to keep it in a container with a lid so I can shake it up before using it.
Preheat the oven to 350.
I like to roast a whole bird, though parts work just as well. If I’m roasting a whole bird, I like to spatchcock the bird so that it cooks evenly.
(Aside from the fact that it sounds dirty, spatchcocking simply means removing the back bone of the bird so you can open it up and press it flat onto the roasting pan.)
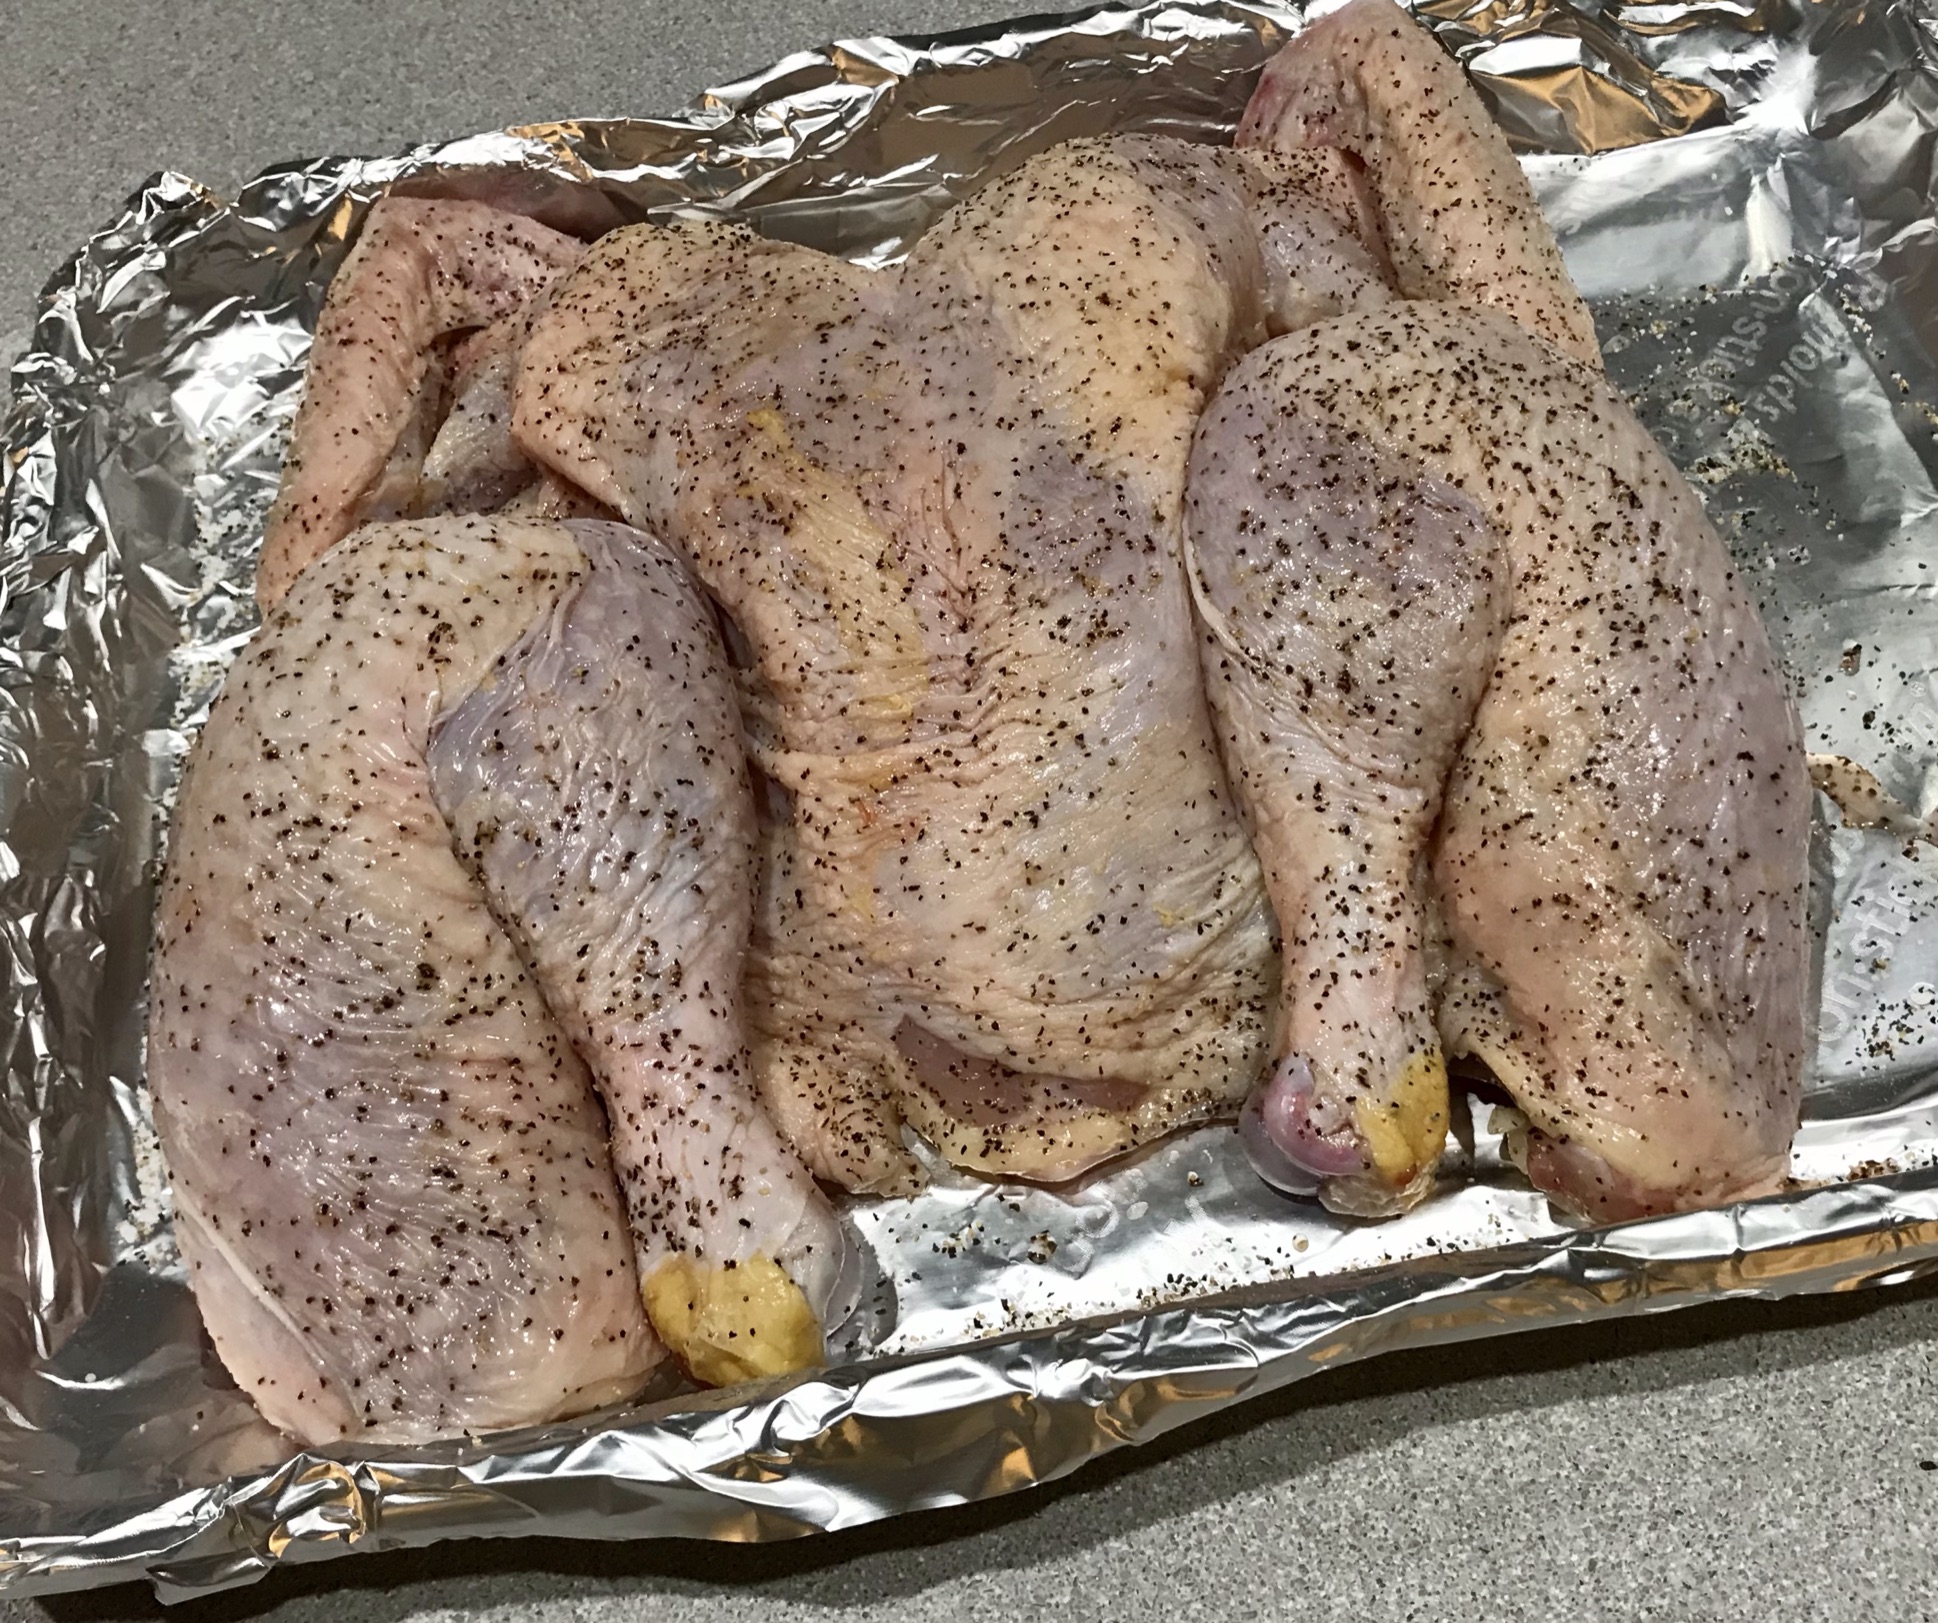
A spatchcocked bird.
It’s relatively easy to do, especially if you have poultry shears. You just flip the bird upside down, and cut all the way up on either side of the back bone.
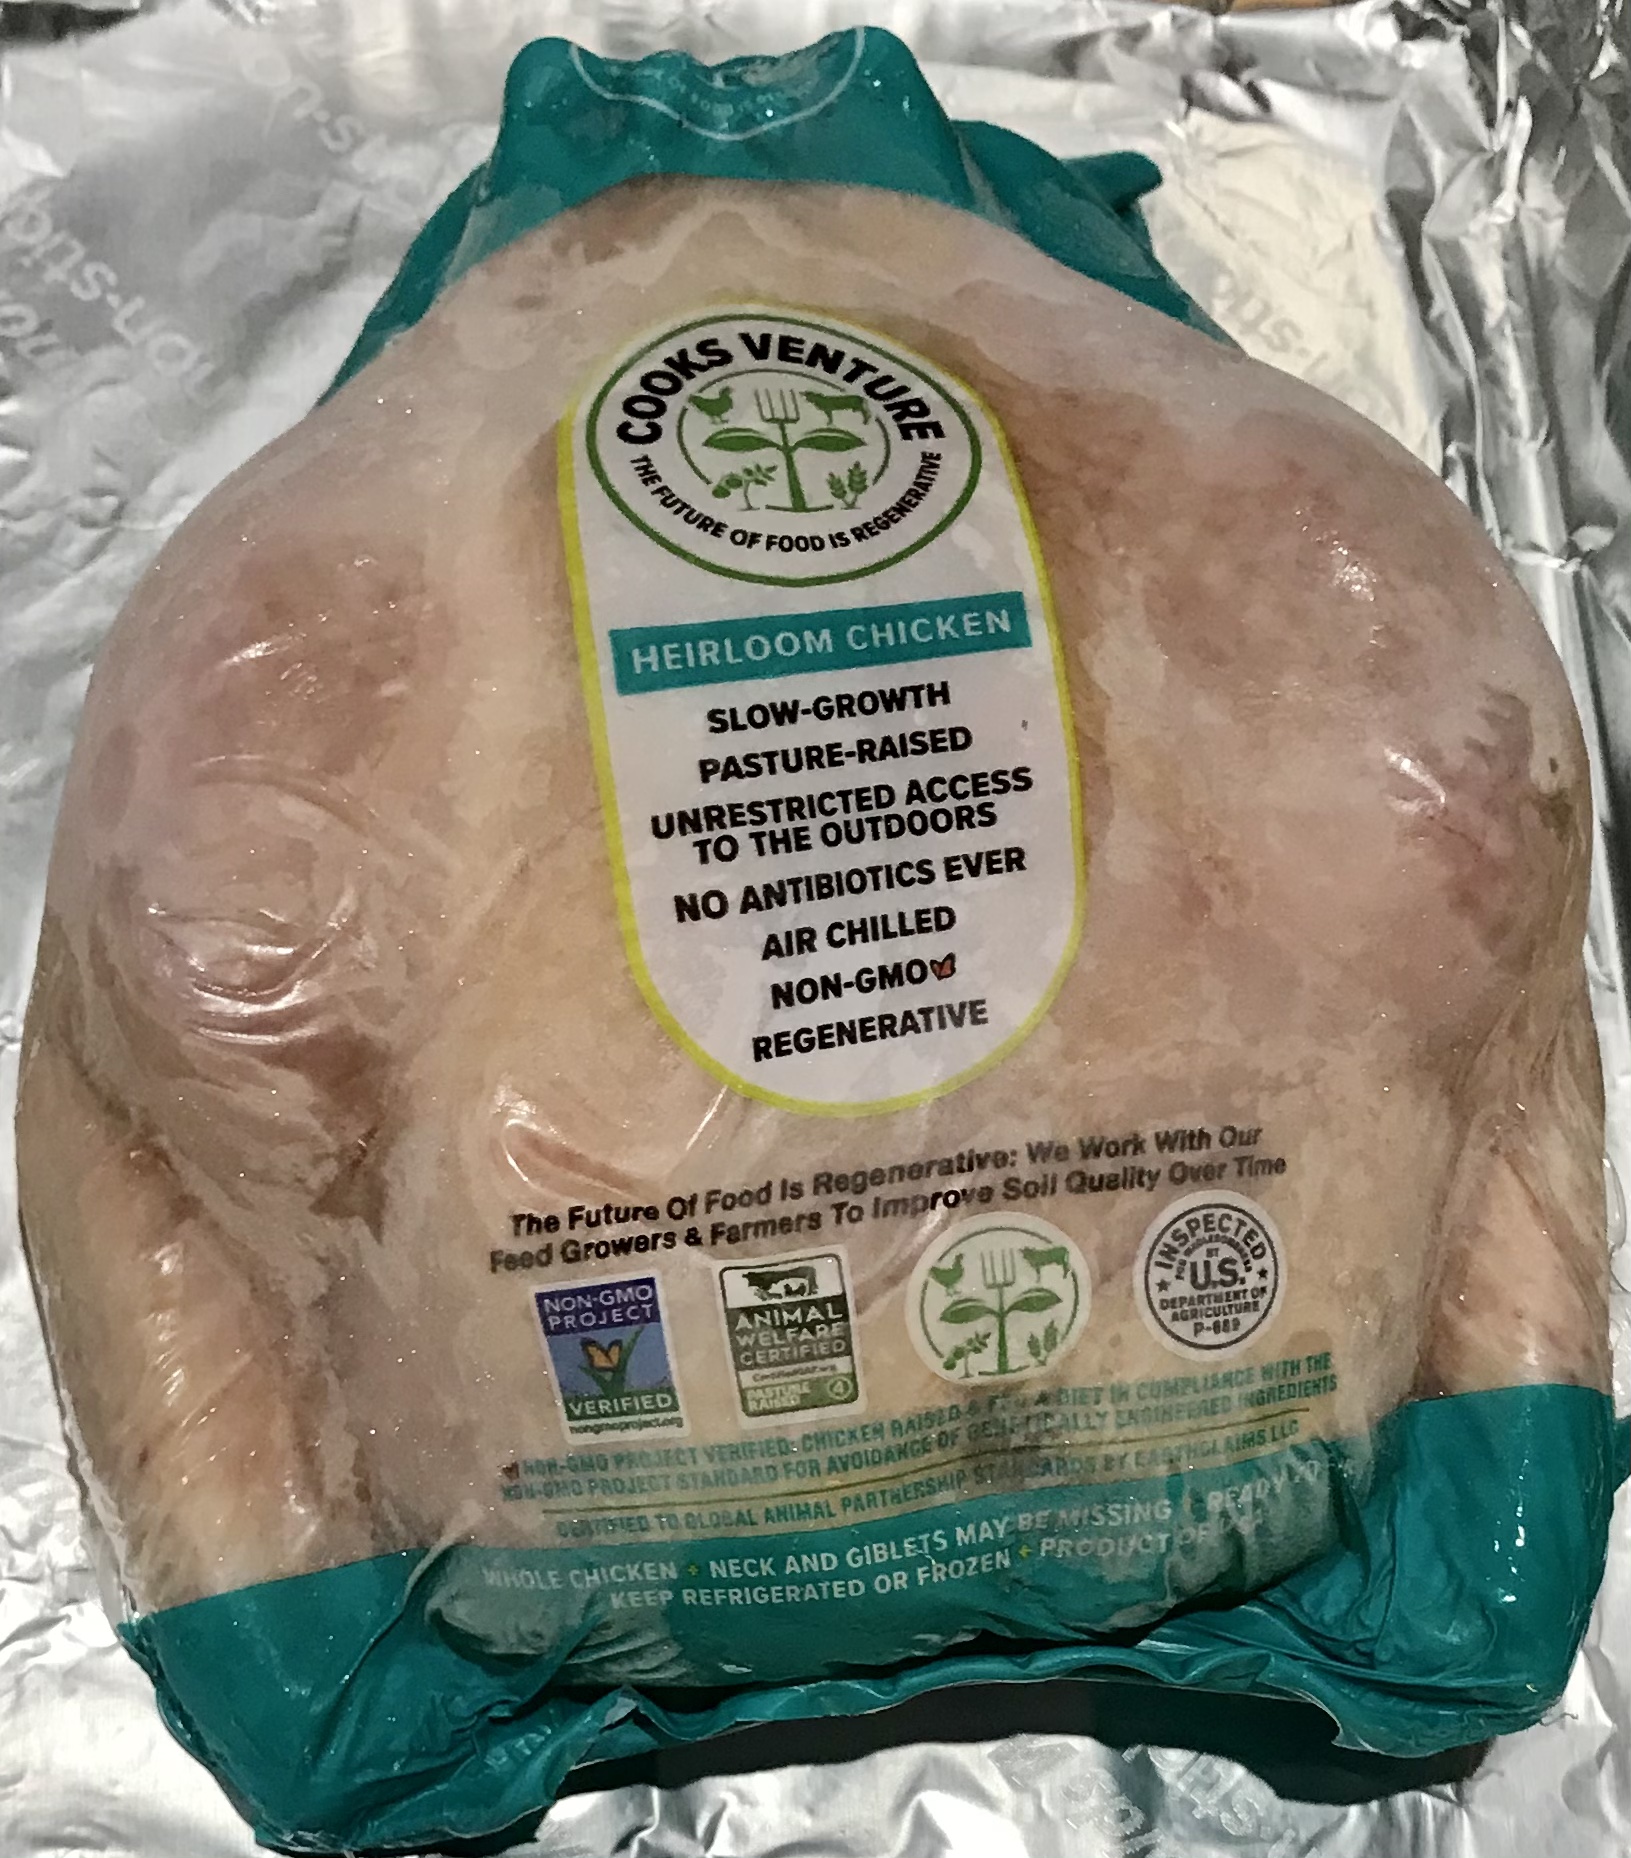
Be sure to save the backbone for chicken stock. If you’re like me and you pay extra for really good quality humanely raised chicken, every little bit needs to be saved and utilized to get the most bang for your buck.
I line a baking tray with foil, salt and pepper my bird all over, and place it on the baking tray and into the 350-degree oven. It takes a little less than an hour for a 4-lb. bird, but before it’s completely cooked through, I pull it out of the oven and brush on all sides with my Alabama white sauce.

Then it goes back into the oven for about 10 minutes.
The result is a tender and juicy bird, unlike any you’ve had before.

And save some of that white sauce to dip in while you’re eating!