Posts Tagged ‘beef’
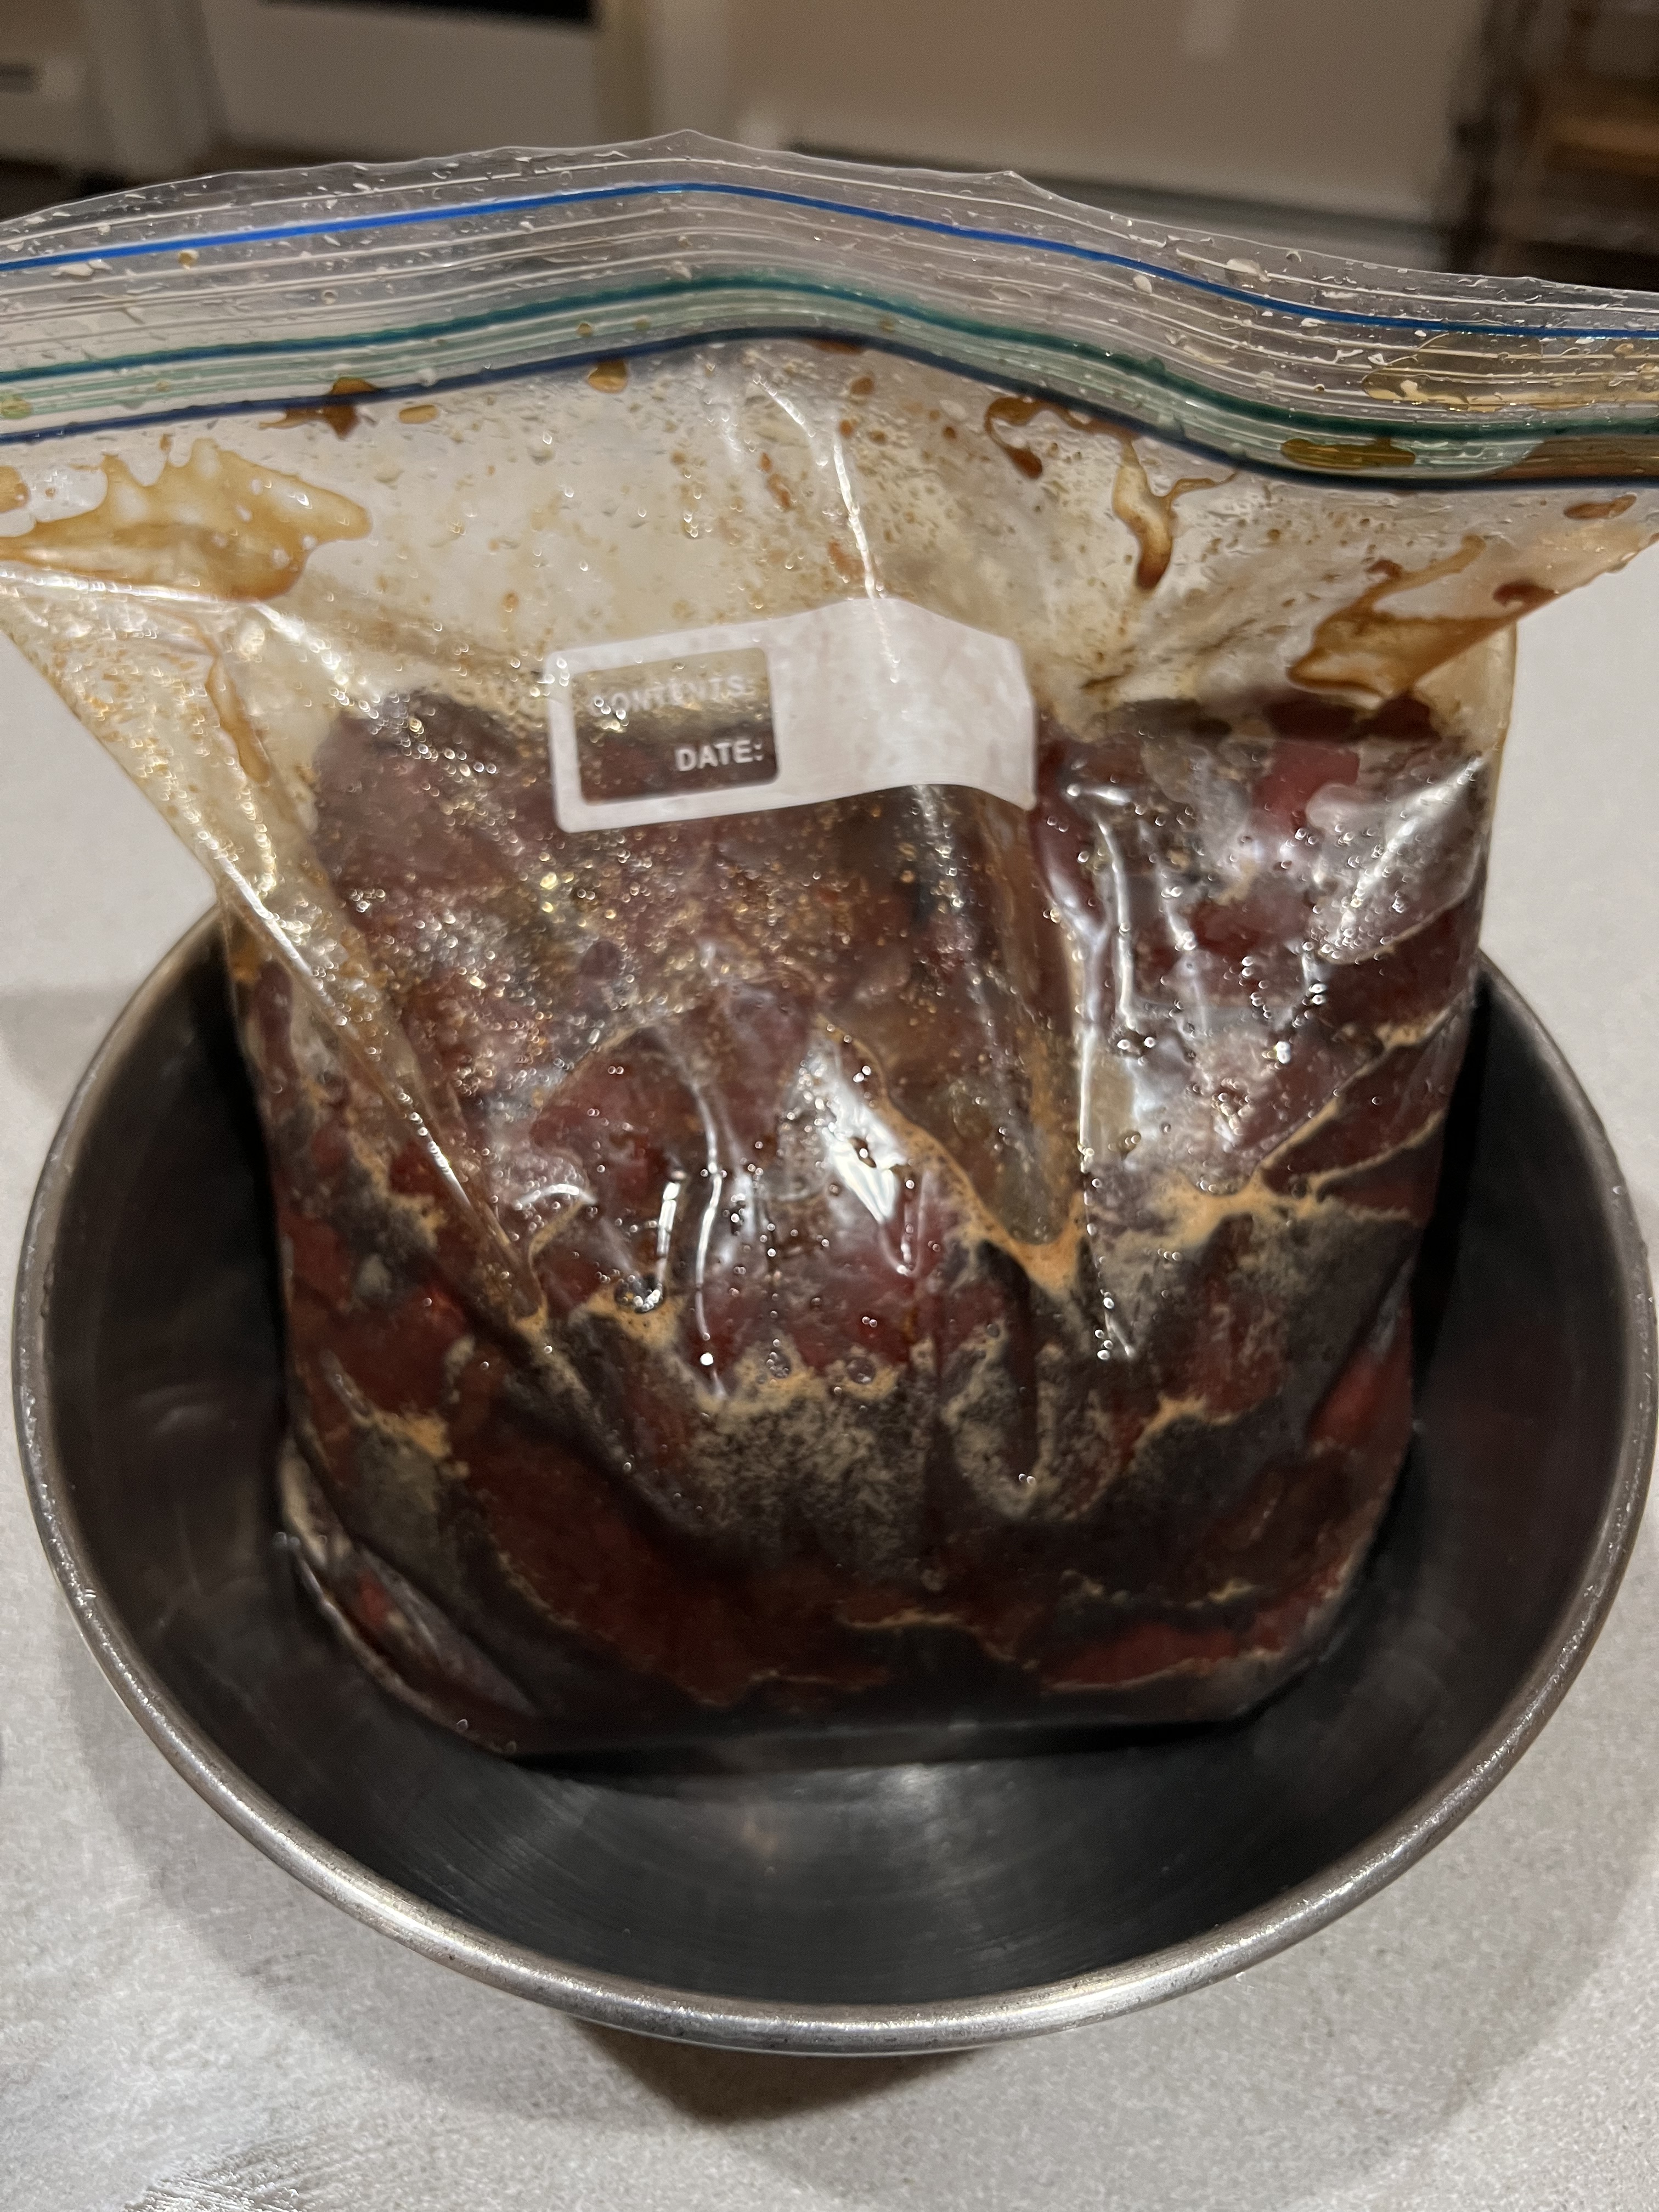
HOME MADE BEEF AND VENISON JERKY
Posted: November 19, 2022 in beef, Carnivore!, Food, jerky, marinade, RecipesTags: beef, food, GF, gluten-free, jerky, marinade, recipes
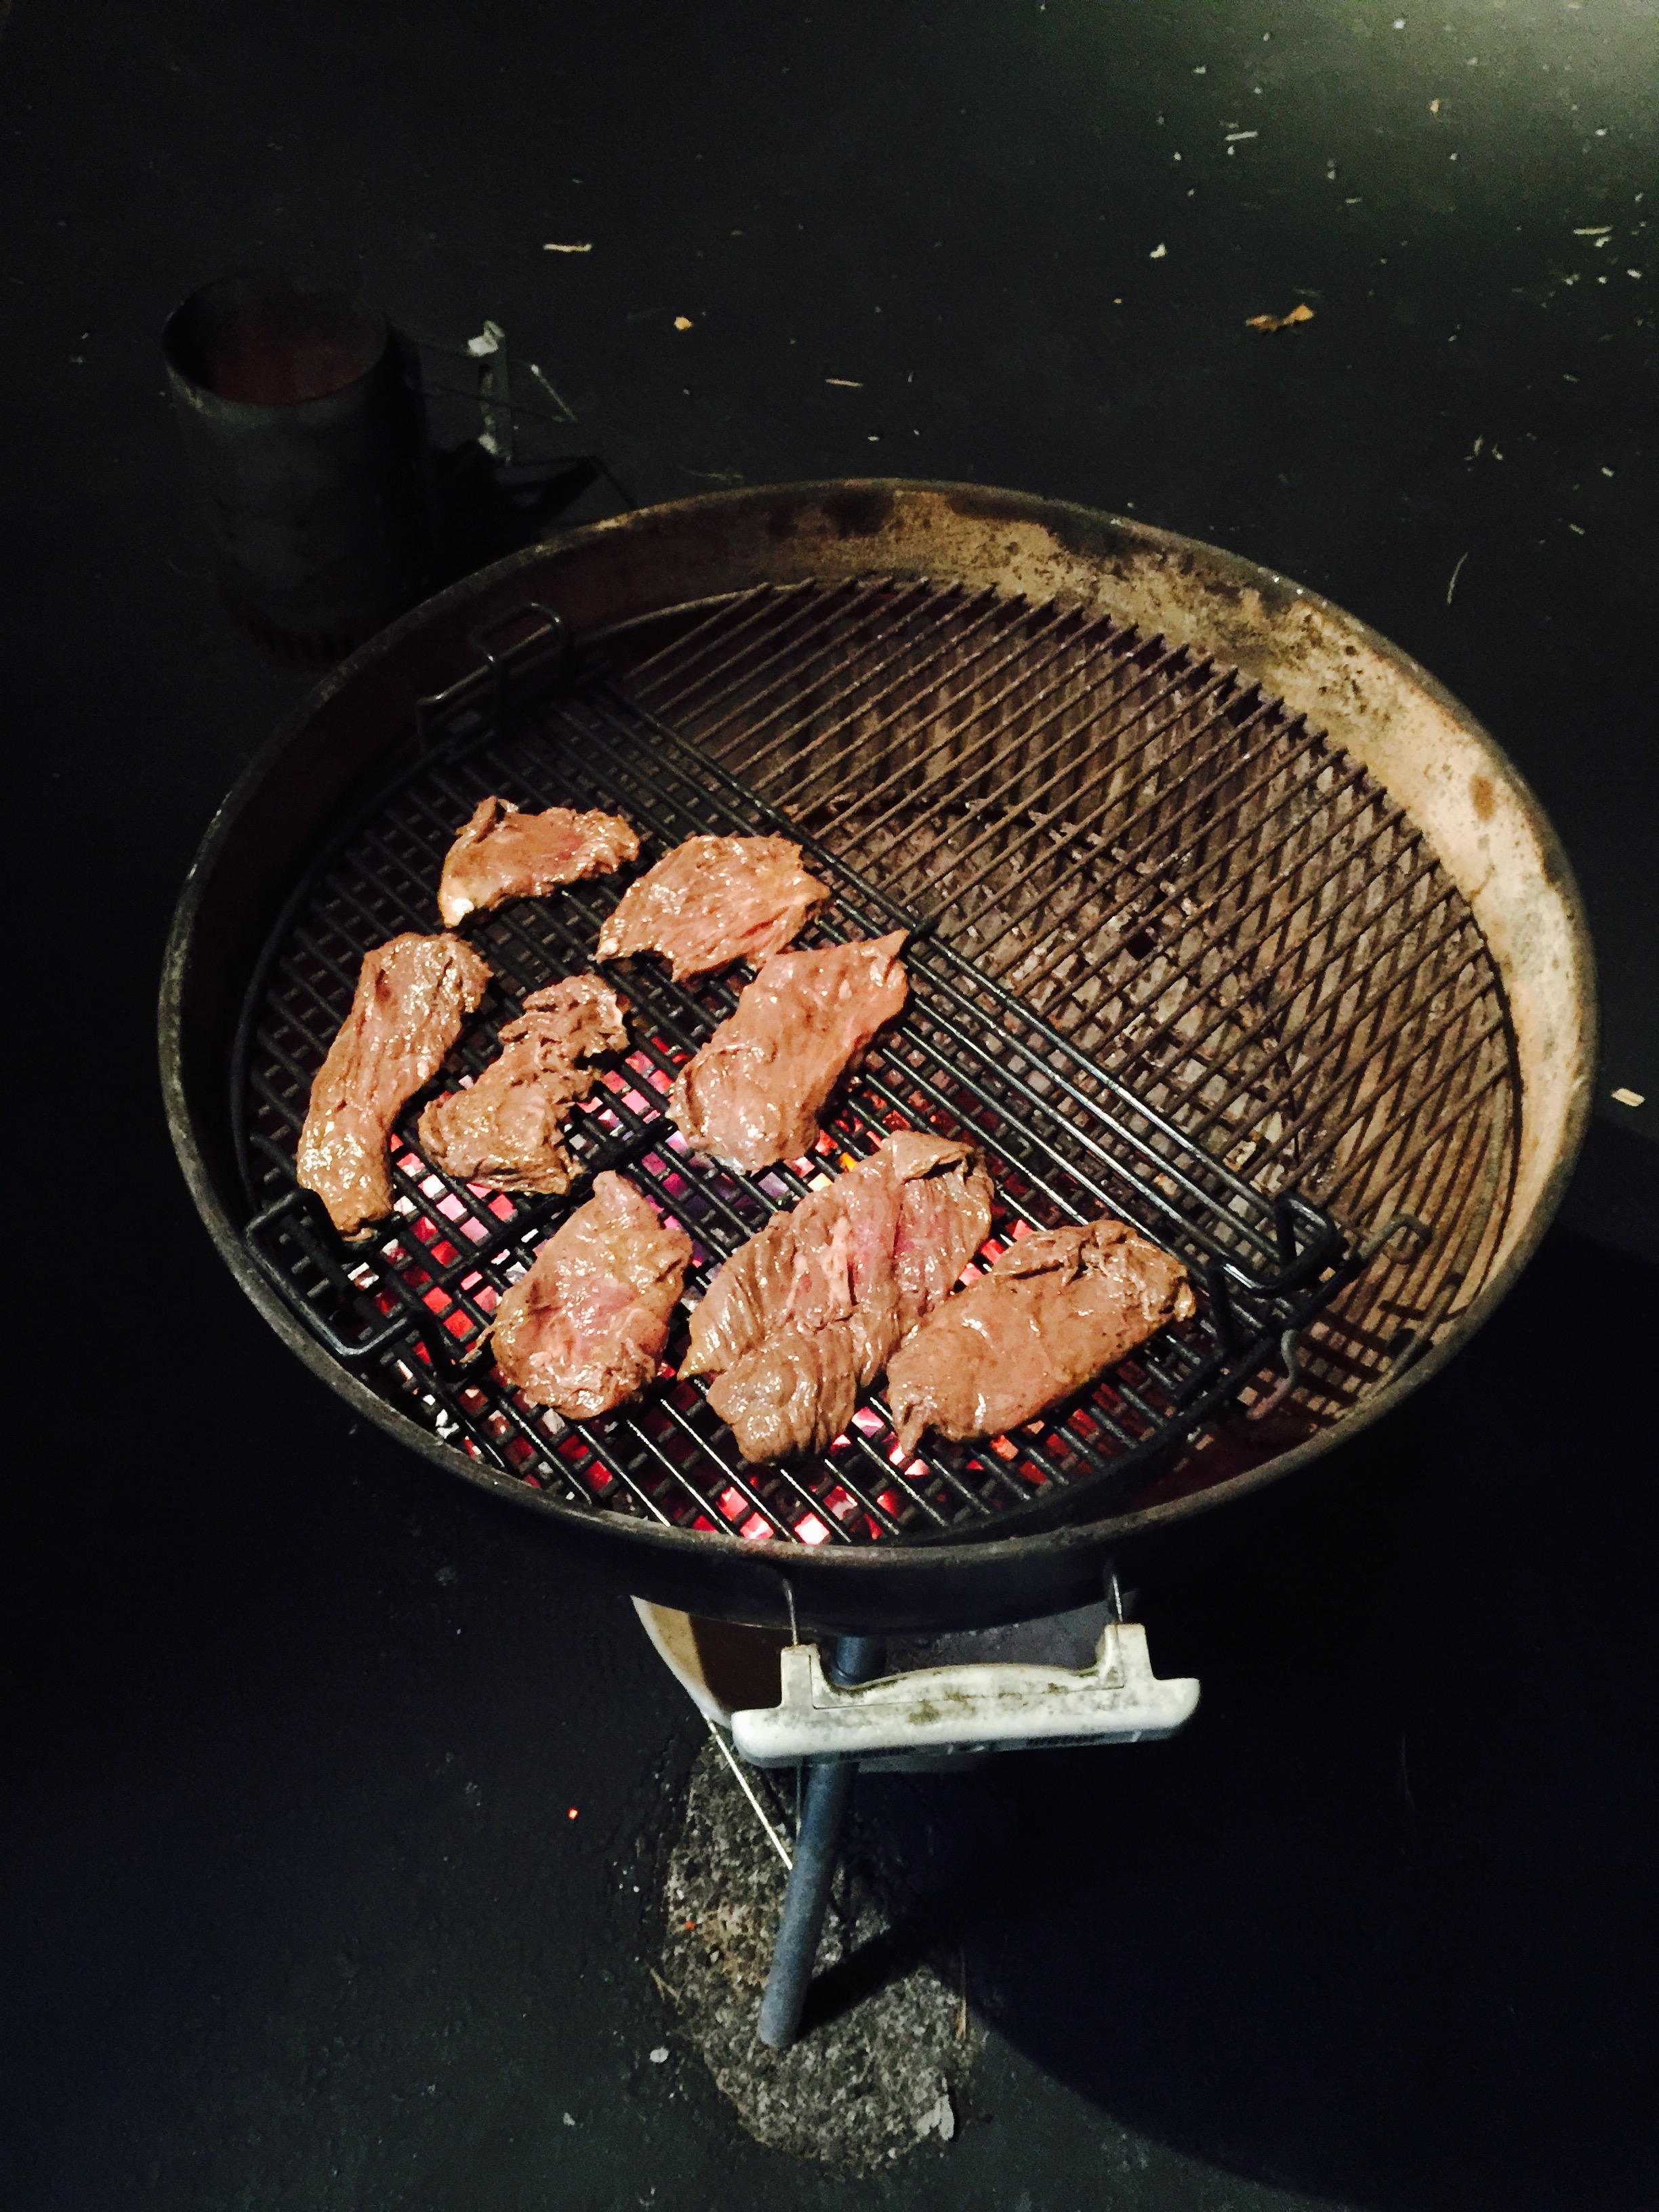
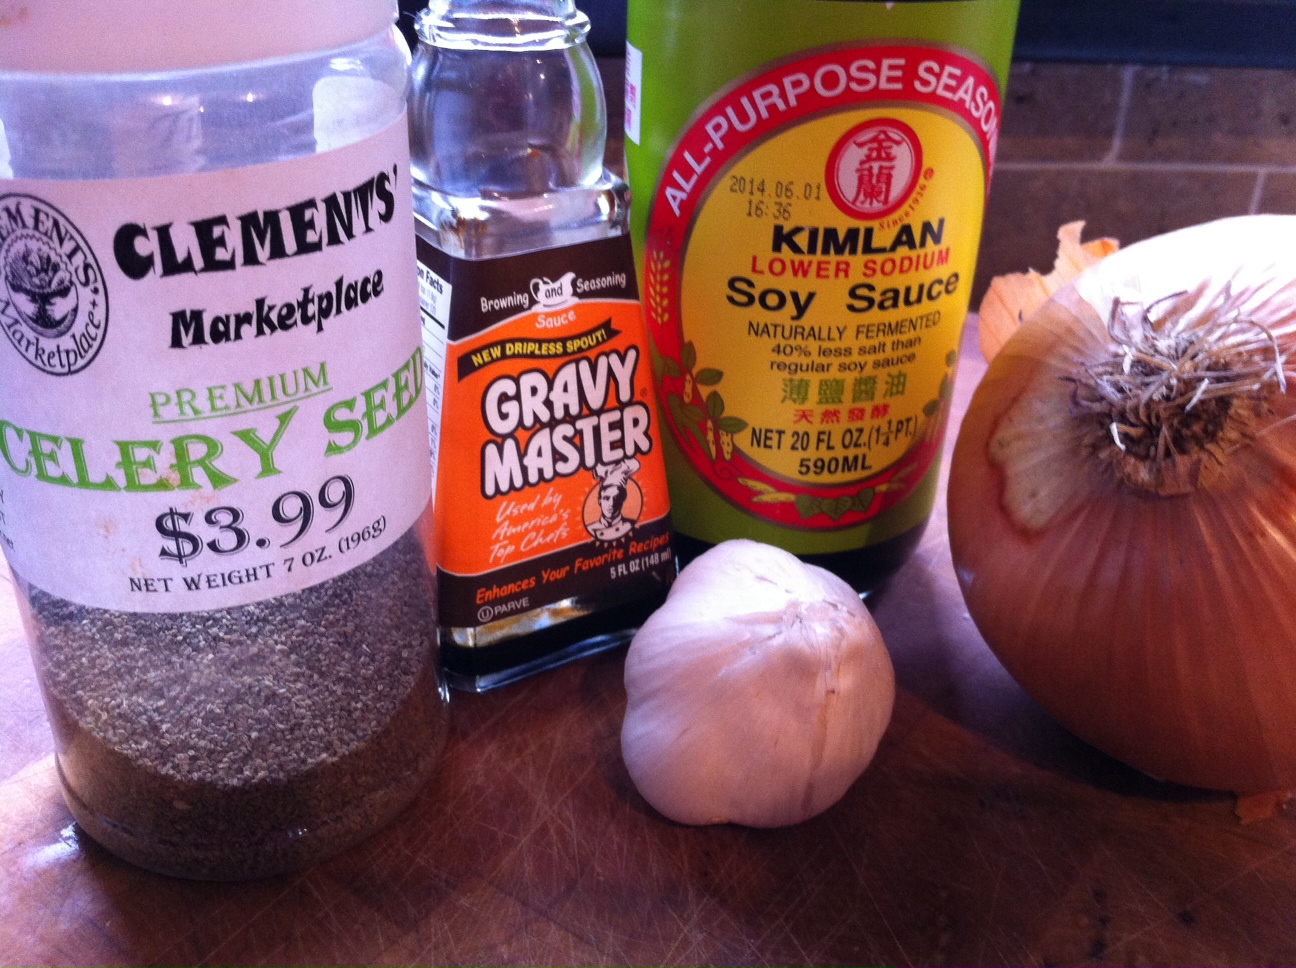
1 tablespoon salt
BEEF BONE MARROW WITH A PRETZEL CRUMBLE
Posted: November 4, 2022 in beef, Carnivore!, Food, Recipes, restaurants, travelTags: beef, bone marrow, food, recipes
I have to give credit for this recipe where it’s due. A few years ago, we traveled to Washington, DC, and one of our best dining experiences was at the Blue Duck Tavern, a stunning restaurant matched by its unique and beautifully prepared plates. (Along with Chef Jose Andres’ restaurant Jaleo, it is the restaurant I recommend to any friends in the DC area, and one I would go back to in a heartbeat.)
One of the most memorable appetizers I enjoyed was the roasted beef bone marrow, which had a delicious pretzel crumble on top. The moment I had a taste, I knew that I would have to recreate this for myself at home.
Bone marrow played an important role in the evolution of early man. Perhaps that’s why some of us still have that primitive craving for it.
Early man had small teeth and ate anything he could lay his hands on, especially meat. But he was no hunter. Attracted by circling vultures, he probably scavenged the leftovers from a big kill such as an antelope left in a tree by a leopard, or a large animal such as a wildebeest that had been slaughtered by lions.
Because meat is relatively easy to digest and rich in calories and nutrients, early man lost the need for the big intestines of apes and earlier hominids. This freed up energy for use by other organs. This surplus of energy seems to have been diverted to one organ in particular – the brain. But scavenging meat from under the noses of big cats is a risky business, so good scavengers needed to be smart. At this stage in our evolution, a big brain was associated with greater intellect. Big brains require lots of energy to operate: the human brain uses 20% of the body’s total energy production. The concentrated calories and nutrition found in meat was responsible for an increase in the brain size of early humans.
But around two million years ago, telltale cut marks on the surface of animal bones reveal that early humans were using crude stone tools to smash open the bones and extract the marrow. Stone tools allowed early man to get at a food source that no other creature was able to obtain – bone marrow. Bone marrow contains long chain fatty acids that are vital for brain growth and development. This helped further fuel the increase in brain size, allowing our ancestors to make more complex tools. Many historians believe that the blunt force required to break bones with tools to extract the bone marrow was a crucial ingredient in the development of the human hand, and the unique dexterity it has over that of apes.
Of course, these days, we can simply go to our butcher and ask them to slice some beef bones for us so that we can enjoy the marrow like our ancestors did. It’s much more civilized.

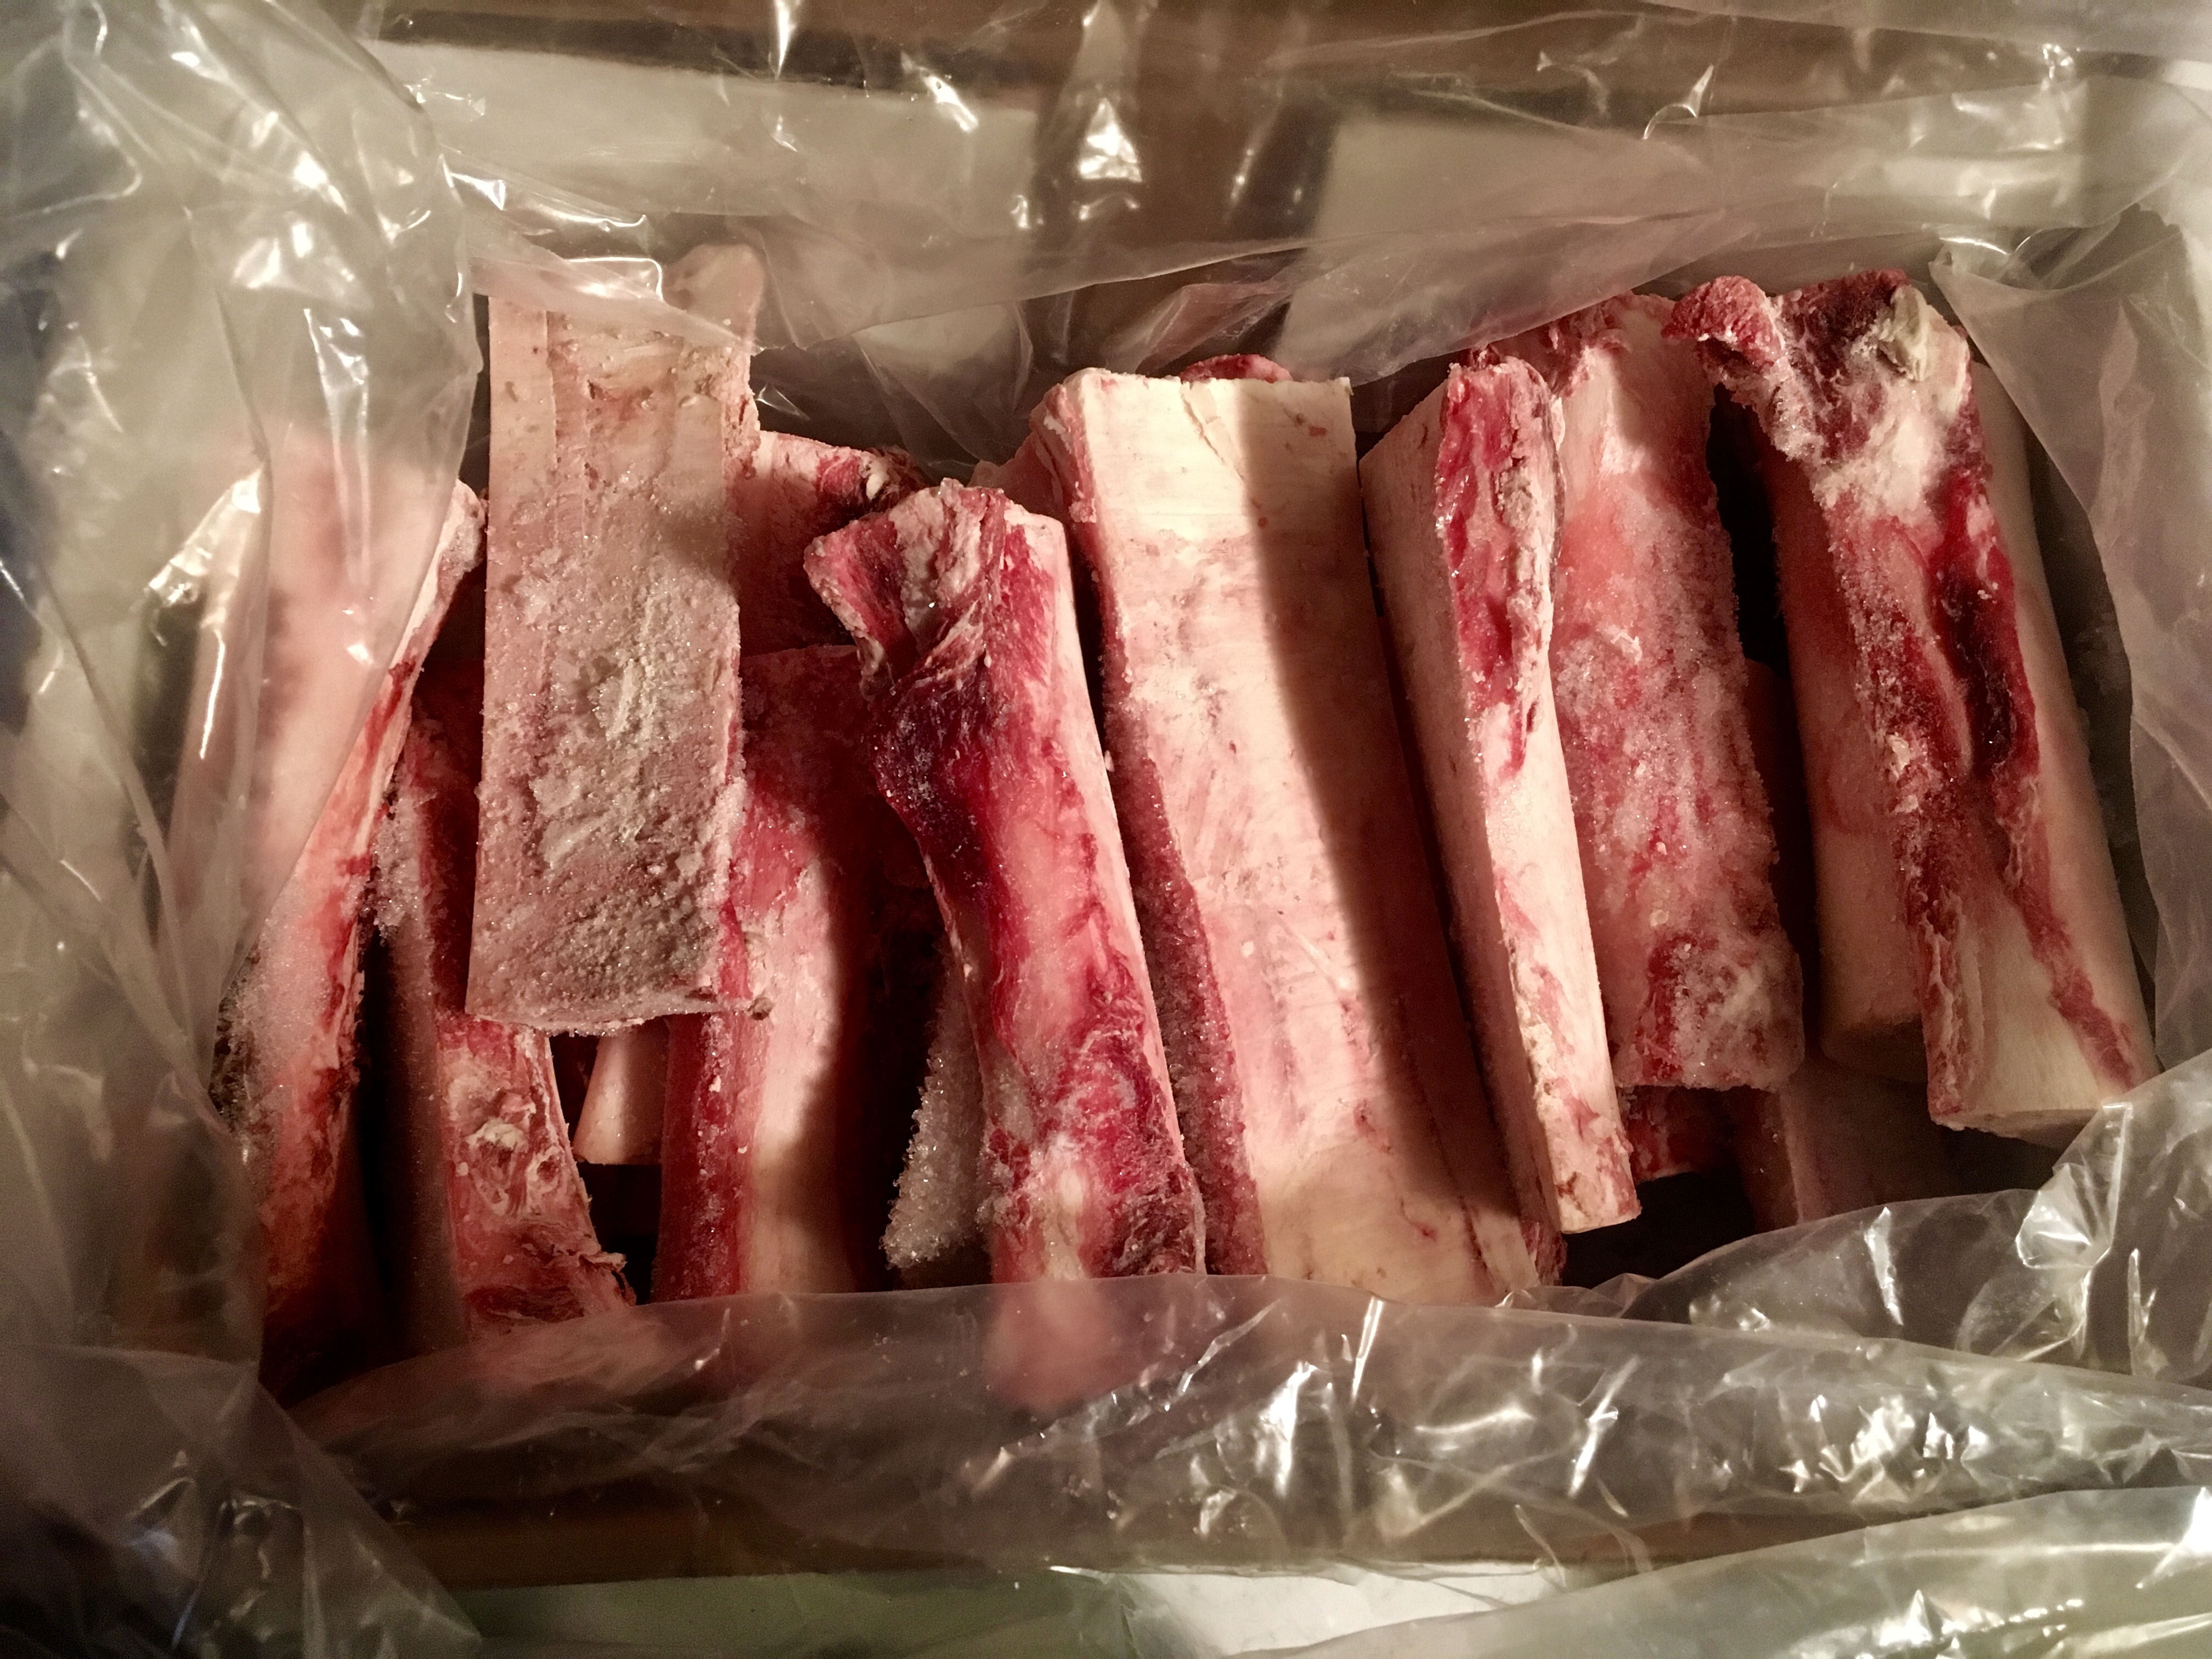
My box o’ frozen bones. I ordered about 25 lbs. of marrow bones from Slanker’s, a grass-fed beef farm in Texas.
They key to roasting marrow bones properly is to keep an eye on them. The bones can go from frozen solid to blazing hot in no time, and that means the marrow can go beyond its rich, gelatinous perfection into a puddle of fat at the bottom of your pan in mere moments.
3 lbs. beef marrow bones (I like them sliced lengthwise)
3/4 cup finely ground salted pretzel sticks
1 teaspoon dried parsley flakes
1 teaspoon granulated onion
1/2 teaspoon granulated garlic
1/4 teaspoon black pepper
olive oil
I keep the beef bones frozen, moving them to the fridge until I’m ready to roast them.
Pre-heat the oven to 450 degrees.
Place a handful of salted pretzel sticks in a food processor, and pulse them until the pretzels are ground fine. When you’ve got 3/4 cup of ground pretzel powder, move it to a bowl and add the parsley, onion, garlic and black pepper. No salt is needed if the pretzels are salted.
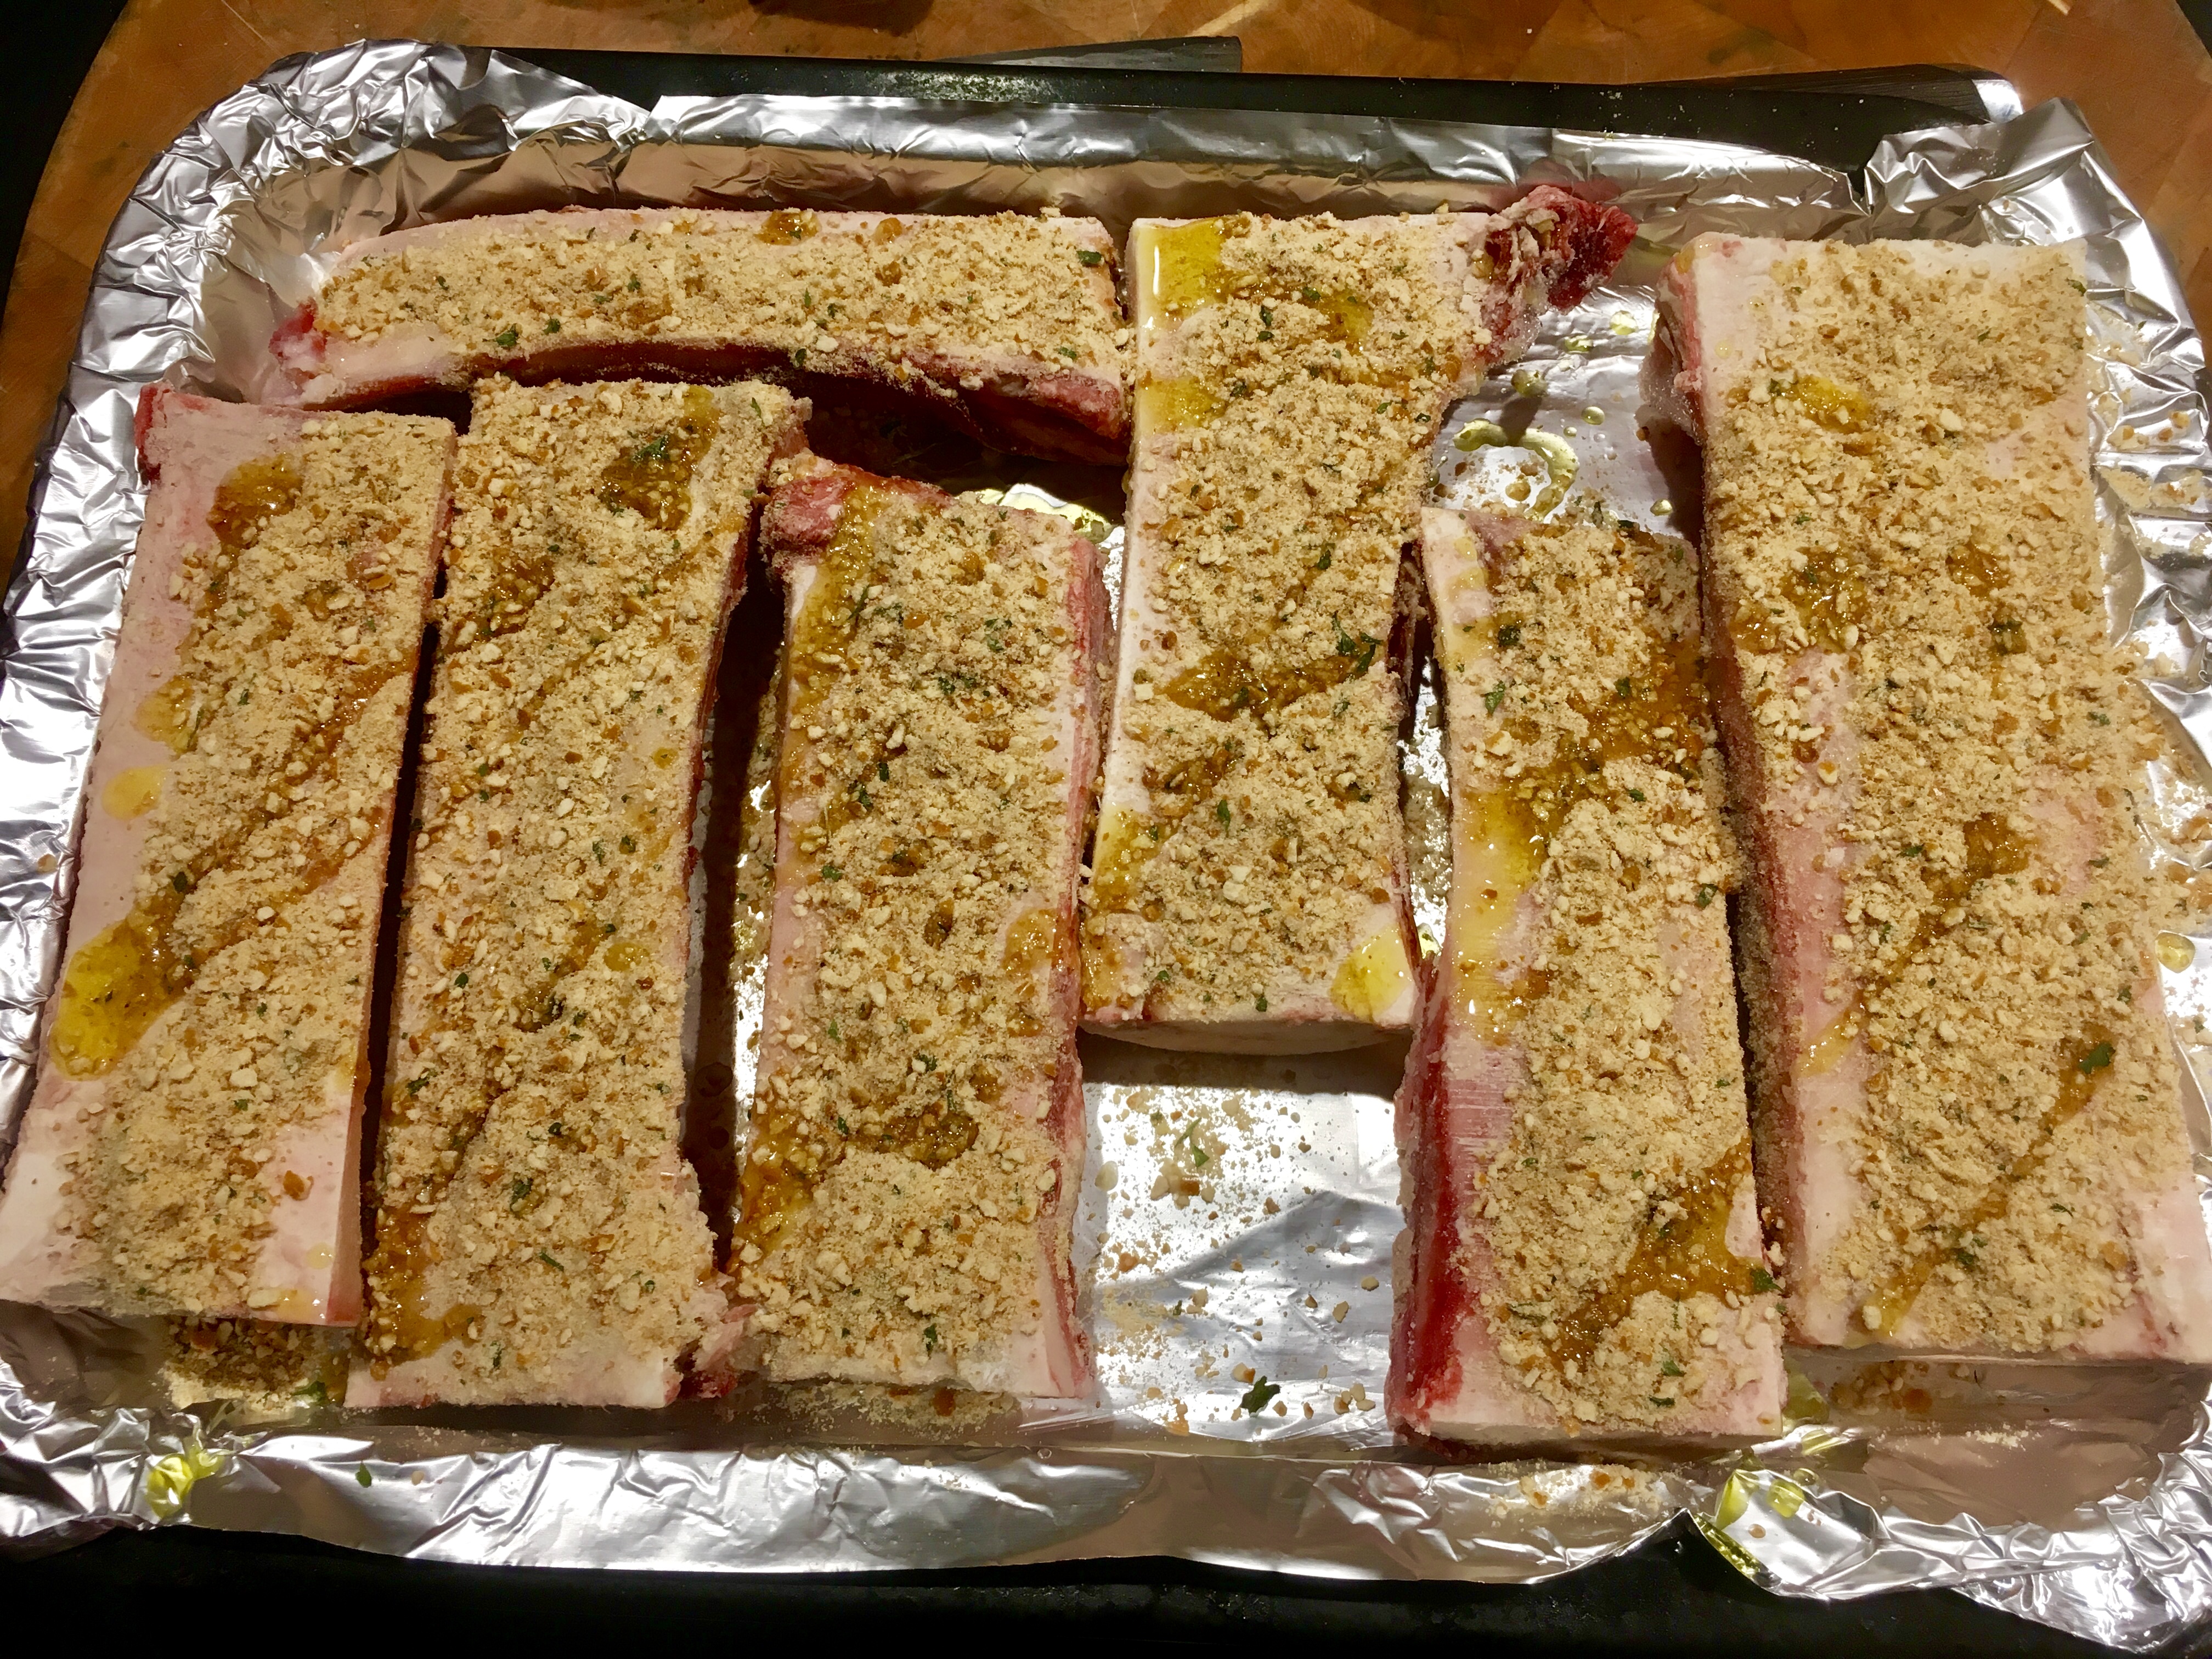
Lay the bones flat on a baking pan. If they wobble, place them on a layer of coarse salt to hold them steady. Sprinkle the pretzel mix on the bones, a little drizzle of olive oil on top, and place them in the oven.
Now you watch…there’s that one point where they go from “not quite yet” to perfection to “Oops! Too much!” …so be careful!
Some toasted bread on the side is all you need!
If you’re cooking gluten-free, try Snyder’s of Hanover GF pretzels. They are awesome…you’ll never know the difference.
SLOPPY JOSÉ
Posted: October 16, 2022 in beef, burgers, Carnivore!, cheese, Food, Recipes, tacoTags: beef, burgers, food, recipes, sandwich, sloppy joe, tacos
Instead of opening a nasty can of Manwich or other similar product, the classic Sloppy Joe sandwich is easy enough to make from scratch.
My version takes on a Mexican twist (hence the name Sloppy José), using seasoned taco meat and a great barbecue sauce. Putting them together with a sprinkling of Mexican cheese on a bun with lettuce and tomato makes for one sloppy but delicious sandwich!
For the barbecue sauce…
2 cups ketchup
3/4 cup water
6 tablespoons white vinegar
6 tablespoons apple cider vinegar
6 tablespoons brown sugar
3 tablespoons Worcestershire sauce
1 tablespoon chili powder
2 teaspoons salt
2 teaspoons black pepper
1 1/2 teaspoons cumin
Mix all the ingredients in a saucepan and simmer until the flavors have blended, about 20 minutes. Remove from the heat and cool to room temp. If you store it in an airtight container in the fridge, it’ll stay good for a few months.
For the seasoned taco meat…
1 teaspoon granulated garlic
1 teaspoon onion powder
1/4 teaspoon crushed pepper flakes
1 teaspoon dried Mexican oregano
1 teaspoon paprika
2 teaspoons ground cumin
1 teaspoon sea salt
1 teaspoon black pepper
1 Spanish onion, finely chopped
olive oil
2 lbs. grass-fed ground beef
Combine all the spice ingredients in a bowl.
Sauté the onions in a bit of olive oil until translucent. Add the beef and sauté until cooked, mixing in the spice mixture a little at a time until you’ve used it all.
For the sandwich…
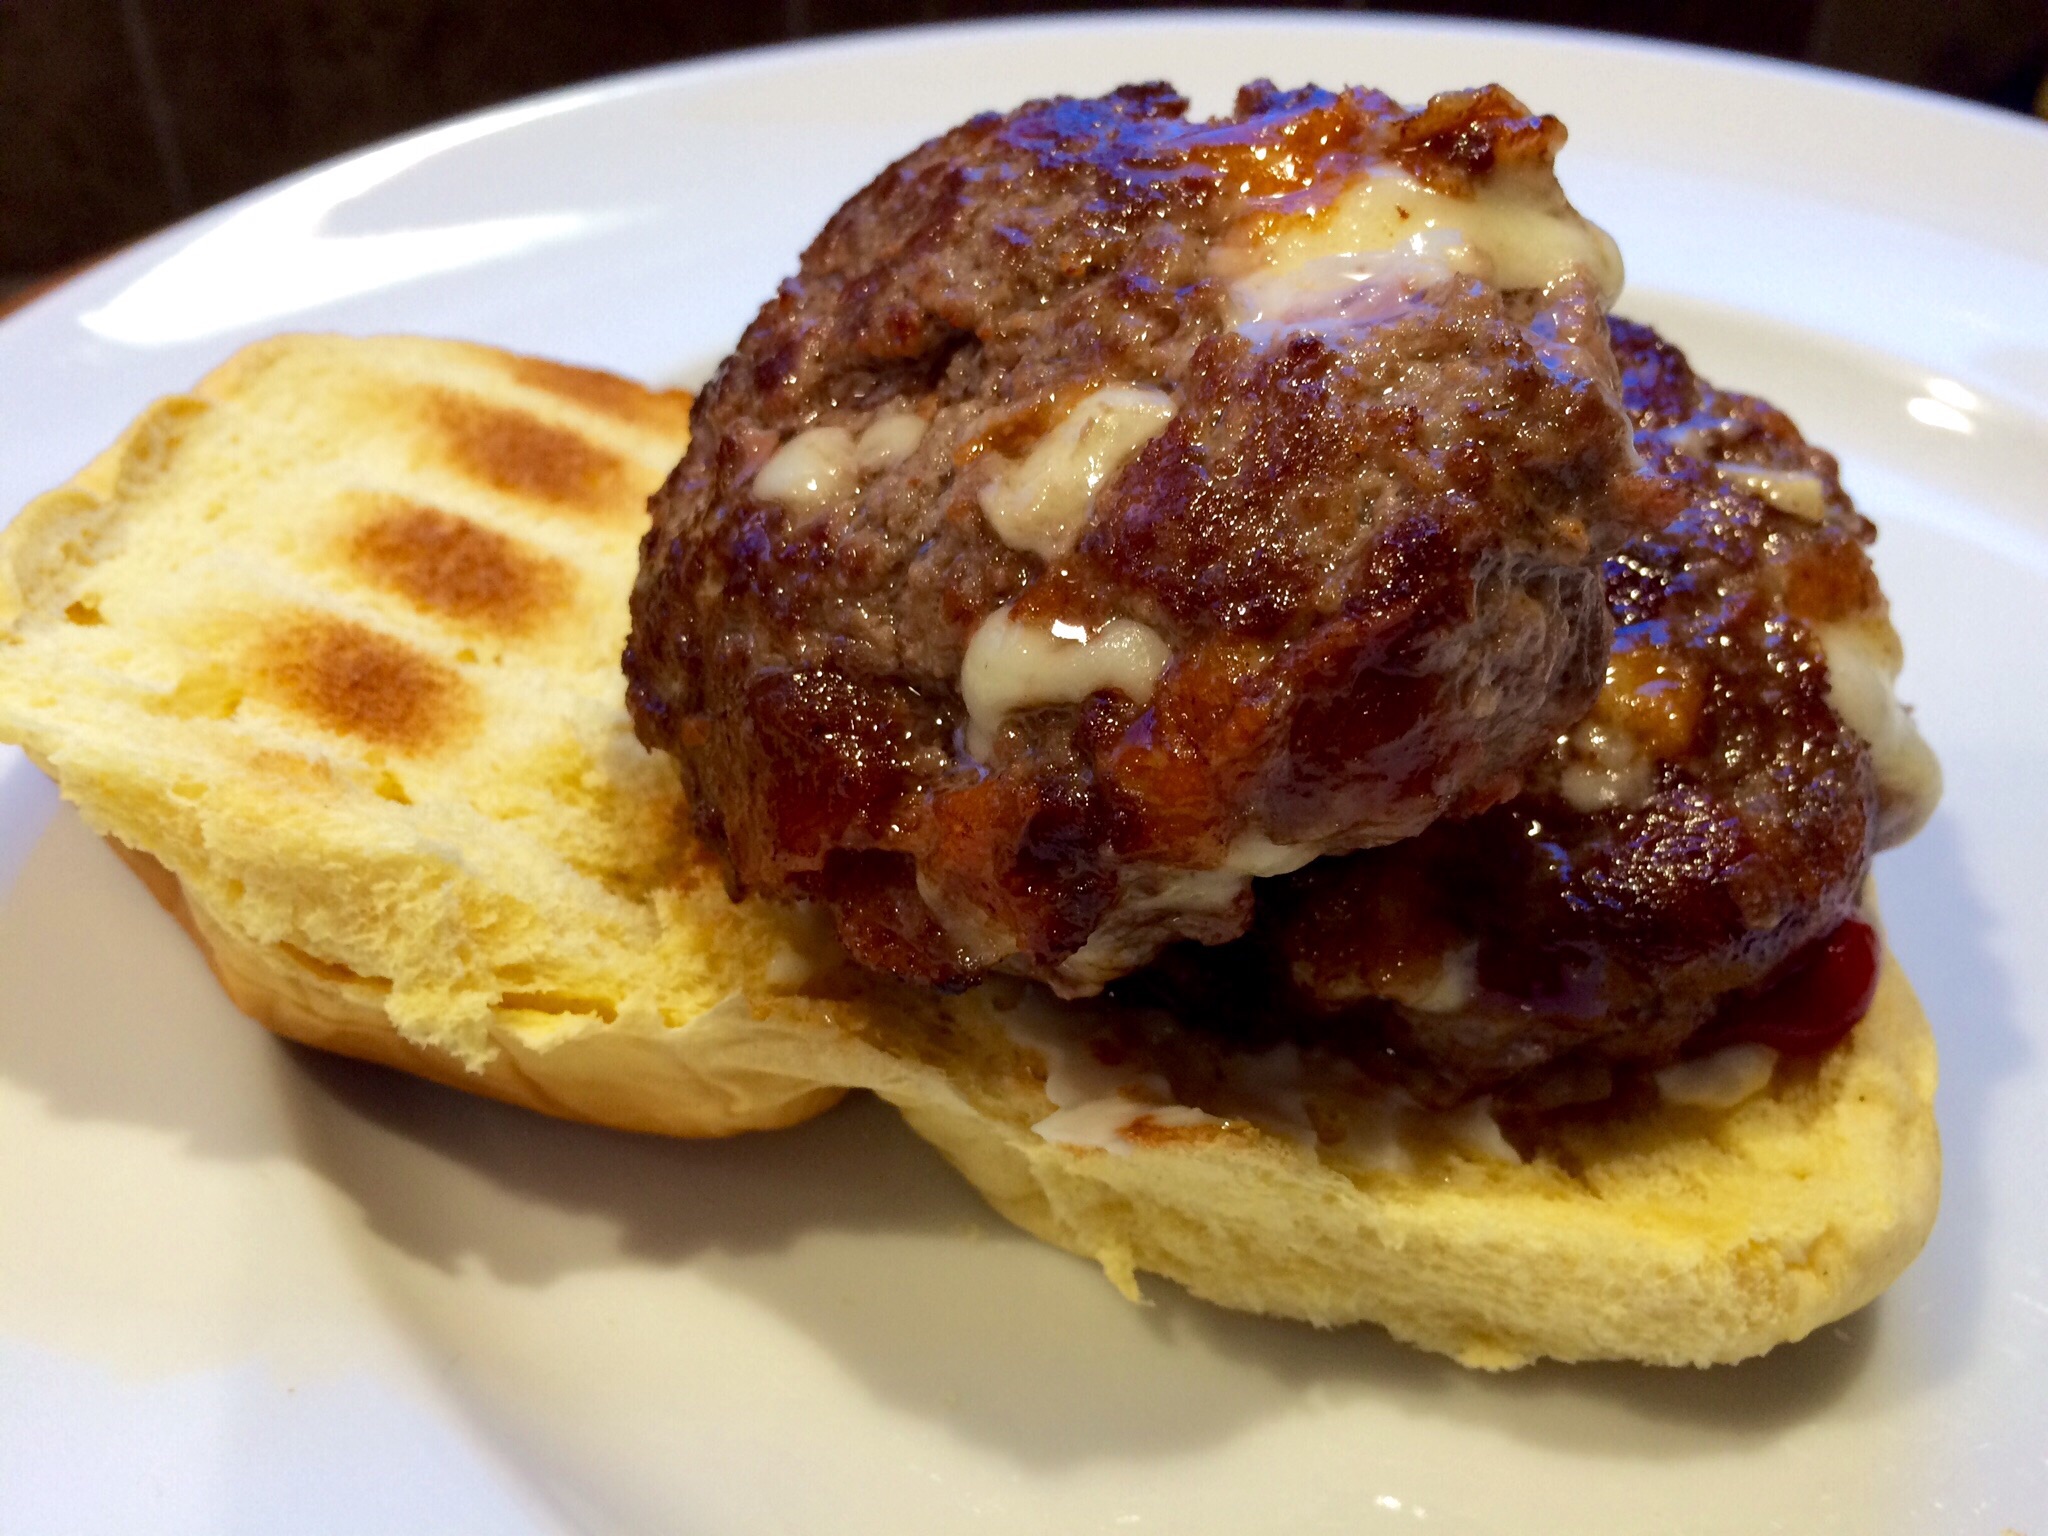
Take some of the taco meat and place it in a small non-stick pan and heat it on medium. Squirt in as much of the barbecue sauce as you like, mixing thoroughly. Sprinkle some grated Mexican cheese on top. (I like Cotija, which is like a Mexican feta, but a bag of mixed cheeses works great, too.) Mix thoroughly, letting it all melt together into one warm, gooey mess. Throw it on a bun. Add lettuce, tomato, avocado slices, whatever you like!
THE PERFECT COFFEE STEAK RUB
Posted: May 29, 2022 in beef, Carnivore!, Food, grilling, RecipesTags: beef, food, grilling, recipes, rubs, steak
Since it’s Memorial Day weekend, a grilling blog is in order. And in case of rain, this works indoors as well.
I rarely order beef at a restaurant, because I can usually make a better steak at home. For one thing, I use humanely raised grass-fed beef, something few restaurants offer. And I can cook it for less than a third of the price of a steakhouse. Granted, most steakhouses dry-age their beef, a time-consuming process of taking slabs of beef and keeping them in a fridge for weeks until a certain amount of moisture is sucked out of the meat, intensifying the flavor. I’ve done that at home in my fridge, but it takes a lot of time and effort.
There is one steak that I couldn’t match for the longest time, and that was the Capital Grille’s bone-in Kona crusted dry-aged NY strip. I would have dreams about that steak! It was time to find a way to make something that would satisfy my craving for that amazing steak at home.
Looking at a variety of coffee rub recipes on-line, I started the slow and steady process of combining ingredients in just the right proportions, tasting as I went. What I came up with really accentuated the flavor of the beef I was cooking, better than I had imagined!
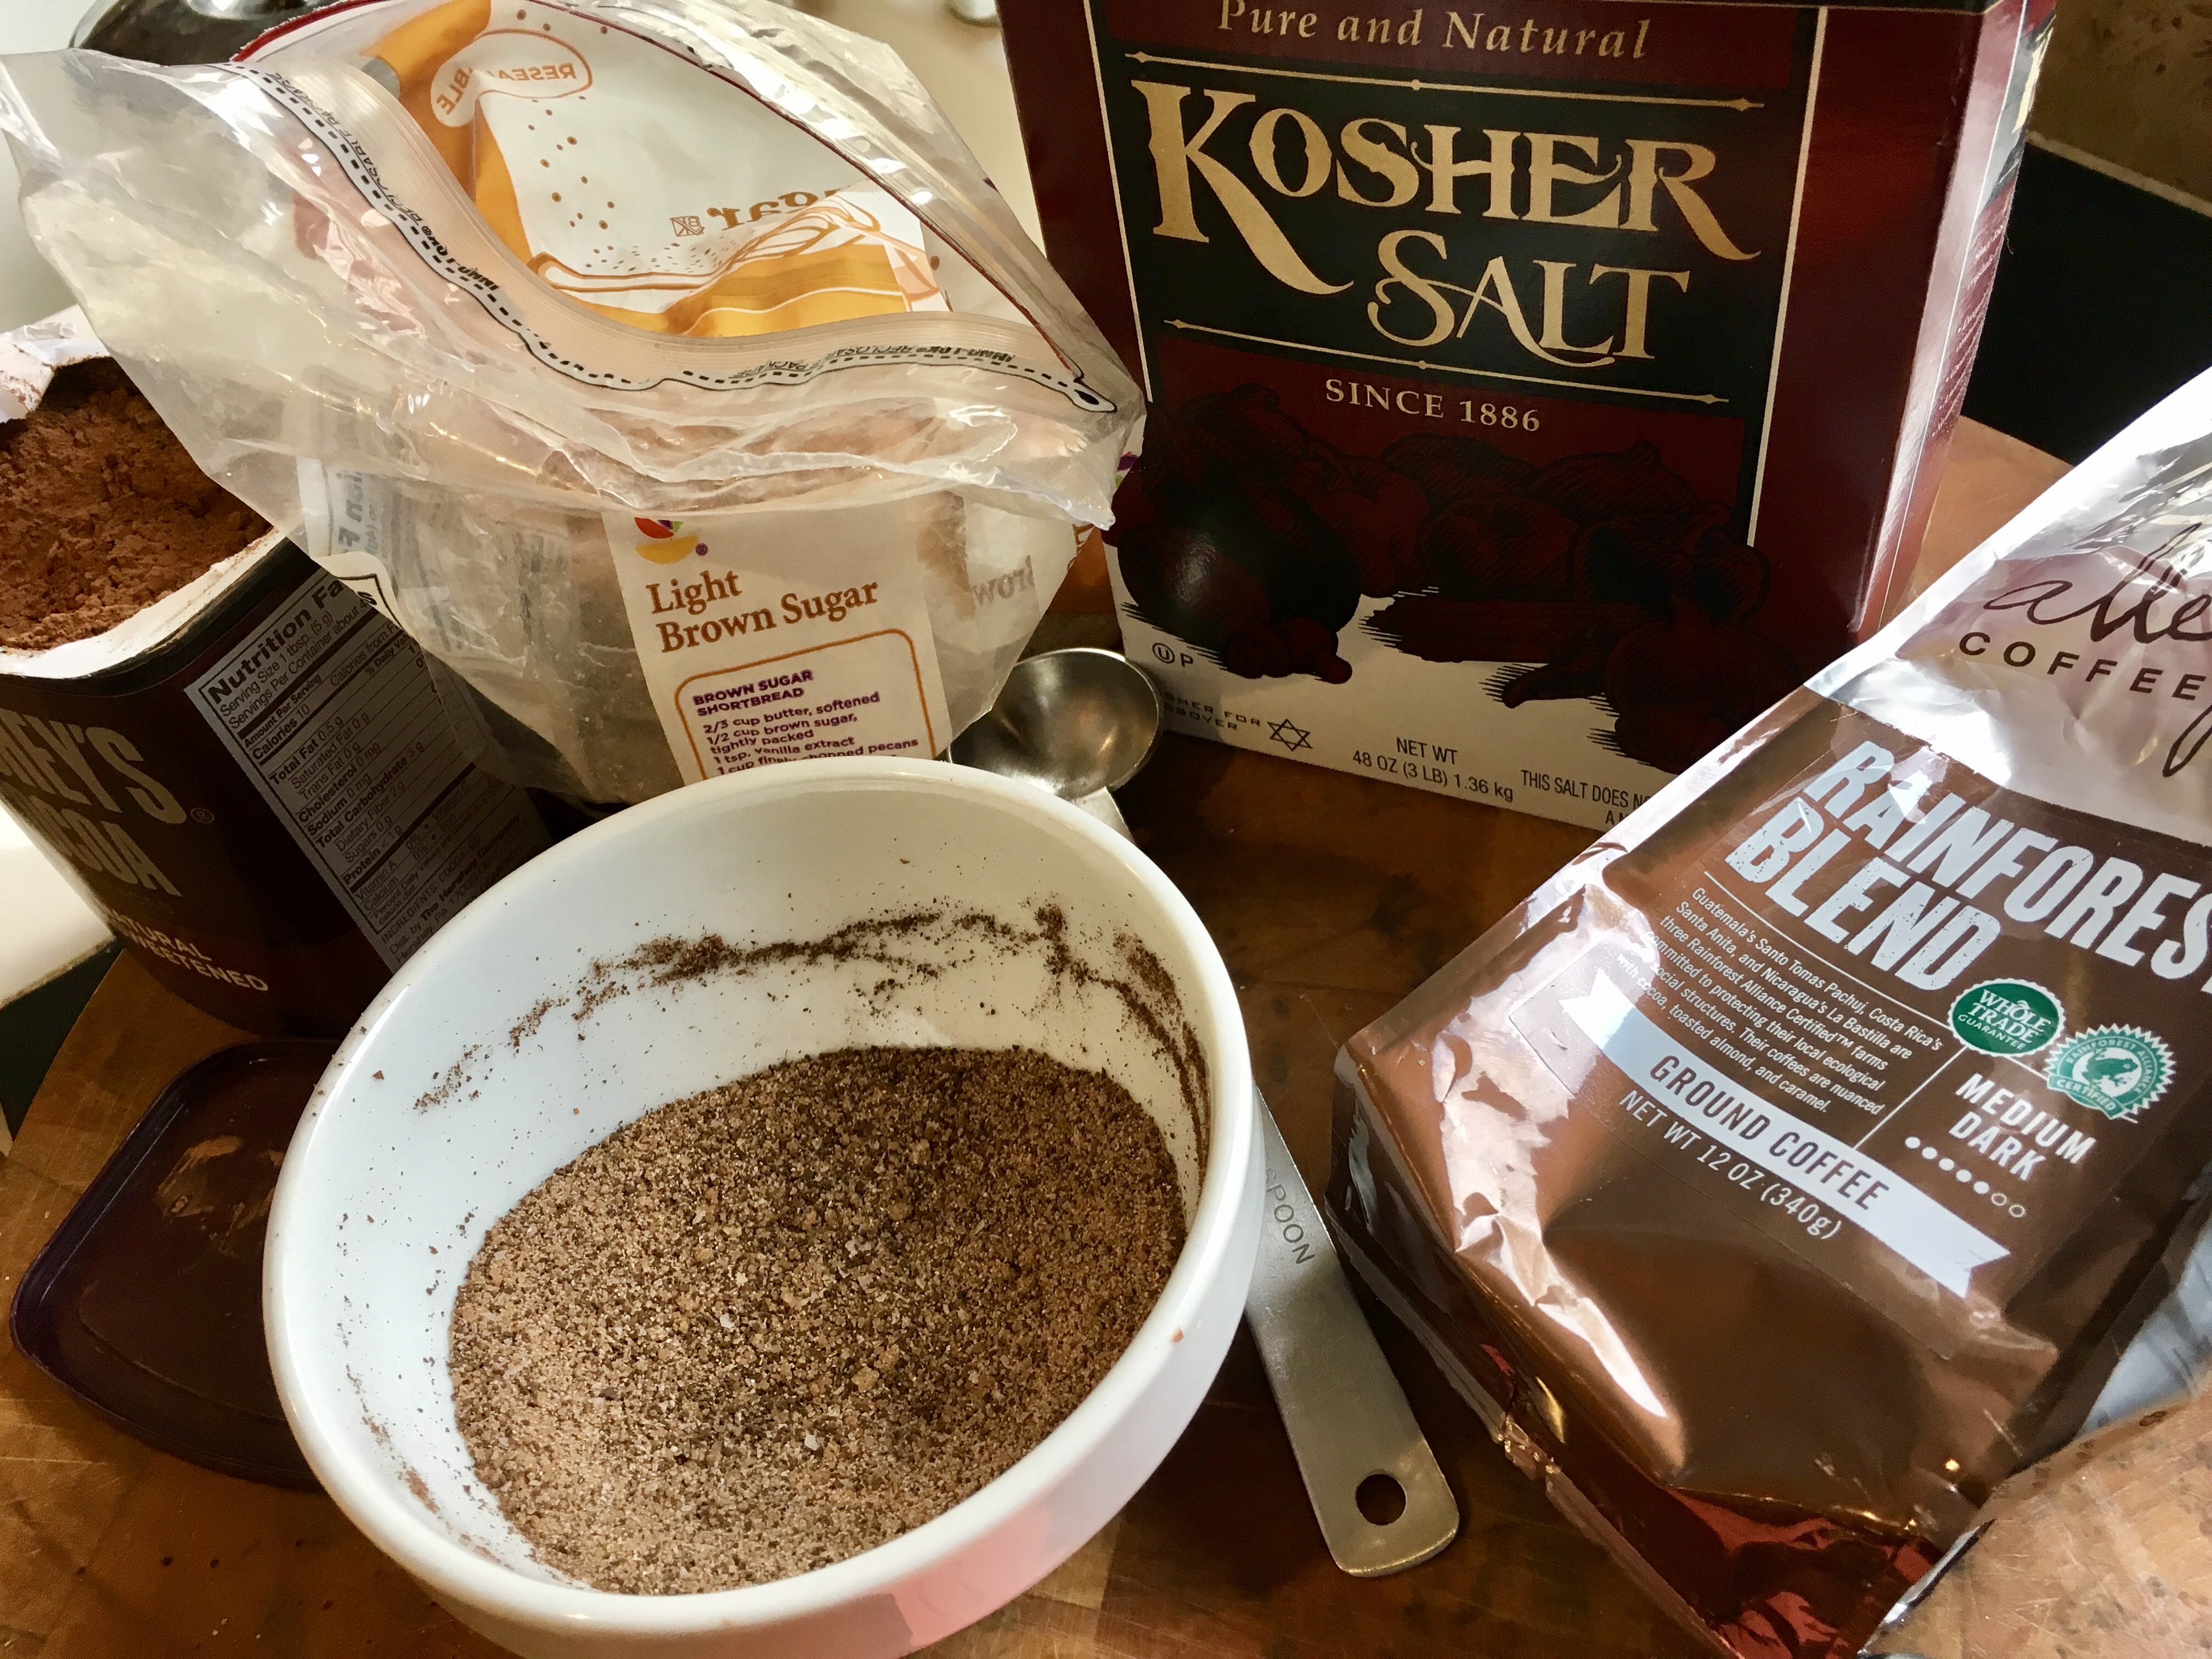
3 tablespoons brown sugar
1 tablespoon Kosher salt
1 tablespoon ground coffee (use your favorite)
1 teaspoon granulated garlic
1 teaspoon granulated onion
1 teaspoon unsweetened cocoa powder
Combine the ingredients, mixing well, and keep them in a tightly sealed container at room temperature.
The secret ingredients are the brown sugar and the cocoa. The brown sugar gives the steak a caramelized crust when cooking, and the cocoa rounds out the flavors and gives the beef an extra “umph!”
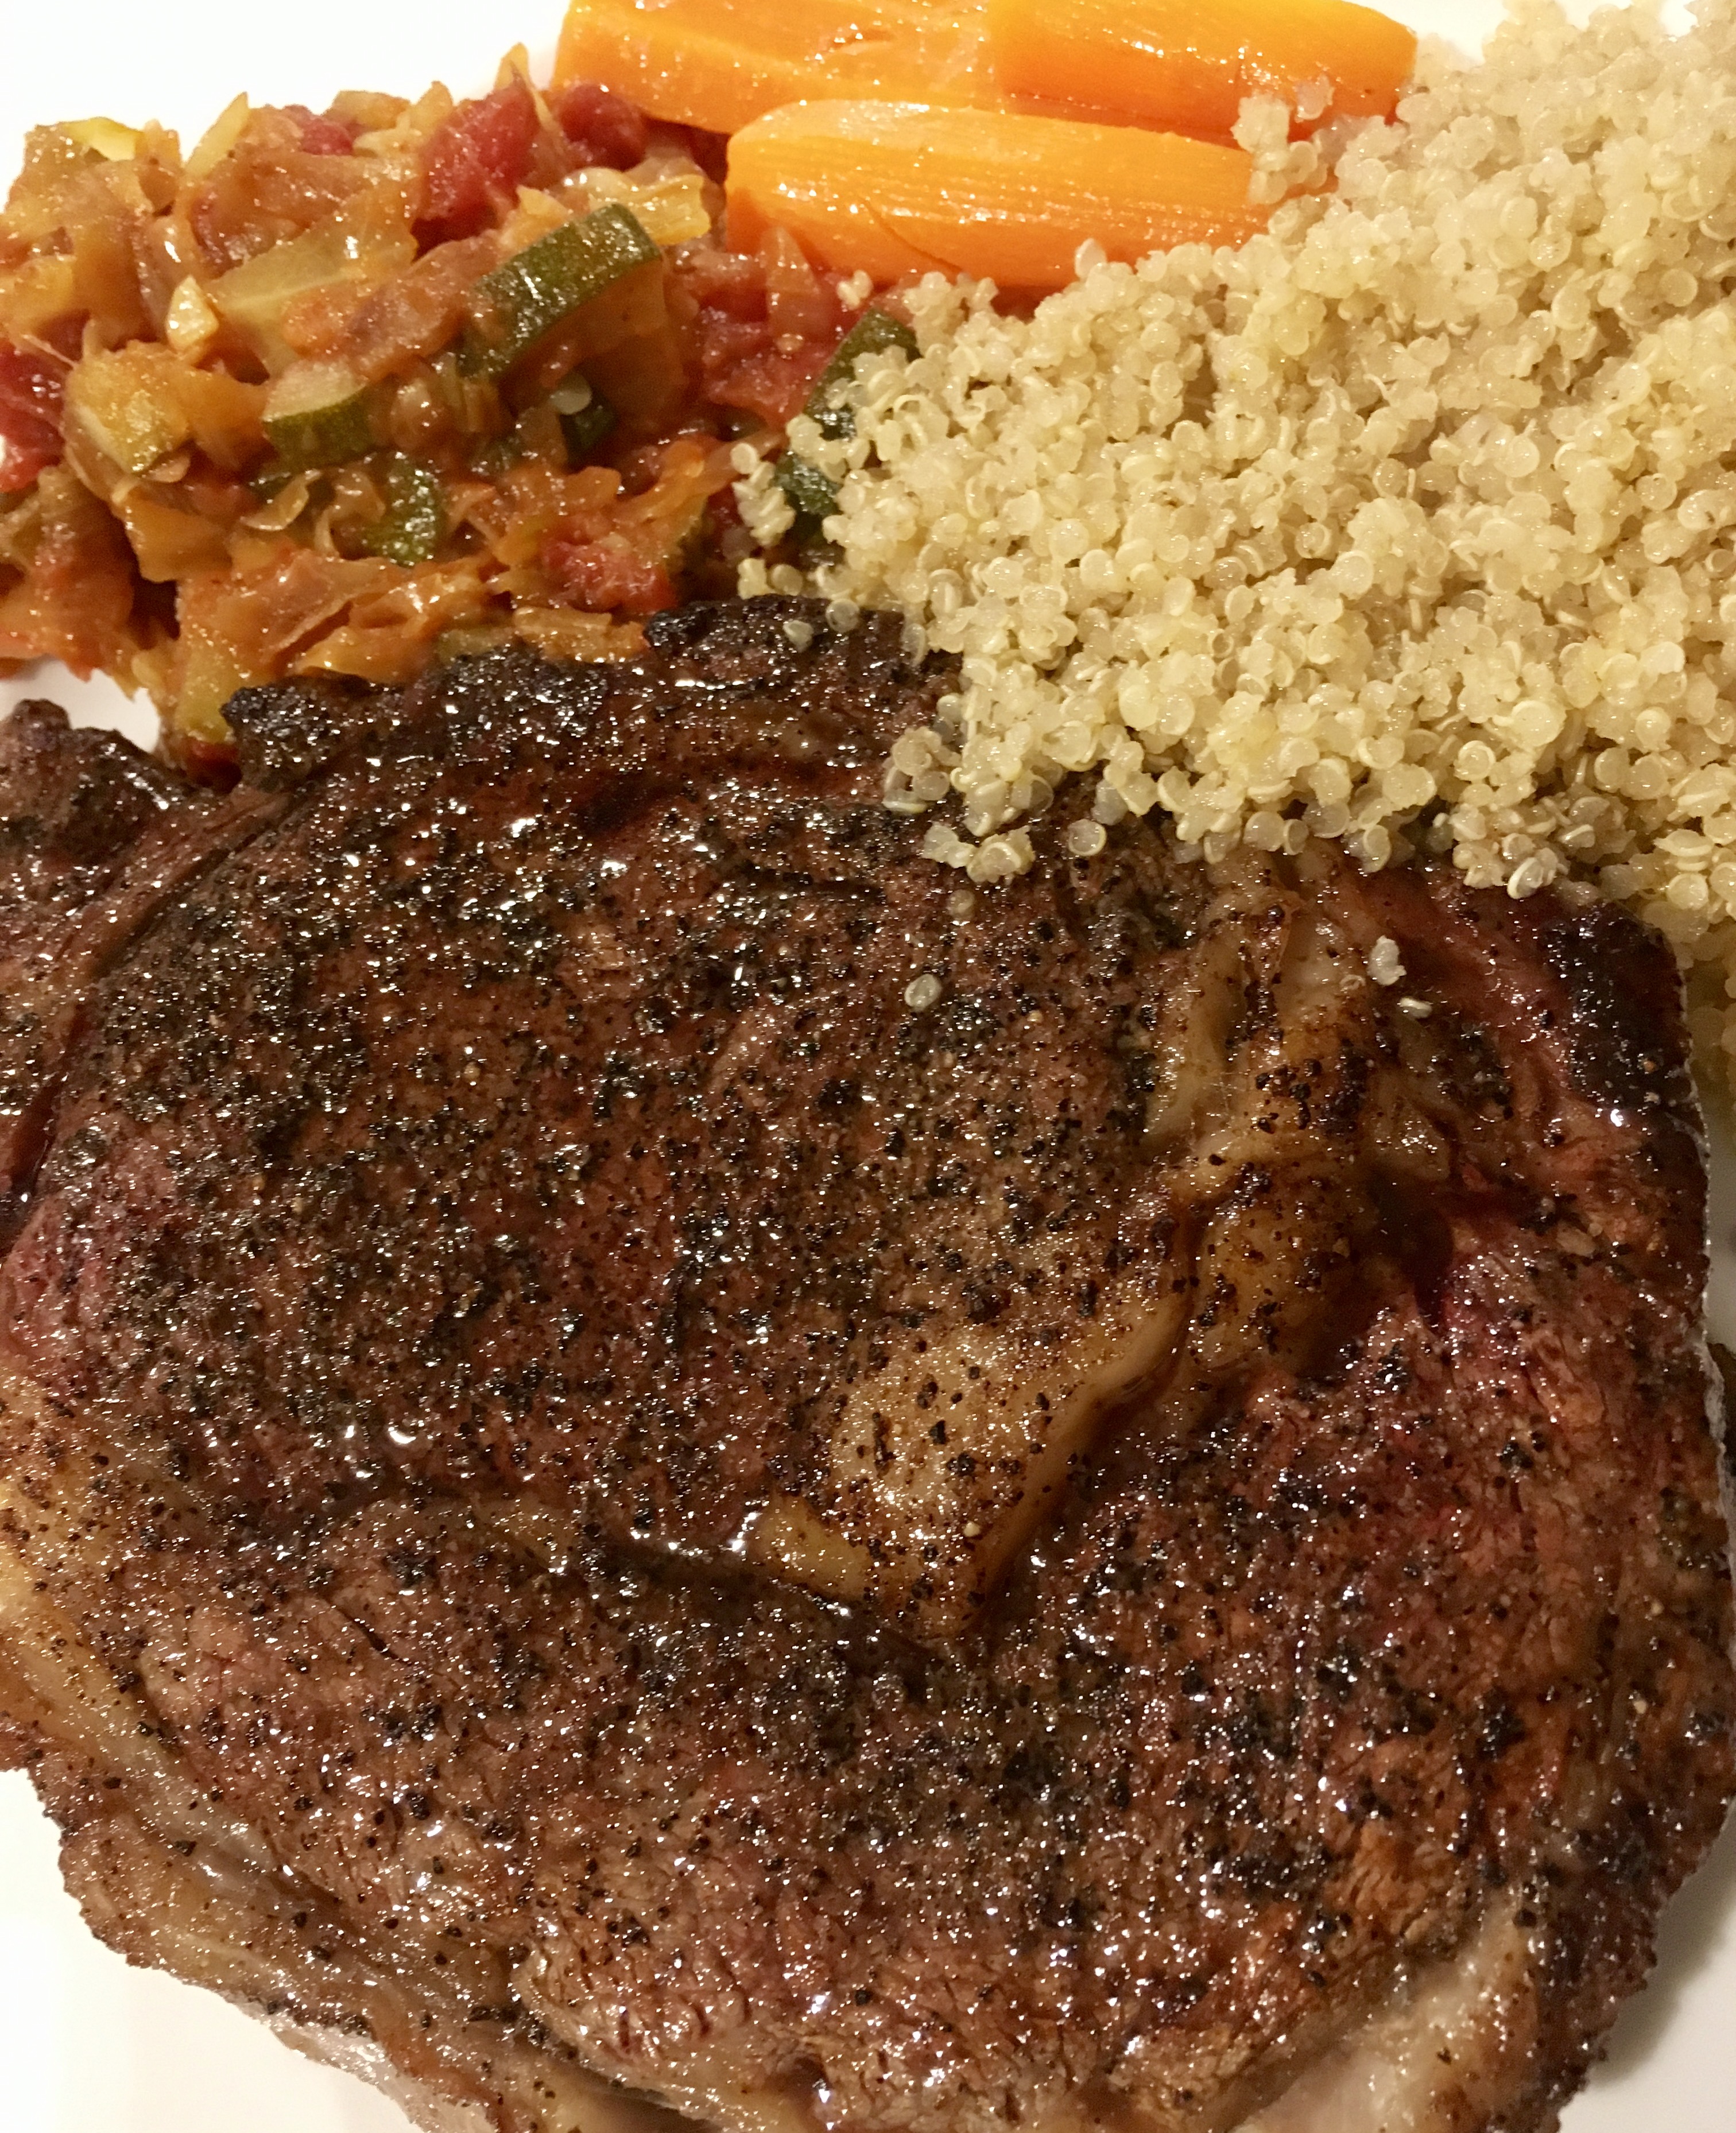
When using, sprinkle the seasoning liberally on both sides of the steak before cooking. When cooking indoors, I like to add bacon fat to a hot cast iron skillet, searing the steak on all sides, and then finishing it in the oven. But let’s face it: nothing beats the grill!
THE PERFECT PRIME RIB ROAST
Posted: December 23, 2021 in beef, Carnivore!, Food, RecipesTags: beef, carnivore, food, prime rib, recipes, roast
This is a great way to impress your guests at a holiday dinner or any big celebration.
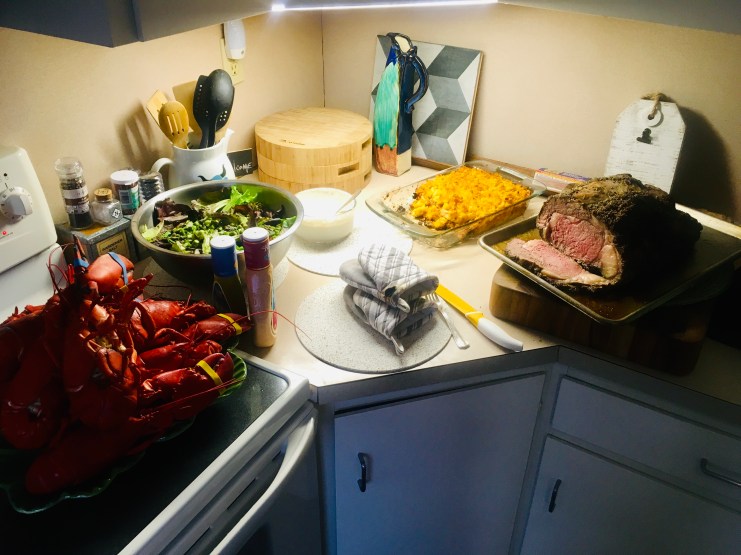
Buying a large roast is not an inexpensive proposition, so I wanted to be as sure as possible that it was going to come out right. I got to work, researching recipes online and watching every You Tube video I could find. Every chef and home cook had their own ideas of spices and rubs, but the basic methodology was the same: start the roast at very high heat to form a delicious crust on the meat, then bring the oven temperature down and cook it more slowly to bring the roast to a perfect medium rare.
A big 10-lb. roast is going to cost around 150 bucks, so the first step is simple: don’t skimp by buying a cheap cut of meat. You will absolutely regret it. Get the best meat you can afford. The reward you’ll get when you slice it in front of the family, with all those “oohs and ahhhs” will totally be worth it!
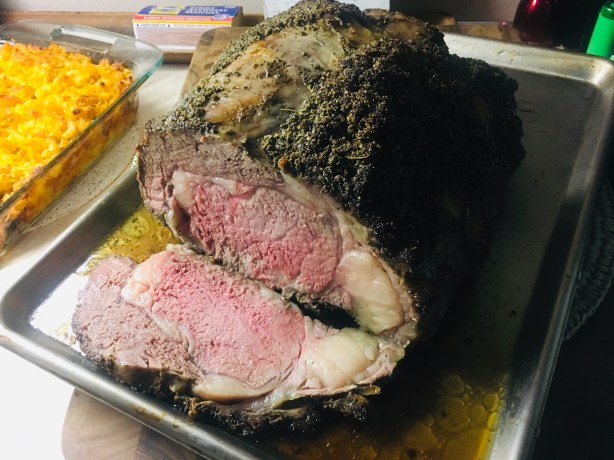
The second step is simple but very important: make sure the roast is at room temperature before cooking, and make sure the oven is really pre-heated properly to the right temperature before you put the roast in it. A cold roast will cook unevenly, and you won’t get that beautiful pink all the way through the meat when you slice it. It’ll be raw on the inside and overcooked on the outside. Take the roast out of the fridge for a good 2 hours before cooking…and if it’s frozen, back-time the heck out of it so that it’s truly thawed!
You can already see that back-timing is going to play an important part in a perfect roast. So, for example, if you want to be serving at 7PM, you need a half-hour (at least) for the meat to rest after cooking…about 2 hours of cooking time…and about 2 hours of bringing the roast to room temperature….give or take. Oven temperature settings vary, and roasts can be uneven. You’ll have to keep an eye on this thing.
That brings us to monitoring the temperature. If you have a meat thermometer, you’ll need to jab the roast a couple of times during the cooking process to know what temperature you’re at. I don’t like this method, because it means you’re pulling the roast out of the oven, dropping the oven temperature each time, and jabbing the meat, which releases juices every time you pull the thermometer out. I suggest investing in a probe that goes in the roast from the very beginning, and stays in the roast through the whole cooking process, monitoring the temperature the entire time. When the roast hits the perfect temperature of about 115 degrees, it beeps and lets you know it’s time to remove it from the oven. It’s practically foolproof.
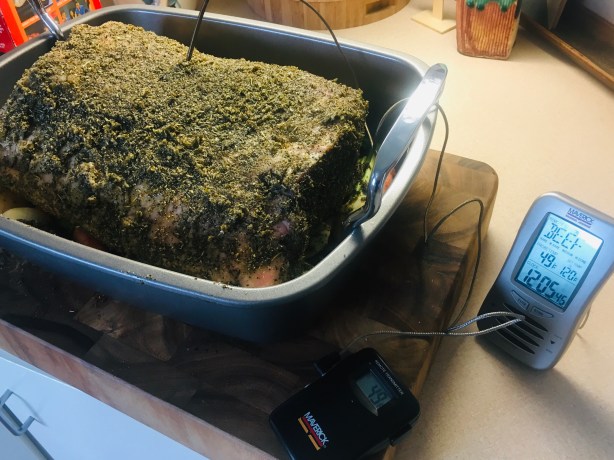
My old-school monitoring system. I had it set for 120 degrees, but actually pulled the roast out at 115.
The monitor that I have is old-school, but it still works like a charm. I use it at Thanksgiving to get perfectly roasted turkeys on a Weber grill, and it works great here as well. The probe goes into the meat, and it’s connected to a transmitter. It also has a receiver that can be as far away as 100 feet from the roast, and it will signal you when the desired temperature has been reached. That means you don’t have to stare at the roast all the time. You don’t have to open the oven door all the time. You can actually enjoy a cocktail in the company of your guests or family while the meat cooks.
Other monitors are totally wireless. You stick a probe in the roast, and it calls your cell phone when the meat is done. Pretty cool. Amazon’s got whatever you need.
2 onions
3 carrots
3 stalks of celery
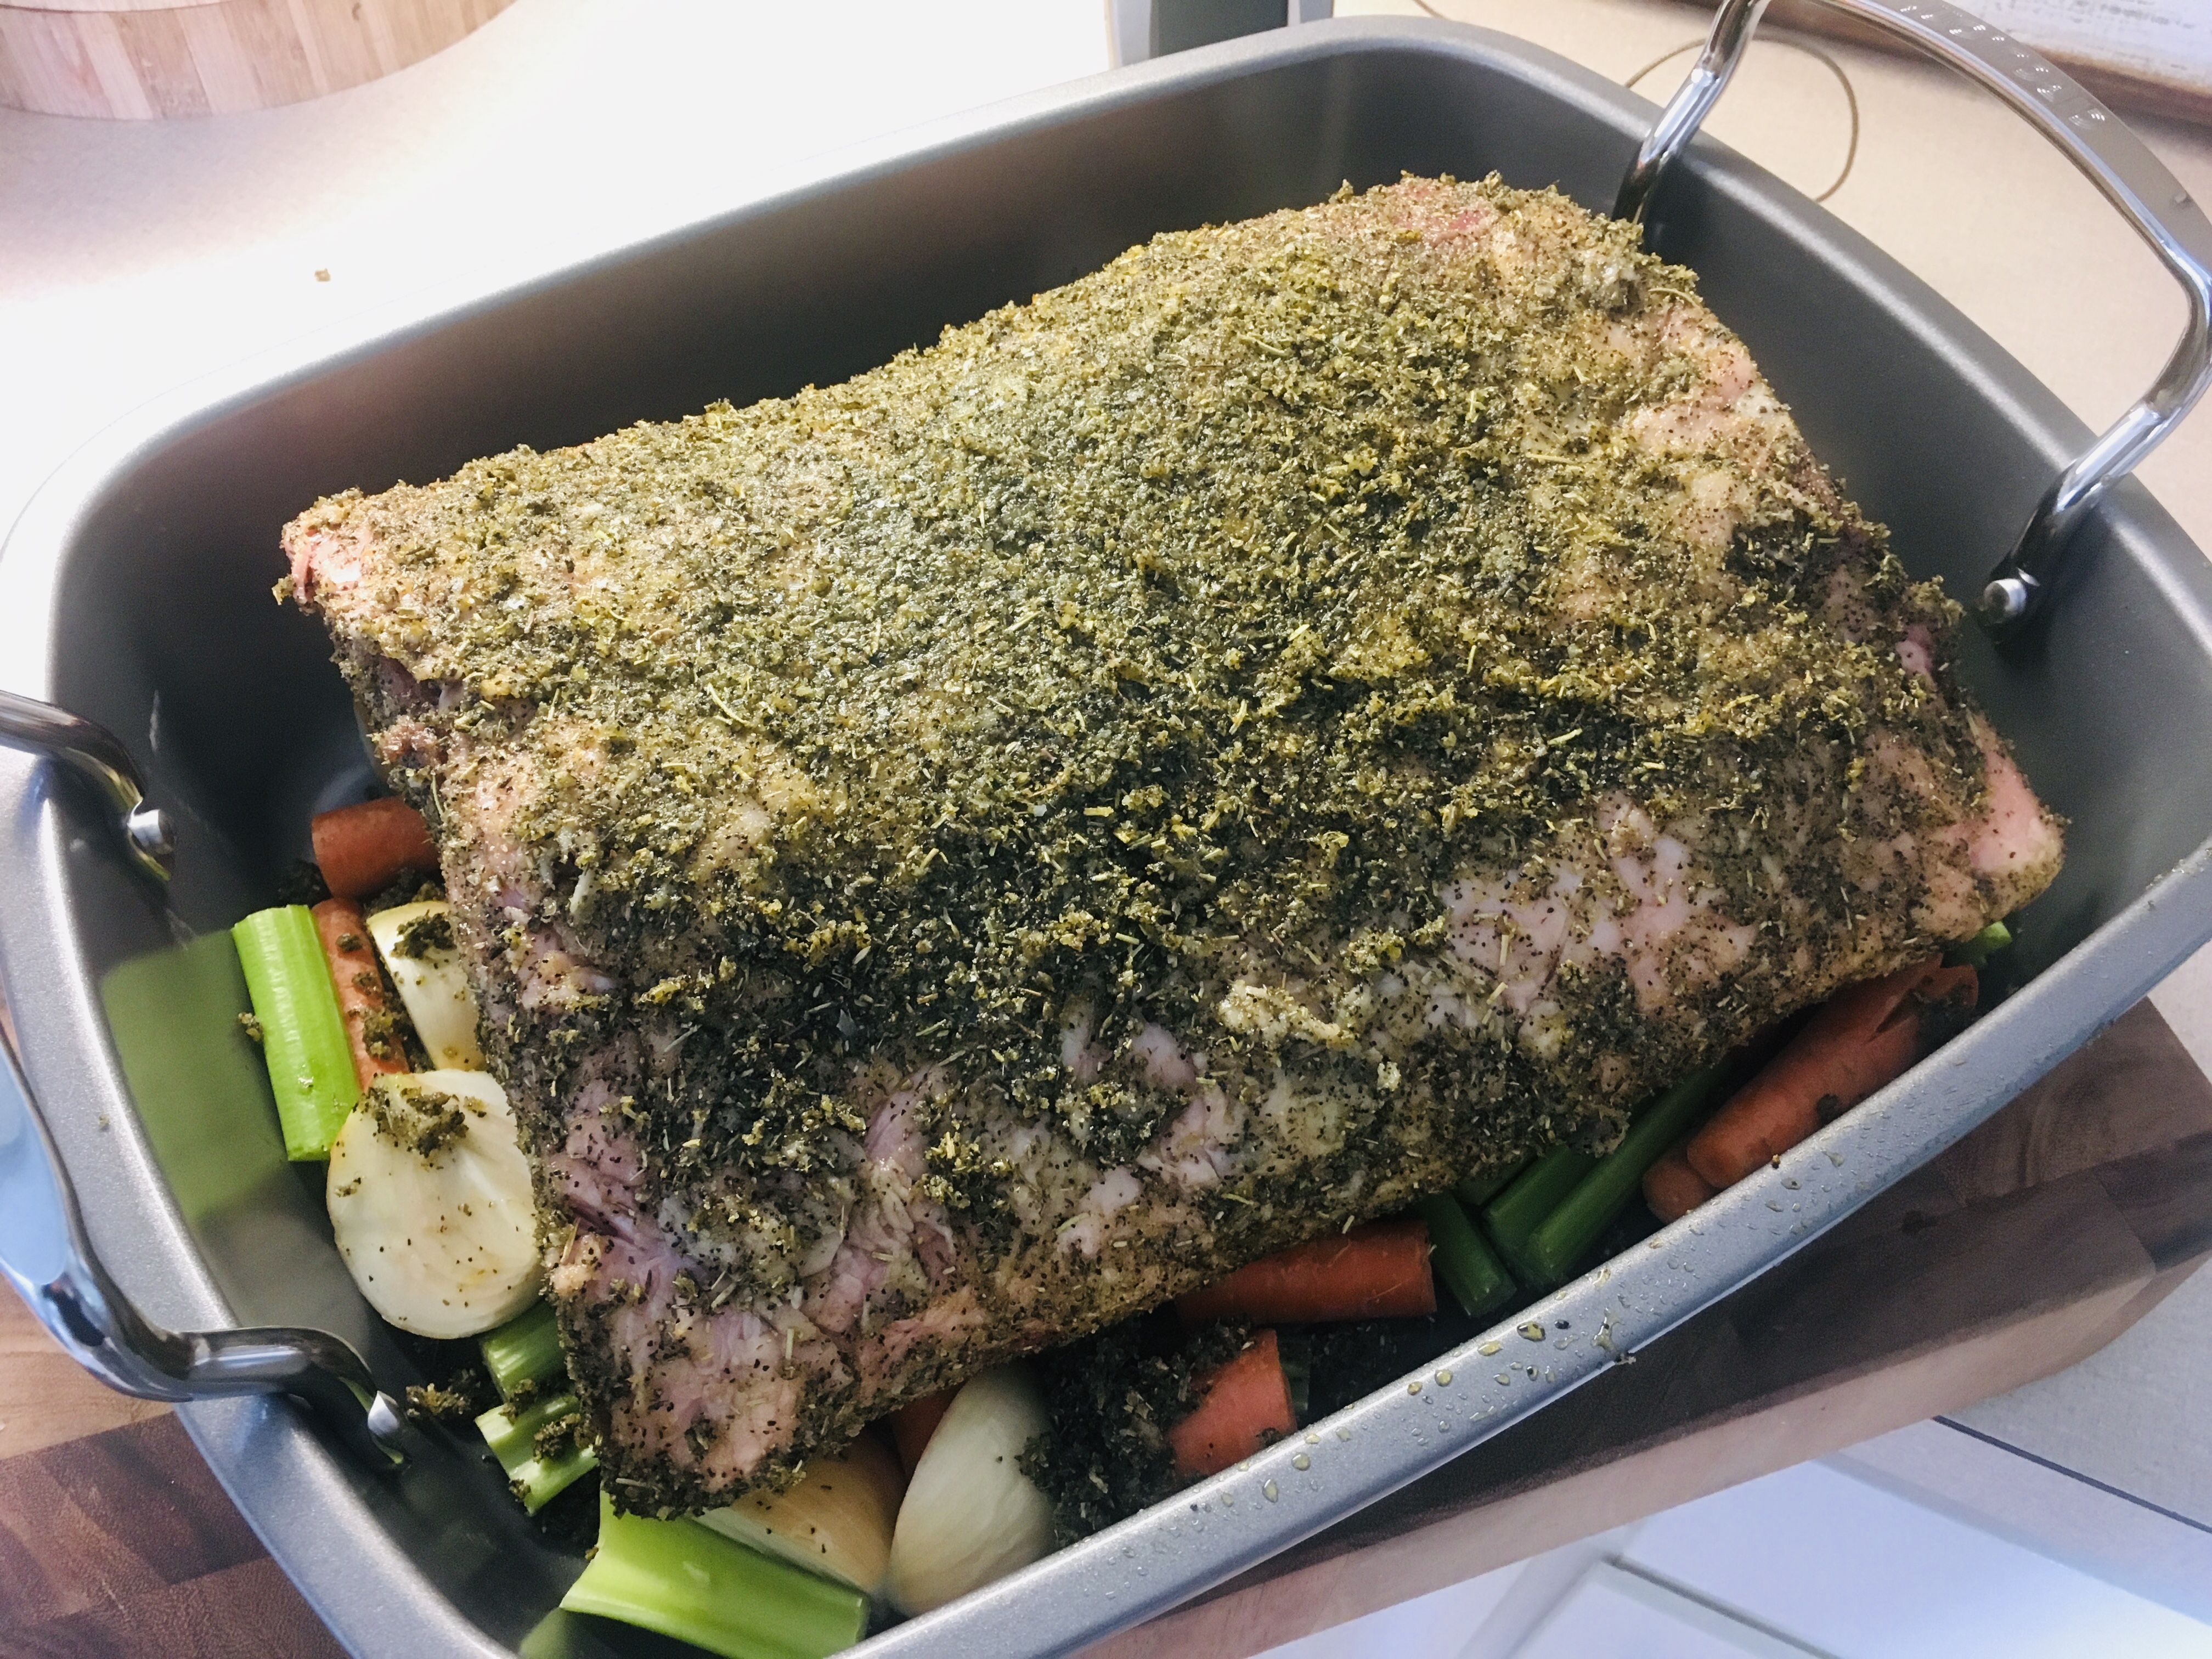
When it’s time to remove the roast from the fridge to bring it to room temperature, roughly chop the onions, carrots and celery and place them on the bottom of a roasting pan. Lay the roast on top.
The rub that you use on your roast is really a matter of what you like. Use the herbs and seasonings you love, and you can’t go wrong. Here’s my recipe for a 10 to 12-pound roast…
1/2 cup olive oil
1/4 cup Kosher salt
2 tablespoons black pepper
2 tablespoons granulated garlic
2 tablespoons granulated onion
2 tablespoons dried oregano
2 tablespoons dried thyme
2 tablespoons rosemary, finely chopped
Combine these ingredients in a bowl. You want it to be like a paste or wet sand. If it’s too dry, add a little more olive oil. Dried oregano and thyme are usually fine the way they are, but because rosemary can be hard like pine needles, I either chop them really fine or I put them in a spice grinder. I have a small rosemary plant growing indoors by my window, so the needles are soft and wonderfully fragrant when I chop them up.
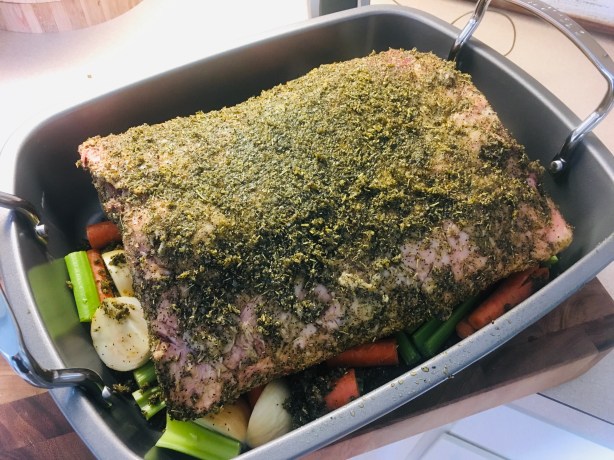
Rub the seasonings all over the roast, making sure you get the bottom and the sides as well. Use it all up! You might think it’s too much salt, but remember: it’s a big hunka meat. Some of the seasonings will fall off. Be fearless!
To flavor the meat while cooking, I add a cup of red wine (optional) and 2 cups of beef or chicken stock in the pan with the vegetables. (In some cases, after the roast is cooked, you can use the juices at the bottom of the pan to make gravy. But give it a taste first. If you use a lot of salt on your roast, the juices could be too salty to use in your gravy. Gravy or not, a classic horseradish cream sauce on the side is a great choice. (The recipe is below.)
About a half-hour before you want to start cooking, pre-heat the oven to 450 degrees. You really want it hot to start. Roast the meat at 450 for 20 minutes, then turn down the heat to 325 degrees.
This is where many recipes tell you to calculate how much more to cook based on the size of the roast, etc. If you’ve got a probe in the roast, you can see exactly how the temperature changes over time. If you decide that you’re going to “wing it,” you can go by the general math of 15 minutes per pound of meat, including that first 20 minutes. So, if you have a 10-pound roast, multiply that by 15 and you get 150 minutes. Subtract the first 20 minutes from that, and you need to cook the roast another 130 minutes at 325 degrees. This is by no means a guarantee of success, but a very general guideline.
If you have a standard meat thermometer, you know that you can safely leave the roast in the oven at least an hour before taking the first temperature reading. Then play it by ear. (Like I said, you don’t want to be opening the oven door and poking the meat all the time.)
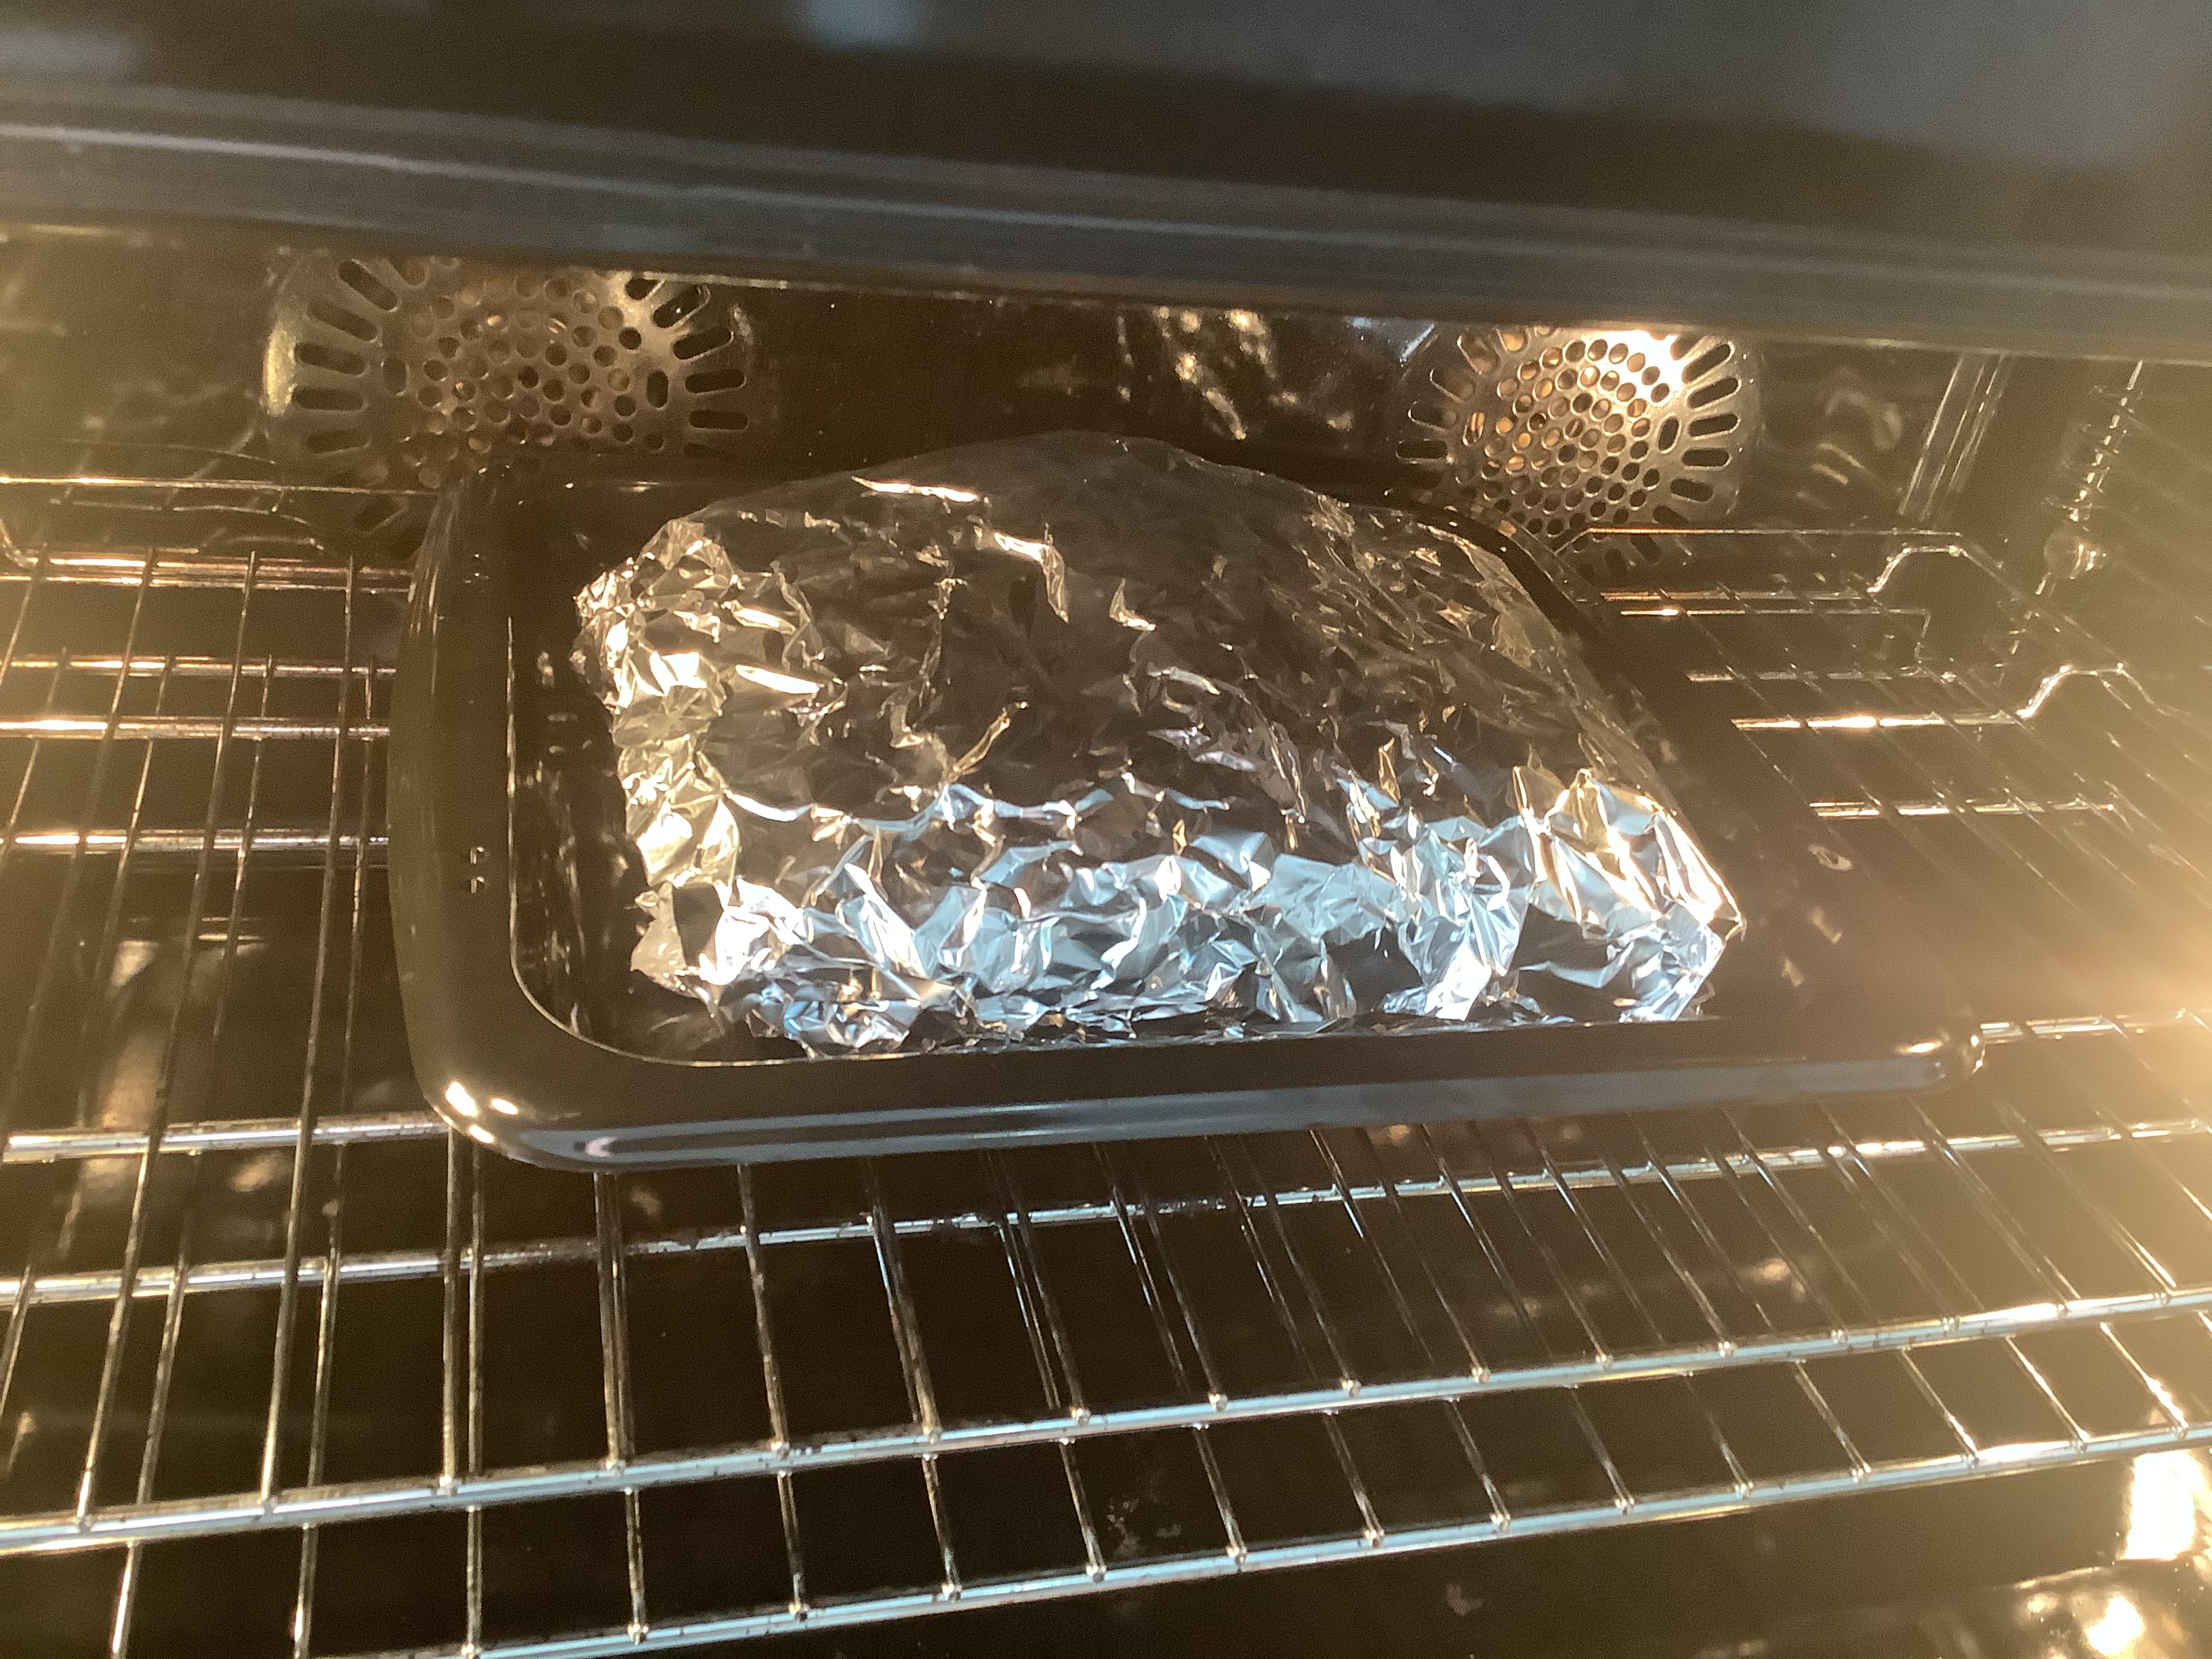
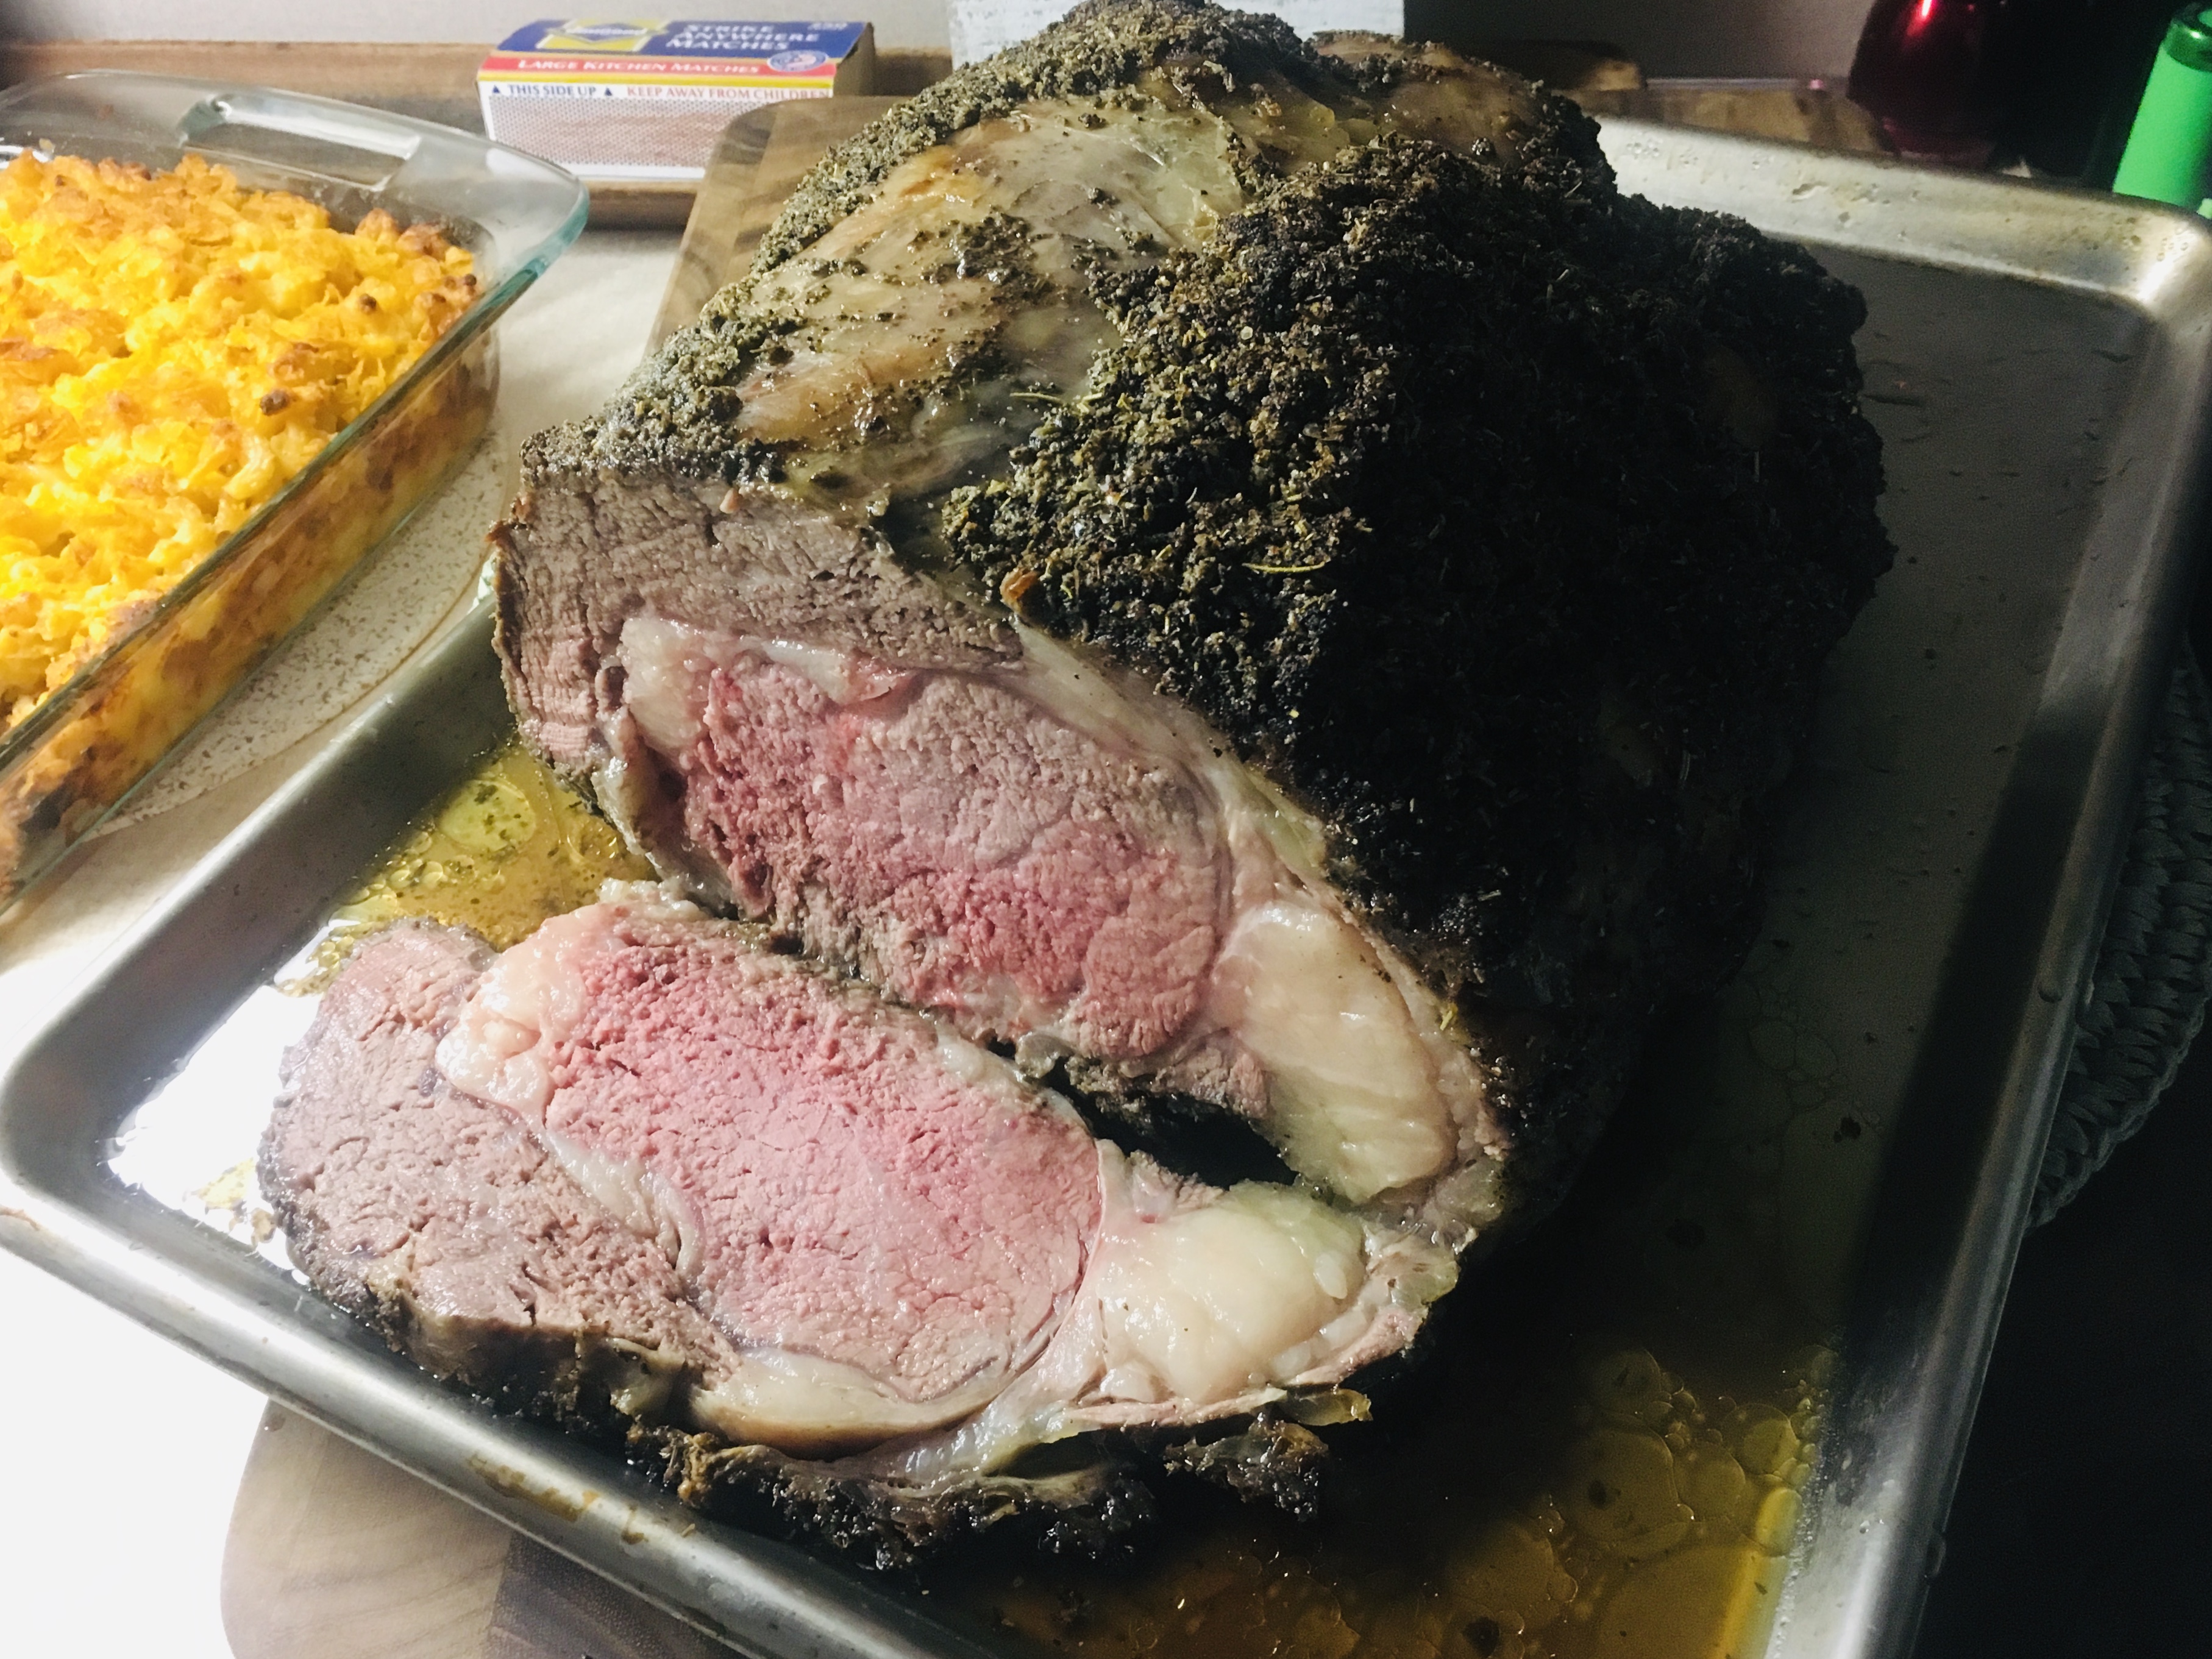
Although I had my probe set at 120 degrees, I took the meat out at 115, removing the roast from the pan, and placing it on a cutting board (or another clean pan.) Then I wrapped the roast with foil, and covered the foil with a clean bath towel, keeping all the heat in, letting the meat rest for AT LEAST 30 minutes. The meat inside continued to cook and reached a temperature of 130 degrees before it started to slowly cool down. (If you leave the probe in while the meat is wrapped, you’ll actually see the temperature rise.)
After at least 30 minutes of resting, I unwrapped the roast and started slicing!
This is where you can pour off all the pan drippings and make a sauce if your spice mix wasn’t too salty or strong. As I mentioned, the classic horseradish cream sauce is great to serve with it…
1 cup sour cream
1/2 cup mayonnaise
6 tablespoons prepared horseradish (more if you like it!)
the juice of 2 lemons
1 tablespoon Worcestershire sauce
Combine all the ingredients, mixing well. Keep this refrigerated until it’s ready to serve.
STUFFED CABBAGE
Posted: December 11, 2021 in bacon, beef, Food, pork, Recipes, UncategorizedTags: beef, cabbage rolls, food, pork, recipes, stuffed cabbage
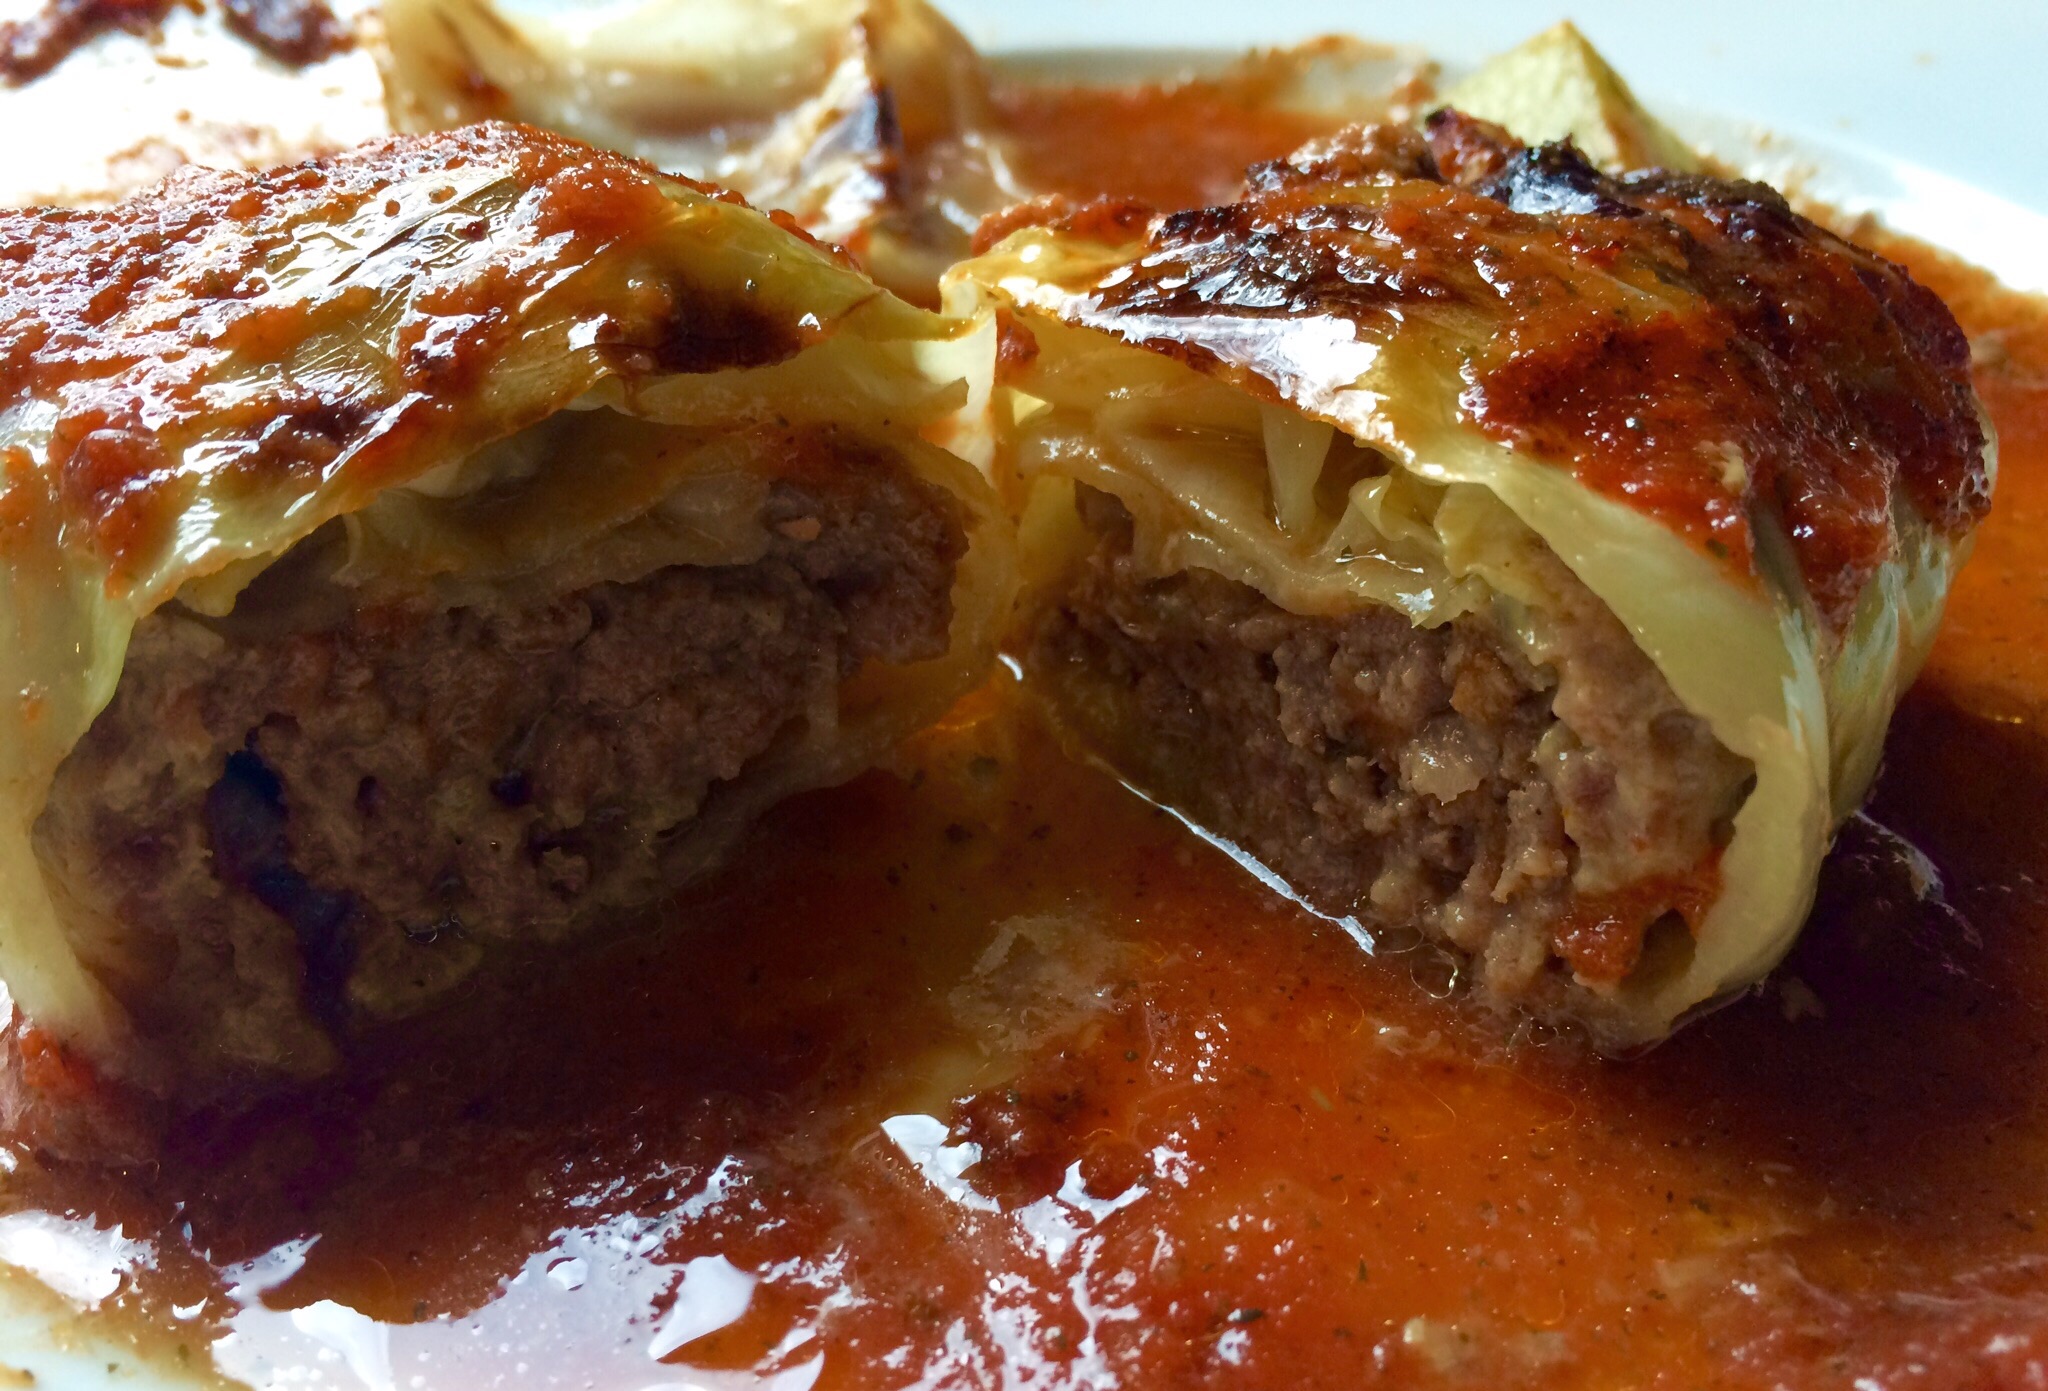
My Mom’s birthday was a couple of days ago, and even though she’s not with us anymore, I think a lot about the family favorites she used to cook. If there’s one dish that my Mom made all the time but I didn’t appreciate until I got older, this is it. Stuffed cabbage, cabbage rolls, or balandėliai, as we say in Lithuanian, was a staple in our home and one of my Dad’s favorites.
I had seen my Mom make these beauties so often in my childhood, I didn’t even need to check online recipes out for guidance. That doesn’t mean I make them exactly like Mom, but my version came out pretty good. I think she would’ve been proud.
2 full strips of bacon, chopped
1 yellow onion, finely chopped
1 teaspoon salt
1/2 teaspoon pepper
1/2 teaspoon granulated garlic
1 lb. ground grass-fed beef
1 lb. ground pastured pork
1/2 cup breadcrumbs
2 eggs
1 large head cabbage
1 pint homemade chicken, beef or veal stock
750 g diced tomatoes (1 Pomi container)
1 teaspoon thyme
1 teaspoon salt
1/2 teaspoon pepper
1/4 teaspoon granulated garlic
1/4 teaspoon granulated onion
Chop the bacon into small pieces and fry them until crisp. Finely chop the onion, and add it to the bacon and rendered fat in the pan, cooking until the onions are translucent. Add the salt, pepper and garlic. Mix well, and remove from the heat. Let it cool to room temperature.
In a large bowl, combine the beef, pork, breadcrumbs, eggs, and cooled bacon and onion mixture. Place it in the fridge to firm up.
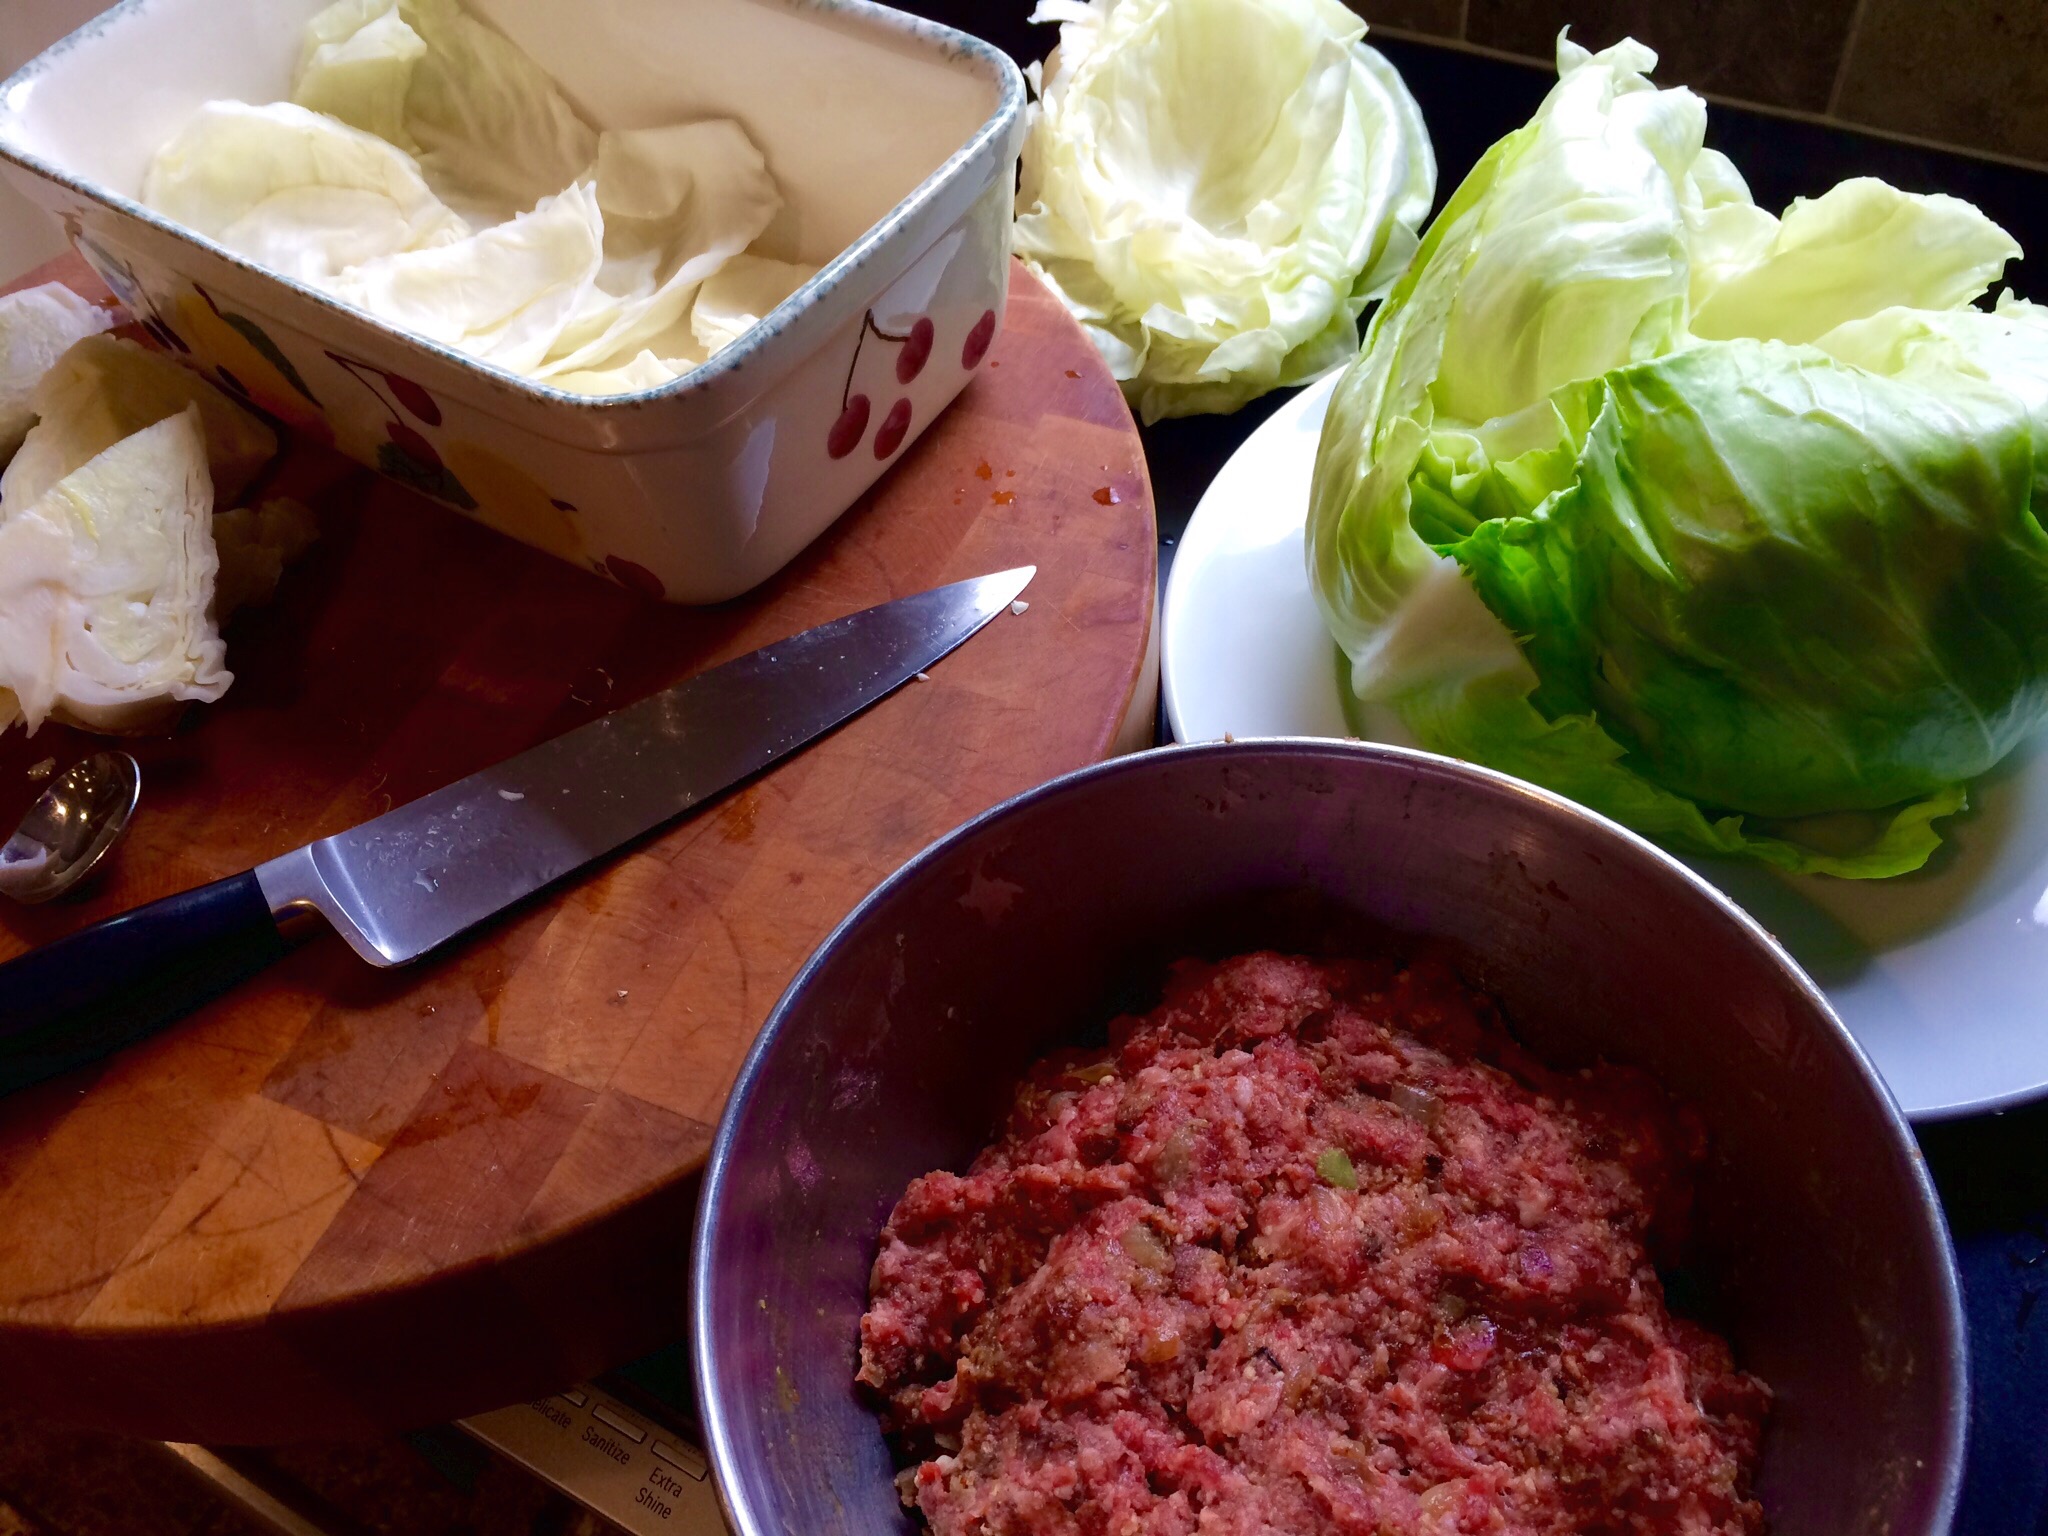
Let a large pot of water come to a boil. Core the cabbage, leaving the leaves whole, and carefully immerse the head of cabbage into the hot water. (I use two sets of tongs to handle the cabbage.)
Little by little, the outermost leaves of the cabbage will come off the head, and you can remove them, setting them aside to cool. Continue doing this until you can no longer remove leaves from the remaining head of cabbage.
Remove the remaining head of cabbage from the hot water, and using your hands or a knife, break it into flat pieces. Line the bottom of a roasting pan with the pieces. These will keep the stuffed cabbage from burning and sticking to the bottom. If you need more to line the pan, use the smaller or torn pieces of cabbage.
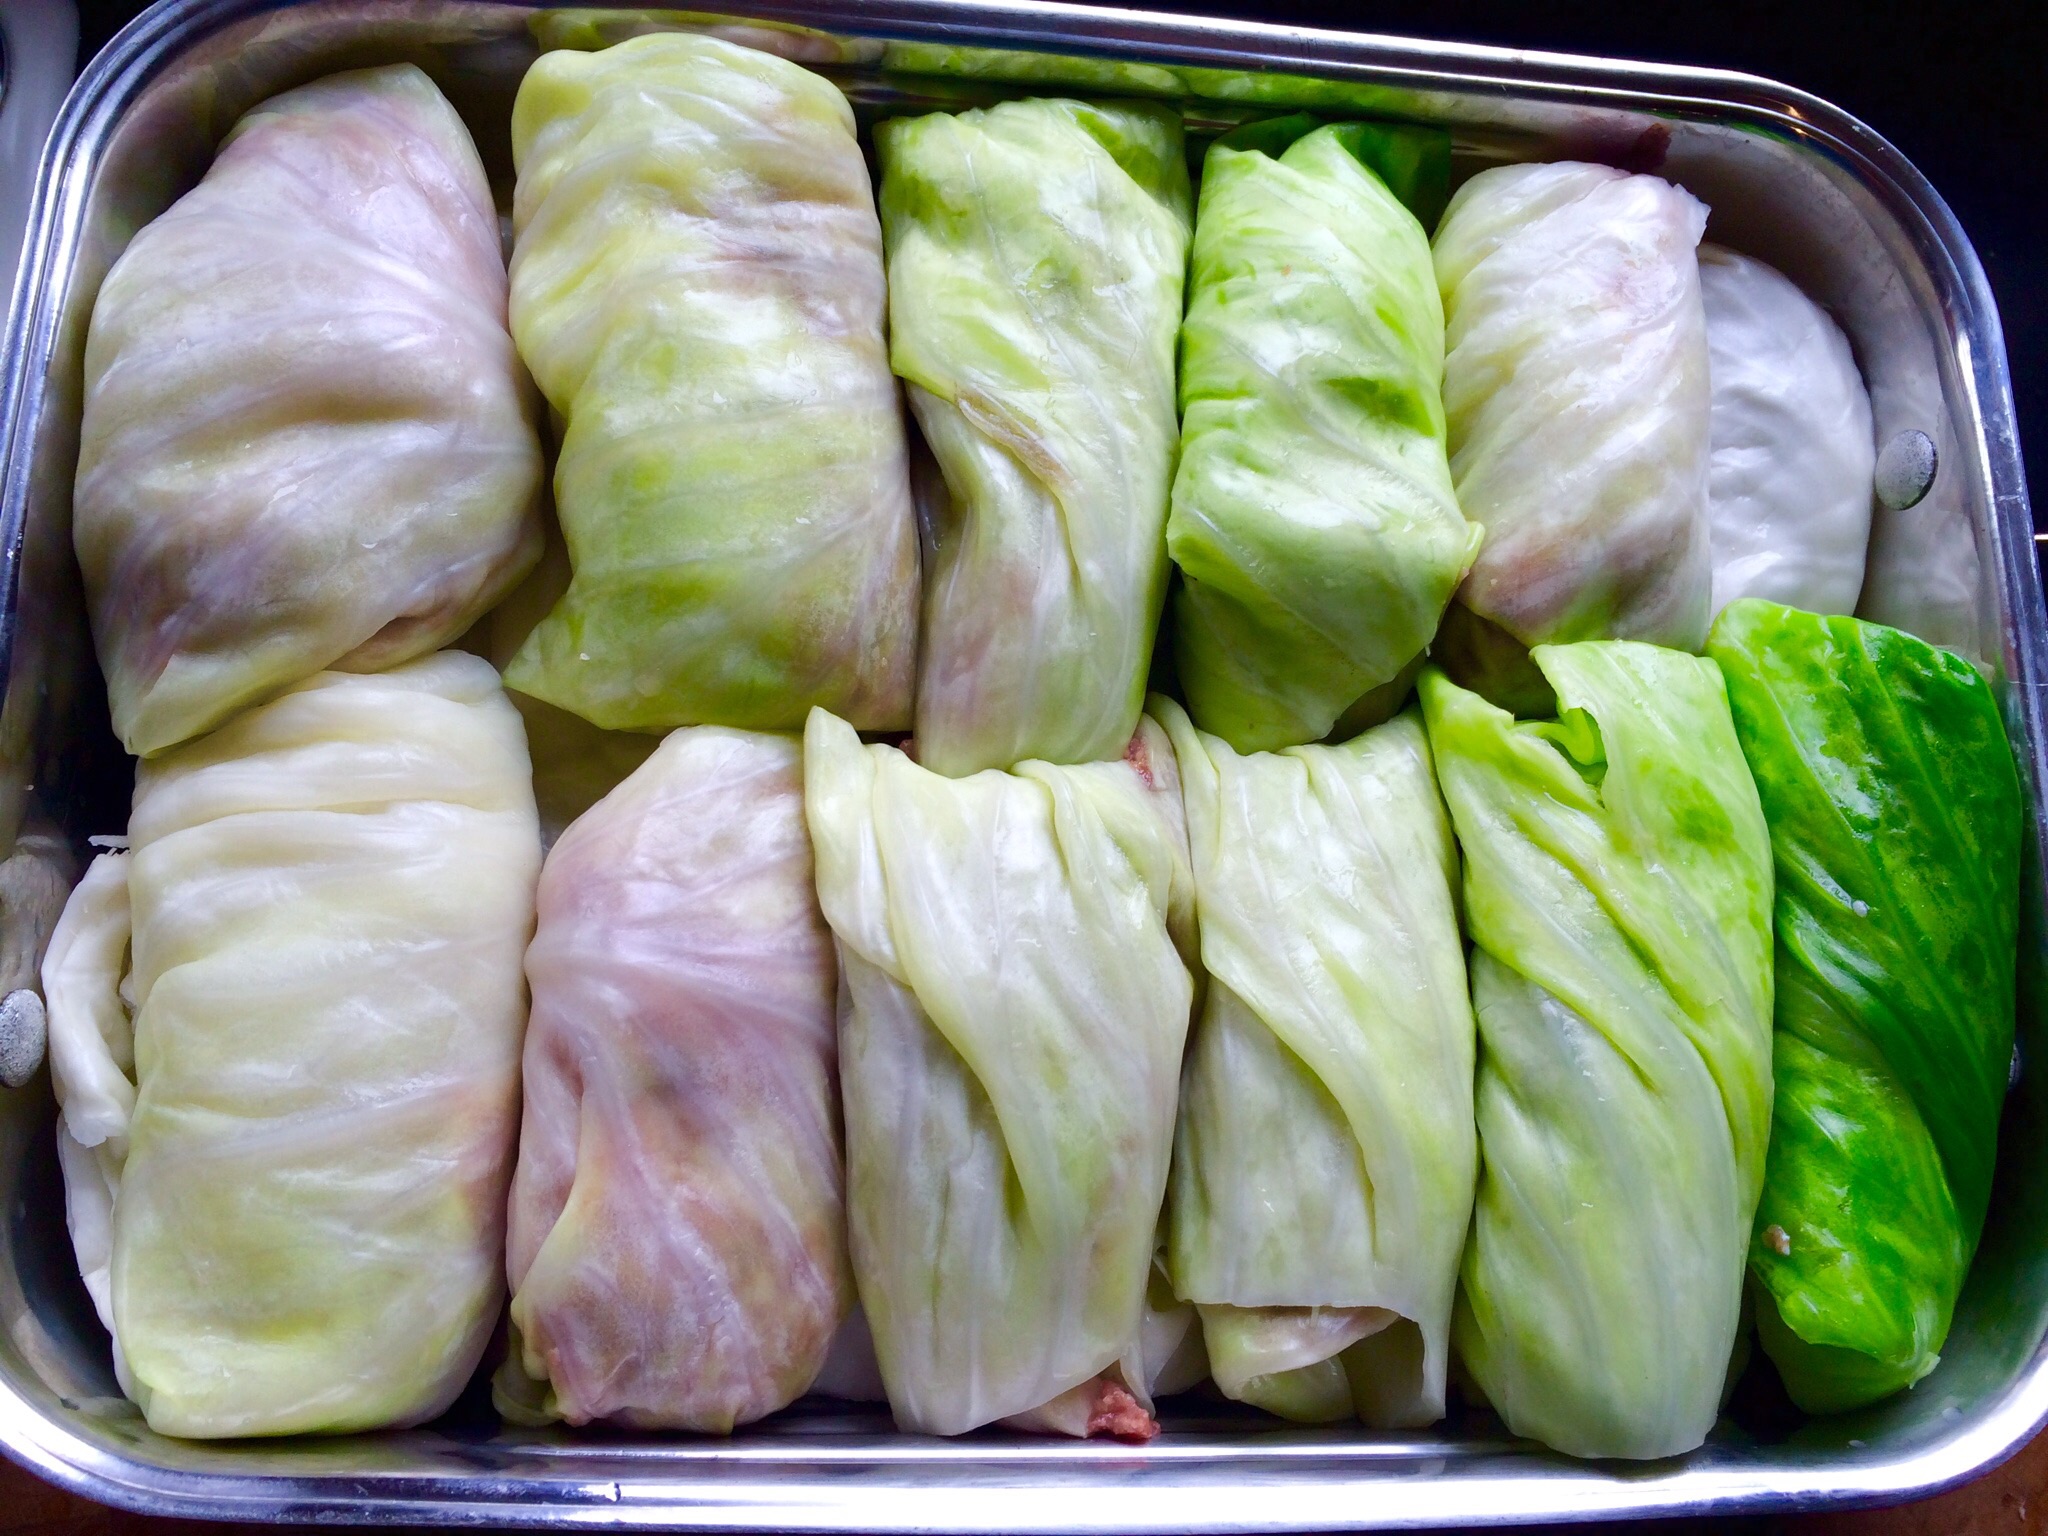
Time to roll the stuffed cabbage. Take the meat out of the fridge. Lay a cabbage leaf flat on the counter, and add some of the meat mixture (about 1/4 cup, depending on the size of the cabbage leaf) inside. Roll the cabbage around the meat, folding the sides in as you go, much like a burrito. You might need to slice away the thickest part of the leaf stem to make rolling easier. Lay the stuffed cabbage in the roasting pan on top of the leftover cabbage pieces. (Unlike Mom, I don’t use toothpicks to hold the stuffed cabbage rolls together.)
Continue stuffing and rolling the cabbage leaves until you’ve got a pan full of them, shoulder-to-shoulder.
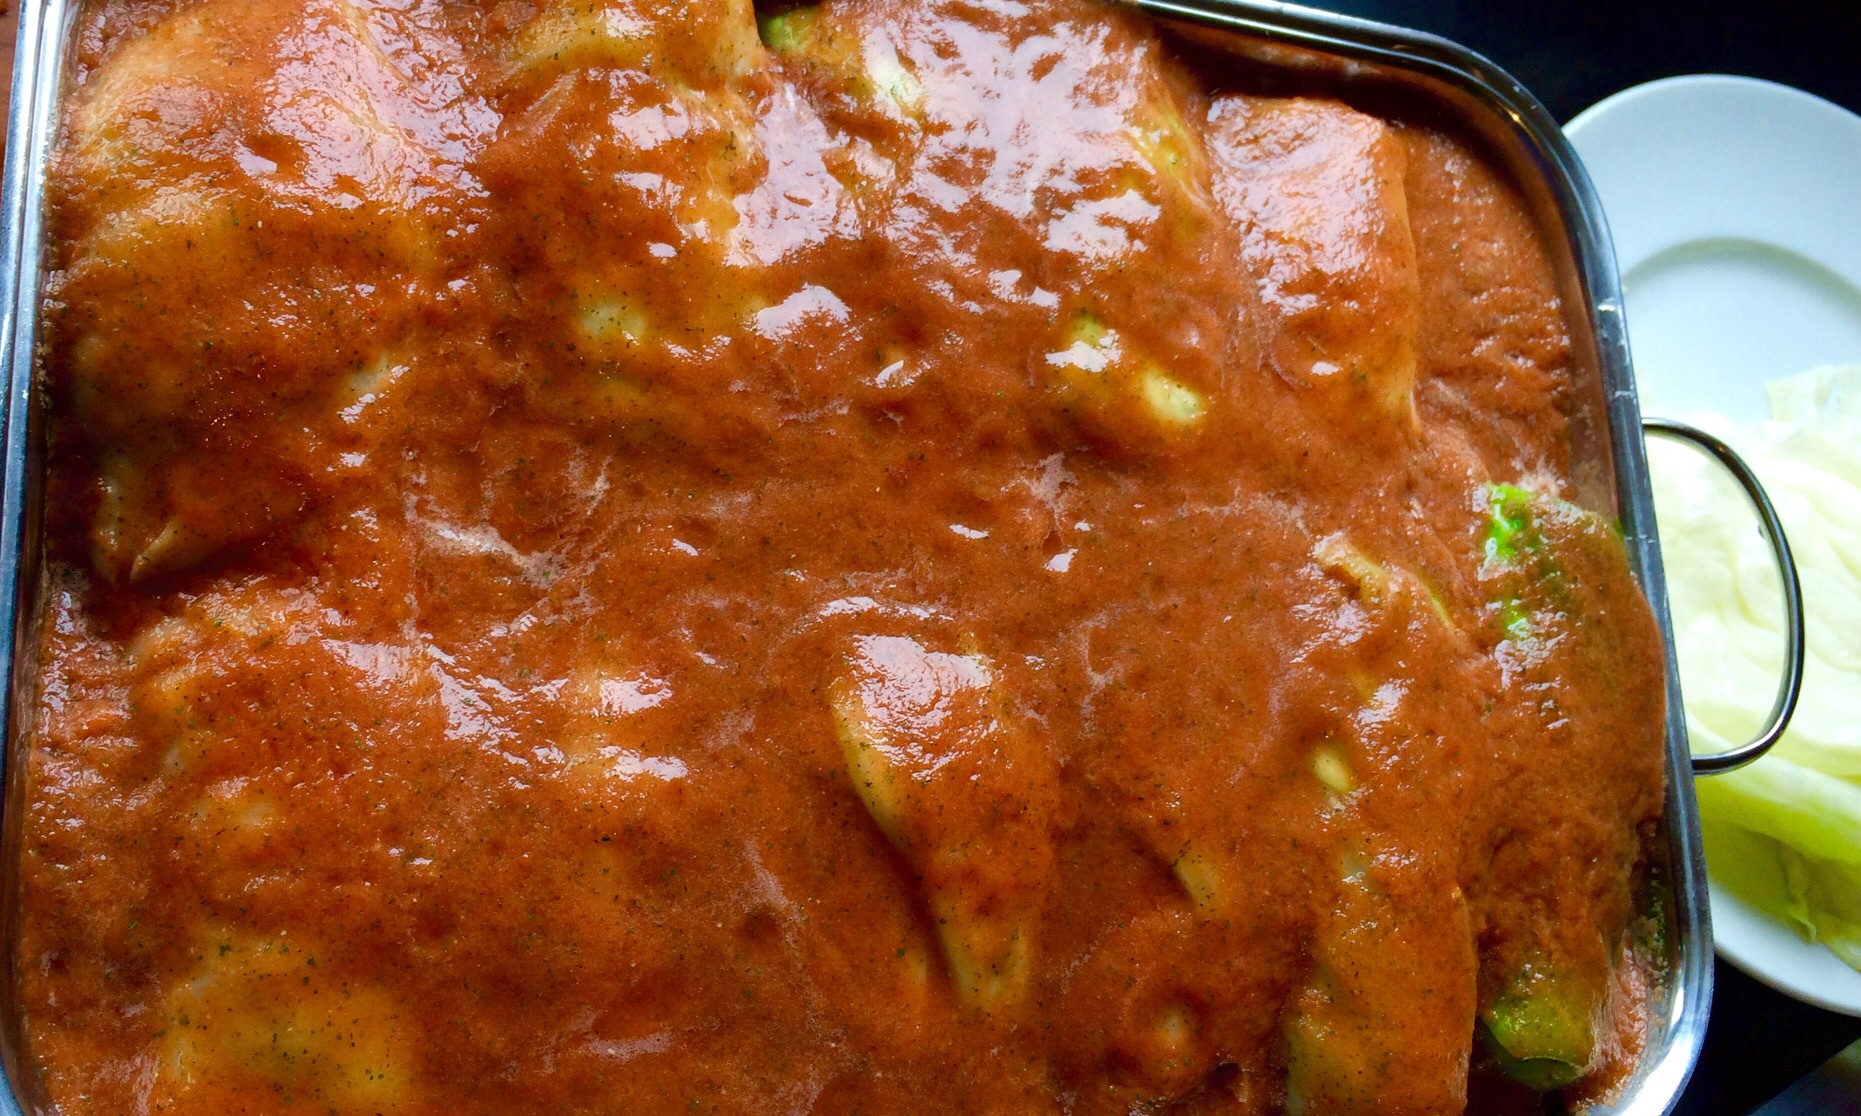
In a blender, food processor, or whisked in a bowl, combine the stock, diced tomatoes, thyme, salt, pepper, garlic and onion. Pour this mixture over the top of the cabbage rolls in the roasting pan, covering them.
If you have leftover cabbage, you can place another layer of them on top. Otherwise, cover the roasting pan with foil and place in a pre-heated 350 degree oven. Cook for an hour.
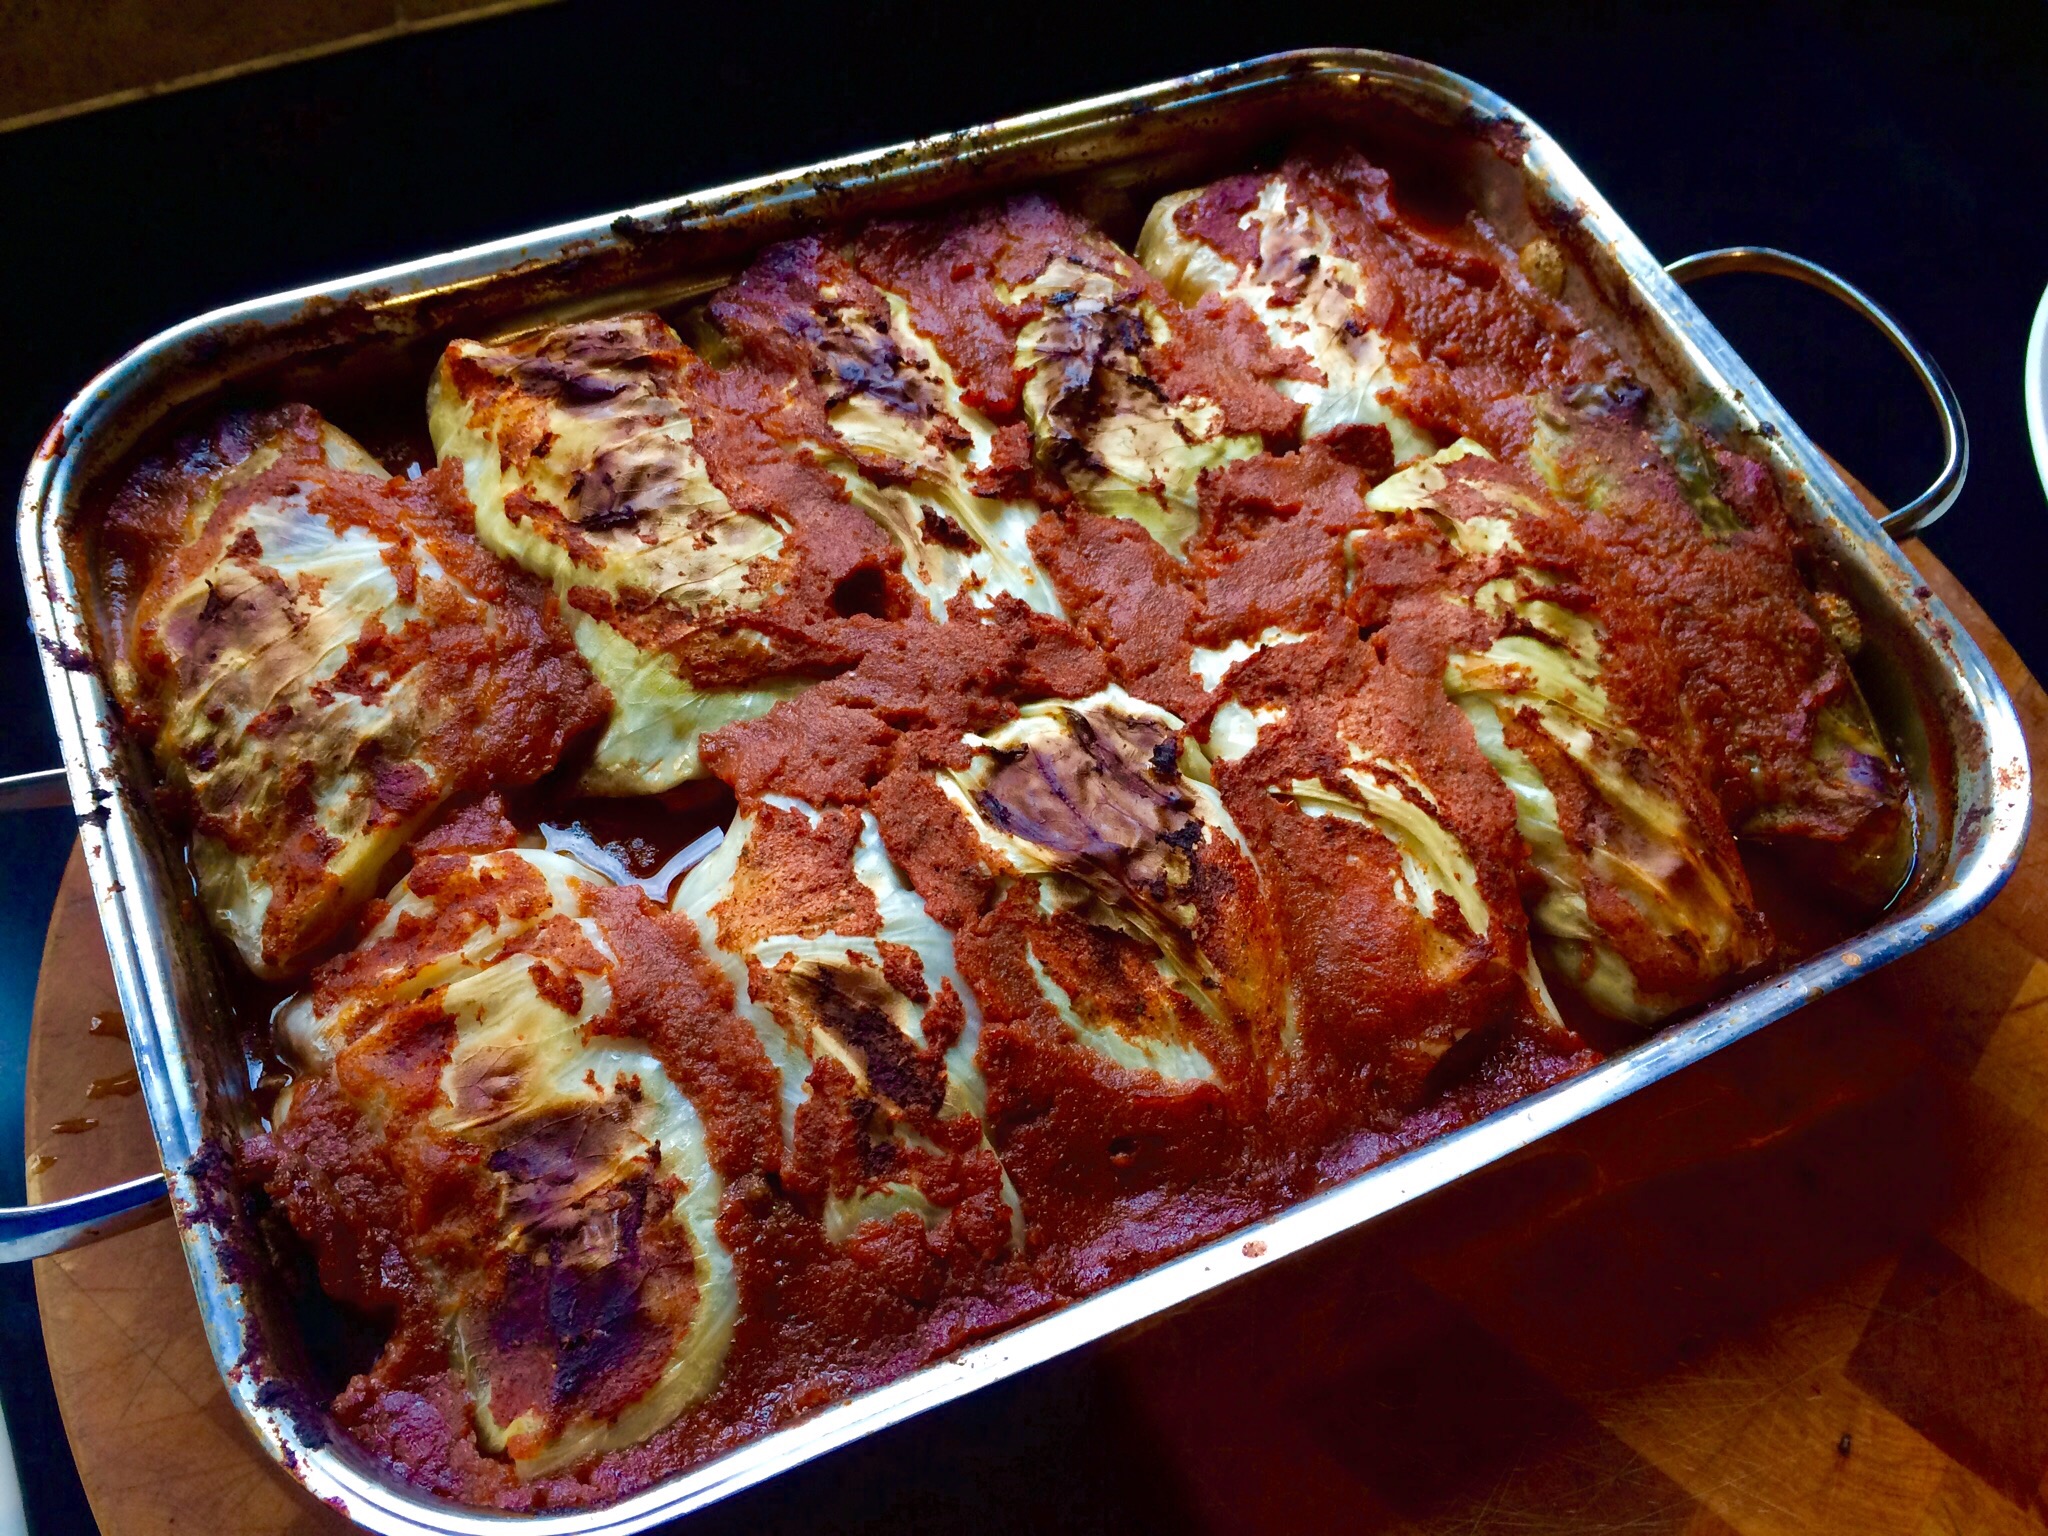
After an hour, remove the foil and cook further for another 45–60 minutes.
Really delicious and an instant flashback to great memories of dinner at home….thanks to Mom.