We’re waiting on the big snowstorm here in New England. If I didn’t have to go to work today, and spend the night at the radio station to be there for my show tomorrow morning, I’d probably be cooking something like this!
I based this recipe on one found online that didn’t have any specific measurements. So I played it by ear and came up with what I thought was a pretty darn good version of it.
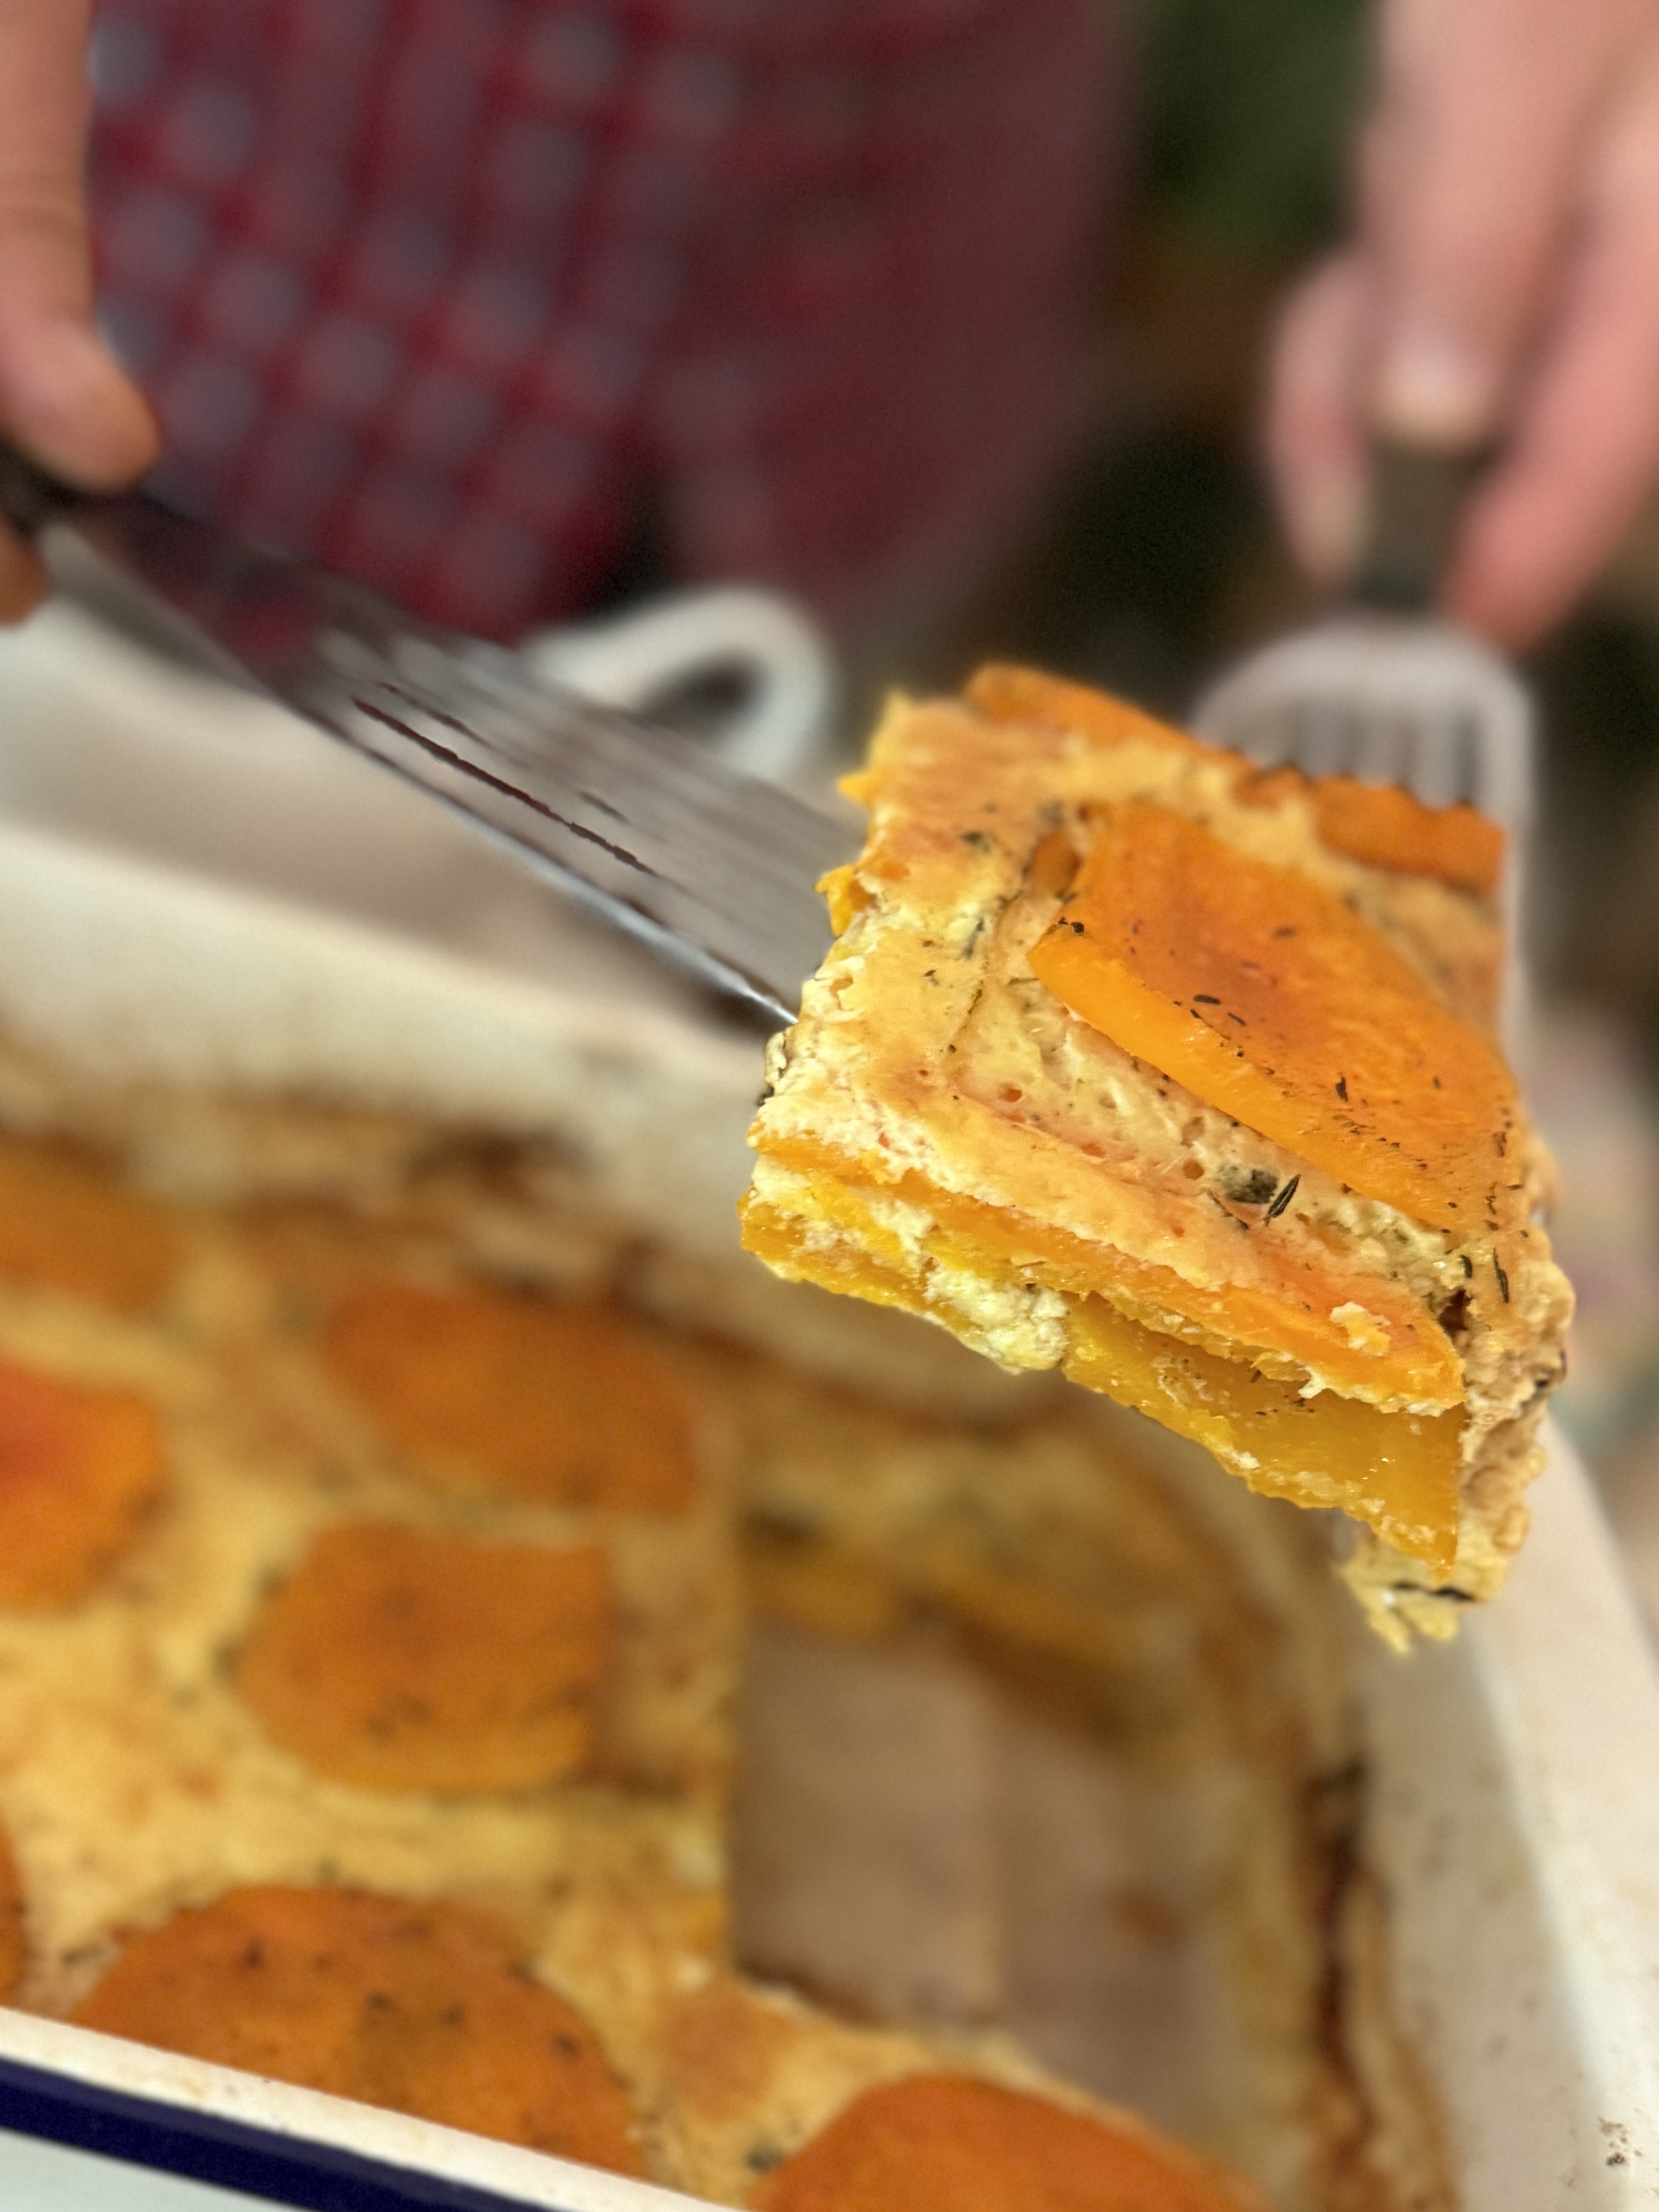
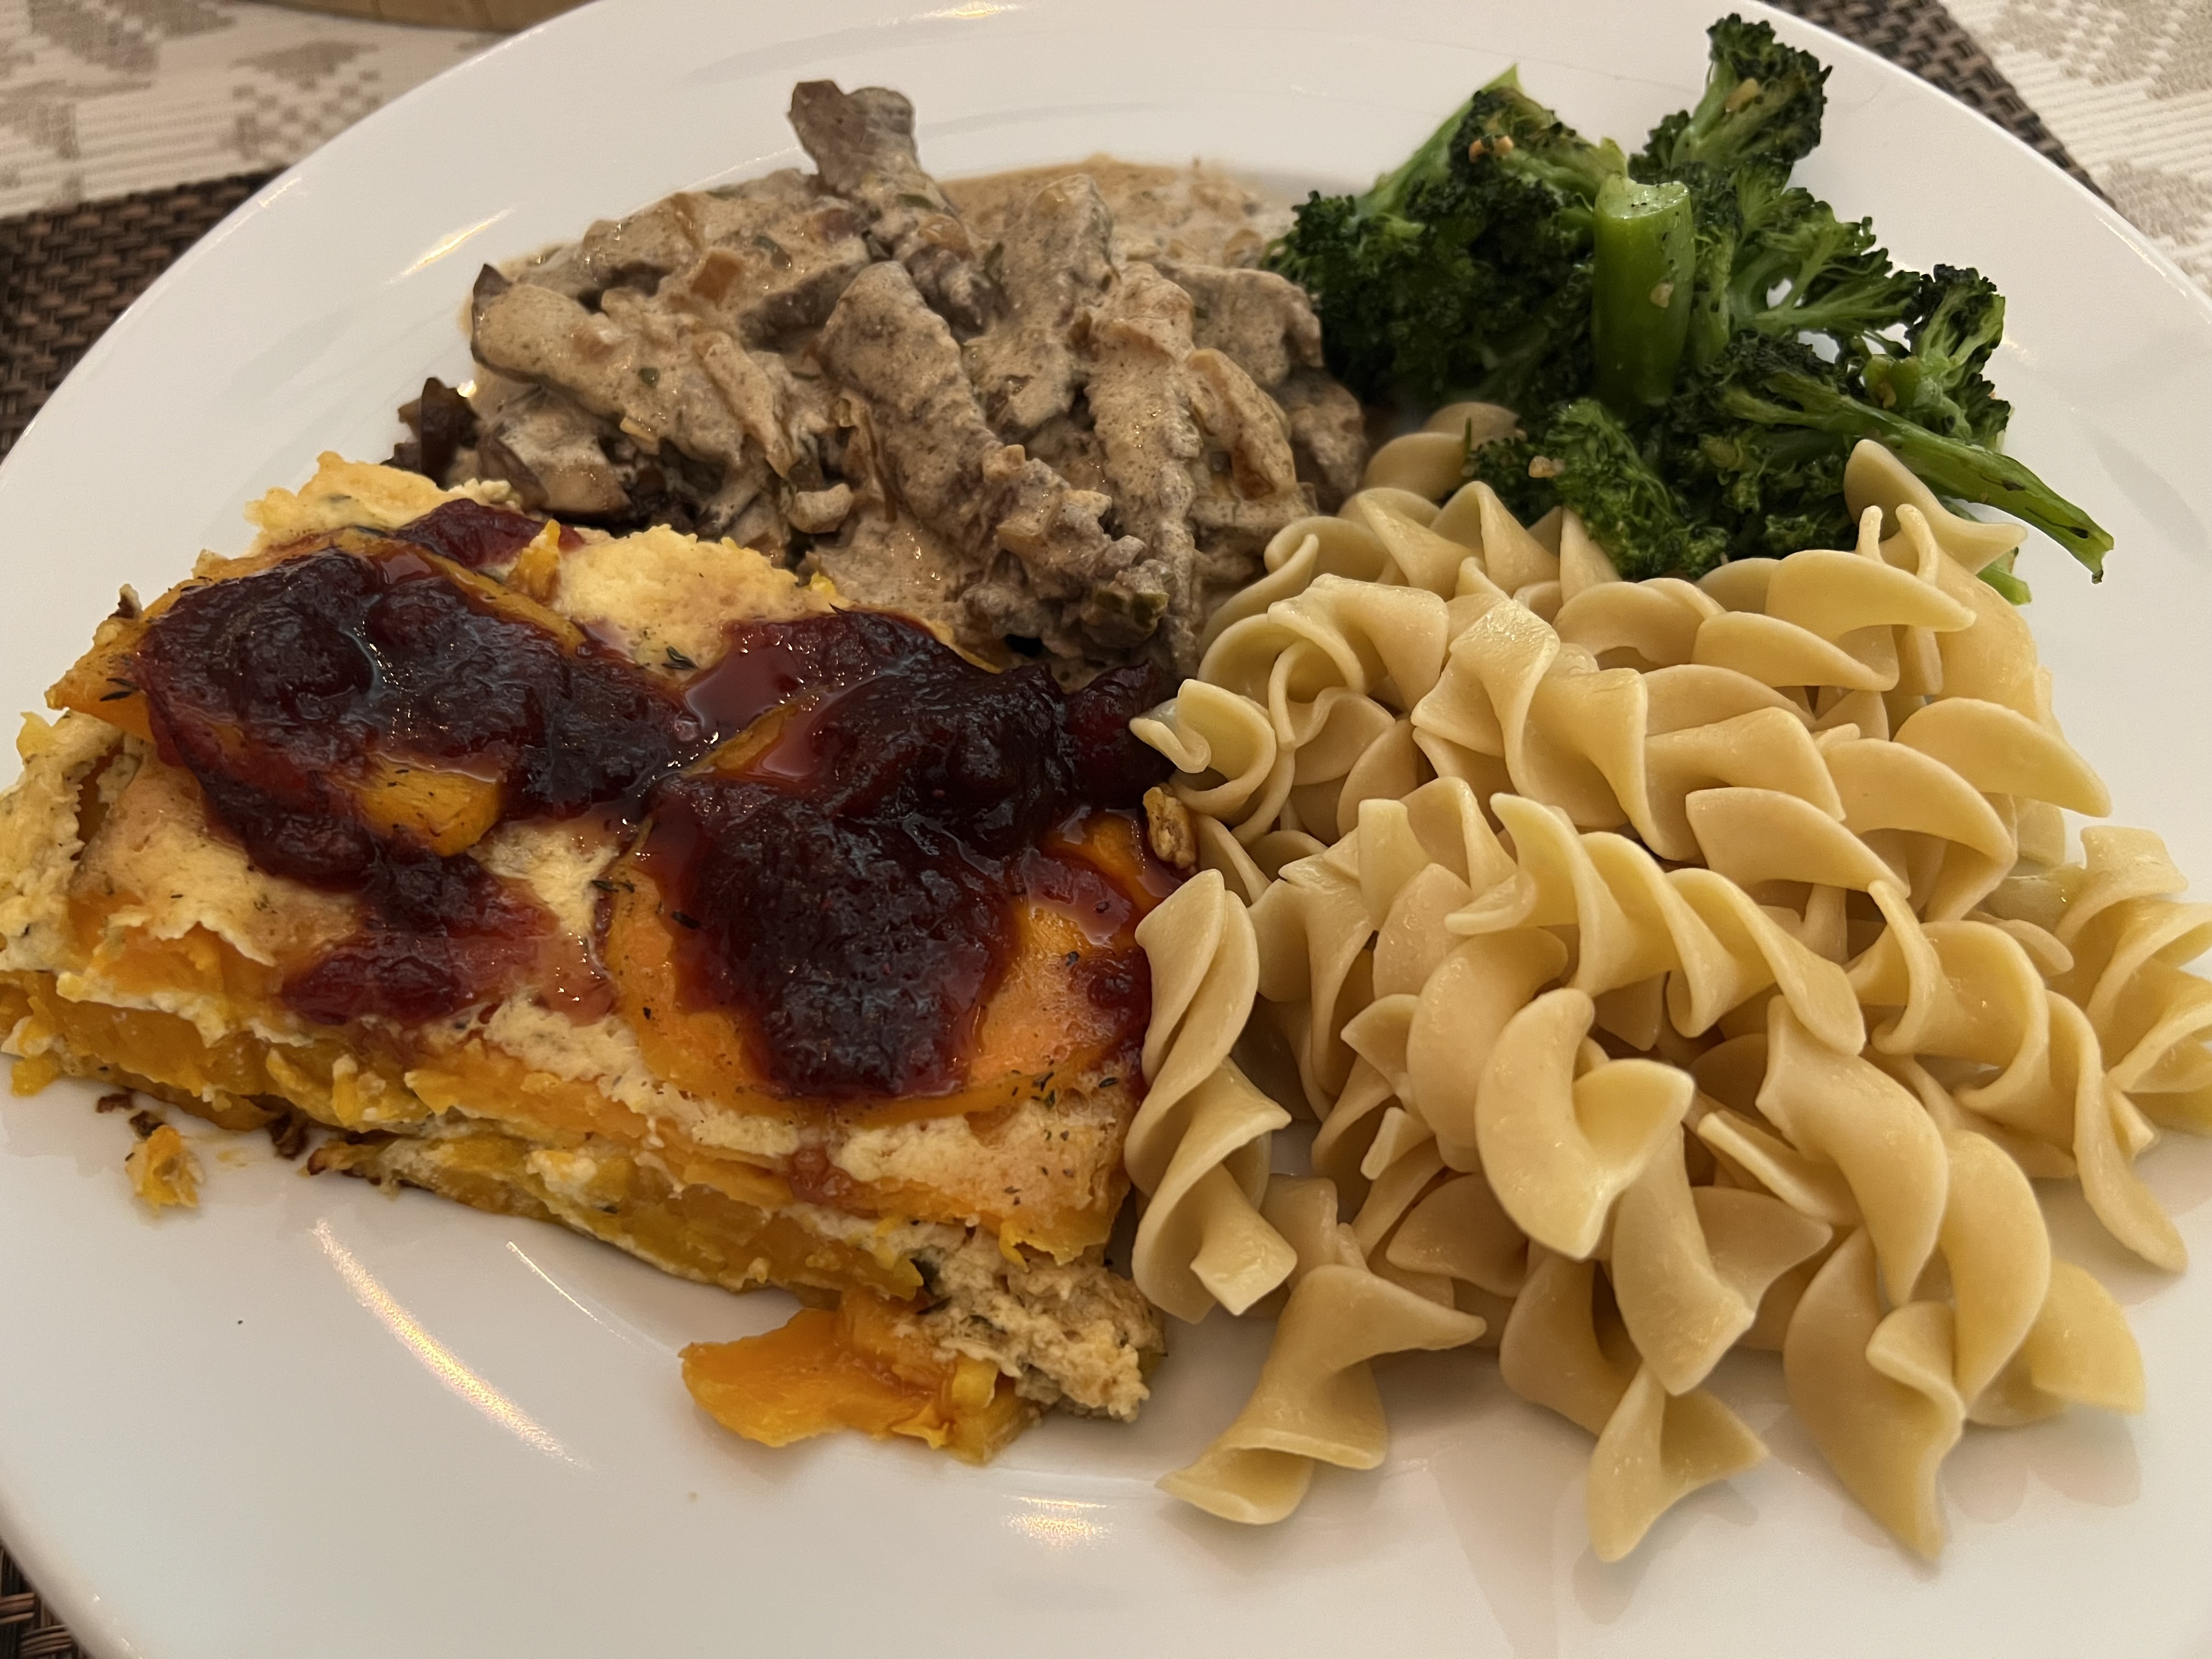
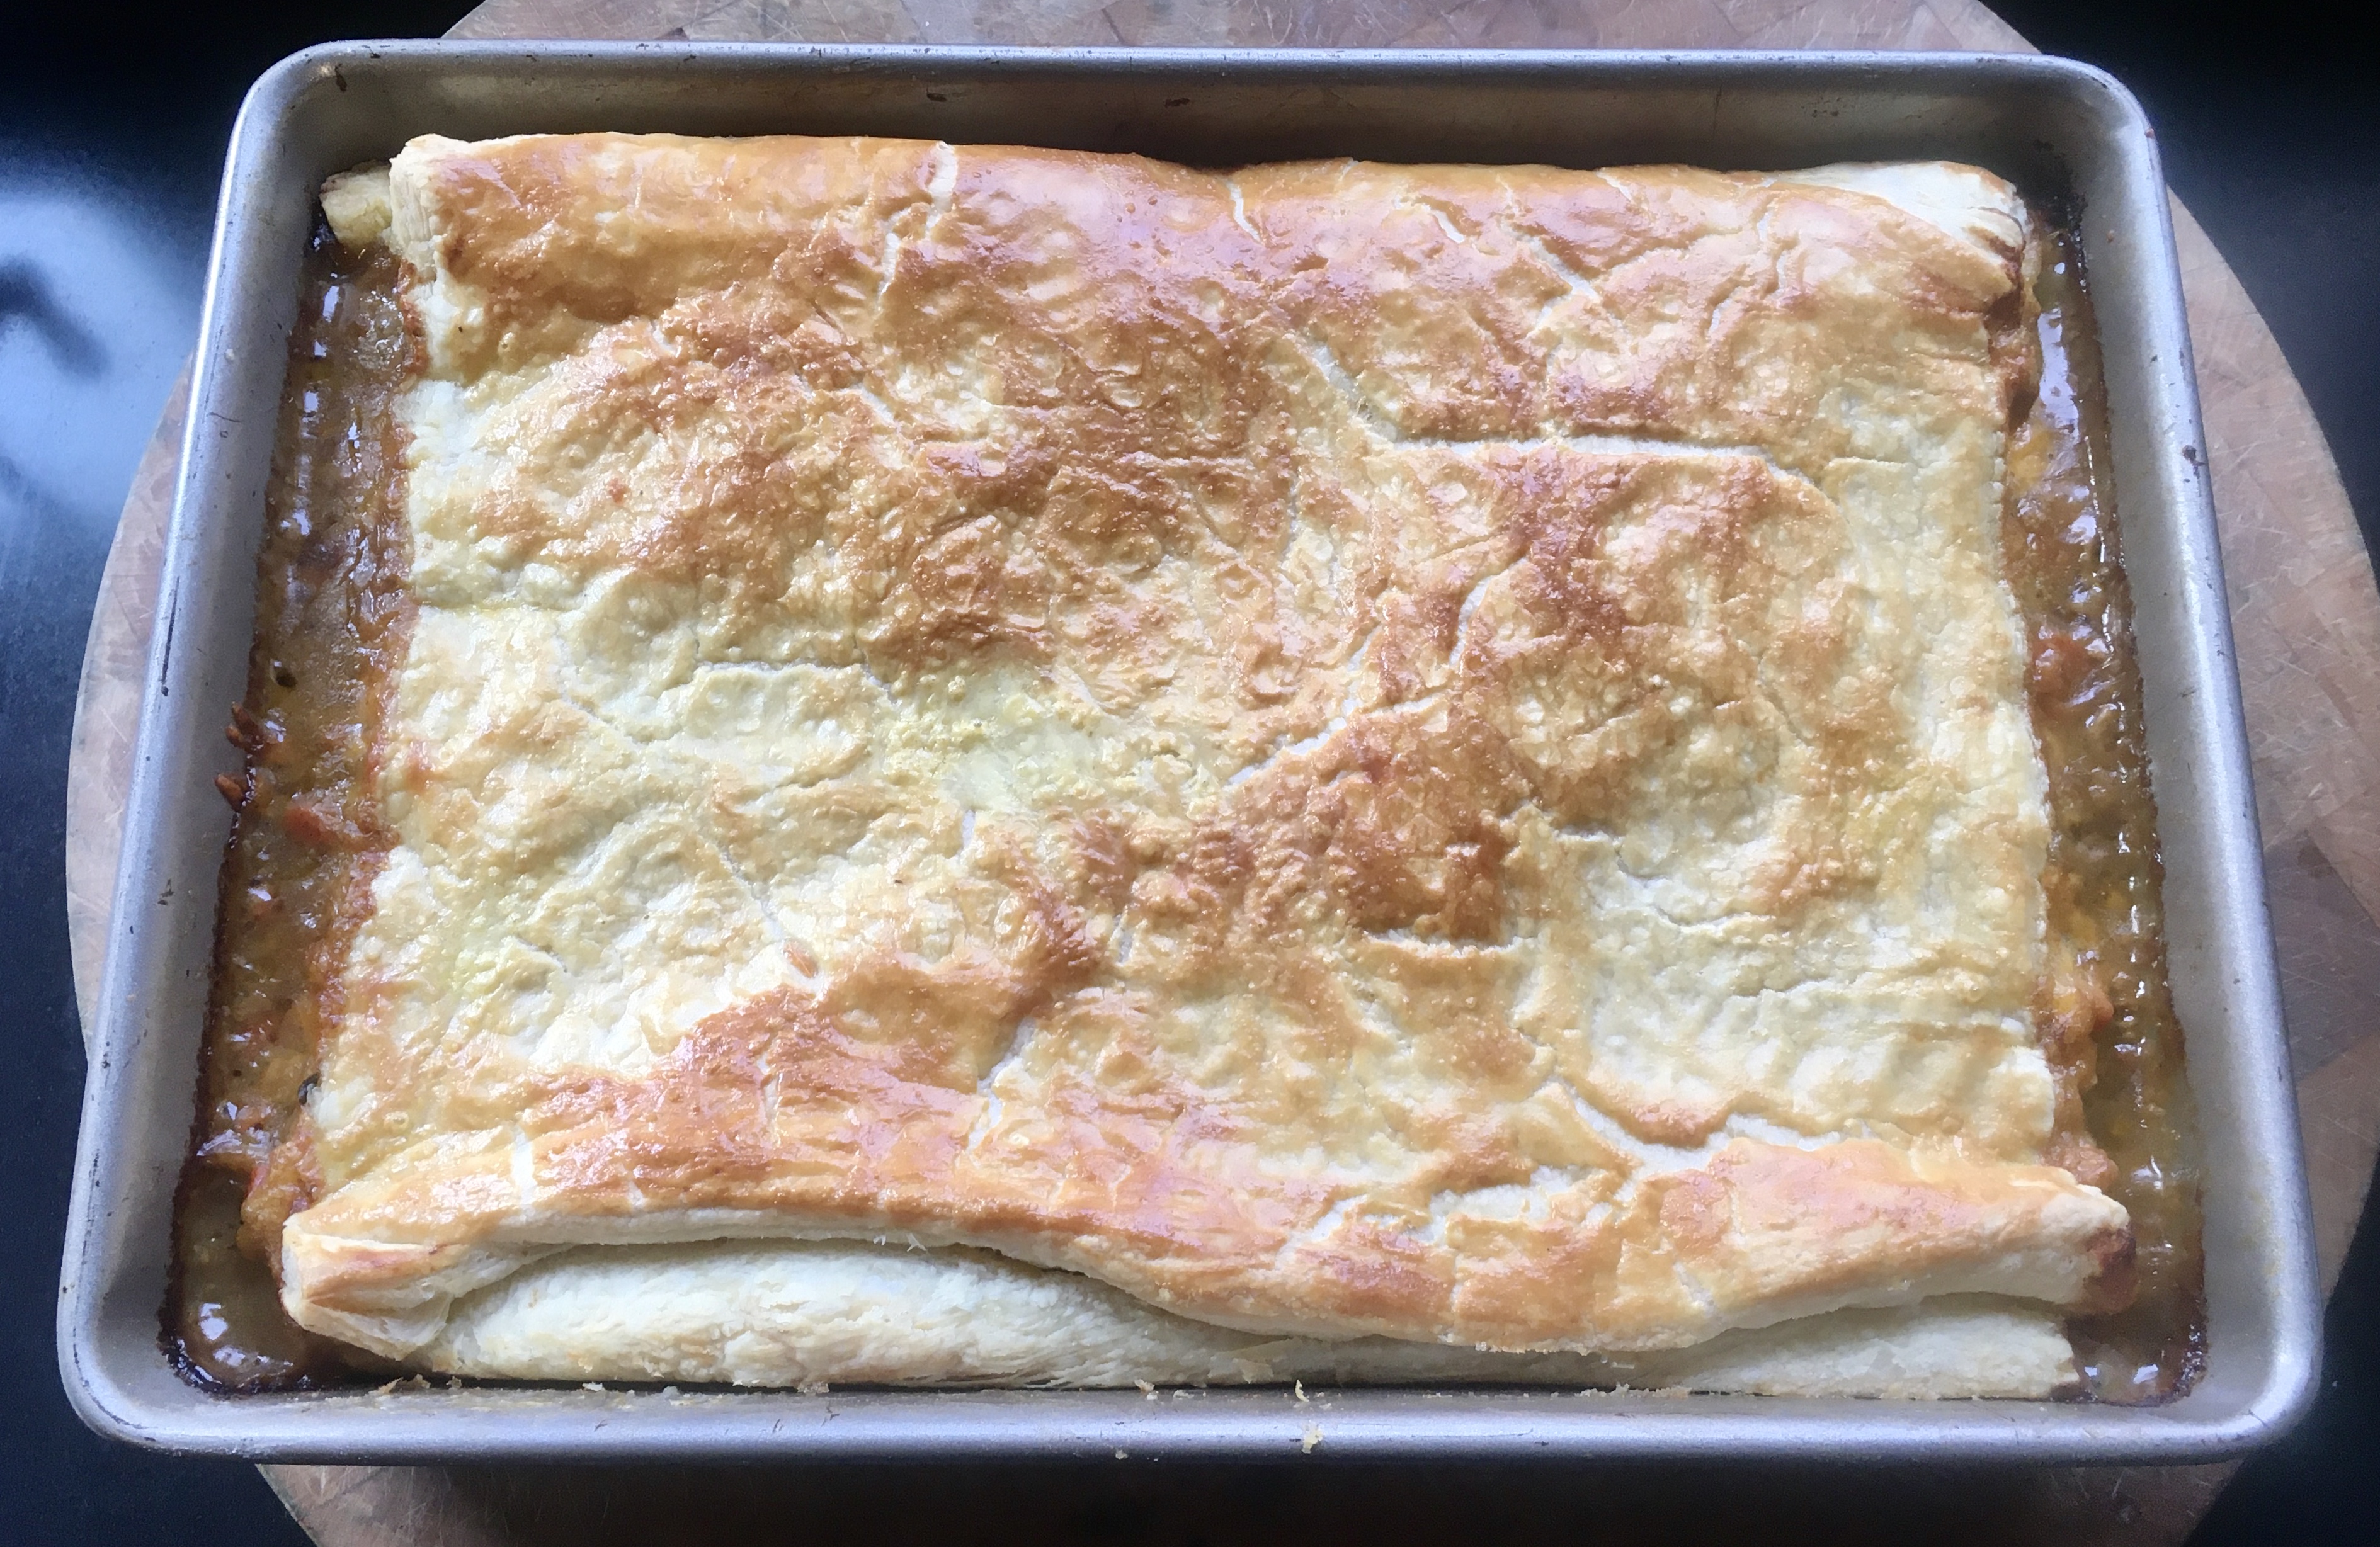
It’s simply layers of sliced vegetables and a mix of cheeses that bakes in the oven. It’s an easy to prepare dish that can be made the day before and then kept in the fridge overnight until you’re ready to bake.
The veggie layers…
Sweet potatoes, peeled and thinly sliced
1 medium butternut squash, peeled and thinly sliced
3 tablespoons olive oil
1 teaspoon dried thyme
1 teaspoon dried rosemary
salt and pepper
The amount of sweet potato versus butternut squash is up to you. But you need a total of about 3 pounds of sliced and peeled veggies. If you have a mandolin for slicing, use it. But I went with a sharp knife and got some pretty thin slices that way.
Once you’ve sliced the veggies, place them in the pan you’ll be baking with. Add the olive oil, thyme, rosemary, and salt and pepper, and toss everything to mix really well. Set it aside.
The cheese…
12 oz. ricotta cheese
8 oz. shredded mozzarella
4 oz. grated Parmigiano Reggiano
1 egg
1 tablespoon chopped fresh sage (or 1 teaspoon dried)
salt and pepper
In a bowl, mix all the ingredients well, until it’s soft and creamy. Set it aside.
Walnuts…
1/2 cup walnuts, chopped and toasted
This is optional. It will be sprinkled on the lasagna at the end of cooking.
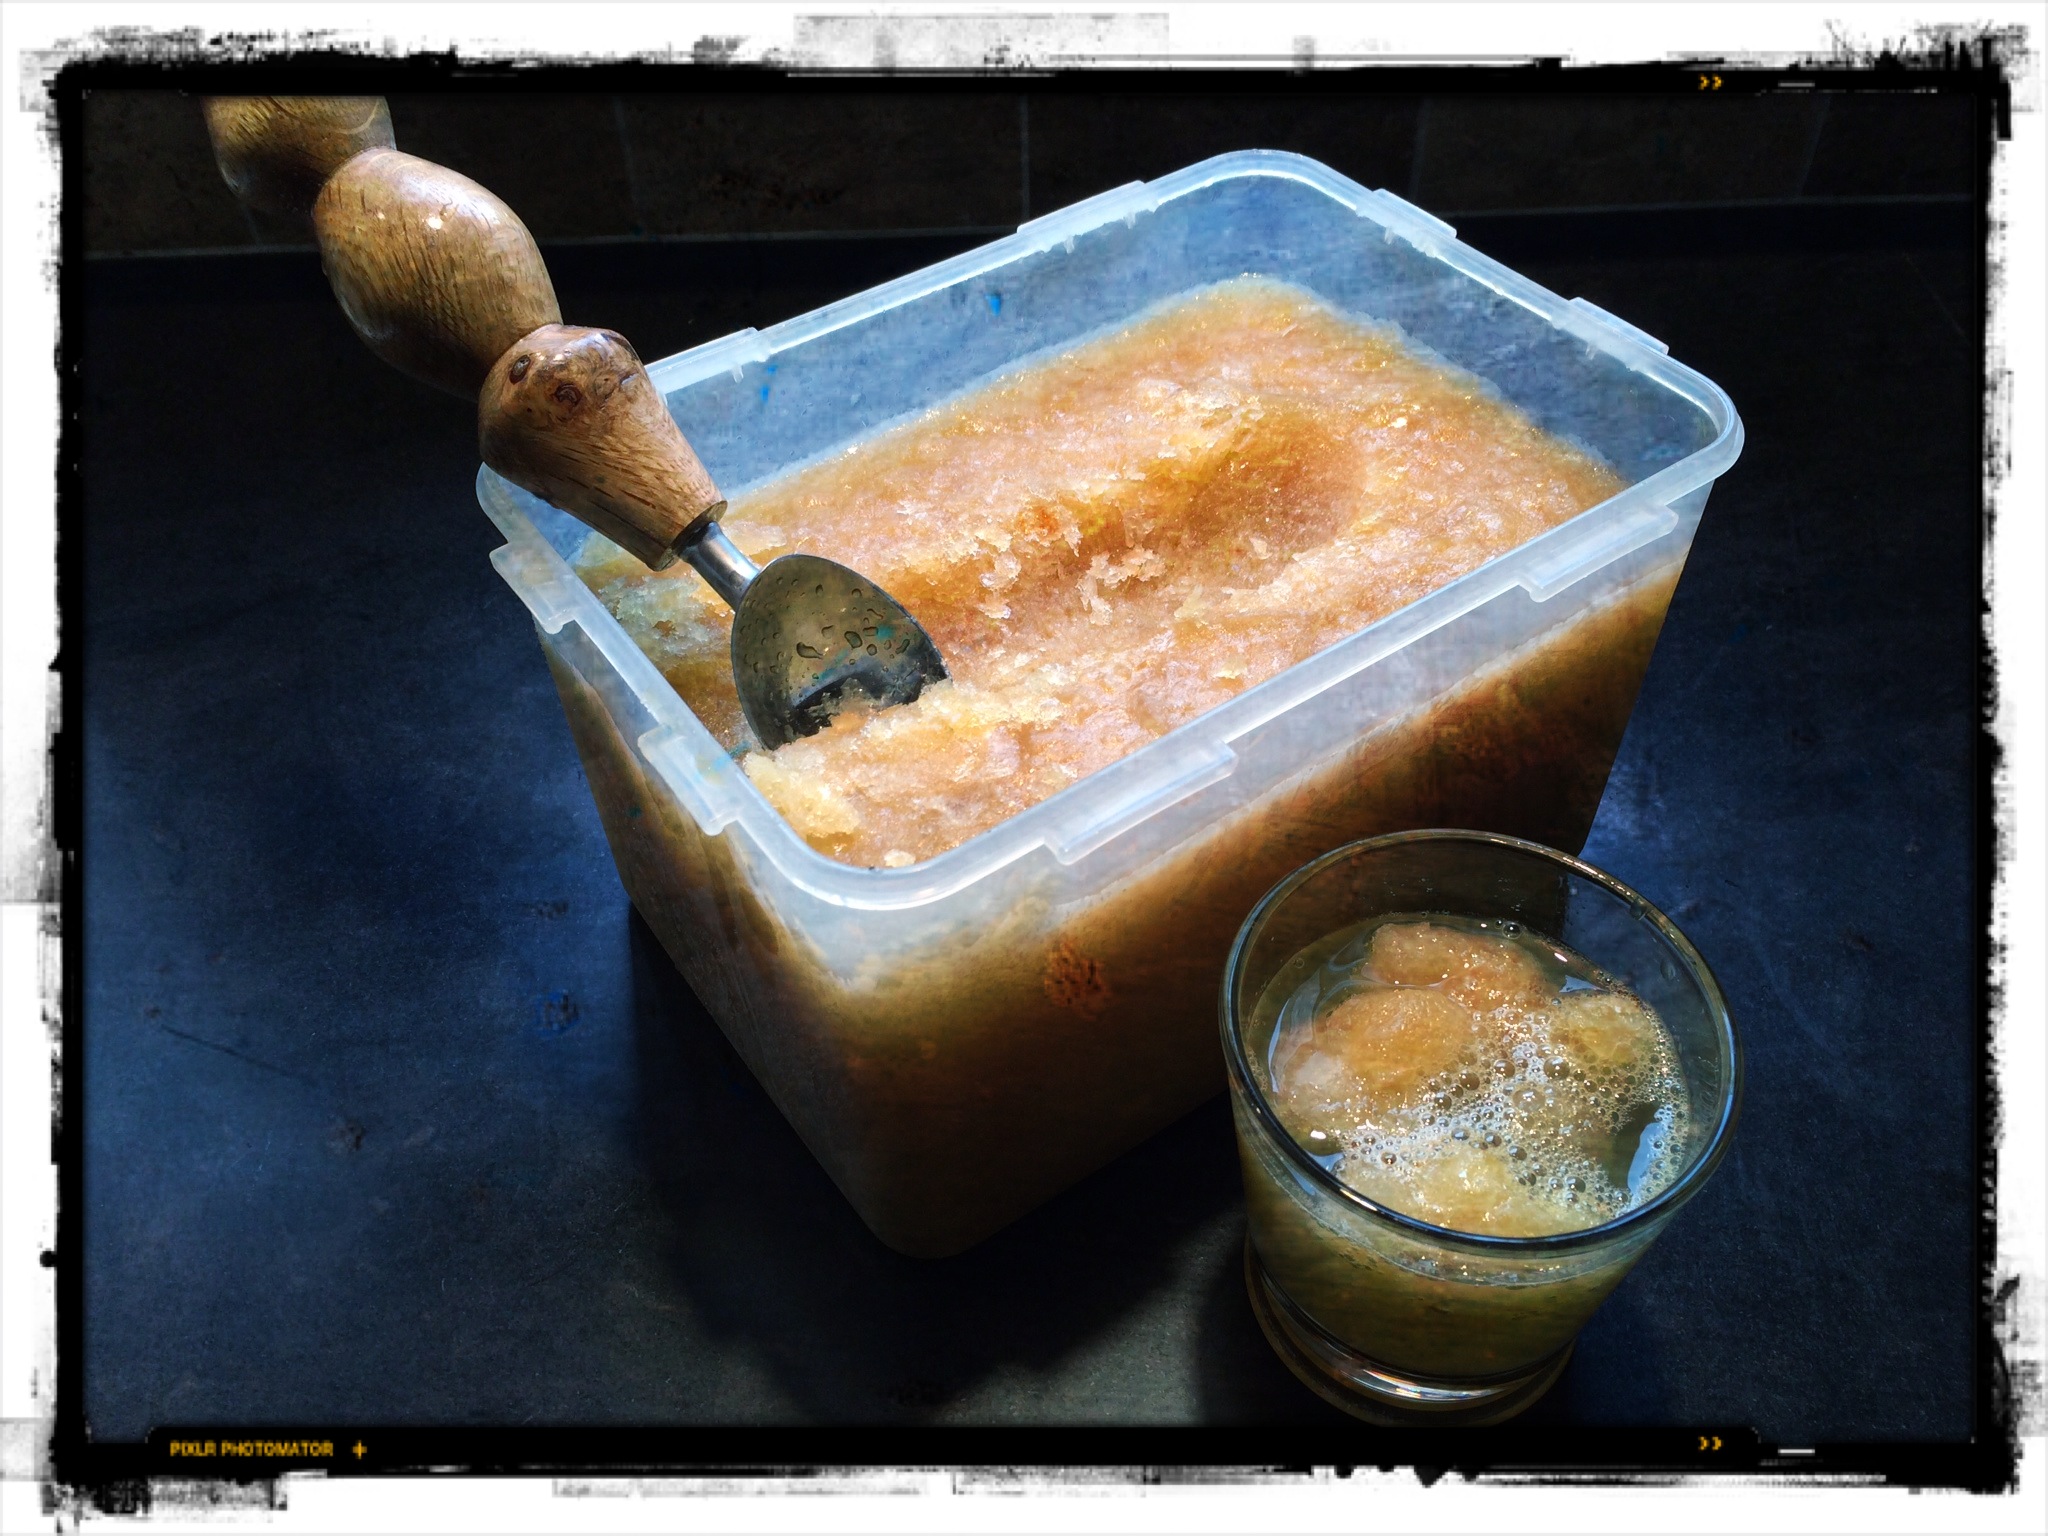
Cranberry glaze…
1/2 cup cranberry sauce
2 tablespoons maple syrup
1 tablespoon balsamic vinegar
This glaze is a bit tart, and is just what you need with the richness of all that cheese. Whisk these ingredients in a bowl until they’re smooth and set it aside.
Preheat the oven to 375°.
Remove the veggies from the baking pan, setting them aside in a bowl, so you can start the layering process back in the pan. Line the bottom with a layer of veggies, followed by a thin layer of the cheese. Then it’s another layer of veggies, and another of cheese, etc.
Depending on how thick your slices are, and how heavy your veggie layers are, you’ll get 3 or 4 layers of veggies, with cheese in between. You want the veggies to be on the top layer, no matter how many layers you go, so keep that in mind.
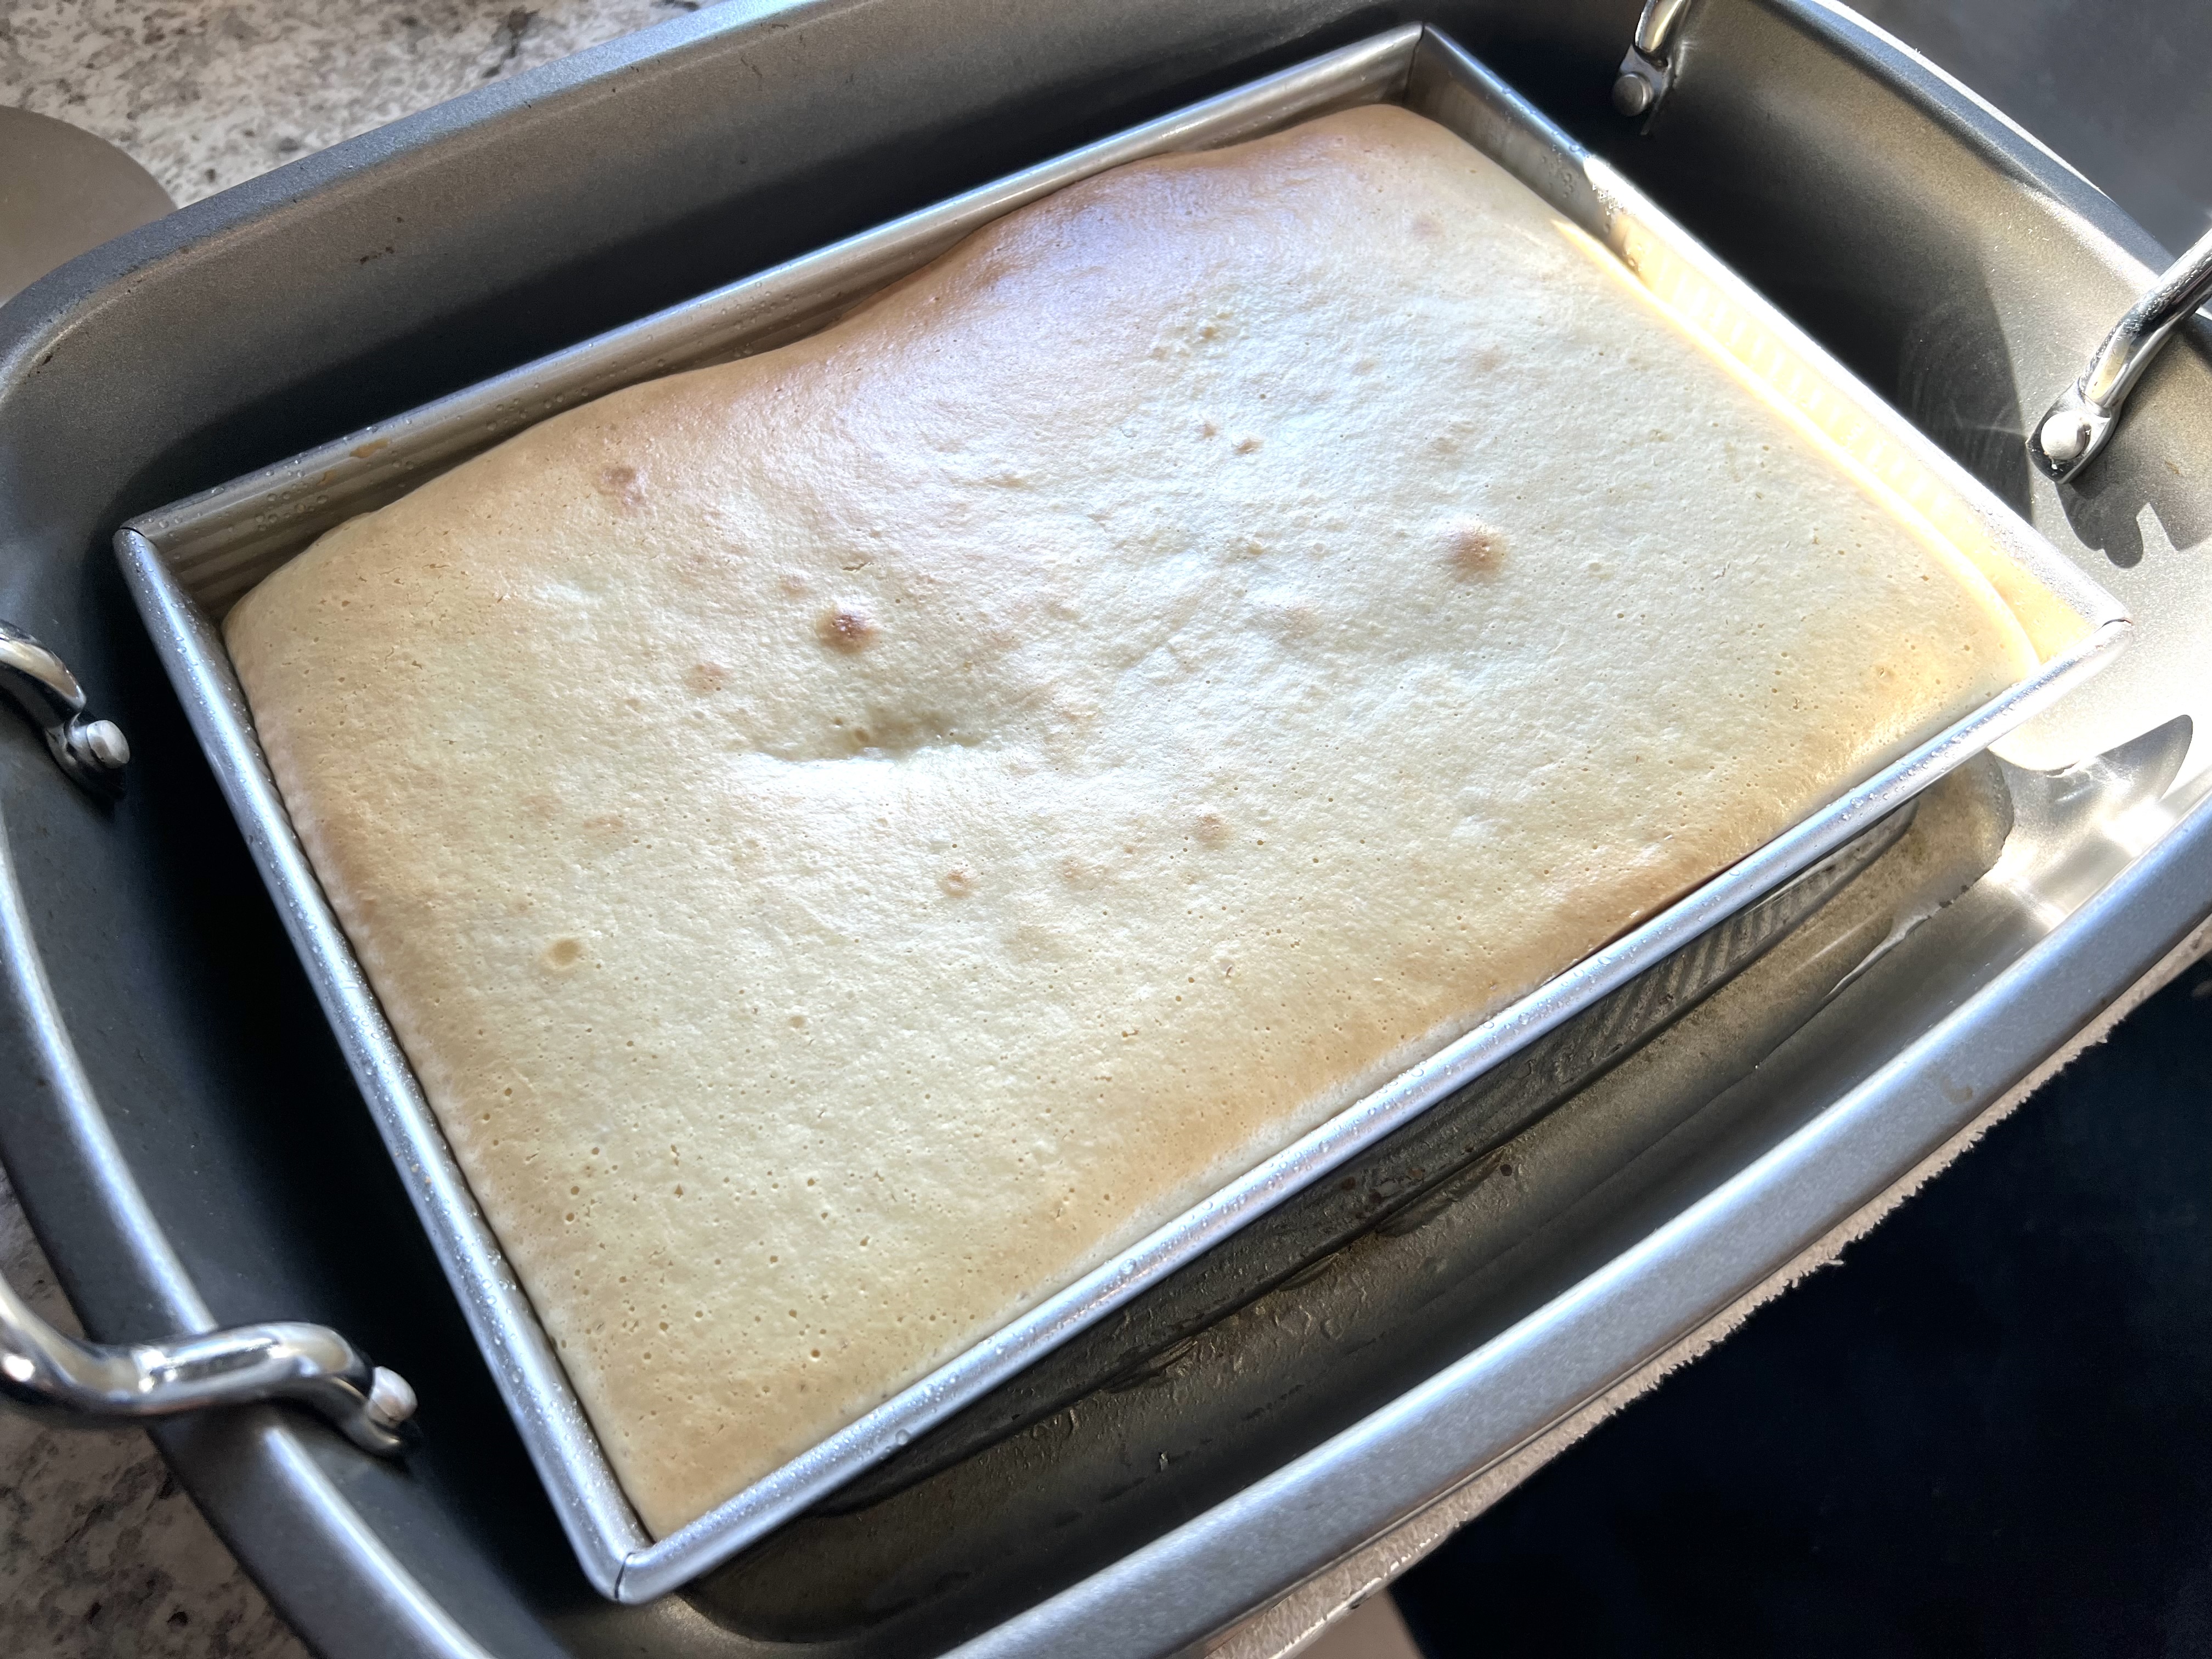
Wrap foil over the baking pan and bake for 45 minutes.
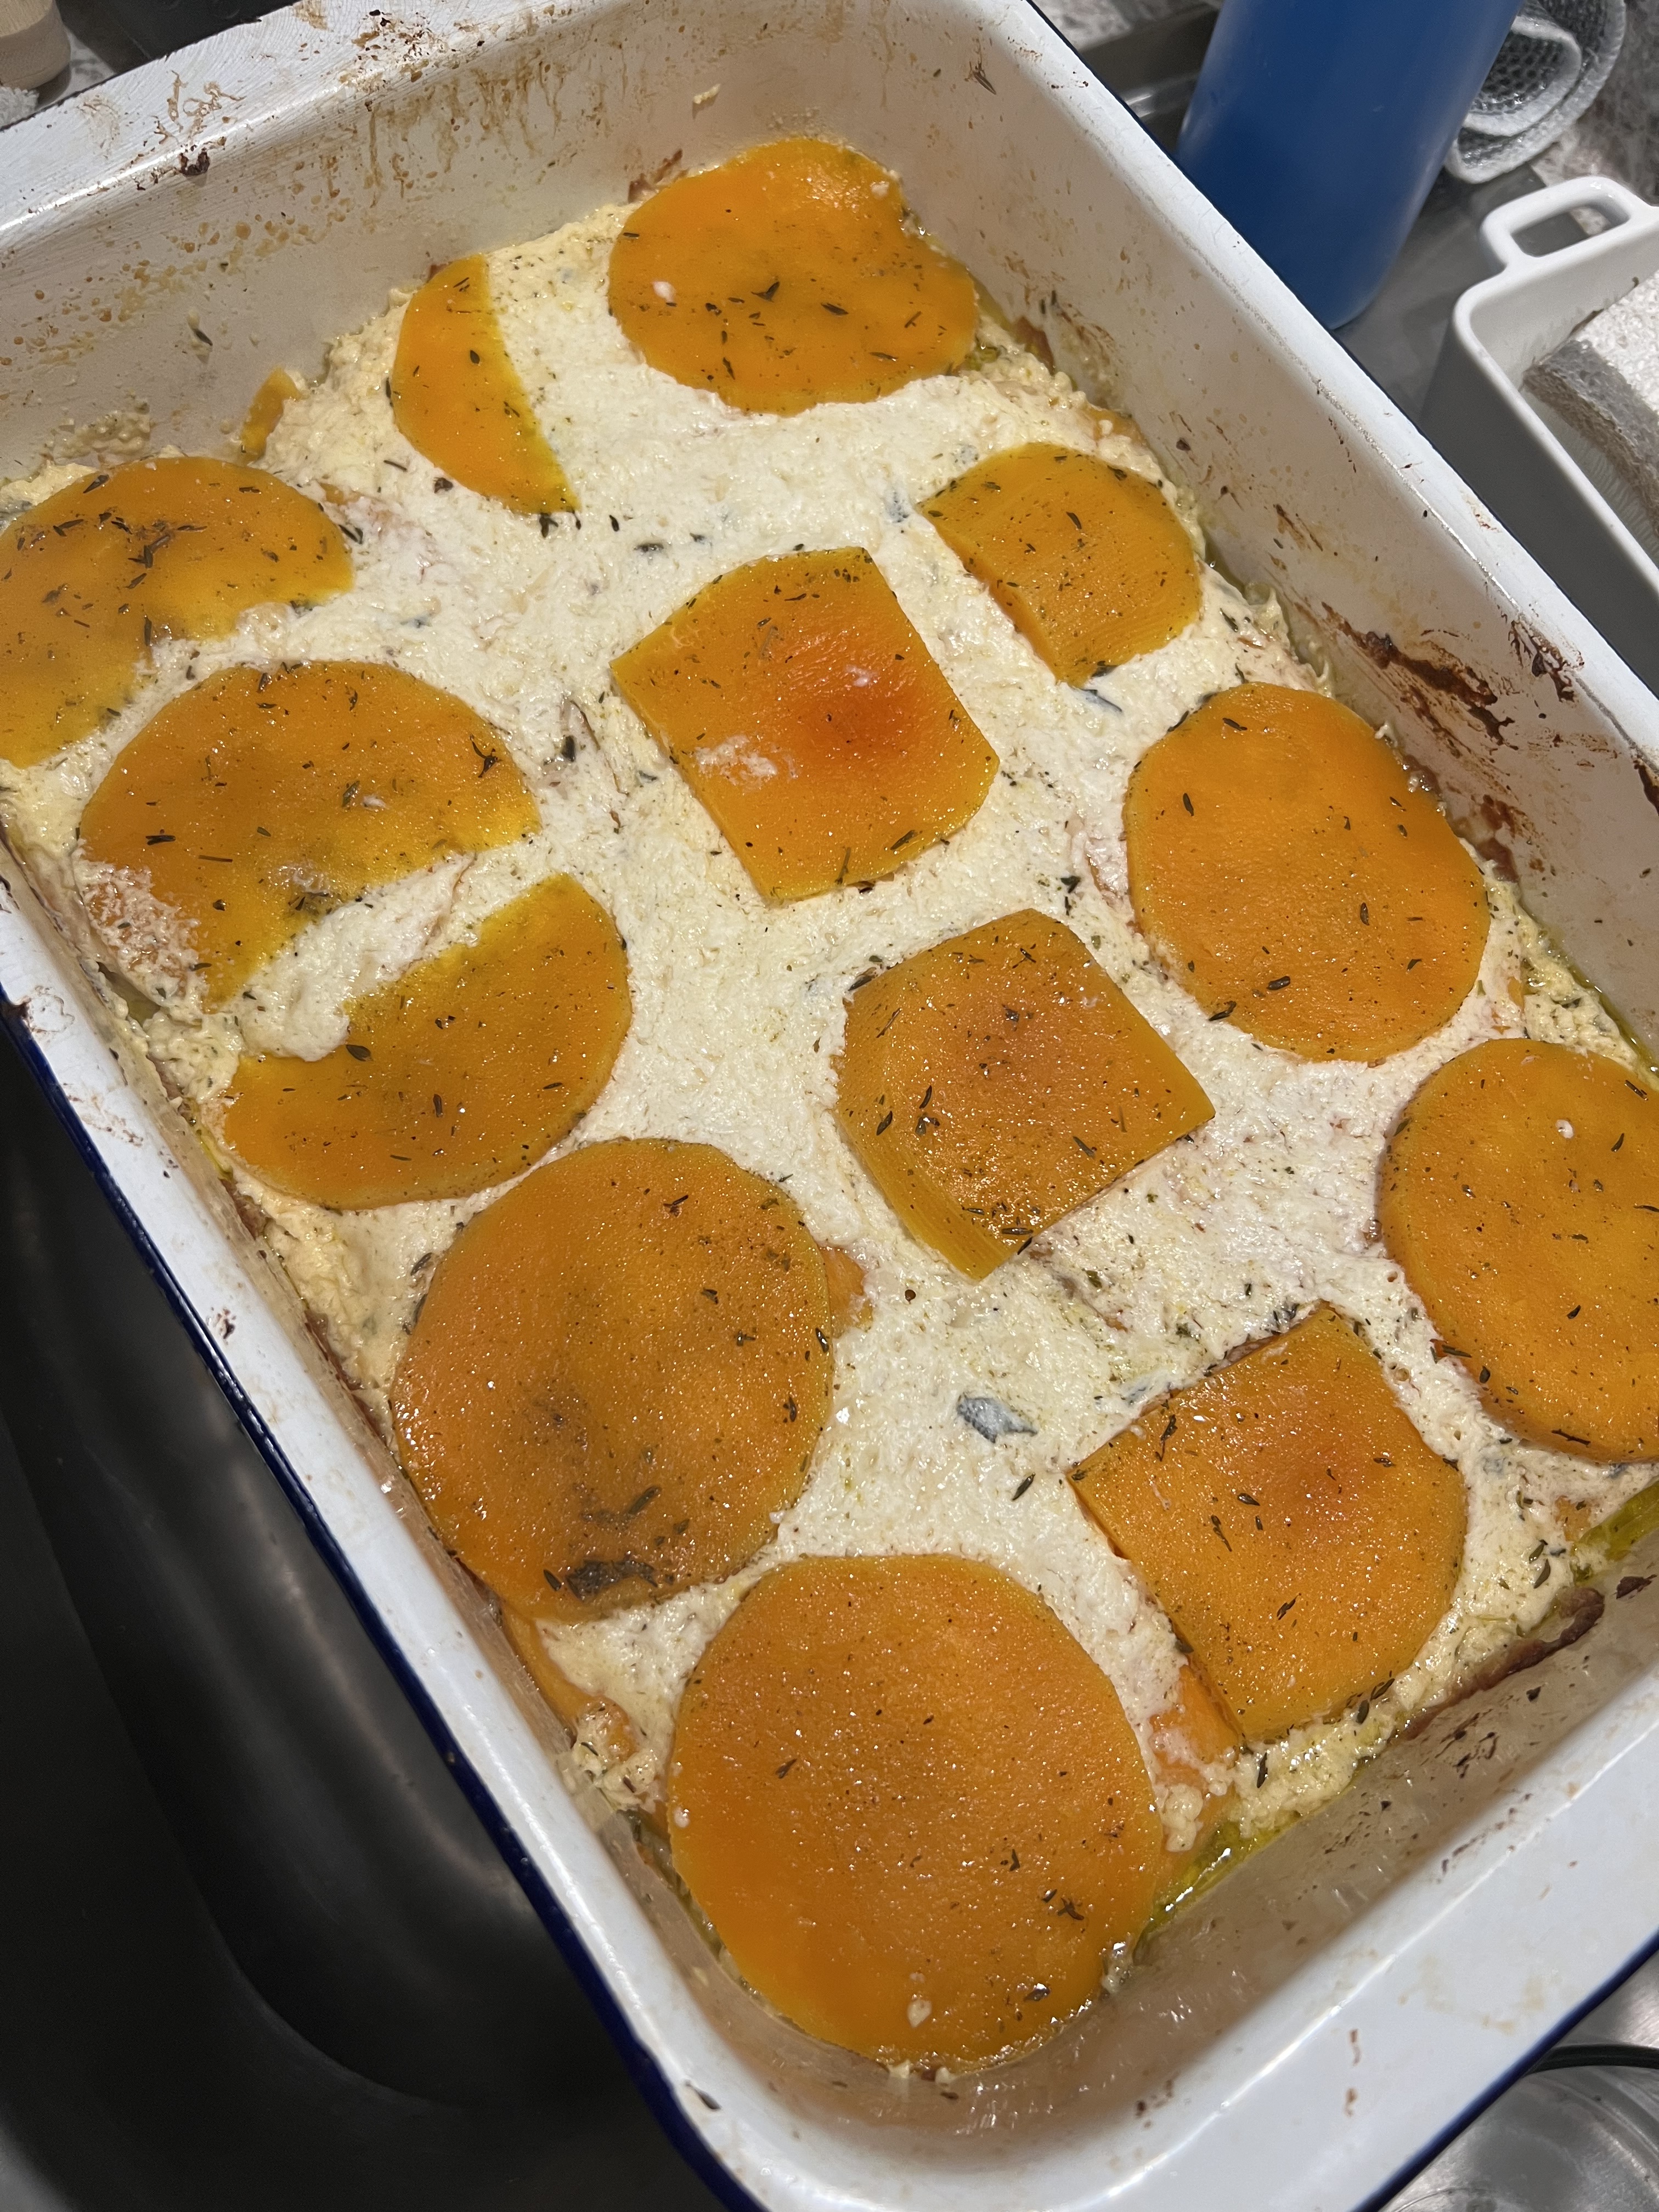
After 45 minutes, remove the baking pan from the oven, and remove the foil. Sprinkle the optional walnuts on at this point, and return the pan (without the foil) back to the oven for another 15 minutes.
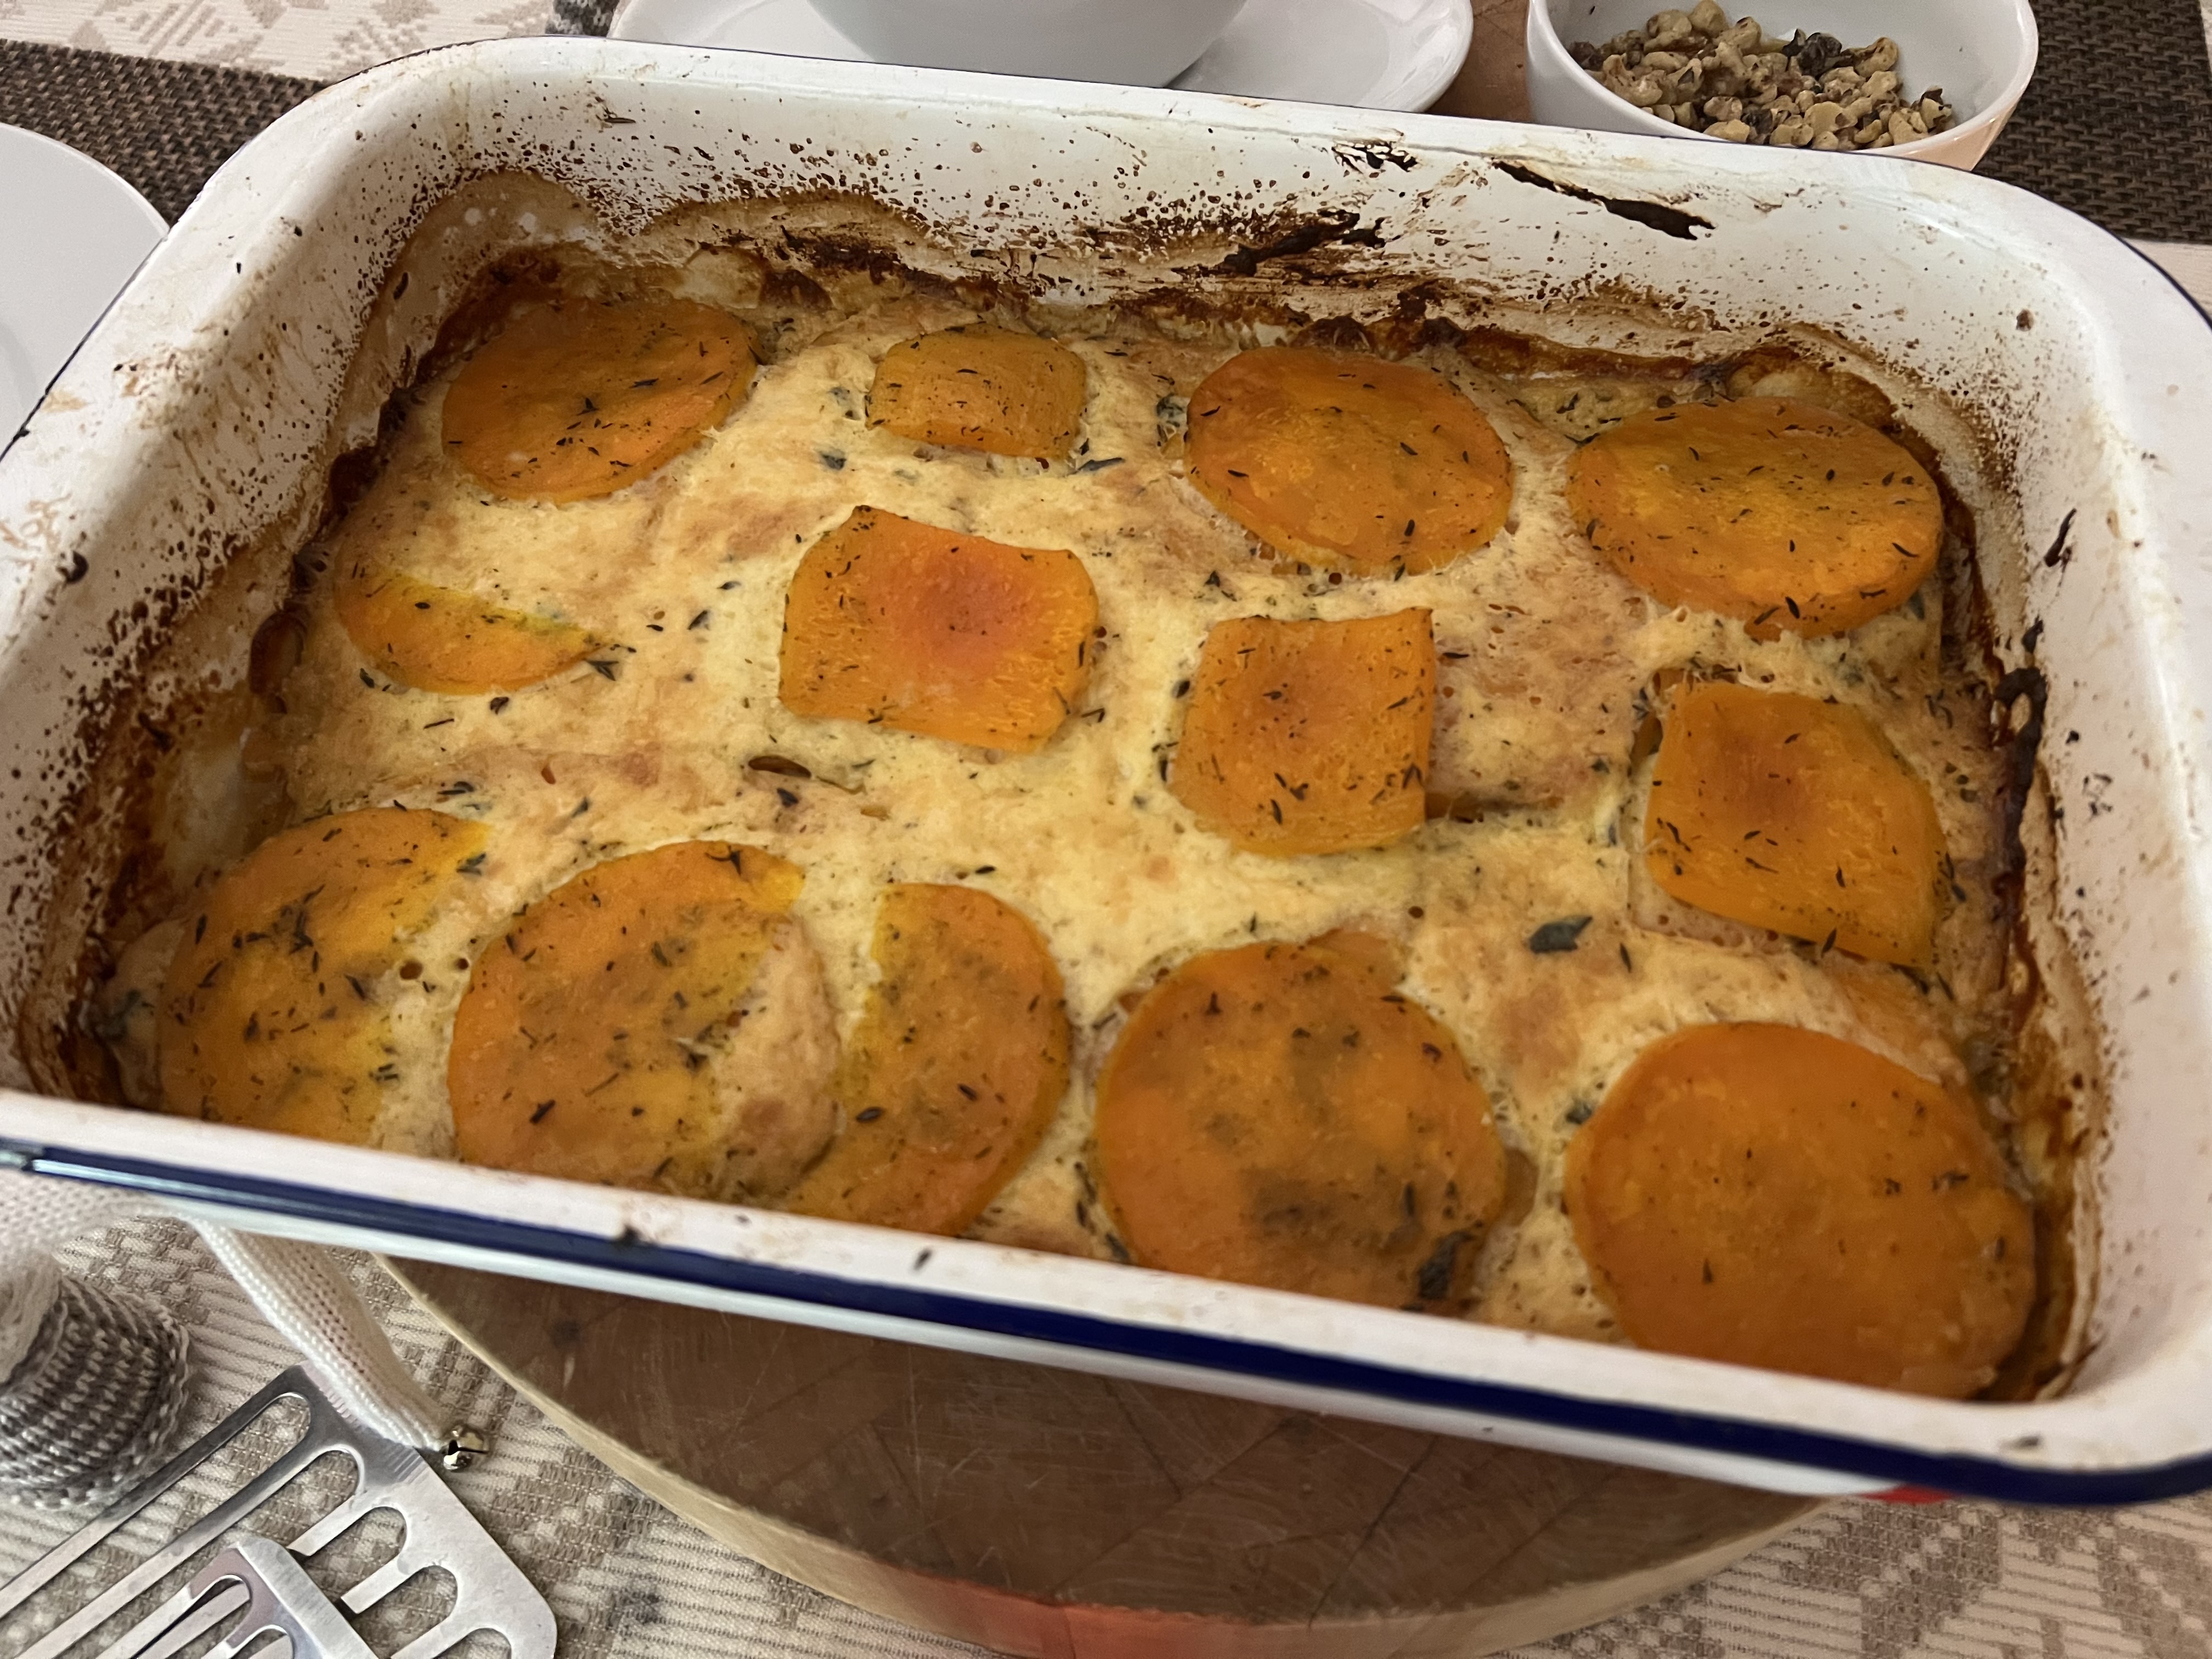
Once the cooking is done, allow the baking pan to rest for about 10 minutes before slicing. Pour some of the cranberry glaze on top when serving.