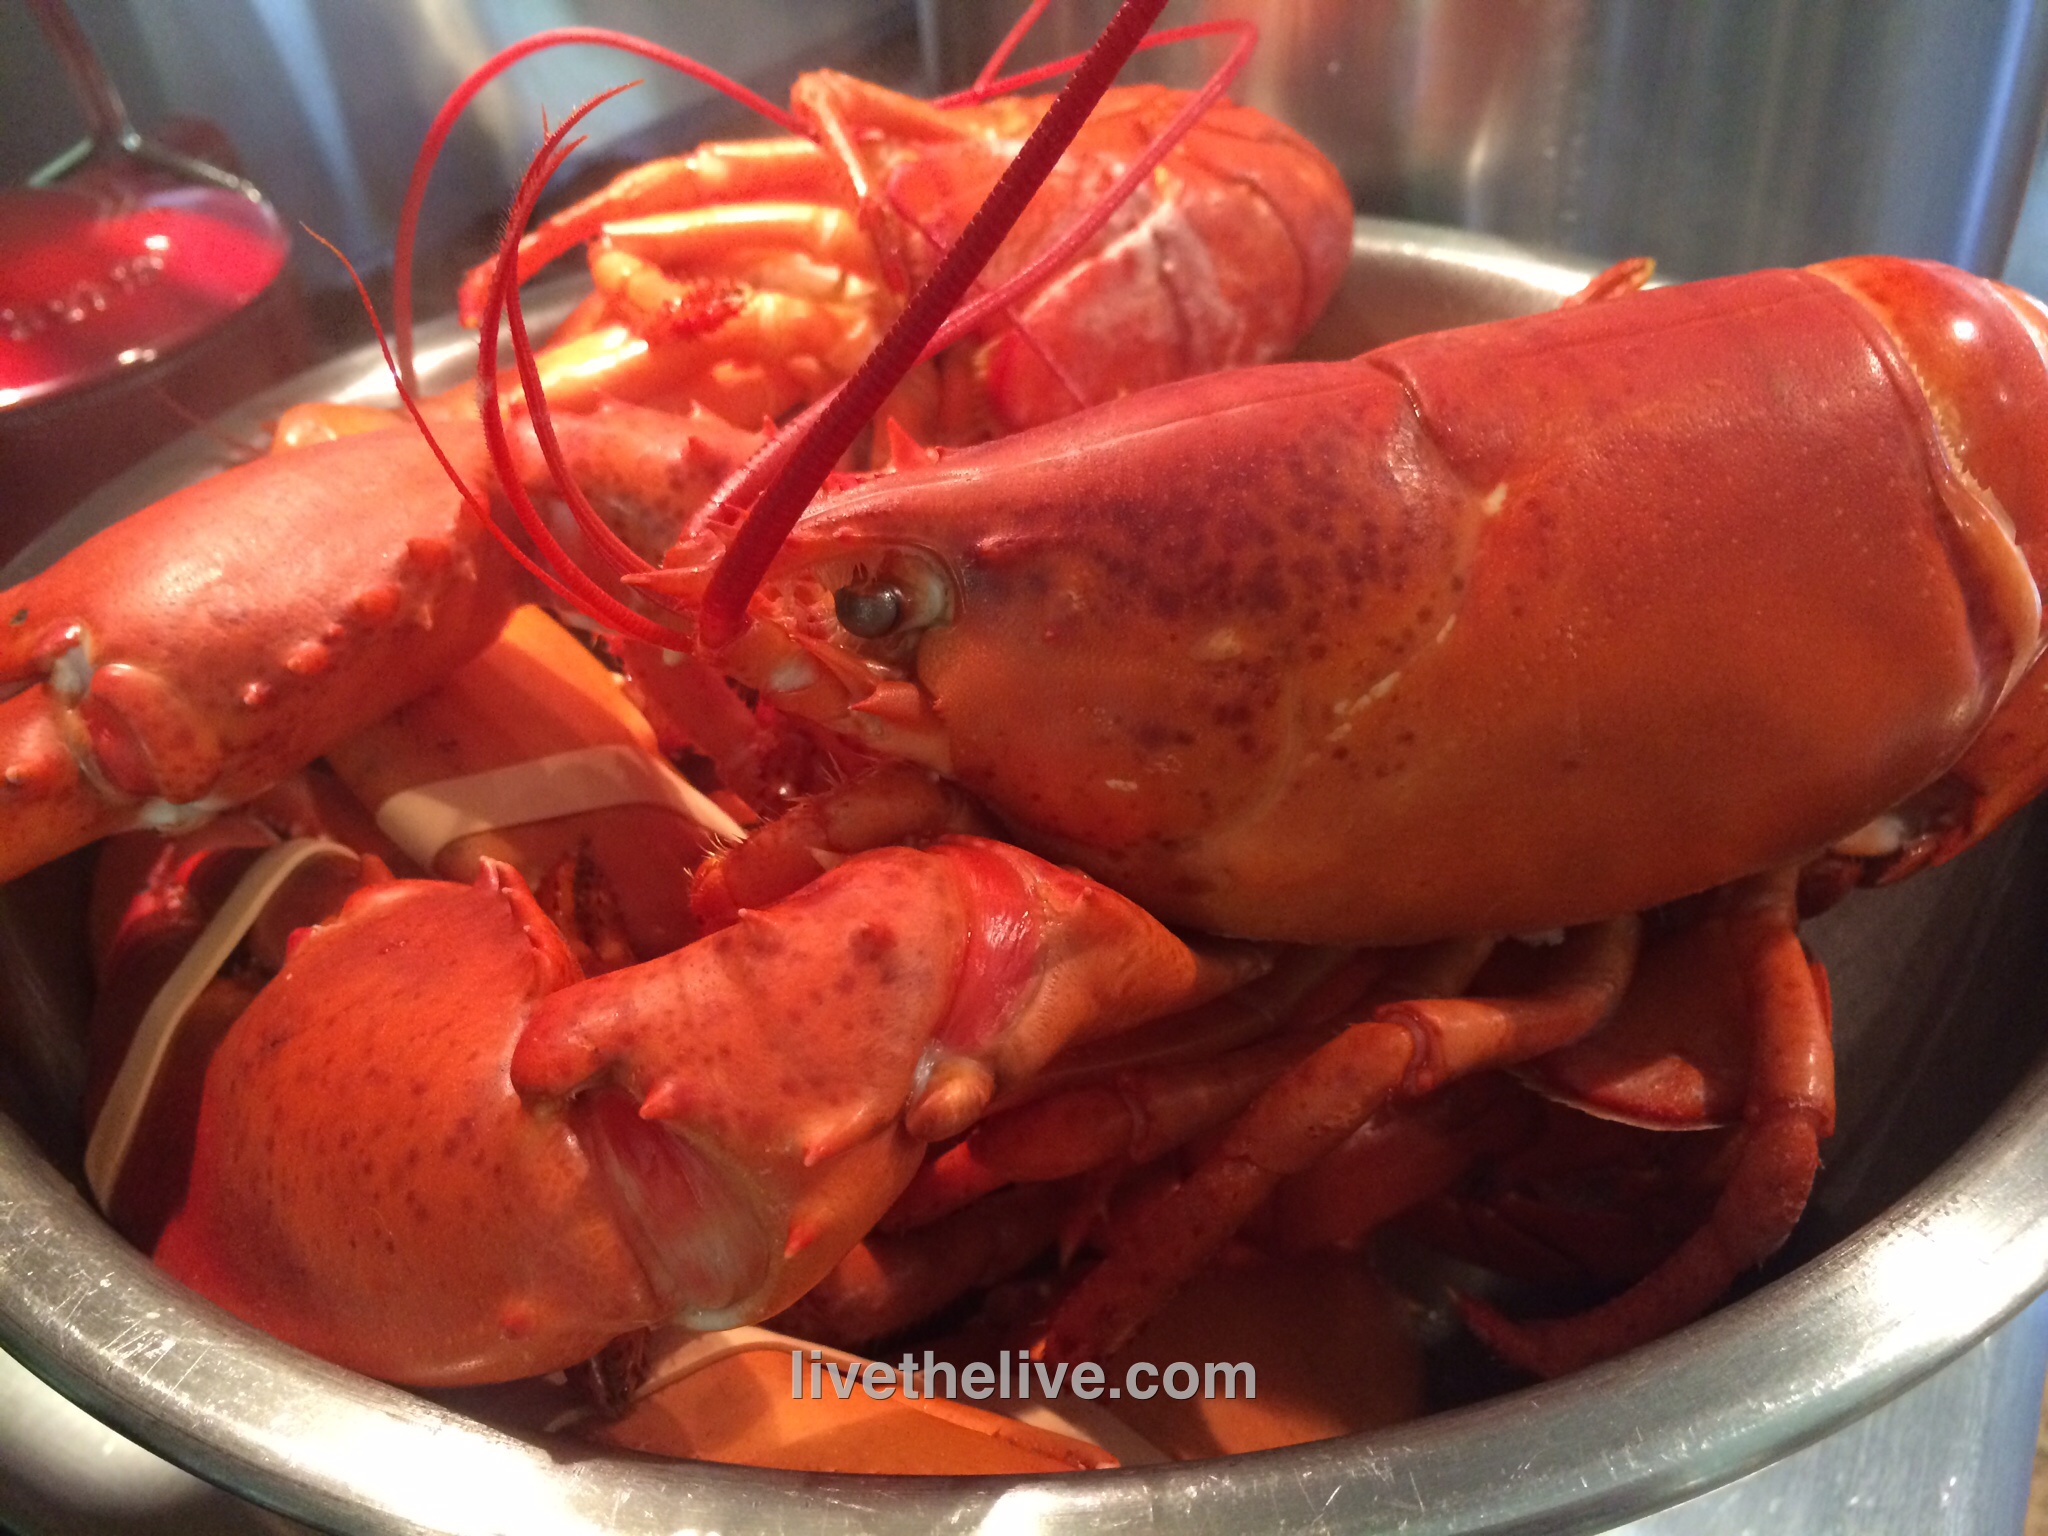
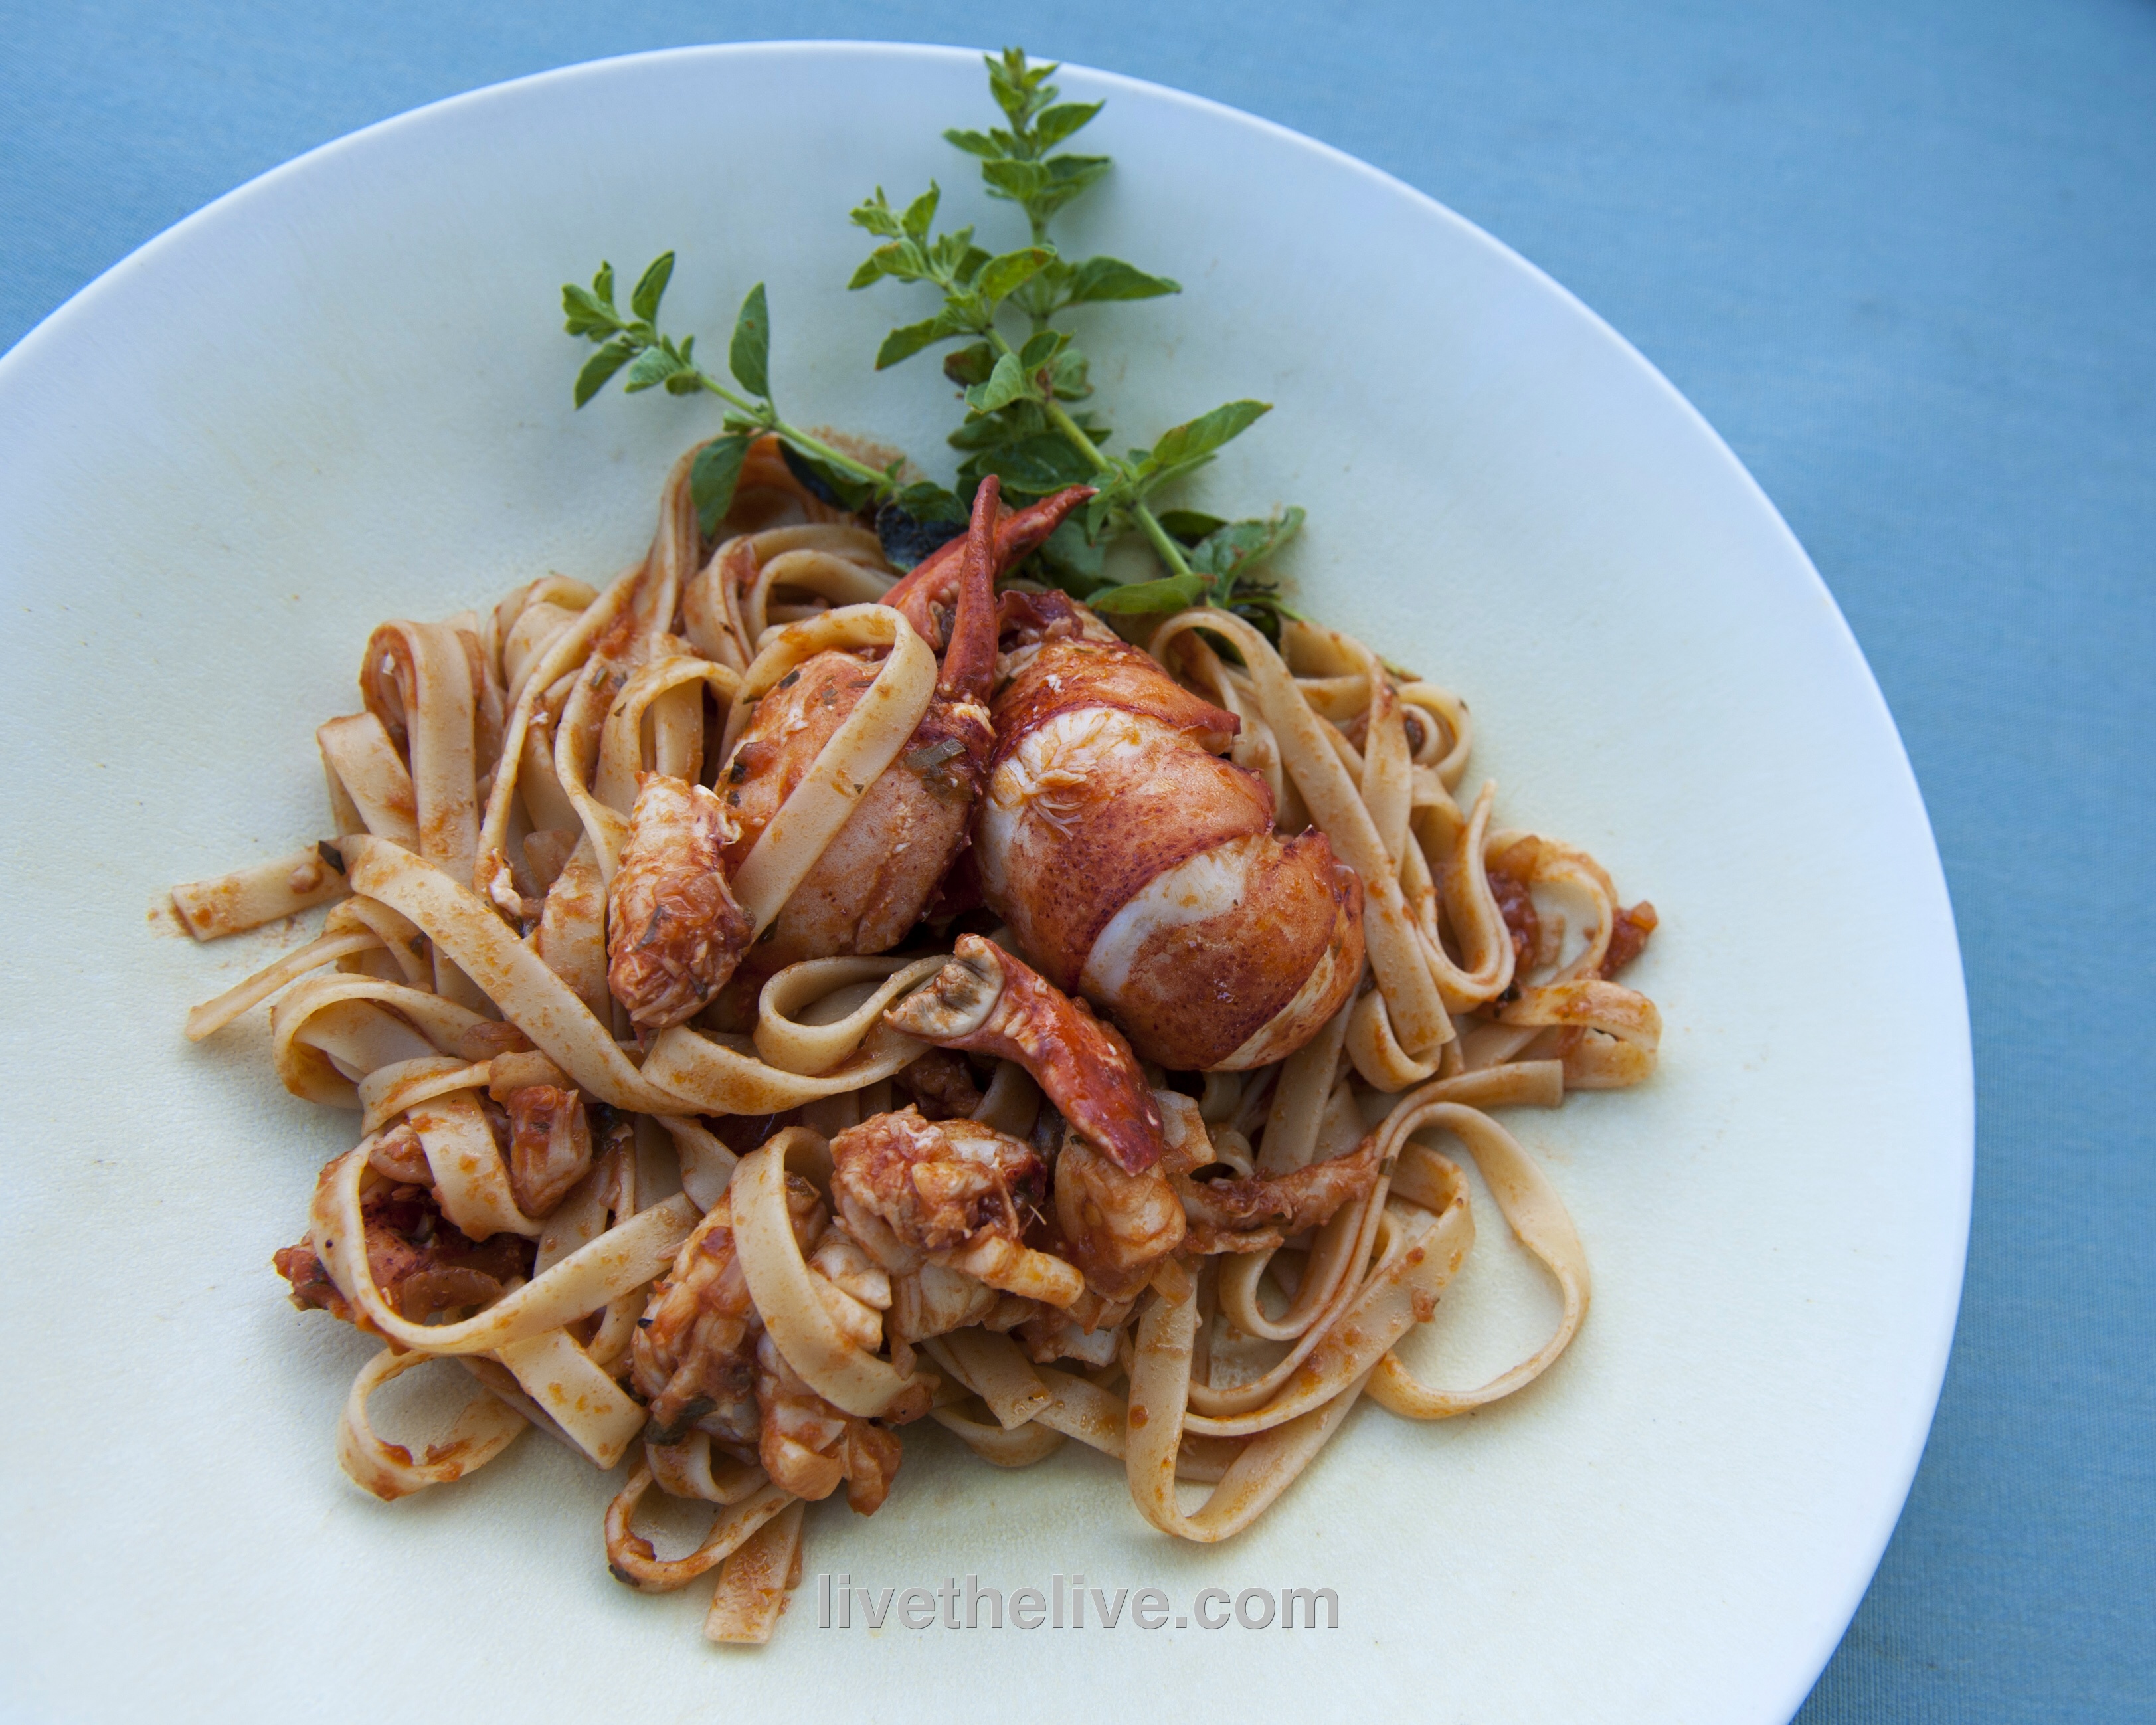
This dish is absolutely delicious and worth the effort. Despite the fact that we first had it in the middle of summer on a vacation to the beautiful island of Santorini, Greece, we always cook it around the holidays in wintertime. We don’t have access to that unusual Mediterranean lobster, but our cold water New England lobsters are a fine substitute!
Santorini gets a bad rap these days, because they’ve allowed the cruise ships to take over, and they just can’t support the massive crowds that invade this small, beautiful island every summer. Once you’ve opened the floodgates, it’s hard to suddenly turn around and tell tourists not to come. Santorini’s tourism industry drives the entire country of Greece. Sadly, it seems that many beautiful places in the world, once discovered by the masses, have to deal with this issues. (My beloved island of St. John in the USVI, is another example.)
But despite the hoards of tourists that swarm the island every summer, Santorini remains one of the most amazing places I’ve been to in my life. Having traveled there at least 4 times now, I know all the cruise ship tour bus routes and stops to avoid, and where I can still go to experience the real Santorini.
It was in one of those out-of-the-way places that we first had this dish. Taverna Giorgaros is a simple family-run restaurant that is on the road leading to the lighthouse, past the ancient ruins of Akrotiri. We’ve gone there every time we’ve visited Santorini, and only once did they have the freshly caught lobster that allowed us to enjoy this dish.

Where we first had our pasta with lobster sauce in Santorini.
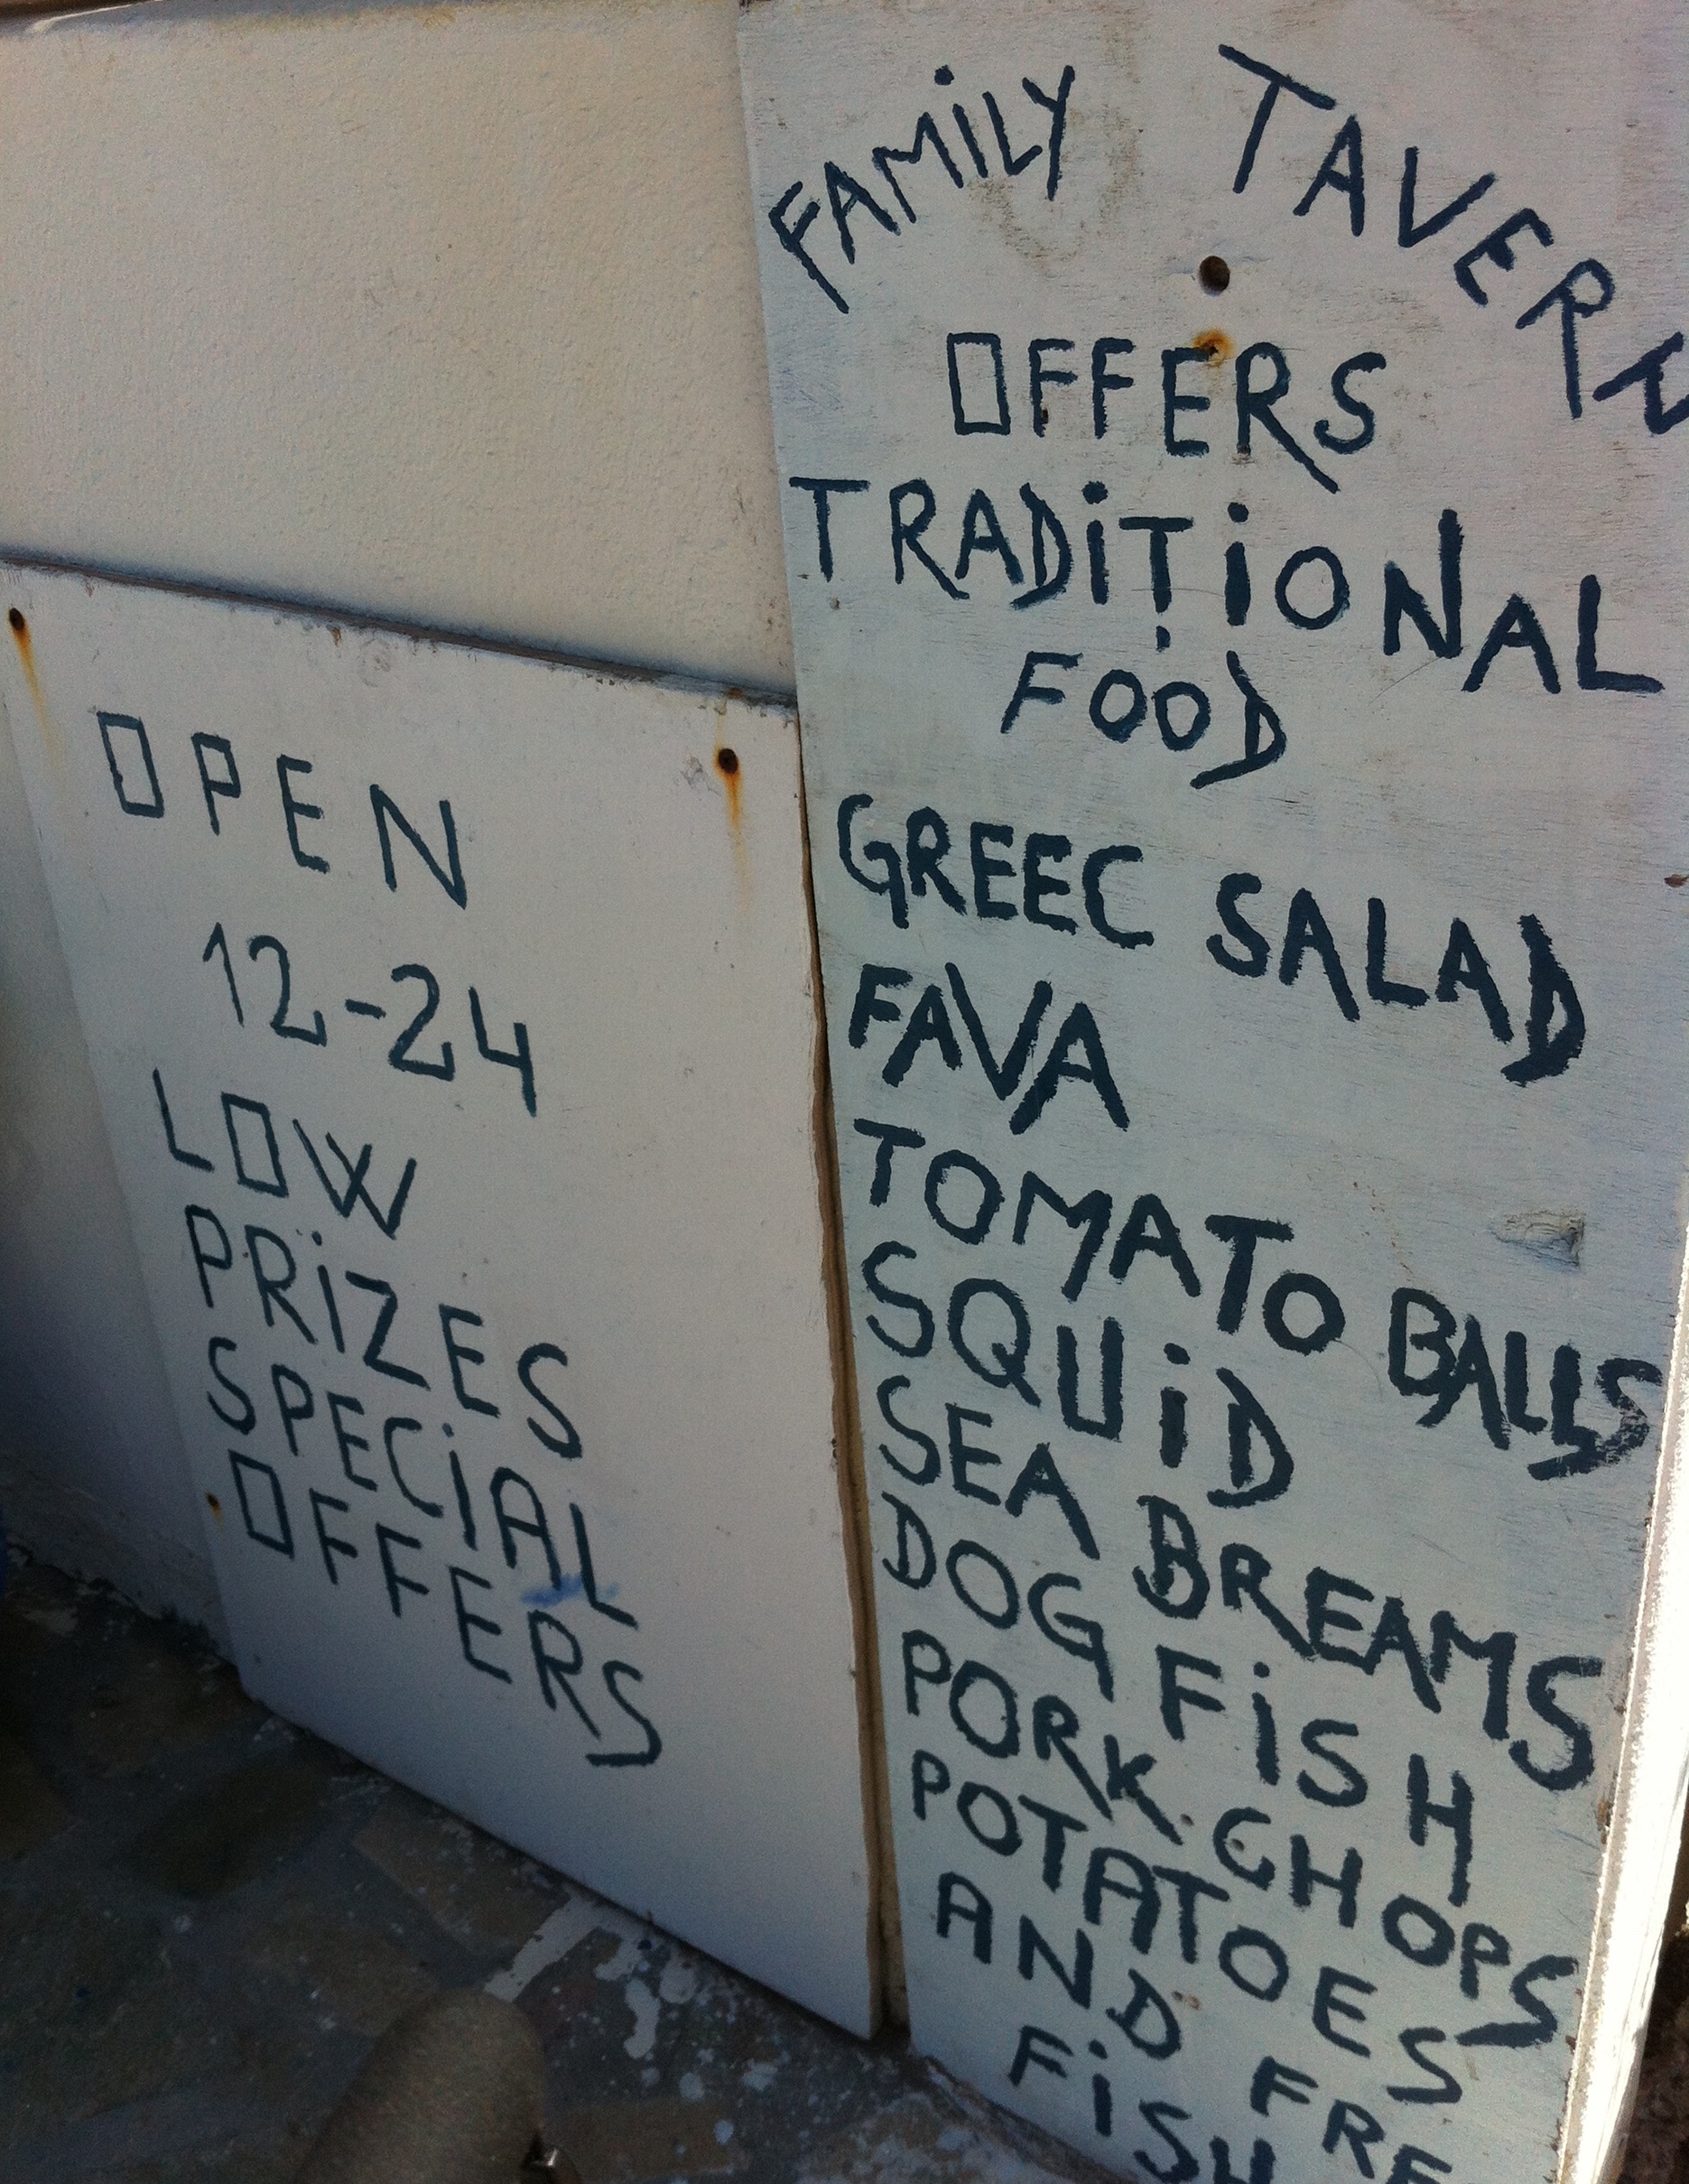
Love the signs!
First, it’s absolutely important to make a good stock: the base for all the other flavors to follow.
For the stock…
2 1-1/2 lb. lobsters, slightly under-cooked
12 cups water
1/2 onion, chopped into quarters
3 celery stalks, chopped into quarters
1 carrot, chopped into quarters
Under-cook (steam or boil, whatever your favorite method) the lobsters. (You’ll be cooking the meat again later.) Remove the lobster meat from the shells and set it aside.
Place the cleaned lobster shells, claws, tails, legs and bodies in a large pot. (You don’t want any of the internal organs or tommaley.) Crush the shells, if needed, so they fit in the pot. Add the water, onion, celery and carrot. Set the heat on high. Cook it until it’s reduced by half.
Strain the stock, discarding the lobster shells and veggies. Bring the stock back to the heat and reduce it until all you have left is 1 cup of intense stock.
For the lobster sauce…
1/2 onion, finely chopped
1 garlic clove, finely chopped
pinch of Italian red pepper flakes
teaspoon fresh chopped parsley
extra virgin olive oil
1/2 cup lobster stock
1/4 cup San Marzano tomato sauce (see below)
splash of dry un-oaked white wine (I use an Australian Chardonnay)
salt and pepper
Final ingredients…
reserved lobster meat
1/2 lb. cooked pasta
Add some olive oil to a large pan and sauté the onions until they’re translucent. Season them with salt and pepper. Add the garlic and cook for 10 seconds. Add the red pepper flakes and parsley.
Add 1/4 cup of the lobster stock and let it cook, reducing by half. Add the other 1/4 cup of lobster stock and the tomato sauce. Let it cook for a couple of minutes and add the white wine. Cook for a few minutes more.
Cook the pasta and drain it before it reaches the al dente stage. Place the pasta in the pan with the sauce, heating and coating thoroughly. Add the reserved lobster pieces and warm them through, tossing in the sauce. Serve immediately.
For the San Marzano tomato sauce: Pour a can of whole San Marzano tomatoes in a food processor and blend. Pour the sauce into a pan and reduce it over medium heat by half, until the sauce has thickened. Use this sauce in the recipe.