Posts Tagged ‘recipes’
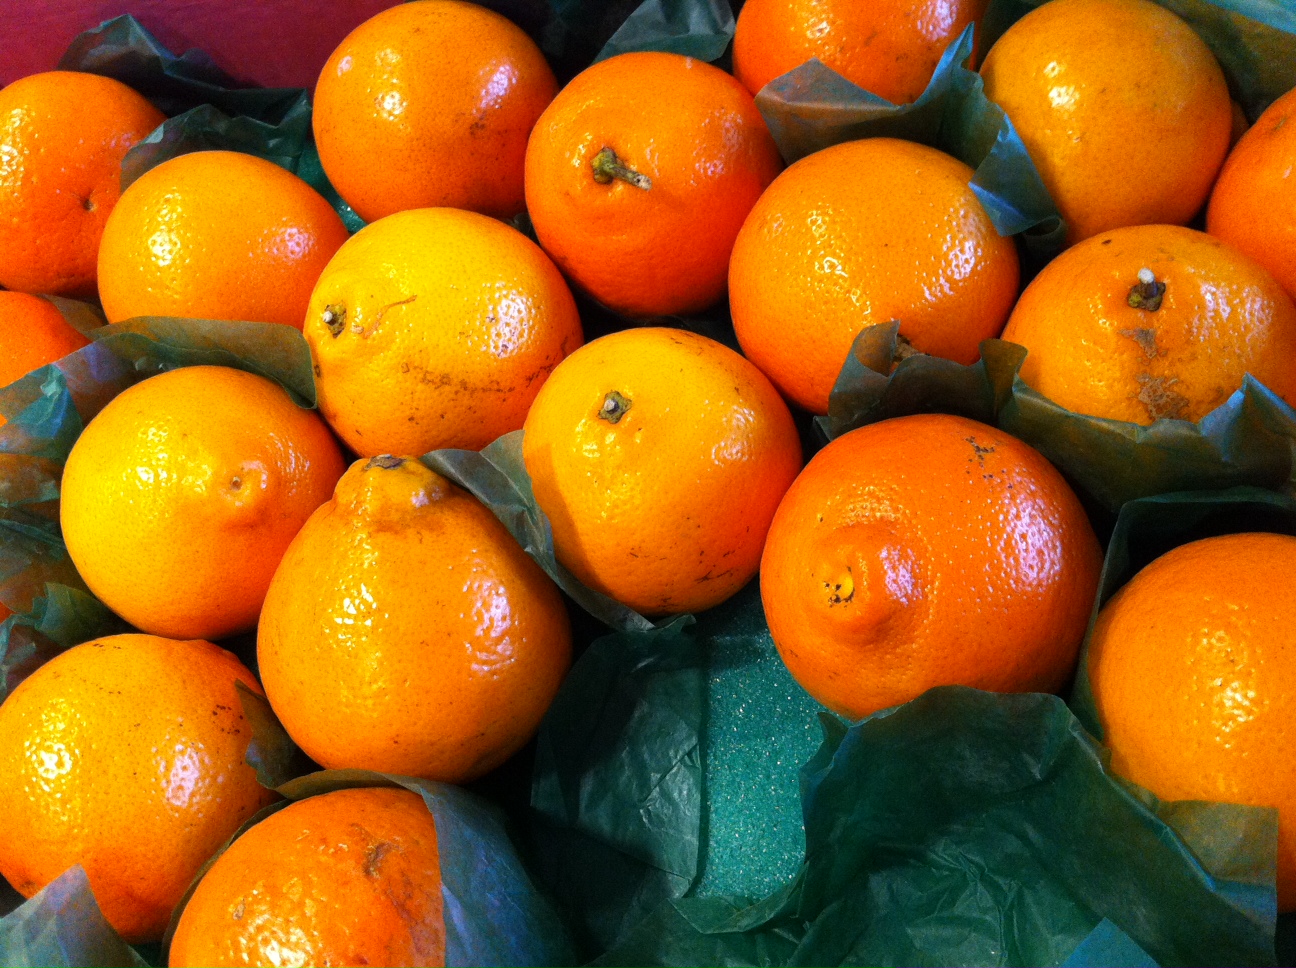
HONEYBELL MARGARITAS
Posted: January 23, 2014 in Cocktails, drink recipes, Drinks, mixologyTags: cocktails, drinks, honeybells, margaritas, recipes
PASTA WITH LOBSTER SAUCE
Posted: January 19, 2014 in Food, Recipes, seafood, tomatoes, travelTags: food, lobster, pasta, recipes, Santorini, sauce
One of the most incredible dishes I’ve had on the beautiful island of Santorini, Greece, is lobster with pasta. It’s one of those dishes that takes time to prepare, because the pasta lobster sauce they make is a labor of love…time consuming and so spectacular.
To try to replicate that lobster sauce we had in Santorini, I started with a kick-ass lobster stock. It’s simple but flavorful:
Stock ingredients:
clean, empty claws, tails and bodies from two 1-1/2 lb. lobsters
12 cups water
1/2 onion
3 celery stalks
1 carrot
Place all ingredients in a large pot and set on high heat. Crush lobster shells with potato masher. Cook until it is reduced by half.
Strain the stock, discarding the lobster shells and veggies. Bring the stock back to the heat and reduce until all you have left is 1 cup of intense stock.
Now that I have the stock, I can make the sauce!
Sauce ingredients:
1/2 onion, finely chopped
1 garlic clove, finely chopped
pinch of Italian red pepper flakes
teaspoon parsley
extra virgin olive oil
1/2 cup lobster stock
1/4 cup San Marzano tomato sauce (see below)
splash of white wine (I use Alice white Chardonnay)
salt and pepper
1/2 lb. cooked pasta
Add some olive oil to a pan and saute the onions until translucent. Season with salt and pepper. Add the garlic and cook for 10 seconds. Add the red pepper flakes and parsley.
Add 1/4 cup of the lobster stock and let it cook, reducing by half. Add the other 1/4 cup of lobster stock and the tomato sauce. Let it cook for a couple of minutes and add the white wine. Cook for a few minutes more.
Cook pasta and drain even before it reaches the al dente stage. Place the pasta in the pan with the sauce, heating and coating thoroughly. Serve immediately.
For the San Marzano tomato sauce: I take a can of San Marzano tomatoes and place it in a food processor or Vita-Mix and blend until I get sauce. Pour into a pan and reduce over medium heat by half, until sauce has thickened.
MAKING MUSTARD: SHOULDA DONE THIS SOONER!
Posted: January 14, 2014 in Food, mustard, Recipes, spicyTags: condiments, food, mustard, recipes
It’s so easy to make your own mustard. And really good mustard. Mustard that hasn’t been sitting on the store shelf for a year. Mustard with real flavor.
Once the mustard is made, you’re supposed to wait a few weeks before using, letting its heat mellow a bit. But I enjoy it right from the start. Feel the burn!
The great thing about this recipe is that you make it with your favorite beer, so use what you drink and you’ll have a mustard like no one else. I used Samuel Adams Boston Ale for this recipe.
Ingredients:
1/4 cup yellow mustard seeds
1/4 cup brown mustard seeds
3/4 cup Sam Adams Boston Ale
1/4 cup apple cider vinegar
2 Tbsp. honey
2 Tbsp. brown sugar, firmly packed
2 garlic cloves, smashed
1 bay leaf
2 tsp. fleur de sel
1/8 tsp. freshly ground pepper
Put the yellow and brown mustard seeds in a bowl and pour in 1/2 cup of the beer. Push the mustard seeds down to submerge them in the beer. (I lay a sheet of plastic wrap down on top to keep them submerged.) Cover and refrigerate for 24 hours.
Combine the remaining 1/4 cup of beer, the vinegar, honey, brown sugar, garlic, bay leaf salt and pepper in a small saucepan. Bring the mixture to a boil over medium-high heat, stirring to dissolve the honey and the sugar. Boil for 1 minute, the immediately remove the pan from the heat and let it cool to room temperature.
Toss the garlic and the bay leaf in the trash and pour the liquid into a blender. Add 3/4’s of the plumped mustard seeds and blend to break the seeds. Add the remaining 1/4 of the mustard seeds and pulse just once to mix. You want the mustard thick, with some whole seeds remaining.
Put the mustard in an airtight container in the fridge for at least 3 days, and up to a week, depending on how mellow you want it and how much waiting you can tolerate! After about 3 weeks, the mustard will be at its peak…but it will keep in the fridge for several months. (I can’t imagine it will last that long.)
BACON INFUSED VODKA
Posted: January 2, 2014 in bacon, drink recipes, Drinks, Food, mixology, Recipes, UncategorizedTags: bacon, cocktails, infused, recipes, vodka
Why does bacon taste “off” when it’s infused, mixed with chocolate, or even on a fast food burger? And Bakon, the bacon infused vodka you can buy at your local liquor store, is another example of “it’s better when you do it yourself.”
To make bacon infused vodka, I use the bacon I love to eat: my own homemade stuff. But your favorite store-bought bacon will work just as well.
Some bacon infused vodka recipes have you cook the bacon and soak the strips in vodka for a week or so. But I like this idea better:
Cook your favorite bacon in a pan. Eat the bacon. Set the fat aside. For a 750 ml bottle of vodka, use 2 tablespoons bacon fat. Place both in a mason jar, shake well, and let it sit at room temperature for about 6 hours, shaking occasionally. After 6 hours, place the mason jar in the freezer. The alcohol will not freeze, but the fat will. After 30 minutes, strain through paper coffee filters and you’ve got bacon infused vodka!
Cheers!
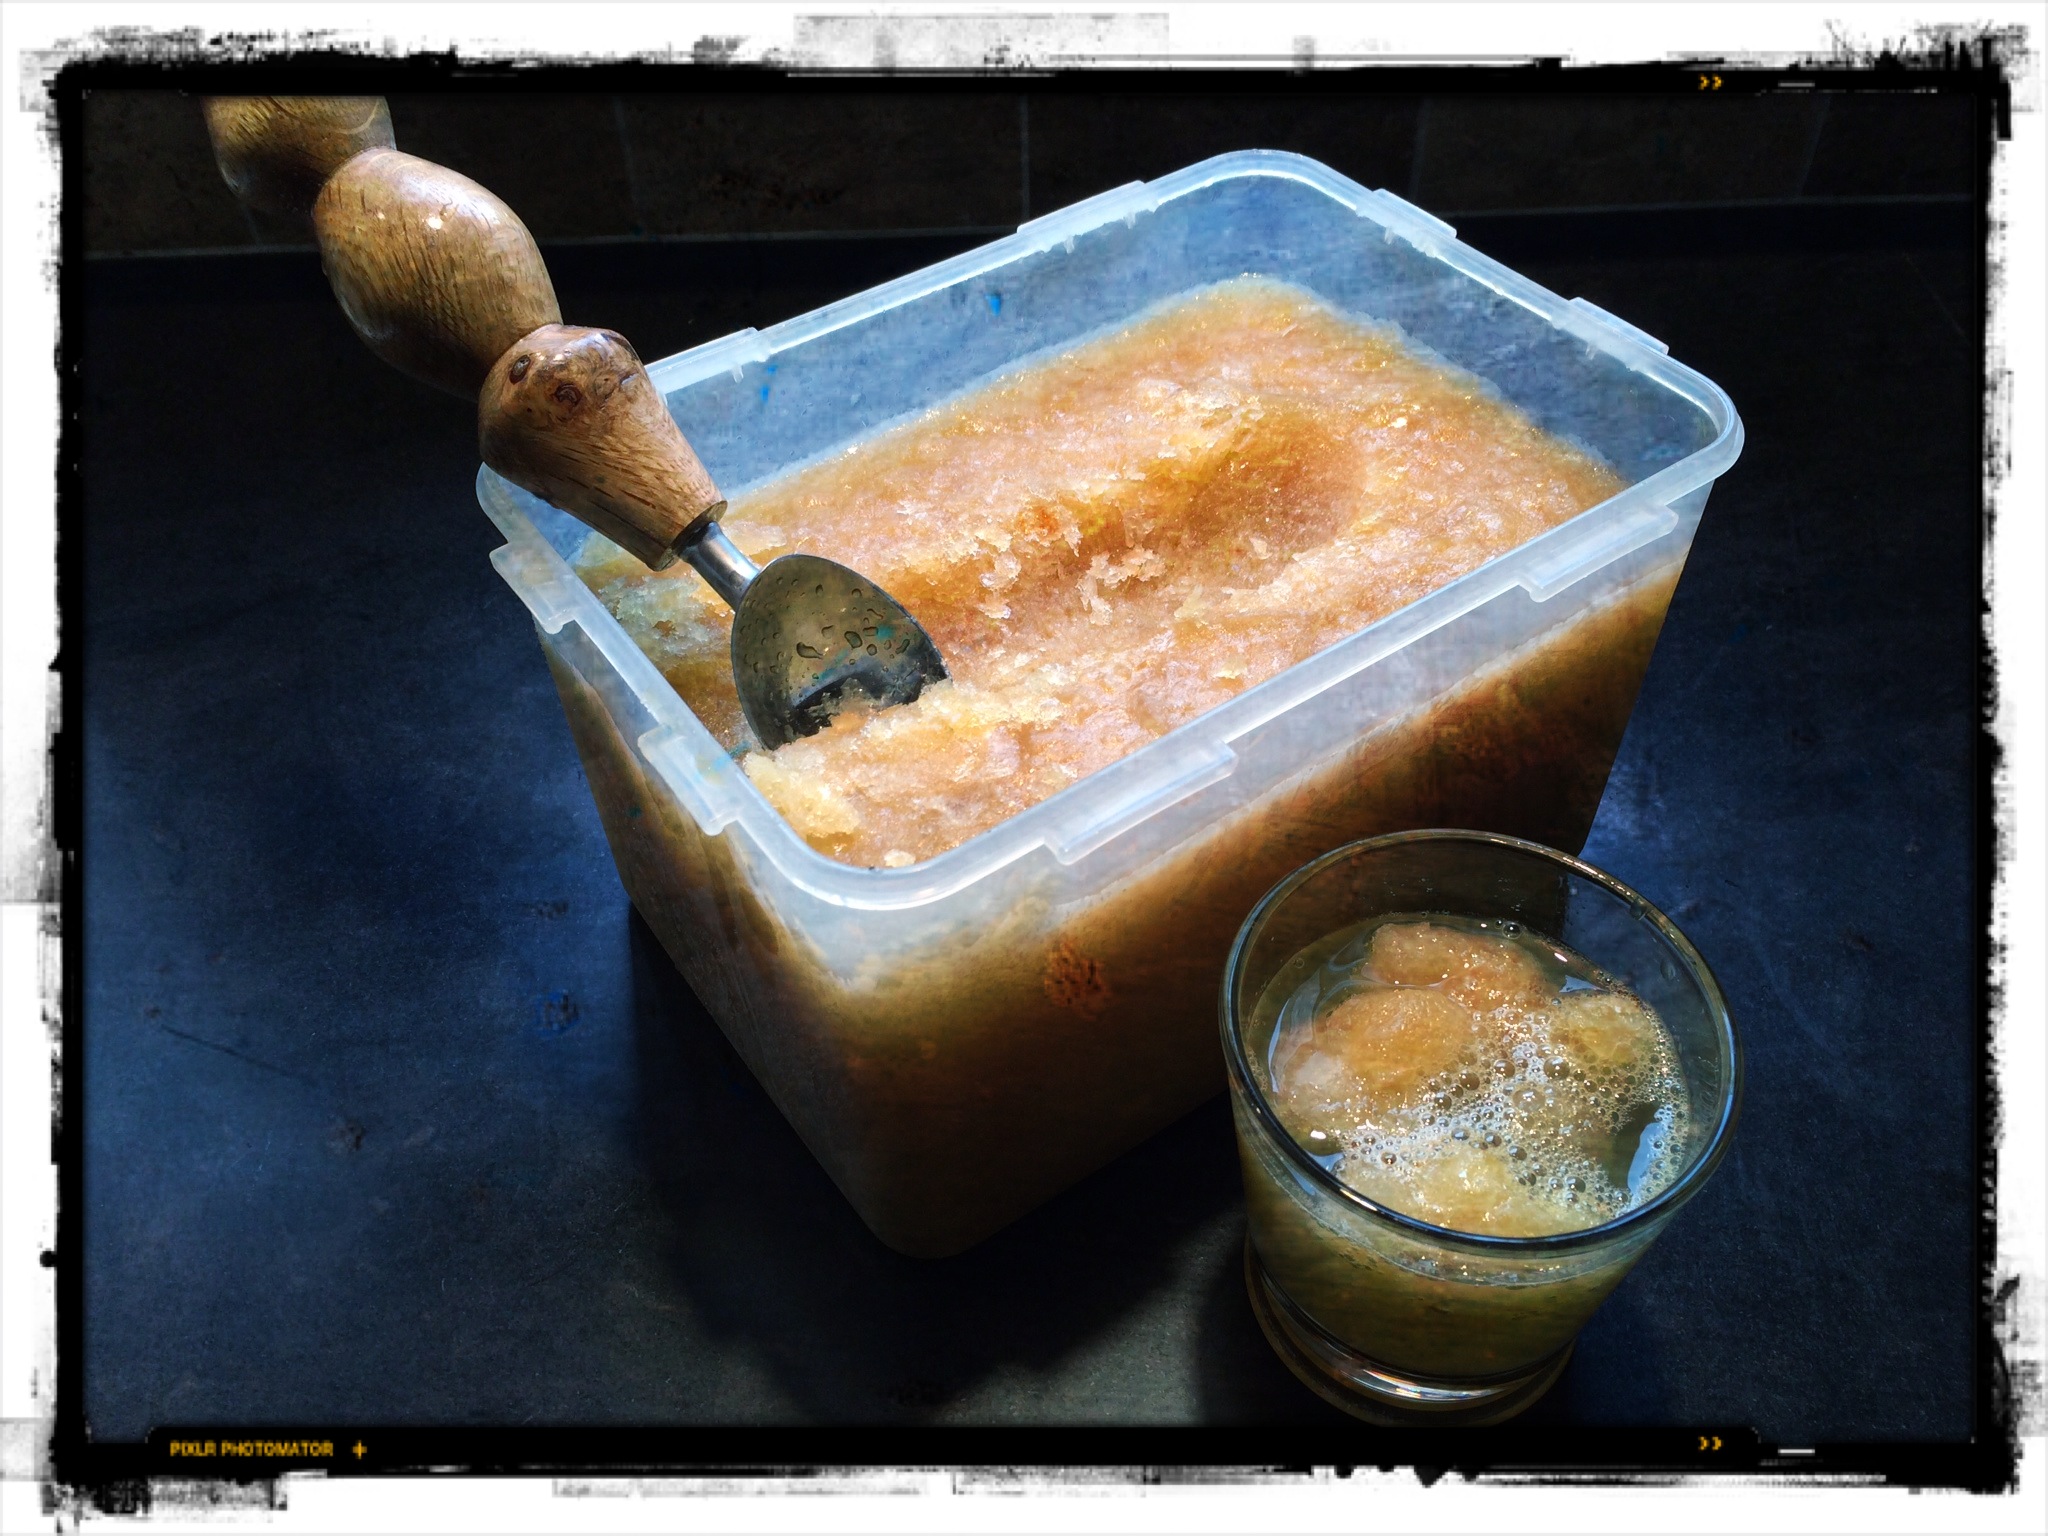
WHISKEY SLUSH FOR THE HOLIDAZE
Posted: December 16, 2013 in Cocktails, drink recipes, Drinks, Food, mixology, UncategorizedTags: cocktails, drinks, recipes, whiskey
This is my version of a holiday drink I was introduced to by my mother-in-law from the Upper Peninsula of Michigan. I knew I was marrying into the right family after one sip!
Ingredients:
9 cups water
2 cups sugar
4 “Constant Comment” tea bags
12 oz frozen OJ concentrate
12 oz frozen lemonade concentrate
2 cups whiskey (I use Crown Royal)
7Up or Sprite
Boil water and sugar, making sure sugar dissolves. Turn off heat and steep tea bags in liquid for 10 minutes. Discard tea bags.
Add OJ, lemonade and whiskey. Mix well, pour into a freezeable container with a lid. Freeze.
To serve: Scoop the slush out of the container (it doesn’t freeze solid) and mix in a tall glass with 7 Up.
KILLER HOLIDAY EGGNOG
Posted: November 29, 2013 in Cocktails, drink recipes, Drinks, Food, mixology, UncategorizedTags: cocktails, drinks, eggnog, recipes
Let’s face it: there’s no such thing as healthy eggnog. This recipe kicks ass but is also a heart attack in a glass.
My buddy, Rick Sammarco, a former bartender at Mill’s Tavern in Providence, RI, credits his father, Al, for this eggnog. The original recipe calls for a lot more of everything. I’ve cut it down to a “more reasonable” size. It’s been so long since I bought ice cream, that I didn’t even know that the standard half-gallon size was replaced by a 1.5 quart size!
A word about salmonella: most cases are caused by raw chicken, not raw eggs. Eggs you get in the supermarket are washed so the chance of salmonella, found on the exterior, is minimal. (The inside of the egg is sterile.) Plus, you’re dumping a lot of booze into this drink and that will kill bacteria. In fact, some recipes say to make your eggnog weeks in advance to “sterilize” the drink.
Ingredients:
1.5 quarts vanilla ice cream (I use Breyer’s)
1 pint half and half
15 whole eggs (raw)
½ teaspoon vanilla extract
1/4 teaspoon cinnamon
1/4 teaspoon nutmeg
At least 3/8 cup of each:
spiced rum (I use Capt. Morgan)
whiskey (I use Crown Royal)
brandy (I use E&J)
Let the ice cream soften 1 day in the fridge. Mix ice cream, eggs, vanilla, half and half in a blender.
Add spices and liquor. Blend until it’s frothy.
Taste, and add more cinnamon and nutmeg if you like.
After fully blended, let sit in fridge 12-24 hours for flavors to blend. Even longer is better.
BRINING A TURKEY
Posted: November 16, 2013 in brining, Food, marinade, Recipes, salt, Thanksgiving, turkeyTags: brining, food, recipes, salt, Thanksgiving, turkey
Brining is a simple process of soaking a hunk of protein in a flavored salt solution for a time before cooking, resulting in a much more juicy and flavorful final product.
It’s basic high school science: the brine has a greater concentration of salt and water than the molecules of the protein (in this case, a turkey) that is soaking in it. By simple diffusion, the protein molecules suck up the salty water and retain it. When you cook the meat, some of the water evaporates, but the meat still has far more moisture in it than it would have without the brine soaking, and the result is a moister, delicious bird.
Some people use giant syringes to inject their turkeys with crazy solutions, but I think that the old way is still the best way when it comes to brining. Get a big pot, fill it with the brine, and soak the bird in it. Done.
Here’s my tried-and-true turkey brining recipe. Once the brining is done, you can cook the turkey whatever way you like best. I use a method where I grill it inside a Weber grill with charcoal. It comes out smokey and absolutely amazing. I’ll have that info in the next blog.
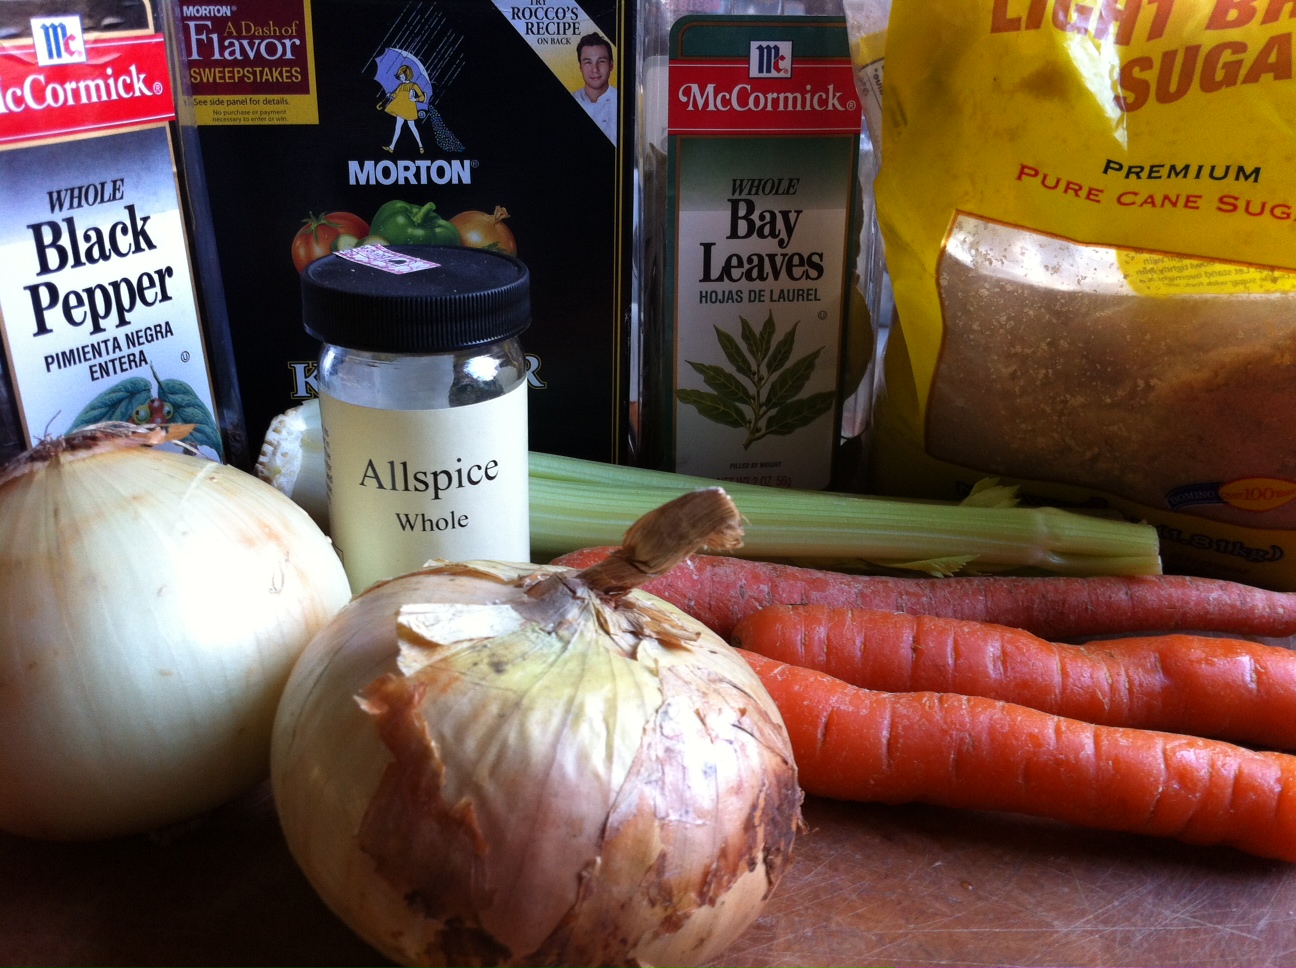
Ingredients:
1 gallon of water
2 onions
3 carrots
3 stalks celery
1 cup kosher salt
1 tablespoon black peppercorns
1/2 cup light brown sugar
1.5 teaspoons whole allspice
4 bay leaves
1 gallon of ice water
14–15 lb turkey, thawed
Pour first gallon of water in a large pot. Quarter the onions, carrots and celery (no need to peel them) and add to the water. Add all the other ingredients, except ice water and turkey.
Let the pot come to a boil for a few minutes. Remove from heat and let brine cool down to room temperature.
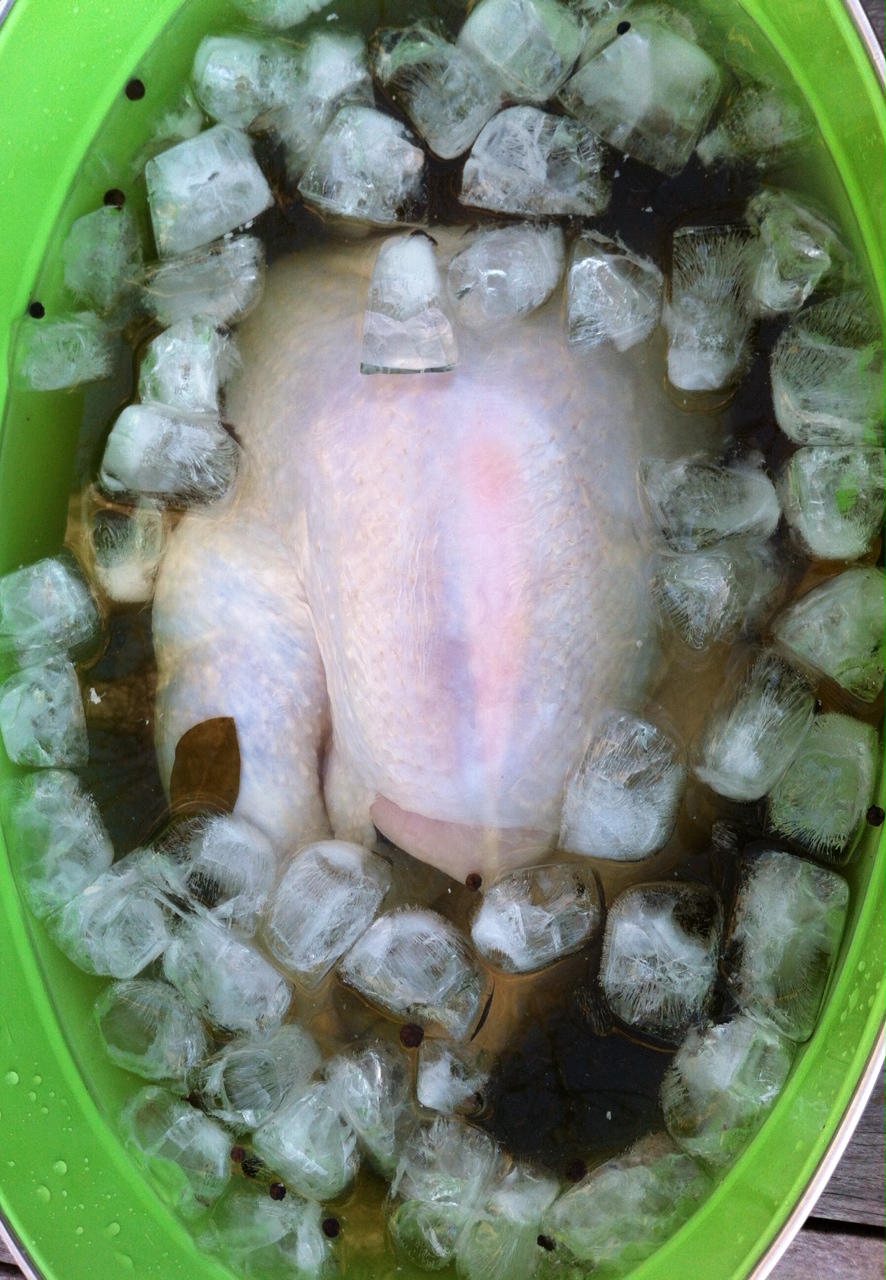
Remove giblets from turkey and place the bird in a container just big enough to hold it and 2 gallons of liquid.
Pour the now-cooled brine over the turkey, then pour in the gallon of ice water.
Make sure the turkey doesn’t float up by placing a plate on top. Put turkey container in fridge for 5 to 8 hours, flipping the turkey over in the container halfway through.
Drain turkey, pat dry with paper towels, and then cook using your favorite recipe.
Next time: cooking your turkey on a Weber grill in a fraction of the time.
PRETZEL BREAD
Posted: November 12, 2013 in Food, Recipes, UncategorizedTags: BAKING, BREAD, food, pretzels, recipes
Pretzel bread has become a foodie phenomenon in a very short period: not just the bun of choice at your favorite fast-food burger joint, but the go-to bread in any upscale restaurant.
Making pretzel bread at home had one major stumbling block for me: the need for lye, which has nasty corrosive qualities that I don’t want to deal with in my kitchen. Even special baker’s lye was not an option. So when I found a pretzel bread recipe that used baking soda, a much milder and safer alkaline ingredient that I could simply pour down my drain after using, I knew it was time to bake.
Ingredients:
½ cup water
½ cup milk
2 tablespoons butter, softened
3 cups all-purpose flour
2 tablespoons brown sugar
1 tablespoon yeast
2 teaspoons salt
1 egg, separated
Cooking spray
¾ baking soda
Kosher salt for sprinkling
Combine the water, milk and butter in a glass container and microwave about 45 seconds to melt the butter and warm the milk. Set aside.
I a mixing bowl, combine flour, brown sugar, yeast, salt and egg yolk. Slowly add the milk mixture and mix until the dough comes together. If it seems too dry, add small amounts of water. Knead the dough until it is smooth and springy, about 5 minutes.
Place the dough in a bowl sprayed with cooking spray. Flip it over so all sides get oiled, and then wrap the bowl with plastic wrap. Place in a warm place until the dough has doubled in size, about an hour.
Preheat oven to 375 degrees.
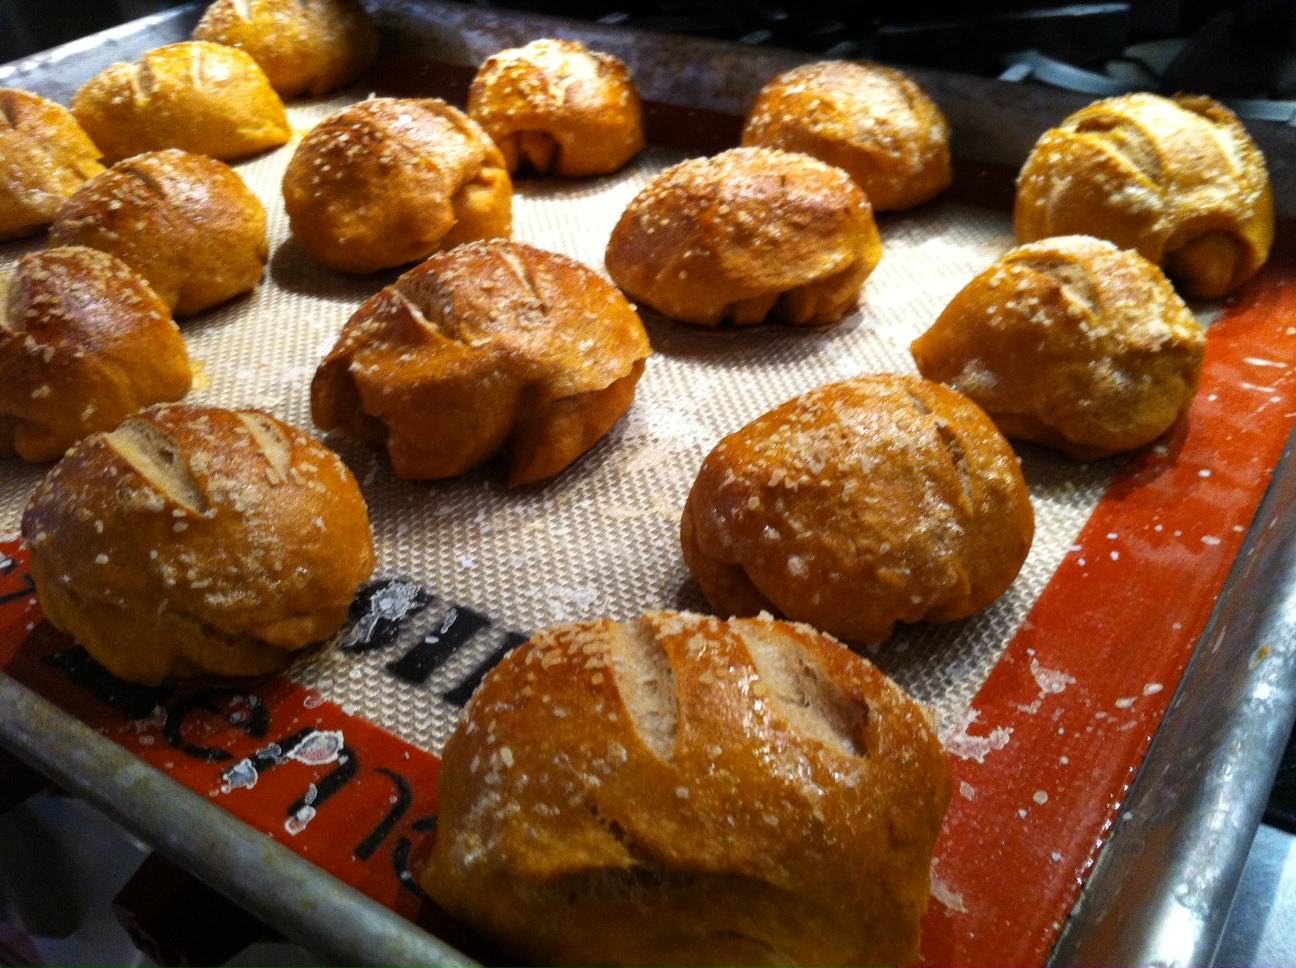
Turn out risen dough on a floured surface and divide into equal pieces. You can make 15 small slider-sized buns, 8 burger buns, 8 hot dog buns or any other shape you like. Once all the pieces have been rolled, cover them with a clean dish towel and set aside to rest.
While the dough is resting heat about 12 cups of water in a large pot. When it comes to a gentle boil, carefully pour the baking soda into it. It will foam and bubble vigorously.
Add the rested pieces of dough to the simmering water and poach them for about 30 seconds and then flipping them over for another 30 seconds. You may need to do this in batches.
With a slotted spoon or spatula, lift the poached buns onto a Silpat baking sheet (or a baking sheet sprayed with oil, then sprinkled with cornmeal.) Froth egg white with a fork, then brush each bun with egg white. Using a sharp knife, make a few slits on the top of the buns, about ¼-inch deep. Sprinkle with Kosher salt, then bake for 20 minutes until golden brown.