Posts Tagged ‘recipes’

I love garlic, and I spend a lot of time trying to figure out how I can up the garlic in any particular dish. Now, this piece of chicken may look pretty harmless to you, but it is a garlic bomb…and it’s delicious. I tried to think of ways I could increase the garlic quotient without simply adding more granulated  garlic to the breading…and then it came to me: add fresh garlic to the egg wash! Brilliant!


3 lbs. chicken pieces
1 cup all-purpose flour ( I use Cup4Cup GF flour if I want this dish to be gluten-free)
2 teaspoons granulated garlic (add more if you like!)
1 teaspoon granulated onion
1 teaspoon oregano
1 teaspoon parsley
1 teaspoon basil
1 teaspoon black pepper
1 teaspoon salt
2 eggs
1 tablespoon (or more) fresh finely chopped garlic
oil for frying


I use the oven-fried method for my chicken. That means I fry the pieces until golden brown, then place them on a baking sheet and finish cooking them in the oven.

Pre-heat the oven to 350 degrees. Heat the oil in the pan to 350 degrees.

In a bowl, combine the flour, granulated garlic and onion, oregano, parsley, basil, pepper and salt. Mix well and set aside.

In another bowl, whisk the eggs together. Finely chop the fresh garlic, making it into a paste either by squishing it with the side of a chef’s knife or, my preferred method, pushing it through a garlic press. Add the garlic to the egg and mix well.

Take the chicken pieces and coat them in the egg and garlic mixture. Then place them in the flour mixture, coating well and shaking off the excess. You can place them in the hot oil at this point…or…dip them back in the egg/garlic mix again, then back into the flour, for a double-coating of crunchy garlic.

Fry the chicken pieces until they’re golden brown, but not cooked all the way through. Place them on the baking sheet. When all the pieces have been fried, place the baking sheet in a 350-degree oven to finish cooking.


The 149th running of the Kentucky Derby is Saturday, May 6th, 2023, and although I’m not a big horse racing fan, I am a huge fan of the official drink: the Mint Julep!

The Mint Julep is such a perfect, classic and historic bourbon drink, it seems silly to wait until Derby Day to have one. Of course, as any aficionado of spirits will tell you, there are as many right ways as wrong ways of making one.

The first step in my Mint Julep is making the simple syrup. Learning from one of my old radio buddies, my pal Rick O’B, I infuse mint into my simple syrup to take my cocktail to the next level. I use the standard ratio of 1 cup of clean, filtered water to 1 cup of sugar, using an organic product like Woodstock Farms Organic Pure Cane Sugar. I place the sugar and water in a saucepan and heat until just boiling. I’ve found that it needs to reach this stage for the sugar to really dissolve.

Waiting for the sugar to dissolve.

As soon as it starts to boil, I remove the saucepan from the heat, and throw in a handful of freshly picked mint leaves, stirring to make sure the mint gets in there, and then I leave the saucepan to cool to room temperature.

Once it’s at room temp, I strain the simple syrup into a bottle with a tight sealing lid, and place it in the refrigerator to cool. It will keep for about a week.

An equally important ingredient for a perfect Mint Julep is the ice: specifically, crushed ice from clean, filtered water. Don’t even think of using tap water for any cocktail much less this one. Why ruin an expensive bottle of bourbon by going cheap on the ice? I make my own ice cubes, then put them in an untreated canvas ice bag and bash them with a mallet to the perfect crushed size. Untreated canvas bags for crushing ice can be purchased online from bar supply companies for about $30. I got an untreated canvas tool bag (the exact same shape and size) at Home Depot for 3 bucks.

Da bag.

The next step is a little tougher: which bourbon to choose. The explosion of choices on the bourbon market has made it all but impossible for the average imbiber to know which bourbon is best for their tastes. If you’re a beginner, I suggest you go to a trusted bartender and explain that you’re new to the bourbon world, and could you have the tiniest of tastes and sniffs of what he’s got at his bar. Chances are, you’ll get a sampling of some of the better known brands: Maker’s Mark, Woodford Reserve, perhaps Buffalo Trace or Bulleit, and the standard Jim Beam. This is a very good start. (Also, hinting to wife and friends that “I’m trying new bourbons” around your birthday or Father’s Day inevitably gets you a few bottles as well!)

My go-to bourbon for Mint Juleps used to be Eagle Rare 10-year-old when it was around $32.99 a bottle. Now it’s up to $80! My latest go-to bourbon is 1792 Small Batch. At $29, it’s almost unbelievable, like someone made a mistake in the stock room! Very tasty on its own and great for mixing.

Finally, a Mint Julep needs a metal–not glass– Julep cup. Made of pewter or aluminum, it frosts on the outside as you stir your drink, keeping your beverage ice-cold on even the hottest of days.

3 oz. bourbon
1 oz. mint-infused simple syrup
crushed ice
Julep cup
Fresh mint for garnish

Crush the ice and pack it into the Julep cup, even letting it dome slightly over the top. Don’t worry…the alcohol will melt it.

I like to add 1.5 ounces of bourbon, then the ounce of simple syrup, another 1.5 ounces of bourbon on top, and then a quick squirt of simple syrup to top it off. Break off a few mint leaves from the stem and push them into the ice. A beautiful layer of frost will form on the outside of the cup. Add more ice, if necessary, and garnish with a sprig of mint.


A nice selection of bourbons. This is an old photo: that Pappy Van Winkle is long gone…but I saved the bottle!


So much bourbon, so little time!

I recently hosted about 15 hungry teenage friends of my daughter’s, all of whom belong to the high school theater group. They needed a place to hang out, rehearse, laugh, and, of course, eat! My baked ziti recipe is always a crowd pleaser. Ultimately, I used rigatoni pasta, because that’s what I had in the cupboard, but use whatever shape you like.

I also made it meat-free, keeping it safe for all to eat, but I usually make a meat sauce when cooking for myself.

As a teenager growing up on Long Island, I worked long hours at a local Italian restaurant called Pizza City East in Plainview. (The original Pizza City was in Ozone Park, Queens.) Though the pay sucked, I made some important friendships that have lasted to this day. I also learned many Italian cooking basics: how to open clams for red and white clam sauce, the secrets of great pizza dough, the art of a perfect espresso, and how to make massive quantities of baked ziti.

When I got older and I shared an apartment with my buddy, Don, we would regularly invite a large crowd of people over for a party, and a huge tray of baked ziti was an inexpensive and hugely popular way to feed a crowd that was doing some serious drinking.

The basic ingredients of baked ziti are the same as lasagna, the main difference being the wetness factor. If you make lasagna too wet, the thing will fall apart when you try to slice it. But baked ziti is meant to be sloppy, and it actually shines in its incredible gooiness!

My baked ziti consists of a meat sauce and 4 cheeses (ricotta, mozzarella, provolone, and Parmigiano Reggiano) using pasta that is boiled much firmer than al dente. Technically, I like to use penne, not ziti. It’s firmer, and really works well with this recipe. And there are plenty of great pasta choices out there for gluten-free diets. Our favorite brand of GF pasta is Garofalo.

I used to add a béchamel sauce to this recipe, but I’ve found that plain milk does the job just as well. Béchamel is better used in lasagna, where you want a bit of a thickening agent to keep it firm.

Gooey and delicious!

Meat Sauce…
1 small onion, finely chopped
1 small carrot, finely chopped
1 lb. grass-fed ground beef or pastured pork, or a combination of both
1 tablespoon dried parsley
2 teaspoons dried oregano
1 teaspoon dried basil
1 teaspoon salt
1 teaspoon granulated garlic
1/2 teaspoon black pepper
1 28-oz. can whole tomatoes
extra virgin olive oil for sautéing

Heat a tablespoon or 2 of olive oil in a large pan and sauté the onions until translucent. I finely chop the carrots by peeling them all the way down until there’s nothing but a pile of peeled pieces, then chopping them up so small, they almost melt into the sauce. Add the carrots and cook for 2 minutes. Add the beef (or pork) and cook the meat until it browns. Add the parsley, oregano, basil, salt, garlic and pepper and mix well.

Empty the can of tomatoes into a blender and blend it until smooth. Add this to the pan and mix well.

Cook the meat sauce for about 10 minutes, then remove it from the heat and set it aside.

Beautiful baked ziti!

4 slices provolone cheese (about 4 oz.), chopped
ricotta cheese (about 8 oz.)
mozzarella cheese, shredded (about 8 oz.)
2 tablespoons freshly grated Parmigiano Reggiano
1 cup whole milk
12 oz. small pasta, like ziti or penne

Pre-heat the oven to 350 degrees.

In a bowl, combine the provolone, ricotta, mozzarella (save a little bit to sprinkle on top at the end), Parmigiano Reggiano, and milk. Add this mixture to the meat sauce and mix well.

For baked ziti, I use a deeper pan than I would for lasagna, about 4″ deep.

Boil the pasta in a pot of salty boiling water until very firm…firmer than al dente. Drain the pasta and pour it into the pan. Add the cheese and sauce mix and mix it all really well.

Smooth the top of the ziti mix flat with the back of a large spoon, then sprinkle the remaining mozzarella evenly over the top. Sprinkle a little oregano on top, and place the pan in the oven to bake for 30 minutes, or until the mozzarella on top is a beautiful golden brown.

The best mac and cheese ever: baked ziti!

When my daughter hangs out with me, I always ask her what she wants me to cook for her, and there are a few “Dad” recipes that are her favorites. This is one of them, especially when fresh asparagus is available. And as any parent will tell you, if your kid is craving a dish that has vegetables in it, count yourself lucky–and make it!!
Prepping asparagus is easy, and you don’t need a knife to cut off the woody bottoms of the stalks. Simply bend the stalks at the bottom and they will naturally snap off at the right point.
4 mild Italian sausages, sliced into pieces 1/2″ thick
1 lb. penne pasta
1/2 onion, finely chopped
1 cup chopped fresh trumpet mushrooms (white button mushrooms work, too), optional
2 cups fresh asparagus, sliced into 1-inch pieces
1 clove garlic, passed through a garlic press
1 cup homemade chicken broth
6 fresh sage leaves, finely chopped
1/2 cup freshly grated Parmigiano Reggiano cheese
extra virgin olive oil
salt and pepper
Have the pasta water salted and boiling, and add the pasta, cooking until just a bit more undercooked than al dente.
Heat a large pan, and drizzle in some olive oil. Sauté the sausage pieces until browned and cooked through, but not overcooked. Remove the sausages from the pan and place them in a separate bowl. Remove all but 2 tablespoons of the fat left behind in the pan.
Place the pan back on stove and sauté the onion until translucent. Add the garlic, and sauté for 10 seconds. Add the sage, and saute for 10 seconds, stirring. Add the chopped mushrooms and saute for a few minutes, then add the chicken broth, and simmer until almost all the liquid has evaporated. Pour the contents of the pan into the bowl with the sausages.
Return the pan to the stove, add a little more olive oil, and on medium heat, sauté the asparagus pieces. Cook them until they are al dente, not too soft. Once the asparagus has reached this stage, return all the contents of the sausage/mushroom bowl to the pan to heat through. Drain the pasta, and add it to the pan as well, combining all the ingredients. If it looks too dry, add a little pasta water to the pan. Season with salt and pepper.
Make sure you serve this hot, with grated Parmigiano Reggiano on top, and drizzle lightly over the top with extra virgin olive oil.

There are some dishes I crave more than others, and Chinese shrimp and broccoli is one of them. But it’s really quite easy to make it at home, and it’s surprisingly low in calories if you’re really careful with the amount of oil you use. Oil is the biggest culprit when it comes to calories in Chinese cooking.

Second on the list of calorie culprits is rice. It looks innocent enough, but a cup of rice has 170 calories, and if you’re limiting yourself to a daily calorie count of 1500, like I am, that becomes pretty significant.

The good news is that shrimp is actually one of the lowest calorie foods you can buy, checking in at only 1 calorie per gram. Broccoli is also low in calories, so if you skip the rice, you can really eat your fill of this delicious dish.


I’ve come up with what I call my “Asian Mix,” which is a combination of five ingredients commonly found in the supermarket in the Asian food section. Add these to your shrimp and broccoli, and you will never need to leave home for really good Chinese food!

Asian Mix…
1 tablespoon soy sauce
1 tablespoon hoisin sauce
1 teaspoon rice vinegar (unseasoned)
1/2 teaspoon sesame oil
1/2 teaspoon chili garlic sauce

Combine these ingredients in a bowl, mixing well. Set aside.


1 small onion, chopped
2 cloves of garlic, finely chopped
1 or 2 large heads broccoli, chopped into smaller, similar-sized pieces
1 lb. wild-caught American shrimp, peeled and deveined
Asian Mix, as listed above
peanut oil

I prefer peanut oil when cooking Asian dishes.

Heat a non-stick pan and add 1 tablespoon of peanut oil to it. Add the chopped onion, and cook until translucent.

Add the chopped garlic and stir for about 10 seconds.

Add the chopped broccoli and cook until the broccoli turns bright green but stays crunchy.

Empty the pan out into a bowl and, without wiping the pan down, add the shrimp to the pan (no more oil!), returning it to the heat. Let the shrimp heat in the hot pan for 30–60 seconds on one side, then flip the shrimp over and let them heat through for 30–60 seconds on the other side. That’s all you need to cook them, unless they’re really large. Just keep flipping them until they’re pink and firm, but don’t overcook them.

Remove the pan from the heat, and add a tablespoon of the Asian Mix to the shrimp, tossing them around to coat them with it. Don’t let them burn!

Now bring back the onions, garlic, and broccoli to the shrimp in the pan, tossing everything together, and adding more of the Asian Mix until everything is nicely coated.


Serve immediately…over rice or not!


This is one of my favorites because it not only tastes amazing, it freezes really well.

My original banana bread recipe blog is featured directly below. It’s awesome. But if you follow a gluten-free lifestyle, no worries. My gluten-free version of the recipe, at the bottom of the page, is so good, you won’t miss the wheat!


A gluten-free batch.


The original recipe…

What makes this banana bread special is that it uses whole wheat flour…less sugar…and no artificial extracts that make most banana breads taste like crap. It relies on very ripe bananas to give it its wonderful natural flavor.

It’s not always easy to get bananas to ripen exactly when you’re trying to make your banana bread recipe. So I buy a large bunch of bananas and let them get very ripe at room temperature. I then take 5 at a time (for this recipe), peel them, and place the bananas in a Ziploc bag in the freezer. When it’s time to make banana bread, I just pull one of those Ziplocs out of the freezer, let it thaw, and mash with a potato masher.

Since Roundup is a very common herbicide used on wheat, and its cancer-causing characteristics are widely known by now, I always use organic wheat for my baking recipes.

I use organic cane sugar instead of regular sugar when I have it. I don’t use vegetable oils, especially not canola, so I use healthier avocado oil or olive oil. Eggs are pastured when I can get ’em. Bananas are organic. And I rub the pans with coconut oil or I use an olive oil cooking spray.


Nana bread blog


3 cups all-purpose flour
1/2 cup whole wheat flour
2 tsp baking soda
1/2 tsp salt
1 1/4 cup sugar
3/4 cup vegetable oil
2 eggs
5 medium-sized bananas, peeled and mashed
2 tsp real vanilla extract
Cooking spray

Pre-heat the oven to 350 degrees.

Combine the all-purpose flour, whole wheat flour, baking soda and salt in a medium bowl. Set it aside. (For a less rustic bread, simply substitute more all purpose flour for the whole wheat flour.)

Combine the sugar and oil in a mixing bowl and mix at medium speed for 2 minutes. (I use the whisk attachment.) Add the eggs, one at a time. Beat until the mixture is light and lemon colored.

With the mixer running at low-speed, add the flour mixture alternately with the bananas, beginning and ending with the flour mixture. Blend well after each addition. Add the vanilla extract and blend some more to mix.

Pour the batter into 2 loaf pans that have been sprayed with cooking spray. Bake for 45 minutes or until a wooden pick inserted in the center comes out clean. Cool 15 minutes in the loaf pan on a wire rack. A bundt pan works as well.

Remove the loaves from the pans and let them cool completely on the wire rack before slicing.


image


The gluten-free recipe…

My go-to gluten-free flour is the brand called Cup 4 Cup. You can find it in most supermarkets. They also offer a more rustic version they call “Wholesome Flour,” which is made mostly of rice. I found that the two combined worked really well for a rustic, chewy texture much like whole wheat.


image


3 cups Cup4Cup all-purpose gluten-free flour
1 cup Cup4Cup Wholesome Flour
2 teaspoons baking soda
1/2 teaspoon salt
1 1/4 cup cane sugar
3/4 cup avocado or olive oil
2 eggs
5 medium-sized bananas, peeled and mashed
2 teaspoons real vanilla extract
coconut oil


Pre-heat the oven to 350 degrees.

Combine the flour, baking soda and salt in a bowl. Set aside.

Combine the sugar and oil in a mixing bowl and mix at medium speed for 2 minutes. (I use the whisk attachment.) Add the eggs, one at a time. Beat until the mixture is light and lemon colored.

With the mixer running at low-speed, add the flour mixture alternately with the bananas, beginning and ending with the flour mixture. Blend well after each addition. Add the vanilla extract and blend some more to mix.

Pour the batter into 2 loaf pans or one large bundt pan that have been rubbed with the coconut oil. Bake for 45–60 minutes or until a wooden toothpick inserted in the center comes out clean. Cool 15 minutes in the pan on a wire rack.

Remove the bread from the pan and let it cool completely on the wire rack before slicing.


Gluten-free and delicious!

It’s Pizza Week here in Providence, RI, but most of the time, I prefer to make mine at home.

So let’s not talk diets right now. Let’s talk about what is probably the greatest invention since pizza itself: stuffed crust pizza.

I mean: first, there was the simple margarita pizza. Then someone thought of “extra cheese.” After that, where could we go? And then, someone who in my mind deserved the Nobel Prize for Food, came up with stuffed crust pizza. Originally the brainchild of Pizza Hut, it boldly put cheese where no cheese had gone before.


So for me, since I love to make my own pizzas, the next step was to figure out a way to make stuffed crust pizza at home. Turns out it wasn’t really that difficult.

If you’re not into going through the hassle of making your own dough, most supermarkets have pre-made pizza dough balls in the refrigerated section. Grab a couple of them, and save yourself some time and effort. (If you want to make the dough from scratch, see my recipe at the bottom of this blog.)

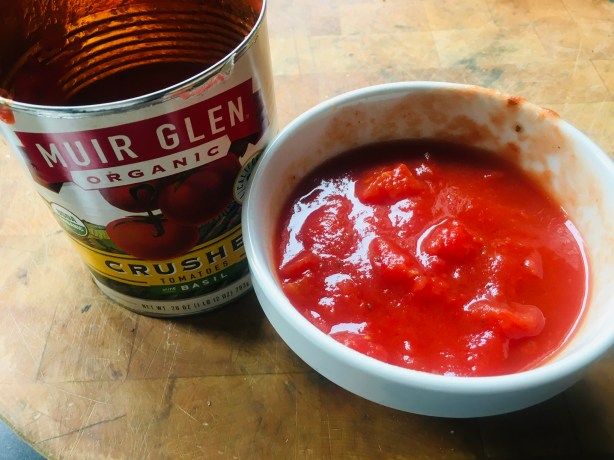
Same thing with the sauce: I prefer to make my own from real San Marzano tomatoes, but if you have a brand of jarred sauce you like, use that.

The rest is pretty straightforward: cheese!!


Let’s get started…

You bought or made the dough. If you bought two balls, you rolled them together to make one larger one. You poured a little olive oil in a bowl, and placed the ball of dough in that, covering with a clean towel, to let the dough rise for a few hours.

After a few hours, you punch the dough down to get rid of the air bubbles, and roll it into a ball again, putting it back in the bowl, covered, to rest for another hour or so.

Preheat the oven to 500 or it’s hottest temperature, with a pizza stone on the middle rack.

Now the dough is ready to work. Place your pizza peel on the counter you’re working on. Sprinkle the peel with a large-grained flour, like corn meal or semolina. (That acts like little ball-bearings to let the dough slide off easily.) On top of the pizza peel, stretch the dough out to a size that will be about 2 or 3 inches bigger in diameter than the peel or pizza stone you have in the oven.


Made the mistake of stretching the dough out on the counter rather than the peel, which made it hard to lift. Perhaps it was the influence of the bourbon in the background! I fixed the problem later. (I kept the bourbon.)


Buy a firm mozzarella that slices nicely into sticks. (If you use fresh mozzarella, it will get mushy in the crust.) Cut it into pieces the size of the average mozzarella stick. 


Place the sticks of mozzarella around the dough in a circle, about an inch away from the edge.


Now fold the dough over the mozzarella sticks. You might need a touch of water to make the dough stick to itself.


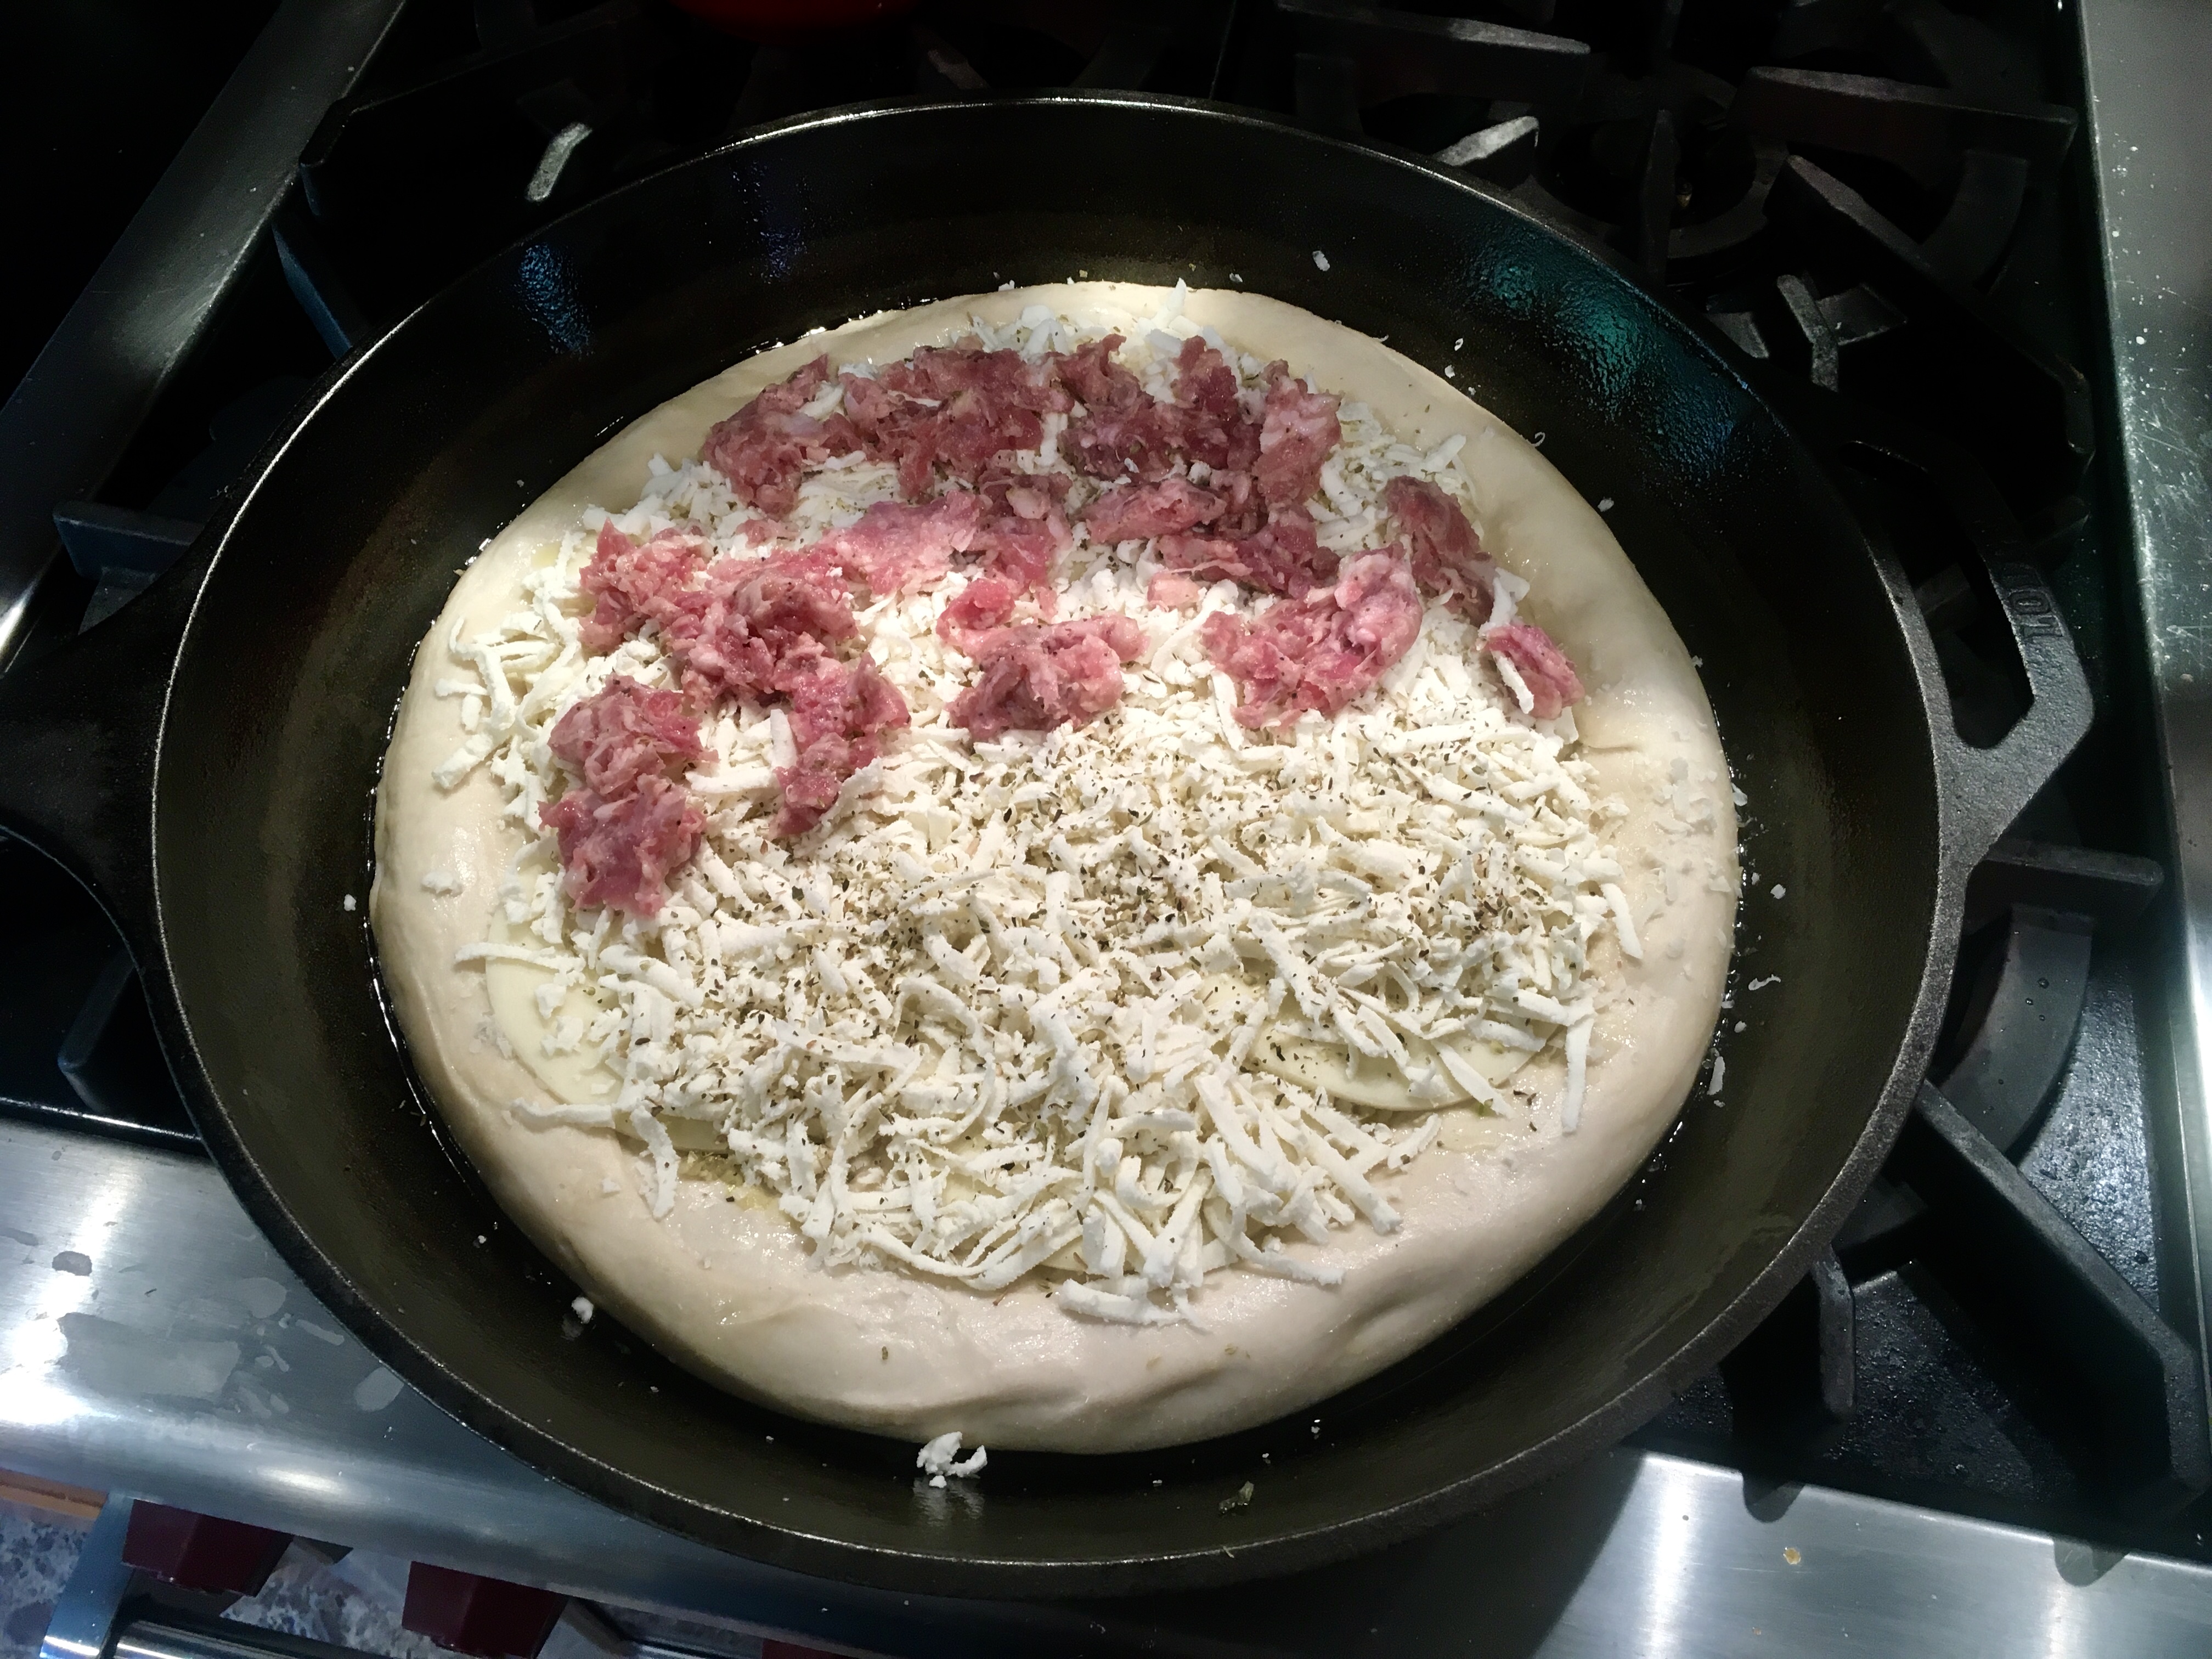
Now make your pizza like you normally would. Sauce it…


Cheese it…


Add toppings…


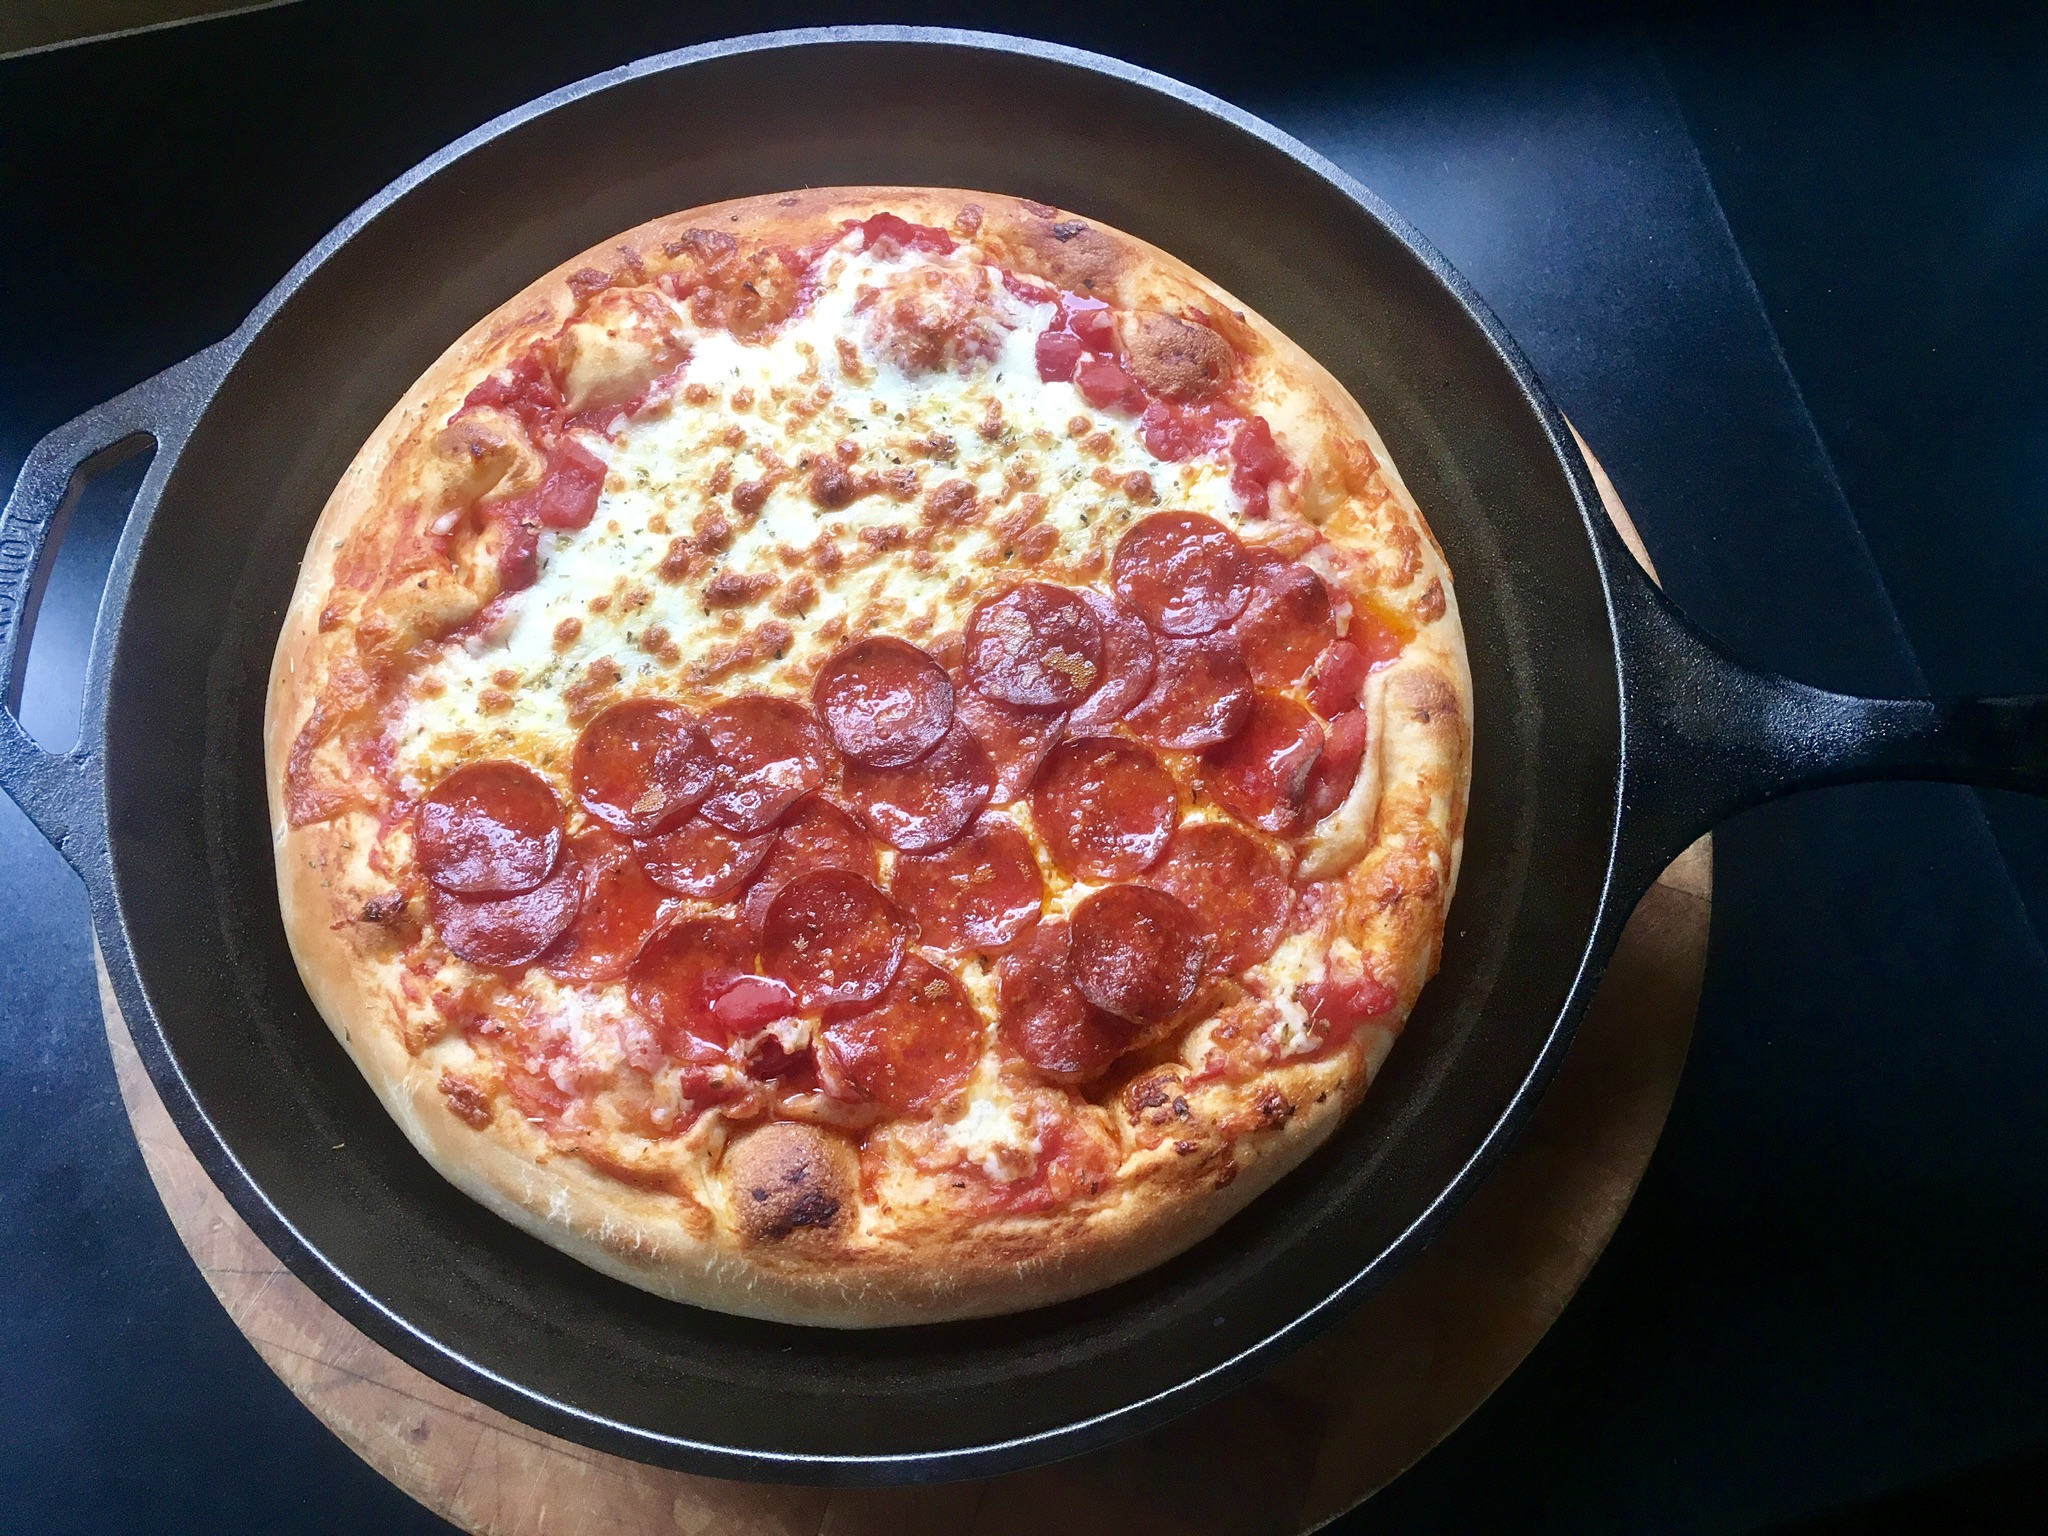
And bake!


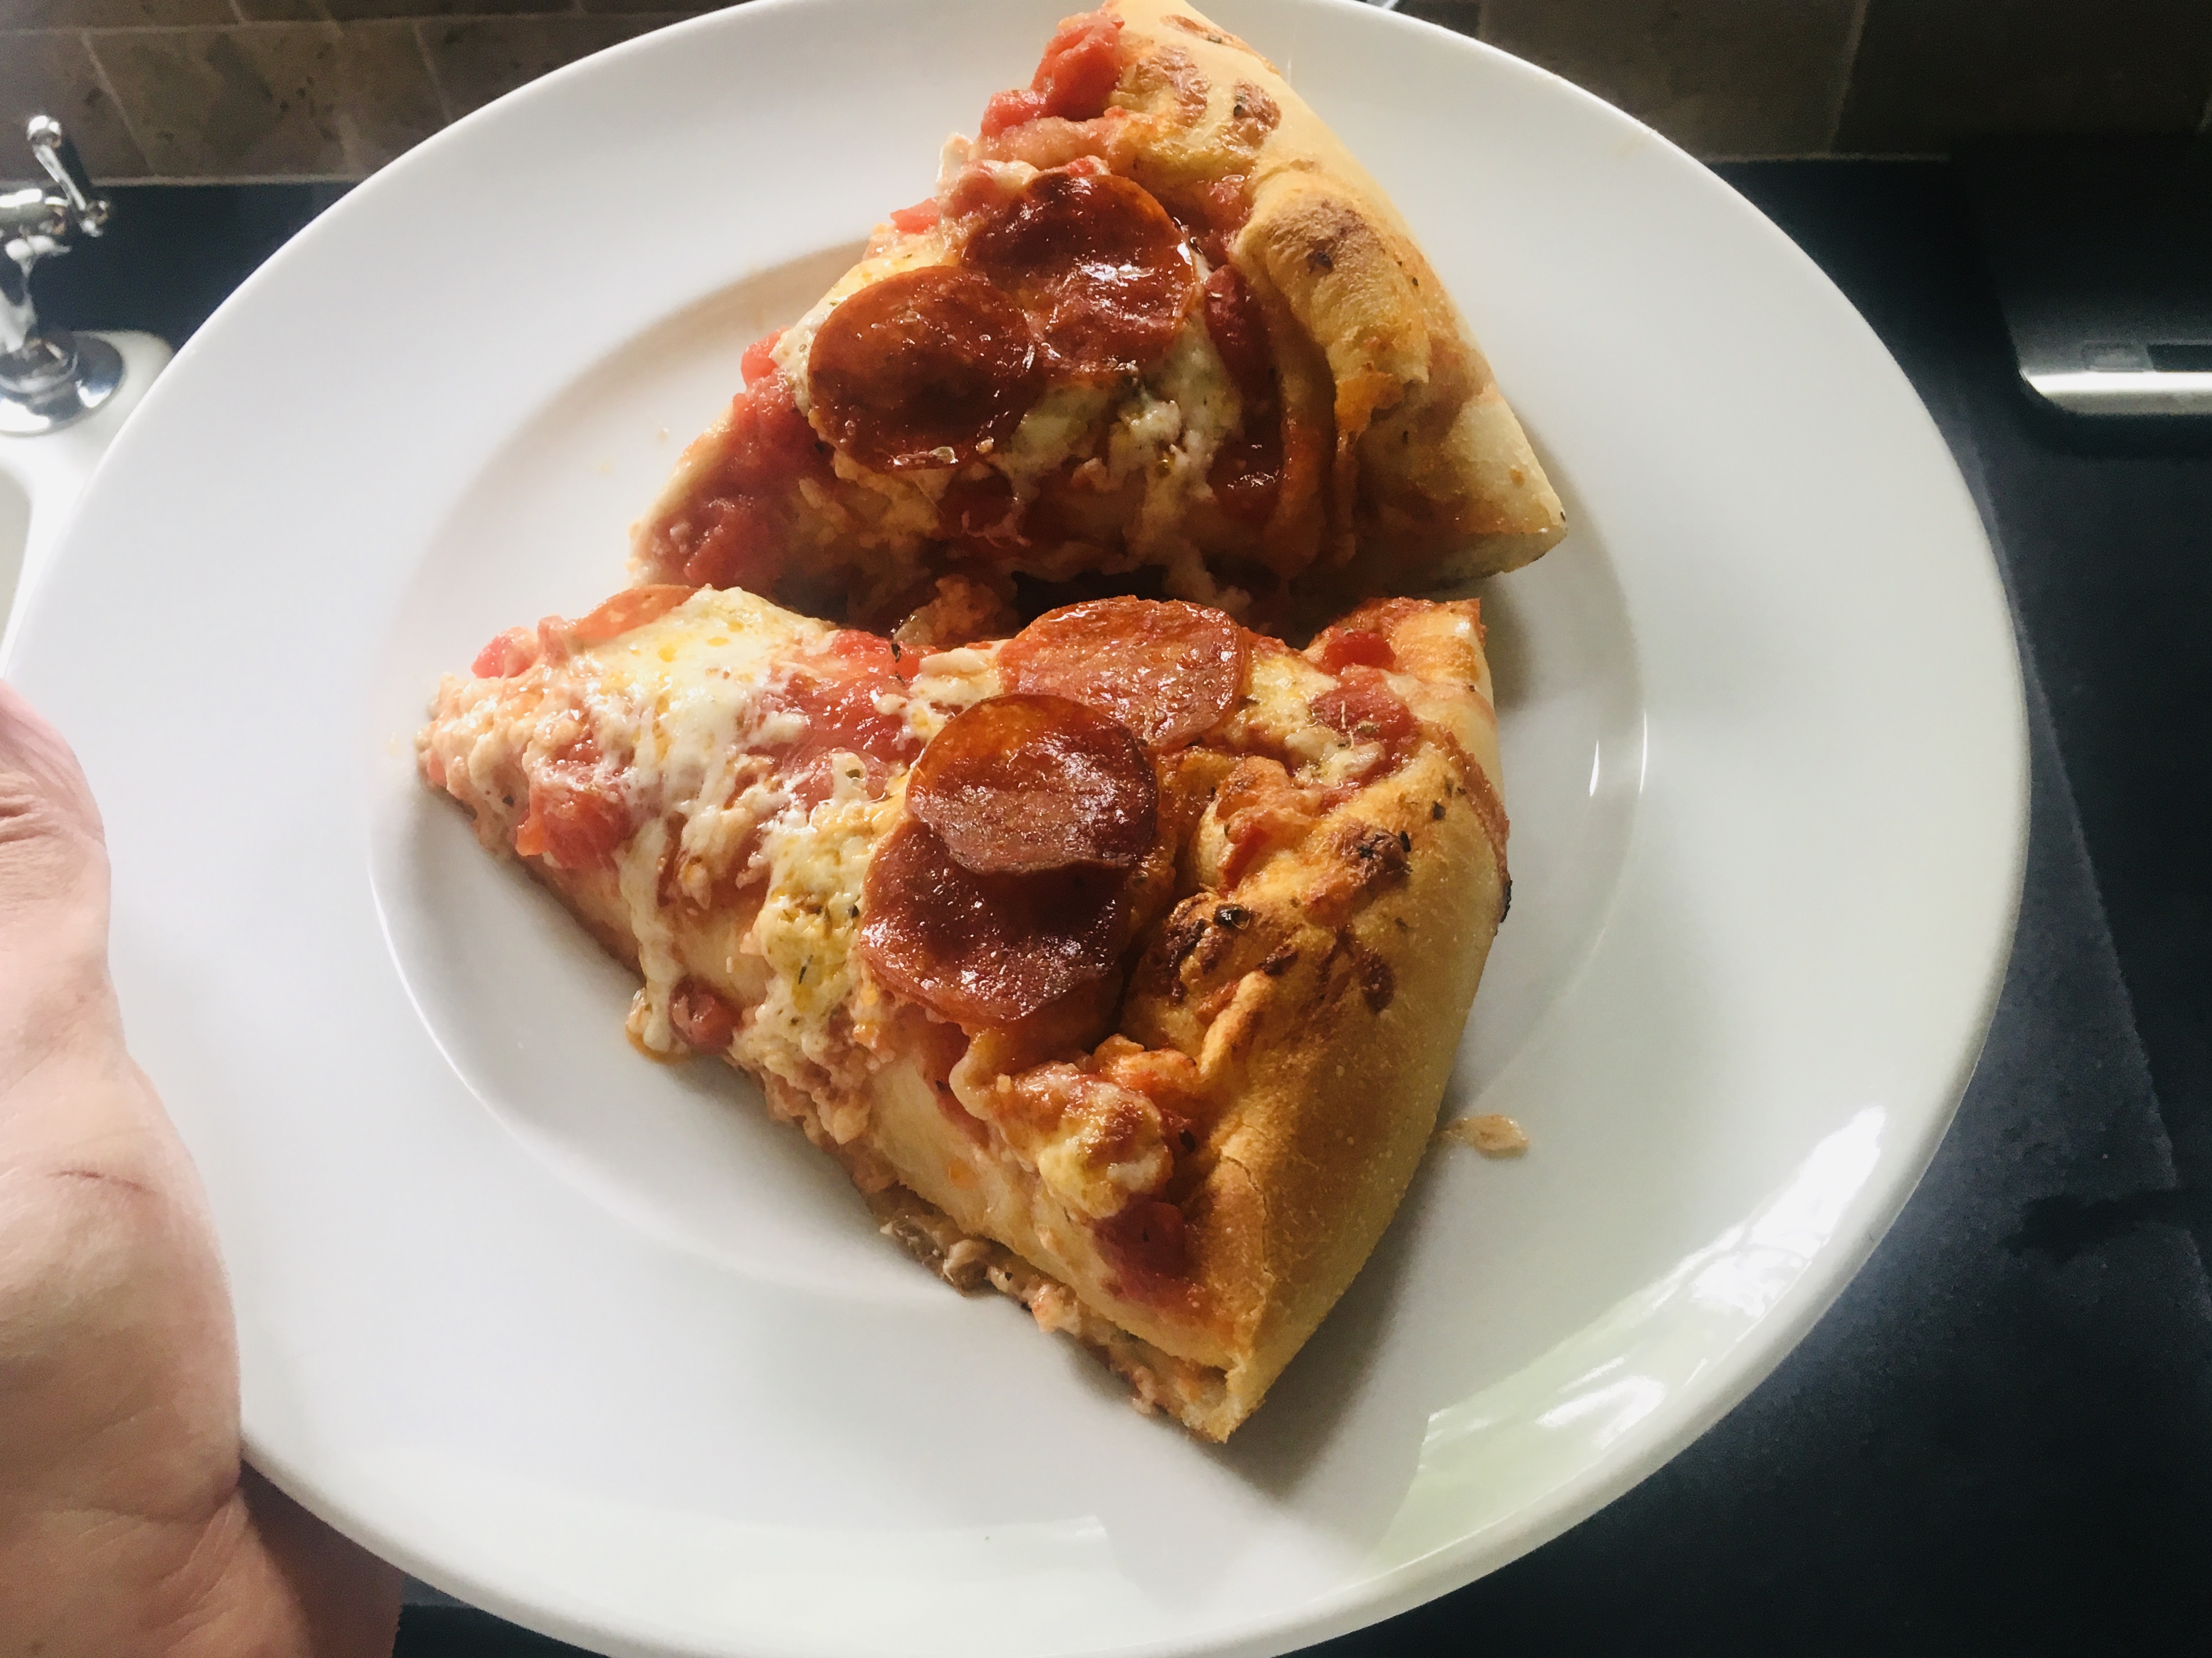
You can never have too much cheese!


If you want to make your own pizza dough, here’s my recipe…

The key ingredient is 00 flour, and it can be found in specialty stores,  or online. Ratios for this recipe depend on the humidity in my kitchen on any given day.

4–5 cups 00 flour
1 cup tepid water (100 to 110 degrees)
1 tablespoon salt
1 tablespoon active dry yeast
a squirt of extra virgin olive oil

I mix all the dry ingredients in the bowl of a stand mixer, then slowly add the water as it mixes. After the ingredients are well mixed, and the dough pulls from the side of the bowl, I remove it to a floured board, where I knead the dough by hand for another 5 minutes, until it is smooth and elastic, shaping it into a ball. I rub a little olive oil over the ball of dough, place it in a bowl covered with plastic wrap or a clean towel, and let it rise at room temp for 2 hours, punching it down after that. I roll it back into a ball again, and let it rise, covered, for at least another hour.


I moved to my current home in the fall of 2020. One of the toughest things to say goodbye to in my previous garden was my asparagus patch. Over the years, I had grown loads and loads of delicious asparagus, but sadly, there was no good way to transport that patch to my new place.

I’ve got a much smaller garden space at my new home, a small ledge that gets full sun, and despite its limited size, asparagus is too important of a crop to leave out. So I bought a bunch of plants in the fall of 2020, and planted them. I got some beautiful asparagus ferns at the end of the season. The following spring, some very tiny asparagus spears made an appearance. They say you’re not supposed to harvest asparagus for at least a couple of years to let the new bed establish, but I found that pretty much impossible to do…I have to have at least a bit of a taste.

This spring, I’m hoping for a bigger crop. It still won’t be at it’s peak, but the fact that I’m already seeing asparagus spears popping through the soil of my VedgeLedge, as I call it,  is very exciting!


Hoping to get bigger and better spears this season!


In the meantime, I can only look back at my previous success with asparagus…

The home garden is already showing signs of activity. Overwintered dill and arugula seeds are sprouting. And cool weather seeds that I’ve sown early: peas, turnips, radishes, and others are doing the same.


asparagus2013

Asparagus is really easy to grow. You just need the space, and the plants practically do the rest.
Space them about a foot apart, and before you know it, you will have a vast network of tasty stalks sprouting through the soil every spring. They are so much better than anything you can buy in a supermarket.
In the start of the growing season, the stalks don’t even make it into the house. I cut them and just eat them straight out of the garden. Eventually, they make the move to the kitchen, where I love to simply place them on a baking sheet and drizzle a little olive oil over them. Salt and pepper…and then in a 400-degree oven until they’ve caramelized.

Sometimes I toss some tasty chives with blossom buds on top of the asparagus and roast.


In the past, I’ve had I so much asparagus that I just didn’t know what to do with them all. So I started pickling them…a really easy process that ensured I had delicious asparagus well into the summer.

Several bunches of asparagus spears
2 cups white vinegar
1 cup cider vinegar
1 1/2 cups sugar
3 cups water
20 peppercorns
Garlic cloves, peeled
Kosher salt (1 teaspoon per quart-sized Mason jar. Use less for smaller jars.)
Bring the vinegar, water, sugar and peppercorns to a boil. Set the pan aside.
Trim the bottom of the asparagus spears so that the spears are just slightly shorter than the height of the quart-sized Mason jar you will use. Or cut them into pieces that will fit smaller jars.
Pack the jars as tightly as you can with the asparagus spears. (They will shrink when processed.) Add the garlic clove and 1 teaspoon of salt to every quart-sized Mason jar…less for smaller jars.
Fill the jars with the vinegar mixture and seal them tightly.
Process the jars for 10 minutes. Let them cool before placing them in the refrigerator. If you know you’re going to eat all the asparagus in the next week, processing isn’t really necessary.


DOES YOUR PEE SMELL FUNNY WHEN YOU EAT ASPARAGUS?

Asparagus has a sulfur-containing compound identified by scientists as methyl mercaptan. A colorless gas, this compound is also found in blood, feces, garlic, eggs, cheese and even skunk secretions. Another ingredient found in asparagus is asparagine. Present in foods like dairy products, seafood, poultry, fish and nuts, this amino acid is known to have a distinctive smell when heated. To metabolize both methyl mercaptan and asparagine, your body needs to break these compounds down and it’s this breakdown that’s responsible for your urine’s strange smell.

Since both methyl mercaptan and asparagine are associated with the sense of smell, there is debate over which ingredient is actually responsible for the asparagus-urine phenomenon. It could be one, or both.

Many people claim that, regardless of asparagus consumption, their urine does not smell. There are multiple theories about that as well. The first claims that everyone’s urine is in fact affected by asparagus, but only about half of the population have the specific gene that is required to smell the change. On the other hand, the second theory states that only half of the world’s population has the gene that’s required to break down the compounds found in asparagus and, if the body doesn’t break them down, no smell is emitted. In fact, one study published in the British Journal of Clinical Pharmacology found that only 46 percent of British people tested produced the odor while 100 percent of French people tested did. So whatever the reason, asparagus will forever be known as the vegetable that makes your urine smell strange.

Despite the large Italian community we have here in southern New England, there’s no exceptional pizza to speak of. I suppose you could say “them’s fightin’ words!” but if it’s here, I haven’t found it yet. (Fellini Pizza is about the best in Providence.)

So where is the excellent pizza? New York City, of course. OK…maybe I’m prejudiced because I’m a Brooklyn boy, and worked in a variety of pizzerias in my younger days, but there’s no doubt in my mind that if you want the best pizza–or bagel, for that matter–you’ve got to go to the Big Apple. (Even “Frank Pepe’s” in New Haven, CT is a mere stop on the way to the real deal.)

Pizza in the Big Apple can be confusing, as there are many different varieties to choose from. Brick oven pizzas abound, but there are pizza lovers who won’t settle for anything less than an old-fashioned pizza baked in a coal-fired oven. The extremely high heat of a coal-fired oven cooks the pizza in just a minute, and imparts a crusty, charred flavor you can’t get any other way. There are only about a dozen coal-fired pizzerias left in New York City, and many of them have been around for a hundred years or more, so it’s definitely a matter of making a special trip to enjoy this style of pizza. (Providence now has its own coal-fired pizza, but it just can’t compare.)

There’s plenty of good, basic pizza in New York City, too: the traditional thin, round Neopolitan pie, and the thicker, square Sicilian pie, baked in that Blodgett pizza oven we all knew in our early pizza-making days.

Many years ago, when I heard through the pizza lovers’ grapevine that a “new” pizza was out there, one that was gaining a cult following, I needed to know about it. And more importantly, I needed to taste it!

It’s called Pizza Montanara, and there’s still only a few pizzerias in New York City that serve it. The one I go to without fail is PizzArte, on West 55th, and I have to say it’s the ultimate pizza.


Pizza Montanara, sitting next to me in the car, just waiting to be devoured.


What makes Pizza Montanara so spectacular, quite simply, is that the dough is fried in oil for 30 seconds, flipped and fried another 30 seconds, before they put the sauce and cheese on it, and then they cook it in a wood burning oven. It is not greasy. The frying process puffs the dough up and creates a beautiful pillow-like softness that I’ve never experienced in a pizza before. Imagine a pizza cloud and you’ve got Pizza Montanara.

Where to get Pizza Montanara.


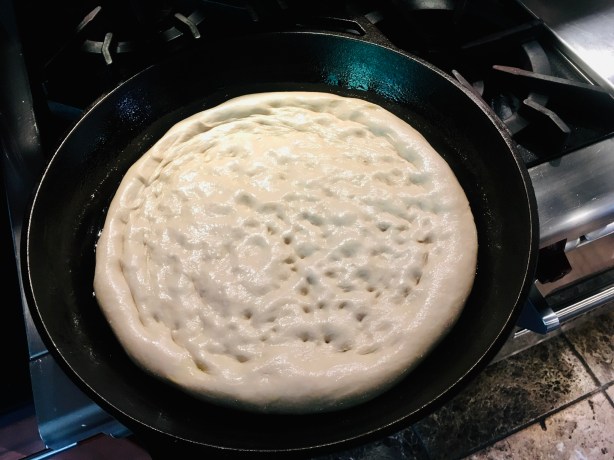
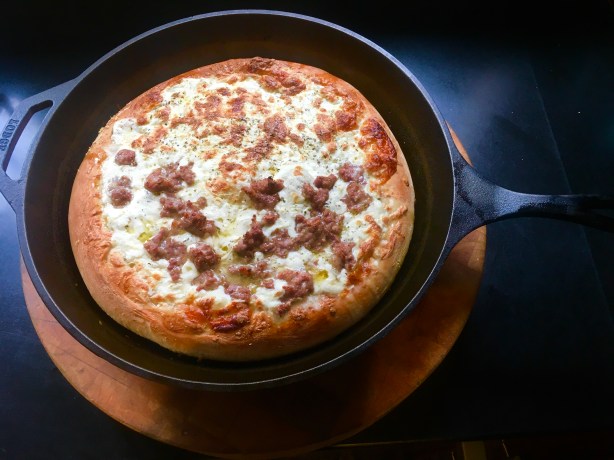
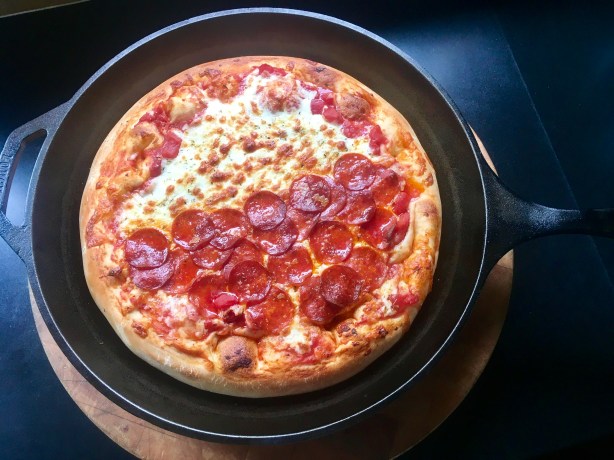
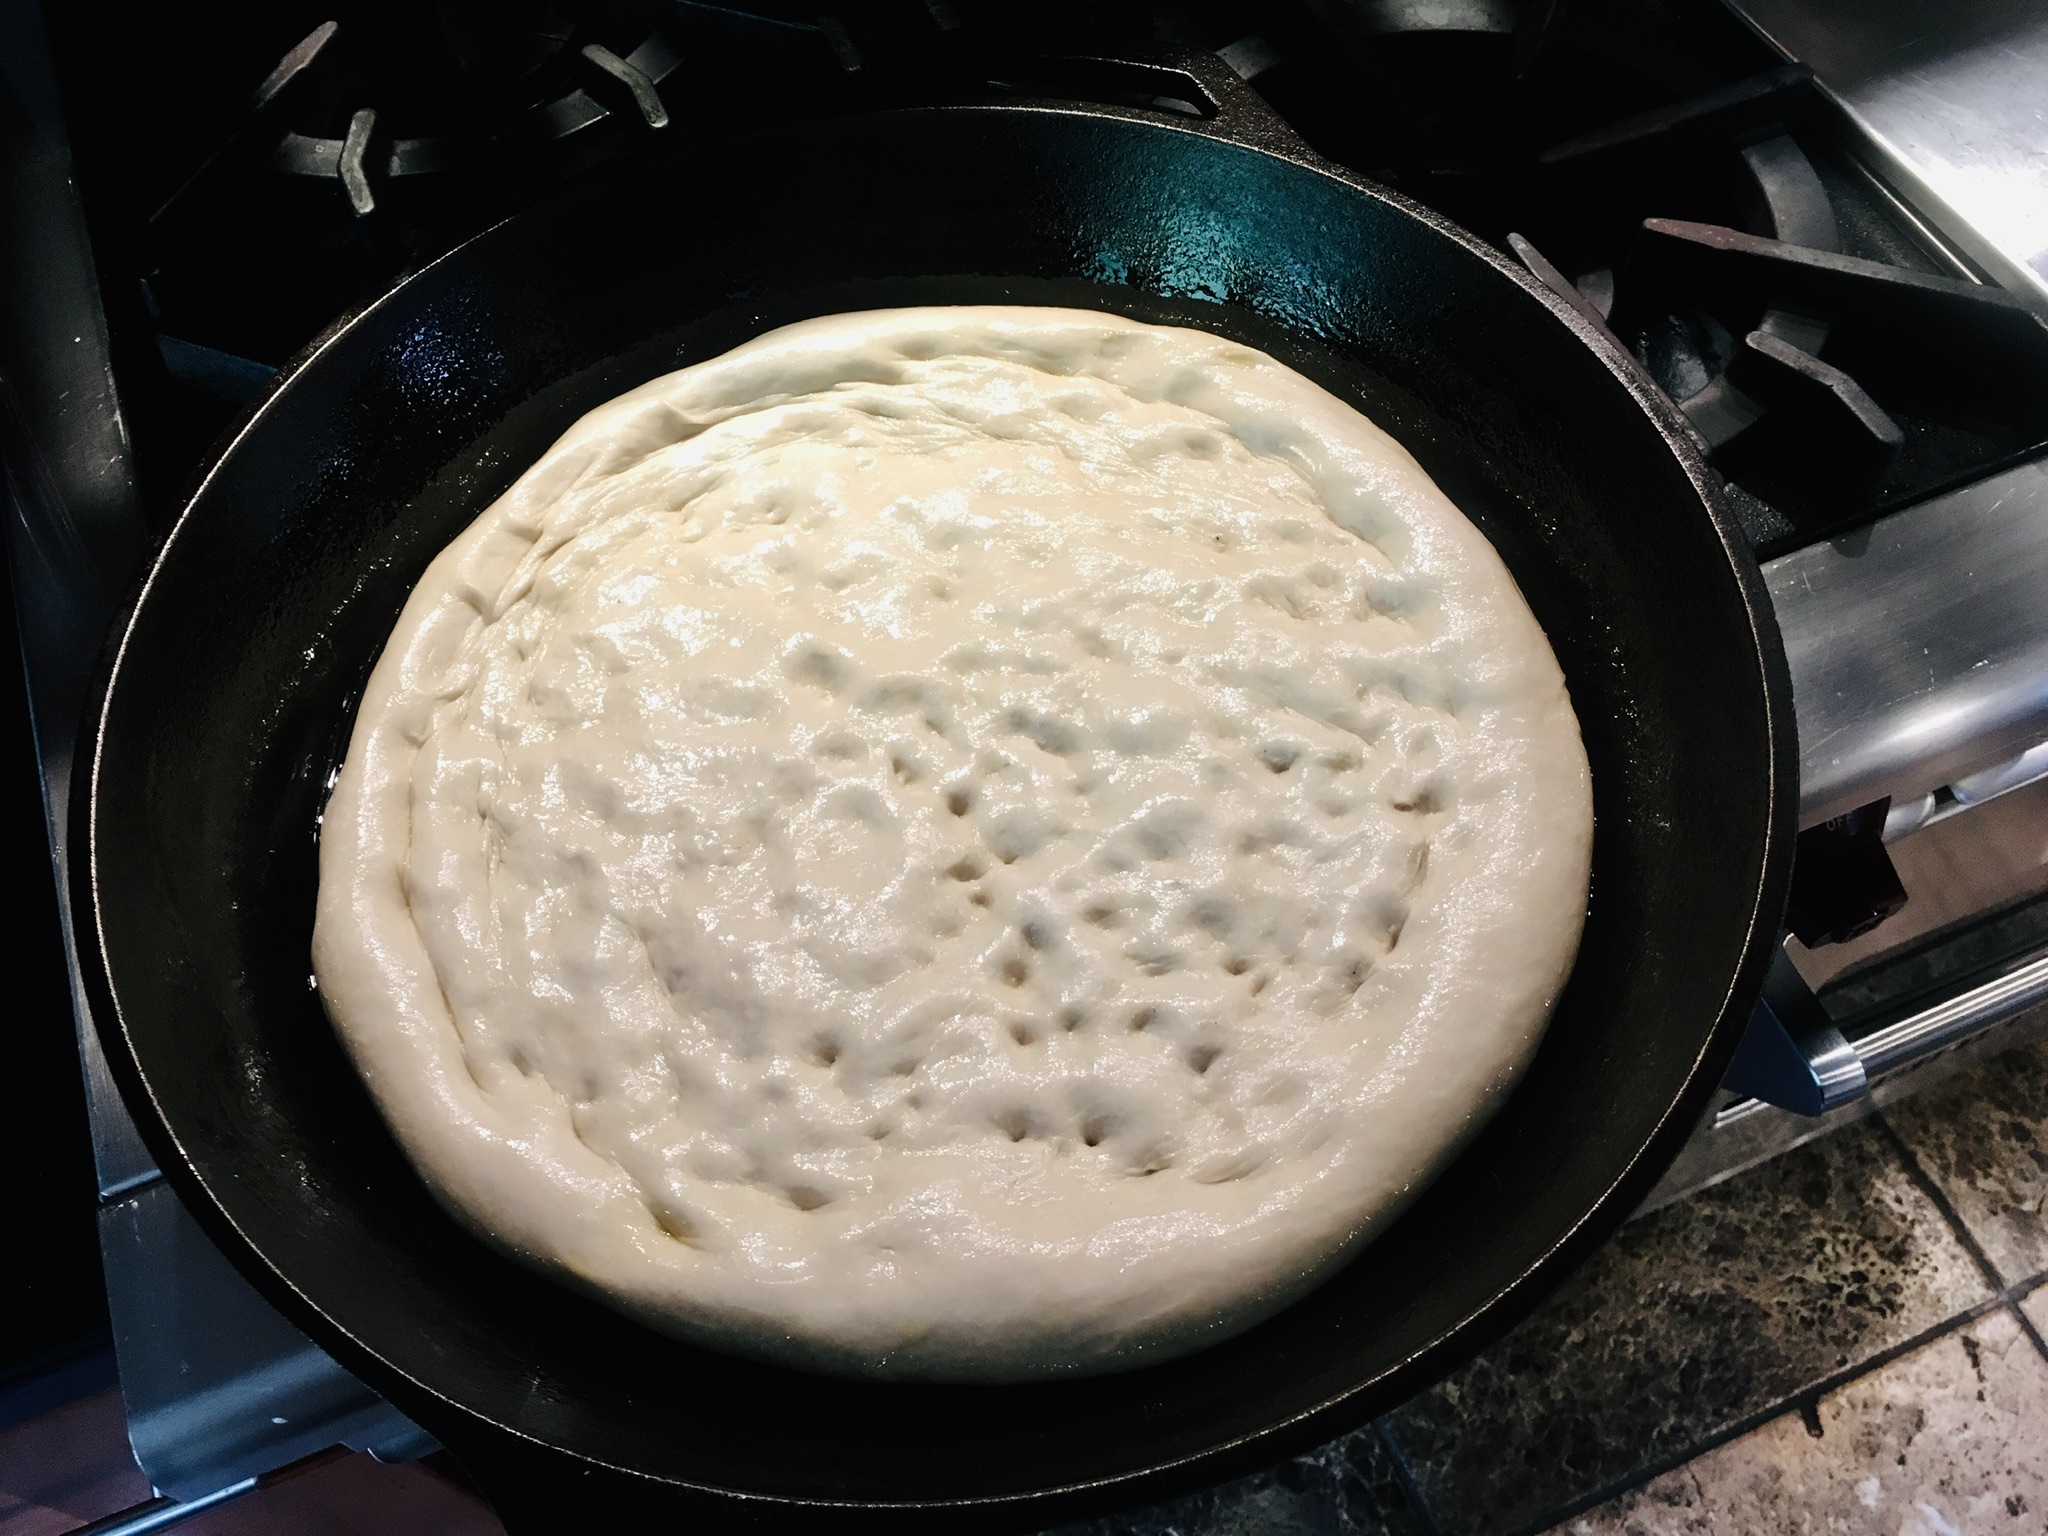
I’ve made Pizza Montanara at home, with limited success. I poured a few inches of olive oil in a large cast iron skillet, stretched my dough into a small pie, and gently floated it into the pan. Using a spatula and tongs, I was able to flip the fried dough over after about 30 seconds, then removed it from the pan after another 30 seconds. It was golden and puffy. I quickly sauced and cheesed it and in the oven it went. But it’s a messy process that doesn’t always come out just right. I need more practice!
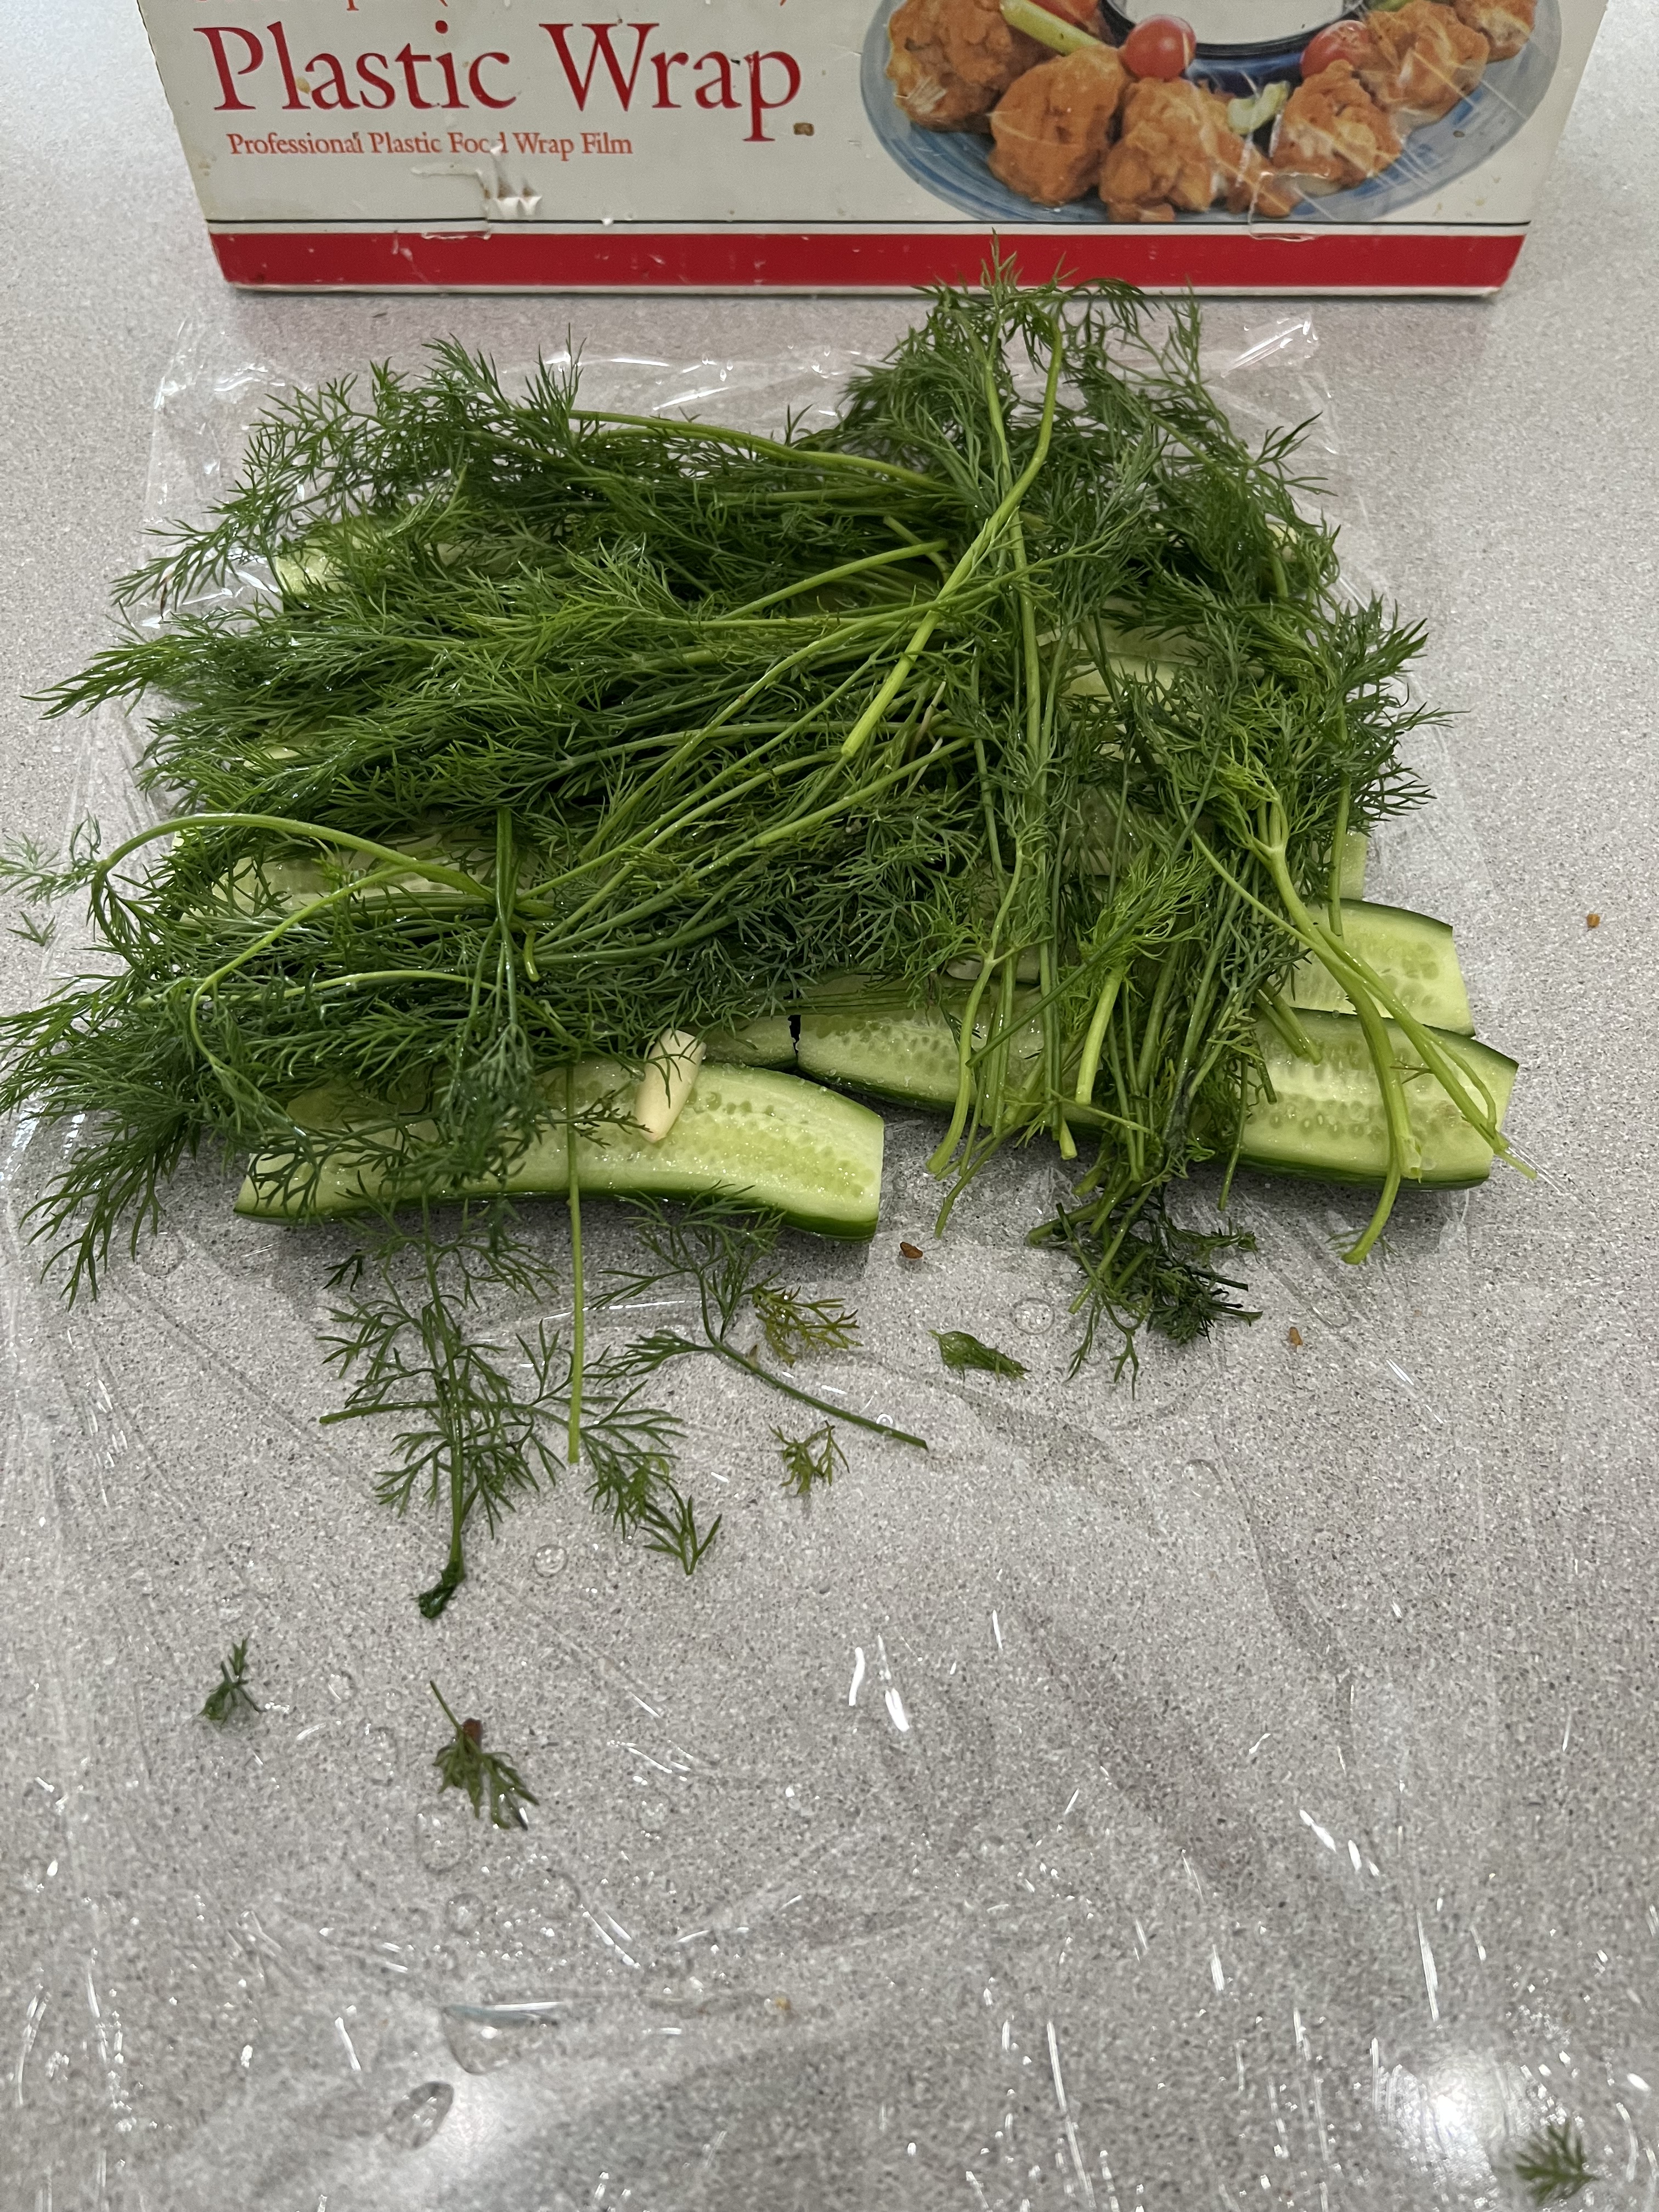
 

Frying the pizza dough. I use olive oil for better flavor, but I have to watch the temperature, because the smoking point is low (about 375 for extra virgin olive oil) and burnt oil is not what anybody wants!
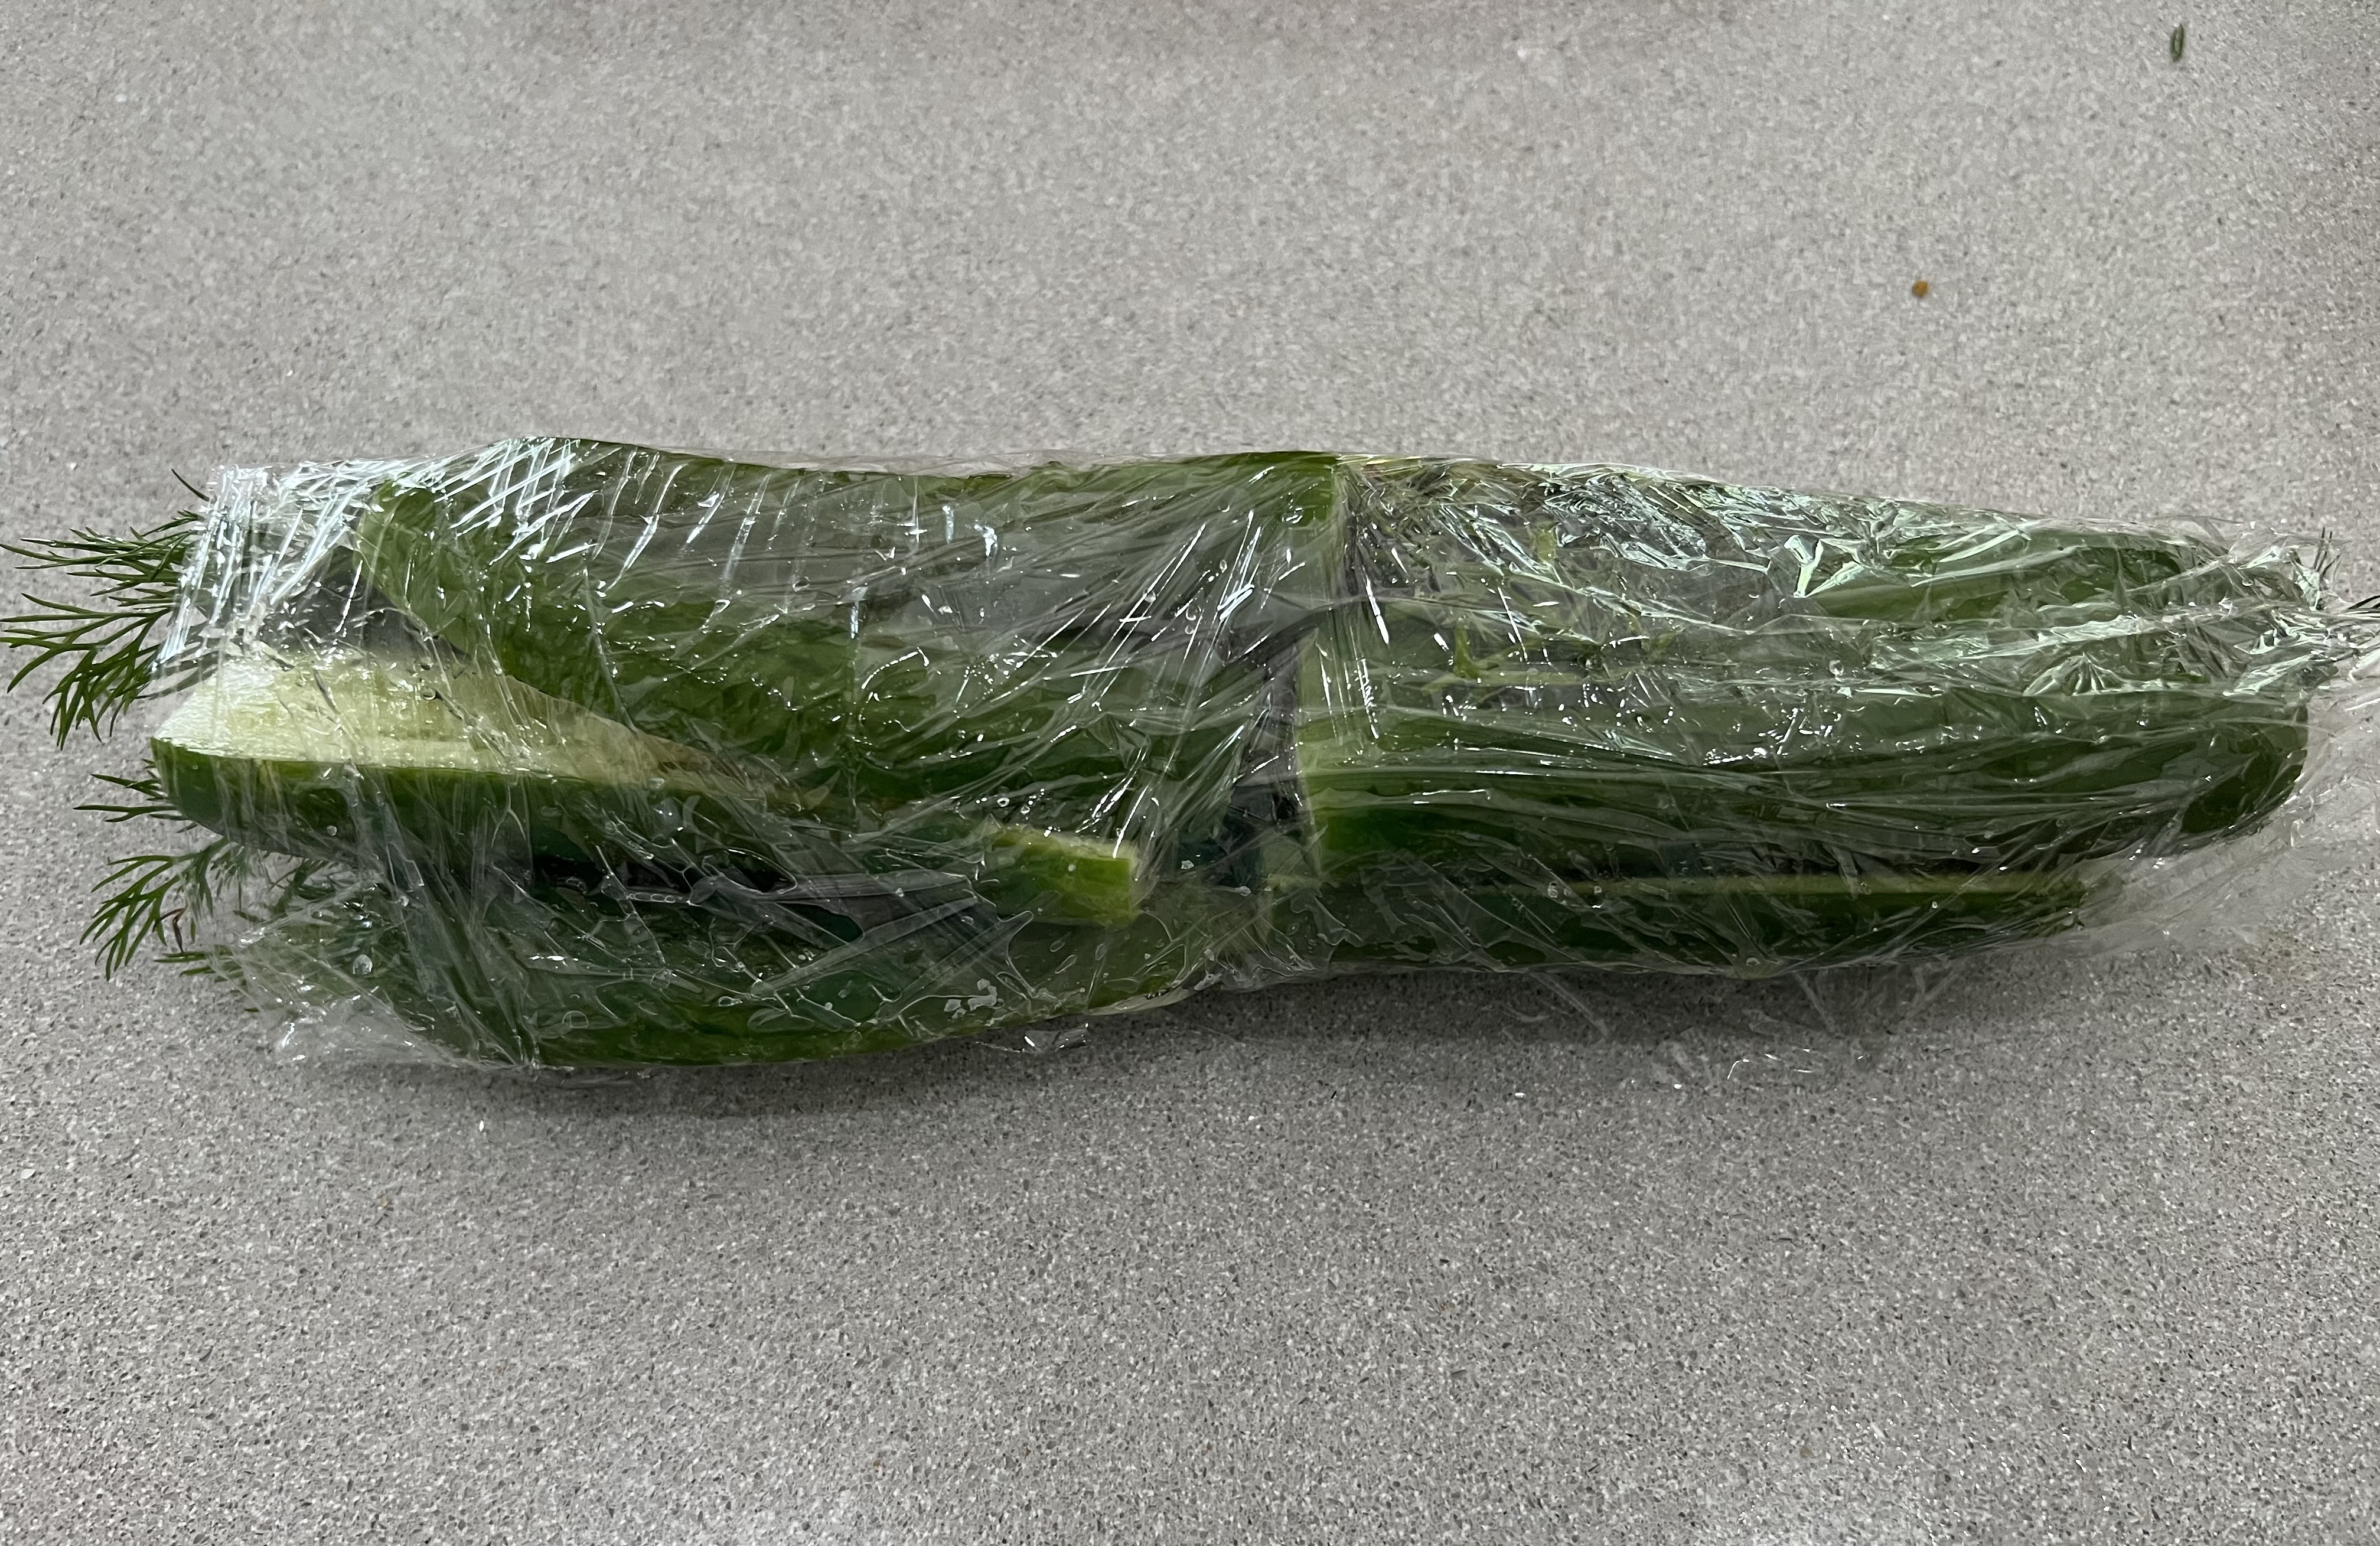


A homemade Pizza Montanara, with buffalo mozzarella and pepperoni.


A four-cheese Montanara, with mozzarella, sharp Provolone, Parmiggiano Reggiano, and ricotta…and lots of garlic!


Every time I post a photo of Pizza Montanara on Facebook or Instagram, my friends don’t believe that this could possibly be a life-changing pizza experience. It is. After a trip to Manhattan, we’ll devour 3 pizzas on the ride home. Nothing makes New York traffic easier to bear than a Pizza Montanara in the seat next to you!

Pizza Arte also makes one helluva gluten-free pizza.


I never use ground turkey, because I think it’s nasty and flavorless. But ground chicken has a richer flavor, and doesn’t seem to dry out as quickly. adding avocado to the mix gives each bite of this burger a creamy, fatty richness the ground chicken needs.  Chicken and ABC (Avocado, Bacon and Cheese) is a winning combination. My sauce puts it over the top.

I cut the avocado in small cubes. I don’t make guacamole out of it. When the burger cooks, it melts into the meat, giving it that luscious fattiness I’m looking for. The egg and the breadcrumbs bind it all together.


chicken2

 
1 lb. ground chicken
1/4 cup breadcrumbs
1 ripe avocado, sliced into small cubes
1/2 teaspoon salt
1/4 teaspoon black pepper
pinch granulated garlic
1 raw egg
slices of bacon, cooked 
Sauce (recipe below)


chicken1


Combine the chicken, breadcrumbs, chopped avocado, salt and pepper, garlic, and egg in a bowl and mix them thoroughly but carefully so that you don’t squash the cubes of avocado.

Get a sheet pan covered in non-stick foil. Using a 1/2 cup measuring scoop, spoon out the burger meat onto the sheet pan, then gently press down on it with your hand to form patties. Place the sheet pan in the freezer for the burgers to firm up a bit. (The chicken is a little gooey, and likes to stick to your fingers, but a little oil on your fingertips prevents that.)


Firming up the burgers in the freezer. The little meatball in the middle is a leftover…and a nice extra bite for the chef to enjoy!


Pre-heat the oven to 350 degrees.

Heat a little avocado oil (or bacon fat!) in an oven-proof pan, and place the burger patties in it when it’s hot. Let the burgers sear on one side, then flip them. (Make sure they sear well, or they’ll fall apart when you try to flip them.) Add the cheese and place the pan in the oven to finish cooking and melt the cheese. Remember: it’s chicken…so you don’t want to undercook your burgers!

When they’re ready to serve, place the patties on a bun, add a couple of slices of bacon and slather with this sauce.

1/2 cup mayonnaise
1 tablespoon ketchup
1 tablespoon yellow mustard
1 tablespoon dill pickle relish
1/4 teaspoon garlic powder
1/4 teaspoon paprika
Pinch cayenne pepper

Combine all the ingredients in a bowl. Mix well. Refrigerate covered for a few hours to blend the flavors.