Sometimes the best ideas come from out of nowhere.
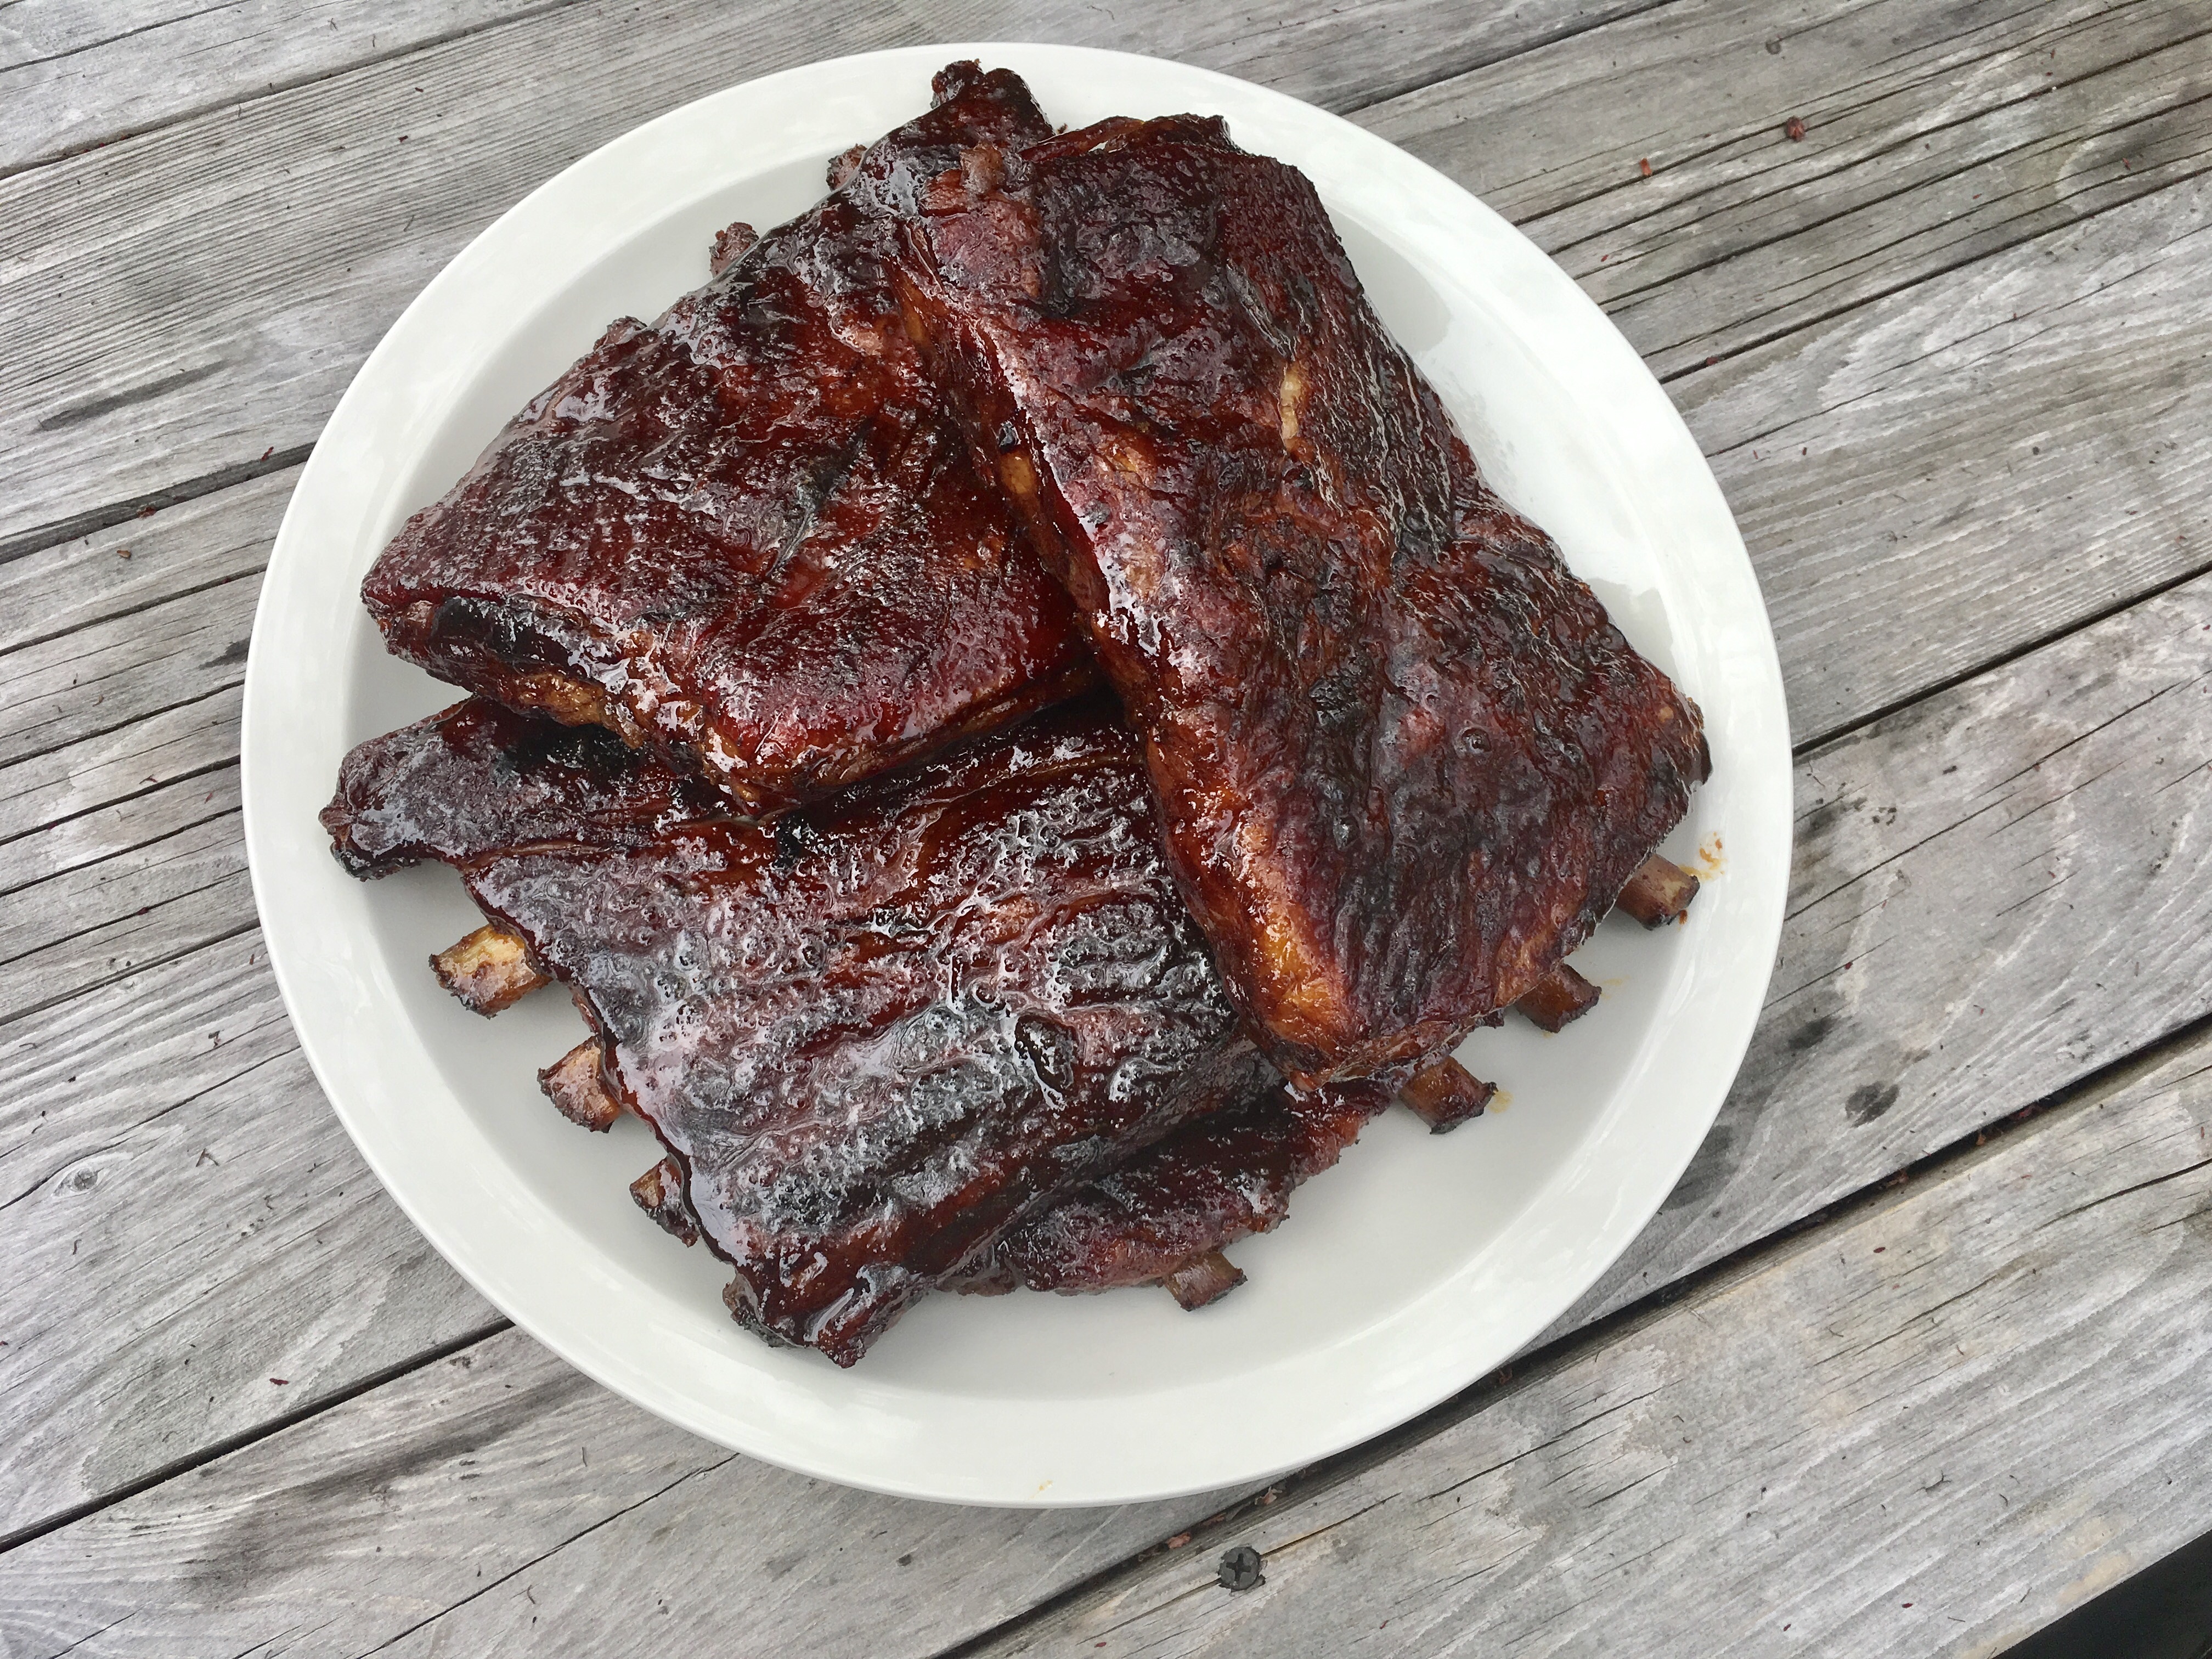
I had 5 lbs. of beautiful St. Louis-style heritage Berkshire (also known as Kurobuta) pork ribs thawing in the fridge, and I knew I wanted to create a new sauce or glaze with them, but I was feeling less than inspired. Our food-loving friends, Don and Johanna, showed up at our door with a gift they bought in Maine, at a shop called LeRoux Kitchen. It was a bottle of maple balsamic vinegar. It smelled wonderful…and tasted even better! I knew I had what I was looking for.
I used a smoker to make these ribs, but if you don’t have one (or just don’t want to bother with one), the ribs are just as awesome when baked in the oven.

You can easily make your own maple balsamic vinegar by combining a 1/2 cup of balsamic (not the super-expensive kind, but the $9-a-bottle kind) with 1 tablespoon of maple syrup. Add more or less maple to taste.

Yup…my old smoker…she’s been used a few times!
I originally used an electric digital smoker made by Masterbuilt. That beauty (above) has now made way for the Ninja Outdoor Woodfire Pizza Oven, which is also a smoker. I like the fact that I can set the temperature and time, and not have to constantly watch it. It has a side chute where I can add hickory smoking pellets when I want, and the results are consistent. I suppose some grilling fanatics might say I’m cheating, but a digital smoker allows me to live a life, hang out, do some yard work, whatever. I don’t have time to babysit.
I chose to smoke my ribs for about 4 hours in the smoker, lightly seasoning them first with Lawry’s Seasoned Salt, adding hickory chips to the smoker only once to give them a “light smoke.”
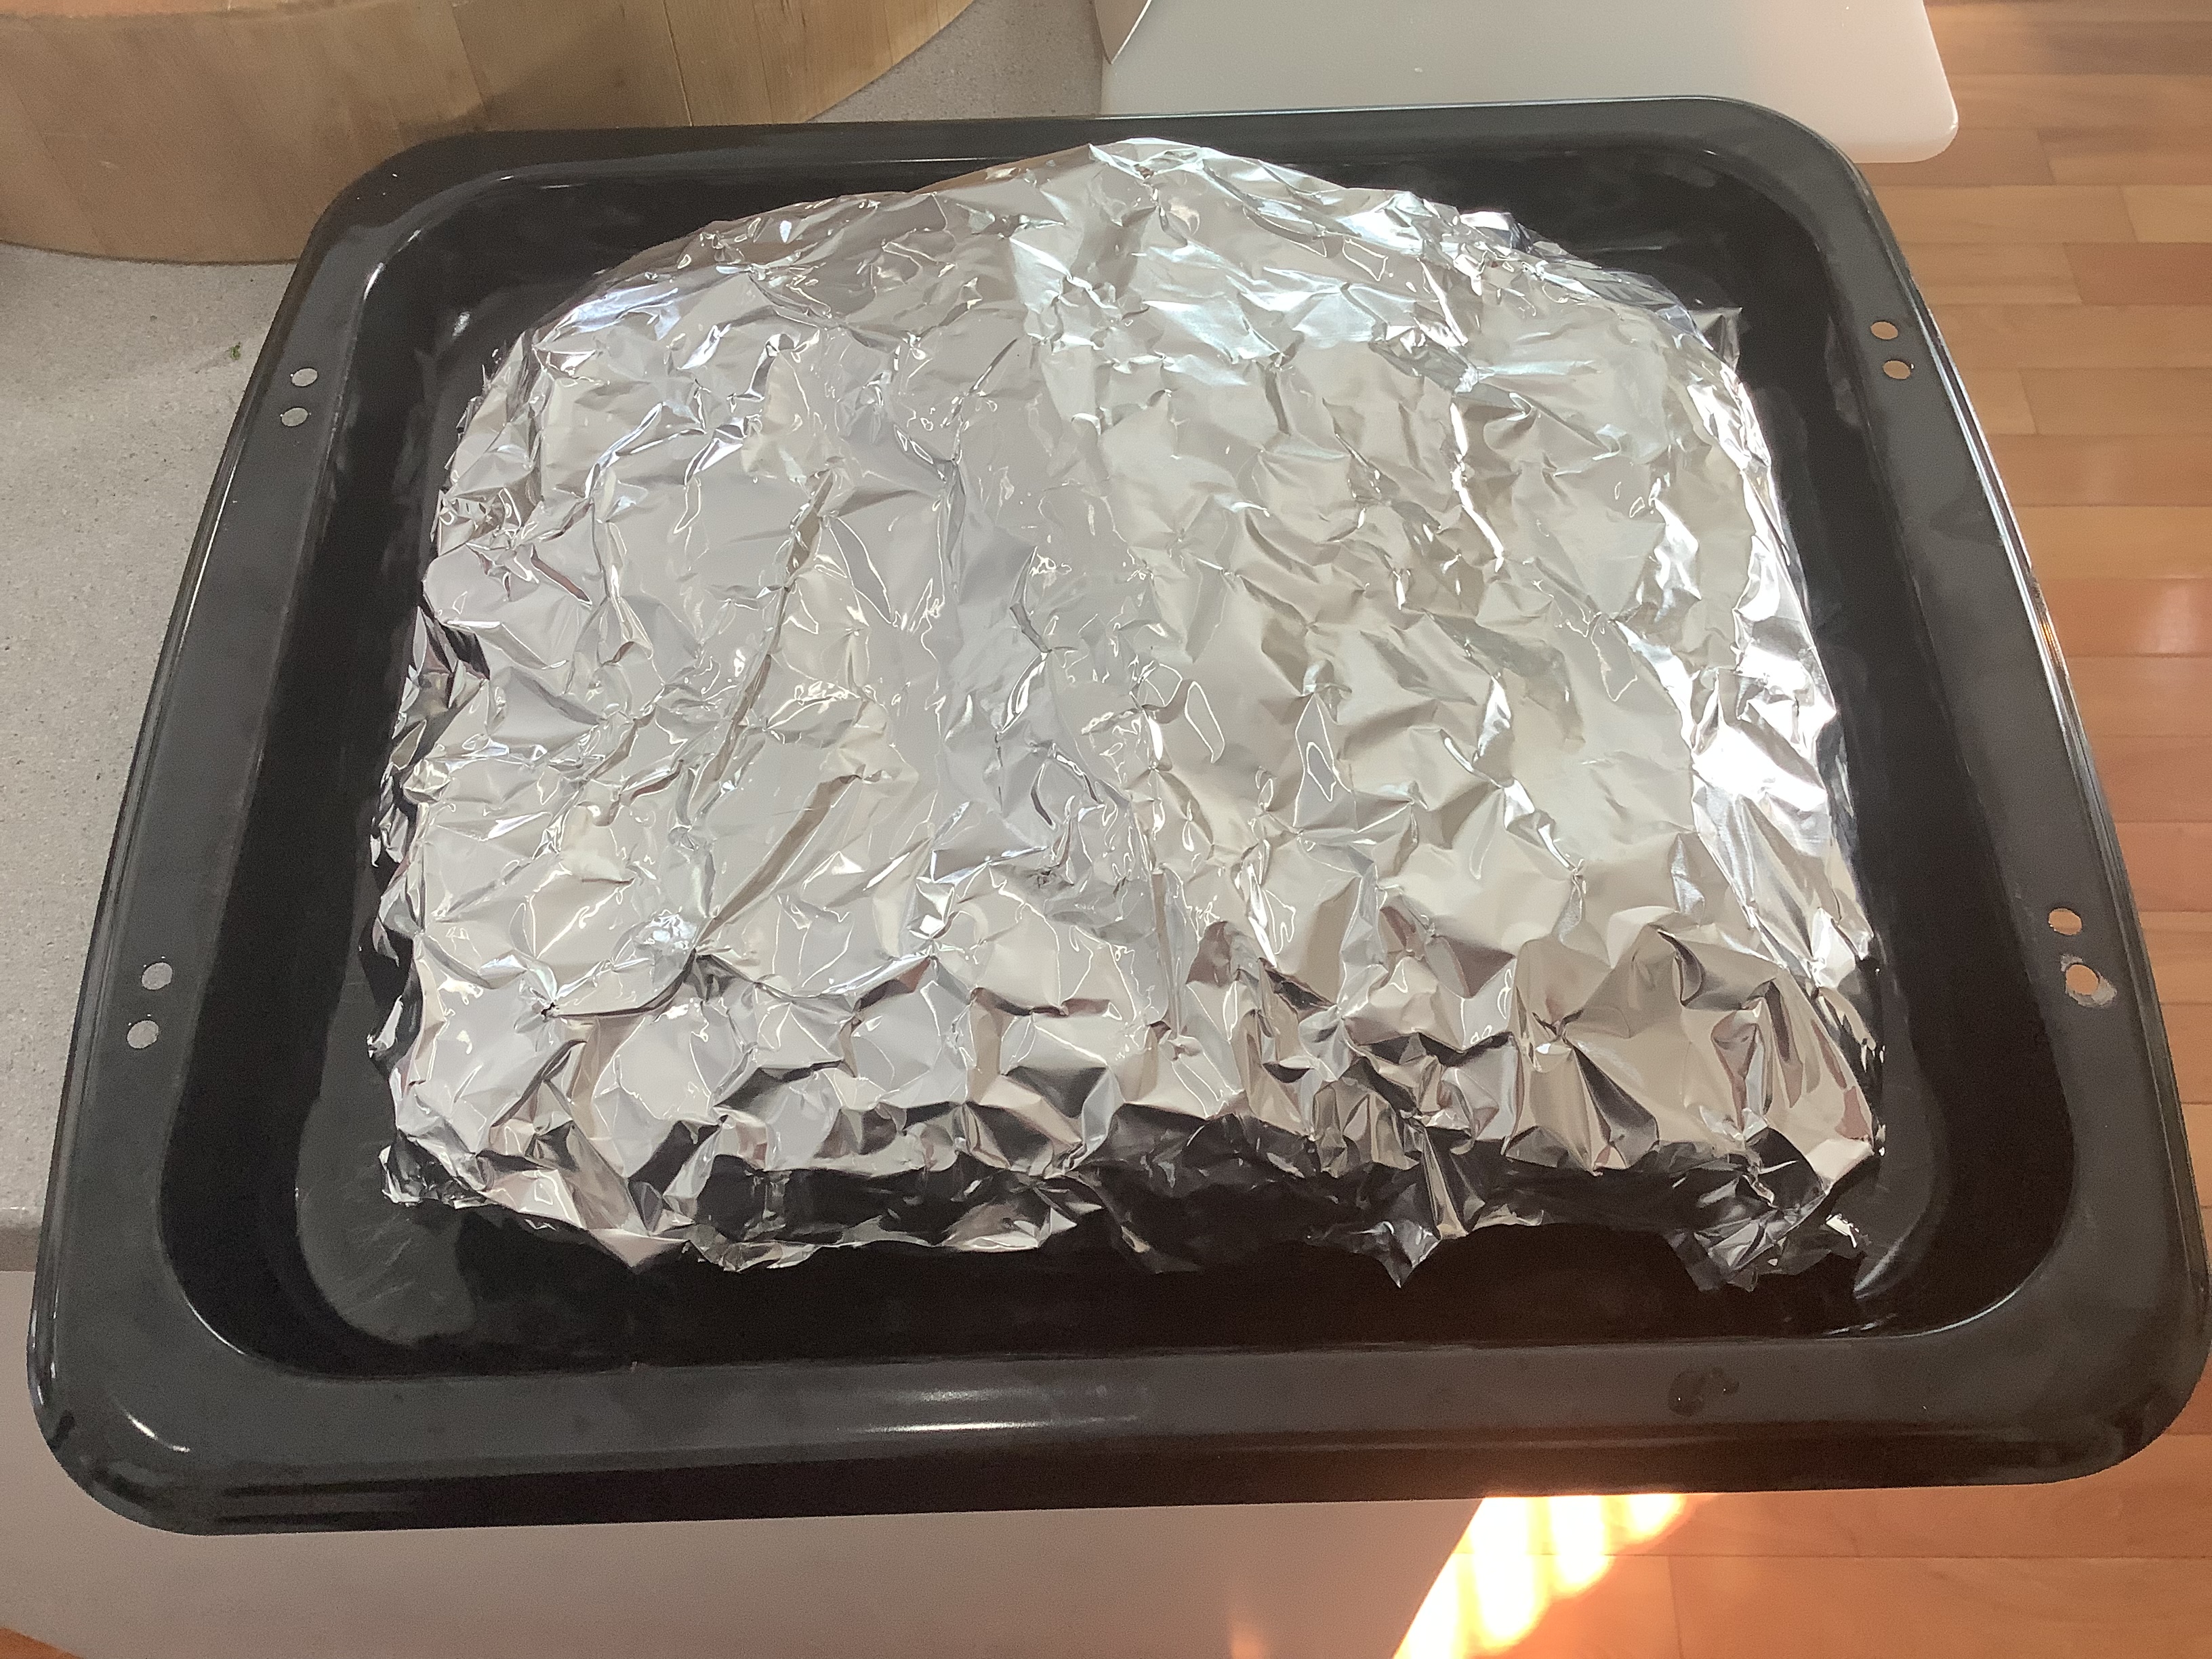
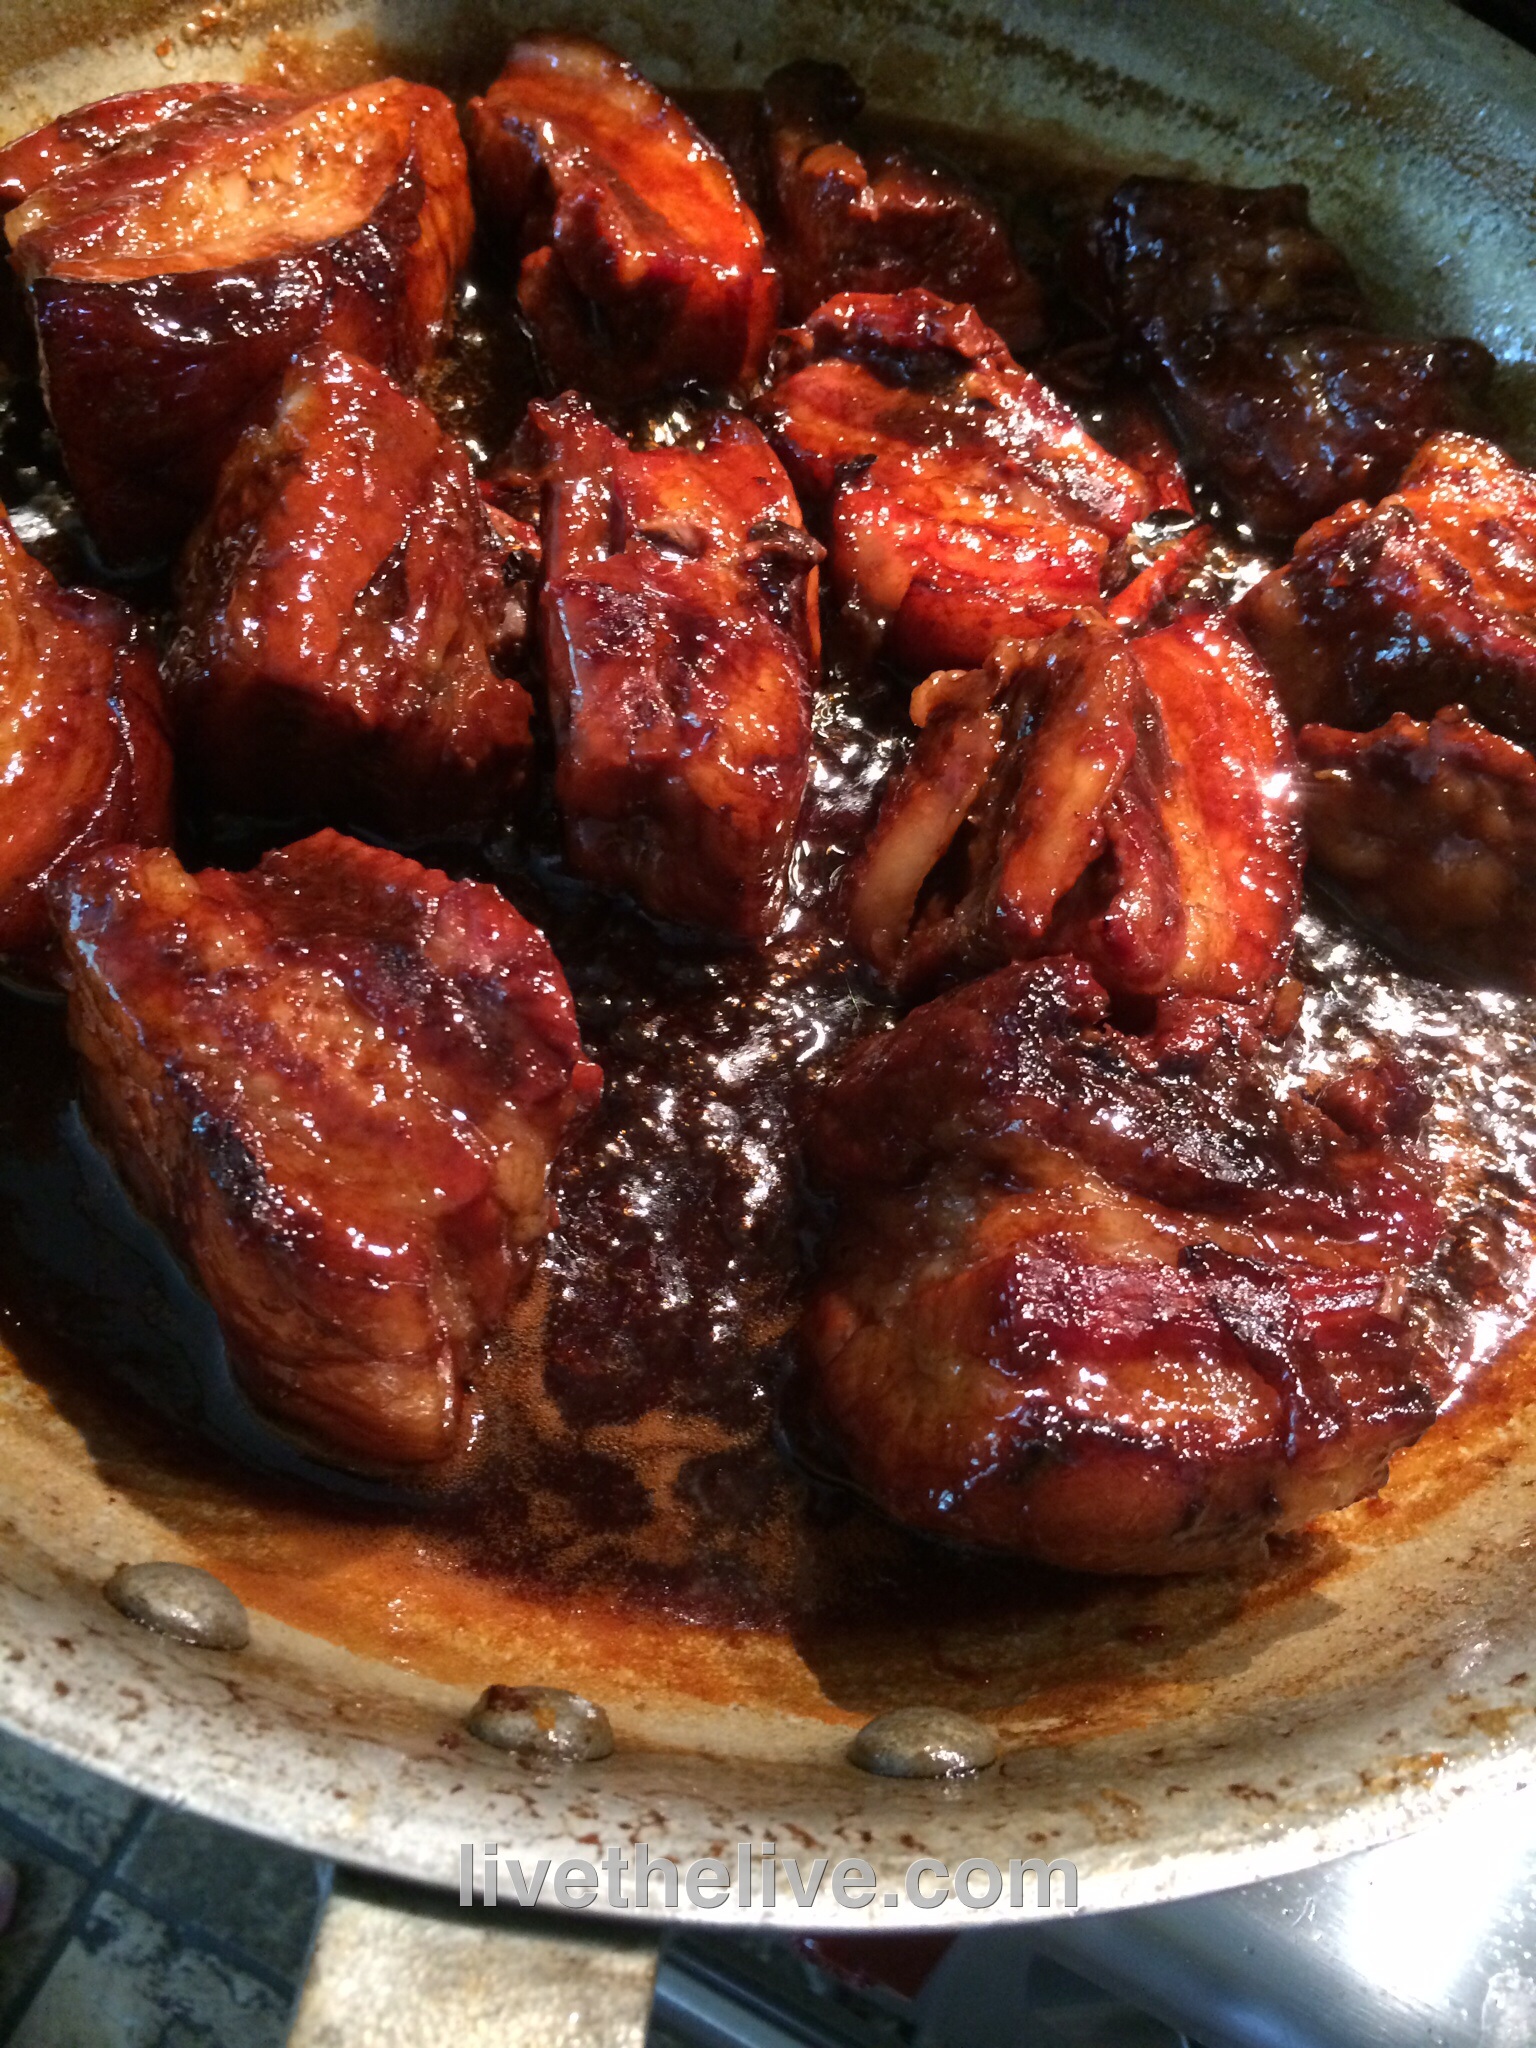
To avoid drying out the ribs, after a few hours of smoking, I like to brush them with a glaze, wrap them in foil, and then put them back in the smoker…or even in the oven. The glaze flavors the meat and also adds a little steam that tenderizes it.

Brushing with glaze, then wrapping in foil.
5 lbs. pork ribs (I get St. Louis-style Berkshire pork)
Lawry’s Seasoned Salt
1 cup water
1/2 cup maple balsamic vinegar (OR 1/2 cup balsamic vinegar + 1 tablespoon maple syrup)
1/4 cup brown sugar
1/2 teaspoon granulated onion
1/2 teaspoon granulated garlic
1/2 teaspoon cayenne pepper sauce (I like Franks’ Red Hot)
Prepare the ribs by removing the inedible skin on the back of the rack. The easiest way to do this is to cut a little “tab” of skin, then pull it with your fingers. Holding the skin with a dry paper towel will help your grip. I cut the racks in half to fit my smoker.
Season the ribs lightly with Lawry’s Seasoned Salt on both sides and place them into a 250° smoker (or oven, if you don’t have a smoker) for 3 hours, smoking lightly with hickory wood. (Skip the hickory if you’re using the oven.)
In a saucepan over high heat, combine the water, maple balsamic vinegar, brown sugar, onion, garlic, and cayenne pepper sauce. Stir well, and let it come to a boil. Let it reduce by half, leaving it still watery. Set it aside.
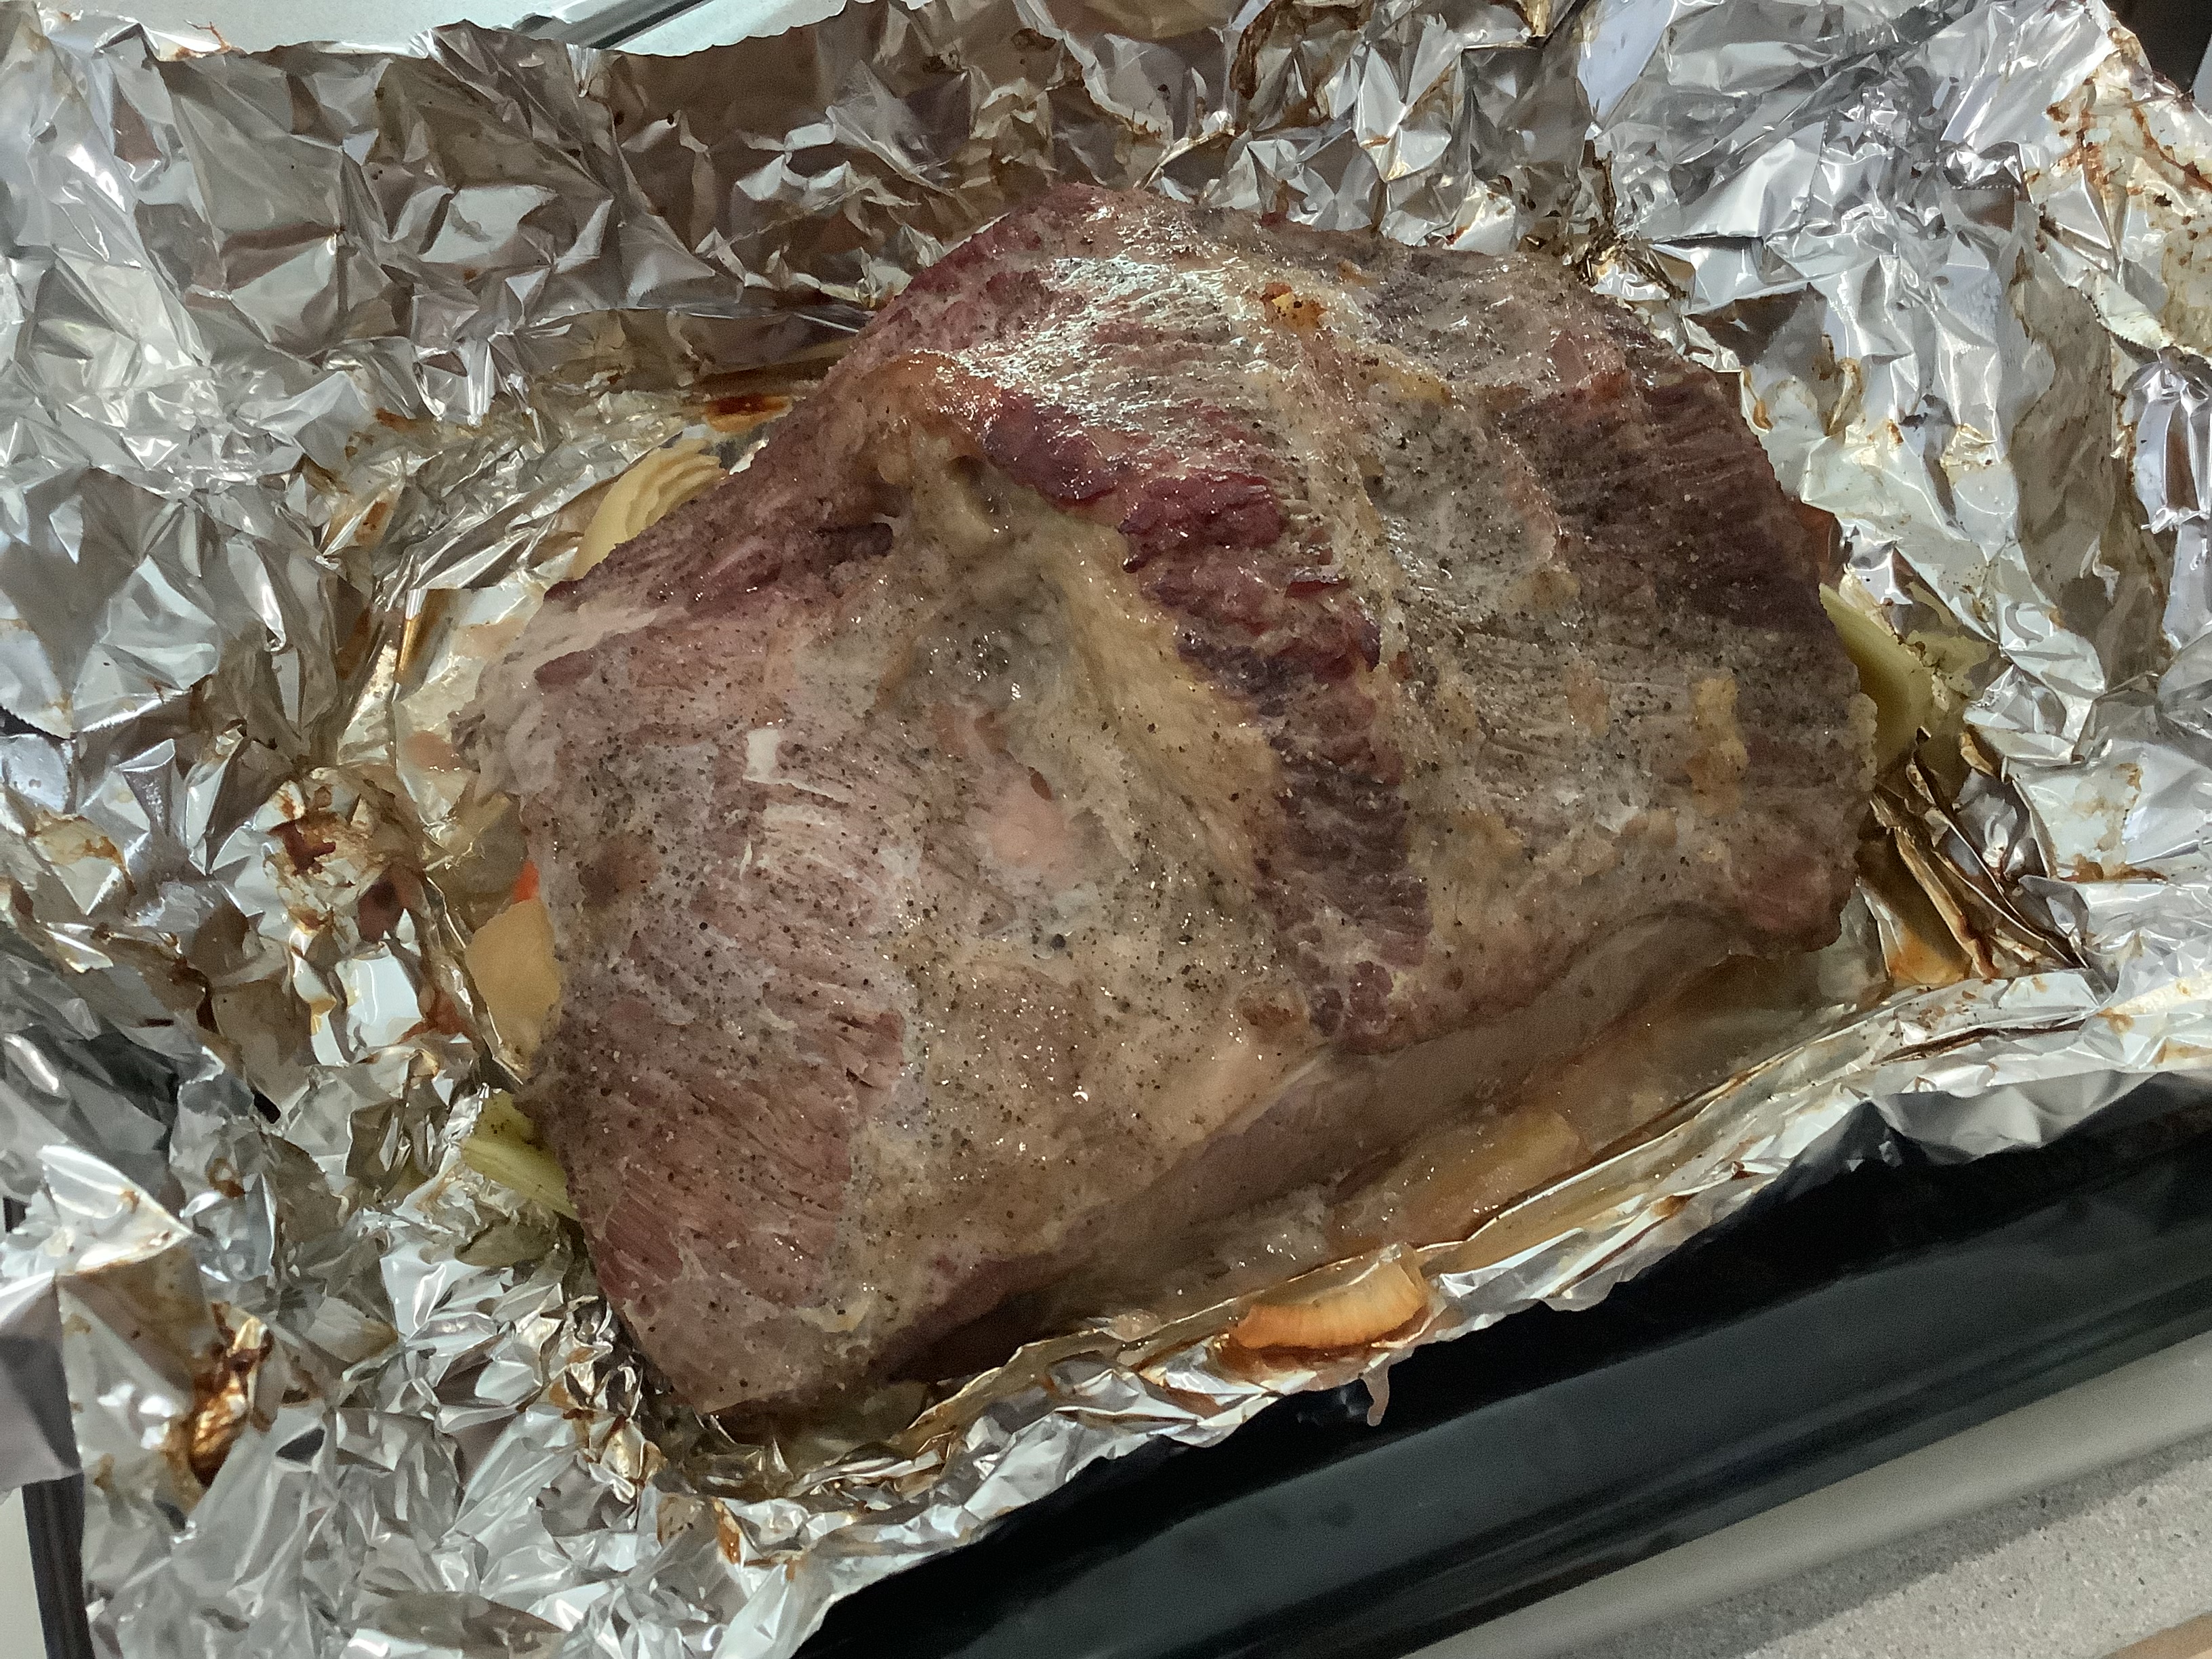
After 3 hours, remove the ribs from the smoker (or oven), placing them on a sheet of aluminum foil. (I use Reynold’s Non-Stick Foil, since the glaze will be sticky.) Brush both sides of the ribs with half of the glaze, and place the ribs meat-side-up on the foil before sealing the it around the ribs. Place the aluminum foil packets on a baking sheet, then into a pre-heated 250° oven (or back in the smoker.)

Remove the ribs from the oven or smoker after 1 hour. Open the foil packets so that the ribs are now exposed. Brush the top of the ribs one more time, then put the foil back over the top and cook for 1 hour more.