Archive for the ‘barbecue’ Category

So I’m watching a video of Andrew Zimmern grilling chicken wings using an apricot-mustard glaze after he marinated them in yogurt and threw them on a hot grill. They looked amazing. But I had ribs already thawed in my fridge (Curve ball 1).  I thought: How bad could this recipe be on pork? I gave it a shot.

Apricot-mustard glaze…
1/2 cup apricot preserves
1/2 cup mustard (I used Gulden’s, but Dijon works well, too)

Combine the ingredients in a bowl, whisking them together. Set it aside.


I got a large bowl out, and cut the ribs into smaller pieces, about 3 ribs per piece. I placed them in the bowl, threw in about a 1/2 cup of plain yogurt, and mixed it around until all sides of the ribs were coated. I let the ribs stand this way at room temperature for about an hour, while I headed to the grill to set it up.


The plan was to light a decent amount of coals that would ash over and then be pushed to one side of the grill, placing the ribs over indirect heat on the other side. They would cook this way until done, with a nice grilled smokey char on the edges.


That’s the little mouse home on the left.

Unfortunately, when I opened my grill, I found that a family of mice had made themselves a happy home inside my grill, and I didn’t have the heart to toss them out, babies and all. (Curve ball 2.)  So I needed to find another way to cook the ribs. I headed to my smoker.

I have an electric digital smoker, which allows me to set the temperature and basically walk away, only returning to add smoking chips every hour so. I set the temperature to 275 degrees.


I removed the ribs from the bowl, placing them on a cutting board, sprinkling one seasoning on half the ribs, and another seasoning on the other half. The first half got my favorite basic seasoning: Lawry’s Seasoned Salt. The second half received my favorite Cajun seasoning: Tony Chachere’s Original Creole Seasoning. The ribs went into the smoker for about 2 hours.
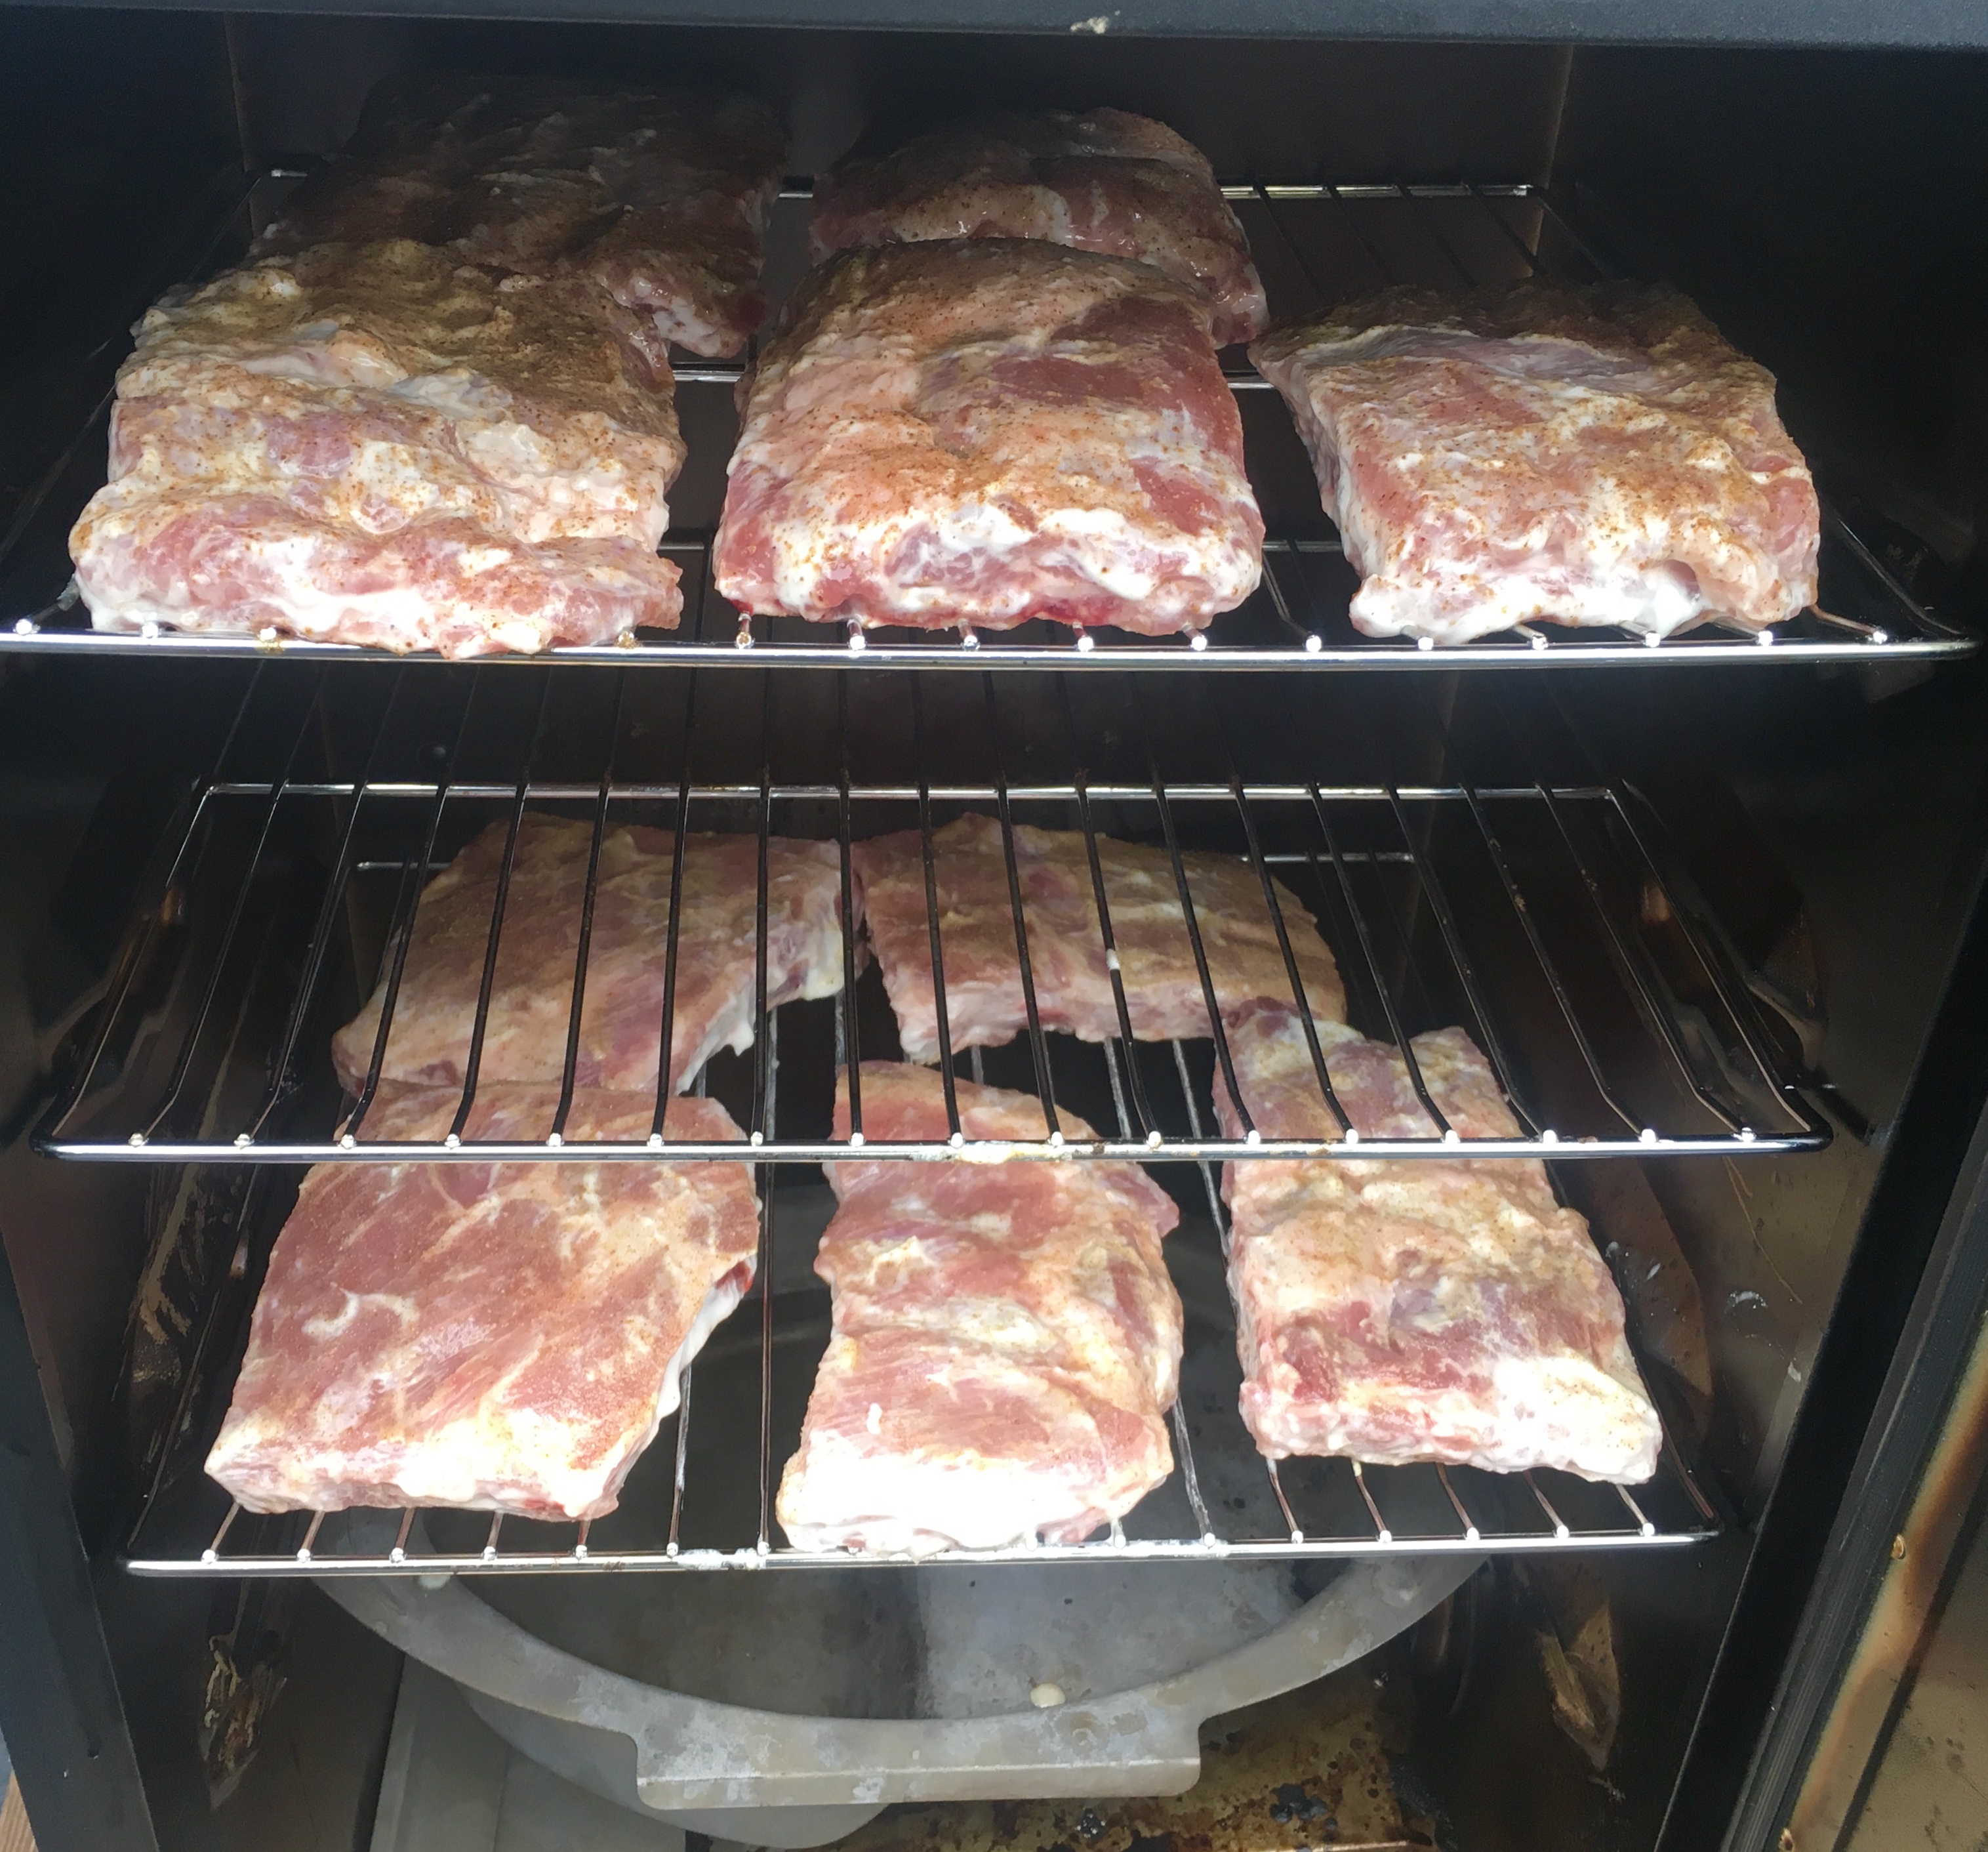
 

I thought I would smoke the ribs longer than 2 hours, but then I realized it would soon be time to pick my daughter up from school and take her to guitar lessons. (Curve ball 3.)
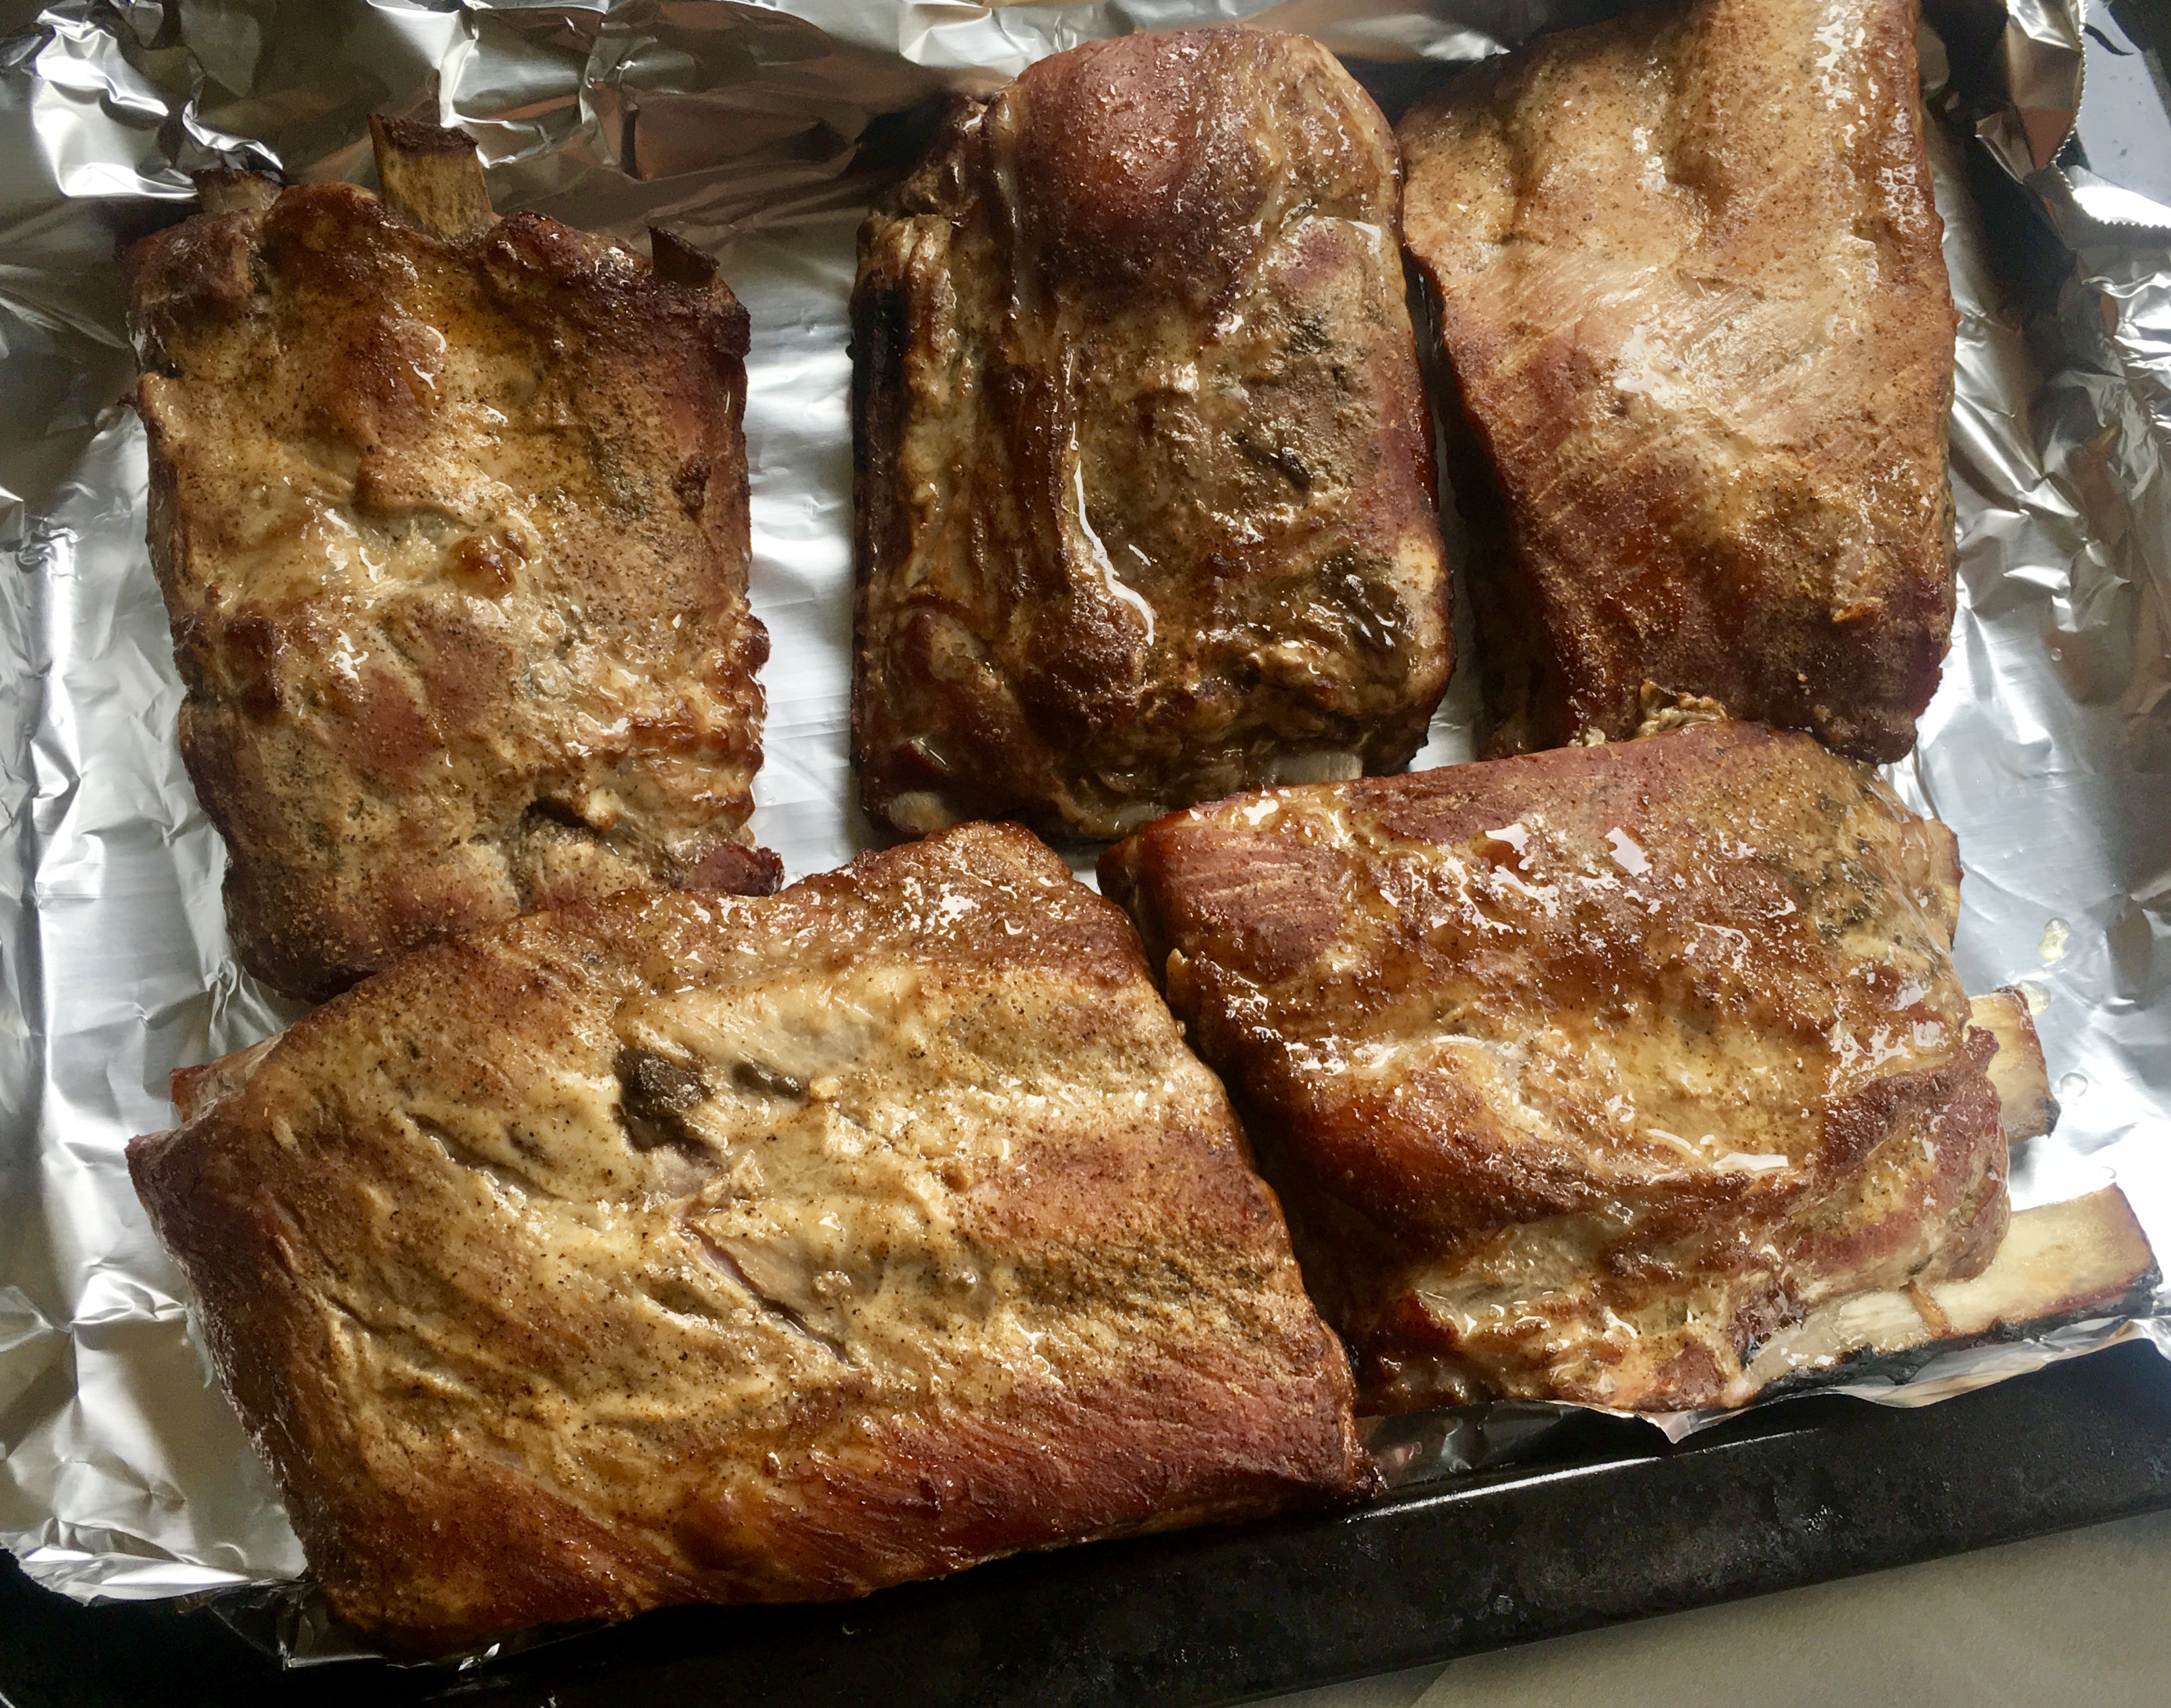
 

Out of the smoker.

I took the ribs out of the smoker, one half batch at a time, and placed them under the broiler of my toaster oven, flipping them over once I saw the edges of the ribs get nice and dark. This gave them a bit of that char I was looking for that the grill would’ve given me…had I not had a family of mice in my way!


After a few minutes under the broiler.

After broiling the ribs on both sides, I placed them in aluminum foil, brushing them on both sides with the apricot-mustard glaze, wrapping the aluminum tightly around them in 2 packages. I placed them on a baking sheet and into a pre-heated 175-degree oven.
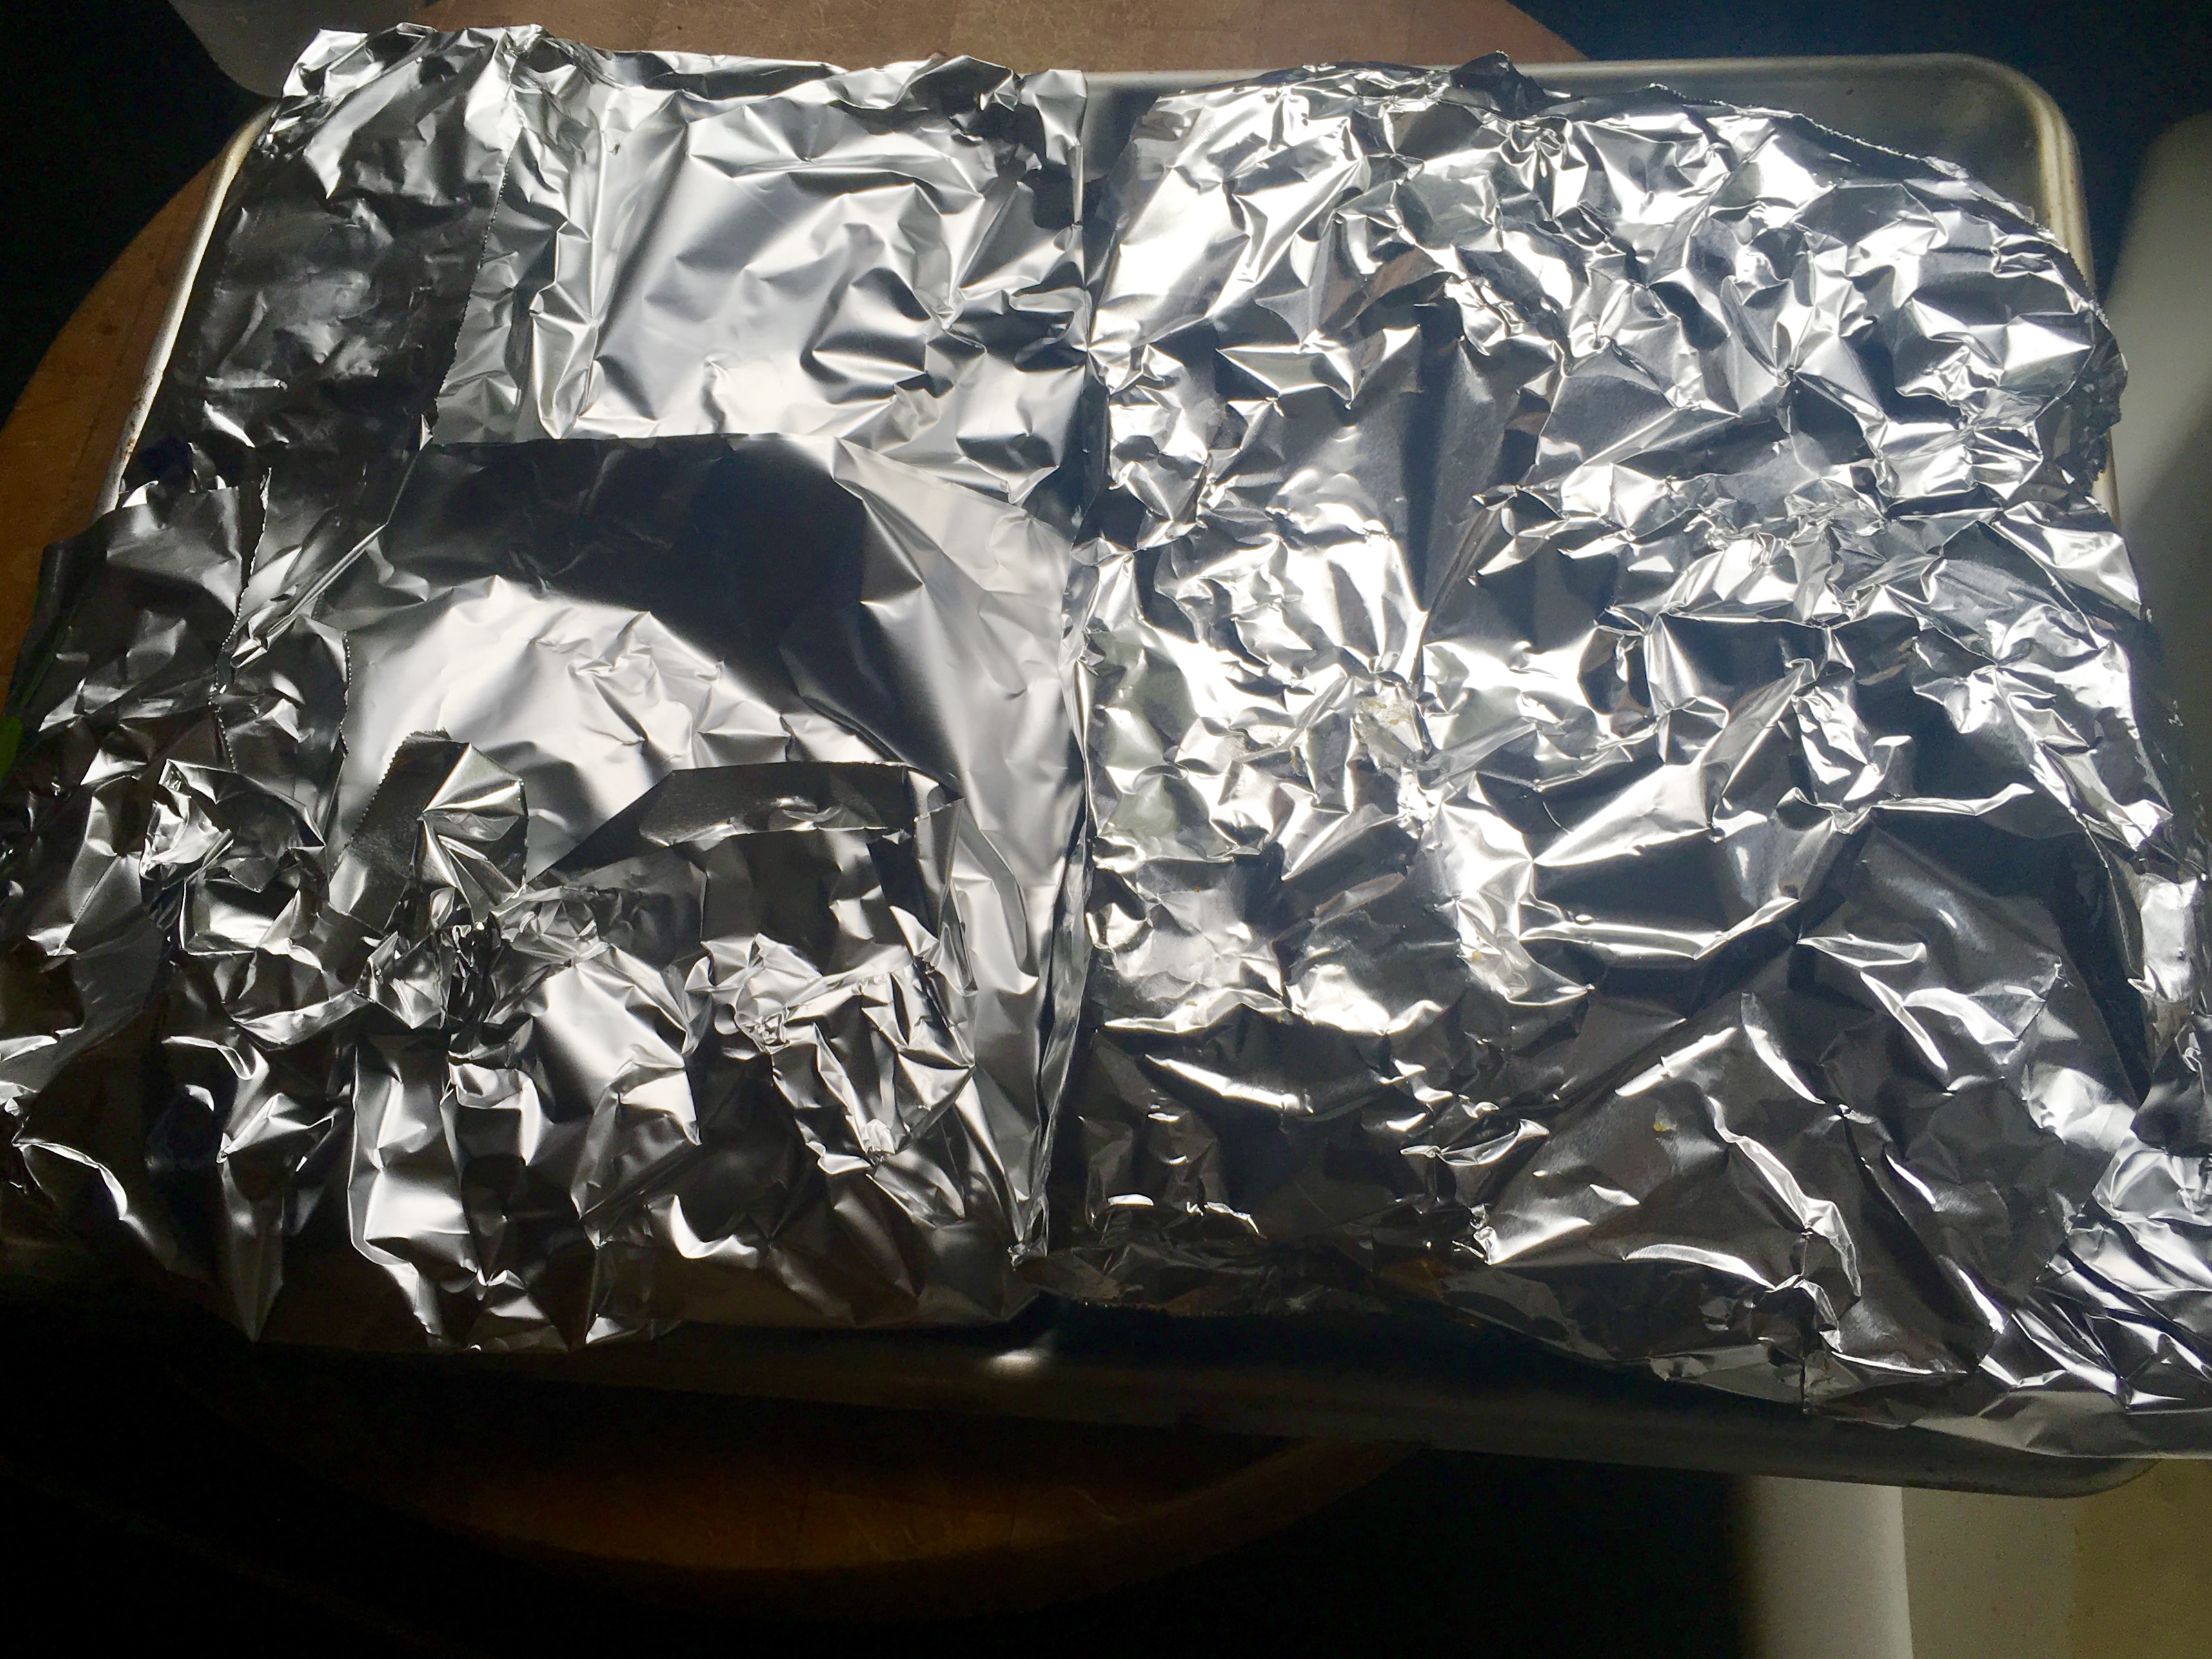
 

Tightly wrapped and into the oven they go.

The low temperature in the oven would continue to cook the ribs low and slow, and the glaze would add a little steam to make them tender, and hopefully, delicious. Off to school and guitar lessons I went.


Unwrapping the ribs after a few hours.

We returned a few hours later, and I placed the sheet pan with the ribs on the top of the stove to cool for a bit, allowing the ribs to rest.
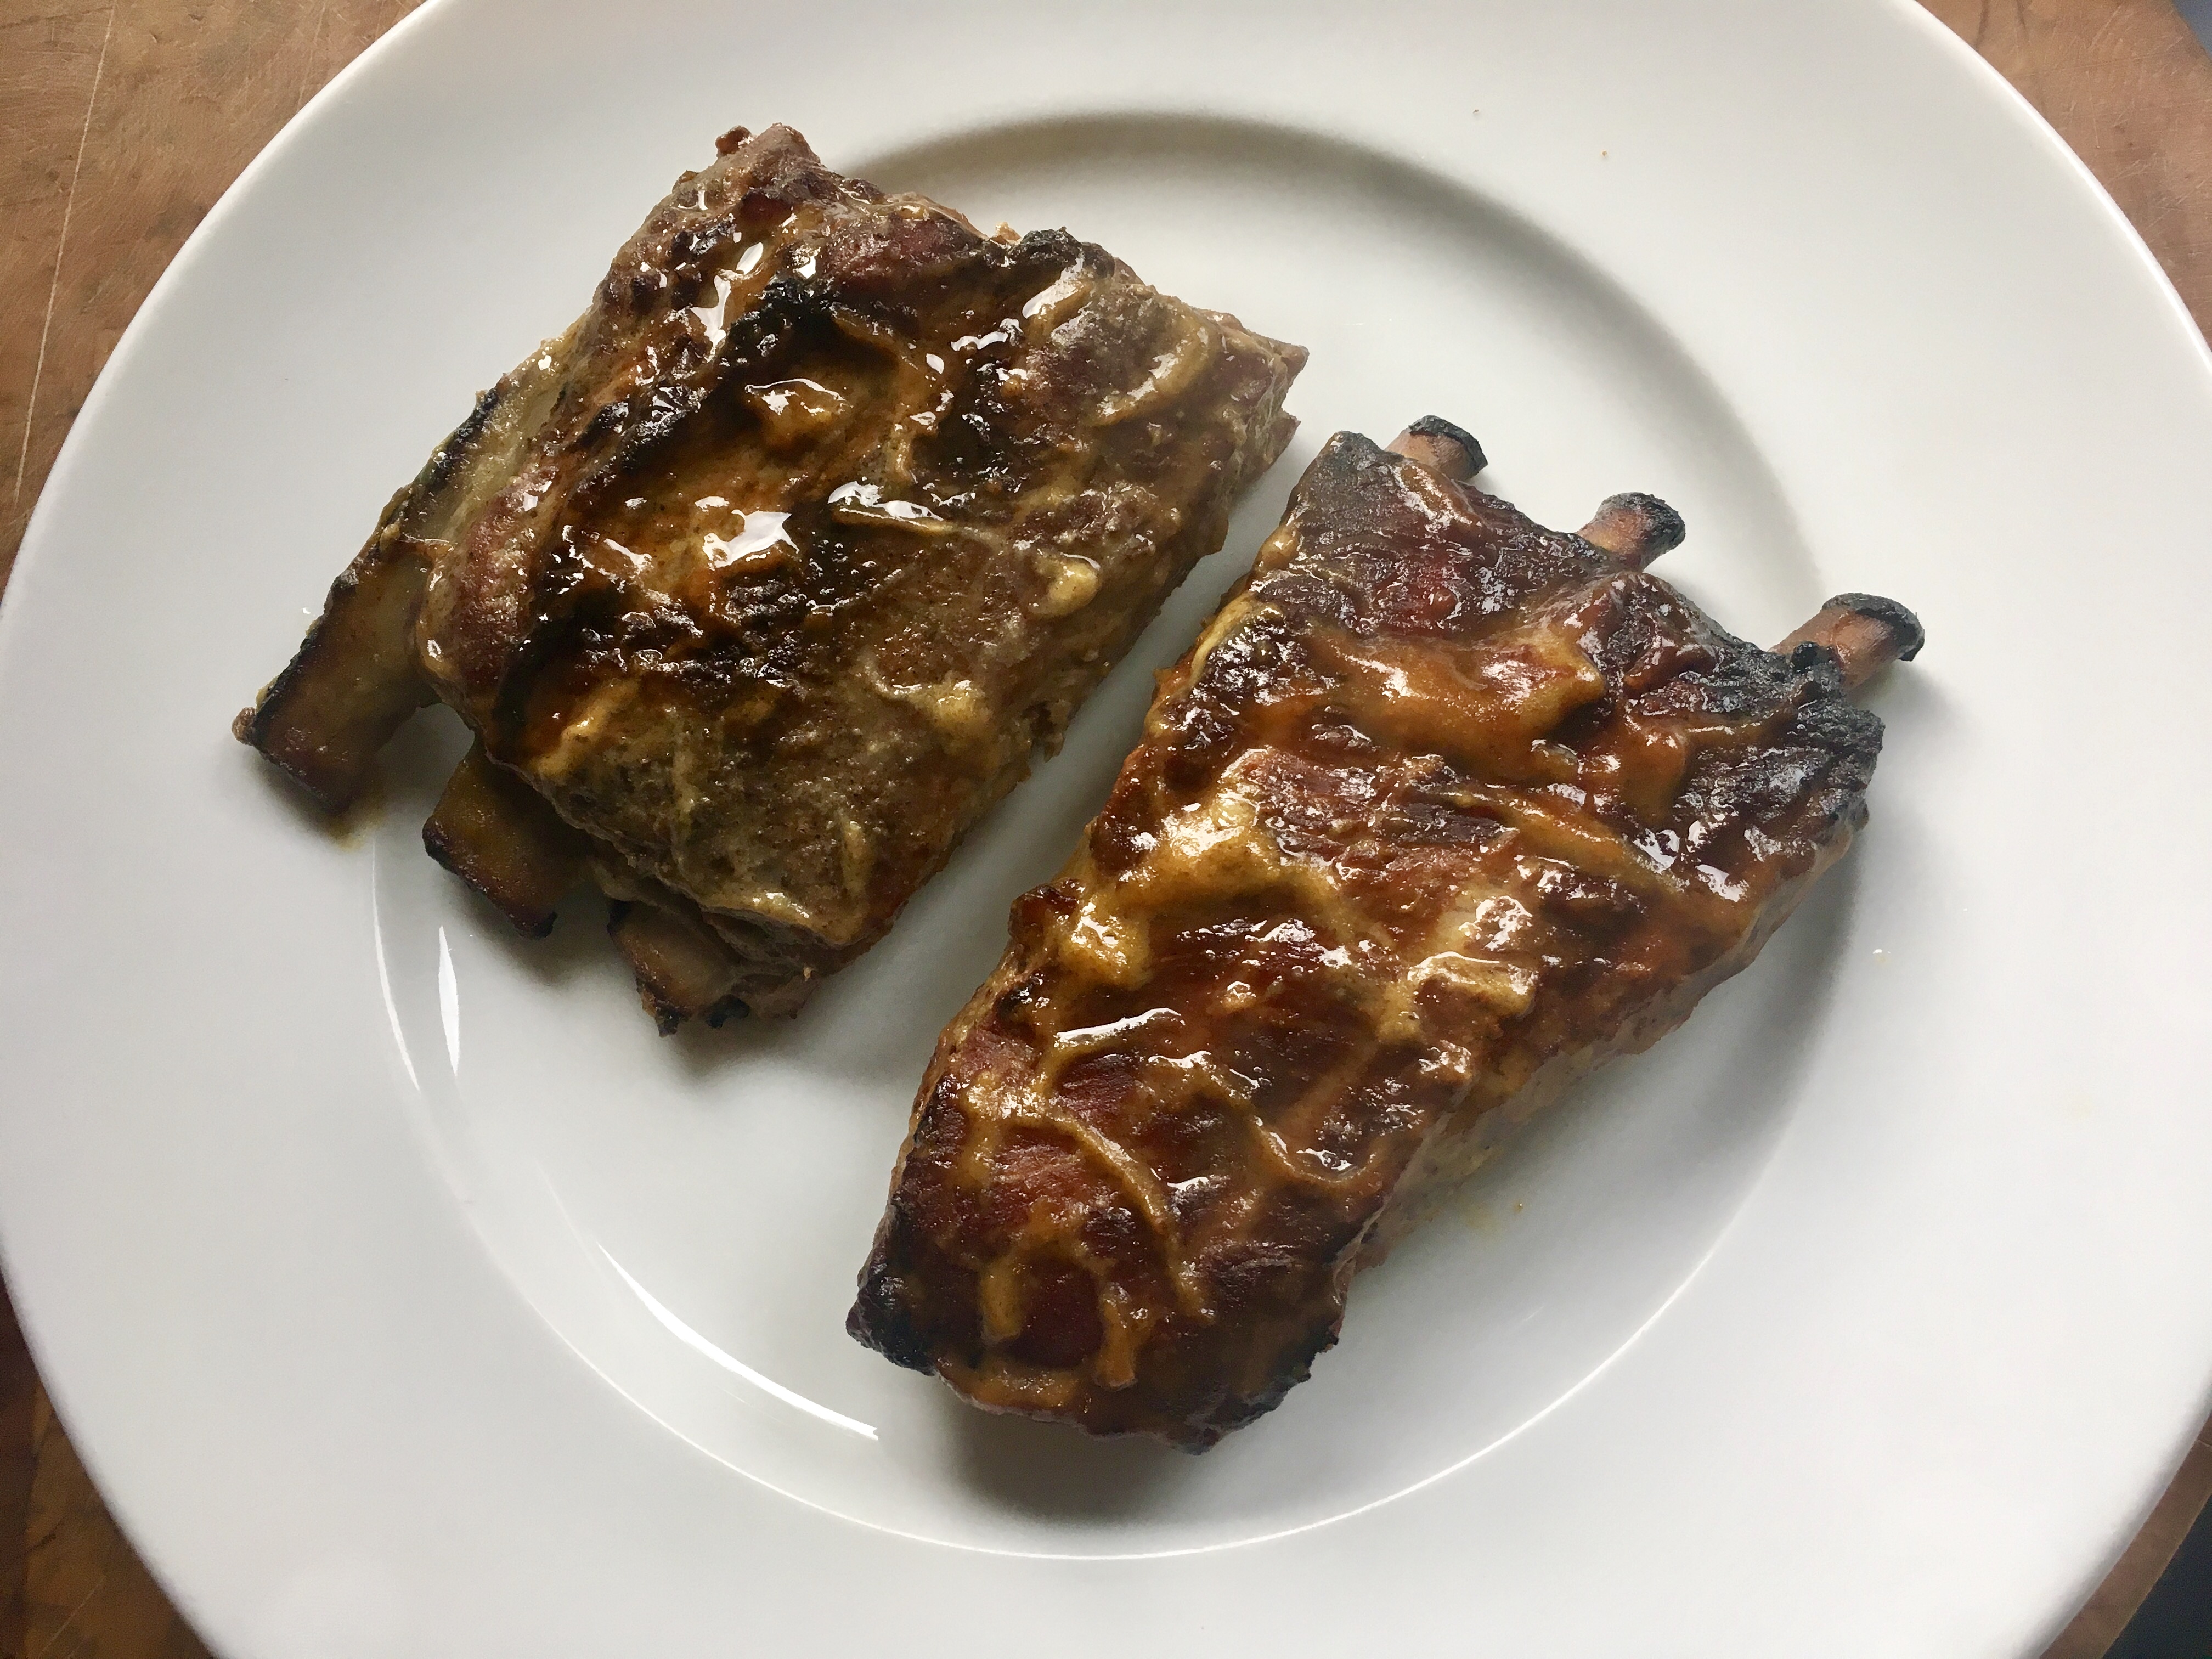
 

One of each: with Lawry’s and Tony Chachere’s.

Using a bit more of the apricot-mustard glaze, I brushed the ribs one more time and placed them under the broiler one last time before feasting. It was worth that extra effort to get them nice and caramelized.

The final verdict: They came out great, but I preferred the ribs seasoned with Tony Cachere’s better. The Cajun seasoning added a nice kick of heat to counterbalance the sweetness of the apricot-mustard glaze.

Through years of tireless experimentation, I’ve come up with a barbecue sauce that I feel is the best I’ve ever made. Granted, everybody has their favorites, but this one kicks butt. I prefer a slightly sweet and tangy barbecue sauce,  so unless I’m making a classic pulled pork sandwich, I usually avoid vinegar-based sauces.

What makes this sauce special is the citrus. I originally used lemon juice for this recipe and it was good. Lime juice with lime zest was better. I also tried oranges, tangerines, even Meyer lemons. But my breakthrough happened on a day when I was craving barbecued chicken and all I had in my fridge was a grapefruit. I thought: how bad could it be? Turned out to be the perfect foil to the sweetness of the brown sugar and ketchup.

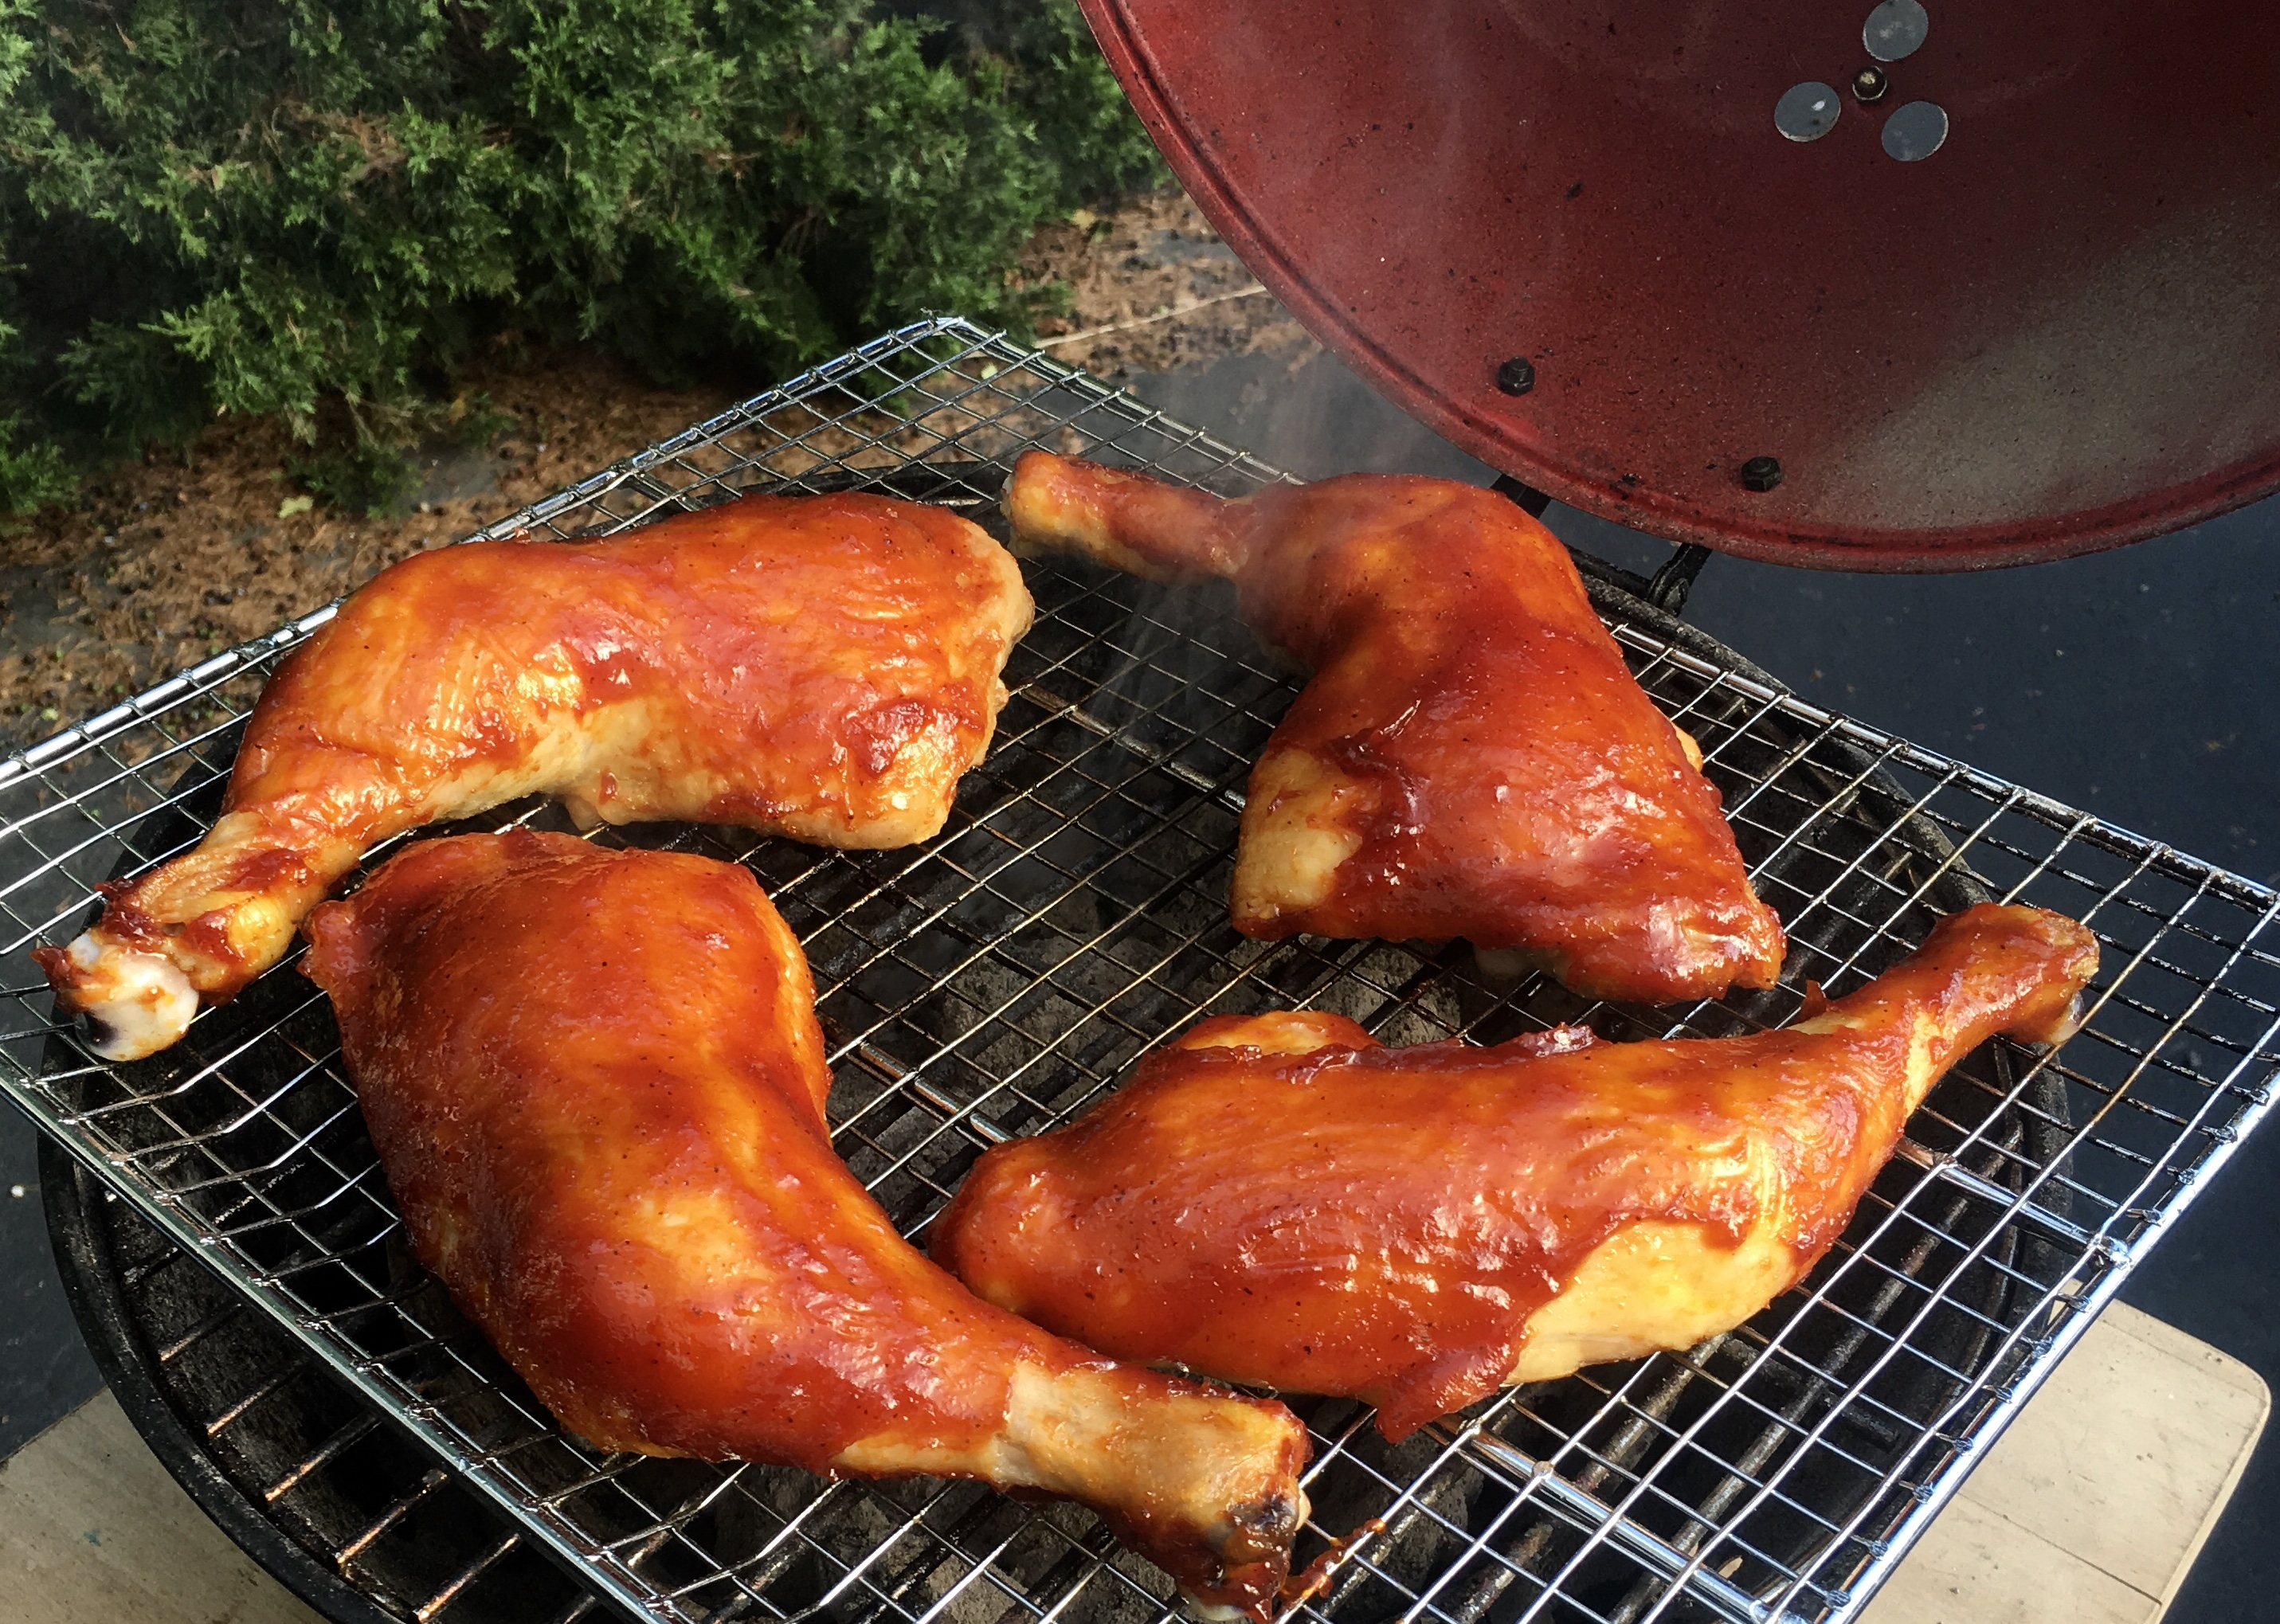
My favorite chicken pieces are the leg quarters: thigh and drumstick all in one. Chicken breasts, even on pastured birds, are pretty flavorless and dry, so I pass on them for the darker meat that’s juicy and fatty. (Honestly, I find it hard to trust anyone that won’t eat meat off a bone.)

Cooking chicken in the oven before putting it on the grill has several advantages. I don’t have to stand over the grill, constantly worrying about the meat burning or the fire going out. I can simply set a timer when I need to brush on the barbecue sauce or remove the chicken pieces. And the chicken cooks evenly…one piece won’t be burned while another piece is undercooked. Cooking them low and slow in the oven keeps the chicken juicy and tender. And I’m assured that my chicken is thoroughly cooked…no worries about salmonella.

I pre-heat the oven to 350 just to get it nice and hot. I line a sheet pan with non-stick aluminum foil, placing the chicken pieces on it. I rub each piece with a little olive oil, and season them lightly with Lawry’s Seasoned Salt. The chicken goes into the oven and I immediately lower the temperature to 200 degrees.

While the chicken is cooking, I combine all the barbecue sauce ingredients in a sauce pan, bring it to a boil, then reduce it to a simmer, letting it cook for about 20 minutes, until it has thickened. Then I turn the heat off and set the pan aside.

I’ll bake the chicken for about an hour, taking the sheet pan out of the oven to brush the barbecue sauce on the pieces before returning to the oven again, now bringing the temperature up to 300 degrees. (Because there’s sugar in the barbecue sauce, I don’t want to crank the heat or it will burn.)

Taking the chicken out of the oven and brushing it with sauce.


In 30 minutes, I take the sheet pan out a second time, and brush the sauce on the chicken pieces again…then back in the 300-degree oven for another 30 minutes.

Once the chicken’s back in the oven, it’s time to start the grill. For projects like this, I like to use a small grill I bought for our family camping trips. It’s like a mini-Weber, and it grills enough food for 4 people easily, without wasting charcoal like a larger grill would.

These small grills are just 20 bucks, and they save you a ton of otherwise wasted, unused charcoal.


I use a smaller charcoal chimney for this project, and I use charcoal briquets, not hardwood, because I want an even fire. The coals are ashed over in just 10 minutes.

Out of the oven and onto the fire! The grill grate was nasty and rusty, so I just grabbed a clean one I had handy and popped it right on top. (I hate scrubbing grills!)


Once the chicken has cooked its total of 2 low-and-slow hours in the oven, I bring the pieces outside. I spread the coals evenly on my little grill, and place the chicken pieces on it, flipping the pieces so that both sides get nice and smokey with a little bit of char…about 5 or 10 minutes per side will do the trick.

Getting that char on the chicken is key to making it taste like it’s been on the grill all the time.


The chicken goes back to the kitchen, and while it’s still hot, I brush with the barbecue sauce one last time before serving.


Perfectly done…perfectly delicious!


Here is the magical barbecue sauce recipe…

1 cup ketchup
1/2 cup firmly packed brown sugar
Juice and zest of 1 grapefruit
3 tablespoons unsalted butter
1 teaspoon cayenne pepper sauce, like Frank’s Red Hot
1 teaspoon Worcestershire sauce
1 teaspoon granulated garlic
1 teaspoon granulated onion
1/4 teaspoon black pepper
(no salt)

Combine all the ingredients in a sauce pan. Bring it to a boil and then turn it down low, and let it simmer for about 20 minutes, or until slightly thickened.


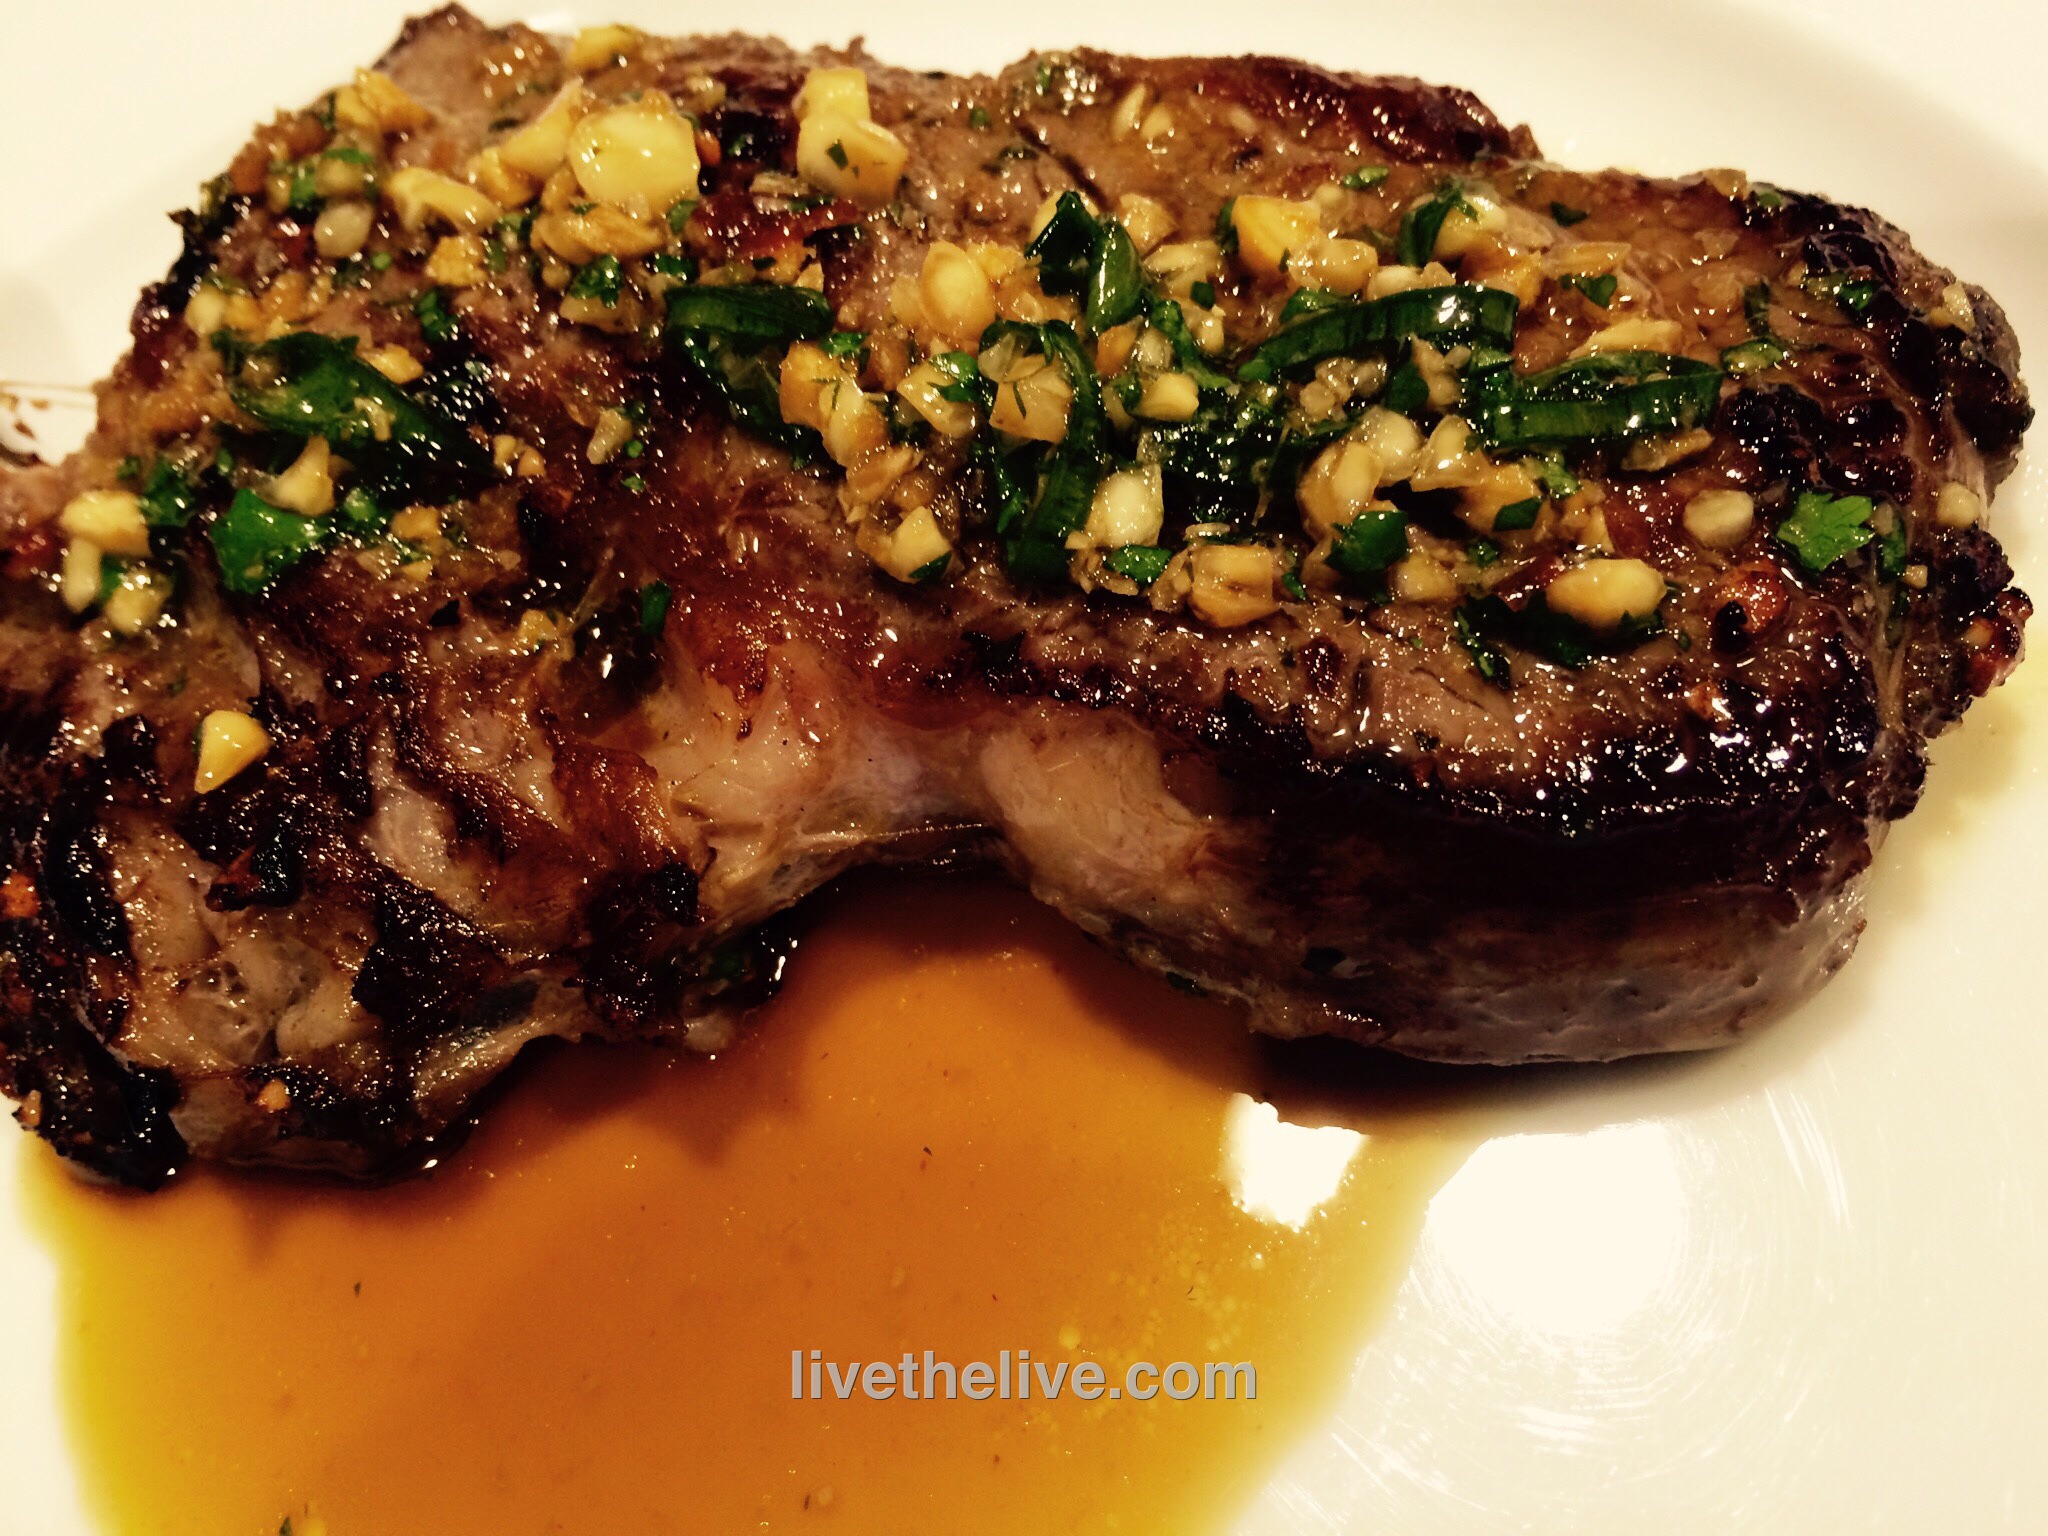
The original recipe called for skirt steak, but I didn’t have any in my freezer. I did have a fat ribeye, though, so once I thawed it, I sliced it lengthwise to get two large, thin steaks which would easily suck up the marinade I was going to make. And the ribeye was nicely marbled, so it stayed juicy and tender.


image


1/4 cup toasted sesame oil
1/4 cup soy sauce
2 tablespoons grated ginger
2 tablespoons finely chopped garlic
2 tablespoons finely chopped cilantro
2 tablespoons chopped dry roasted unsalted peanuts
2 scallions, minced
1 tablespoon light brown sugar
1 tablespoon fresh squeezed lime juice
1 tablespoon chile oil
2 lbs. beef ribeye (or skirt steak or beef flap)
1/4 cup chicken stock (homemade is best)

In a bowl, whisk together the sesame oil, soy sauce, ginger, garlic, cilantro, peanuts, scallions, sugar, lime juice and chile oil. Transfer half of it to a shallow dish.
Add the steak to the dish and turn the meat to coat it well. Cover and refrigerate the beef overnight. Refrigerate the remaining marinade.

The next day, light a grill. While it’s warming up, add the chicken stock to the reserved marinade. I like to heat it to combine it well, not letting it reach a boil,  then remove it from the heat and let it come to room temperature. This will be the dipping sauce for the beef.

Bring the steak to room temp, season with salt and pepper, and grill it over high heat until medium-rare, about 5 minutes. If it’s too cold to light a grill, or if you just want to use the oven, heat a cast iron pan, add a few drops of avocado oil, and sear the beef on both sides before placing it in a pre-heated 375-degree oven to finish cooking.

Devour the beef with the dipping sauce!


I recently hosted a “boys’ weekend” at Saule, our rental home in Little Compton, Rhode Island (http://www.sauleri.com. We’re listed at Homeaway.com), and when you’ve got guys coming over, you’ve got to have ribs! I like making these because they don’t require hours on the grill. They’re gooey, sweet and absolutely delicious!
 image
¾ cup soy sauce
 1/4 cup hoisin sauce
5 lbs. pork ribs
Zest and juice of 1 lemon
2 whole star anise
2 cinnamon sticks (3”)
1/2 cup honey
4 cups chicken broth
Mix the soy sauce and the hoisin in a bowl, and set aside. These are the marinade ingredients.
If the ribs are large, cut them into individual pieces. If smaller, cluster 2 or 3 ribs together. Place them in a large pot. Cover them with water and bring it to a boil. Boil for 5 minutes. Drain.
Place the ribs on a baking sheet lined with non-stick aluminum foil or with a rack and coat them with the marinade. Let them sit for 10 minutes.
Pre-heat the oven to 350 degrees. Bake the ribs on the baking sheet for 30 minutes.
While the ribs are baking, start the sauce in a large non-stick pan or pot that will hold all the ribs: combine the lemon zest and juice, star anise, cinnamon sticks, honey and chicken broth. Bring it to a boil, then reduce it to a simmer.
When the ribs have finished baking, add them to the sauce pot and simmer (covered) for at least 15 minutes or until the rib meat is tender.
Turn the heat on high, uncover the pot and cook until the sauce is reduced to a glaze that coats the ribs. Be sure to reduce the heat as the sauce thickens or the sugars in the honey will burn! When the ribs are sticky and gooey, they’re ready.
Substituting grapefruit for the lemon works really well, too!


This is a huge hit wherever I bring it. I brought it to a dinner party last night to celebrate the 4th of July.

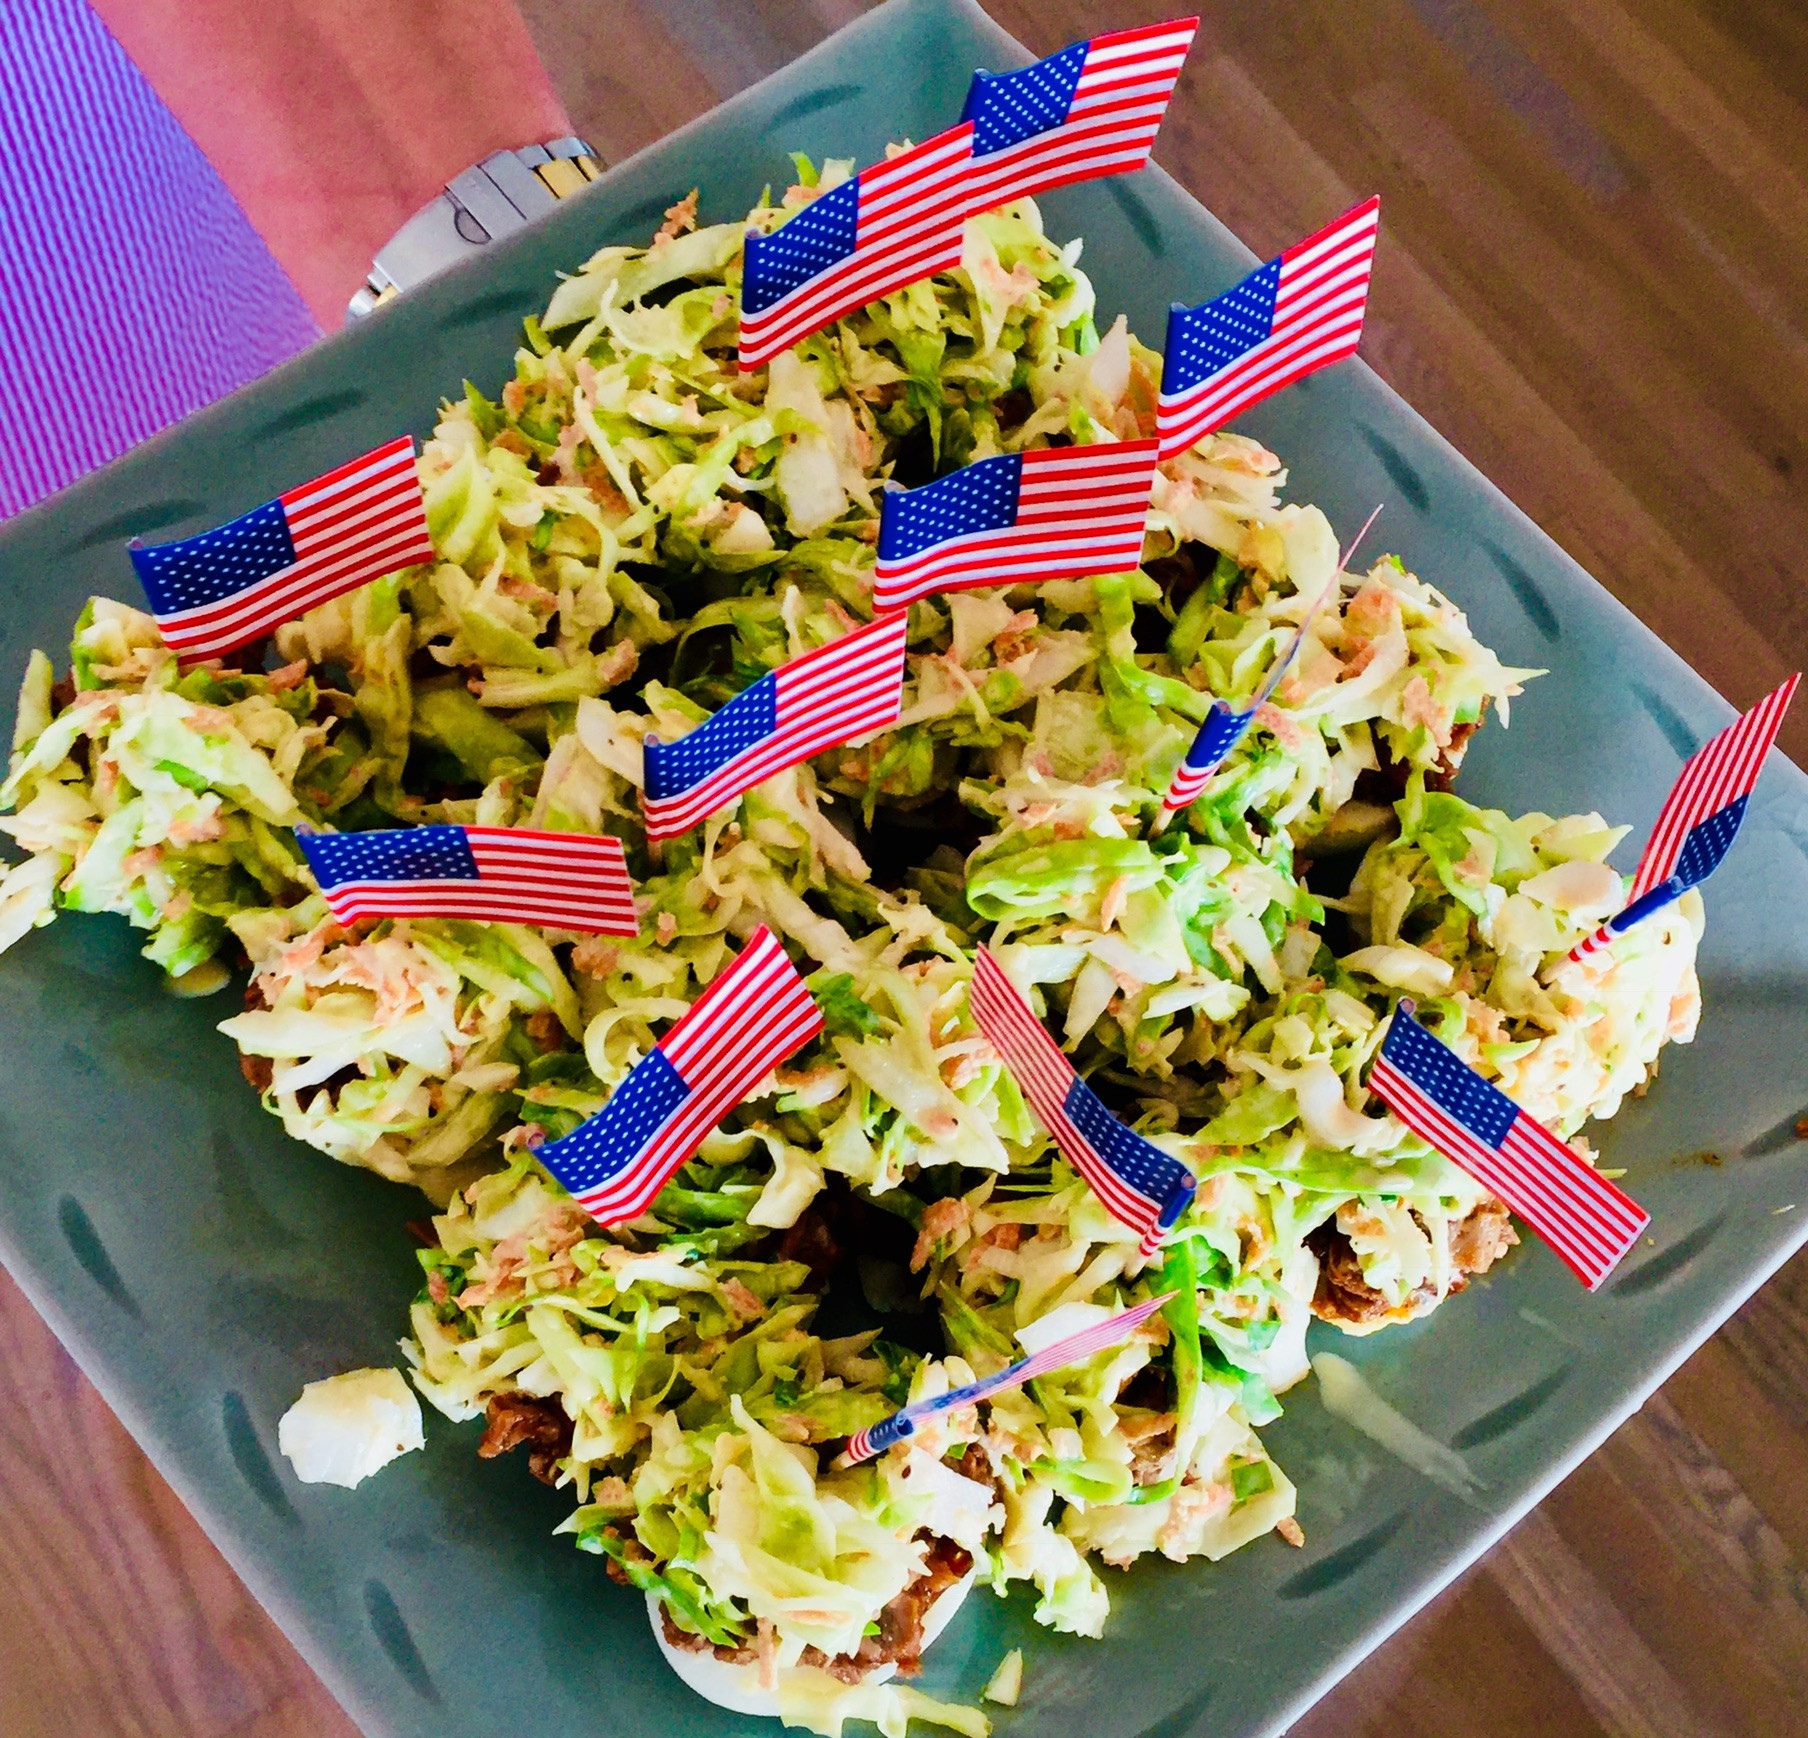
It’s easy to set up the parts at home, then put it together quickly at a party. If you know what a pulled pork sandwich North Carolina-style is all about (pulled pork on a bun with cole slaw right on top of the meat), then imagine taking away the bun and replacing with a deviled egg! It’s messy, it’s delicious, and everyone loves them.

I’ve tried this two ways now: with pulled pork and with chicken…and the big thumbs up goes to the pork. Of course, I will smoke a pork shoulder for 10 hours, pull the meat, and mix it with the barbecue sauce…all for this dish. If you don’t have a smoker, you can simply wrap a smaller piece of pork shoulder in aluminum foil (it’s good if it’s fatty), and bake it in the oven at 250 degrees for a few hours until the meat is juicy and falls apart.

Be sure to make a lot of these…they’ll go faster than the hard-boiled eggs in “Cool Hand Luke!”


For the BBQ sauce:
2 cups ketchup
3/4 cup water
6 tablespoons cider vinegar
6 tablespoons white vinegar
6 tablespoons brown sugar
3 tablespoons Worcestershire sauce
1 tablespoon chili powder
2 teaspoons salt
1 teaspoon black pepper
1 1/2 teaspoons cumin

Combine all the ingredients in a saucepan and simmer over medium heat for about 25 minutes, until the sauce has thickened. Let it cool to room temperature and then store it in the fridge. It will be good for several weeks.


For the cole slaw:
2 tablespoons mayonnaise
1 tablespoon rice wine vinegar
1/2 teaspoon sugar (I use organic cane sugar)
2 cups finely shredded cabbage

Combine all the cole slaw ingredients in a bowl, mixing well, and place it in the fridge. Making the cole slaw a day ahead of time is even better.

Always great to have a pretty helper!


For the deviled eggs:
6 hard-boiled eggs
1/4 cup mayonnaise
1 tablespoon mustard (I use Gulden’s)


Here’s my tip for perfectly hard-boiled eggs every time: place the eggs in a pot, cover them with cold water, and turn the heat on high. Just before the water starts to boil, put a lid on the pot and turn the heat off. Let the eggs sit in the hot water for 15 minutes. Perfect hard-boiled eggs every time! Once cooked, keep the eggs in the fridge.

Here’s another tip: the easiest peeling eggs are older eggs! No…that doesn’t mean you let your eggs sit out on the front porch for a week. What that means is: but them from your supermarket rather than the farm stand down the road. Super-fresh eggs still have a membrane attached to the shell that makes them difficult to peel. The membrane detaches in slightly older eggs, making them easier to peel.

Slice the eggs in half and place the yolks in a bowl with the mayonnaise and mustard. Mix it well and keep it in the fridge.


To assemble, take a teaspoon of the mayo/mustard/yolk mixture and place it in the cavity of one of the egg halves. Place a lump of pulled pork on top (I like it warm, to counter the cold of the mayo and cole slaw.) Then place a teaspoon of the cole slaw on top of the chicken.

When it comes to grilling, lamb is often overlooked. Some people think the taste of lamb is too gamey. The really good lamb, grass-fed Australian or New Zealand lamb, can have that taste. Most American lamb is a bit milder, so give that a try.

These lamburgers are best when grilled over hardwood charcoal. But they’re just as tasty if you pan-sear them in a cast iron skillet and finish them in the oven.

I  mix one pound of ground lamb meat with one pound of ground grass-fed beef to cut the gaminess of the lamb. The flavor is just right.


1 lb. ground lamb
1 lb. ground beef
2 tablespoons + 2 teaspoons extra Virgin olive oil
1/2 onion, minced
1 tablespoon Dijon mustard
1 teaspoon each fresh parsley, mint, and dill, finely chopped
1 teaspoon dried Greek oregano
1/2 teaspoon cumin
1 large clove garlic, squeezed through a garlic press
1 scallion, finely chopped, green part only
1/2 cup breadcrumbs
1 egg
1 teaspoon salt
1/2 teaspoon black pepper


Heat 2 tablespoons of the olive oil in a skillet over medium heat. Add the onions. Cook them until translucent, about 6 minutes. Transfer the onions to a plate and let them cool.

In a bowl, mix the onions, mustard, parsley, mint, dill, oregano, cumin, garlic, scallions, breadcrumbs, egg, and salt and pepper.

In another bowl, combine the lamb with the beef. Then add the onion mix bowl to the meat and make sure all the ingredients are combined.

Form the meat into slider-sized patties. Place them on a baking sheet covered with non-stick foil, and place the baking sheet in the fridge.

Don’t let the lamburgers get too cold in the fridge…just enough to firm the meat up a bit. If it gets too cold, give it a few minutes at room temp to warm up again.  Grill the burgers until cooked to medium.

If you’re cooking indoors, heat some lard or avocado oil in an oven-proof pan, preferably cast iron. Sear the burgers well on both sides, then place the pan in a 350-degree oven to finish cooking.

Place the burgers on slider buns with lettuce and tomato, and smear the bun with the feta cheese dressing.


My recipe for feta cheese dressing works really well with lamburgers. But it’s also great on a salad.

3/4 cup plain Greek yogurt
1  cup mayo
1 teaspoon Worcestershire sauce
1/2 teaspoon cayenne pepper sauce, like Franks Red Hot
1 teaspoon Dijon mustard
1/2 teaspoon granulated garlic
1/2 teaspoon salt
1/2 teaspoon ground black pepper
4–5 oz. crumbled feta cheese

Combine all the ingredients in a bowl. Mix well. Cover and refrigerate. If you can wait a day, it’s even better.

FullSizeRender (14)


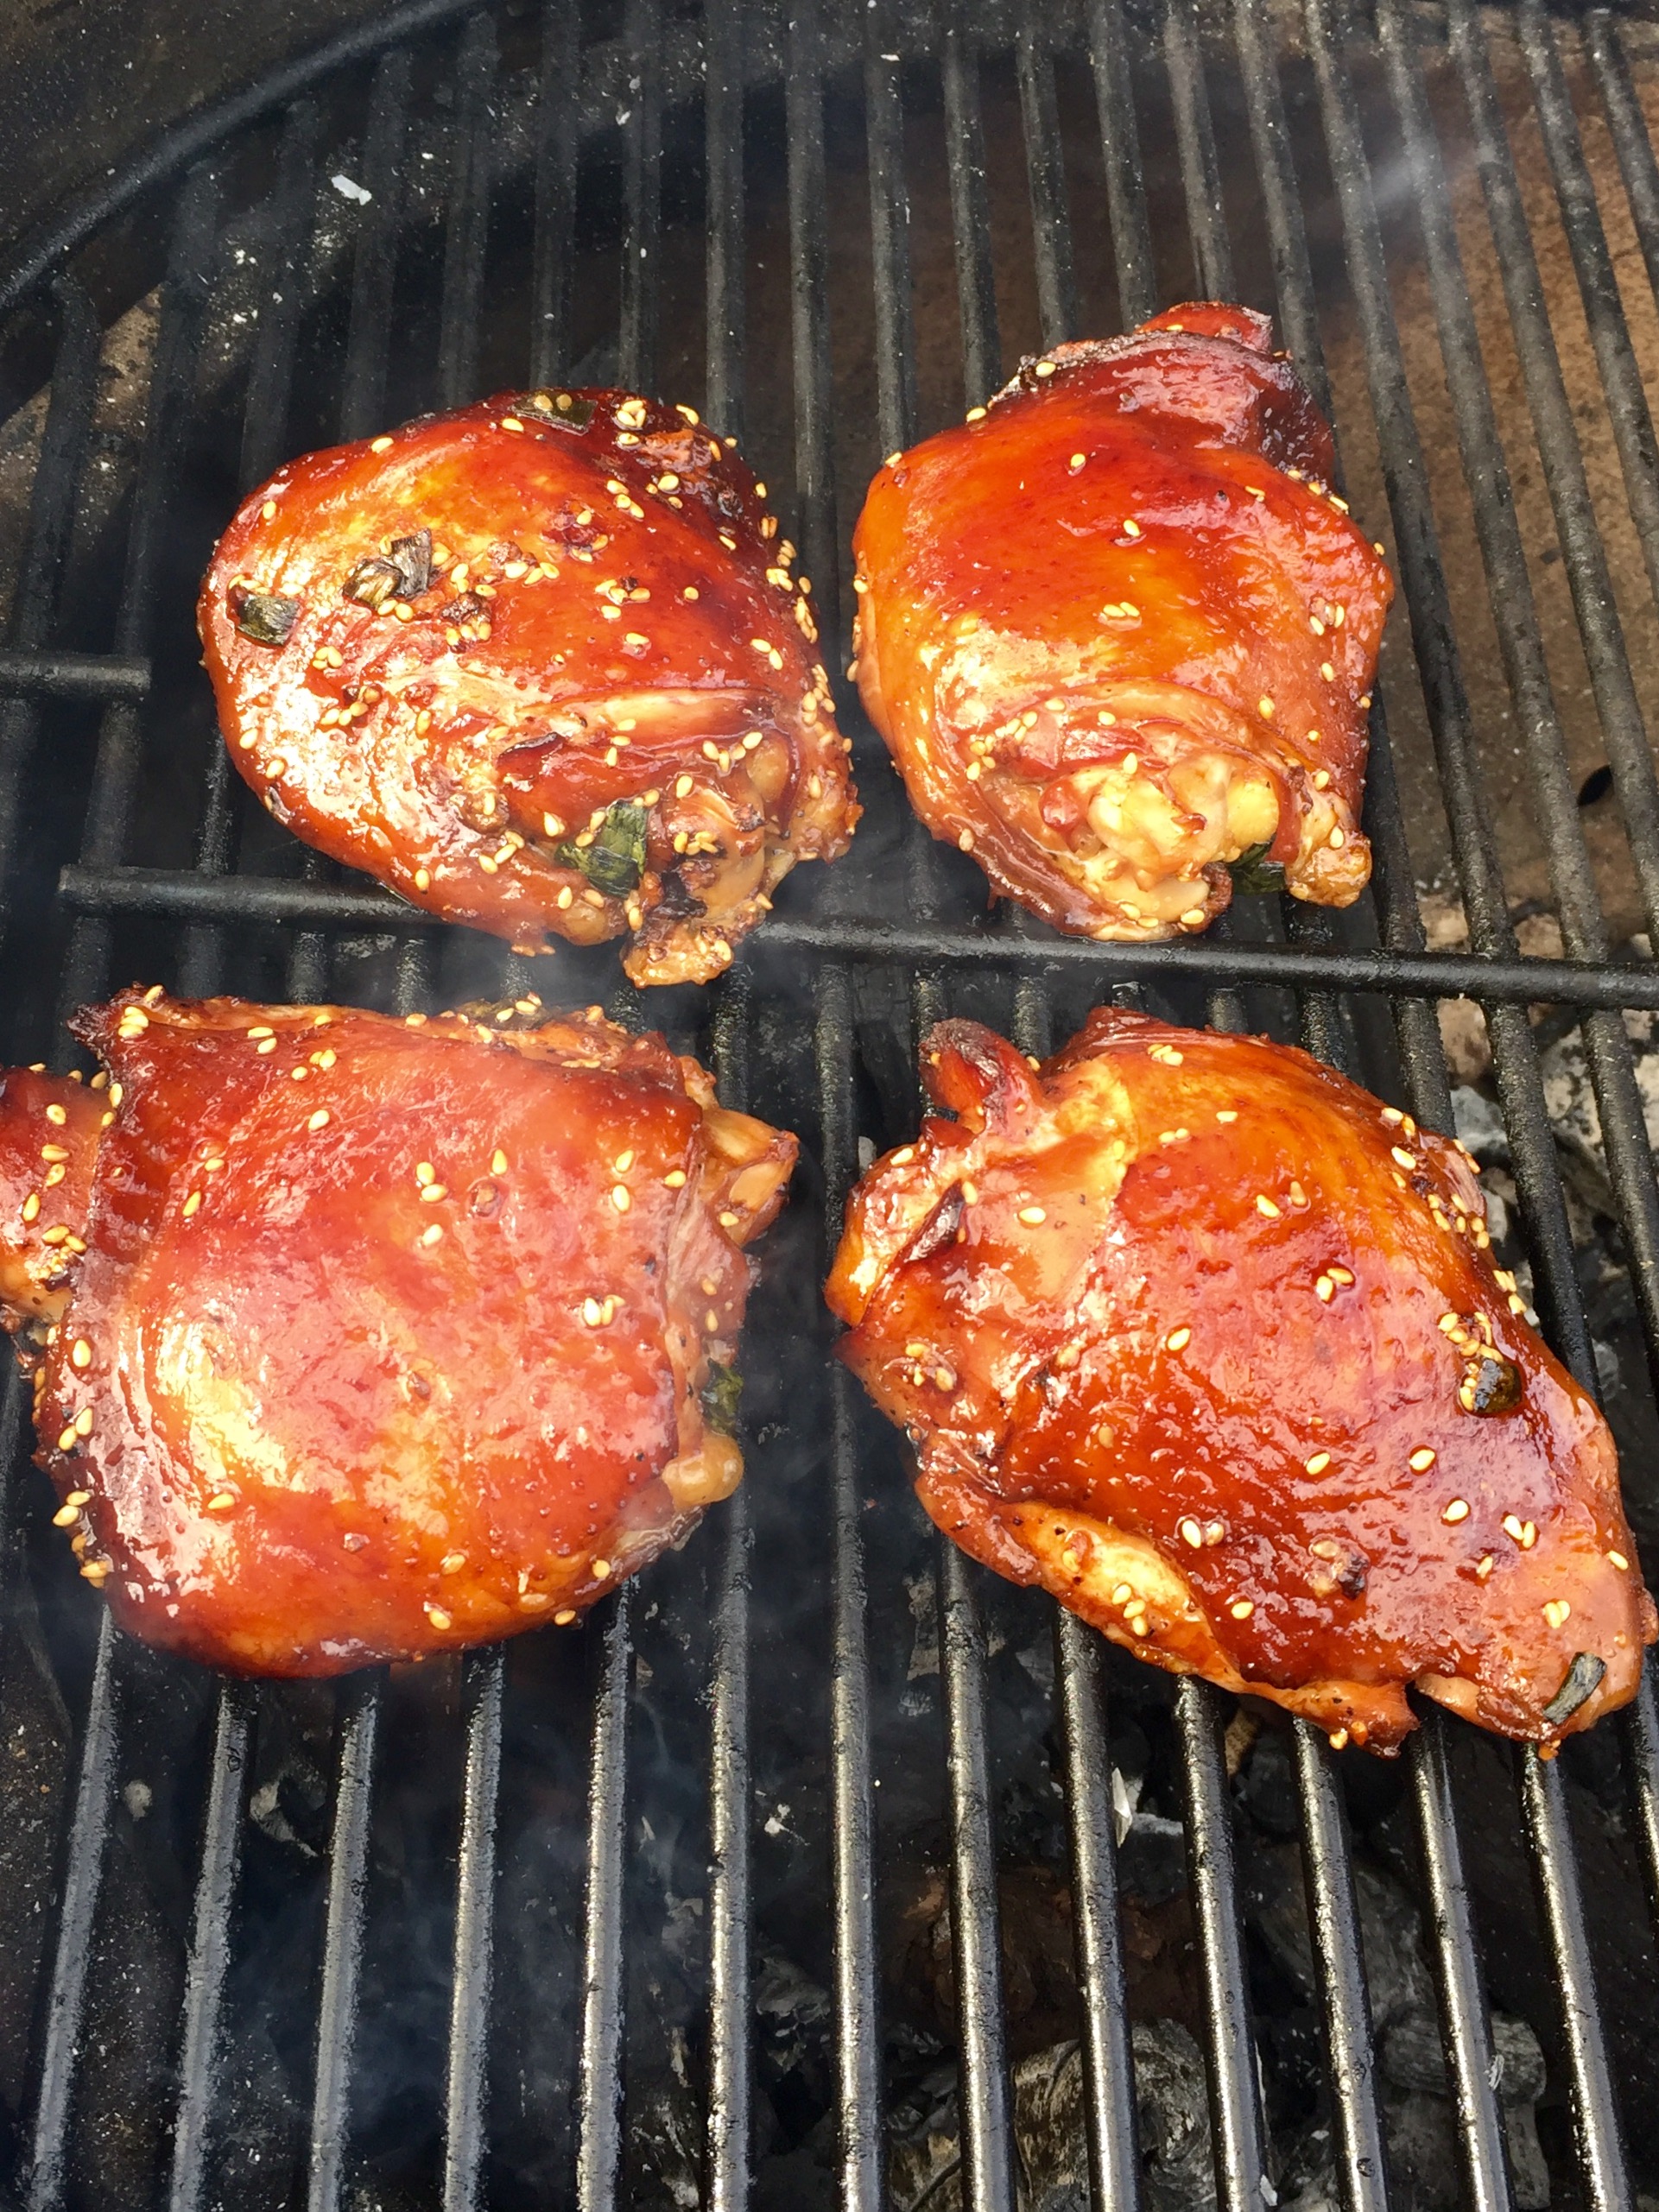
Bulgogi is the name given to the most common form of Korean barbecue. Unlike the daeji bulgogi that I cooked in a previous blog, this one is not based on a chili sauce that can take the roof of your mouth right off.

I used chicken, though this would work with pork as well, and for the best flavor, it’s best to marinate the meat in the fridge overnight.

FullSizeRender (12)

2/3 cup soy sauce
1/2 cup chopped scallions
6 tablespoons sugar (I use organic cane sugar)
5 tablespoons fresh garlic, grated or through a garlic press
5 tablespoons sesame oil
1 tablespoon sesame seeds
1 teaspoon black pepper
5 lbs. chicken pieces (skin-on thighs work best)


Combine all the ingredients except for the chicken in a bowl and mix well.

Place the chicken pieces in a large Ziploc bag and pour the marinade in. Seal the bag well and squish it around to make sure the marinade makes contact with the chicken. Place the bag in a bowl (to prevent accidental leakage) and keep it in the fridge overnight. Squish the bag around every few hours to make sure the marinade does its job.

When ready to cook the next day, pre-heat the oven to 350 and remove the bag from the fridge and let it come to room temperature. Place the chicken on a sheet pan (discard the remaining marinade) and bake for an hour.

Light a hot grill and push the coals to one side of the grill. Place the chicken pieces on the cool side of the grill and close the lid, opening the vents. Every few minutes, turn the chicken pieces over so they get nice grill marks but
don’t burn.


FullSizeRender (11)

I’ve always been fascinated by Korean barbecue. Every time I see it on TV or catch a recipe on an e-mail blast, my mouth waters and I say to myself that I’ve got to experience it some day. But the painful reality is: Korean barbecue can be really spicy…and I’m a total wuss.

Korean barbecue 101: Gogigui means “meat roast” in Korean, and it refers to the method of roasting beef, pork, chicken, and other meats. Meats can be marinated or not. Bulgogi is the name of the most common Korean barbecue. Meat is marinated with soy sauce, sugar, sesame oil, garlic and pepper, and then grilled. Galbi uses beef short ribs, and adds onions to the marinade. And the hot stuff is daeji bulgogi, because the marinade isn’t soy sauce-based, but based on the hot-n-spicy Korean chili paste known as gochujang.

All of the marinades looked delicious, but the hot one with gochujang would be my biggest challenge, so I decided to start there. I found a great recipe, and quickly realized that I would have to turn the heat way down if I was actually going to try to eat it! For example, the original recipe called for 2 tablespoons of white pepper. I totally left it out. And it called for a full cup of gochujang. Not only did I cut that part in half, I doubled many of the other non-spicy ingredients.

So is it authentic Korean barbecue? Probably not. But it’s my version of it. It’s got lots of flavor and still carries a bit of heat.

For gluten-free diets: finding GF hoisin and soy sauce is easy. Look for the La Choy brand. But I haven’t been able to find gochujang that has a GF label.


image


3/4 cup ketchup
1/2 cup gochujang
1/2 cup hoisin sauce (I use gluten-free hoisin)
1/2 cup honey
1/2 cup soy sauce
1/4 cup brown sugar
2 tablespoons freshly grated ginger
1 tablespoon freshly grated garlic (I use a garlic press)
1 tablespoon unseasoned rice vinegar
4 lbs. chicken pieces


Pre-heat the oven to 500 or its top temperature.

In a bowl, mix everything but the chicken pieces. Brush the sauce onto the chicken pieces, then wrap them in aluminum foil. (I like to tear a long piece of aluminum foil and lay it on top of a sheet pan. I place the chicken pieces on the foil, brush them with sauce on all sides, then fold the foil over the chicken, making one large pouch that holds all the meat.) Leave the pouch on the sheet pan and place it in the oven. Lower the oven temp to 350.

Cook the chicken for about an hour, making sure it’s almost completely cooked. Juices should run clear, not bloody, when you poke it with a fork.

Start a hardwood fire on your grill. Push the coals to one side of the grill so you have a hot side and a cooler side with no coals underneath it. Place the chicken pieces on the cool side of the grill (if you put it on the hot side, it will stick and burn), brush with more sauce, and put the lid on the grill, making sure you have the vents open for air circulation.

image

See those 2 black bits in the foreground? That’s where the chicken stuck to the grill because I placed them over the hot coals. Don’t do that.

After a few minutes, lift the lid, flip the chicken pieces over, brush them with sauce again, and close the lid. Keep doing this until the chicken is nice and caramelized, with tasty grill marks.

If you want to serve some of the sauce on the side, it’s important to pour some of the sauce off and set it aside in the very beginning, so you’re not using the same sauce that the basting brush touched the raw chicken with.


My coffee steak rub is awesome. I wanted to take it to the next level. So, when my buddies and I gathered recently for a “boys’ weekend” at Saule, our rental home in Little Compton, RI (http://www.sauleri.com. You can find it listed at Homeaway.com), it was time to put it to the test with a low-and-slow smoked beef brisket!

Depending on the size of the brisket, you might need to double the recipe.


Low and slow is the way to go! Deliciously smokey and juicy.


3 tablespoons brown sugar
1 tablespoon Kosher salt
1 tablespoon ground coffee (use your favorite)
1 teaspoon granulated garlic
1 teaspoon granulated onion
1 teaspoon unsweetened cocoa powder

If the brisket is frozen, I like to thaw it a couple of days ahead of cooking it, rubbing it down with the coffee rub, and placing it in the fridge for about 24 hours to rest. I bring it out about an hour before smoking, to let the meat come back to room temperature, and then I place it in the smoker for about 12 hours at 225 degrees, smoking it with hickory wood.

When it’s done, remove it from the smoker, and wrap in foil and let it rest at least 30 minutes before slicing diagonally against the grain of the meat.


Washington DC is an incredible city, and if you’re willing to walk–a lot–there’s a lot to see. In our 7 days, we visited 17 museums and 14 monuments. You could say we were on a mission: my wife, the artist, needing to visit every art museum in town, and my 11-year-old daughter, learning about history in school, needing to feed the brain with endless historical information.


The National Air and Space Museum


All of the museums associated with the Smithsonian are open every day of the year except Christmas, and admission to all of them is free. Once you realize how amazing that is, you don’t complain about the $15 fried chicken plate at the cafeteria. They have to make their money somehow!


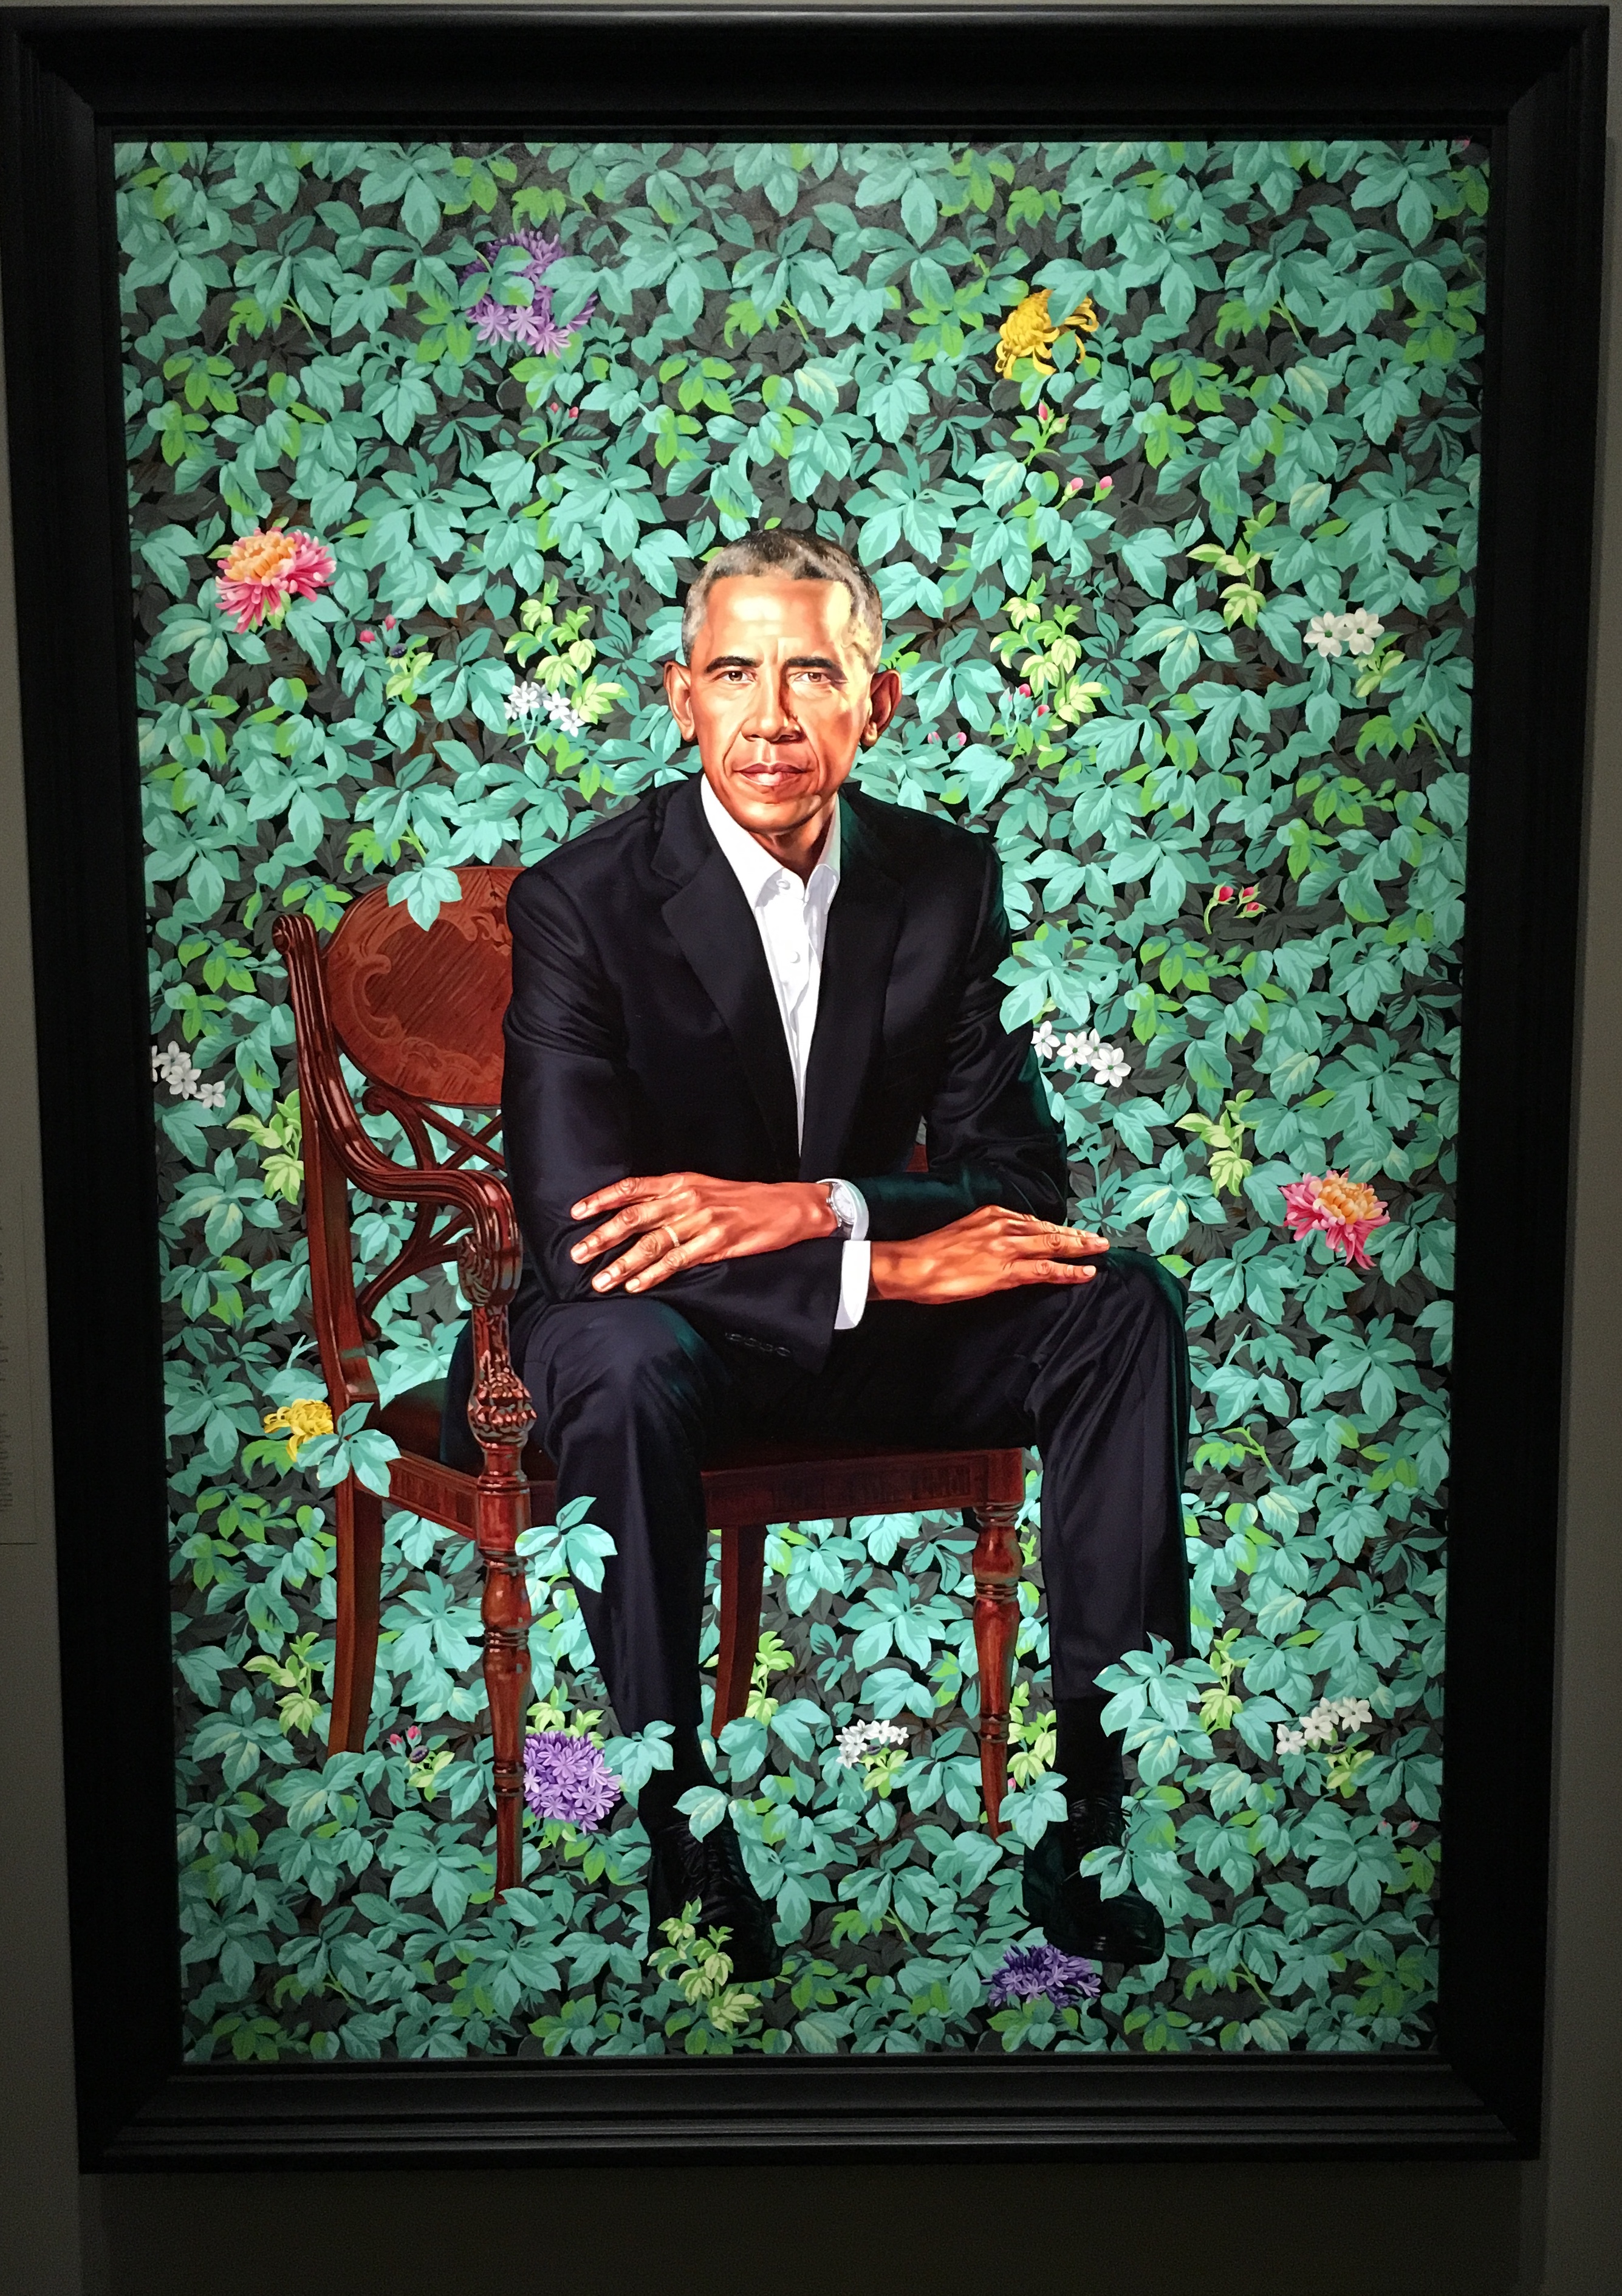
The National Portrait Gallery holds the official portraits of all the Presidents of the United States, as well as some portraits of First Ladies. Most notably, they recently installed the official portraits of Barack and Michelle Obama. Incredible to see them in person!


Loved this piece…


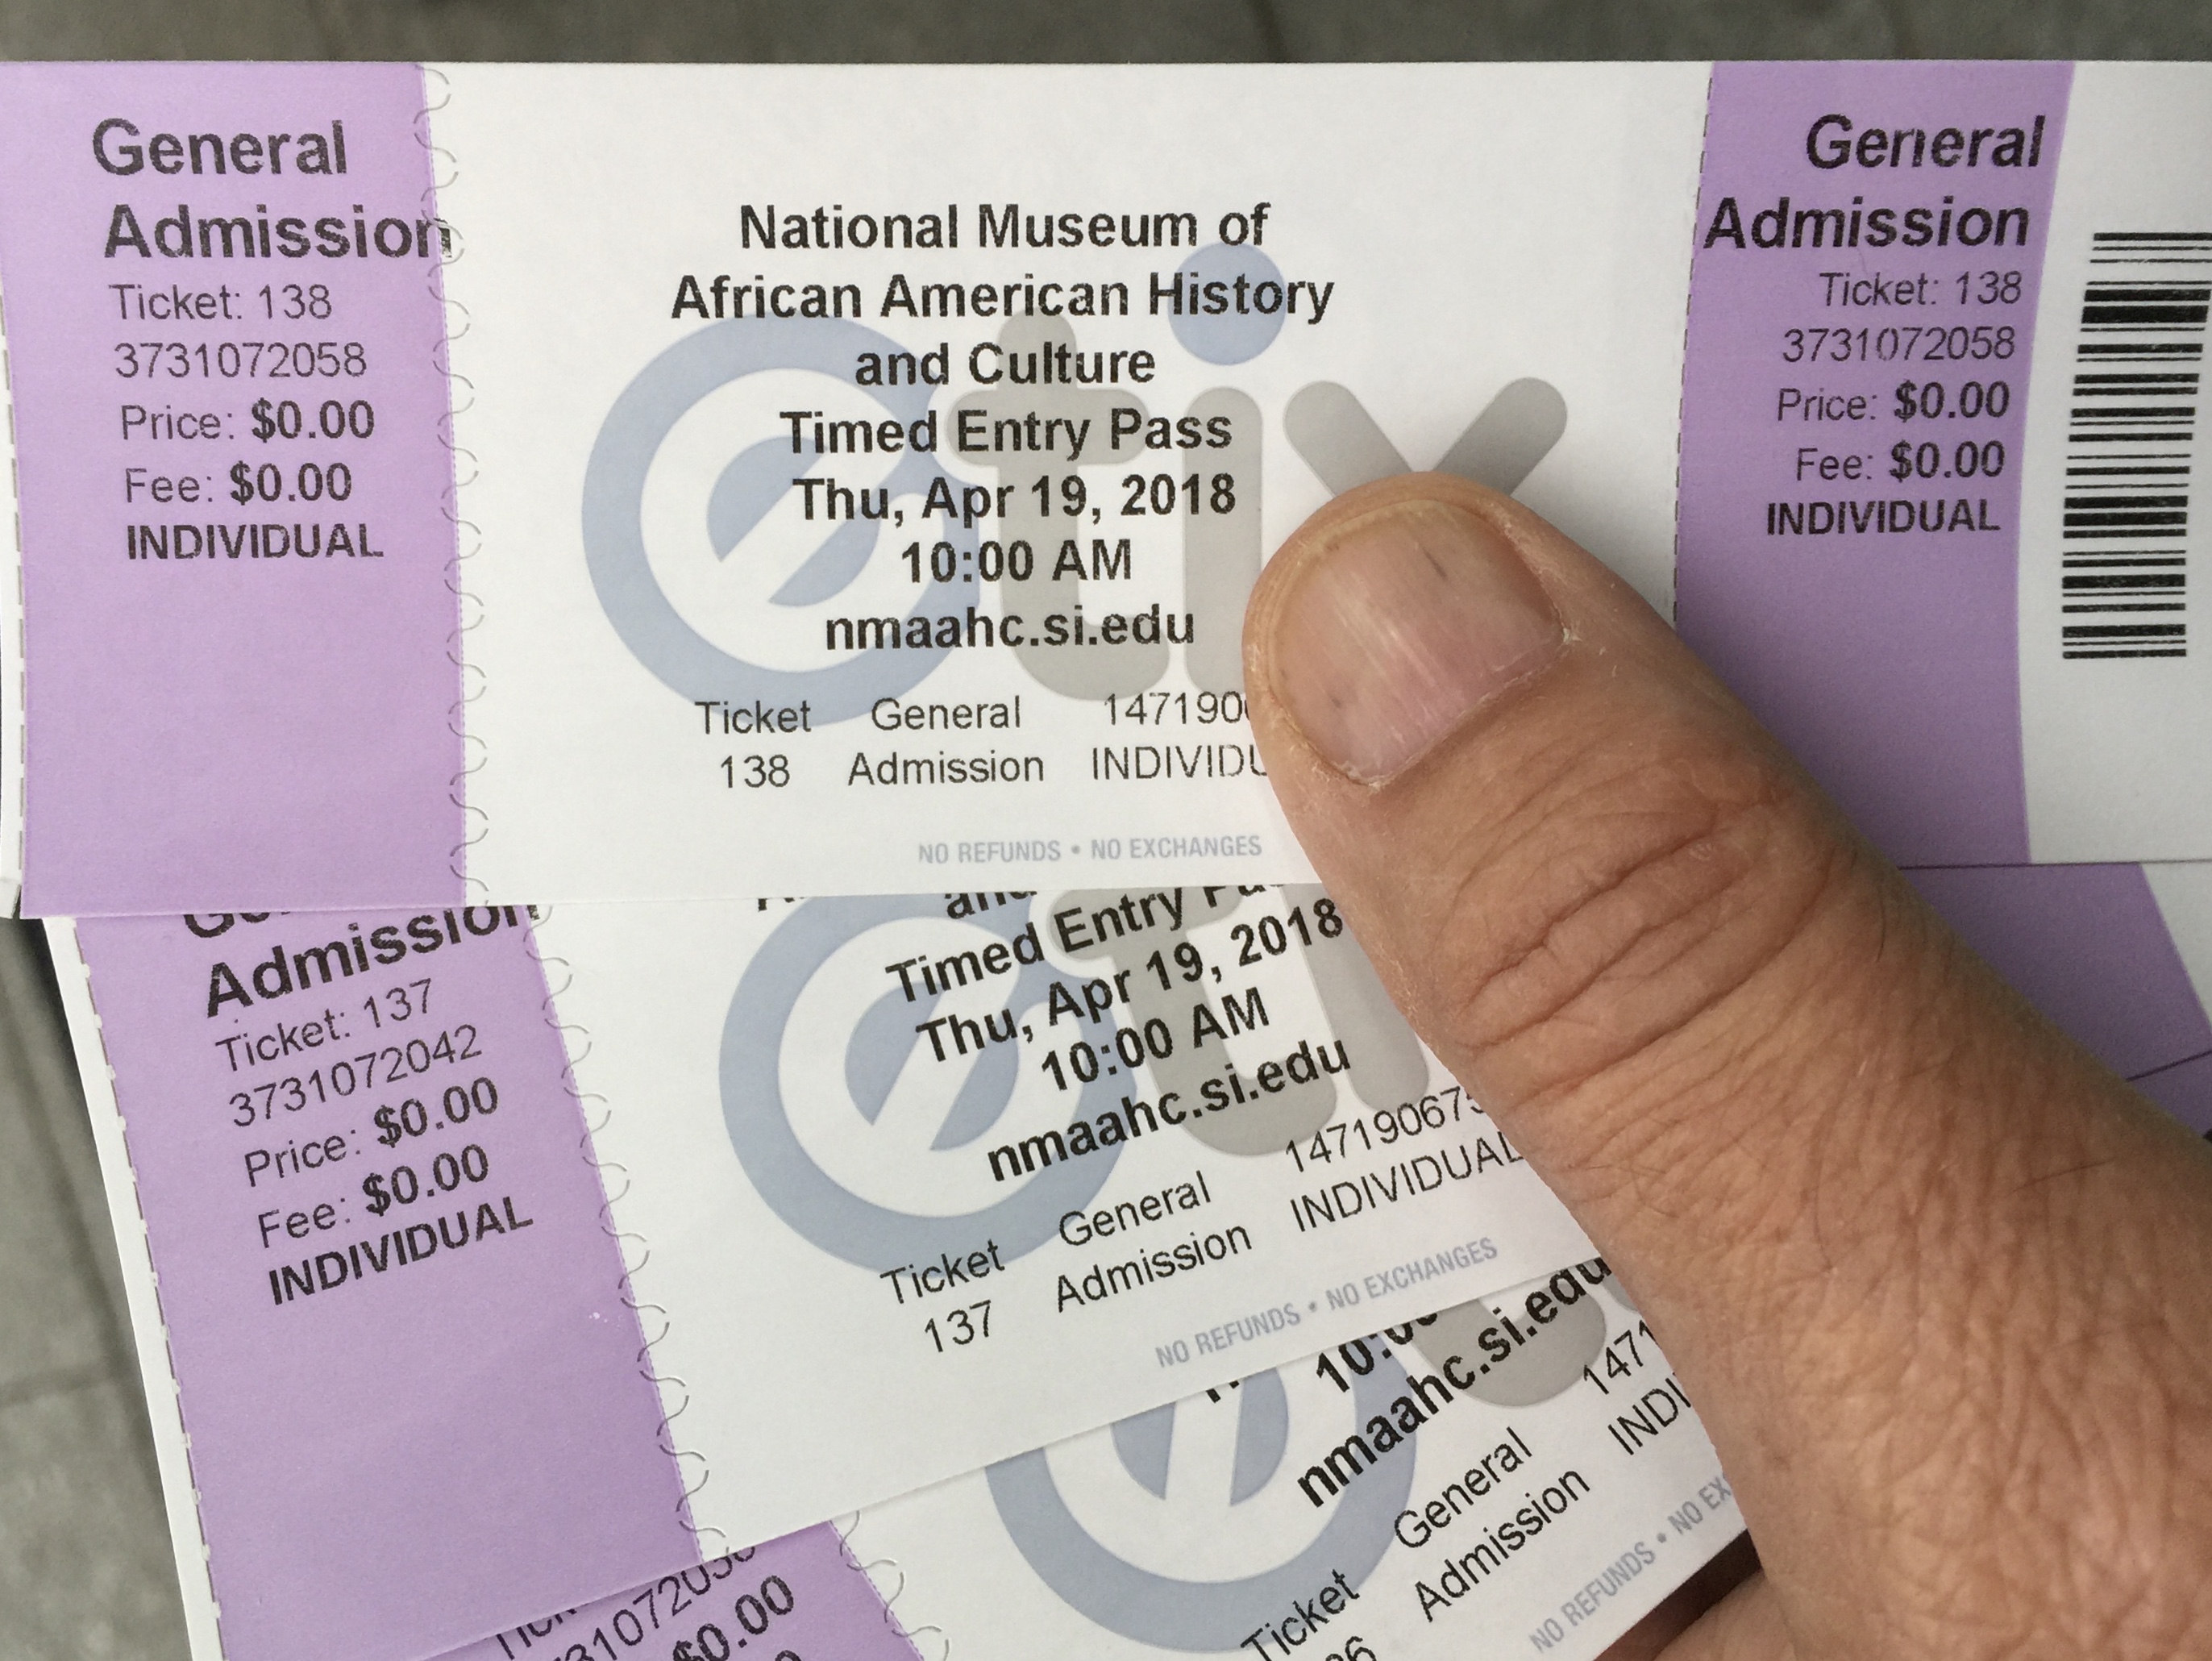
The toughest ticket to get, by far, is getting into the National Museum of African American History and Culture. The reason is that, unlike all the other Smithsonian museums, there really is an actual ticket you must have to get in. They limit the number of people who can visit every day, and you have to work a bit to be one of the lucky ones. It’s worth the effort. An architectural marvel with three stories underground and three above, the museum starts with the first days of slavery and brings you to current times. Along the way, it’s an incredible emotional ride.

Lucky tickets!

So if you want to get into the National Museum of African American History and Culture, here’s how to do it: First, they offer tickets online months ahead of time. Go to their website:(https://nmaahc.si.edu/visit/passes) to find out more. Or…the day you want to go, get on your computer at 6:30AM! Tickets are distributed in half-hour time slots for the day. And they sell out FAST. Or…your third chance to get a ticket is to walk up to the museum entrance on Madison Drive and get on a special line every weekday at 1PM, where they hand out a limited amount of tickets for that day and time. (They don’t offer these tickets on weekends.) We missed out on the first two possibilities, so we walked up and stood on line at 12:15PM and were handed tickets almost immediately for that day. We got lucky.


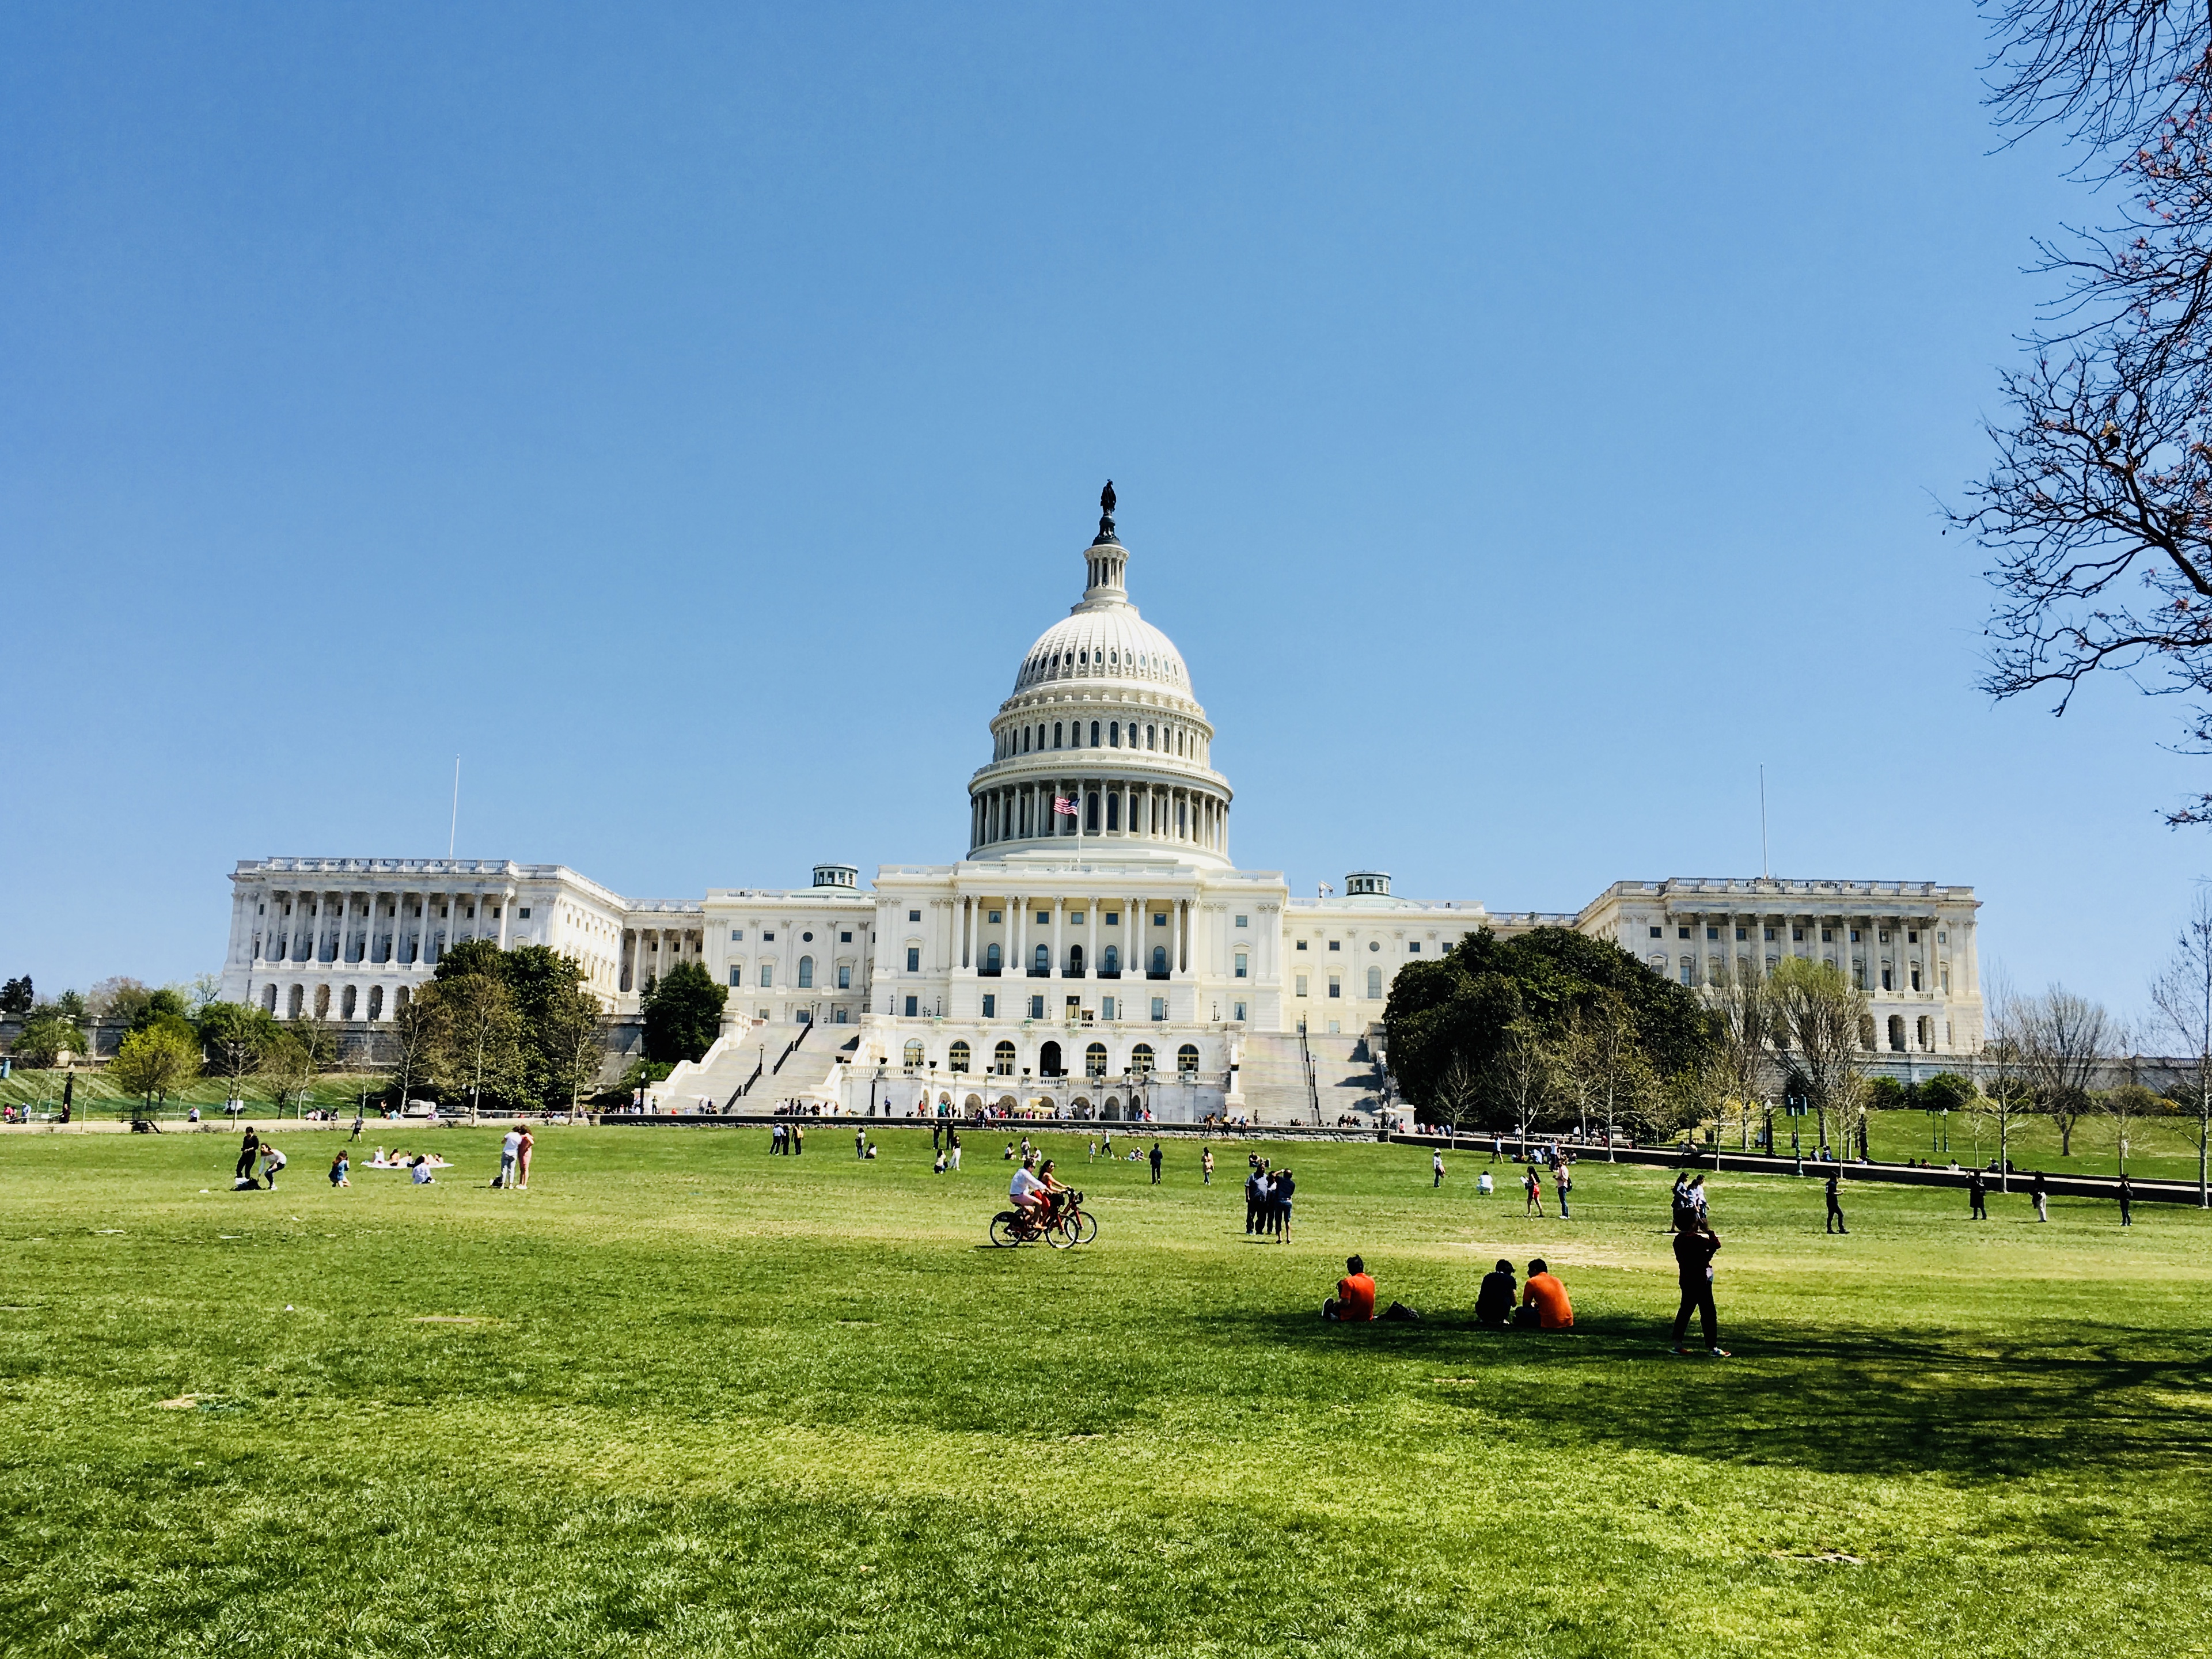
The Capitol, at one end of the National Mall.


As for monuments, there are plenty of them to see as you walk the National Mall, and my daughter wanted to see them all! The weather wasn’t cooperating much on our spring trip, raining sideways at times, but we powered through and saw just about all of them!

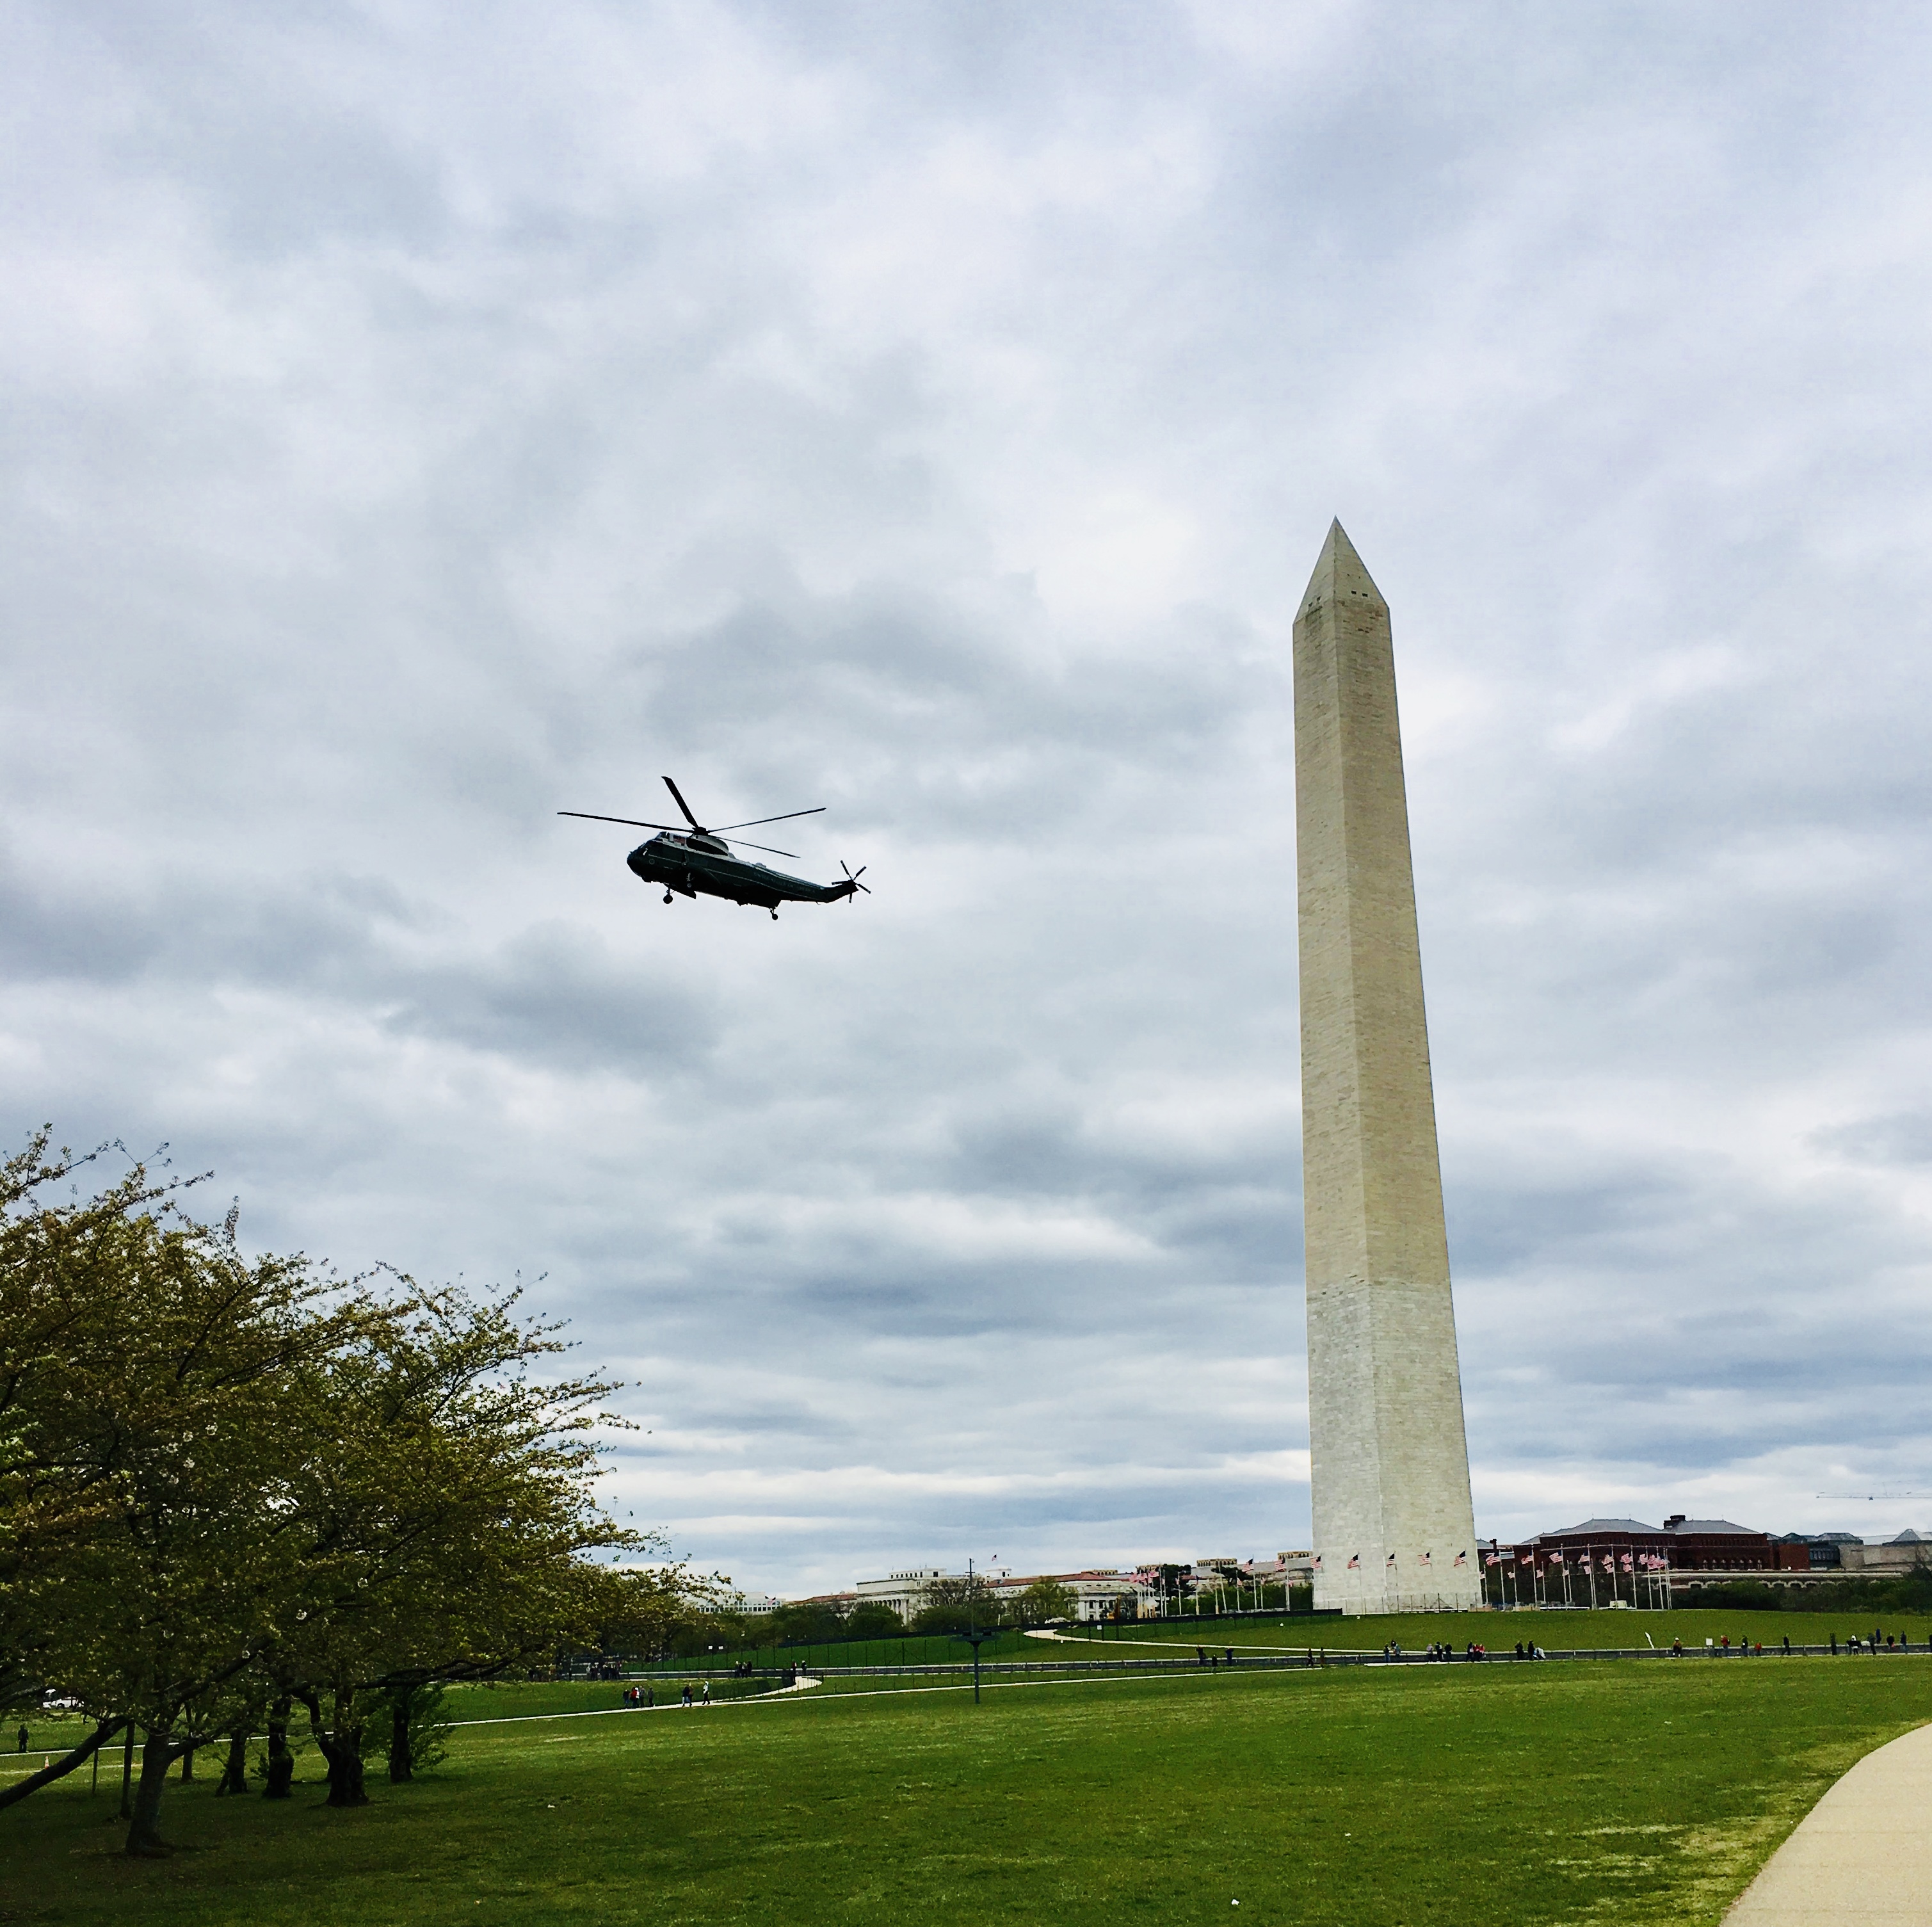
One of the Presidential helicopters flying past the Washington Monument.


The Lincoln Memorial.


The Vietnam Veterans Memorial.


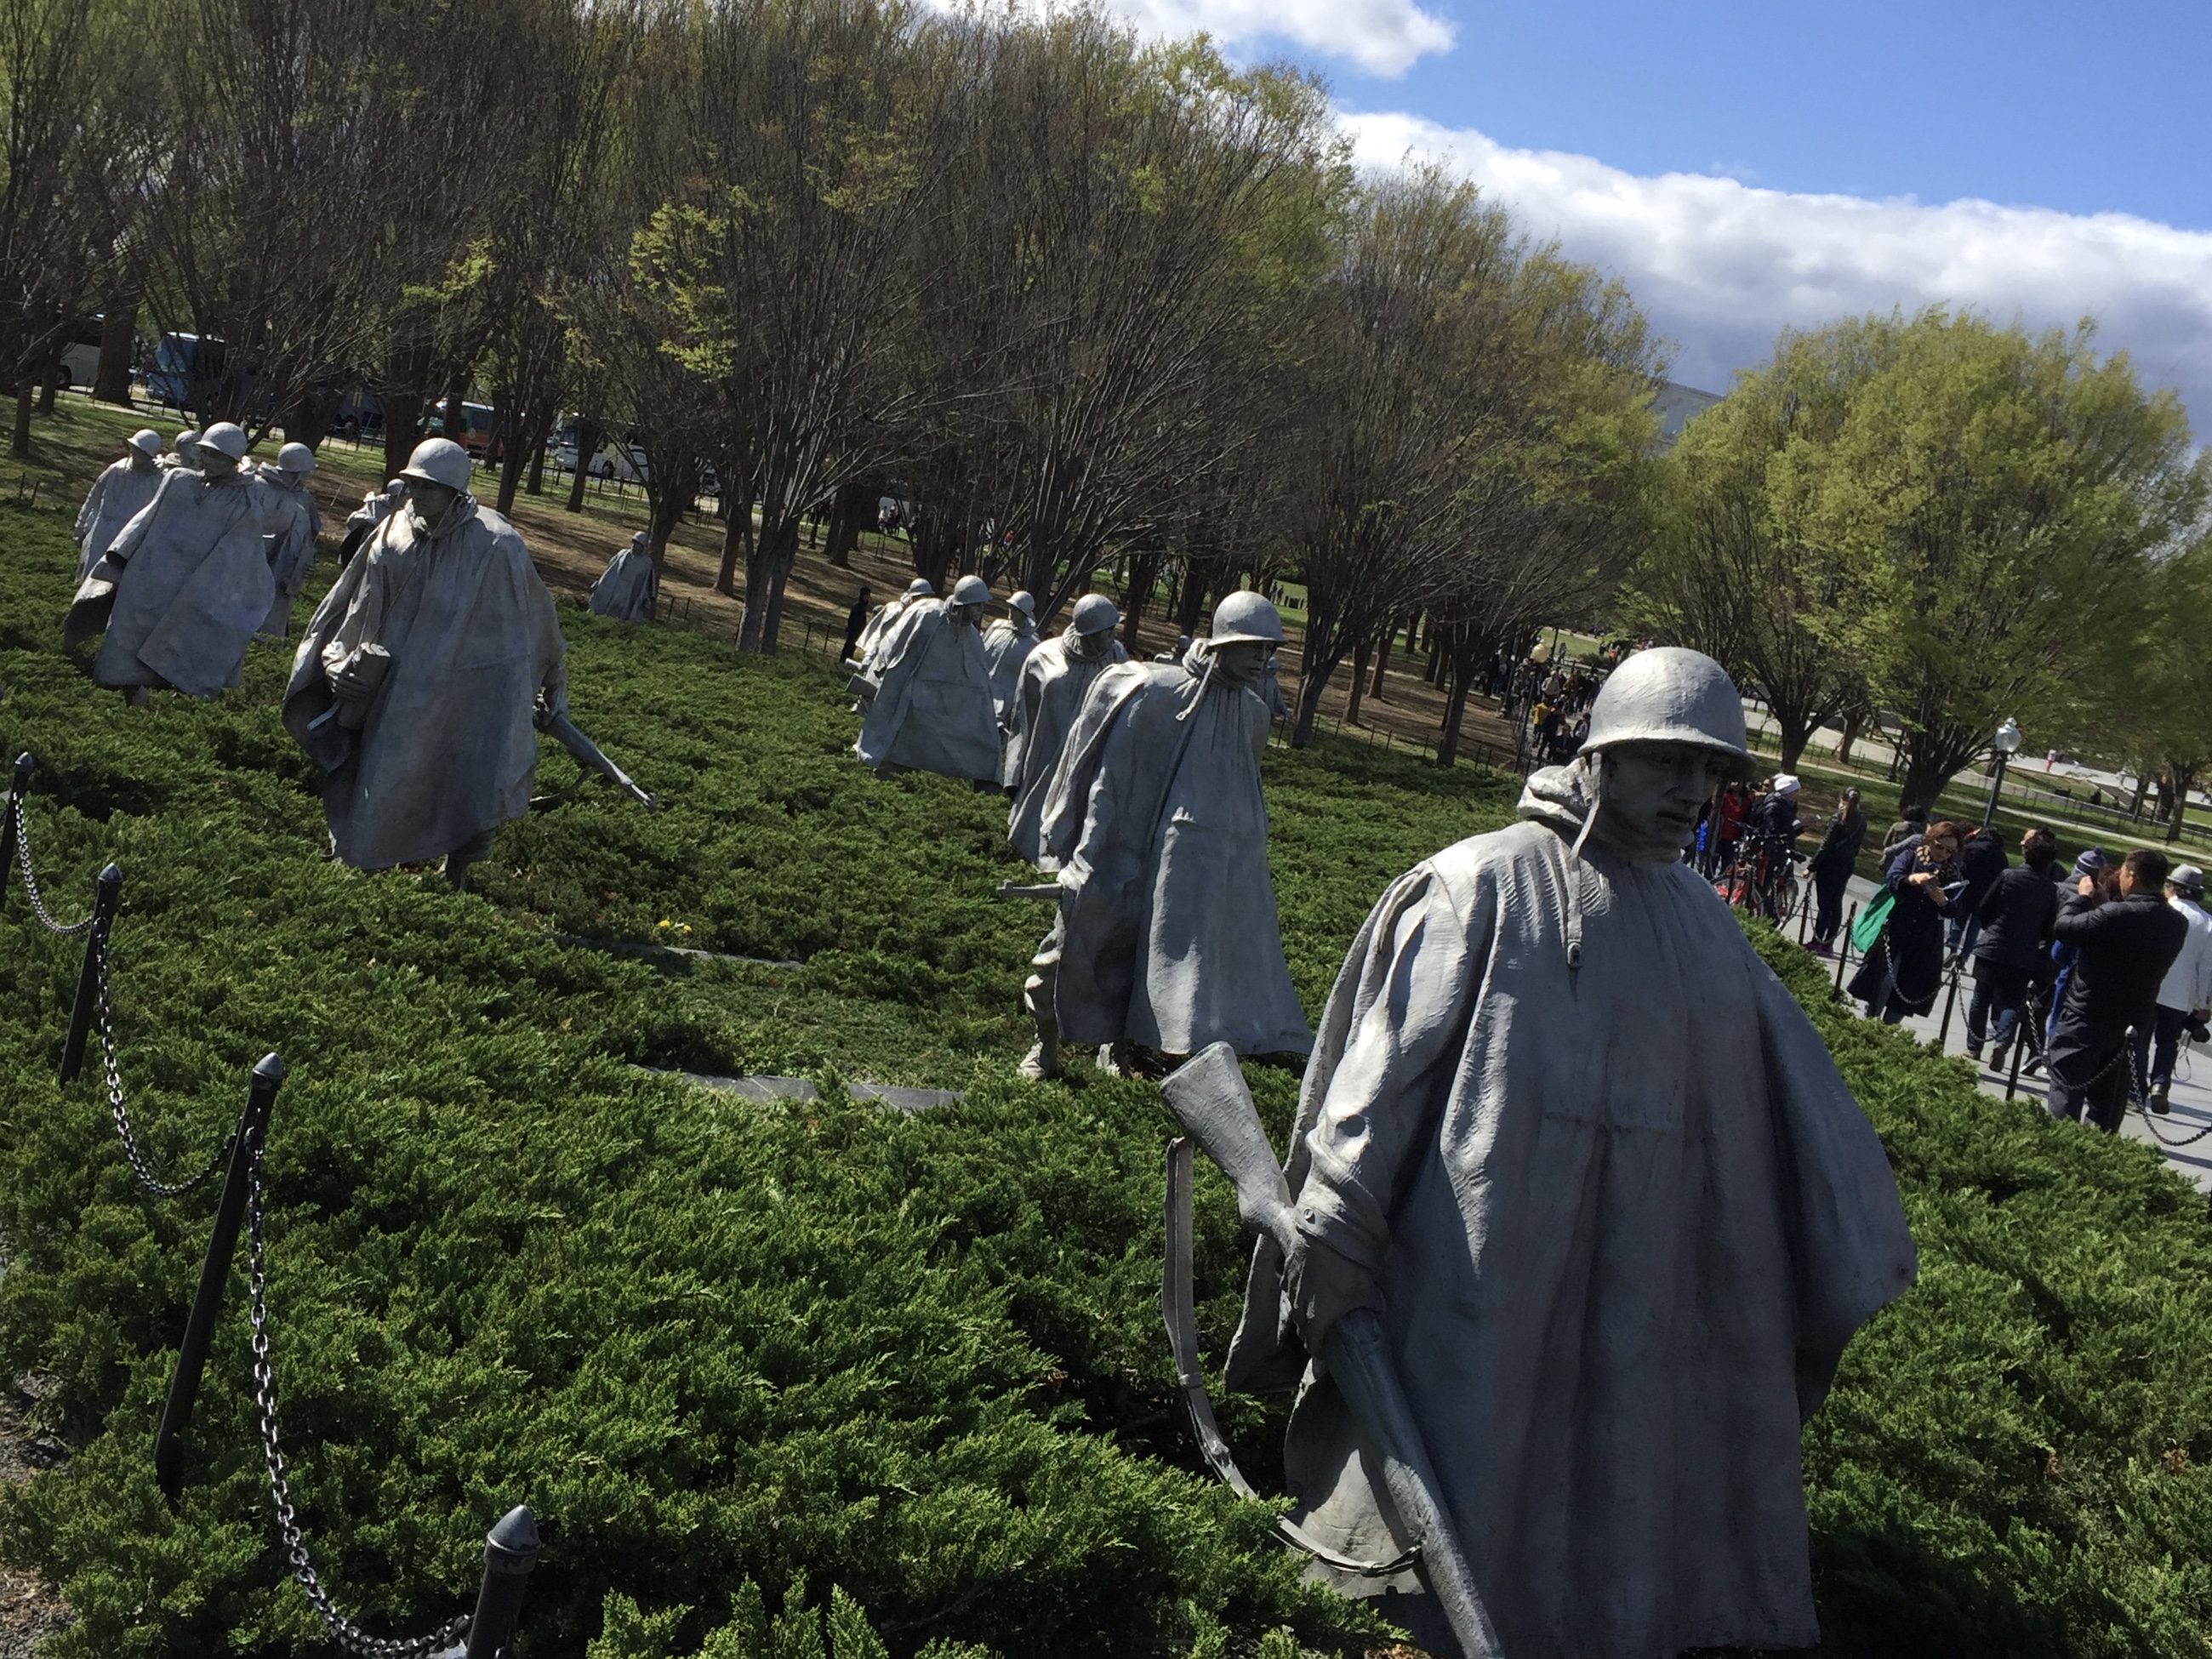
The Korean War Memorial…one for my Dad.


The Rev. Martin Luther King, Jr. Memorial. Awe-inspiring.


The words of FDR at his memorial.


If you’re interested in touring the White House, you can only get in with passes through your local Congressman’s office requesting passes way ahead of time. We were happy to simply see it from the outside. We just headed for Pennsylvania Avenue.


The National Zoo, a part of the Smithsonian, has free admission as well. Being a New York boy who grew up on the Bronx Zoo, I wasn’t hugely impressed by the National Zoo. But, I did see the pandas, and that made the trip worthwhile!

Tian Tian, the male, enjoying his bamboo snack.


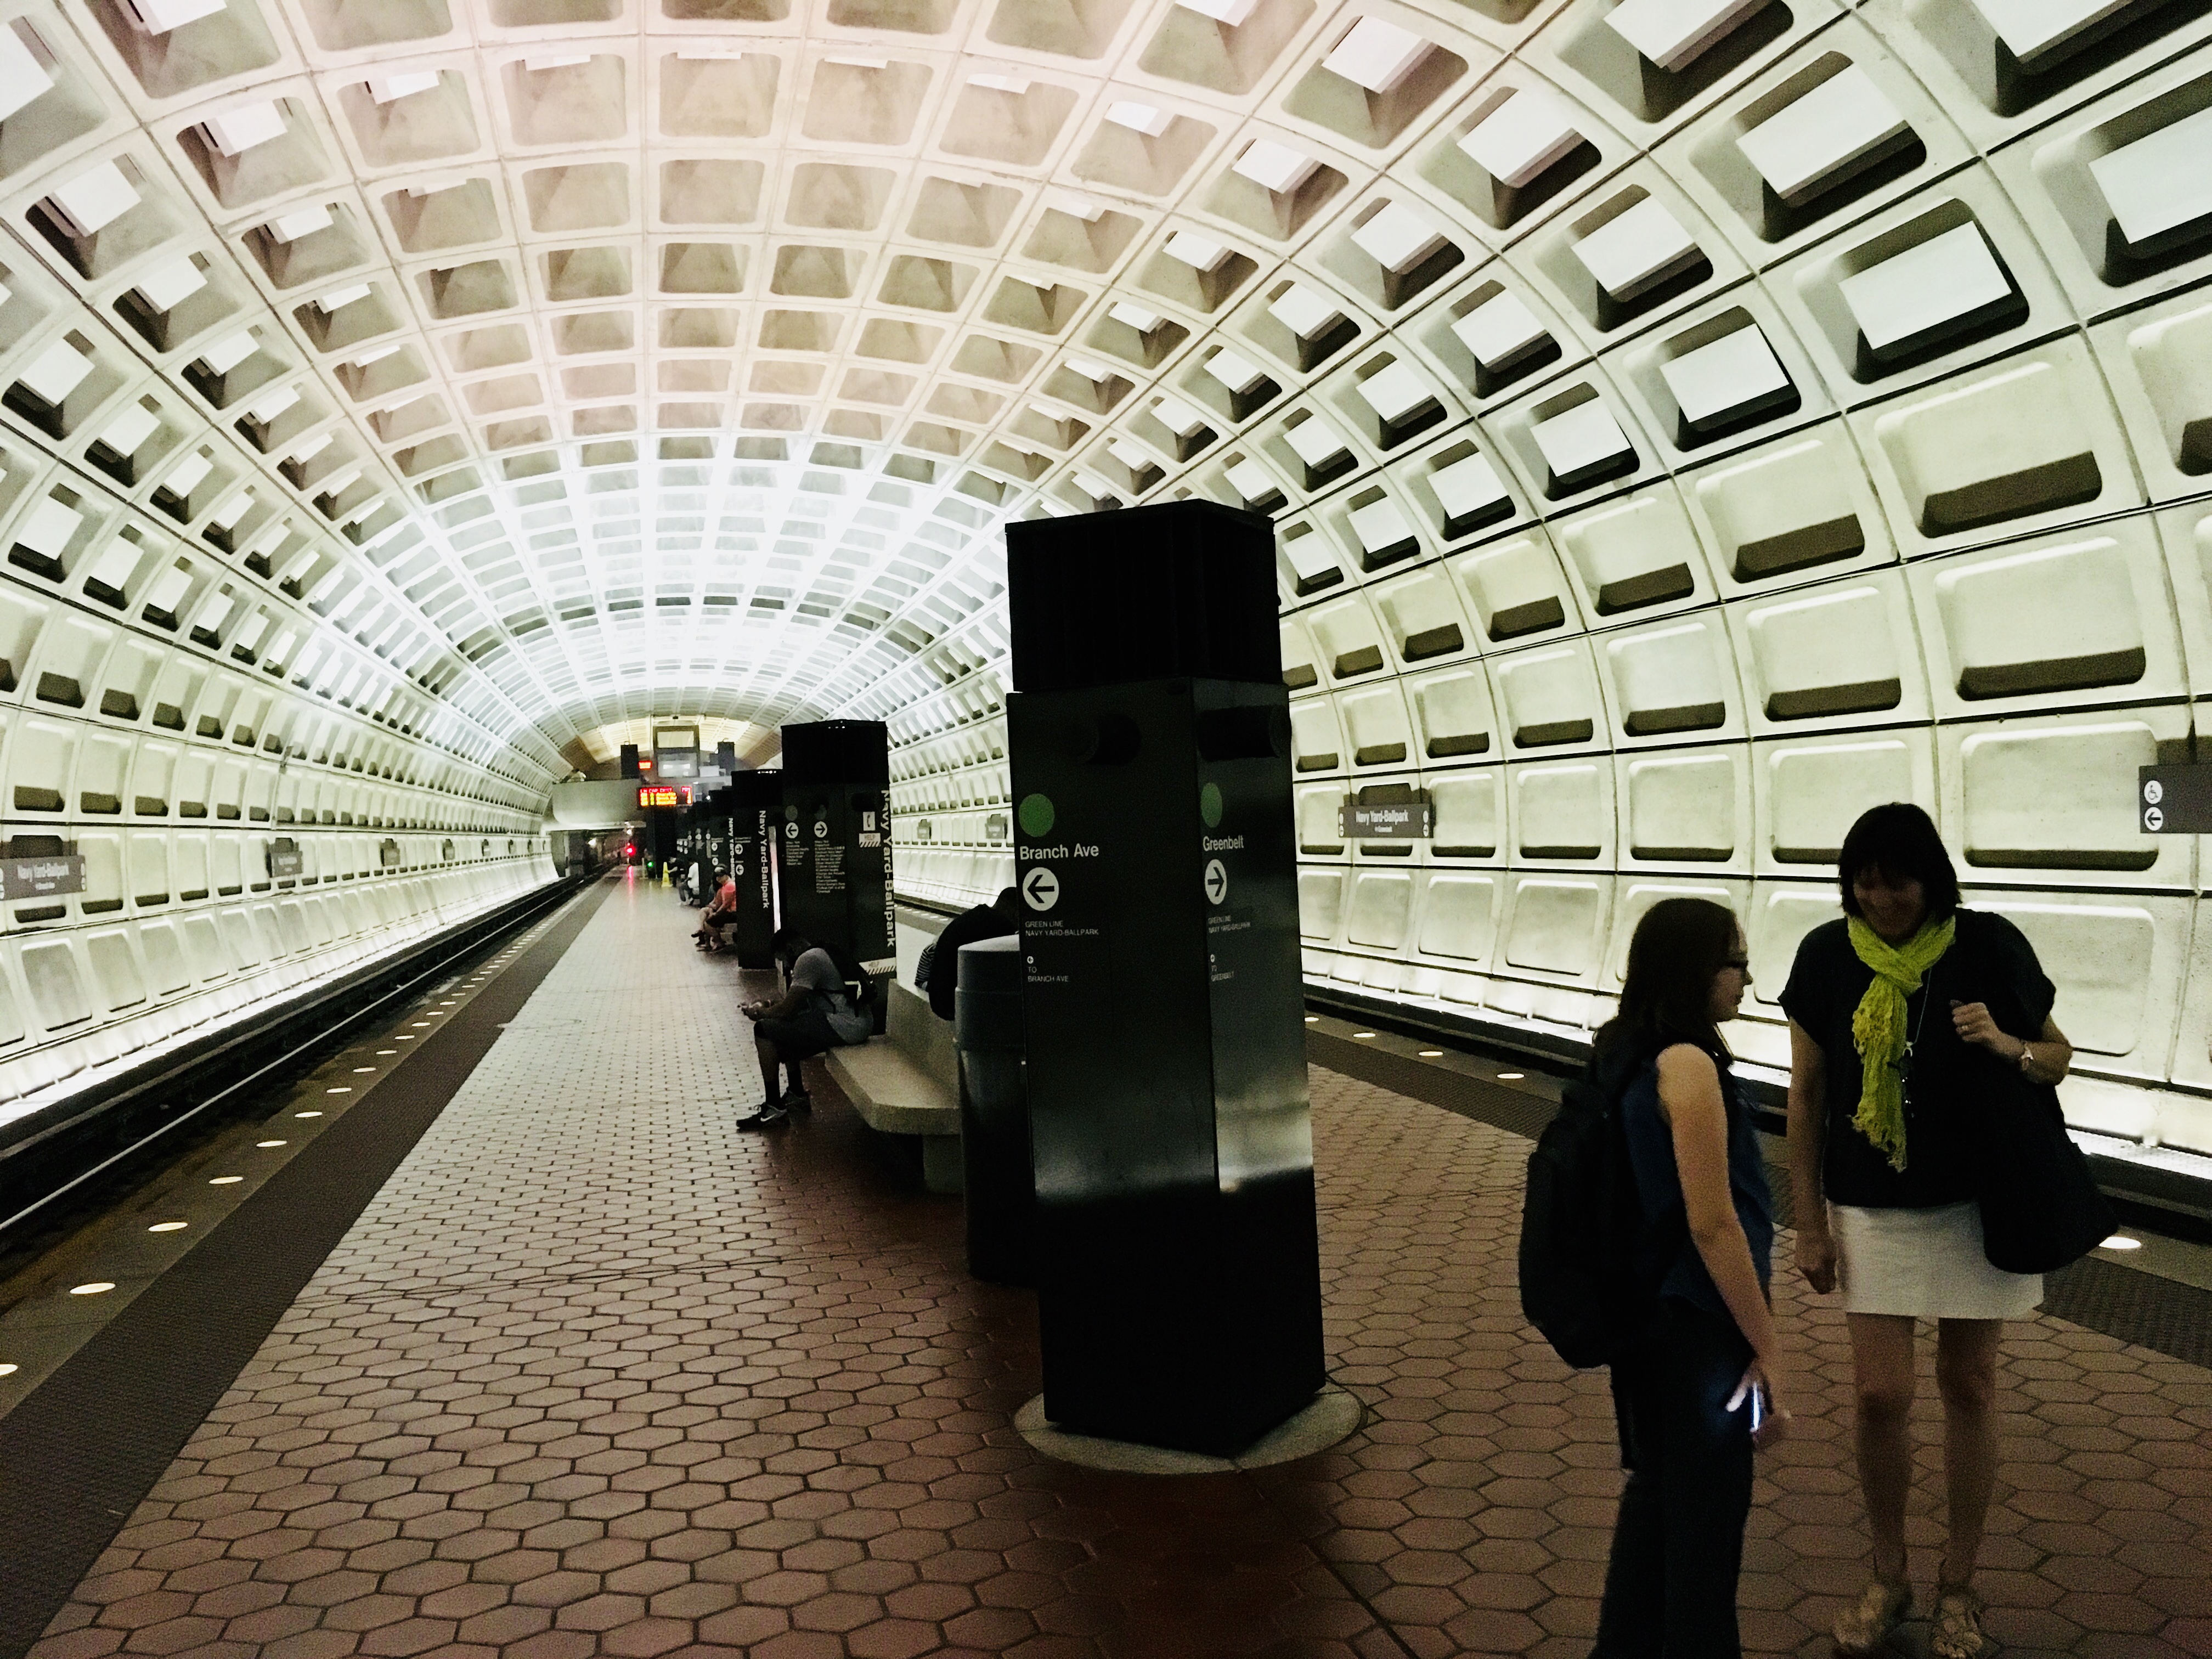
Finally, when visiting Washington DC, skip the rental car and be sure to use the Metro.  It’s a great, cheap way to get around town. It sops close to most of the museums, though you’ll need to walk a bit for the monuments and memorials.

The Metro: super easy to use, super cheap.