Archive for the ‘beef’ Category
HOME MADE BEEF JERKY: EASY AND DAMN TASTY
Posted: September 12, 2016 in beef, Carnivore!, Food, jerky, marinade, RecipesTags: beef, food, jerky, marinade, recipes
1 tablespoon salt
MARINATED BEEF TIPS WITH PEPPERS AND ONIONS
Posted: July 20, 2016 in beef, Carnivore!, Food, Italian, marinade, RecipesTags: beef, food, onions, peppers, recipes, sirloin
An easy way to marinate beef is to simply throw the meat in a bag and dump some Italian dressing into it. As simple as that sounds, it flavors the meat really nicely. But I’ve got a problem with anything that comes from a jar and was made in a factory, especially when it’s so easy to make my own marinade.
I recently bought some sirloin beef tips and after trimming the fat and silver skin (they always leave it on the meat), I cut it up into 1 inch cubes. I put the pieces in a Ziploc bag and then made the marinade…
For the marinade:
1/4 cup decent quality balsamic vinegar–not the expensive stuff
1/4 cup avocado oil
1 teaspoon dried oregano
1 teaspoon dried parsley
1 teaspoon granulated garlic
1 teaspoon granulated onion
1 teaspoon salt
1/2 teaspoon pepper
2 lbs. sirloin beef tips, trimmed and cut into 1″ cubes
avocado oil
3 onions, sliced into rings
2 sweet bell peppers, sliced into thin strips
splash of white wine
Combine the marinade ingredients and pour them into the bag or container with the meat. Mix it around so that every bit of the meat gets coated with the marinade. Seal the container and place in the fridge overnight.
Next day, remove it from the fridge and let it come to room temperature before cooking.
Heat a large cast-iron skillet until hot. You may not need to add oil, since the meat has marinated in it. Using tongs to shake off any marinade, place the beef tips in the skillet, and brown on all sides, constantly flipping them. Cook the meat until it is done: medium to medium rare. (Of course, a hardwood fire is great for cooking these, too.)
Remove the meat from the pan and place in a bowl to the side. In the hot pan, toss in the sliced onions and peppers. Cook until the onions and peppers are caramelized, and splash a little white wine to de-glaze the pan if you like. (The alcohol cooks off.) If there’s any left over marinade in the bag or container, you can pour it into the pan at this time.
Return the beef to the pan being sure to include all the juices that may have settled into the bottom of the bowl. Mix through until thoroughly heated and serve immediately.
SLOPPY JOSÉ
Posted: May 21, 2016 in beef, burgers, Carnivore!, cheese, Food, Recipes, tacoTags: beef, burgers, food, recipes, sandwich, sloppy joe, tacos
Instead of opening a nasty can of Manwich or other similar product, the classic Sloppy Joe sandwich is easy enough to make from scratch.
My version takes on a Mexican twist (hence the name Sloppy José), using seasoned taco meat and a great barbecue sauce. Putting them together with a sprinkling of Mexican cheese on a bun with lettuce and tomato makes for one sloppy but delicious sandwich!
For the barbecue sauce…
2 cups ketchup
3/4 cup water
6 tablespoons white vinegar
6 tablespoons apple cider vinegar
6 tablespoons brown sugar
3 tablespoons Worcestershire sauce
1 tablespoon chili powder
2 teaspoons salt
2 teaspoons black pepper
1 1/2 teaspoons cumin
Mix all the ingredients in a saucepan and simmer until the flavors have blended, about 20 minutes. Remove from heat and cool to room temp. If you store it in an airtight container in the fridge, it’ll stay good for a few months.
For the seasoned taco meat…
1 teaspoon granulated garlic
1 teaspoon onion powder
1/4 teaspoon crushed pepper flakes
1 teaspoon dried Mexican oregano
1 teaspoon paprika
2 teaspoons ground cumin
1 teaspoon sea salt
1 teaspoon black pepper
1 Spanish onion, finely chopped
olive oil
2 lbs. grass-fed ground beef
Combine all the spice ingredients in a bowl.
Saute the onions in a bit of olive oil until translucent. Add the beef and saute until cooked, mixing in the spice mixture a little at a time until you’ve used it all.
For the sandwich…
Take some of the taco meat and place it in a small non-stick pan and heat on medium. Squirt in as much of the barbecue sauce as you like, mixing thoroughly. Sprinkle some grated Mexican cheese on top. (I like Cotija, which is like a Mexican feta, but a bag of mixed cheeses works great, too.) Mix thoroughly, letting it all melt together into one warm, gooey mess. Throw it on a bun. Add lettuce, tomato, avocado slices, whatever you like!
STUFFED, ROASTED BEEF FLAP
Posted: April 20, 2016 in bacon, beef, Carnivore!, Food, grilling, Rhode IslandTags: beef, beef flap, food, grass-fed, recipes, steak
Although the name may not sound entirely appetizing, the beef flap or flap steak is a thin cut of meat that comes from the bottom sirloin butt cut, and it’s delicious when properly cooked. It’s not a skirt steak or a hanger steak, though they are similar.
I bought a beef flap from my friends at Simmons Organic Farm in Middletown, RI , and didn’t really know what I’d do with the cut until I started searching through my fridge for available ingredients. There were 2 beef flaps in the package I bought, one larger, one smaller, so I put the smaller one in a Ziploc bag with an olive oil/balsamic/garlic/onion/salt/pepper marinade, and left it to chill overnight in the fridge (what I did with it is in the next blog) while I worked on the larger, 2-lb. flap.
Though long and flat, if you have a sharp knife and you work carefully, you can slice the beef lengthwise and, stopping just before you cut it into 2 separate pieces, create a nicely butterflied piece of meat. Smear some tasty ingredients on the meat, then roll it up tightly and cook it.
2-lb. beef flap (I like grass-fed)
1/2 sweet onion, chopped (I like Vidalias)
1 clove garlic, minced
3 strips bacon, finely chopped
4 oz. container of organic spinach and kale (or whatever greens you like)
salt and pepper
8 oz. halloum-style cheese, sliced thin (provolone works, too)
Take a little of the bacon fat rendered when cooking the bacon strips, and heat it in a saute pan. Add the onions and sauté until translucent. Add the garlic, and sauté for a minute. Add the chopped bacon and stir. Add the spinach and kale, and let it wilt and cook down entirely until it’s soft. Season with salt and pepper. Remove the pan from the heat and let it cool.
Butterfly the beef flap, as described above. Take the cooled mixture from the pan and smear it all along there top of the beef evenly. Add the slices of cheese on top.
Tightly roll the beef into a log shape, carefully keeping the inside ingredients from squeezing out.
I pinned the log together with toothpicks my first time around, and it did okay. But I suggest tying the roll with butchers twine in several places so that the meat stays together and cooks more evenly.
Place the log in the fridge, removing it about an hour before cooking to bring it back to room temperature.
Rub the outside of the log with olive oil and season with salt and pepper. Place the log in a hot oven-proof pan and sear on all sides. Then place the pan in a pre-heated 350 degree oven and cook until the interior temperature of the meat is around 120, about 30 minutes.
A temperature of 140 is considered to be medium-rare for beef, but I like to cook it only to 120 and then let it rest, covered with a tent of foil. It will still rise in temperature for a few minutes before it starts to cool down.
Slice carefully with a sharp knife.
COOKIN’ WITH THE KID: SHEPHERD’S PIE
Posted: April 7, 2016 in beef, Food, lamb, potatoes, RecipesTags: beef, food, potatoes, recipes, shepherds pie
I like to think that I was the force behind my daughter’s sudden interest in cooking, but the fact is, it was probably the Food Network. Shows like “Chopped Junior” and “Kids Baking Championship” are her favorites, and I have to admit, watching a 9-year-old displaying knife skills better than mine does have me feeling somewhat inferior at times.
A gift of a kids’ cookbook from our friend, Stacey, was what finally got my daughter to ask if we could cook together. She chose the Shepherd’s Pie recipe. I never really analyzed my own cooking style until my daughter started reading the recipe step-by-step and I heard myself saying: “Oh, we can skip that…Oh, we don’t need to do that…Oh, let’s use another ingredient.” She’d look up at me and say: “But, Dad, the book says you have to do this.” Lesson one, kid: improvise to make the recipe your own.
The original recipe called for lamb. We used beef. The original recipe had a huge proportion of potatoes to meat. We doubled the meat and veggies.
3 lbs. potatoes (I like organic gold potatoes)
1 cup whole milk
4 tablespoons unsalted butter
salt and pepper
2 lbs. ground beef
1 onion, finely chopped
4 carrots, diced
2 tablespoons tomato paste
2 tablespoons all-purpose flour (I use gluten-free flour)
1 cup beef broth
olive oil
Peel the potatoes just to remove any blemishes. (I like my mashed potatoes with the skin included.) Cut into smaller pieces and place in a pot of cold, salted water. Bring to a boil and cook until fork-tender. Drain the potatoes, and put them back in the pot. Add the milk and butter, add salt and pepper, and mash until smooth. Set aside.
Chop the onions and dice the carrots. In a large skillet, heat some olive oil, then add the onion and carrot. Cook over medium heat until the onions are translucent. Add the beef, and cook until it’s browned, breaking the meat up into small pieces. Add the tomato paste and flour, and mix thoroughly. Add the beef broth and mix again. Cover the skillet with a lid, reduce the heat, and let it cook for about 15 minutes, until the sauce in the pan thickens.
Find an ovenproof pie pan or lasagna pan. Pour the beef and carrot mixture into the bottom of the pan and smooth it out. Add the mashed potatoes on top. Place in a pre-heated 350-degree oven and bake for about 20 minutes if the potatoes are warm–a little longer if they’ve cooled down–until the potatoes start to turn a golden brown.
Let the pan rest for a few minutes, then serve.
A GREAT STEAK WHEN YOU CAN’T GRILL
Posted: April 3, 2016 in beef, Carnivore!, CHARCOAL, Food, grilling, Recipes, Rhode Island, Southern New EnglandTags: beef, charcoal, farms, food, grass-fed, grilling, hardwood, humane, local, recipes
For most people, grilling season is still a long way away. I’m a bit of a fanatic: I’ll use my Weber grill in the wintertime, often standing in a foot of snow while I’m carefully turning my steaks over the hardwood coals below. In the spring, I put the Weber away, and unveil my larger ceramic grill. I use it to grill or smoke anything from a great steak to a whole chicken or even a pizza.
Making a great steak isn’t difficult, but like all good things, takes a little care and finesse.
It starts with the beef. I only buy grass-fed beef. I think it tastes better, and I buy it from local farms that raise the cattle humanely. Some say that grass-fed beef tastes too gamey. I understand that, because I’ve had grass-fed beef from many different sources over the years. The taste of the beef depends on the breed of cattle as well as the environment they’re raised in. The general title “grass-fed” is convenient to use, but quality varies greatly. The only answer to that is to keep trying cuts of beef until you find the one you like. For me, here in Rhode Island, Pat’s Pastured in East Greenwich has the quality and taste I’m looking for. And occasionally, my local Whole Foods will offer great cuts of grass-fed beef as well.
Grass-fed matters to me because the cows eat what is natural for them to eat: grass. The meat naturally has better fats; it’s higher in Omega-3’s. Feeding corn and grains to cattle is cheaper and fattens them up faster, which is why most American farmers switched to that method many years ago and created the factory farms we now have. But feeding them corn and grains also makes them sick, so the farmers have to pump antibiotics and hormones in them to keep disease away. Make no mistake: whatever nasty crap they put into the cow, goes into you. To me, it’s worth paying the extra bucks to support the farmers that do it right. I have beef less often, but what I have is the best I can get for my family.
If none of that matters to you, and you simply want to grab a slab of beef from your supermarket, that’s your choice. But even then, there are varying degrees of quality. Cough up a few extra bucks for better beef and it will reward you later.

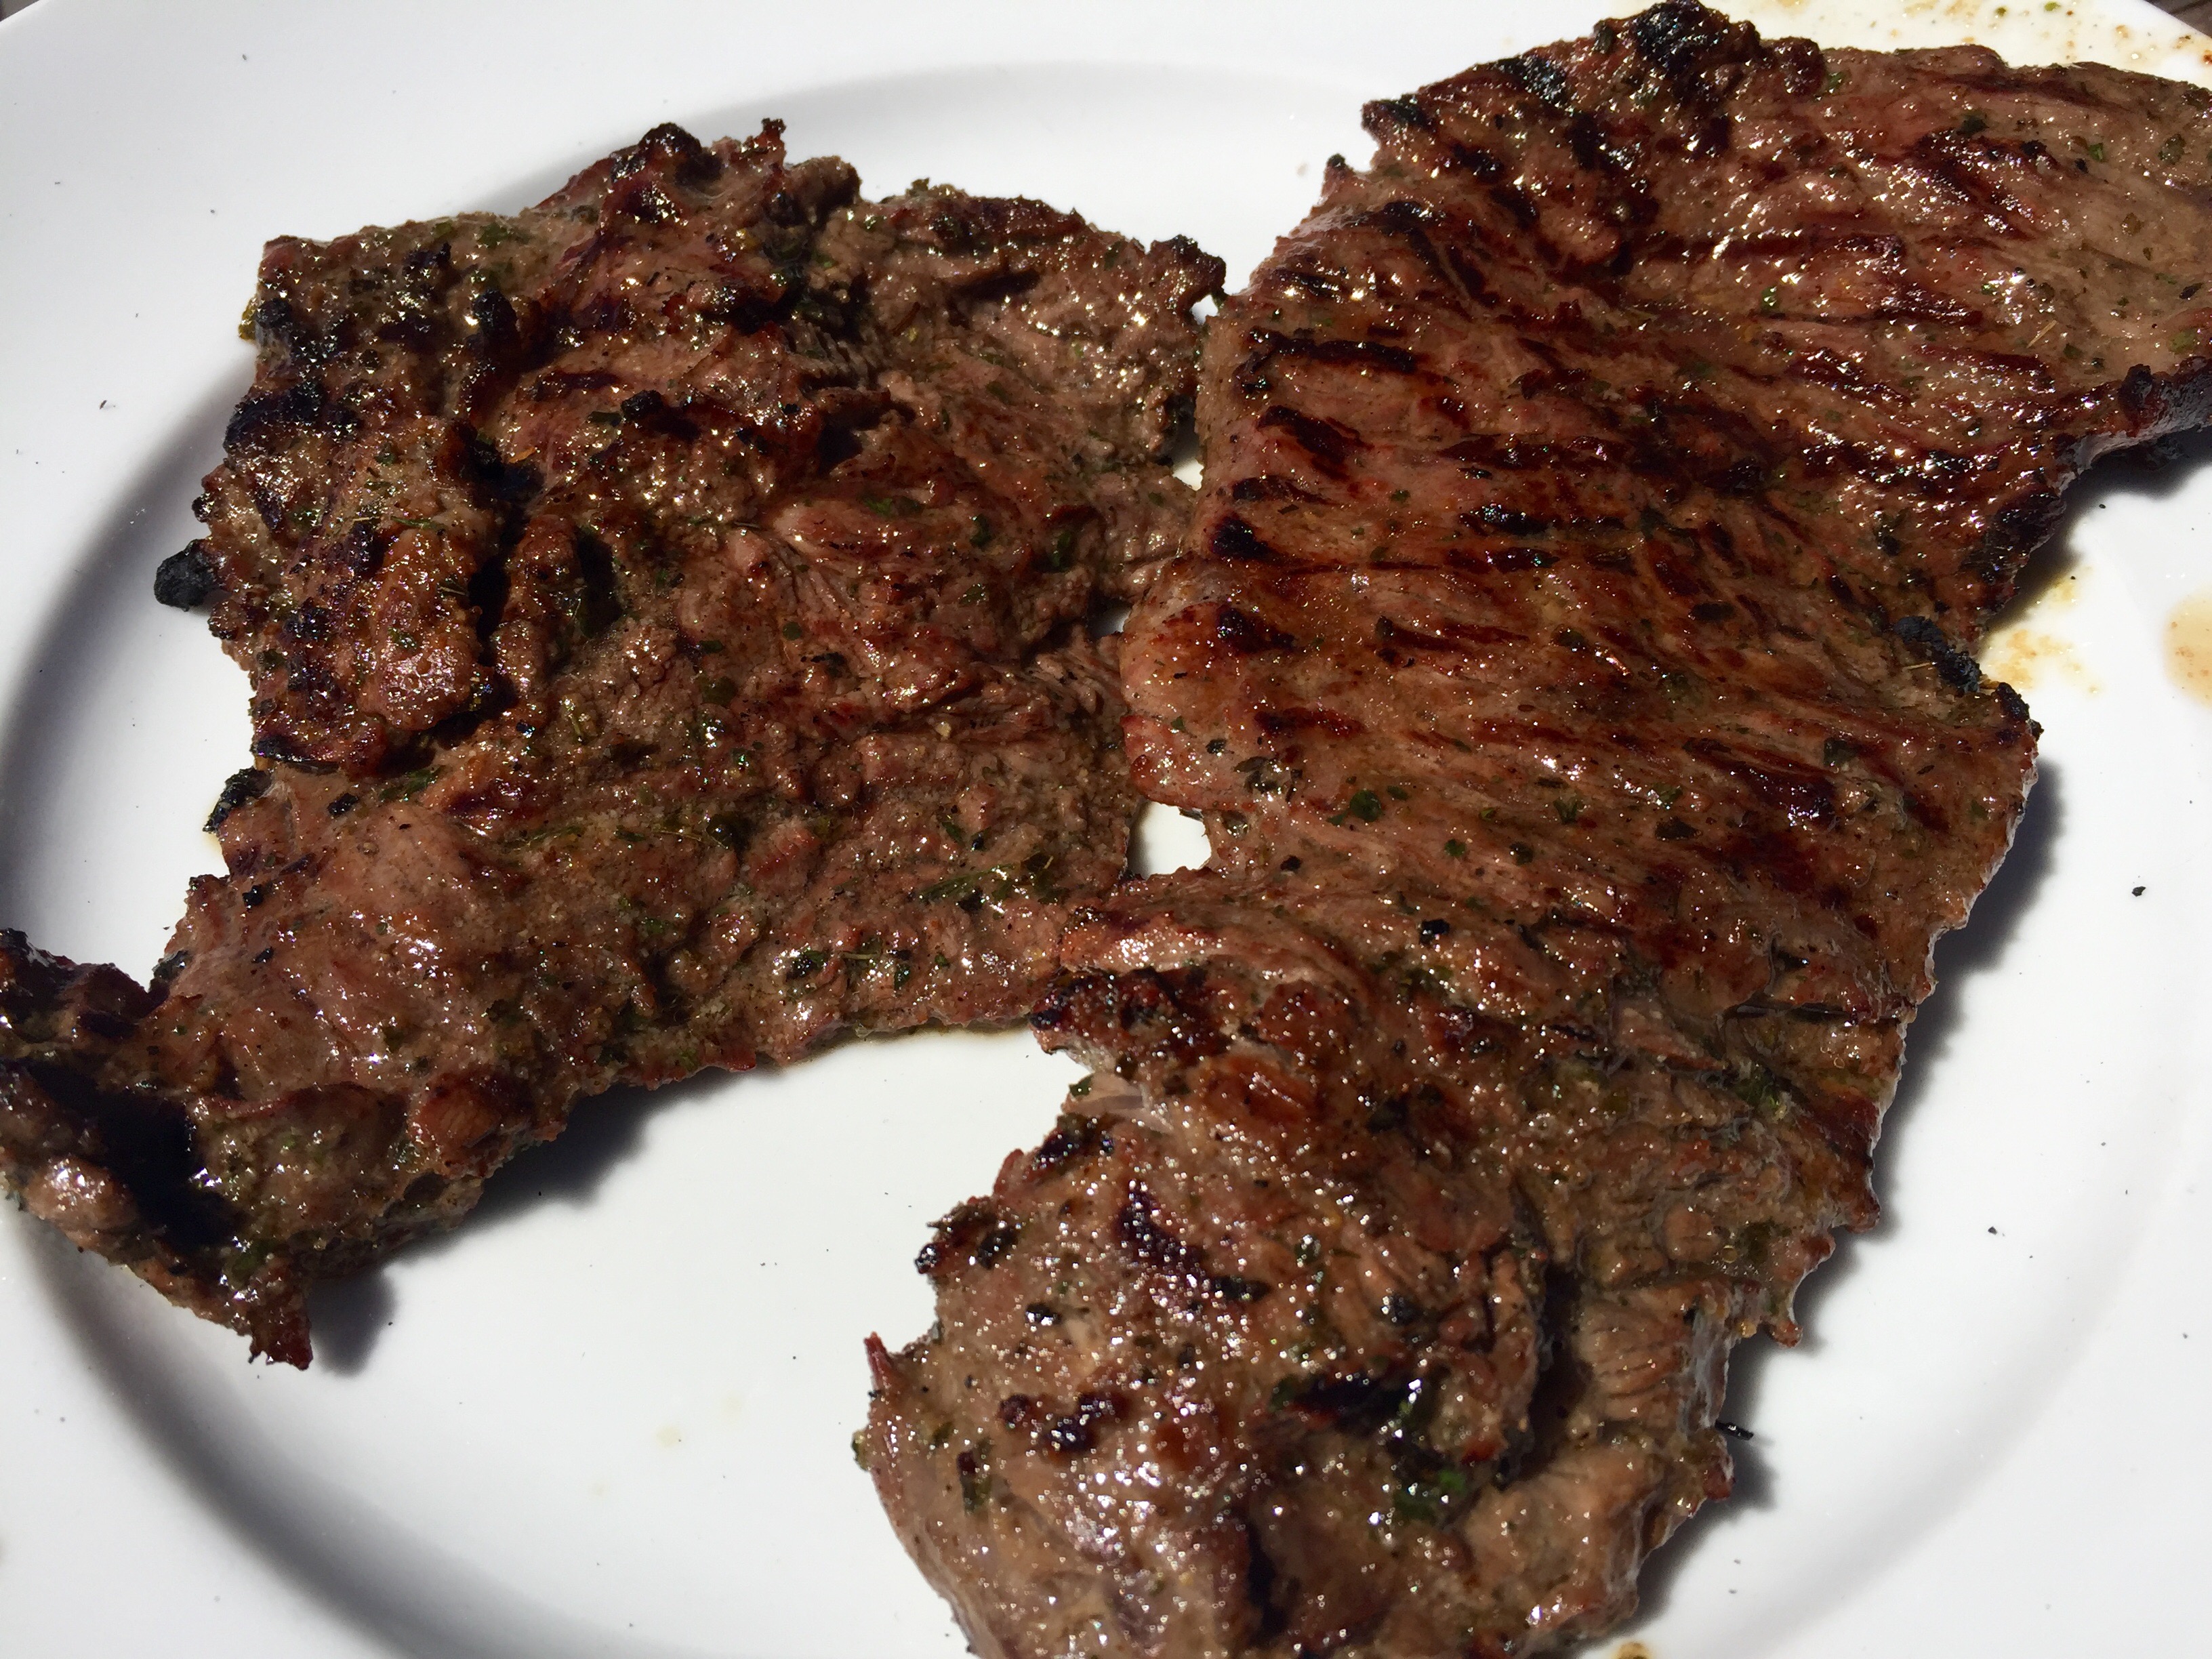
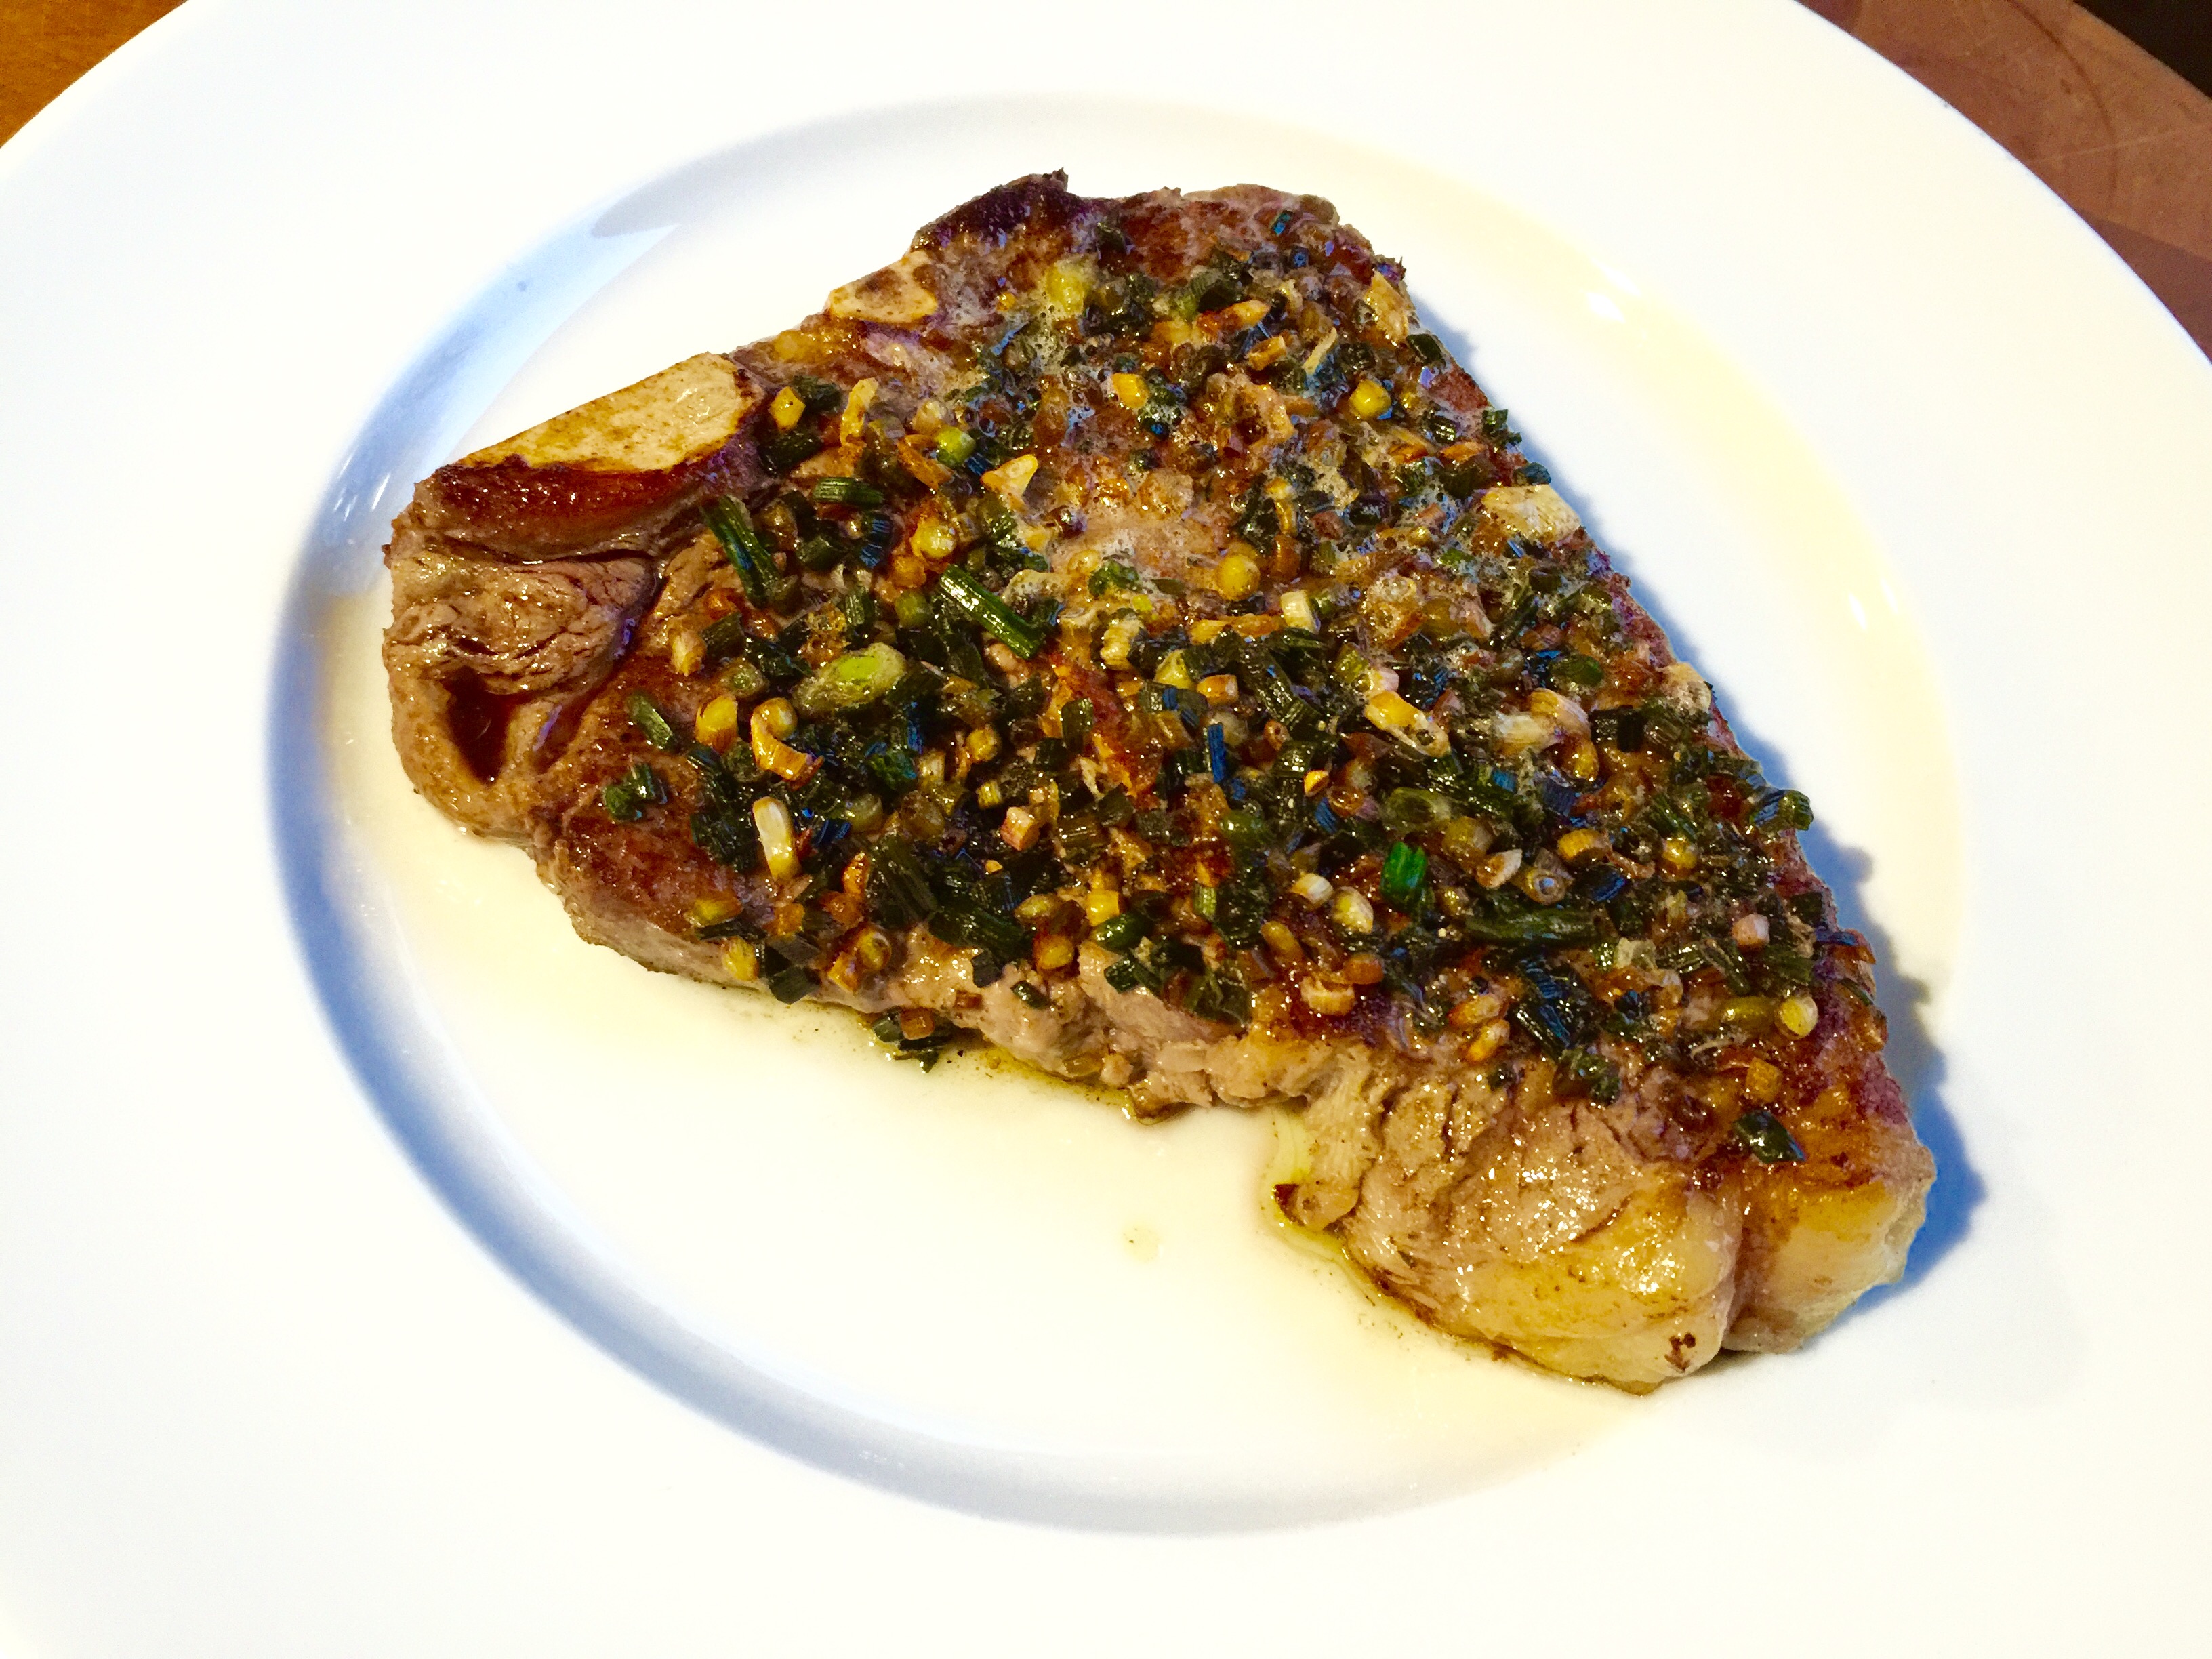
A perfect medium-rare porterhouse that was simply pan-seared. It was thin enough not to even go in the oven.
The cut of beef I select is as personal as the choice to go grass-fed or not. My absolute favorite cut is the porterhouse: NY strip on one side, tenderloin on the other, bone in the middle. (Not to be confused with a T-bone, which offers almost no tenderloin.) And it needs to be thick. The thicker the cut of beef, the more control I have over the final cooking temperature I want it to be. Unfortunately, because grass-fed beef costs more, farmers often sell skinny porterhouses to keep the price down. But the end product comes out over-cooked, because the meat is so thin. I would rather pay big bucks less often and get a real slab of meat than get a scrawny cut more often.
If you want to try grass-fed beef, but are put off by the high price of the more popular cuts (tenderloins, ribeyes, etc.), go for the less popular cuts: flank, hangar, etc. They cost a lot less and they’ve got great taste. You just need to be careful not to overcook them because they’re usually thin and contain very little fat.
Many articles have been written about it being okay to cook beef from frozen, but I don’t like to do that. I always take my slab of beef out of the freezer the day before I want to cook it, and thaw it in the fridge (out of its wrapper.) Then, about an hour before I plan on cooking it, I take it out of the fridge and place it on a plate to warm to room temperature. I like to rub the beef with sea salt and fresh cracked black pepper and let it sit that way for an hour. And that’s all I season my beef with. No need to hide the flavor of amazing beef!
But although I grill year ’round, it’s not always convenient to fire it up when I crave a steak. Few methods can rival the simple steps of searing both sides of the beef in a hot cast iron skillet, and then finishing it in the oven. I use pork lard or bacon fat in the cast iron pan, heat it, sear one side, flip it over, sear the other side, and place it in a 375-degree oven. How long to cook it is a matter of practice. Eventually you learn the quirks of your oven and you get the perfect steak every time. Until then, a thermometer helps, though you don’t want to poke the hell out of your beef and let all the juices run out.
And it’s key to let the steak rest. I’ve gone to all this trouble…it would be dumb to mess it up now! This is when I take a few minutes to make myself a nice cocktail. By the time the cocktail’s made, and I’ve taken a few sips, the beef is ready to be devoured.
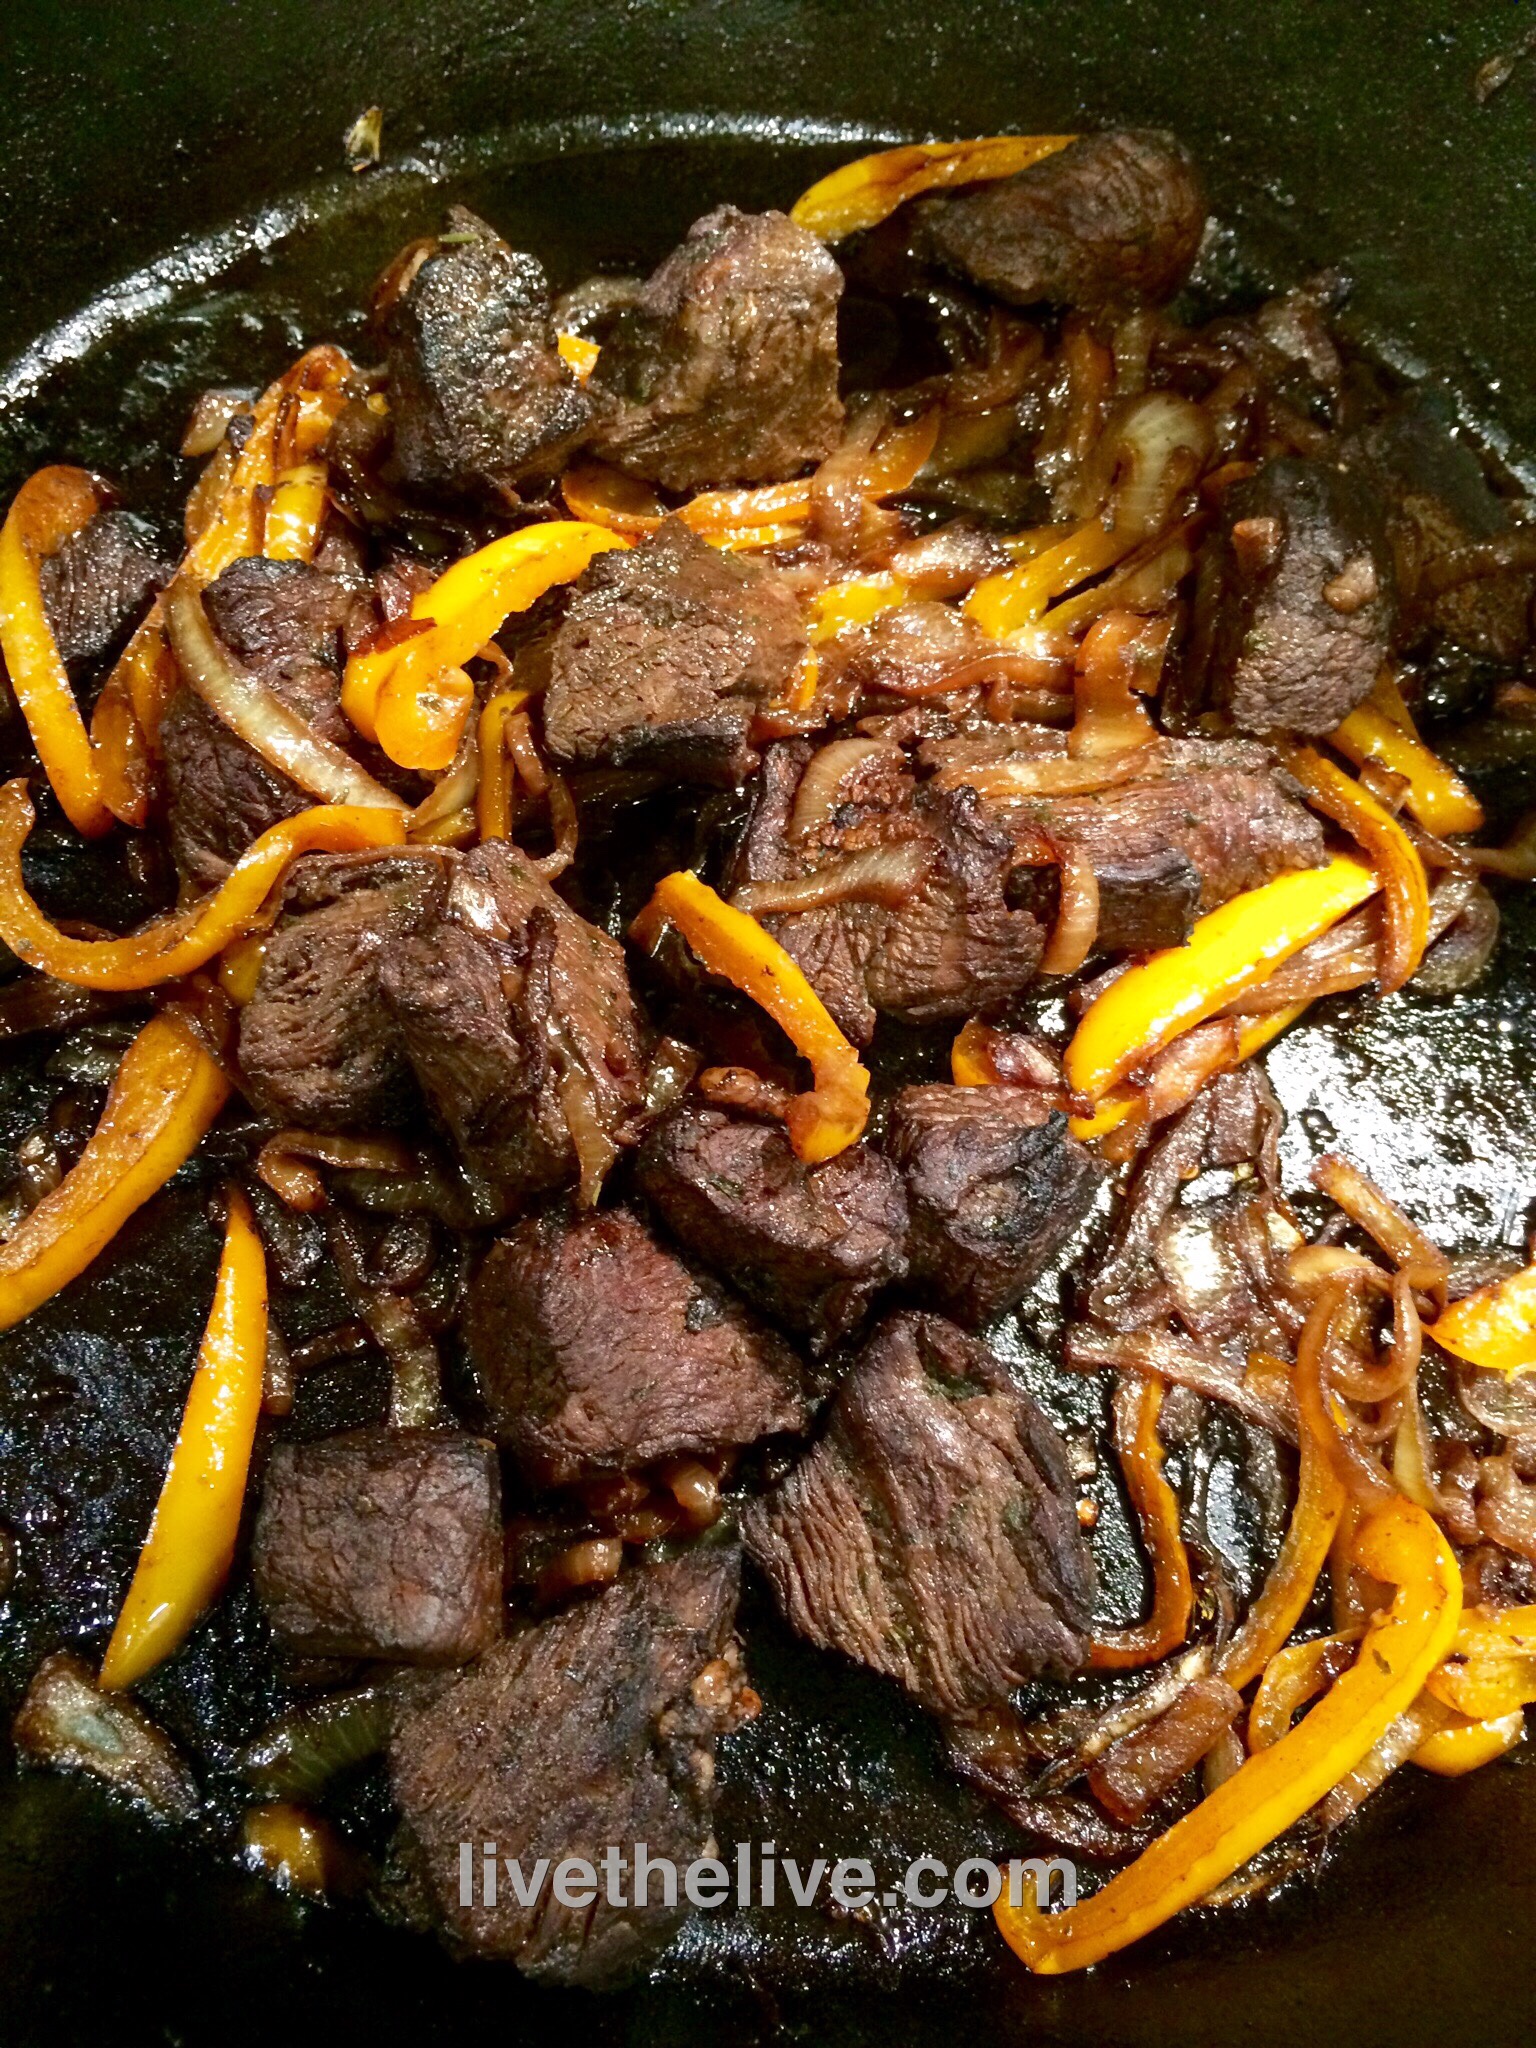
With the garden coming to life again this spring, I found a bunch of shoots popping out of the soil in my garlic patch. I pulled them out, and the garlic greens looked just like baby scallions, only with tiny garlic bulbs at the bottoms. I also found some fresh oregano growing in the herb garden. I washed them all, finely chopped them, and sautéed them in a pan with a little olive oil, butter, salt and pepper. I cooked them just until the garlic started to get brown and crispy, and I poured it all over my porterhouse. Fantastic!
Just remember…


