Archive for the ‘beef’ Category

Like hot dogs and Slim Jims, jerky is one of those “mystery meats” we love but don’t really know how it’s made or what part of the animal it comes from.
Really excellent jerky is a rare treat, and once you have it, you will never go back to that rancid, preservative-filled dog meat you find in a bag at the supermarket. And the best part is: it’s easy to make.
Although I started my jerky-making endeavors with beef, I later acquired some beautiful venison from friends and family; hunters that had extra meat they were willing to share. I quickly realized that venison was the ideal jerky meat: really flavorful, with a wonderful texture.

Beautiful venison.

But venison is not all that east to find, and farmed venison is expensive. So beef is still the best option for most people.
Shop around for a really nice slab of London Broil or similar cut. You don’t need to buy an expensive piece of grass-fed beef, but the better the meat, the better the jerky. Remove all the gristle and fat that may be on the meat and then slice it against the grain and on a diagonal, into 1/4″ thick slices. Toss all the meat in a Ziploc bag. Once you’ve done that, all you need to do is make the marinade, marinate the beef overnight, and then dry it the next day. Your final product will be a flavorful beef jerky that is so good, you’ll find it very hard to stop eating it…or to share it.
If you use gluten-free soy sauce and teriyaki sauce (La Choy is the brand I use, found in any supermarket), this recipe can be considered gluten-free. Be careful: regular soy sauce, and even some tamari sauces, have wheat in them. Read the label!
image
1 tablespoon salt
1 1/2 tablespoons granulated garlic
1 teaspoon black pepper
1 teaspoon fresh minced peeled ginger
2/3 cup brown sugar
1 cup teriyaki sauce (I use La Choy)
1 cup soy sauce (I use La Choy)
8 lbs. raw, lean beef, like London broil, cut into 1/4″ thick diagonal slices, against the grain of the meat
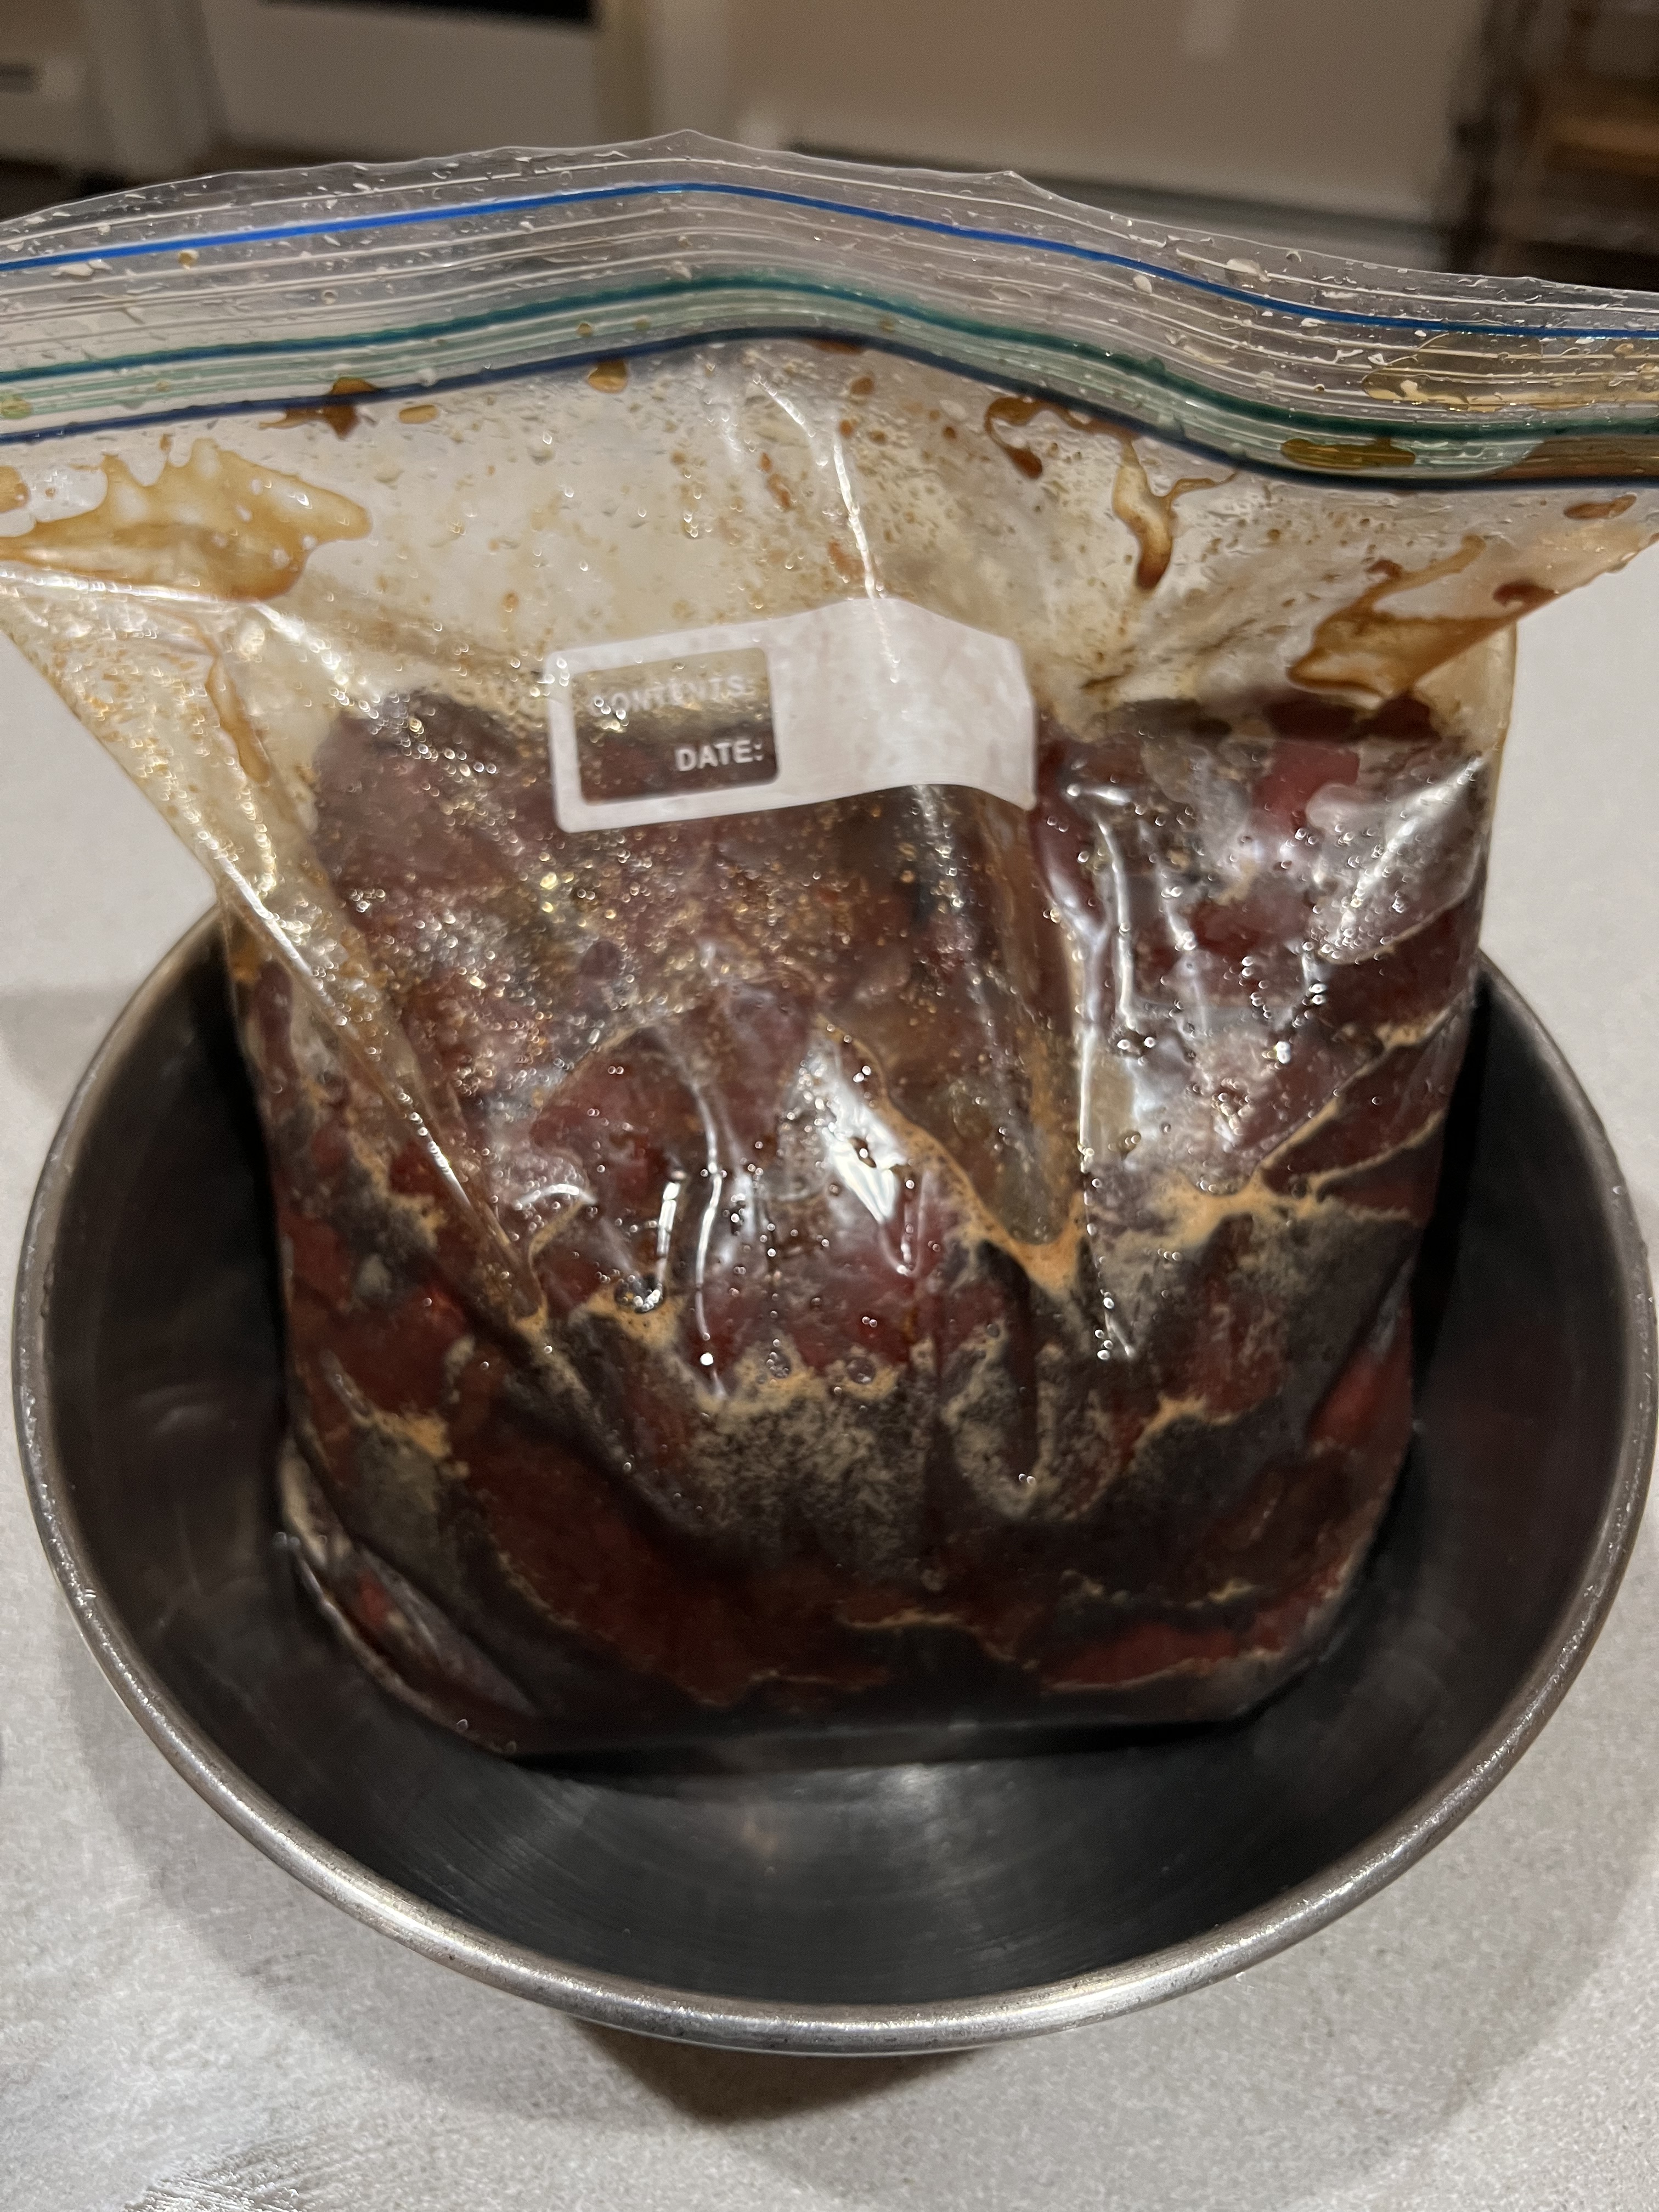
Combine all the ingredients except the meat in a large bowl. Whisk it well. Place the meat in a large Ziploc bag, pour the marinade inside, seal it, and refrigerate it overnight. Squish the bag around once in a while, to make sure all the meat surfaces make contact with the marinade. Keep the bag in a bowl to prevent any accidental spillage in your fridge!
The next day, pour off the marinade and discard it. Using a food dehydrator, dry the meat by laying strips in a single layer. You can also dry them in a 140 degree oven on racks slightly elevated off a baking sheet. Drying could take several hours to half a day, depending on how dry and chewy you like your jerky, and how thickly you sliced it.
Jerky in the dehydrator.

Jerky in the dehydrator.

This recipe makes a lot of jerky, but it stores really well in the freezer. I put small amounts into individual freezer bags, then place all of them in one large freezer bag. Thaw as needed.

Out on the North Fork of Long Island, there’s a steak restaurant called the Elbow Room. It’s nothing fancy…old school cooking. But they’re famous for their steaks because of a super-secret marinade. Ages ago, I spotted a newspaper article that claimed they found out what that secret marinade was, and they published it. Whether this really is the official Elbow Room marinade or not, I have to say it’s pretty darn tasty and it makes for a delicious steak on the grill.


My biggest concern with the marinade was the salt factor, since it uses soy sauce. But the ribeye I had was almost an inch-and-a-half thick, which meant that it could sit in the marinade for a long time…my ribeye sat in it for 8 hours. If you choose to use a thinner cut of meat, you might need to reduce your marinating time.

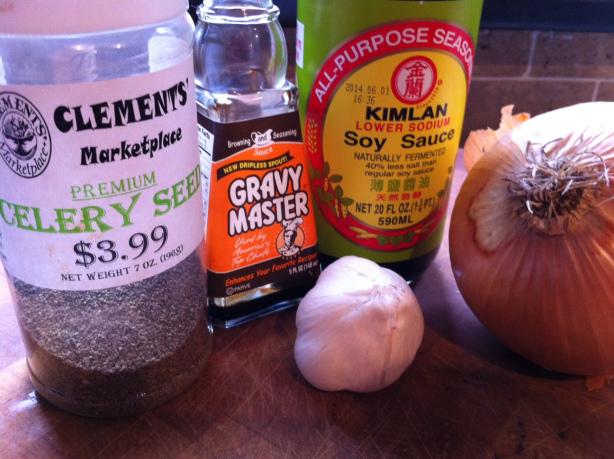
The recipe uses a product called Gravy Master, available in most supermarkets. Look for it in the section where you find gravies and instant potatoes.


1 cup soy sauce
1/4 cup Gravy Master
2 large Vidalia onions
2 cloves of garlic
2 teaspoons celery seed
1/2 teaspoon black pepper


Combine the onions and garlic in a large food processor and purée. Add the remaining ingredients and run the processor until it’s smooth and sort of resembles root beer.


Marinate the beef in the marinade overnight, or for as long as possible. The thicker the cut of meat, the longer you can marinate it.

Looks delicious, but it hasn’t been cooked yet! Straight out of the marinade.


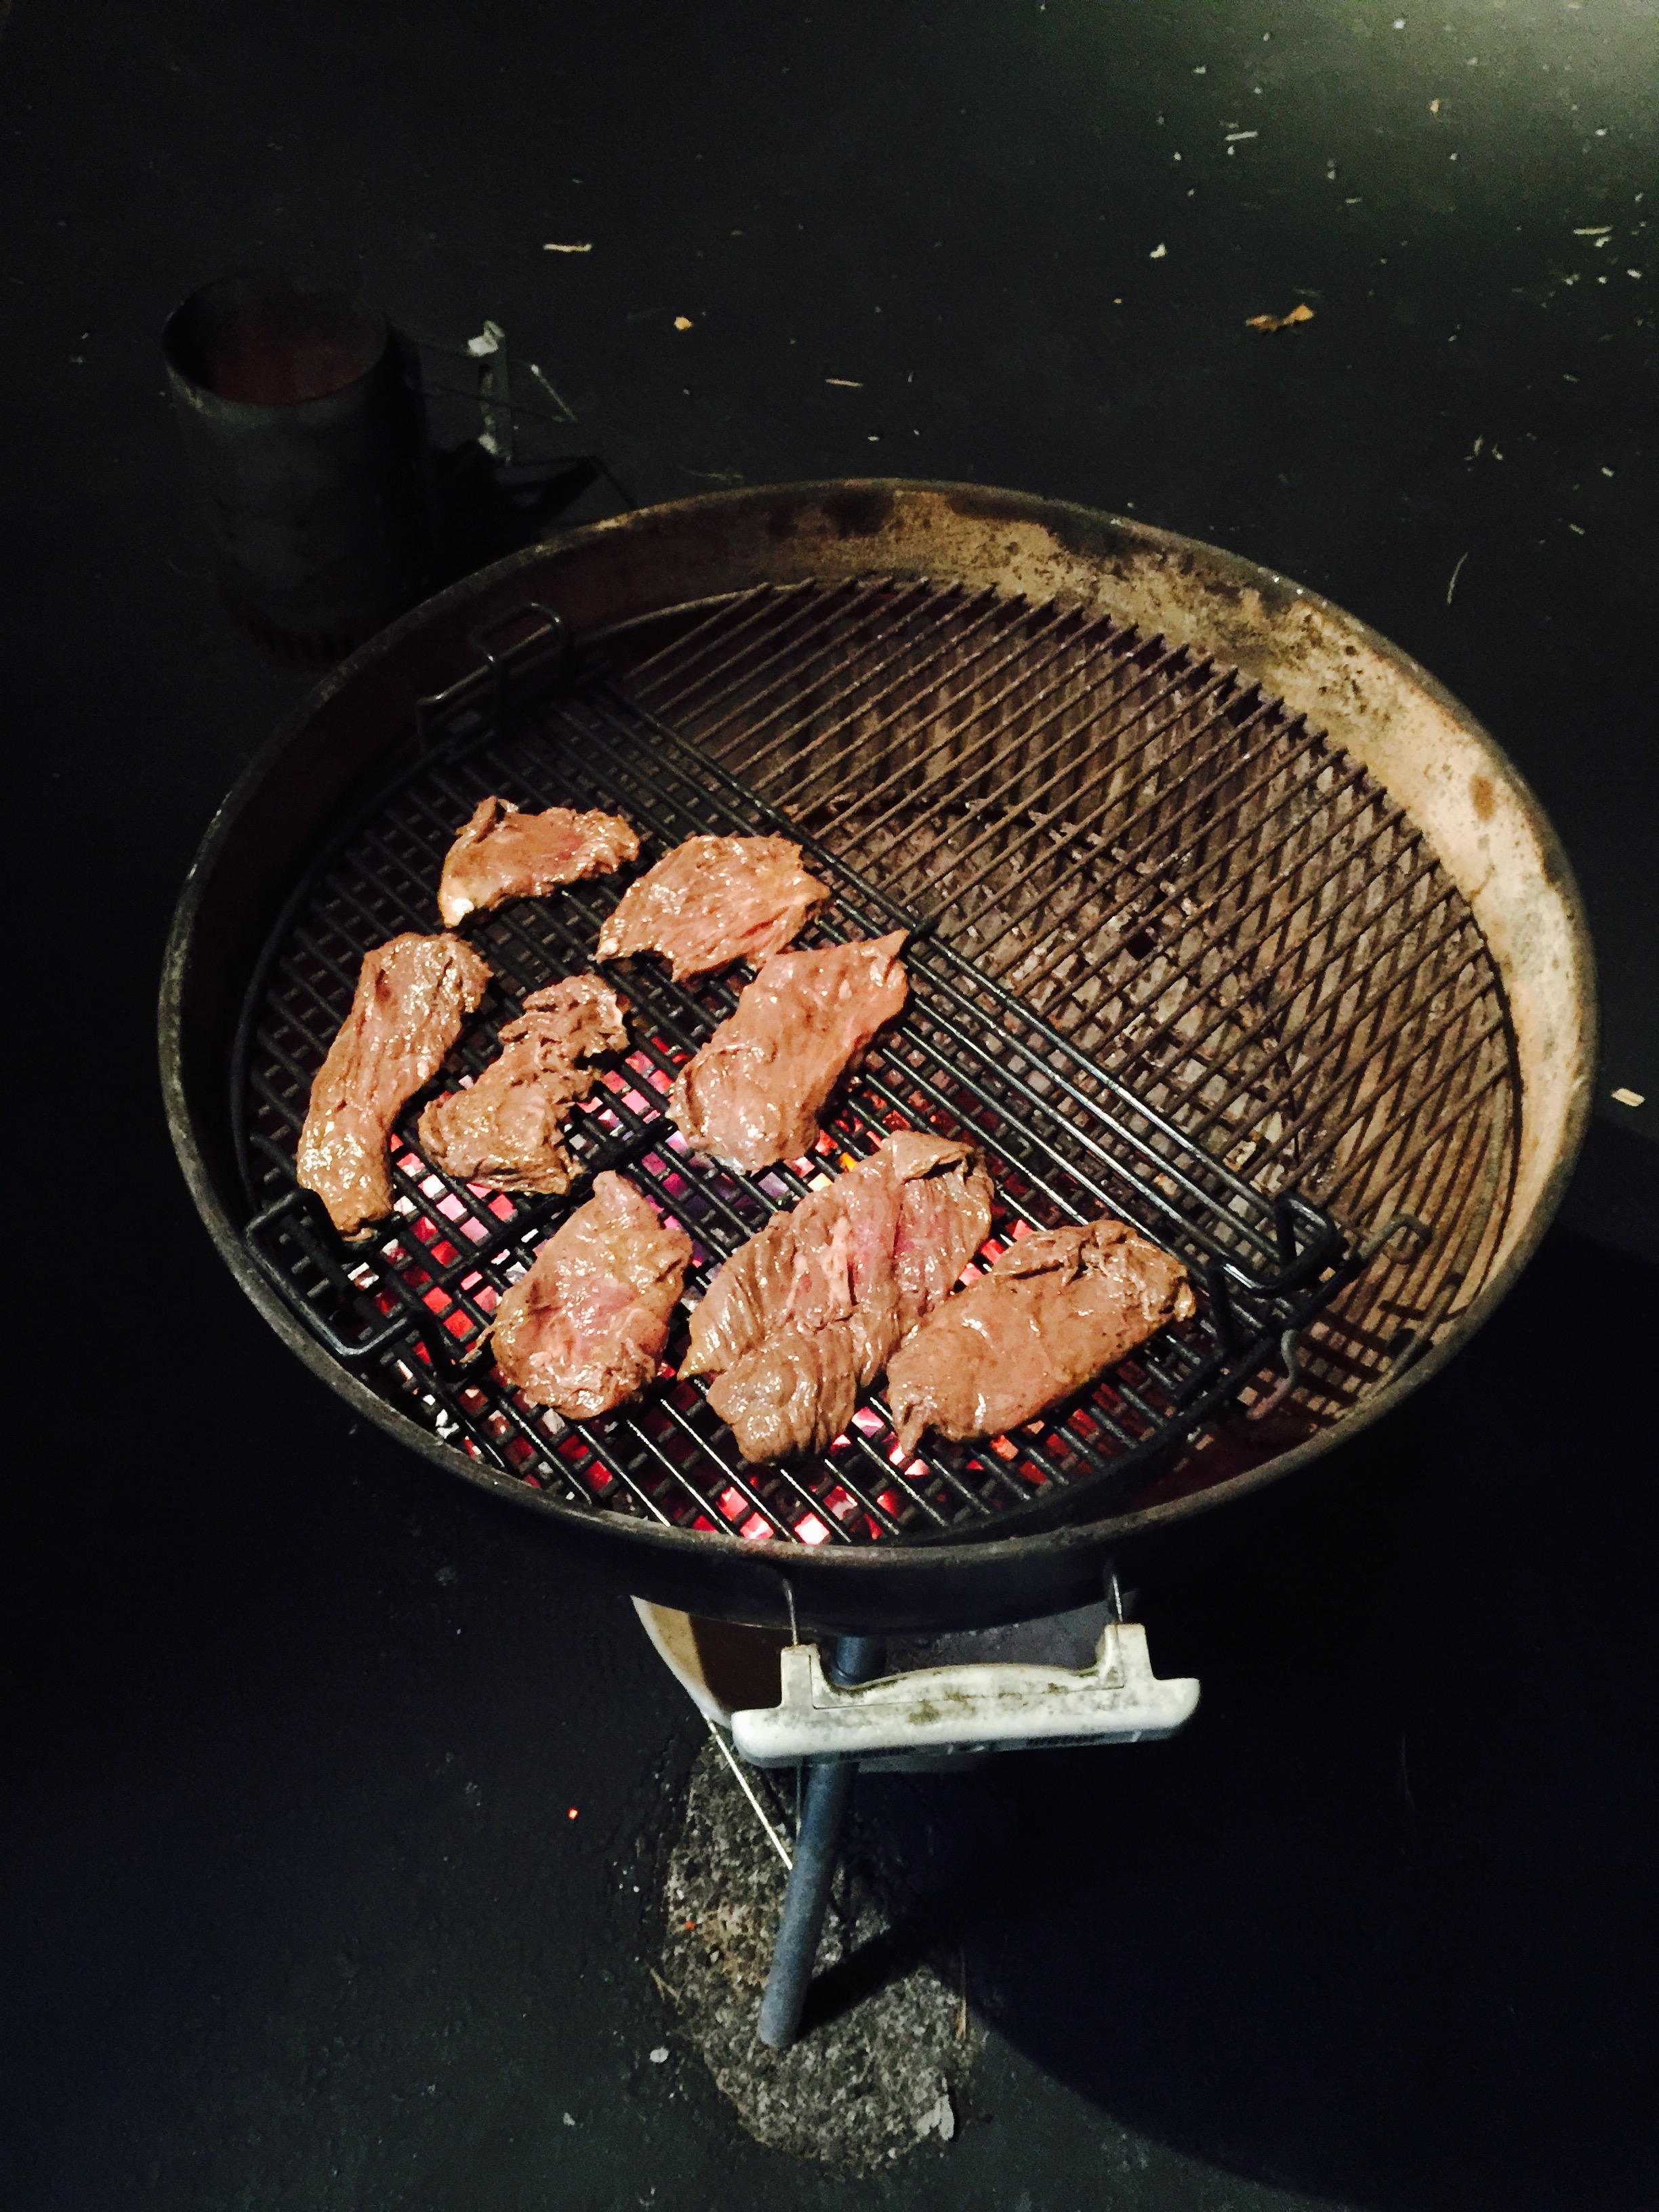
Light the grill. I prefer pure hardwood charcoal because that’s where the flavor is. If I’m just cooking one steak, I get my camping grill out. It lights quickly and easily, and it doesn’t waste a whole lotta charcoal.


Always use a charcoal chimney, never lighter fluid…unless you like the taste of petroleum products in your food.


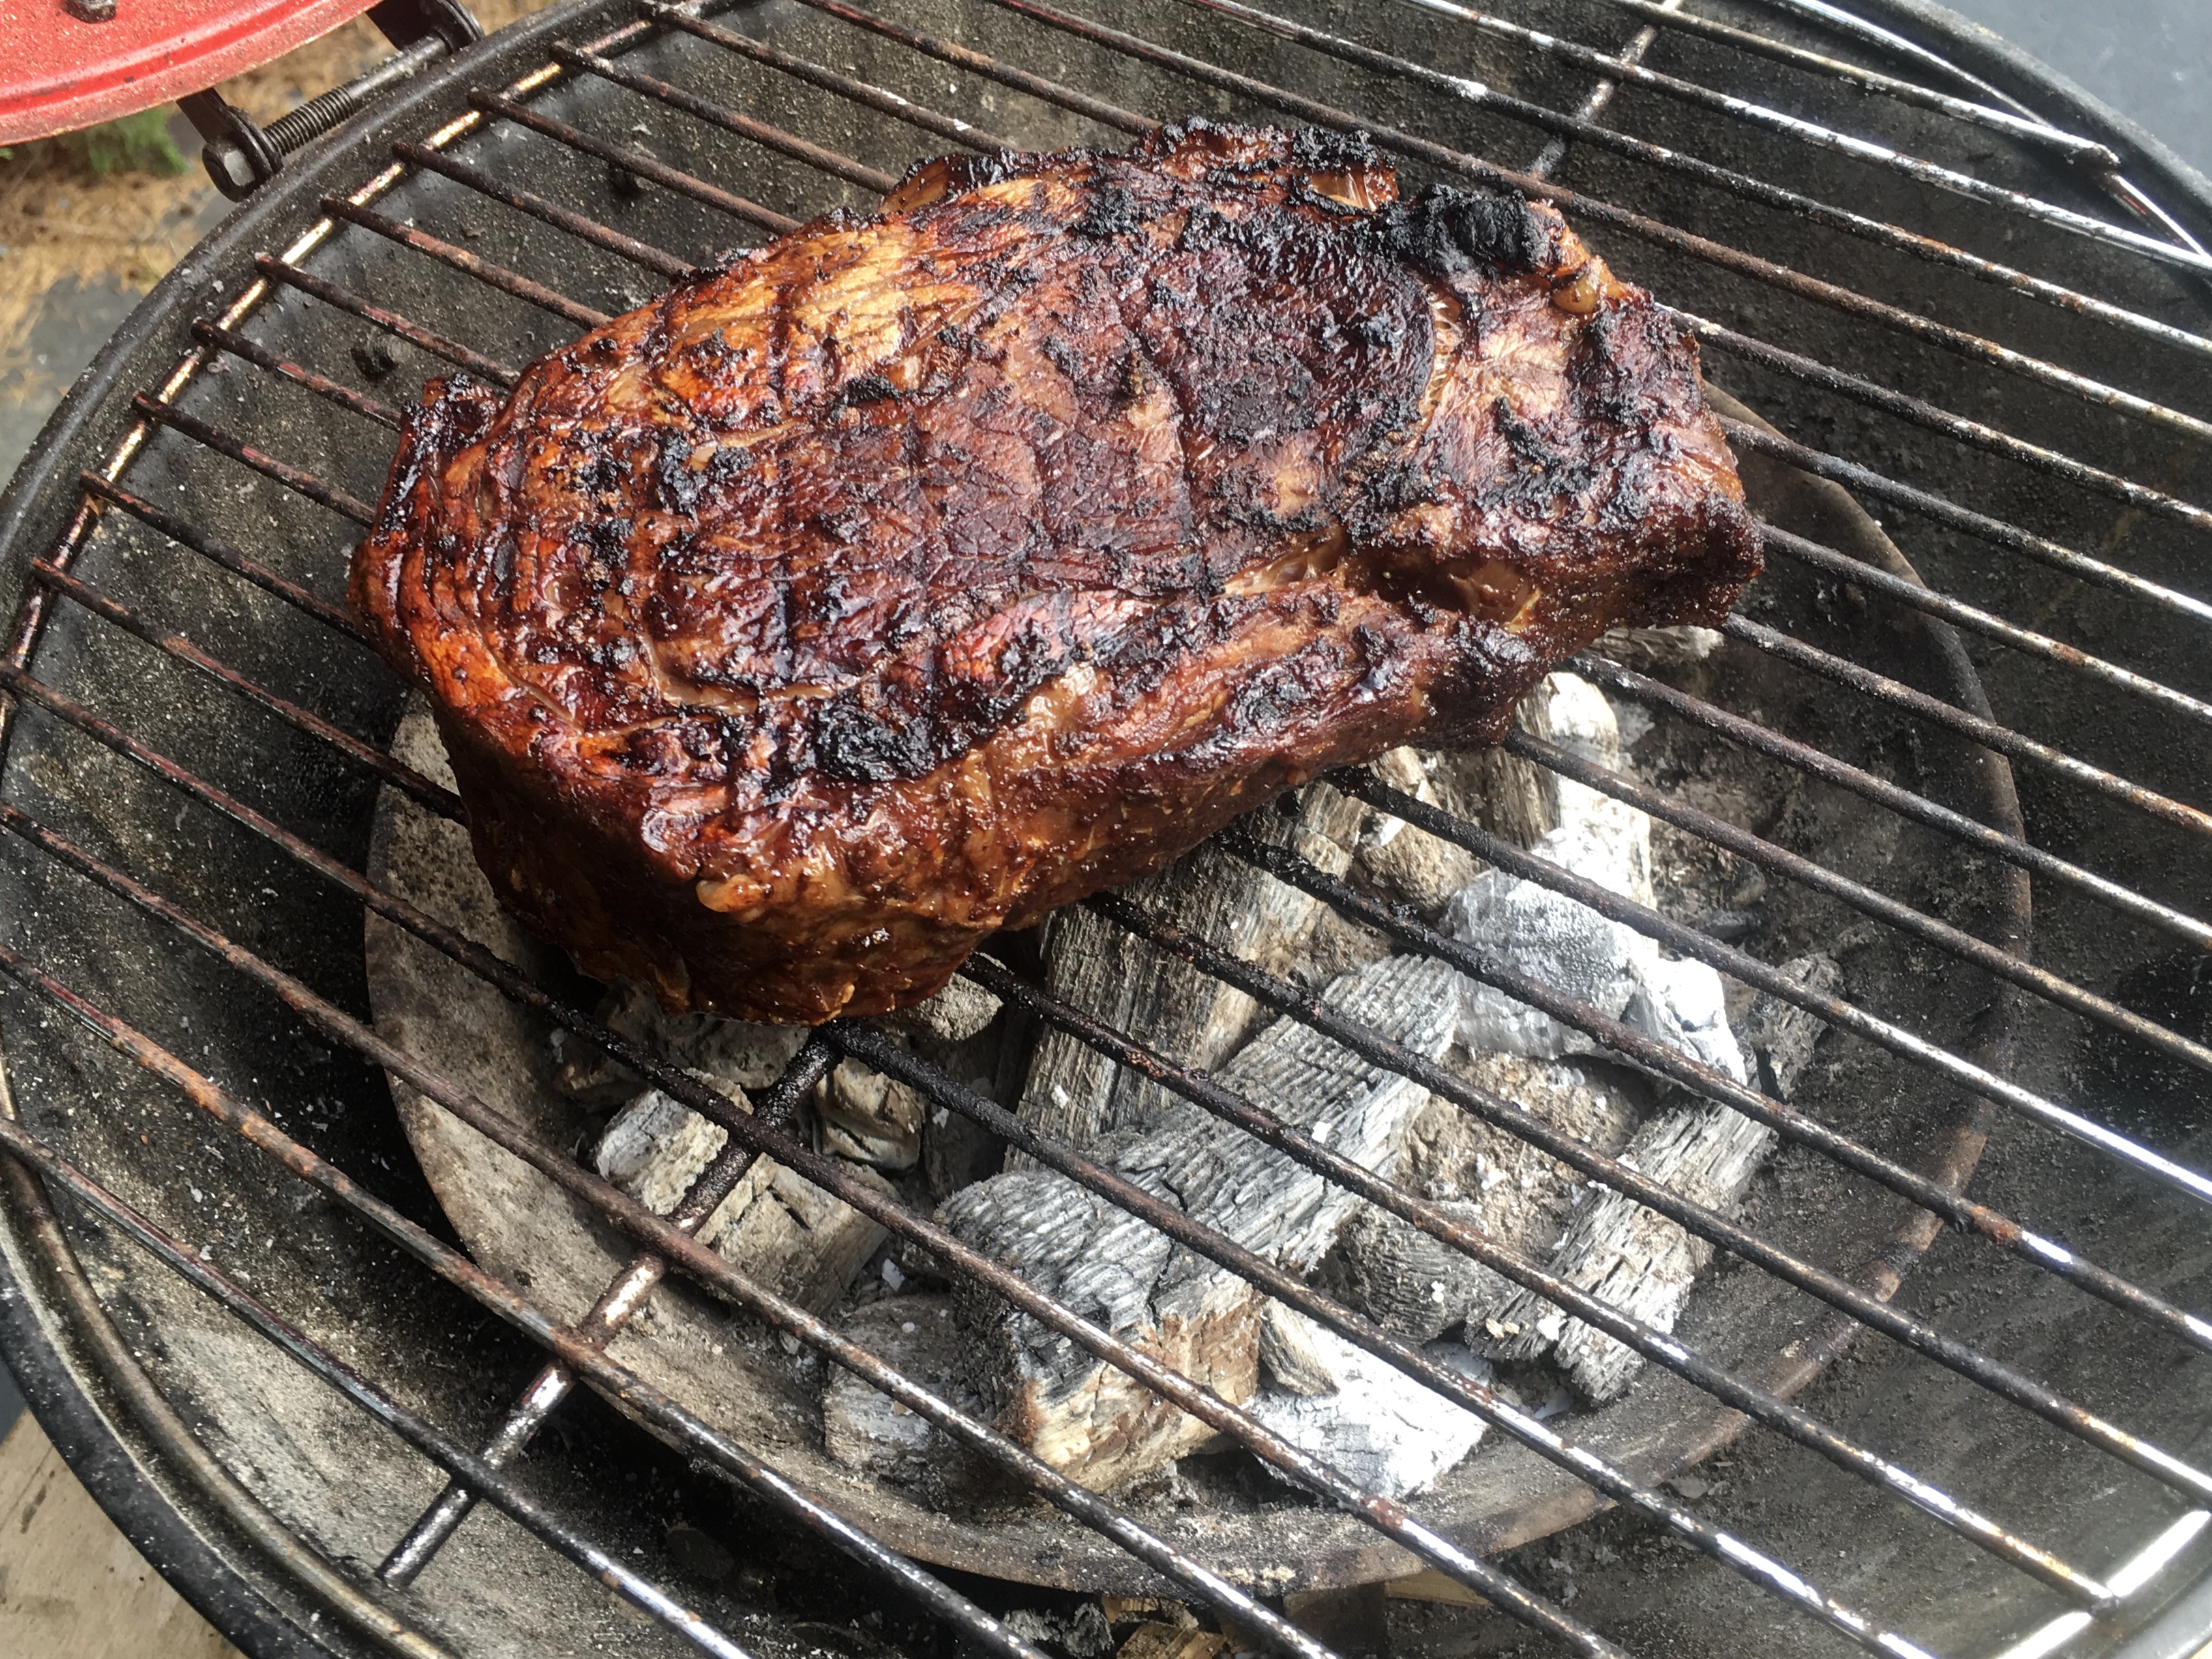
Pure hardwood charcoal gives you a hot fire. I like to sear the beef really well on both sides, then move the steak to a cooler spot on the grill and close the cover. I’ll let the beef cook until it gets to a perfect medium-rare.


If you try this marinade on burgers–and it’s great on burgers–simply brush the burgers with the marinade as you place them on the grill. Go easy or you’ll get a very salty burger.


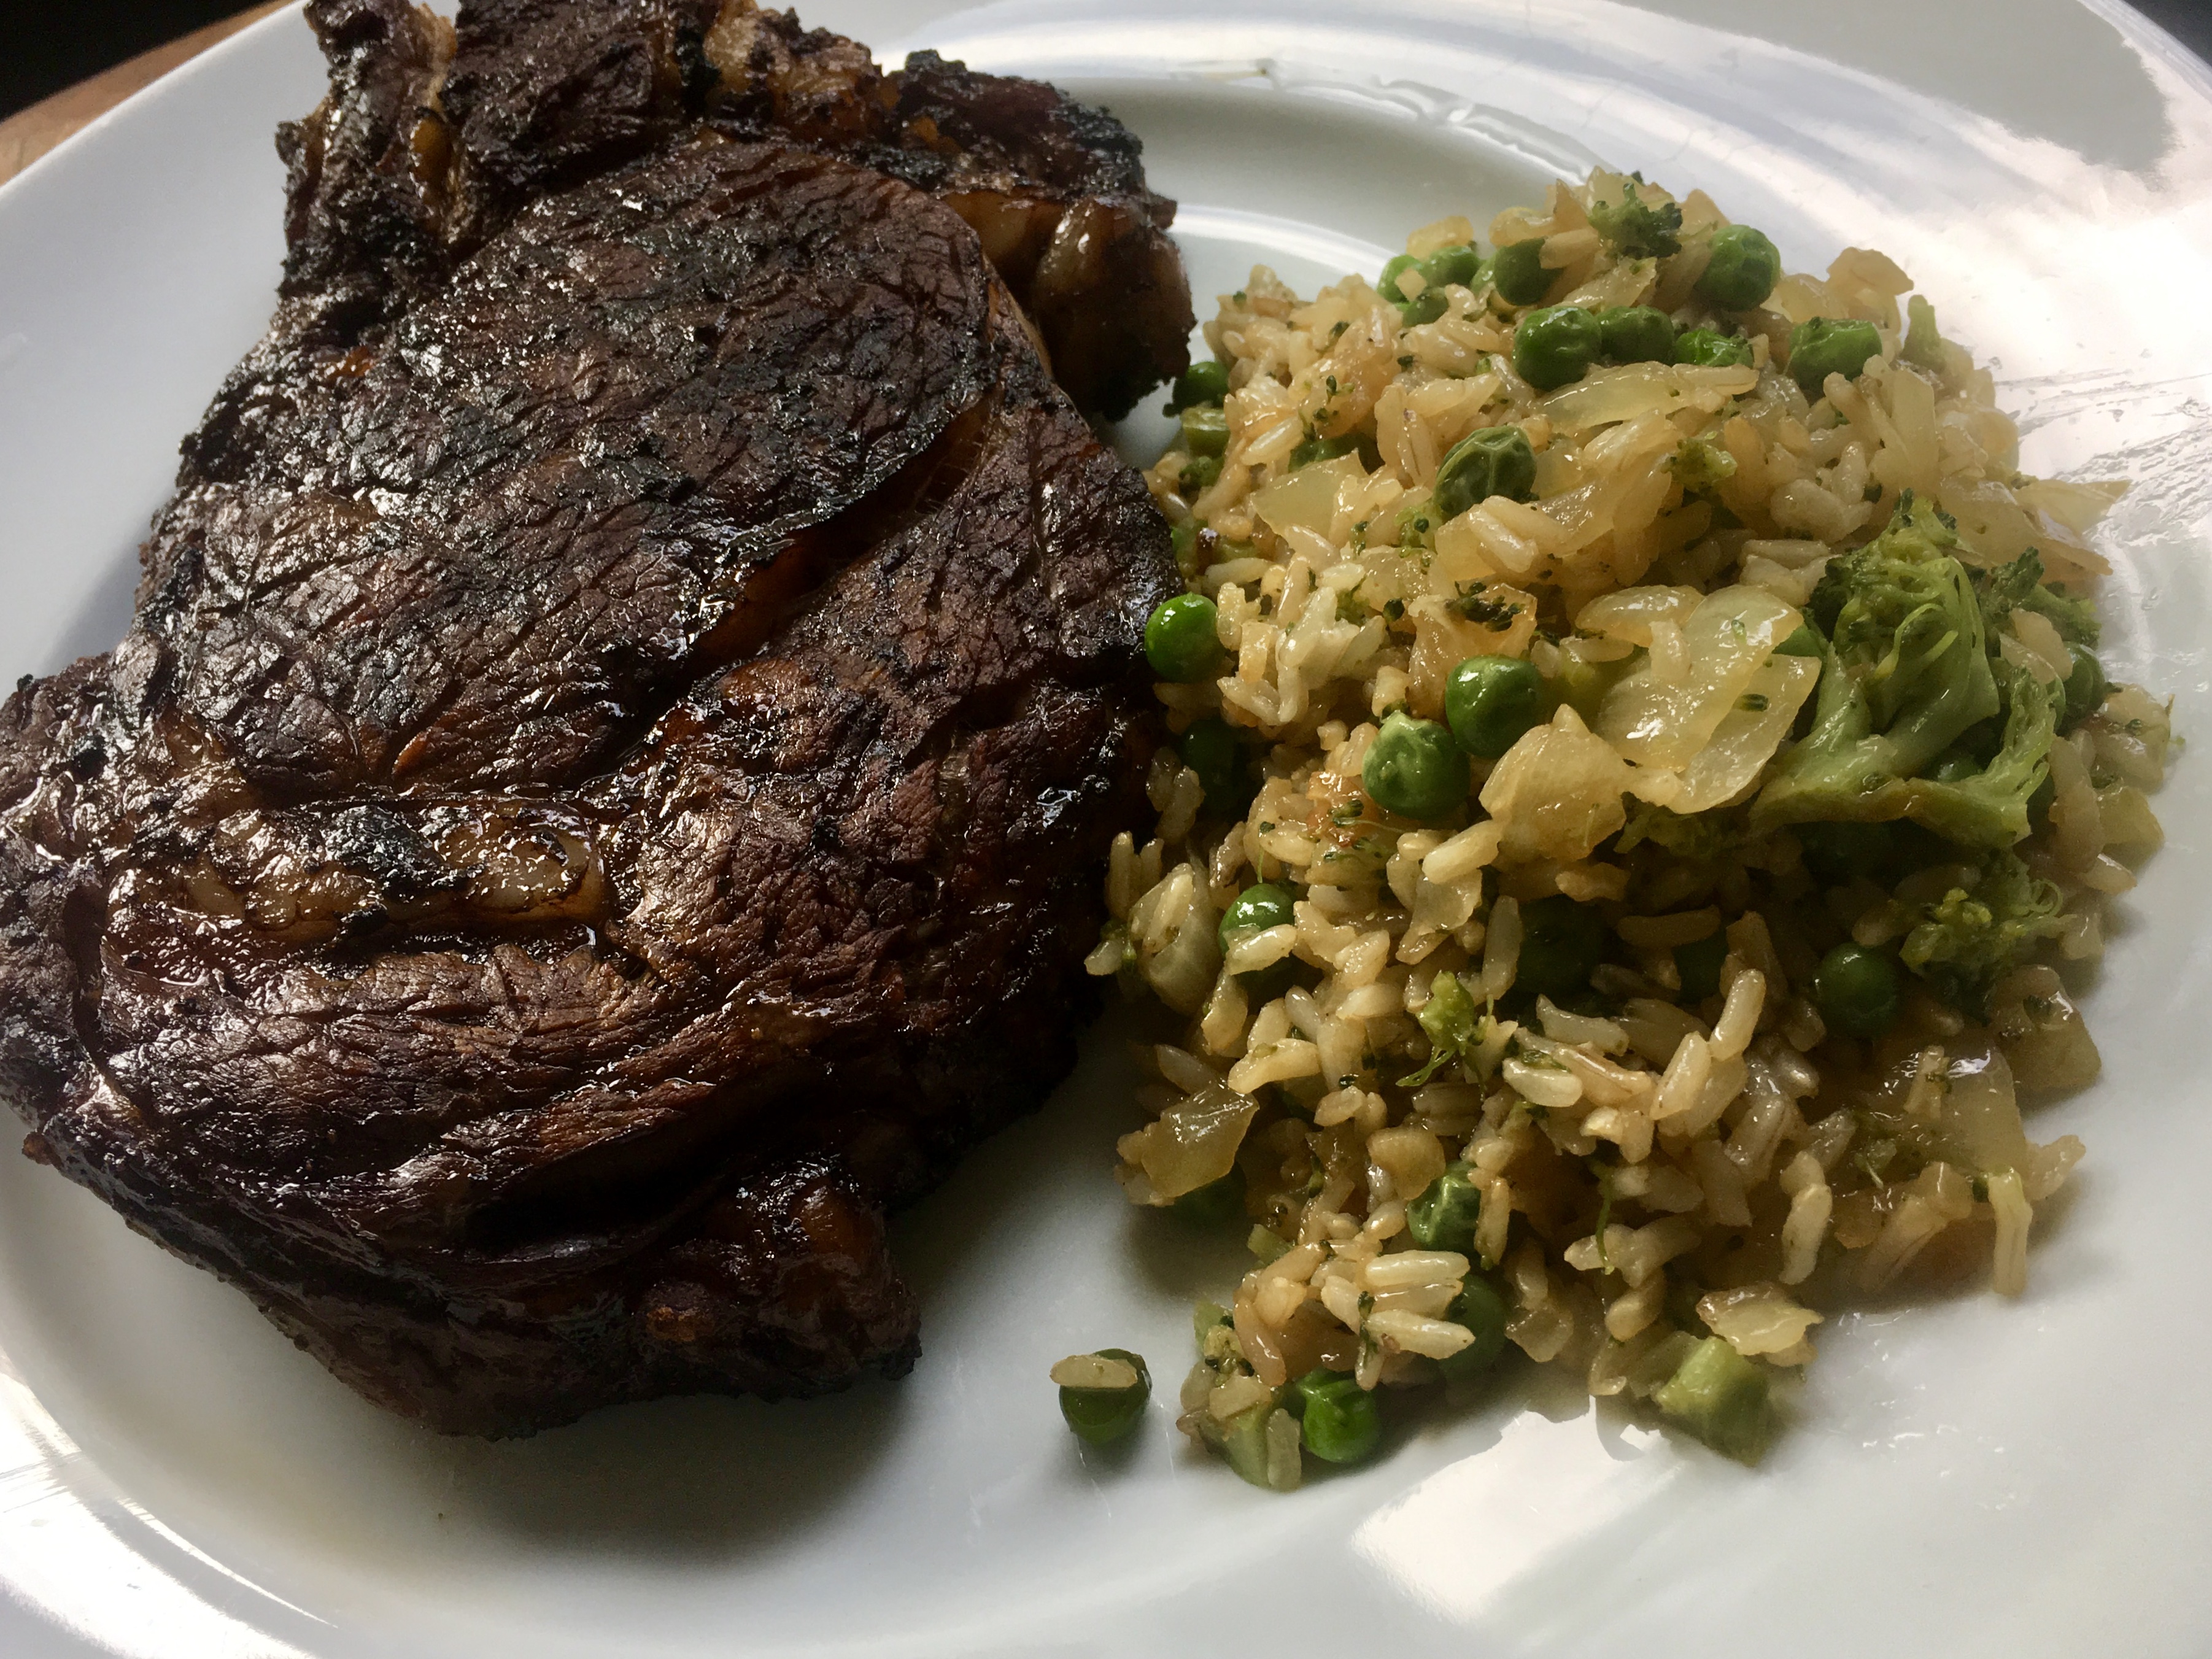
Marinated grilled ribeye with a side of fried rice…an easy combination of veggies and rice leftovers I had in the fridge with a dash of soy sauce.


I find little or no difference between the stove in my kitchen and an outdoor gas grill…so I don’t own one. I can make a perfectly delicious steak by searing it in a cast iron pan on the stovetop, then finishing it in a hot oven. So, for me, if the real reason for outdoor grilling is flavor, nothing can replace a hardwood charcoal grill.

Besides the quality and source of my beef, wood and smoke are what make the difference between a good steak and a great steak.

beef brisket

I know the #1 argument for going with gas over hardwood charcoal is time. “It takes too long to start a charcoal grill.” That’s completely untrue. It takes no more time to light a charcoal fire than it does to start up a gas grill.

Of course, it starts with the grill itself. The classic Weber is still an awesome choice. For larger cooking needs, I also have a Primo ceramic grill.

Then I get a bag of hardwood charcoal. I’m not talking charcoal briquets, like Kingsford, that have a ton of additives in them. And I’m definitely not talking about Match Light. I’m talking pure hardwood charcoal, easily found in supermarkets and home stores.

Next: a charcoal chimney. It’s a metal tube with a handle and a grate at the bottom. I crumble a couple of sheets of newspaper into the bottom, pour charcoal into the top, light it, and I have hot coals in 10 minutes without lighter fluid.

And I NEVER use lighter fluid! Why spend good money on a great steak only to make it taste like gasoline?

The variety of wood chips available for smoking is another flavor factor when it comes to grilling with charcoal. My personal favorite is hickory, especially when I’m cooking pork or chicken. But apple, cherry, oak, mesquite: they all impart their own unique flavors. And they’re all available in most home stores where you find all the other barbecue gear.

Although I have an electric smoker for those low-and-slow jobs, like a big ol’ brisket or pork shoulder, I don’t need it when grilling a steak. I simply soak some wood chips in water for about a 1/2 hour before grilling (I’ve found that hot water speeds the process up), drain the water, and then sprinkle the moist chips on the hot coals in my grill. I throw the meat on the grill, close the lid (opening the vents, of course) and off we go.

So now, in 10 minutes, I’ve got a grill that’s ready to cook a steak with…about the same time as gas.

If you say: “I don’t cook with charcoal because it’s so messy!” …I honestly don’t know if you and I can be friends.

Because I’m using a small amount of hardwood charcoal for the average dinner, I don’t have to clean out my grill every time I use it. After a while, yes, some ashes pile up in the bottom of my grill and I have to dump them. But because they’re pure wood ashes, I can dump mine into my strawberry or raspberry patch. They love the stuff.

You still have to clean a gas grill after a while, and it always runs out of propane halfway through cooking when you have guests over for dinner. So where’s the convenience in that?

Charcoal grills give you everything you could ask for: low maintenance, ease of use–no propane tanks, valves and igniters–real wood flavor, not lava rocks, and the thrill of cooking meat over a real fire, bonding with the caveman in you. Grab a beer–or even better: a bourbon on the rocks–and start grilling!

When I was a kid, no visit to a Chinese restaurant was complete without an order of those sweet, greasy and radioactive red spare ribs. They came in that foil-lined bag that barely kept them warm until my dad got us home to devour them along with the other classics: fried dumplings, and won ton soup with fried won tons on the side. I still see those ribs on menus even today, and despite my cravings, I just don’t eat fire-engine-red-dyed food anymore.

Imagine my excitement when I saw a recipe for those classic spare ribs in a food magazine. I figured I’d just make them without the food coloring. It totally worked.

I don’t think I’ve ever made a recipe exactly as written, and this was no exception. For one thing, it called for dry sherry. I didn’t have it so, I used dry marsala wine. I didn’t even have the pork ribs, so I substituted a beautiful slab of grass-fed beef flap. It was awesome. But using pork ribs and dry sherry in the same quantities you see here will totally work.

1/3 cup hoisin sauce
1/4 cup soy sauce
3 tablespoons dry marsala wine
2 cloves garlic, finely chopped or through a press
2 tablespoons sugar
1/2 teaspoon Chinese five spice powder
2 lbs. beef flap (skirt steak or hanger steak works, too)


To make the marinade, combine the hoisin sauce, soy sauce, marsala, garlic, sugar and Chinese five spice in a bowl. Mix well.

Trim the excess fat and silver skin off the beef flap, and if it’s thick, slice it lengthwise to make a thinner piece of meat about 1/4″ to 1/2″ thick.

Place the meat in the marinade, making sure it gets well coated on all sides. Marinate the meat at room temperature for about 30 minutes. If you have a thicker cut of meat, you can marinate it longer.

Drain and discard the marinade.

Heat a cast iron pan and add a little lard or oil. Place the beef flap pieces in the pan, searing well on one side before flipping over to the other. If the meat is thin, you can cook it to a medium-rare right there on the stove top. You might need to finish the beef in a 350-degree oven if you’re using a thicker cut.


To make the Chinese ribs with this marinade: simply place the ribs and the marinade in a Ziploc bag at room temperature for 30 minutes. Pre-heat the oven to 350 degrees, and place the ribs on a baking sheet with a wire rack on top. Save the marinade…and baste the ribs with it every 30 minutes, turning the ribs over as you do so. Cook until the ribs are done, about 2 hours.


A LOOK AT GMO’S

Posted: May 10, 2024 in beef, Carnivore!, chicken, Food, pork
Tags: , , , , ,

The controversy over the positives and negatives of GMO’s continues, and I found an old blog from many years ago that I think is worth repeating. I think people that don’t think GMO’s are a bad deal probably don’t completely understand the situation.

My friends at FireFly Farms in Stonington, Connecticut, understood GMO’s better than most. Family owned and certified humane, they raised heritage breeds of pork, pastured chickens, and rare cattle.

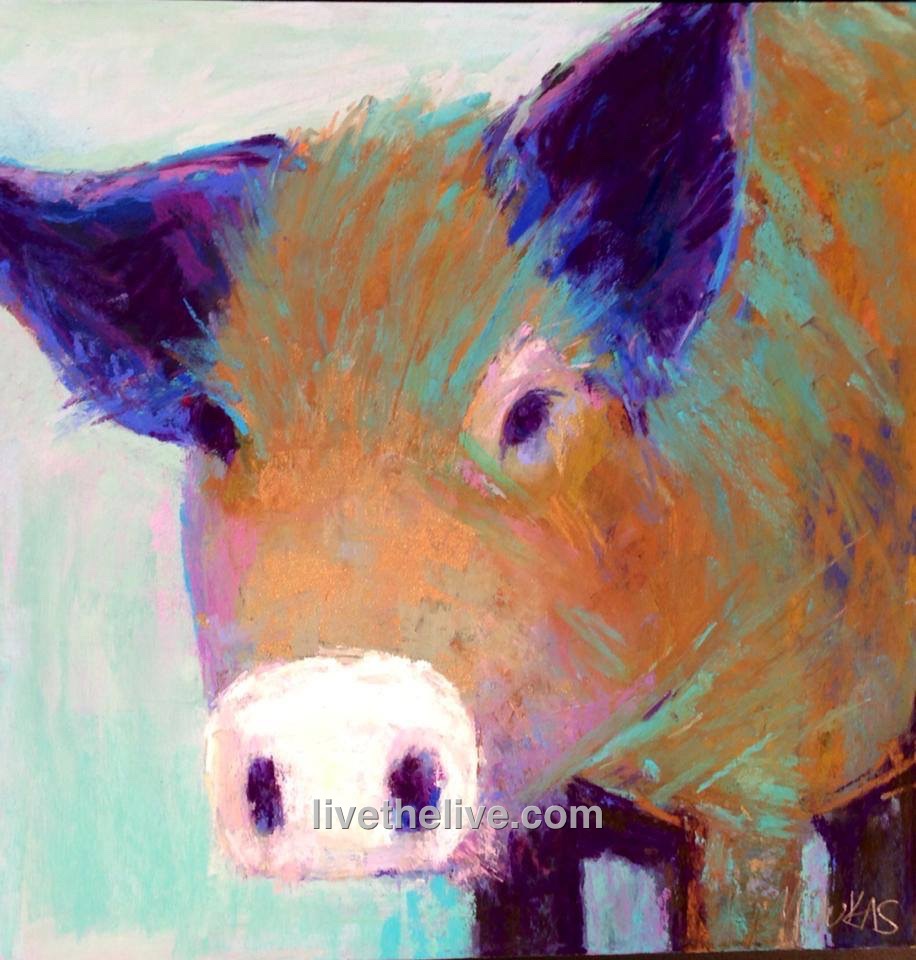
Max Mule, by Kelly Milukas

Max Mule, by Kelly Milukas

This was a post from the past on FireFly owner Van Brown’s Facebook page. I’m reprinting with his permission. It’s simple and to the point.

Hi everyone.

I have been thinking about the debate on GMO’s and labeling.

A lot.

Let’s imagine a world where there are two types of pudding cups.

The Blue Pudding Cup definitely will not hurt your kid.

The corporation that makes The Red Pudding Cup states that all the negative tests about The Red Pudding Cup are wrong and they have made lots of tests themselves showing that The Red Pudding cup is okay.

You know The Blue Pudding Cup is safe. There are tests both ways, remembering that many of the tests were funded by The Red Pudding Cup Corporation, so the best you can know is The Red Pudding Cup pudding will probably not hurt your kid. At least according to The Red Pudding Cup Corporation.

Which pudding cup would you buy to feed to your child?

One last thought…

Would it be okay for The Red Pudding cup to put their pudding into a Blue Pudding Cup so no one would know which type of pudding they are feeding their children… your children?
Van

BURGER HACK

Posted: April 26, 2024 in barbecue, beef, Carnivore!, Food
Tags: , , ,

I’ve bought many burger presses in my day, and I’ve found that the meat gets stuck inside them after pressing, making removal somewhat difficult. Some presses have so many parts to them, they get lost in my cabinet or jam up the dishwasher. Frankly, every one that I’ve bought over the years was a waste of money.

Chances are, somewhere in your storage area, you’ve got a wide mouth Mason jar with a metal top, composed of a flat lid and the band that goes around it and screws onto the jar top. As long as they’re not rusty, you can use them to make perfect quarter-pound burgers. If they are rusty, you can buy a half-dozen lids and bands for just a few bucks in any supermarket.

image

I get my burger meat in 1-lb. packs. If they’re frozen, I let them thaw wrapped. Then I cut the meat into quarters, simply eyeballing it. Each quarter-pound of meat fits quite nicely into the Mason jar top. I flip the top over and press down to compact it, then push the flat lid through the band, and out pops a perfect quarter-pound burger.

Once I’ve got all my burgers made, I place them on a small sheet pan lined with non-stick aluminum foil and keep them in the fridge until I’m ready to cook.

The lid and band go in the dishwasher, and can be used over and over.


I missed posting my annual corned beef prep for St. Patty’s Day, but who says you have to only eat corned beef once a year? After all, corned beef isn’t really an authentic Irish dish.

The phrase “corned beef” was coined by the British. Although the Irish were known for their corned beef throughout Europe in the 17th century, beef was far too expensive for the Irish themselves to eat and all of it was exported to other countries. Owning a cow in Ireland was a sign of wealth, and the Irish used theirs for dairy products, not beef.

The Irish ate pork, and a lot of it, because it was cheap to raise pigs, and they traditionally prepared something like Canadian bacon to celebrate St. Patrick’s Day in Ireland.

In the 1900’s, when the Irish came to America, both beef and salt were more affordable, and the Irish, who lived in poor, tight-knit communities, often next to Jewish communities, bought much of their beef from Kosher butchers. And so many of the Irish learned how to corn their beef using Jewish techniques, but adding cabbage and potatoes to the mix. That’s what we have today.

It takes about 3 weeks to make corned beef. Doing it yourself is not difficult. It just takes time.

Corned beef has nothing to do with corn. ‘Corning’ is a technique for preserving raw meats for long periods by soaking it in a salt brine. This method was used in England before the days of commercial refrigeration. Back then, the large salt kernels used in the brine were called “corns.”

Brining is a time-honored way of preserving meat and it prevents bacteria from growing. Both pastrami and corned beef are made by this method. Both start with a brisket of beef. Corned beef is then cooked–usually boiled–and served. Pastrami is made when the brined meat is rubbed with more spices and then smoked to add extra flavor. So corned beef and pastrami are the same meat, just treated differently.

Saltpeter is an ingredient that has been used in brining beef for years. It adds the traditional pink coloring to the corned beef and pastrami meat, a bit more appetizing than the gray color it tends to have if you don’t use it.

Saltpeter can also contain carcinogens, so there’s always talk of avoiding it. It’s found in pink curing salt, which is used in small amounts during the curing process. (Not to be confused with Himalayan pink salt, which is just plain salt.) Since I only make my corned beef once a year, I’m OK with it either way. The general rule of thumb is only 1 teaspoon pink curing salt per 5 pounds of meat.

I get grass-fed brisket in 10-pound slabs, but use whatever size you find comfortable. Just don’t go too small, or the brine will make that tiny piece of meat extremely salty.


Brining the beef brisket

Brining the beef brisket

Step one: corned beef…

beef brisket (about 8-10 pounds)
2 teaspoons paprika
1/4 cup warm water
3 cloves of minced garlic
2 tablespoons sugar
1 tablespoon mixed pickling spices
3/4 cup salt
1 teaspoon pink curing salt (optional)
2 quarts water

Place the brisket in a large container made of non-reactive material, like glass or plastic.

In the 1/4 cup of warm water, dissolve the sugar, minced cloves, paprika and pickling spices.

Dissolve the 3/4 cup of salt (and optional teaspoon of pink curing salt) in the 2 quarts of water. Pour in the sugar/garlic/paprika/pickling spices mix and stir everything together. Pour the mixture over the meat in the container. Make sure the meat is totally beneath the surface of the liquid. (You may need to weigh it down to do this. I place a couple of plates on top, which pushes the meat down into the brine.) If there’s just not enough liquid, double the recipe, leaving out the pink salt the second time. Cover the container.

Refrigerate the container and its contents for 3 weeks, turning the meat once or twice per week. At the end of the third week, remove the container from the refrigerator and take out the meat. Soak the meat in several changes of fresh cold water over a period of 12 hours to remove the excess salt. I add ice to the water to keep the meat cold.

At this point, if you want corned beef, most people boil it.

I prefer to lay some aluminum foil down on a sheet pan. Then I coarsely chop carrots, onions, and celery, placing them in a single layer on the foil. Then I lay my brisket on top of the veggies, and wrap the meat tightly in the foil. I place the baking pan in a pre-heated 350 degree oven and cook for about 3 1/2 hours. (That’s for an 8-pound slab of meat. The cooking time will be less for a smaller cut.)

If you want to make pastrami, there are more steps to take…

Step two: making Pastrami…

pastrami

Brined and rinsed corned beef brisket from above recipe, patted dry with paper towels
1/4 cup Kosher salt
1/4 cup paprika
3 tablespoons coriander seeds
2 tablespoons black peppercorns
2 tablespoons yellow mustard seeds
1 tablespoon white peppercorns
3 tablespoons brown sugar
1 tablespoon granulated garlic

Combine the coriander seeds, black and white peppercorns and mustard seeds in a spice grinder and grind them coarsely. Place them in a bowl. Add the salt, paprika, brown sugar and granulated garlic. Mix well.

Rub the mix into the corned beef well, covering all sides.

Heat your smoker to 225 degrees and smoke the meat for several hours. (My wood of choice is always hickory.) When the internal temperature of the meat has reached 165 degrees, it’s done. It isn’t necessary to smoke pastrami as long as you would a regular brisket because the long brining time makes the meat more tender, and you’ll be steaming it next.

It is very important that absolutely everything that comes in contact with the meat is very clean. (This includes your hands.) Also, make very sure that every inch of the meat reaches the 165 degrees before it is removed from the smoker. The corned beef is now pastrami.

Delis that serve pastrami go one step further: they steam the meat so that it becomes incredibly tender and easy to slice. I place a baking pan with boiling water in the center of a 350° oven. I put a grate on top of it, placing the pastrami on top of the grate. Then I invert a bowl over the pastrami to keep the steam in. I will cook it this way for at least an hour to steam the meat before slicing and serving.

CHIMICHURRI

Posted: February 2, 2024 in beef, Food, grilling, marinade
Tags: , , , ,

Chimichurri is a garlicky, herby green sauce usually used with grilled meats. This pesto-like condiment originated in Argentina and is also commonly used in Nicaragua and Uruguay. Though some recipes include cilantro, many people insist the original is made only with parsley. To pack an extra punch, chimichurri also makes an excellent marinade for grilled meats.

My buddy, Lee, a chemist and avid chimichurri fan, is the inspiration for my version of this sauce. It’s incredibly easy to make. Just make sure to use fresh ingredients, and it’s always a good idea to wash all the veggies before using, even if you’re going organic.


chimi


1 bunch flat-leaf parsley, chopped
1/4 cup water
1 medium onion, chopped
3 cloves garlic, minced
3–4 tablespoons fresh oregano, leaves only (or 1 tablespoon dry)
1 tablespoon paprika
1 teaspoon crushed bay leaf
1 tablespoon coarse sea salt
1 teaspoon freshly ground black pepper
pinch red pepper flakes
1/4 cup red wine vinegar
1/2 cup extra virgin olive oil

Place all the parsley and the water in a food processor and begin to chop, pulsing for a second at a time. When the parsley is in small pieces, stop pulsing and add the remaining ingredients, except the vinegar and olive oil. Start the processor on a full run now, and slowly pour in the vinegar, then the olive oil. Try not to make it too smooth…leave some tasty bits. Allow it to rest for at least 30 minutes, but overnight in the fridge is best.

I marinated 2 grass-fed beef ribeyes in chimichurri overnight, simply smearing the meat with the sauce, and placing the ribeyes in a resealable plastic bag in the fridge. The next day, I let the beef come to room temperature and I wiped the marinade off. I discarded the marinade, then I re-seasoned the beef with a little salt and pepper and pan seared them, finishing them in a 350-degree oven until medium-rare. A little dipping of fresh chimichurri on the side.


Grass-fed beef ribeyes with chimichurri

Grass-fed beef ribeyes with chimichurri


Lots of fresh parsley is key!


I recently saw a recipe that had some chimichurri ingredients but also included avocado, and thought: now that sounds tasty! It’s not the classic recipe, of course, but it is delicious! I can see this used as a dip for veggies or chips. The fresh lime juice keeps the avocado from browning.


1/3 cup extra virgin olive oil
1/4 cup fresh lime juice
1 garlic clove, minced
1 cup finely chopped parsley
1 tablespoon finely chopped oregano, or 1 teaspoon dry oregano
1 Hass avocado, peeled, pitted and diced
Kosher salt

In a medium bowl, whisk the olive oil with the lime juice, garlic and a pinch of salt. Stir in the parsley and oregano and let it stand at room temperature for 30 minutes. Fold in the avocado and season with salt.


Avocado “chimi.” Chunky and tasty.


This “chimi” can be refrigerated for up to 4 hours.

Few dishes scream out “comfort food” like meatloaf. My Mom’s meatloaf was awesome, and she’d cut a huge slab of it onto my plate, with fantastic butter-loaded Pennsylvania Dutch egg noodles on the side. I couldn’t stop eating it.

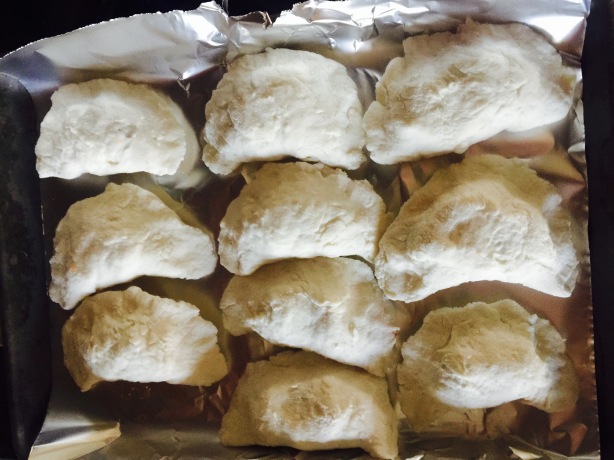
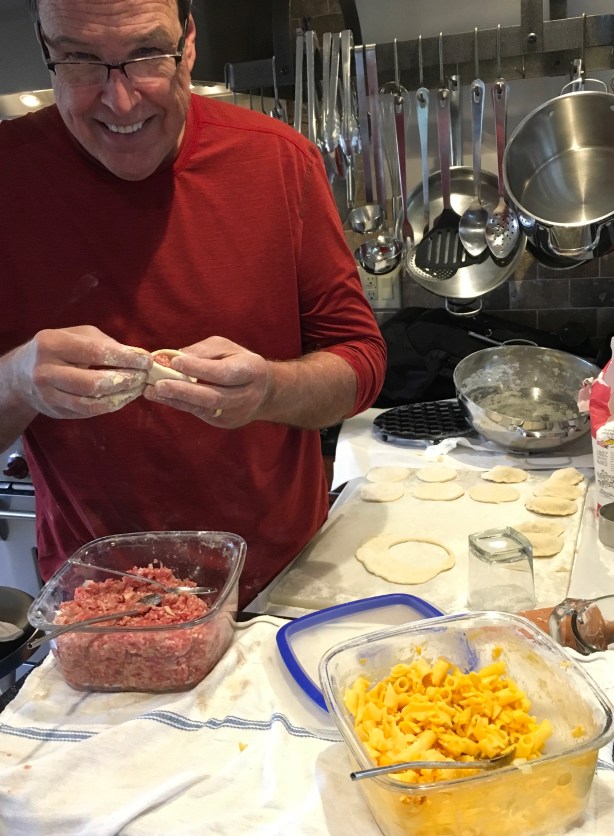
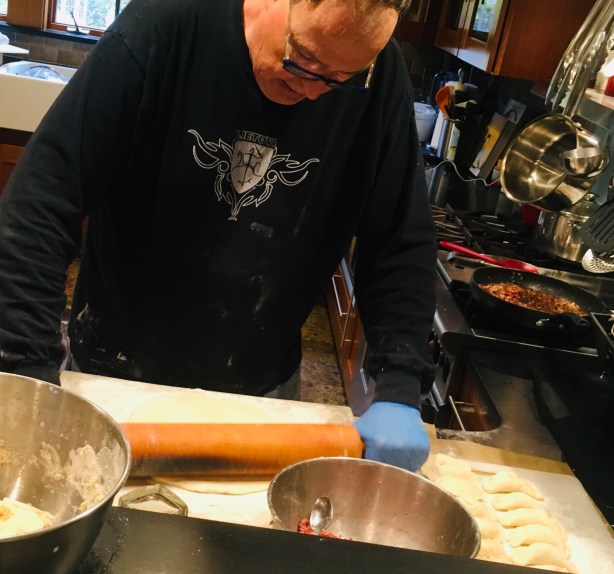
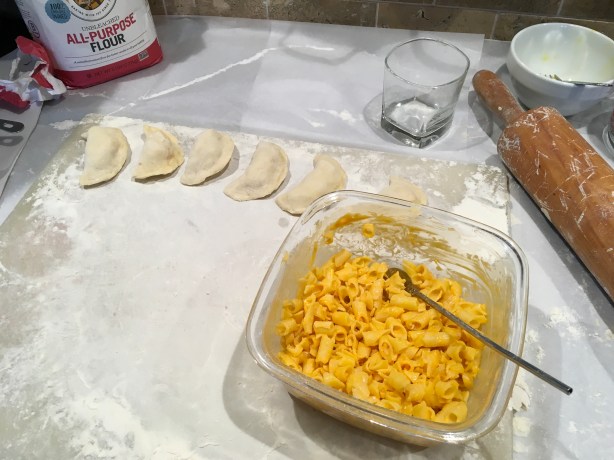
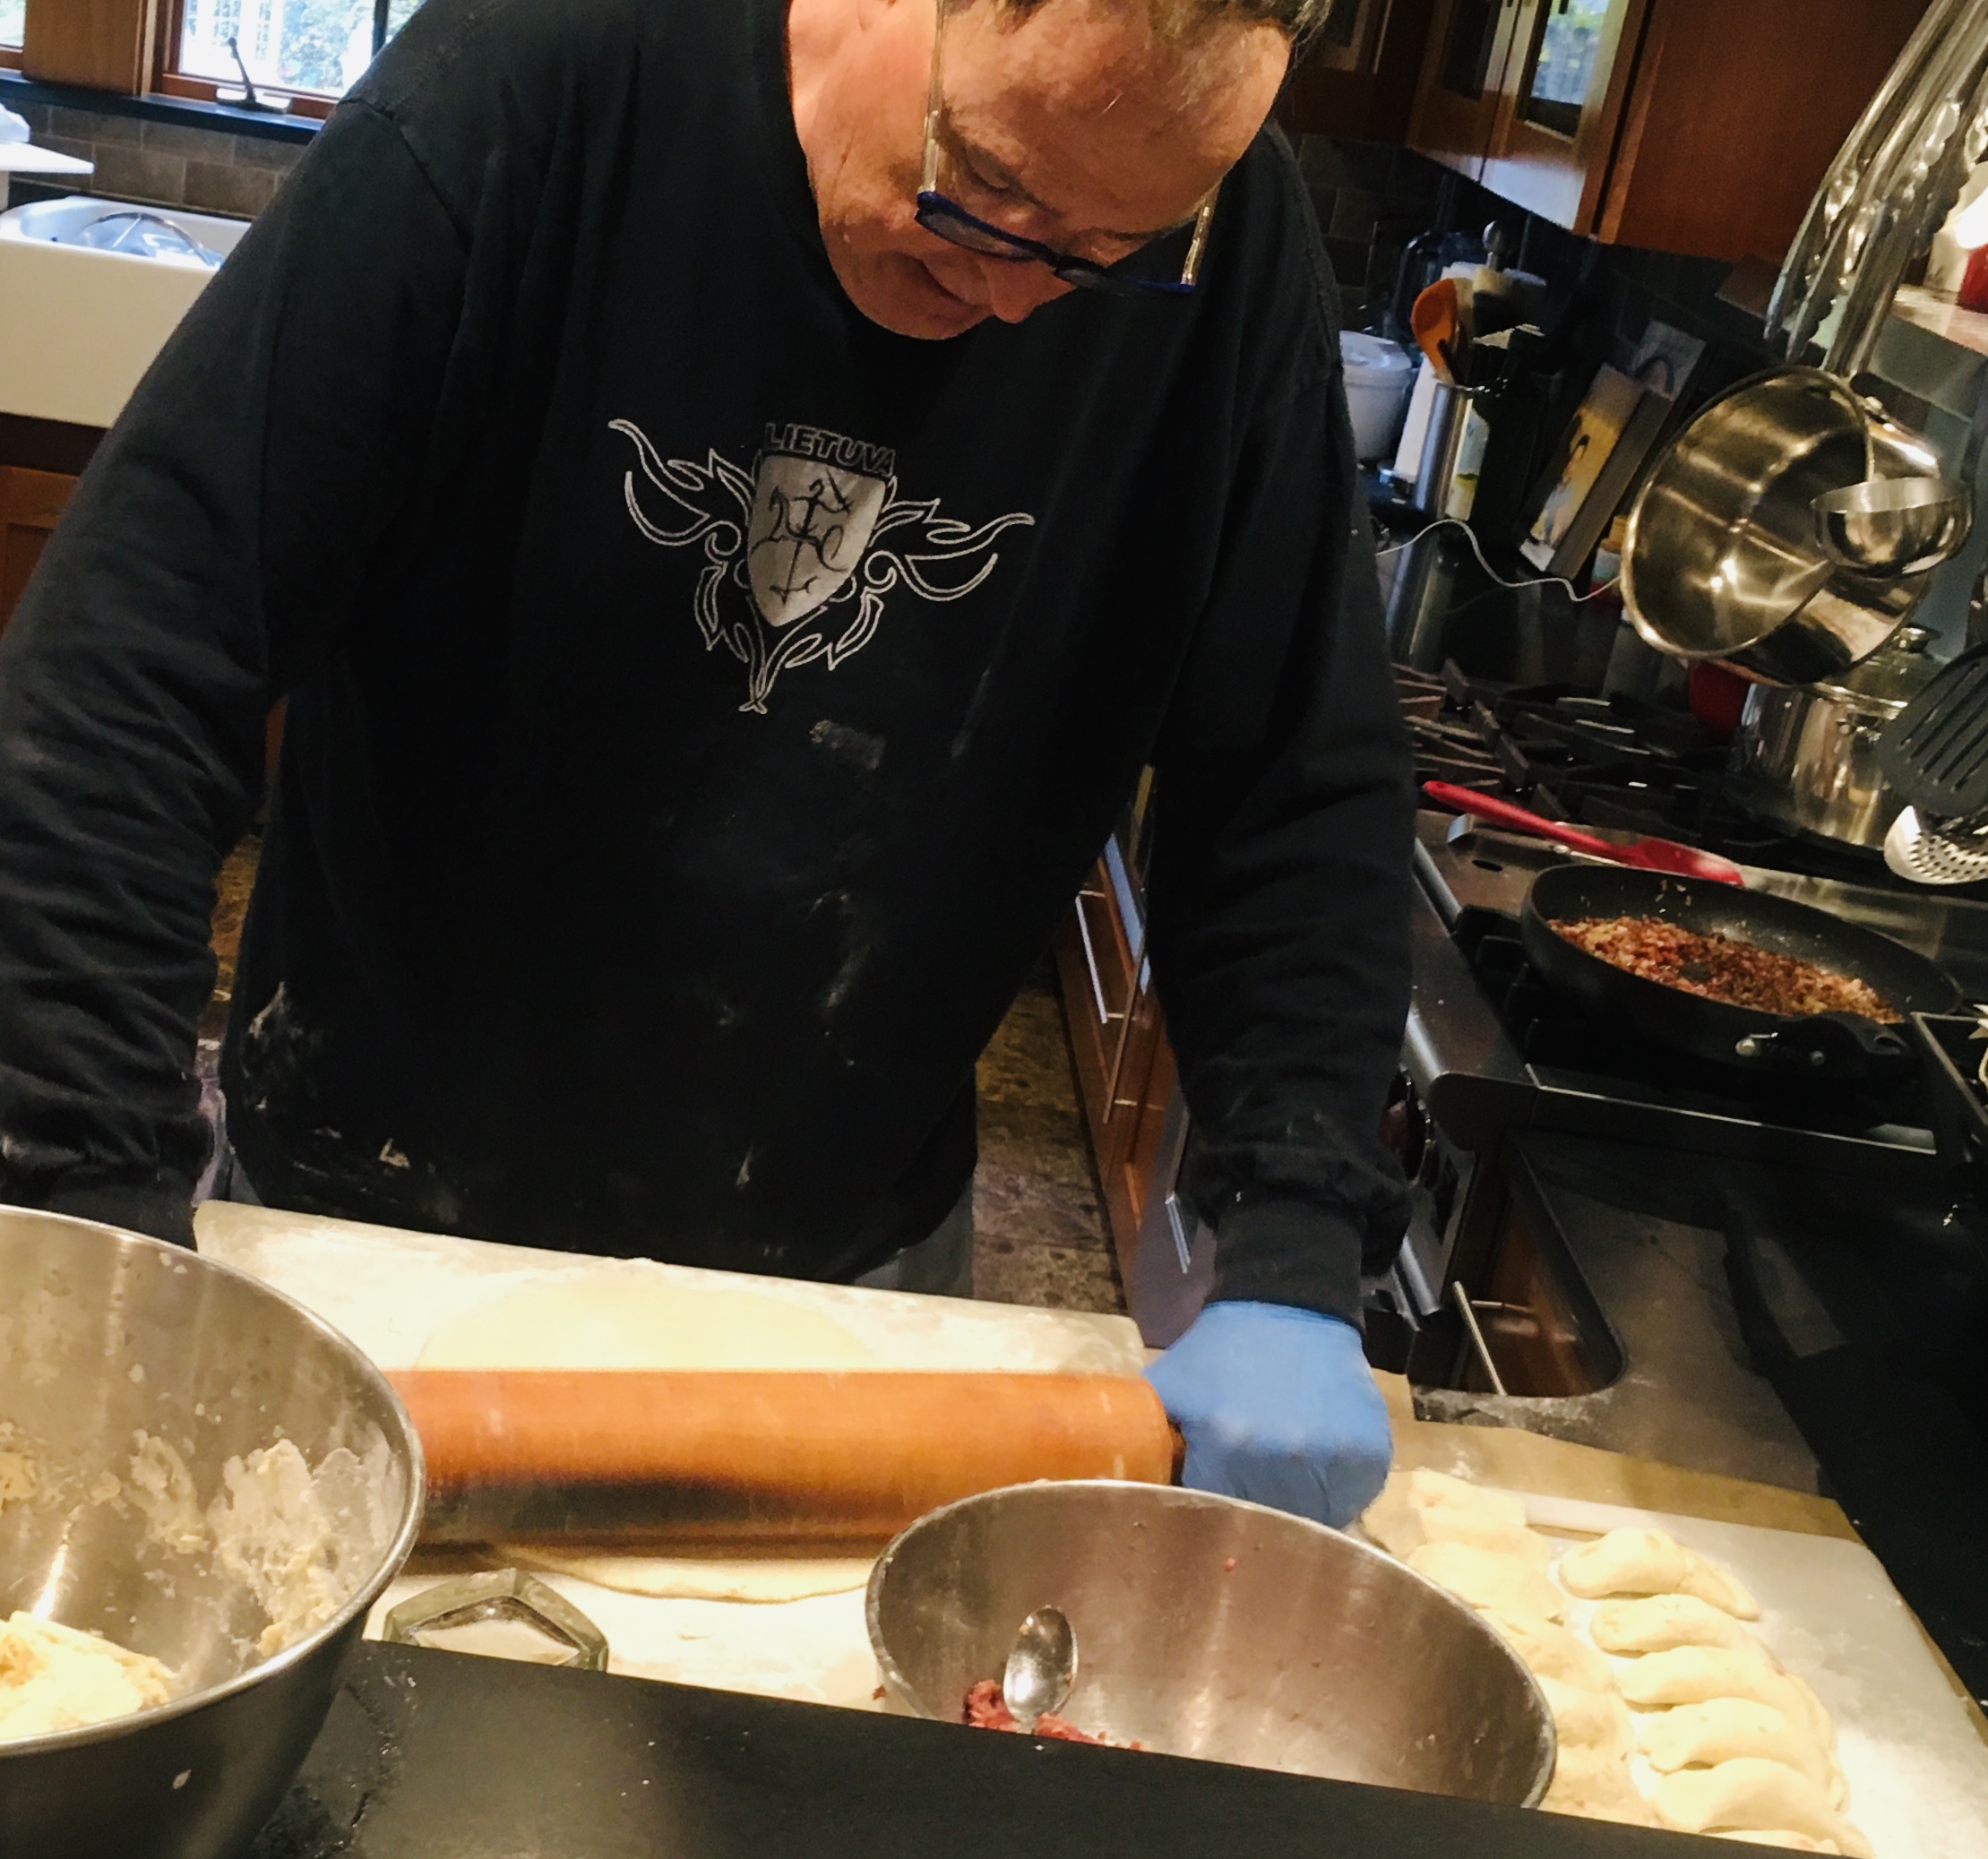
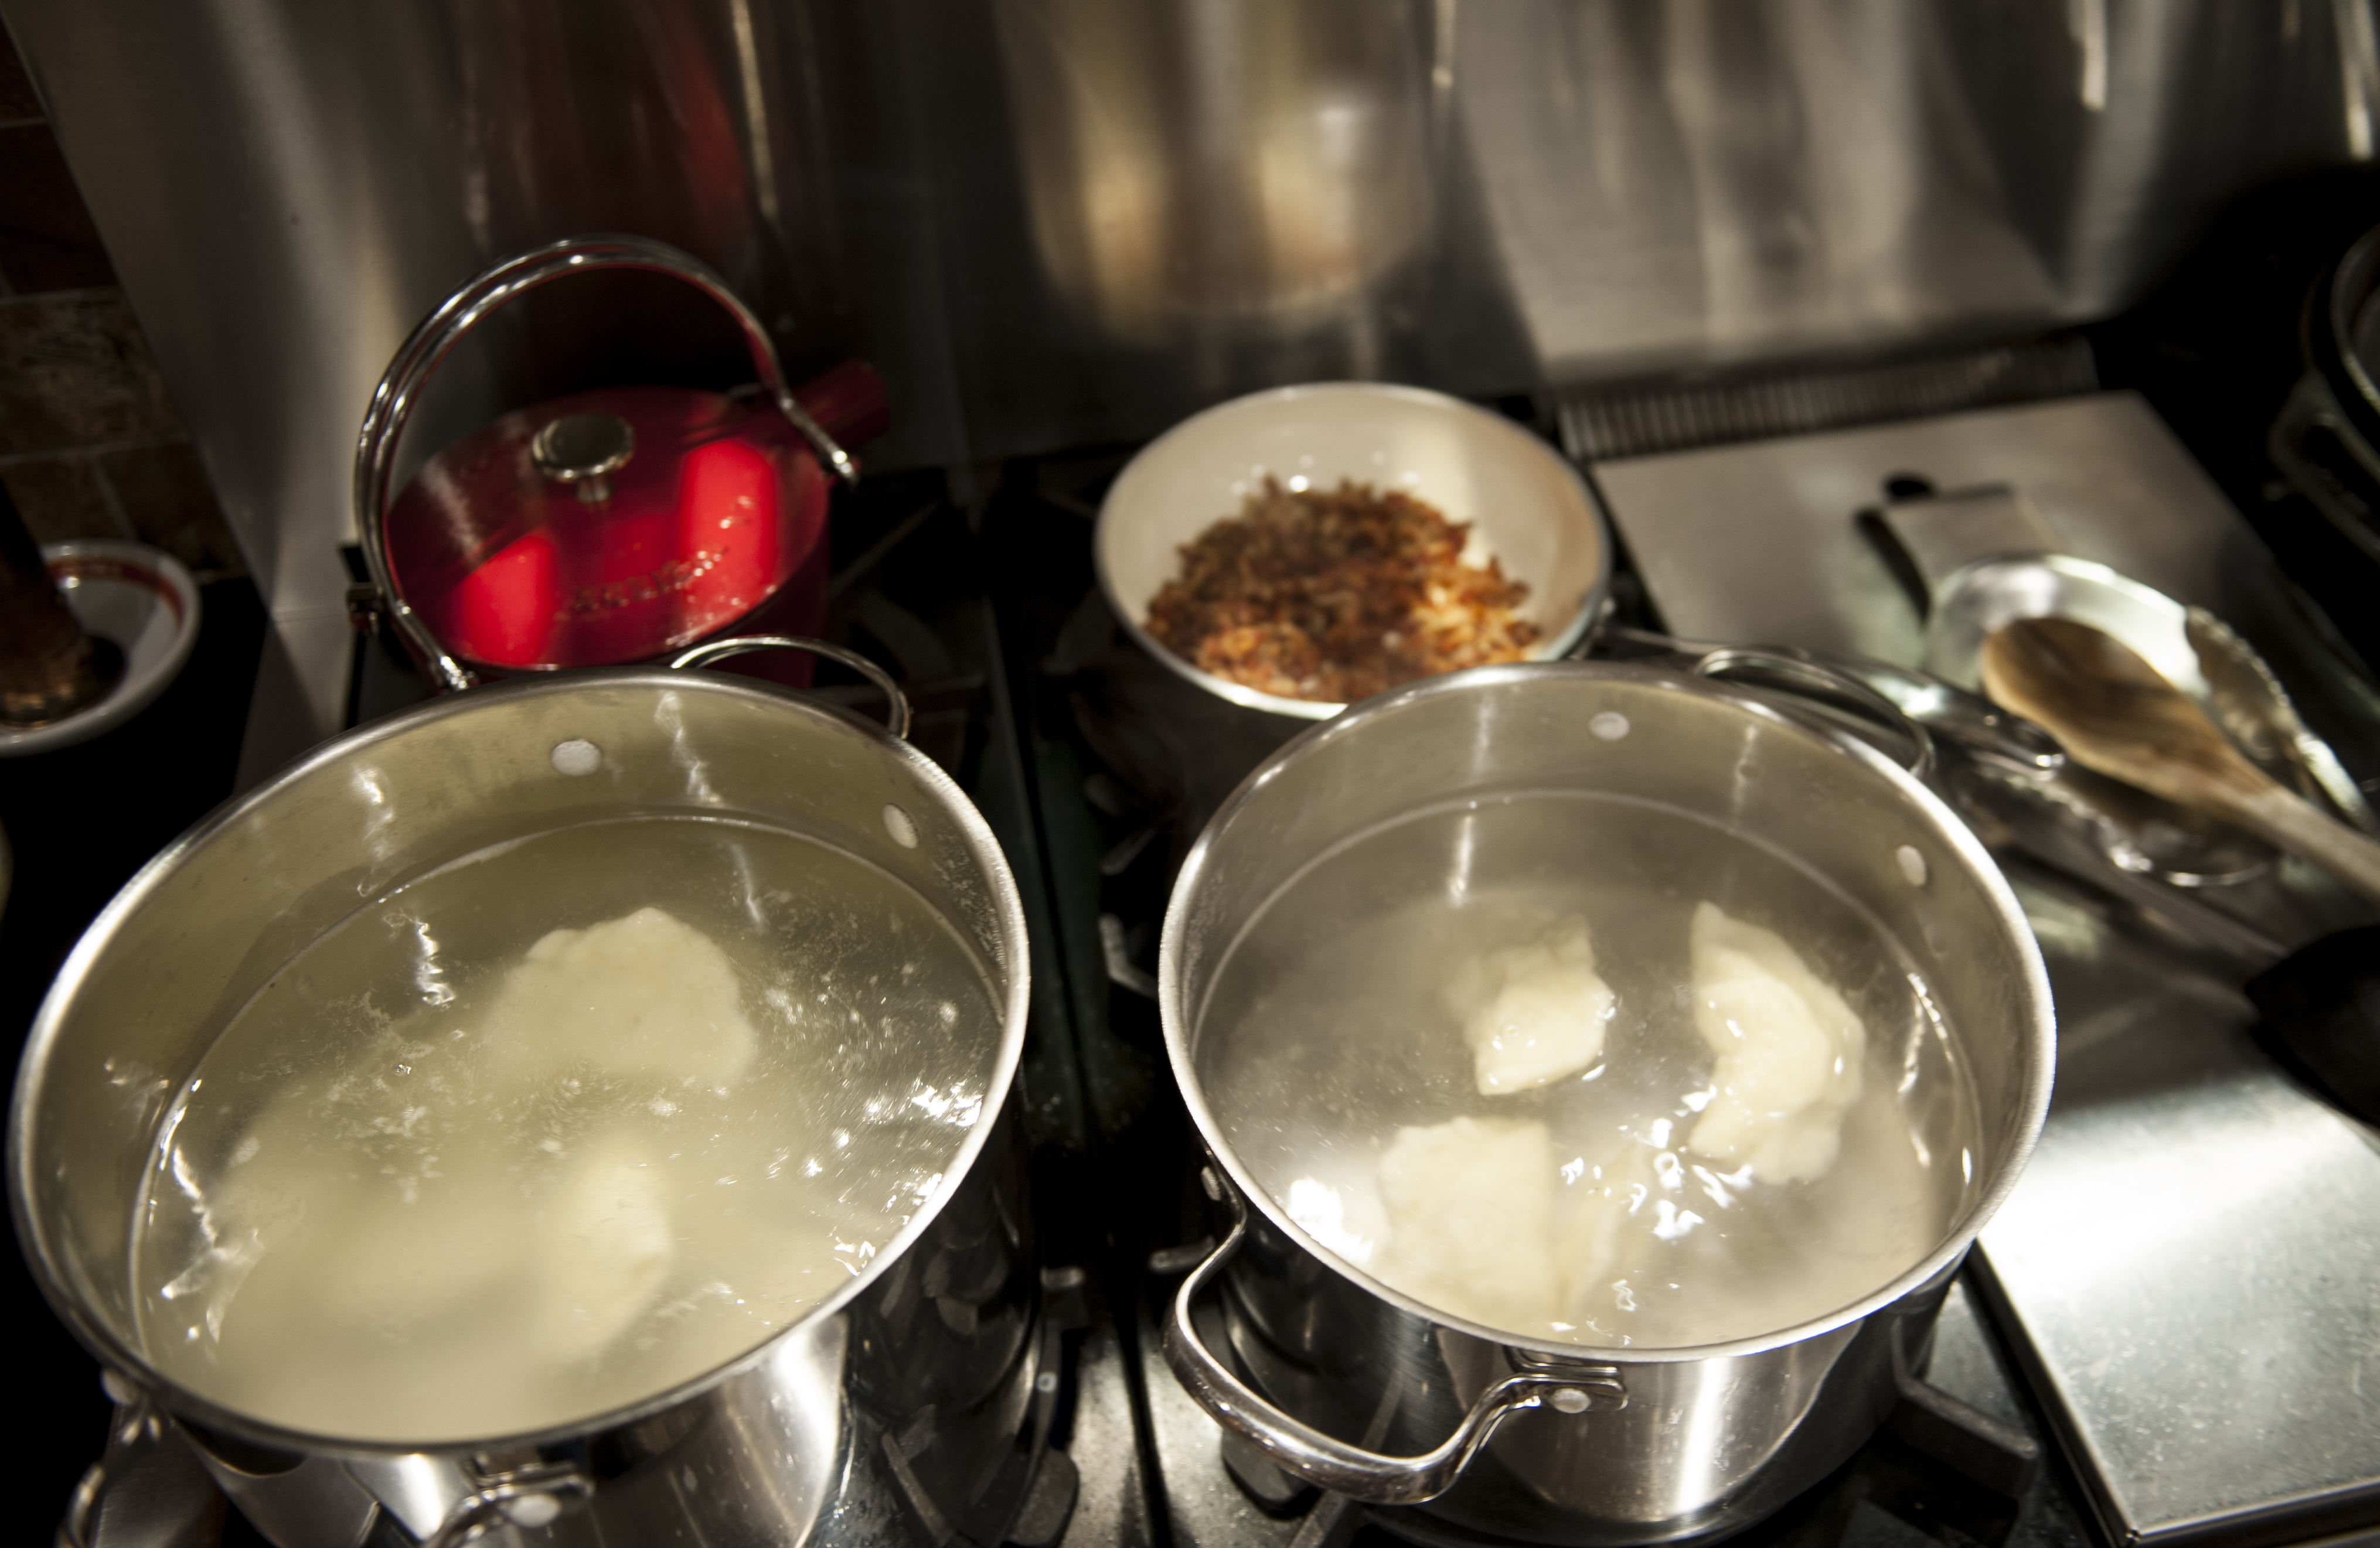
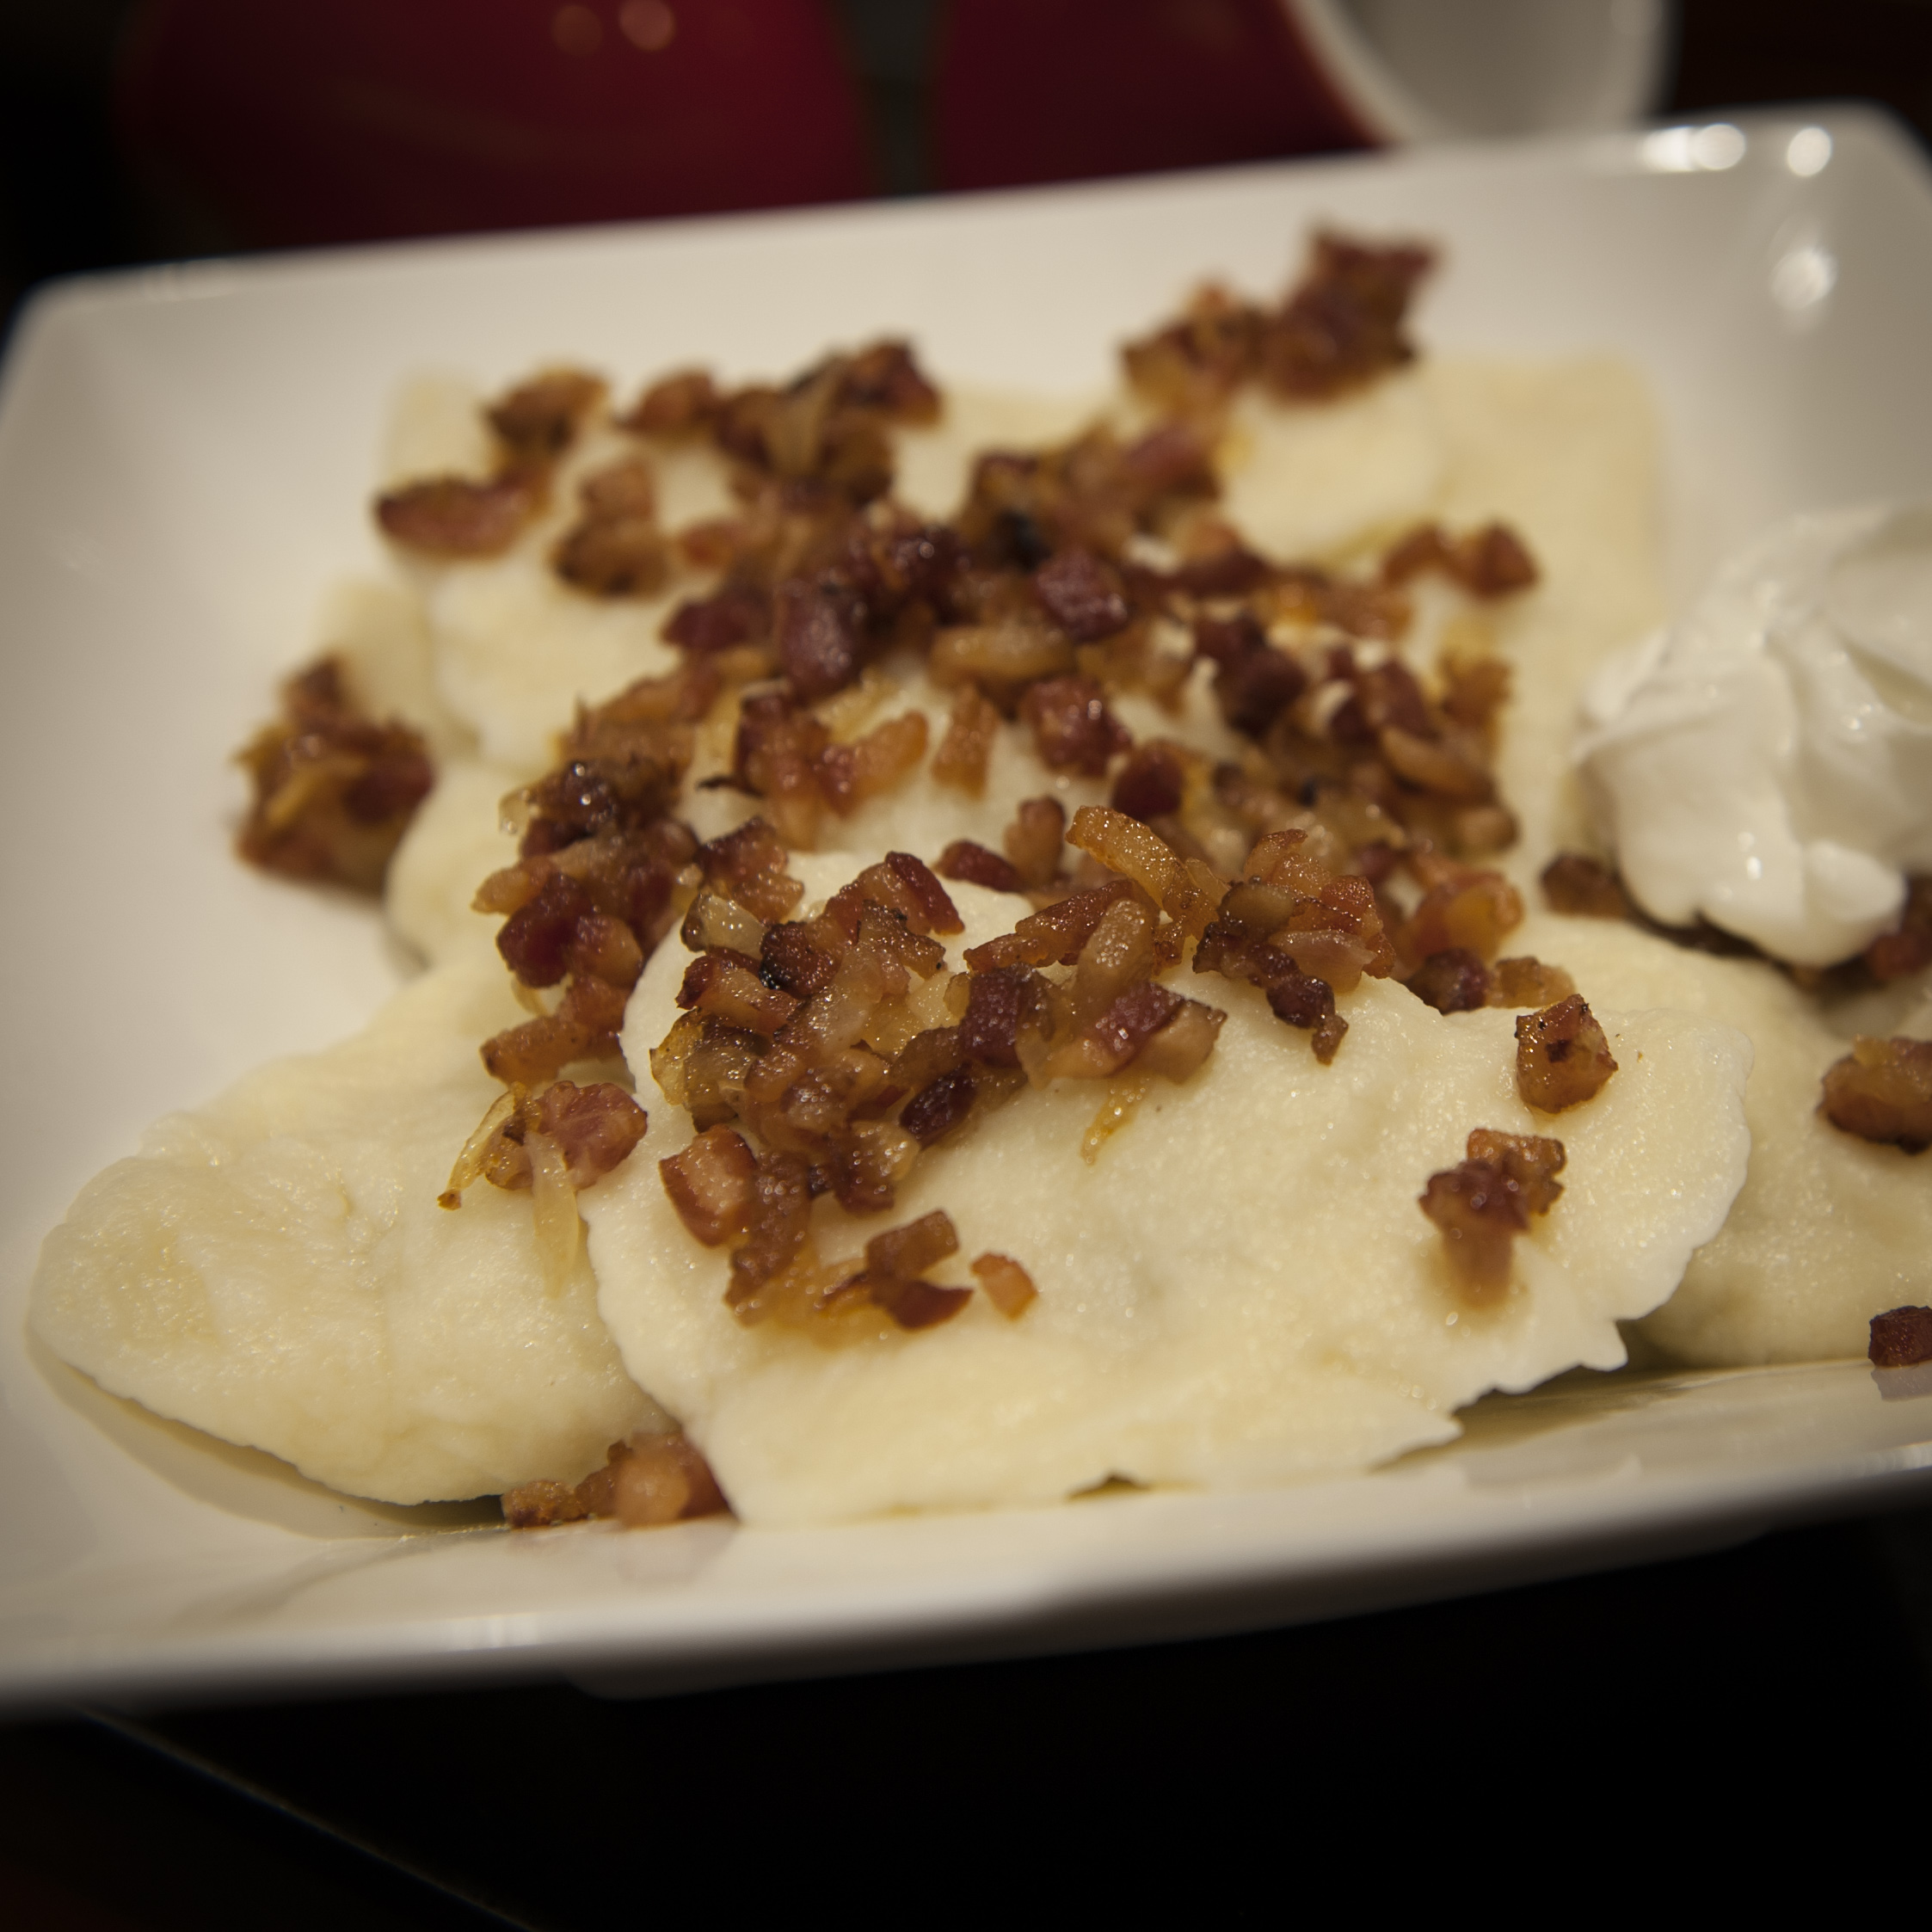
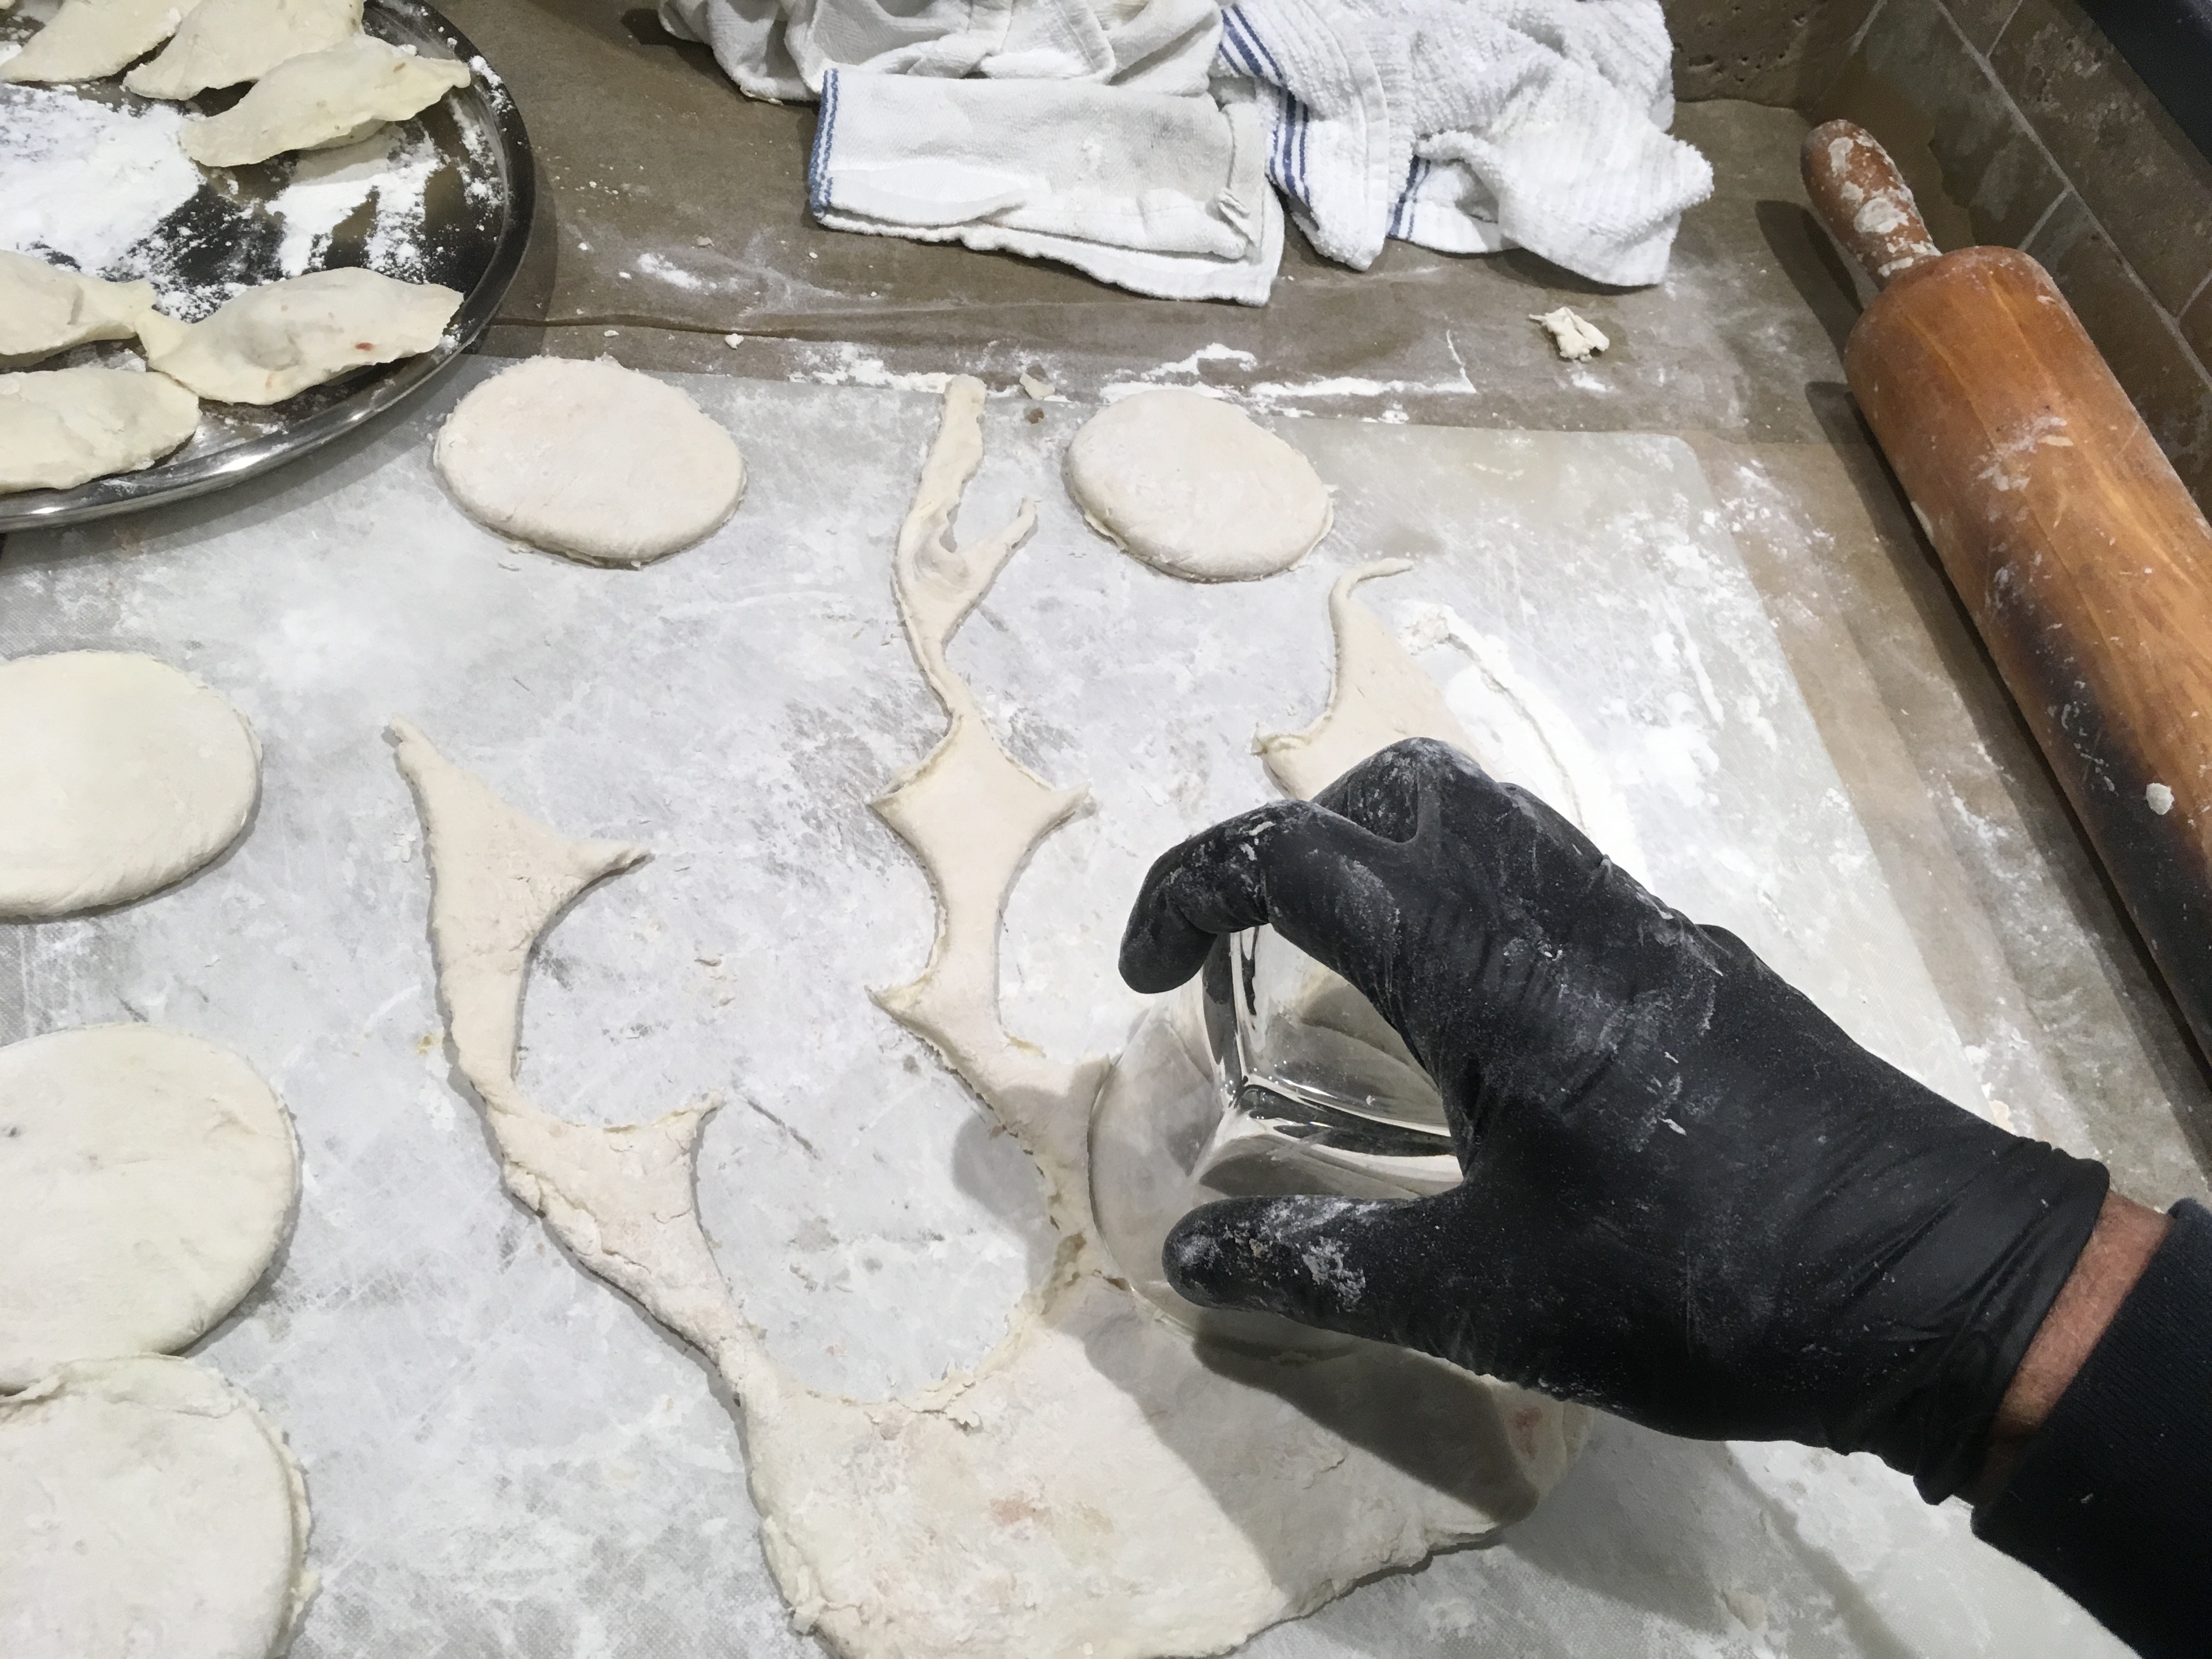
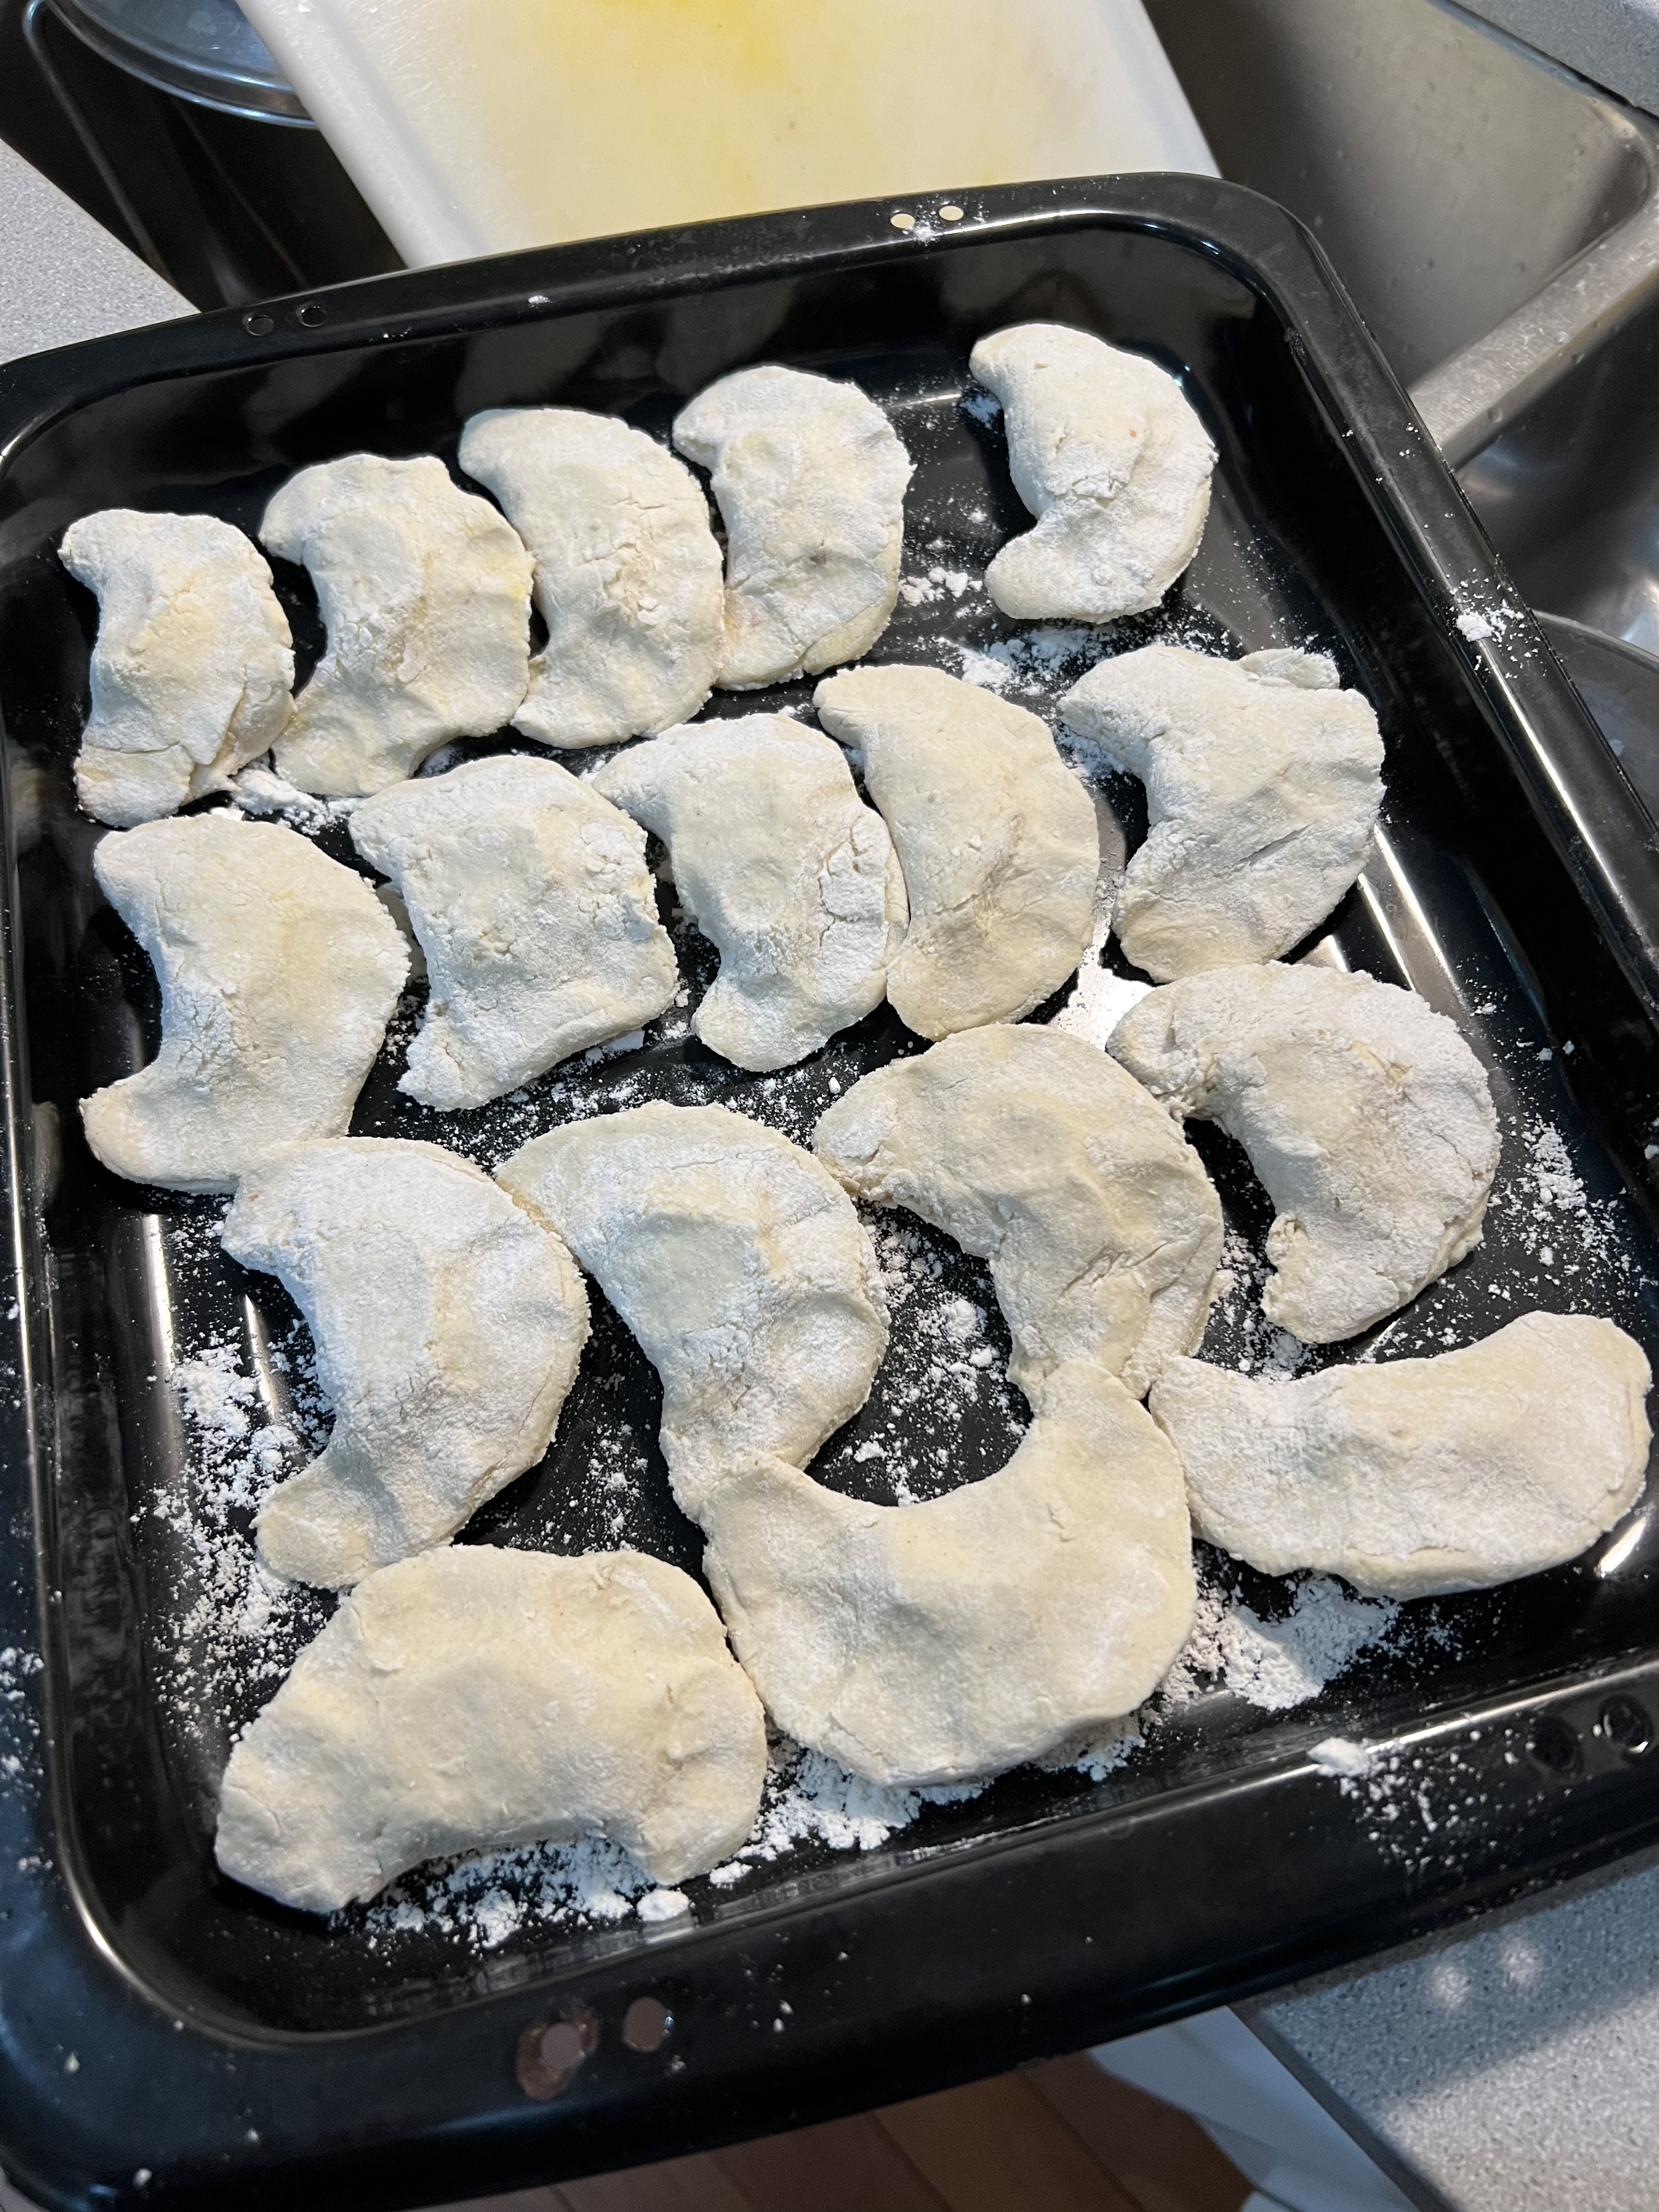
I never thought of making meatloaf when I moved away, because it gave my Mom something special to make for me when I came home to visit. She was thrilled that there was a dish she could make that I would devour every time, without hesitation. (The others were her roasted lamb and Lithuanian pierogis called koldūnai (kol-doon-ay).

But Mom has passed away years ago, so I’ve taken meatloaf matters into my own hands. I never got my Mom’s exact recipe. But I had an idea of what went into it, so I gave it a shot.

The standard mix for my Mom’s meatloaf was one-third each ground beef, pork and veal. I go 2/3’s beef and 1/3 pork instead, unless I can get my hands on humanely-raised veal from a farm down the road. My Mom used Lipton onion soup mix in her meatloaf. I chose to stay away from packaged ingredients which have chemicals and preservatives. And instead of layering slices of bacon on top as many people do, I fry and chop the bacon and mix it into the meat, giving my meatloaf delicious smokey bacon goodness in every bite!

To keep this dish gluten-free, I use GF breadcrumbs. I buy loaves of Udi’s frozen gluten-free bread, toast the bread slices, then put them in a food processor to make great-tasting bread crumbs that have all the flavor of regular bread crumbs, without the gluten.

image

4 strips bacon, fried and chopped
1 yellow onion, minced
1 teaspoon salt
1/2 teaspoon pepper
1/2 teaspoon granulated garlic
pork fat or olive oil
2 lbs. ground beef
1 lb. ground pork
1 cup breadcrumbs
1/2 cup ketchup
2 eggs

Fry the strips of bacon until crisp. Remove the bacon from the pan and chop it fine. Set it aside.

Keeping the rendered bacon fat in the pan, sauté the onion with it until translucent. Add the salt, pepper and garlic. Set the pan aside, letting it cool to room temperature.

In a bowl, combine the meat, bread crumbs, ketchup, bacon, eggs, and the sautéed onion mixture. Form it into a loaf and place it in a loaf pan. Bake at 350 for about an hour.

Delicious, caramelized meatloaf. Leftovers are always welcome!

Instead of opening a nasty can of Manwich or other similar product, the classic Sloppy Joe sandwich is easy enough to make from scratch.

My version takes on a Mexican twist (hence the name Sloppy José), using seasoned taco meat and a great barbecue sauce. Putting them together with a sprinkling of Mexican cheese on a bun with lettuce and tomato makes for one sloppy but delicious sandwich!
 

sloppy jose


For the barbecue sauce…

2 cups ketchup
3/4 cup water
6 tablespoons white vinegar
6 tablespoons apple cider vinegar
6 tablespoons brown sugar
3 tablespoons Worcestershire sauce
1 tablespoon chili powder
2 teaspoons salt
2 teaspoons black pepper
1 1/2 teaspoons cumin


Mix all the ingredients in a saucepan and simmer until the flavors have blended, about 20 minutes. Remove from the heat and cool to room temp. If you store it in an airtight container in the fridge, it’ll stay good for a few months.


For the seasoned taco meat…

1 teaspoon granulated garlic
1 teaspoon onion powder
1/4 teaspoon crushed pepper flakes
1 teaspoon dried Mexican oregano
1 teaspoon paprika
2 teaspoons ground cumin
1 teaspoon sea salt
1 teaspoon black pepper
1 Spanish onion, finely chopped
olive oil
2 lbs. grass-fed ground beef


Combine all the spice ingredients in a bowl.

Sauté the onions in a bit of olive oil until translucent. Add the beef and sauté until cooked, mixing in the spice mixture a little at a time until you’ve used it all.


For the sandwich…

Take some of the taco meat and place it in a small non-stick pan and heat it on medium. Squirt in as much of the barbecue sauce as you like, mixing thoroughly. Sprinkle some grated Mexican cheese on top. (I like Cotija, which is like a Mexican feta, but a bag of mixed cheeses works great, too.) Mix thoroughly, letting it all melt together into one warm, gooey mess. Throw it on a bun. Add lettuce, tomato, avocado slices, whatever you like!