Archive for the ‘Carnivore!’ Category

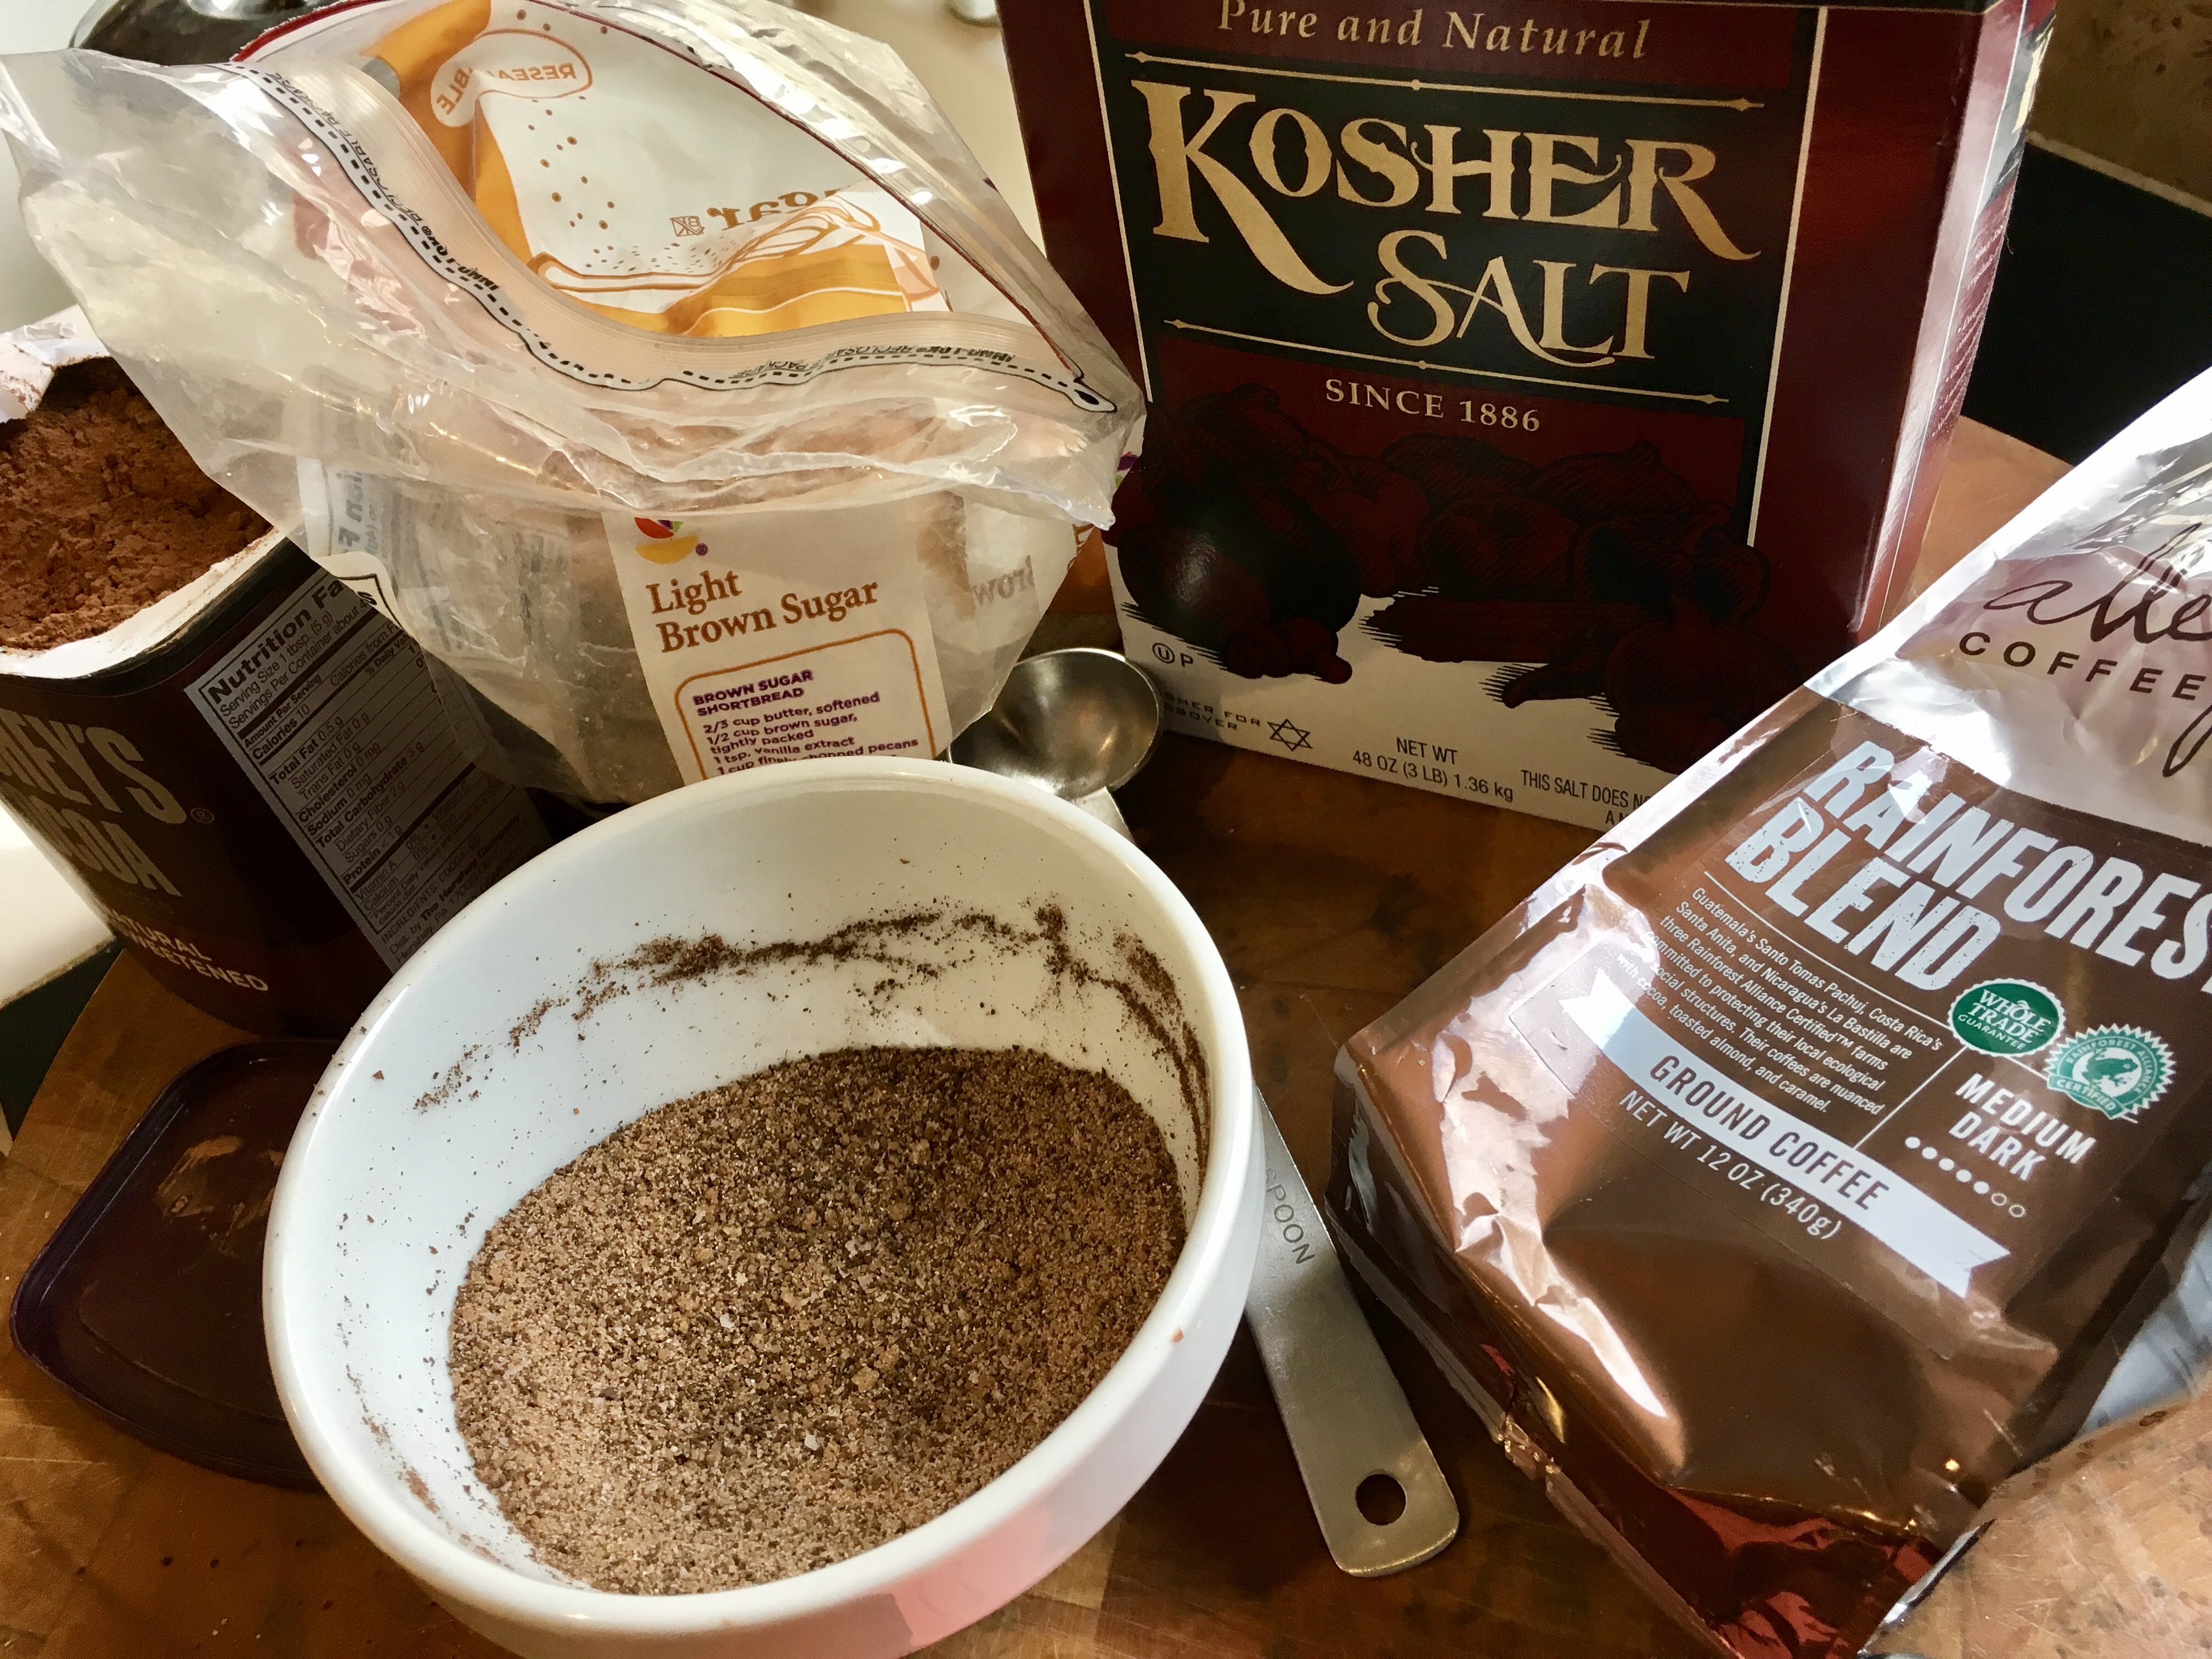
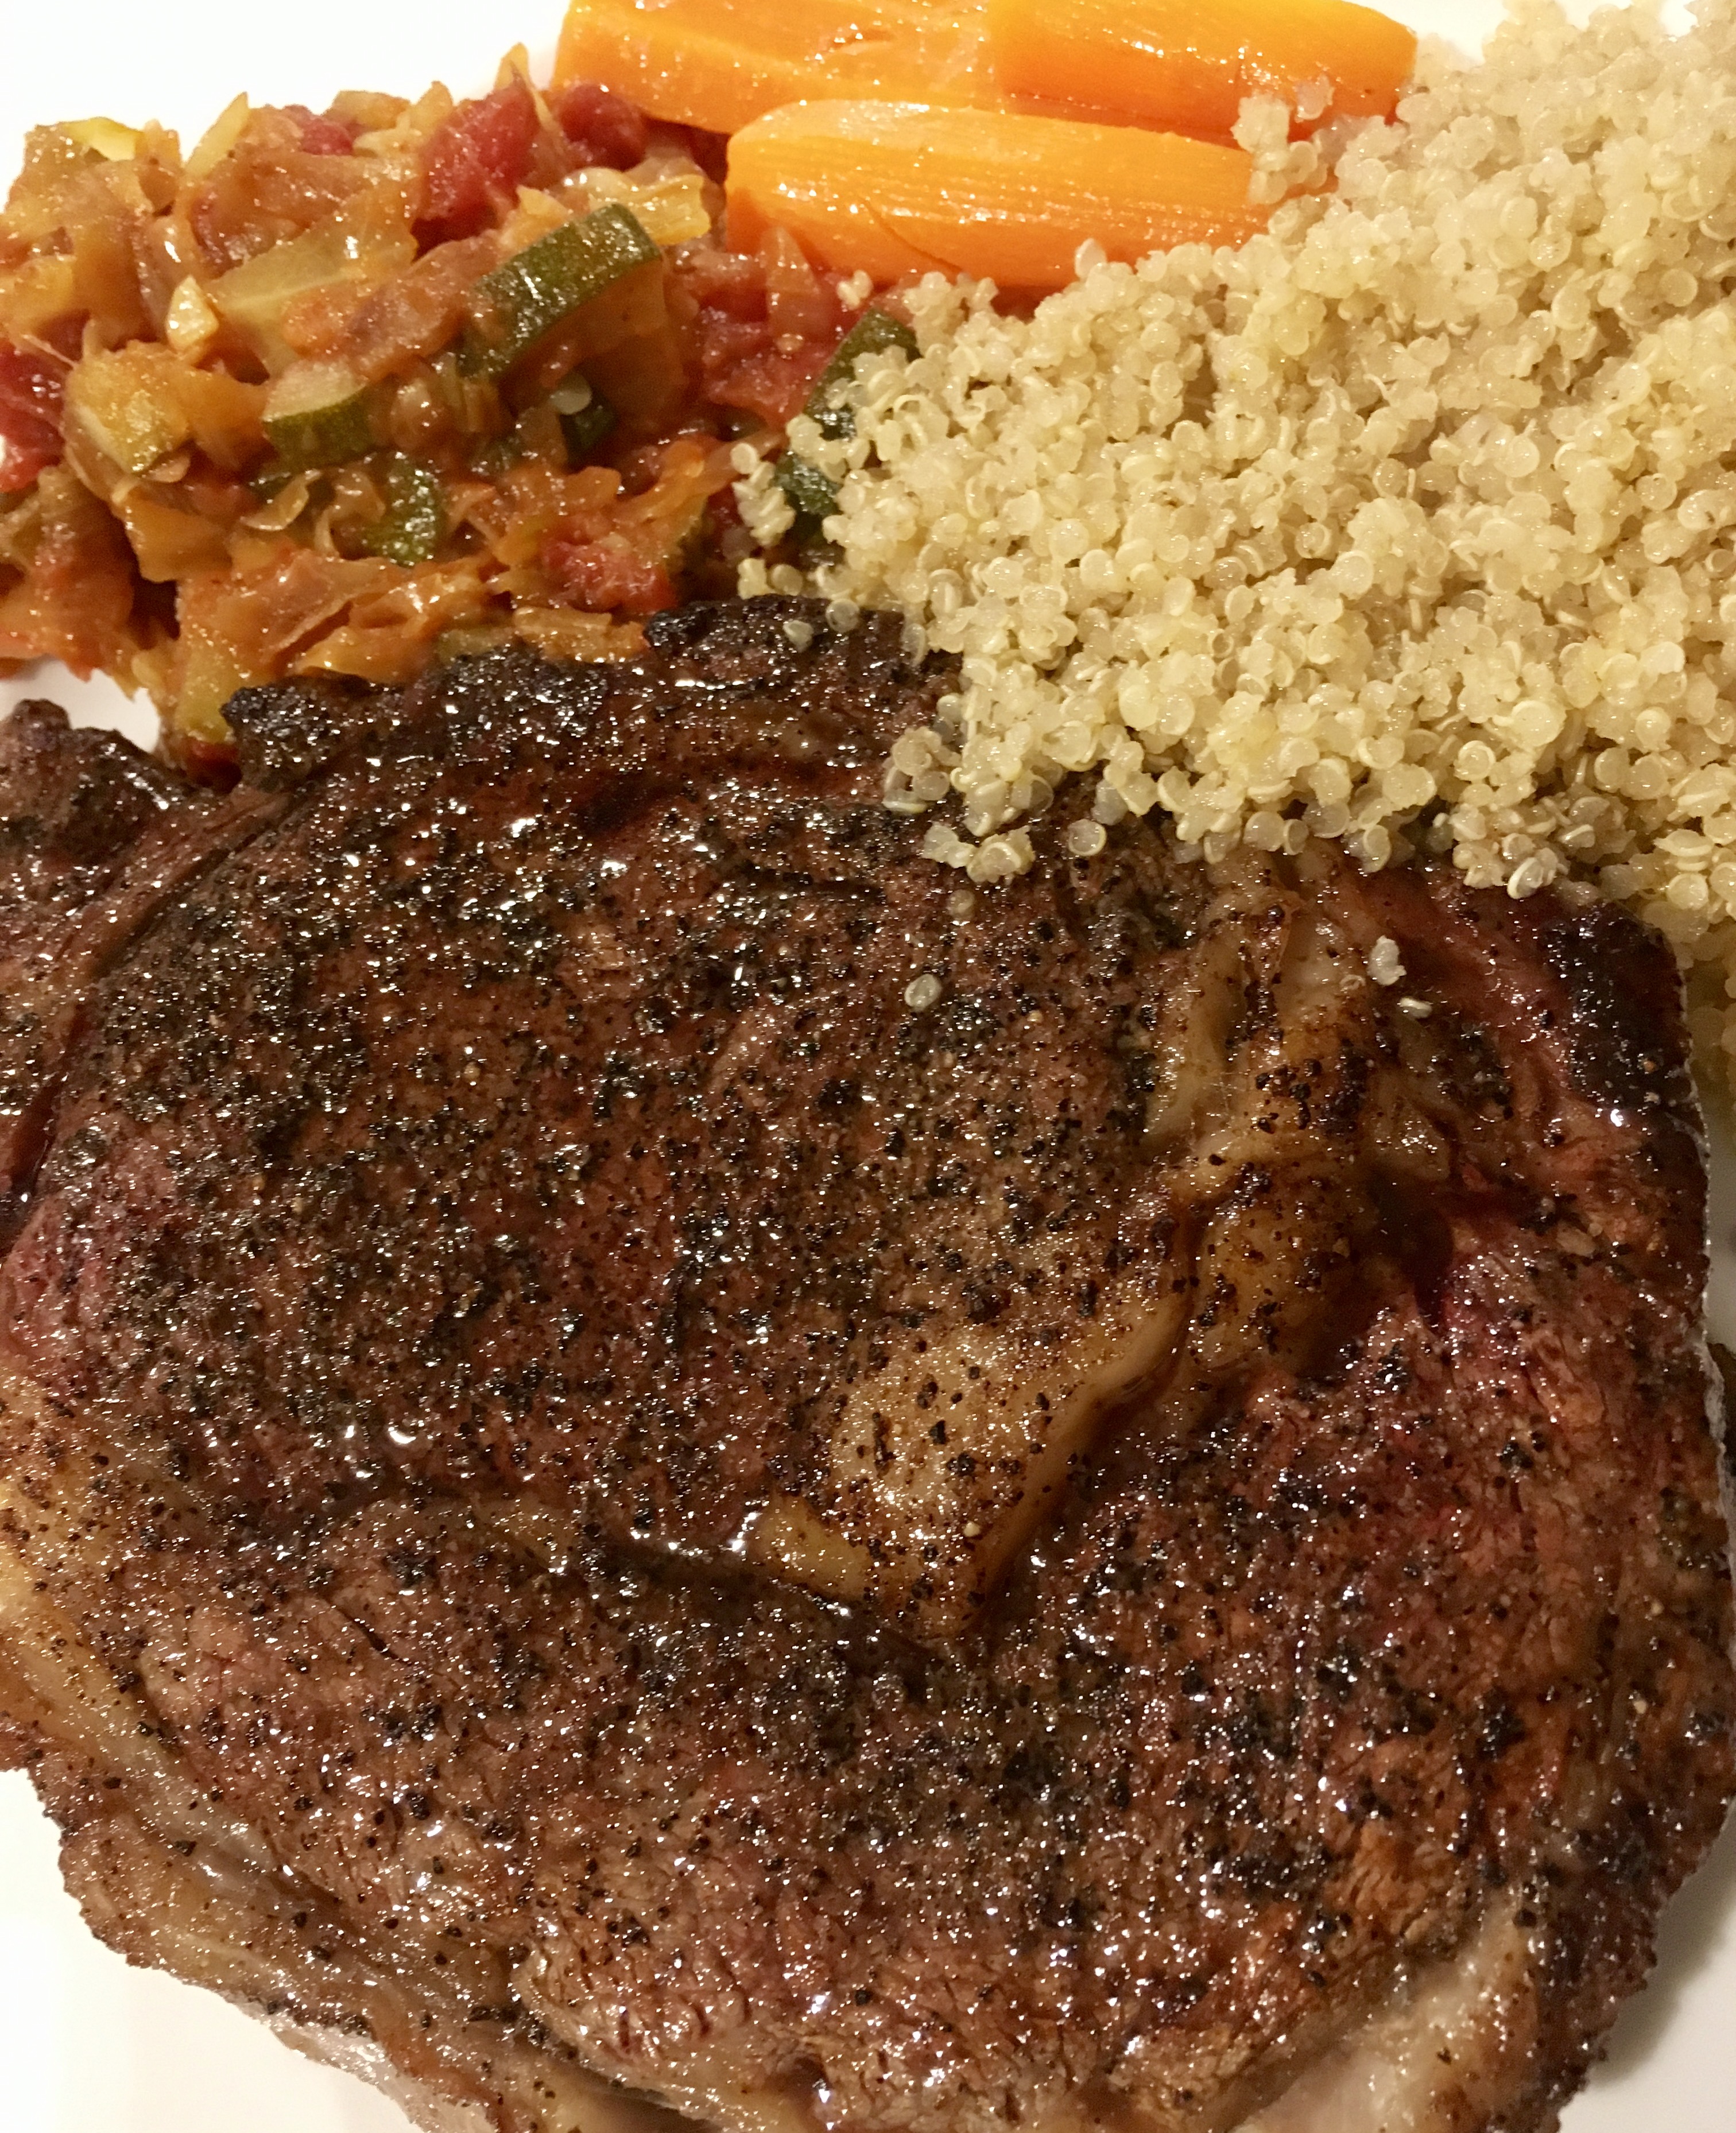
Ideally, a thin cut like a skirt steak works best for this recipe. But I didn’t have any in my freezer. What I did have was a fat ribeye, so once I thawed it, I sliced it lengthwise to get two large, thin steaks which would easily suck up the marinade I was going to make. And the ribeye was nicely marbled, so it stayed juicy and tender.

image


1/4 cup toasted sesame oil
1/4 cup soy sauce
2 tablespoons each finely chopped ginger, garlic, cilantro and unsalted dry roasted peanuts
2 scallions, minced
1 tablespoon each of light brown sugar, lime juice and chile oil
2 lbs. beef ribeye
1/4 cup chicken stock

To make the marinade, whisk together the sesame oil, soy sauce, ginger, garlic, cilantro, peanuts, scallions, sugar, lime juice and chile oil in a bowl. Transfer half of it to a shallow dish.
Add the steak to the dish and turn to coat well with the marinade. Cover and refrigerate overnight. Refrigerate the remaining marinade.
The next day, light a grill. While it’s warming up, add the chicken stock to the reserved marinade. This will be the dipping sauce for the beef. (I like it at room temp.)
Take the steak out of the fridge and bring it to room temperature. Season it with salt and pepper, and grill it over high heat until medium-rare, about 5 minutes.

If it’s too cold to light a grill, heat a cast iron pan, add a few drops of avocado oil, and sear the beef on both sides before placing it in a pre-heated 375-degree oven to finish cooking.


These tasty, crispy wings get fried just enough to brown, then get finished in an oven. The result is crispy, salty chicken wings that will be devoured in no time. Your only regret will be that you didn’t make enough! My gluten-free version tastes just as good as the original…you’ll never know the difference!

fullsizerender-5

3 lbs. chicken wings
1/2 cup whole milk
2 teaspoons hot sauce (I use Frank’s)
1/3 cup breadcrumbs (I toast Udi’s gluten-free bread til dry and crisp, then put it in a processor)
2/3 cup all-purpose flour (I use Cup4Cup GF flour)
1 tablespoon sea salt
1 teaspoon black pepper
1 teaspoon oregano
1 teaspoon basil
1 teaspoon granulated garlic
1 teaspoon granulated onion
1 teaspoon paprika
oil for frying (I use a combination of lard and olive oil)


Pour the milk into a bowl and add the hot sauce. Mix well, then add the chicken pieces and toss to coat well. Let the chicken sit in the milk at room temp for an hour. (I’ve found that whole milk–or even 1/2 & 1/2–works better than thinner, low-fat milk. It sticks to the chicken better.)

In a separate bowl, combine the bread crumbs, flour, salt, pepper, oregano, basil, garlic, onion and paprika.

Heat the oil in a pan until it reaches 350 degrees.

fullsizerender-6


One by one, carefully move the chicken from the milk mixture to the seasoning bowl and coat well with the seasonings, shaking off any excess. Gently place the wings in the oil and fry until both sides are golden, just a few minutes.  (You’re not cooking the chicken, just making the skin crispy.) Place the fried chicken wings on a metal screen raised above a sheet pan lined with foil or parchment.

Pre-heat the oven to 350 degrees, and when all the chicken has been fried and put on the sheet pan, place the pan in the oven and finish cooking, about 30 minutes.


Yesterday was National Cheeseburger Day!

My inside-out burger is not a very complex idea. I just put the stuff that’s usually on the outside, on the inside of my burgers. Why? Why not?

Instead of dealing with a package of bacon and a package of cheese and a stack of burgers, I’ve got all the ingredients conveniently inside the patties. And as the burgers cook, the fat from the bacon and the gooey cheese melt and combine with the burger meat to make a really tasty and moist burger.

I cook these on the grill, but the cast-iron skillet method, described below, works really well,  too.

I make 2 lbs. of burgers at a time, using humanely-raised local grass-fed beef, from my friends at Simmons Organic Farm in Middletown, RI.  Support your local farmers when you can!

image

2 lbs. ground grass-fed beef
1/2 cup sharp cheddar cheese, cut into 1/4″ cubes
1/2 lb. bacon, cooked crisp, cooled and crumbled
garlic salt
avocado oil or pork fat


In a bowl, combine the beef, the cheese and the bacon, mixing well so that all the ingredients are evenly incorporated.

Form the beef into 1/4 lb. patties or larger. Refrigerate them until you’re ready to cook to firm them up.

Heat a cast iron skillet and add a drop of oil or pork fat. Place the burgers in the hot skillet to sear and sprinkle with the garlic salt. When browned, flip the burgers and place the skillet in a 350-degree oven to finish cooking.

image


Like hot dogs and Slim Jims, jerky is one of those “mystery meats” we love but don’t really know how it’s made or what part of the animal it comes from.
Really excellent beef jerky is a rare treat, and once you have it, you will never go back to that rancid, preservative-filled dog meat you find in a bag at the supermarket. And the best part is: it’s easy to make.
Shop around for a really nice slab of London broil or similar cut. You don’t need to buy an expensive piece of grass-fed beef, but the better the meat, the better the jerky. Remove all the gristle and fat that may be on the meat and then slice it against the grain and on a diagonal, into 1/4″ thick slices. Toss all the meat in a Ziploc bag. Once you’ve done that, all you need to do is make the marinade, marinate the beef overnight, and then dry it the next day. Your final product will be a flavorful beef jerky that is so good, you’ll find it very hard to stop eating it…or to share it.
If you use gluten-free soy sauce and teriyaki sauce (La Choy is the brand I use, found in any supermarket), this recipe can be considered gluten-free. Be careful: regular soy sauce, and even some tamari sauces, have wheat in them. Read the label!
image
1 tablespoon salt
1 1/2 tablespoons granulated garlic
1 teaspoon black pepper
1 teaspoon fresh minced peeled ginger
2/3 cup brown sugar
1 cup teriyaki sauce
1 cup soy sauce
8 lbs. raw, lean beef, like London broil, cut into 1/4″ thick diagonal slices, against the grain of the meat
Mix all the ingredients except the meat in a large bowl. Place the meat in a large Ziploc bag, pour the marinade inside, seal, and refrigerate overnight. Squish the bag around once in a while, to make sure all the meat surfaces make contact with the marinade. Keep the bag in a bowl to prevent any accidental spillage in your fridge!
The next day, pour off the marinade and discard it. Using a food dehydrator, dry the meat by laying strips in a single layer. You can also dry them in a 140 degree oven on racks slightly elevated off a baking sheet. Drying could take several hours to half a day, depending on how dry and chewy you like your jerky.
Jerky in the dehydrator.

Jerky in the dehydrator.

This recipe makes a lot of jerky, but it stores really well in the freezer. I put small amounts into individual freezer bags, then place all of them in one large freezer bag. Thaw as needed.

As if I needed more reasons to eat bacon, this Saturday, September 3rd, is International Bacon Day!

Let’s face it: there are few foods as magical as bacon. Add bacon to just about any dish you’re preparing, and it elevates it to incredible new heights of flavor. The BLT is possibly the greatest food combination ever invented: just a few simple, fresh ingredients, when placed together, transforming into one of the most amazing sandwiches on planet Earth.

Bacon comes from the pork belly. One of the places I buy pork bellies is from my friends at Fire Fly Farms in Stonington, CT (http://www.fireflyfarmsllc.com). I also get Berkshire pork bellies from Heritage Pork International (http://www.heritagepork.com). I follow the simple curing techniques outlined in “Charcuterie,” a great book written by Michael Ruhlman and Brian Polcyn.

To cure bacon, all you really need is Kosher salt and what they in the curing biz call “pink salt,” which is not to be confused with salt that happens to be pink, like Himalayan salt you’d find in a gourmet store. Pink salt is bright pink—to let you know that this is special salt that should only be used in small quantities for curing. The reason for that is because it has nitrites. Nitrites delay the spoilage of the meat, and help keep the flavors of spices and smoke. They also keep the meat nice and pink instead of an unappetizing gray. That’s good. But nitrites can break down into nitrosamines, which have been known to cause cancer in lab animals. But let’s face it: you would need to eat a ton of cured meat to really worry about this.

To make the basic dry cure:

1/2 lb. kosher salt
1/2 cup light brown sugar
1 ounce (5 teaspoons) pink salt

Mix the ingredients well. An important note: all Kosher salts do not all weigh the same (Diamond Crystal weighs less than Morton), so go by the weight and not a cup measurement. You can use this rub on your pork belly, but I make a large amount of the dry rub and keep it stored in my pantry. When it’s time to make bacon, I take it out and add other ingredients…


Bellies in the smoker

Bellies in the smoker.


Alz Bacon Rub:

1/2 cup basic dry cure
1/2 cup turbinado sugar (Sugar in the Raw brand)
1 teaspoon fresh cracked black pepper
1 teaspoon granulated garlic

Once you rub the pork belly thoroughly, place it in a Ziploc bag, squeeze the air out of it, and seal it tightly. another method is to wrap it tightly in plastic wrap, then seal it with tape. Place it in the fridge for a couple of weeks, flipping it over every few days to let gravity do its work. You’ll see that the salt will draw moisture out of the meat and form a brine. This brine will continue to cure your pork belly, so leave it in there.

After a few weeks, once the pork belly has been cured, wash the brine off the meat, pat it dry with paper towels. Now it’s time to cook. You can simply cook the pork belly at 200 degrees for about 2 hours, until the internal temperature reaches 160 degrees, but I always place the pork belly in a smoker, cooking it at 250 degrees for 1 hour, then add hickory chips and smoke it at 250 degrees for at least another hour.

Smoked bacon

Smoked bacon

That’s it. You have achieved bacon!

The reward is so worth the effort. You still have to fry it at this point…you can’t just take a bite out of the slab! But that first slice you cut off your bacon and toss in a pan to lightly fry for a few moments will be the best bite you’ve ever had in your life!
And if you’re making one slab of bacon, why not make it three or four? It freezes well. And…you will eat it. You know you will!

Frying in the pan!

Frying in the pan!

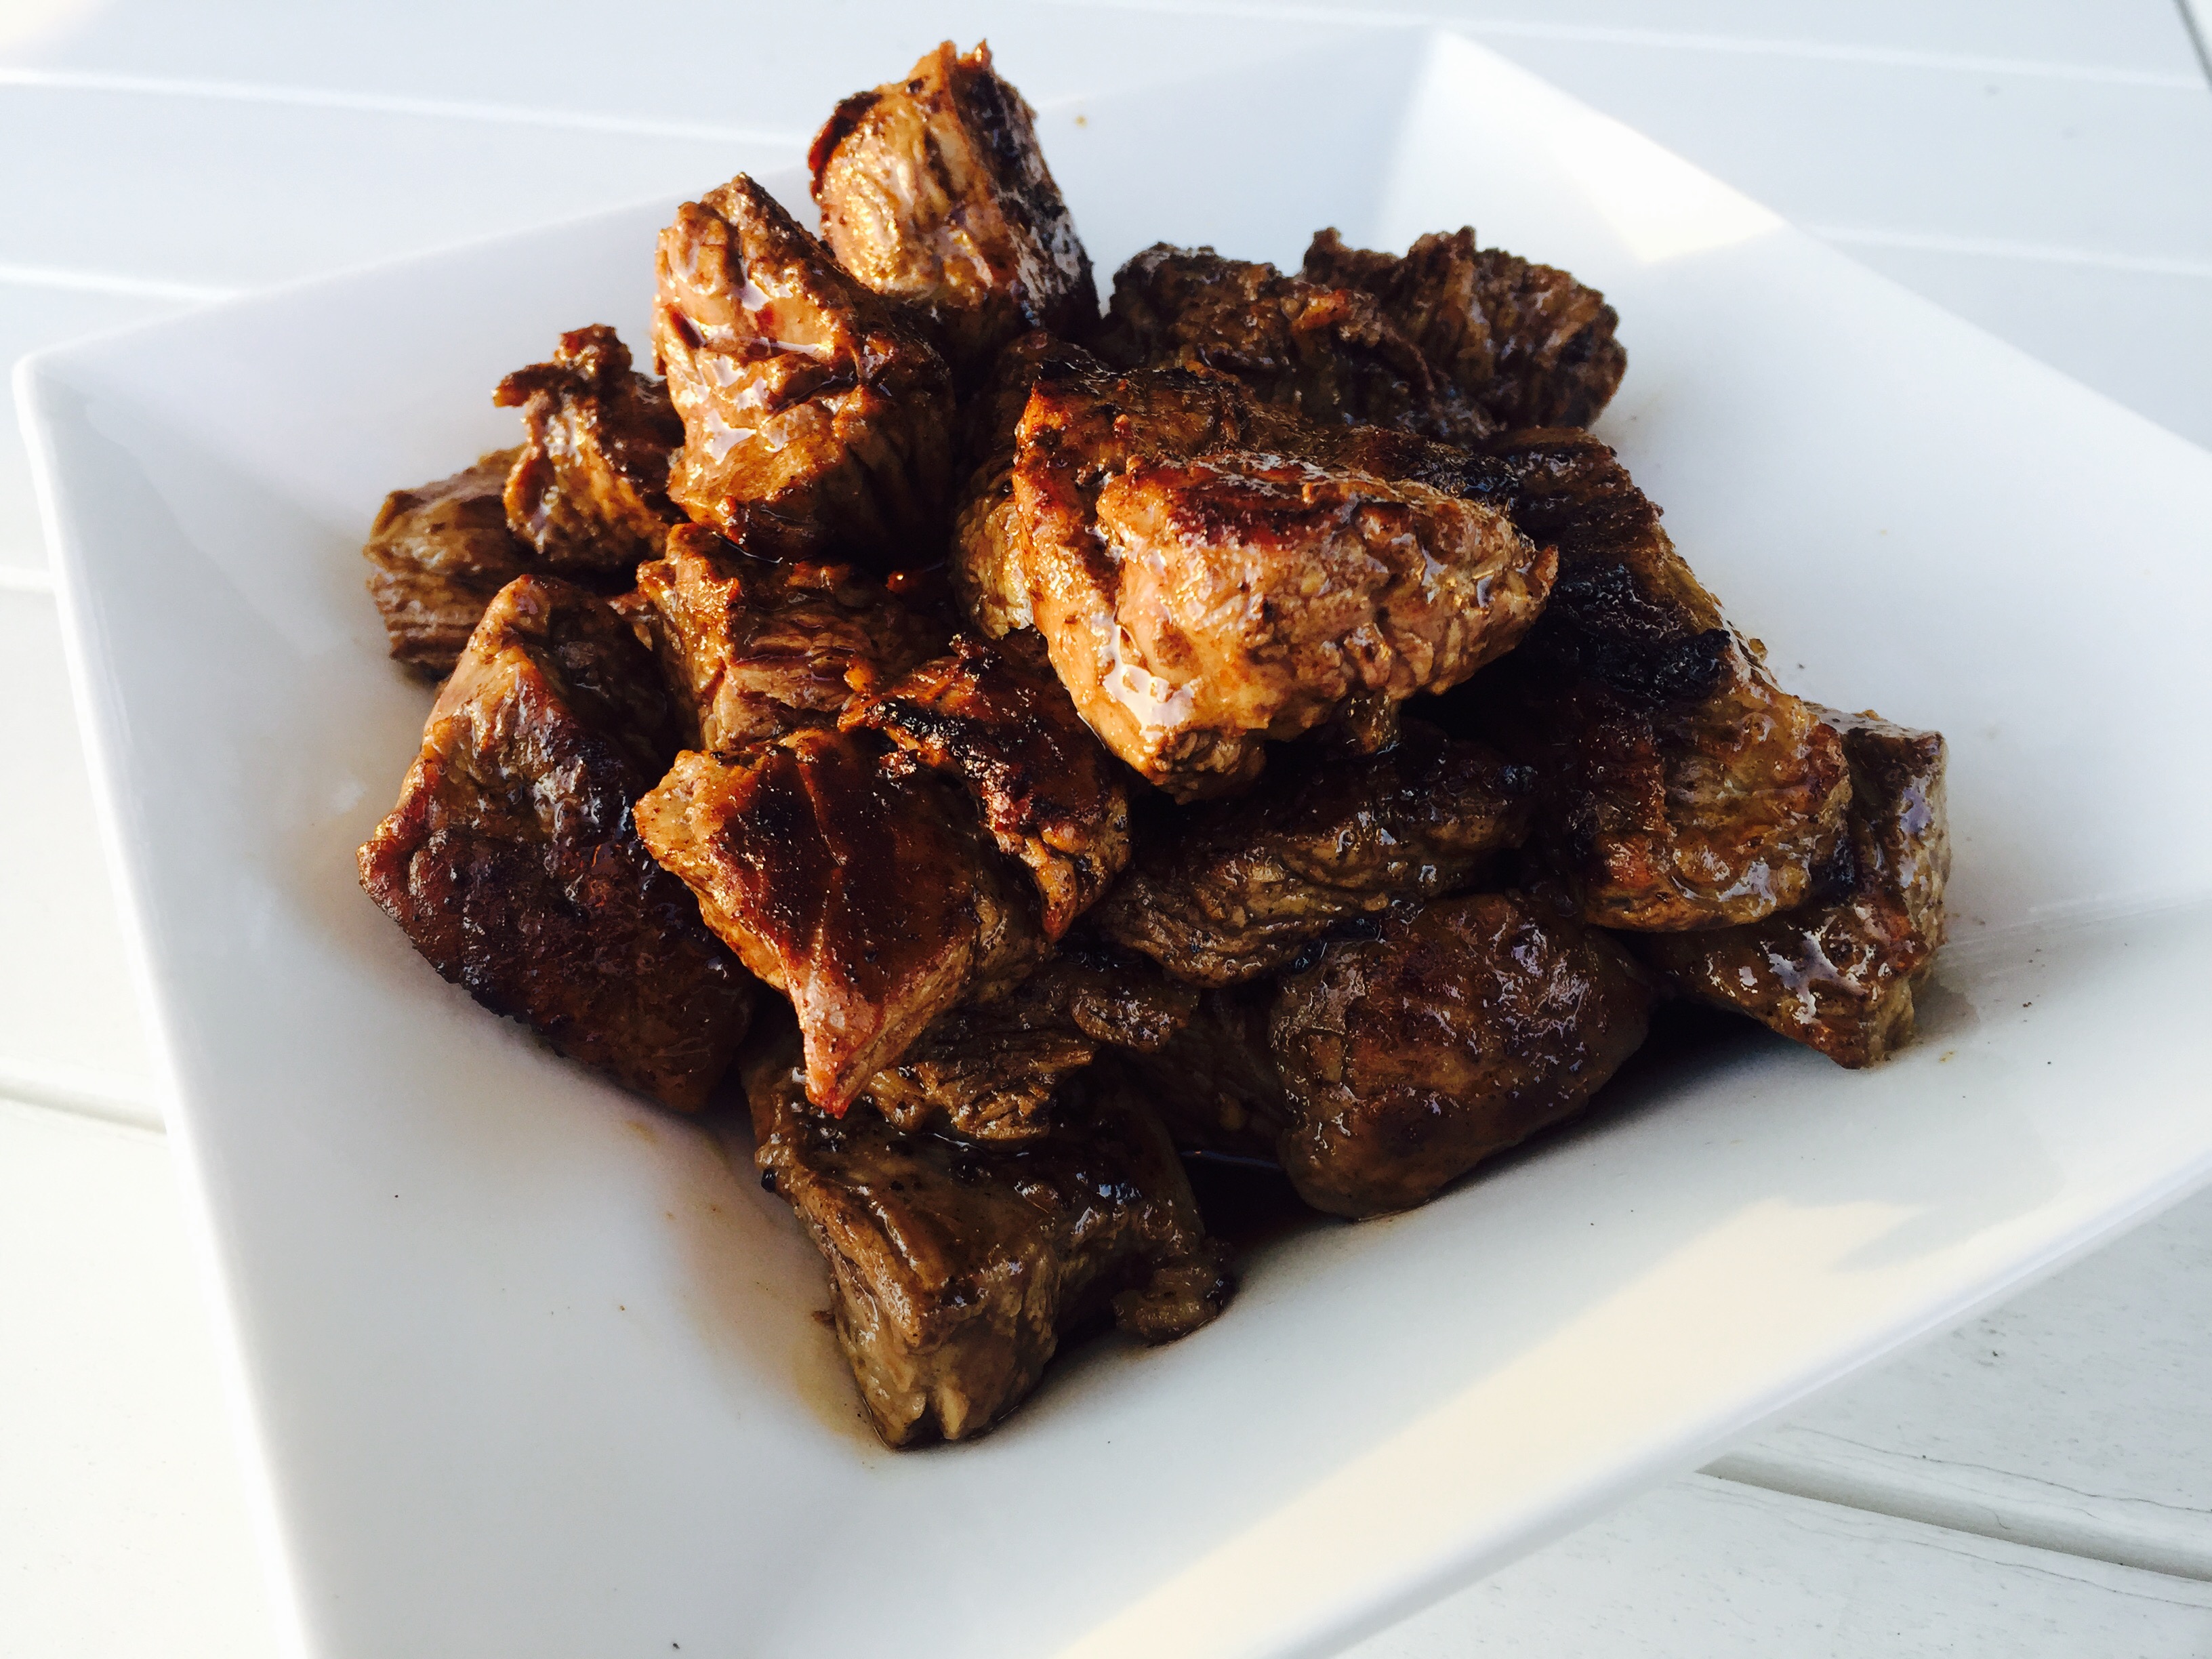
An easy way to marinate beef is to simply throw the meat in a bag and dump some Italian dressing into it. As simple as that sounds, it flavors the meat really nicely. But I’ve got a problem with anything that comes from a jar and was made in a factory, especially when it’s so easy to make my own marinade.
I recently bought some sirloin beef tips and after trimming the fat and silver skin (they always leave it on the meat), I cut it up into 1 inch cubes. I put the pieces in a Ziploc bag and then made the marinade…

For the marinade:
1/4 cup decent quality balsamic vinegar–not the expensive stuff
1/4 cup avocado oil
1 teaspoon dried oregano
1 teaspoon dried parsley
1 teaspoon granulated garlic
1 teaspoon granulated onion
1 teaspoon salt
1/2 teaspoon pepper


2 lbs. sirloin beef tips, trimmed and cut into 1″ cubes
avocado oil
3 onions, sliced into rings
2 sweet bell peppers, sliced into thin strips
splash of white wine

Combine the marinade ingredients and pour them into the bag or container with the meat. Mix it around so that every bit of the meat gets coated with the marinade. Seal the container and place in the fridge overnight.
Next day, remove it from the fridge and let it come to room temperature before cooking.

Marinated beef, ready to cook.

Marinated beef, ready to cook.

Heat a large cast-iron skillet until hot. You may not need to add oil, since the meat has marinated in it. Using tongs to shake off any marinade, place the beef tips in the skillet, and brown on all sides, constantly flipping them. Cook the meat until it is done: medium to medium rare. (Of course, a hardwood fire is great for cooking these, too.)
Remove the meat from the pan and place in a bowl to the side. In the hot pan, toss in the sliced onions and peppers. Cook until the onions and peppers are caramelized, and splash a little white wine to de-glaze the pan if you like. (The alcohol cooks off.) If there’s any left over marinade in the bag or container, you can pour it into the pan at this time.

Return the beef to the pan being sure to include all the juices that may have settled into the bottom of the bowl. Mix through until thoroughly heated and serve immediately.

I made a lot more...forgot to take the pic before devouring!


Pork chops were a favorite of mine growing up, but my Mom cooked them only one way: breaded and fried in a pan full of oil. They were good, but they were greasy, and my Mom was not big on seasonings. And she cooked the hell out of it. It was time to improve on the original.

Using the best quality pork I can get, like Berkshire pork, makes a real difference in flavor. It also matters to me that the animals are humanely treated while they’re on the farm. No factory-farmed meats.

chop 1


2 Berkshire pork chops
1 egg
1/2 cup plain bread crumbs (I use gluten-free)
1 teaspoon salt
1/4 teaspoon pepper
1 teaspoon dried oregano
1 teaspoon dried parsley
1/2 teaspoon granulated garlic
1/2 teaspoon granulated onion
olive oil


Pre-heat the oven to 350 degrees.

Set up 2 bowls. In one, crack and scramble the egg. In the other, combine the bread crumbs, salt, pepper, oregano, parsley, granulated garlic and granulated onion.

Place an oven-proof pan on medium-high heat and add a little olive oil. Once the oil is hot, cover the pork chops in the egg wash and then coat with the bread crumb mixture. Place in the hot pan to brown and sear. Do this with both chops.

After a few minutes, flip the chops over in the pan and place the pan in the oven to finish cooking.

chop 2

Remember, good pork does not need to be cooked until well done!


There’s no problem with your bird, she said to me
Just go low and slow to cook it perfectly
A few choice seasonings end up deliciously
There must be 50 ways to roast your chicken…
There’s nothing better than a whole roasted chicken. Simply season it, pop it in the oven and go low and slow. No maintenance, and you’ve got a great bird in a couple of hours. 
Once you go with humanely raised pastured chicken, you’ll never go back to supermarket chicken again. The flavor is fantastic, and you’ll devour it right down to the bones, which you can use to make the best home-made chicken stock or soup you’ve ever had. Nothing goes to waste.
I roast at least one chicken every week, so to change it up, I’ve come up with many different rubs and sauces over the years. All of the rubs are sugar and gluten-free preparations. The sauces may have one or both.
Chicken with Rosemary and Lemon
 IMG_9146
The lemon serves double-duty in this dish. You use the zest to season the outside skin, then you place the remaining cut up pieces inside the carcass to flavor from the inside out.
1 tablespoon finely chopped fresh rosemary
1 teaspoon granulated garlic
2 teaspoons salt
zest from 2 lemons, using a micro plane zester, the leftover lemons quartered
1/2 teaspoon black pepper
In a bowl, combine the rosemary, garlic, salt, lemon zest, and pepper. 
Thaw a bird, remove the giblets, and rub it all over with olive oil. Shove the quartered lemon pieces into the carcass of the bird. Season the bird inside and out with the rosemary seasoning mix.
Place the bird on a pan lined with non-stick aluminum foil in a pre-heated 450-degree oven. Cook for 10 minutes at this temperature, then reduce to 275 degrees and cook low and slow until done.
Tarragon Chicken
I love the taste of chicken seasoned with tarragon. Careful with this, or you will accidentally devour your fingers!
1 tablespoon dried tarragon, crumbled into a powder
1 teaspoon garlic salt
1 teaspoon salt
1/2 teaspoon black pepper
olive oil
In a bowl, combine the tarragon, garlic salt, salt and pepper.
Thaw a bird, remove the giblets, and rub it all over with olive oil. Season the bird inside and out with the seasoning mix.
Place the bird on a pan lined with non-stick aluminum foil in a pre-heated 450-degree oven. Cook for 10 minutes at this temperature, then reduce to 275 degrees and cook low and slow until done.
Italian Chicken
FullSizeRender
The darker color of the bird comes from rubbing it first with balsamic vinegar, then olive oil, before coating it with Italian seasonings. Don’t use the fancy, expensive balsamic. The bottles that go for about 9 bucks in the supermarket work well for this recipe.
Balsamic vinegar
Olive oil
1 tablespoon salt
1 tablespoon parsley
1 teaspoon oregano
1 teaspoon pepper
1 teaspoon granulated onion
1/2 teaspoon granulated garlic
Thaw a bird, remove the giblets, and rub it all over with the balsamic vinegar. Then rub it all over with the olive oil. Season the bird inside and out with the seasoning mix.
Place the bird on a pan lined with non-stick aluminum foil in a pre-heated 450-degree oven. Cook for 10 minutes at this temperature, then reduce to 275 degrees and cook low and slow until done.
My Grandma’s Chicken
My grandmother would cook chicken thighs low and slow all Saturday morning, knowing that I was coming over for lunch after Lithuanian school. The meat just fell off the bone, and I couldn’t stop eating it. This recipe is so simple and works just as well for a whole bird. Every time I make this, I think about those days at my grandmother’s house.
Lawry’s Seasoned salt
Olive oil
Thaw a bird, remove the giblets, and rub it all over with olive oil. Season the bird inside and out with the Lawry’s Seasoned salt.
Place the bird on a pan lined with non-stick aluminum foil in a pre-heated 450-degree oven. Cook for 10 minutes at this temperature, then reduce to 275 degrees and cook until done.
If you’re using chicken thighs, like my grandmother did, make sure they have the skin on and the bone in.

Not a very complex idea. I just put the stuff that’s usually on the outside, on the inside of my burgers. Why? Why not?

Instead of dealing with a package of bacon and a package of cheese and a stack of burgers, I’ve got all the ingredients conveniently inside the patties. And as the burgers cook, the fat from the bacon and the gooey cheese melt and combine with the burger meat to make a really tasty and moist burger.

I cook these on the grill, but the cast-iron skillet method, described below, works really well,  too.

I make 2 lbs. of burgers at a time, using humanely-raised local grass-fed beef, from my friends at Simmons Organic Farm in Middletown, RI.  Support your local farmers when you can!

image

2 lbs. ground grass-fed beef
1/2 cup sharp cheddar cheese, cut into 1/4″ cubes
1/2 lb. bacon, cooked crisp, cooled and crumbled
garlic salt
avocado oil or pork fat


In a bowl, combine the beef, the cheese and the bacon, mixing well so that all the ingredients are evenly incorporated.

Form the beef into 1/4 lb. patties or larger. Refrigerate them until you’re ready to cook to firm them up.

Heat a cast iron skillet and add a drop of oil or pork fat. Place the burgers in the hot skillet to sear and sprinkle with the garlic salt. When browned, flip the burgers and place the skillet in a 350-degree oven to finish cooking.

image


Instead of opening a nasty can of Manwich or other similar product, the classic Sloppy Joe sandwich is easy enough to make from scratch.

My version takes on a Mexican twist (hence the name Sloppy José), using seasoned taco meat and a great barbecue sauce. Putting them together with a sprinkling of Mexican cheese on a bun with lettuce and tomato makes for one sloppy but delicious sandwich!

sloppy jose


For the barbecue sauce…

2 cups ketchup
3/4 cup water
6 tablespoons white vinegar
6 tablespoons apple cider vinegar
6 tablespoons brown sugar
3 tablespoons Worcestershire sauce
1 tablespoon chili powder
2 teaspoons salt
2 teaspoons black pepper
1 1/2 teaspoons cumin


Mix all the ingredients in a saucepan and simmer until the flavors have blended, about 20 minutes. Remove from heat and cool to room temp. If you store it in an airtight container in the fridge, it’ll stay good for a few months.


For the seasoned taco meat…

1 teaspoon granulated garlic
1 teaspoon onion powder
1/4 teaspoon crushed pepper flakes
1 teaspoon dried Mexican oregano
1 teaspoon paprika
2 teaspoons ground cumin
1 teaspoon sea salt
1 teaspoon black pepper
1 Spanish onion, finely chopped
olive oil
2 lbs. grass-fed ground beef


Combine all the spice ingredients in a bowl.

Saute the onions in a bit of olive oil until translucent. Add the beef and saute until cooked, mixing in the spice mixture a little at a time until you’ve used it all.


For the sandwich…

Take some of the taco meat and place it in a small non-stick pan and heat on medium. Squirt in as much of the barbecue sauce as you like, mixing thoroughly. Sprinkle some grated Mexican cheese on top. (I like Cotija, which is like a Mexican feta, but a bag of mixed cheeses works great, too.) Mix thoroughly, letting it all melt together into one warm, gooey mess. Throw it on a bun. Add lettuce, tomato, avocado slices, whatever you like!