Archive for the ‘Carnivore!’ Category

I rarely order beef at a restaurant, because I can usually make a better steak at home. For one thing, I use humanely raised grass-fed beef, something few restaurants offer. And I can cook it for less than a third of the price of a steakhouse. Granted, most steakhouses dry-age their beef, a time-consuming process of taking slabs of beef and keeping them in a fridge for weeks until a certain amount of moisture is sucked out of the meat, intensifying the flavor. I can do that at home in my fridge, but it takes a lot of time and effort.

There is one steak that I couldn’t match for the longest time, and that was the Capital Grille’s bone-in Kona crusted dry-aged NY strip. I would have dreams about that steak! It was time to find a way to make something that would satisfy my craving for that amazing steak at home.

Looking at a variety of coffee rub recipes on-line, I started the slow and steady process of combining ingredients in just the right proportions, tasting as I went. What I came up with really accentuated the flavor of the beef I was cooking, better than I had imagined!

img_0100


3 tablespoons brown sugar
1 tablespoon Kosher salt
1 tablespoon ground coffee (use your favorite)
1 teaspoon granulated garlic
1 teaspoon granulated onion
1 teaspoon unsweetened cocoa powder


Combine the ingredients, mixing well, and keep them in a tightly sealed container at room temperature.

When using, sprinkle liberally on both sides of the steak before cooking. I find a steak that’s cooked in a cast iron pan to be perfectly acceptable, but nothing beats the grill!

img_0104


Fat Tuesday is February 28!

I lived in Mobile, Alabama back in the late 80’s, and if you asked the locals, they’d quickly tell you that Mardi Gras originated in Mobile, not New Orleans.

Joe Caine paraded through the streets of Mobile dressed in a native American costume in 1868, and is credited for our current way of observing the Mardi Gras celebration. Of course, it’s hard not to think of New Orleans when you hear the phrase “Mardi Gras,” and I spent many a weekend on the streets and bars of the crescent city back in the day.

It was then that I fell in love with Cajun food, and needed to learn how to cook it myself. I bought cookbooks by two of the greats: Justin Wilson and Paul Prudhomme. I learned about layers of seasoning, and often I’d use those ideas in my own dishes.

When I moved to Rhode Island in 1990, I had yearly Mardi Gras parties at my house, and I cooked massive batches of these Cajun chicken breasts, using a spice mix I learned from my cooking experiments. They’re so good, my daughter asks for them all the time.

Double-dipping in the seasoned flour is a messy step, but it makes them extra crunchy and flavorful.

fullsizerender-8


1 cup all-purpose flour (I use Cup4Cup flour to keep it gluten-free)
1 tablespoon salt
1 1/2 teaspoons sweet paprika
1 teaspoon granulated onion
1 teaspoon granulated garlic
1 teaspoon basil
1/4 teaspoon white pepper
1/4 teaspoon cayenne pepper
1/2 teaspoon black pepper
1/2 teaspoon dried thyme
1/2 teaspoon gumbo file (file powder), optional
2 pounds boneless, skinless chicken tenders or breasts
4 eggs
oil for frying (I like using avocado oil and some pork fat for flavor)


Cut the chicken breasts into manageable pieces. If they’re thick, slice them horizontally to make two thinner breasts. A thick piece of chicken won’t cook all the way through.

Combine the flour, salt, paprika, onion, garlic, basil, white pepper, cayenne, black pepper, thyme and gumbo file in a bowl. Mix well.

I like to separate the 4 eggs, placing 2 eggs in 2 separate bowls. This keeps the first bowl “clean” and not gummed up with flour. You’ll see what I mean once you start, because it’s a bit messy. So, crack 2 eggs in the first bowl and the other 2 eggs in the second bowl. Scramble them up and put the bowls on either side of the seasoned flour bowl.

Pre-heat a pan of oil to 350 degrees.

Dip the chicken in the first egg bowl and then the seasoned flour mixture. Shake off the excess flour and dip the chicken in the second egg bowl, making sure the flour is covered by egg. Then dip the chicken back into the flour for a second coat. Carefully place the chicken in the pan. Fry the chicken until it’s cooked all the way through and golden brown. Drain on paper towels.


If you need to feed a crowd, just double or triple the recipe. I used to make a 10x batch for my Mardi Gras parties!


December 30 is National Bacon Day!

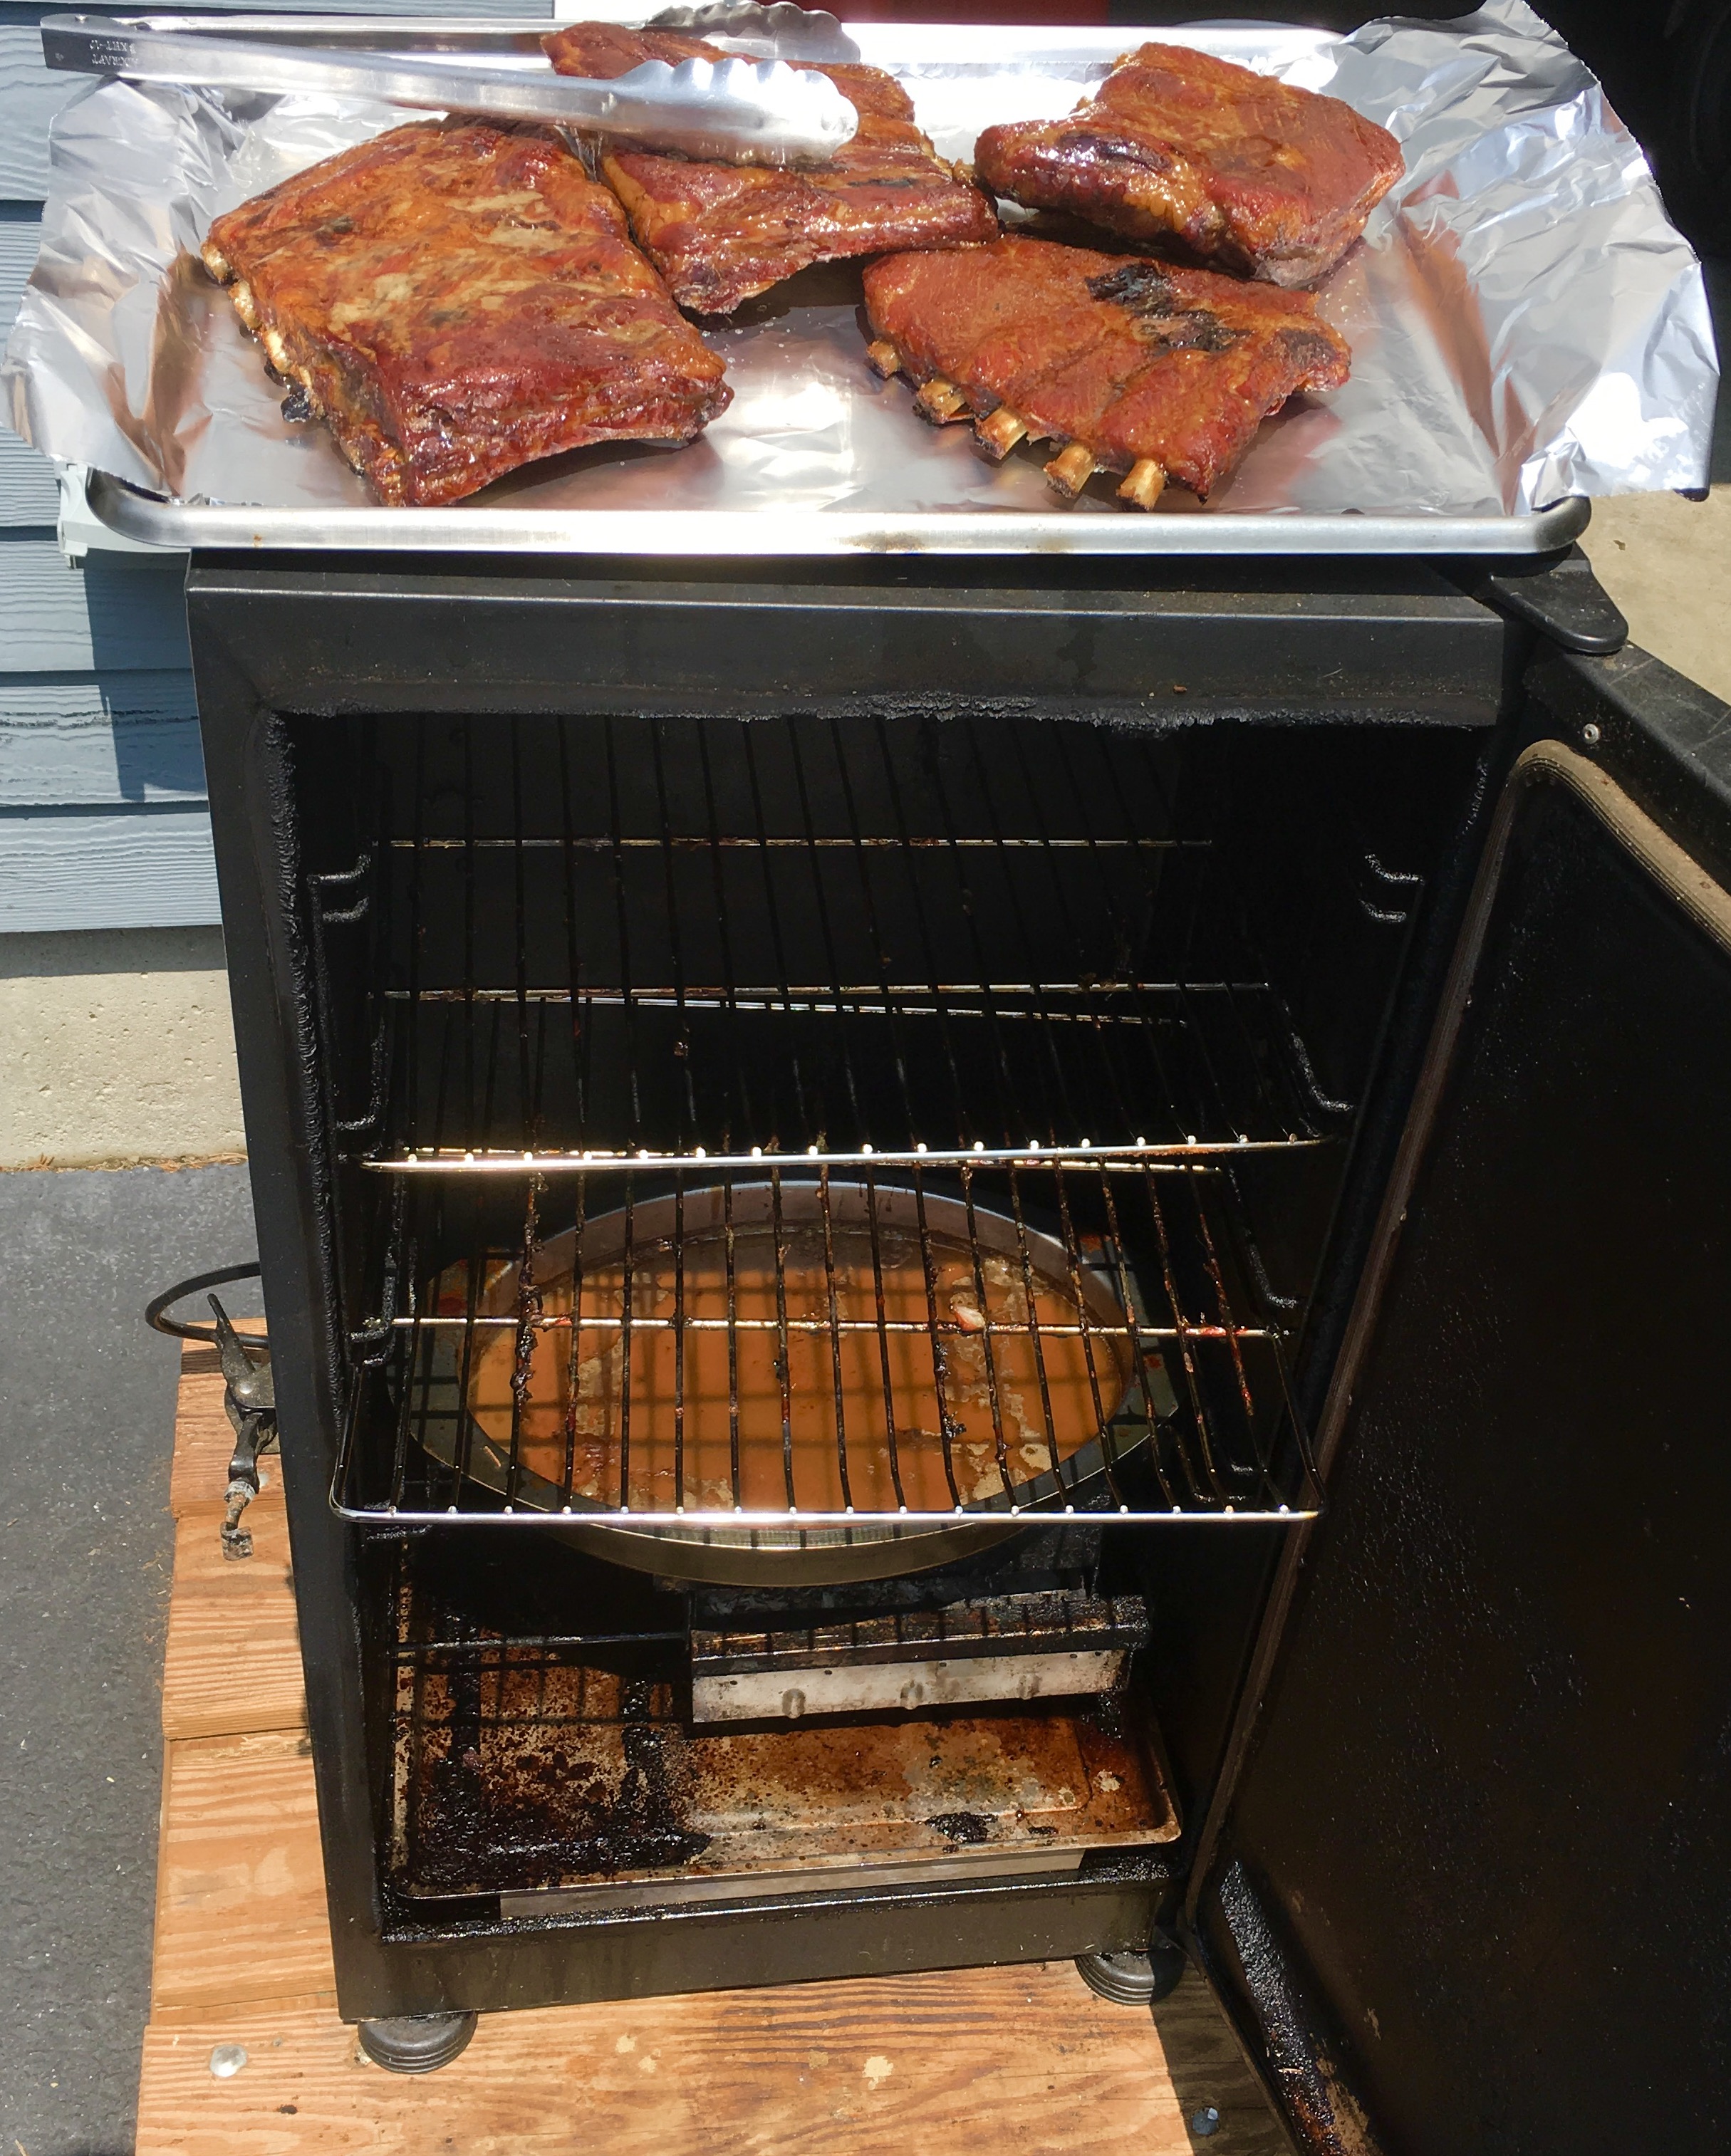
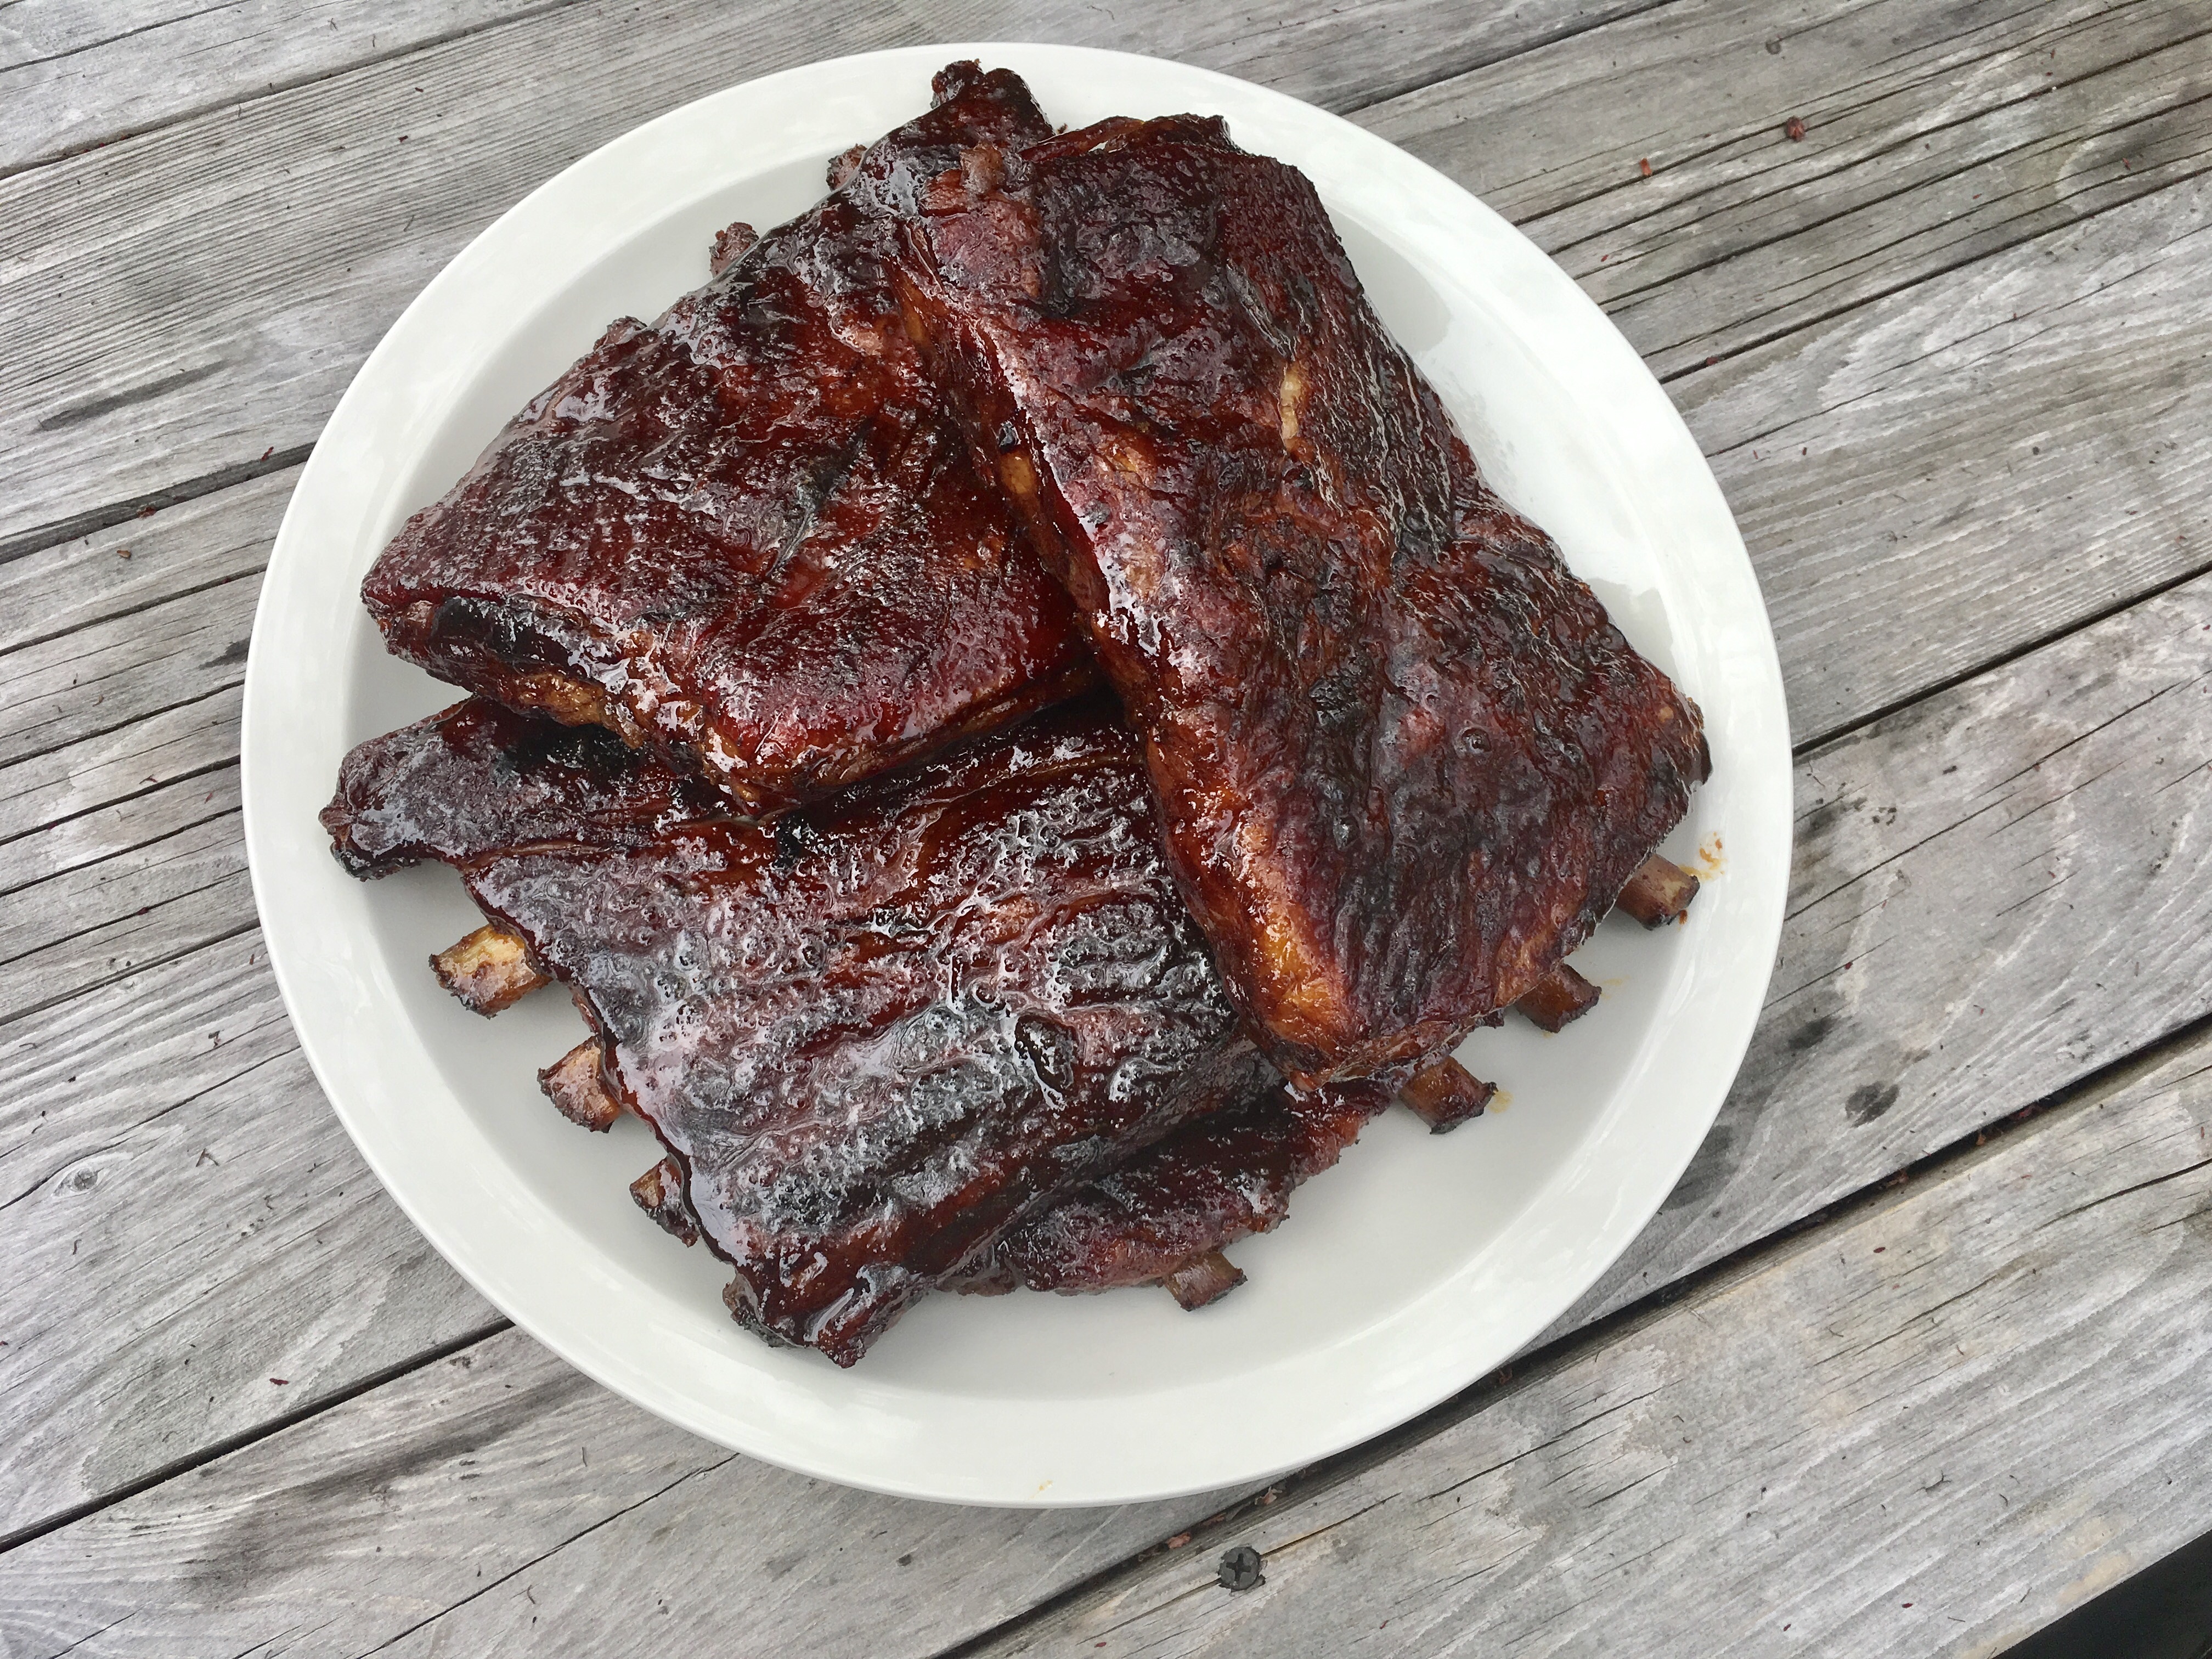
Sometimes the happiest of cooking accidents happen with bacon. My original plan was to make Chinese-style honey ribs for dinner. But instead of pulling a nice rack of ribs out of the freezer, I accidentally took out a slab of pork belly. I only realized my mistake when I thawed it and started cooking it, so I decided to continue the process with the pork belly instead. The results were pretty damn tasty.

image


Marinade:
¾ cup light soy sauce
6 Tablespoons hoisin sauce
5 lbs. pork belly
Zest and juice of 1 lemon
2 whole star anise
2 cinnamon sticks (3”)
1/2 cup honey
4 cups chicken broth
image
Mix the marinade ingredients. Set aside.
Cut the pork belly into pieces that are about 3 inches square. Place them in a large pot. Cover therm with water and bring to a boil. Boil for 5 minutes. Drain.
Place the pork belly pieces on a sheet pan lined with non-stick aluminum foil. Coat them with marinade. Let them sit for 10 minutes.
Pre-heat the oven to 350 degrees. Bake the pork belly pieces on the sheet pan for 30 minutes.
While the pork belly is baking, start the sauce in a large non-stick pan or pot: combine the lemon zest and juice, star anise, cinnamon sticks, honey and chicken broth. Bring it to a boil, then reduce to a simmer.
When the pork belly pieces have finished baking, add them to the sauce pot and simmer (covered) for at least 15 minutes or until meat is tender.
Turn heat on high, uncover pot and cook until the sauce is reduced to a glaze that coats the ribs. Reduce the heat as the sauce thickens to avoid the sugars in the honey from burning. When the pieces are sticky and gooey, they are ready!
Let a piece of pork belly cool…then slice to desired thickness and fry like regular bacon. Makes an amazing omelet!
image

This is what I’m serving my guests at Christmas dinner. It’s a rich and delicious surf-and-turf, using wild Texas boar and locally caught Rhode Island scallops, that beats steak and lobster hands-down! Wild boar isn’t an ingredient you can find everywhere, but pork belly is, and it works just fine.


FullSizeRender (9)

For the pork belly…
3 lbs. fresh pork belly (I used wild boar belly)
salt and pepper
1–2 tablespoons leaf lard or olive oil
1 carrot, coarsely chopped
1 celery stalk, coarsely chopped
1 onion, roughly chopped
1 fennel bulb, quartered
2 sprigs fresh thyme
1 teaspoon black peppercorns
4 cups beef stock
1 cup hard cider or apple juice

Pre-heat the oven to 350.

Season the belly with salt and pepper. On medium-high heat, melt the leaf lard, then sear the meat on all sides in an oven-proof pot big enough to hold it in one layer. Add the carrot, celery, onion, fennel, thyme and peppercorns and continue cooking for another 5 minutes, until caramelized.

Add the beef stock and the cider. Cover the pot with a lid or seal with aluminum foil, and braise the belly in the oven for 3 hours, until tender.

Remove the pot from the oven, carefully remove the pork belly, and put it on a plate. Cover it with foil. If you’re cooking earlier in the day, you can place the belly in the fridge at this point.

Strain the leftover braising liquid from the pot and discard the vegetables and thyme. Skim off the excess fat. If starting this dish earlier in the day, you can put this liquid in the fridge and the fat will harden, making it easier to remove.

FullSizeRender (8)

For the glaze…
braising liquid, strained
1 tablespoon espresso
1 tablespoon honey

In a small saucepan, reduce the brazing liquid by half, then add the espresso and honey. Cook a few more minutes until the sauce thickens. When it coats the back of a spoon, it’s ready. Set aside.

For the scallops…
Fresh scallops
salt and pepper

When you’re ready to serve, heat a pan on high heat with a little more leaf lard. Cut the belly into equal pieces and sear on all sides for about a minute. Place the scallops in the same pan, season with salt and pepper, and sear them on both sides, being careful not to overcook them.

To serve, place the belly on a plate. Top with a scallop or two. Drizzle glaze over the top. Season with Fleur de Sel or sea salt and serve immediately.

Always good to have a lovely food stylist around to make it look pretty.

Always good to have a lovely food stylist around to make it look pretty.


I’ve never been a huge fan of deep-fried turkey. Many years ago, when I lived in the South, my friends went through the trouble of buying and setting up all the special frying equipment, and the turkey did taste pretty good. But it wasn’t exceptional, and it didn’t justify the expense or the clean-up afterwards. For me, nothing beats the delicious smokiness of a grill-roasted turkey.

I get great results by cooking my turkey in my Weber grill. The standard Weber allows you to cook up to a 15 lb. bird–big enough for my purposes–and it comes out crispy, smokey and delicious. If you’re afraid to try this for the first time at Thanksgiving, wait a few months and buy a turkey when you have the craving and try it out.

The charcoal chimney with hot coals awaits.

Although I’ve stopped using charcoal briquettes a long time ago, and now strictly use natural hardwood charcoal, this recipe works best with standard Kingsford briquettes. The idea is for the coals to cook slowly and evenly. Never use lighter fluid…always start the fire with a few pieces of crumbled newspaper under a charcoal chimney.

Needed:

Weber grill, with the dome top
Kingsford charcoal briquettes (do not use Match Lite or other pre-soaked briquettes)
Heavy duty aluminum pan (disposable)

Ingredients:

Whole turkey, up to 15 lbs., thawed and previously brined (see my blog about brining a turkey)
Olive oil (to rub on turkey)
2 yellow onions, chopped
4 stalks of celery, chopped
½ lb. (2 sticks) of unsalted butter, melted
1 tablespoon granulated garlic
1 tablespoon onion powder
2 tablespoons salt
1 tablespoon pepper
Spreading the coals away from the center of the grill.

If you want stuffing, make it separately and cook it separately.

Light 8 to 10 lbs. of charcoal in the grill…depending on the size of the turkey and how cold it is outside.

Remove the giblets from the turkey. Place the bird in the aluminum pan.

In a small bowl, mix the granulated garlic, onion powder, salt and pepper Add any other seasonings you like.

Coarsely chop the onions and celery. Place them in a another bowl. Mix them with the melted butter and 1/3 of the salt/pepper/garlic powder mixture. Place a small handful of this “stuffing” mixture in the neck cavity of the turkey. Place the rest in the body cavity (where the stuffing would usually go.) You can fasten the bird with turkey skewers if you like. This “stuffing” is strictly to flavor the turkey…you don’t eat it!

The rubbed, stuffed and seasoned bird.

Rub the outside of the entire turkey with the olive oil and sprinkle the rest of the garlic/onion/salt/pepper mixture on the outside of the bird. Make sure you get the bird on the bottom as well.

When the coals in the grill have ashed over, spread them to the outside edges of the Weber equally. Put the cooking grill rack in place. Place the aluminum pan with the turkey in the center of the grill, keeping it away from the direct heat of the coals. If you’re using a meat thermometer (recommended), insert the probe into the thickest part of the breast, being careful not to hit the bone. Place the lid on the grill. (You may need to bend your pan a bit.) Open the vents on the bottom of the Weber as well as the lid. It’s important to get air circulating!

My meat thermometer calls me from as far as 100 feet away when the turkey reaches the optimum temperature that I pre-set. Time for a drink!

No basting is necessary.

Now here’s the tough part: DO NOT OPEN THE GRILL TO CHECK ON THE TURKEY! (If you must look, shine a flashlight into the vent holes on the lid to take a peek at the pop-up timer, if there is one.) The whole point is to keep the heat inside the kettle. You’ll know your turkey is done when no more smoke or heat rises from the grill, and the turkey inside stops making sizzling noises.

Remove the turkey and let it rest at least 20 minutes before carving.

Beautifully grilled, cooked to 180 degrees in less than 2 hours!

Beef sirloin tips are a bit fatty, which makes them perfect for grill because they don’t dry out, even if you leave them on a little too long. But they can be chewy, so marinating them overnight before grilling tenderizes them and gives them great flavor.

There always seems to be 2 choices when it comes to beef tips at the supermarket: the nice, clean tips that cost a lot, and the fattier, gristlier ones that come cheap. I’ve bought both, figuring I’d still save money with the cheap ones if I cleaned them up myself. Generally speaking, after cleaning up the cheap cuts of meat and tossing all the fat and gristle in the trash, I’ve found that it winds up costing about the same. So now I go for the nicest sirloin tips I can find.

I’ve made many marinades in my day, but I’ve never used the “secret ingredient” that I used this time around. I make my own Lithuanian honey liqueur called Krupnikas (I’ll write more about it in a future blog), and the combination of honey and secret spices really added to the marinade. Unless you make your own Krupnikas, you’re SOL, so I recommend honey and a little bourbon.

Gochujang is a Korean hot sauce. Feel free to substitute with your favorite.

fullsizerender-11


2 lbs. beef sirloin tips, cut into 1 1/2″ cubes
2 tablespoons La Choy Stir Fry Teriyaki sauce and marinade
2 tablespoons honey
1 tablespoon bourbon
2 teaspoons peanut oil
1 teaspoon lite soy sauce
1/2 teaspoon chili garlic sauce
1/2 teaspoon sesame oil
1/4 teaspoon gochujang


Trim off the excess fat and gristle, as well as all the silver skin off the beef, then cut into 1 1/2″ pieces. Place them in a large Ziploc bag, sitting inside a bowl. (The bowl will keep the marinade from spilling into your fridge if the bag leaks.)

In a separate bowl, combine all the other ingredients and whisk to combine thoroughly. Pour this marinade over the beef in the bag, making sure every bit of the marinade makes contact with the meat. Seal the bag tightly, squeezing all the air out of it, and place it in the fridge overnight. Be sure to squish the bag every once in a while to make sure the marinade penetrates all parts of the beef.

The next day, light a hot grill and cook the beef tips to desired doneness. If you’re cooking indoors, heat some pork lard in a large cast iron skillet, and sear the beef tips on all sides until done.

Let the beef rest before digging in!


Chourico is as important to the Portuguese as bacon is to us Lithuanians. Here in Southern New England, they pronounce it “sha-rees,” not the exaggerated Spanish “chaw-reezo,” like you hear on the Food Network.

I was joking with a friend the other day that if I won the lottery, I could buy a lifetime supply of chourico at my favorite store: Mello’s in Fall River, Mass. His response was: “Is there such a thing as a lifetime supply of chourico?!”

Good point!

If you’ve had really great chourico, you’re always looking for new ways to include it in your cooking. And arugula is one of the easiest greens to grow in the spring or fall garden. Even now, in November, I’ve got lots of it growing, just waiting to be turned into pesto.

Inspired by chef Chuck Hughe’s recipe, this is a great chourico appetizer that’s really easy to make. Whip up the arugula pesto ahead of time and keep it in the fridge. Then when guests come, just slice the chourico, saute it in a pan until brown, and serve.

fullsizerender

3 cups fresh baby arugula
1/2 cup walnuts
1/2 cup olive oil
1 clove garlic
1 teaspoon salt
1/4 teaspoon pepper
1/2 cup + one tablespoon grated Parmigiano Reggiano or other good quality parmesan cheese
2 lbs. chourico, sliced into 1/2″ pieces

Combine the arugula, walnuts, olive oil, garlic, salt, pepper and the 1/2 cup of cheese in a food processor or blender and blend until smooth. Set the tablespoon of cheese aside for garnishing later.

fullsizerender-1

Remove the casing from the chourico and slice it into 1/2″ thick pieces. Saute the chourico in a pan until both sides are caramelized and golden.

Place the chourico on a plate, topping with some of the pesto. Sprinkle a touch of the grated cheese to garnish. Serve immediately, while the chourico is still hot!


fullsizerender-3


Today is National Meatloaf Day. Few dishes scream out “comfort food” to me like meatloaf. My Mom’s meatloaf was awesome, and she’d cut a huge slab of it onto my plate, with fantastic butter-loaded Pennsylvania Dutch egg noodles on the side. I couldn’t stop eating it.

I never thought of making meatloaf when I moved away, because it gave my Mom something special to make for me when I came home to visit. She was thrilled that there was a dish she could make that I would devour every time, without hesitation. (The others were her roasted lamb and Lithuanian pierogis called koldūnai (kol-doon-ay).

But now that my Mom has moved into an assisted living facility where she can’t cook, I’ve had to take meatloaf matters into my own hands. I never got my Mom’s exact recipe. But I had an idea of what went into it, so I gave it a shot.

The standard mix for my Mom’s meatloaf was one-third each ground beef, pork and veal. I went 50-50 with the beef and pork instead. My Mom used Lipton onion soup mix in her meatloaf. I chose to stay away from packaged chemicals. And instead of layering slices of bacon on top as many people do, I used my own home-cured and smoked pre-cooked bacon that I chopped up and put inside the loaf.

To keep this dish gluten-free, I use GF breadcrumbs, and I also don’t use the Lipton onion soup mix, because it can contain non-GF ingredients.

image

1 yellow onion, minced
1 teaspoon salt
1/2 teaspoon pepper
1/2 teaspoon granulated garlic
pork fat or olive oil
1 lb. ground beef
1 lb. ground pork
1/2 cup breadcrumbs (I use gluten-free)
1/4 cup ketchup
4 strips of cooked bacon, chopped
2 eggs


Sauté the onion in a little oil or pork fat until translucent. Let it cool, then mix in the salt, pepper and garlic. Set aside.

In a bowl, combine the meat, breadcrumbs, ketchup, bacon, eggs, and the sautéed onion mixture. Form it into a loaf and place it in a loaf pan. Bake at 350 for about an hour.


I have chicken at least twice a week…can’t get enough of it! So I’m always looking for new recipes. I especially love marinades, because it’s easy to prepare ahead of time, and the flavor goes right through the meat.

The balsamic used in this recipe is the basic, $9-buck-a-bottle stuff. don ‘t use your 25-year-old aged fancy balsamic!


fullsizerender-15

4 lbs. chicken parts, or 1 whole chicken cut up
1/2 cup balsamic vinegar
2 tablespoons honey
1 1/2 tablespoon mustard (I use Gulden’s)
1 tablespoon chopped fresh rosemary
2 teaspoons garlic salt
1 teaspoon pepper
extra virgin olive oil


If the breast of the chicken is really large, you’ll want to cut it in half so that it cooks as quickly as the other parts. Put all the chicken pieces in a large Ziploc bag.

In a bowl, combine the balsamic vinegar, honey, mustard, rosemary, salt and pepper. Whisk to mix thoroughly.

Pour the contents of the bowl into the Ziploc bag, seal tightly, and squish it around to make sure the marinade reaches all surfaces of the chicken.

Marinate the chicken for about an hour at room temperature. Preheat the oven to 350.

Using an oven-proof pan, heat some olive oil and then place the chicken pieces in the pan. Sear for 2 minutes on one side, then sear for 2 more minutes on the other. Place the pan in the oven and cook for 30 minutes, making sure the chicken has cooked all the way through.


My last blog featured Reuben Seup, the lovechild of a Reuben sandwich and French onion soup. Crucial to its success is good pastrami. Sure, you can buy it in a store if you want to settle for a nasty slab full of chemicals and preservatives, but nothing beats making it yourself. Pastrami starts as corned beef, which starts as beef brisket.

It takes about 3 weeks to make corned beef, and a little more time after that to reach pastrami nirvana. But it’s not difficult to do.

Corned beef has nothing to do with corn. ‘Corning’ is a technique for preserving raw meats for long periods by soaking it in salt brine. This method was used before the days of commercial refrigeration. Back then, the large salt kernels used in the brine were called “corns.”

Brining is a time-honored way of preserving and it prevents bacteria from growing. Both pastrami and corned beef are made this way. Both corned beef and pastrami start with a brisket of beef. Corned beef is then cooked–usually boiled–and served. Pastrami is made when the brined meat is rubbed  with more spices and smoked to add extra flavor. So corned beef and pastrami are the same meat, just treated differently.

Saltpeter is an ingredient that has been used in brining beef for years. It adds the traditional red coloring to the corned beef and pastrami meat. But since saltpeter can also contain carcinogens, I leave it out. The meat may not be the usual bright red color, but the flavor and texture of the meat will not be affected.

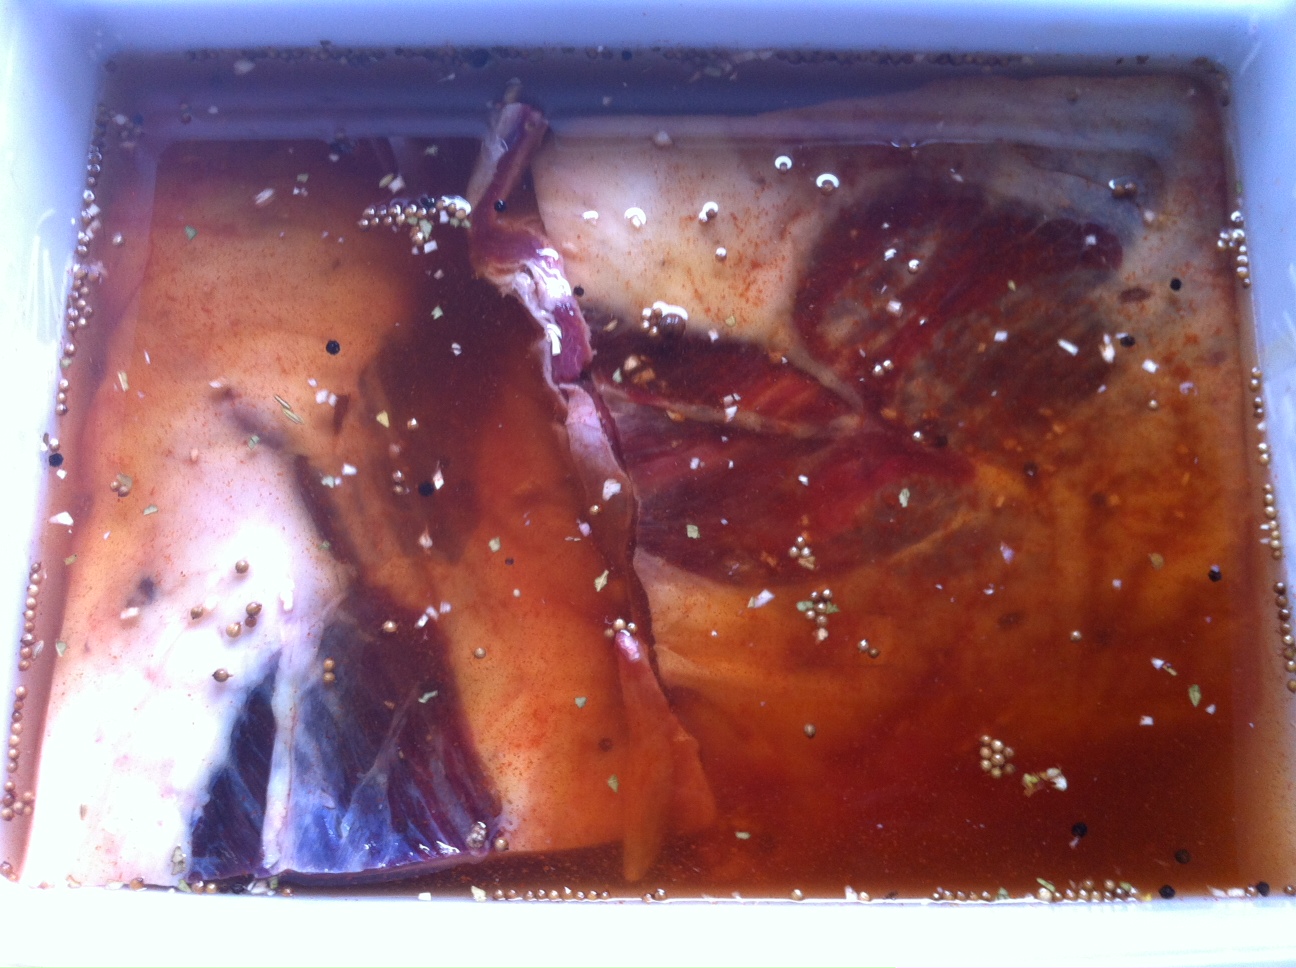
Brining the beef brisket

Brining the beef brisket

Step one: corned beef…

beef brisket (about 8-10 pounds)
1/4 cup warm water
2 tablespoons sugar
3 cloves of minced garlic
2 tsp. paprika
1 tablespoon mixed pickling spices
3/4 cup Kosher salt
2 quarts cool water

Place the brisket in a large container made of non-reactive material, like glass or plastic.

In the 1/4 cup of warm water, combine the sugar, minced cloves, paprika and pickling spices.

Dissolve the 3/4 cup of salt in the 2 quarts of water. Pour in the sugar/garlic/paprika/pickling spices mix and stir everything together. Pour the mixture over the meat in the container. Make sure the meat is totally beneath the surface of the liquid. (You may need to weigh it down to do this.) Cover the container.

Refrigerate the container and contents for 3 weeks, turning the meat once or twice per week. At the end of the third week, remove the container from the refrigerator and take out the meat. Soak the meat in several changes of fresh cold water over a period of 24 hours to remove the excess salt.

At this point, if you want corned beef, prepare and cook it using your favorite recipe. But I’m all about the pastrami!

Step two: making Pastrami…

pastrami


Brined and rinsed corned beef brisket from above recipe, patted dry with paper towels
3 tablespoons coriander seeds
2 tablespoons black peppercorns
2 tablespoons yellow mustard seeds
1 tablespoon white peppercorns
1/4 cup Kosher salt
1/4 cup paprika
3 tablespoons brown sugar
1 tablespoon granulated garlic

Combine the coriander seeds, black and white peppercorns and mustard seeds in a spice grinder and grind coarsely. Place them in a bowl. Add the salt, paprika, brown sugar and granulated garlic. Mix well.

Rub the mix into the brisket well, covering all sides.

Heat the smoker to 225 degrees and smoke for several hours using a less intense wood, like oak. When the internal temperature of the meat has reached 165 degrees, it’s done. It isn’t necessary to smoke pastrami as long as you would a regular brisket because the long brining time makes the meat tender.

It’s very important that absolutely everything that comes in contact with the meat is very clean. (This includes your hands.) Also, make very sure that every inch of the meat reaches the 165 degrees before it is removed from the smoker. The corned beef is now pastrami! Let it rest before slicing.