Archive for the ‘CHARCOAL’ Category

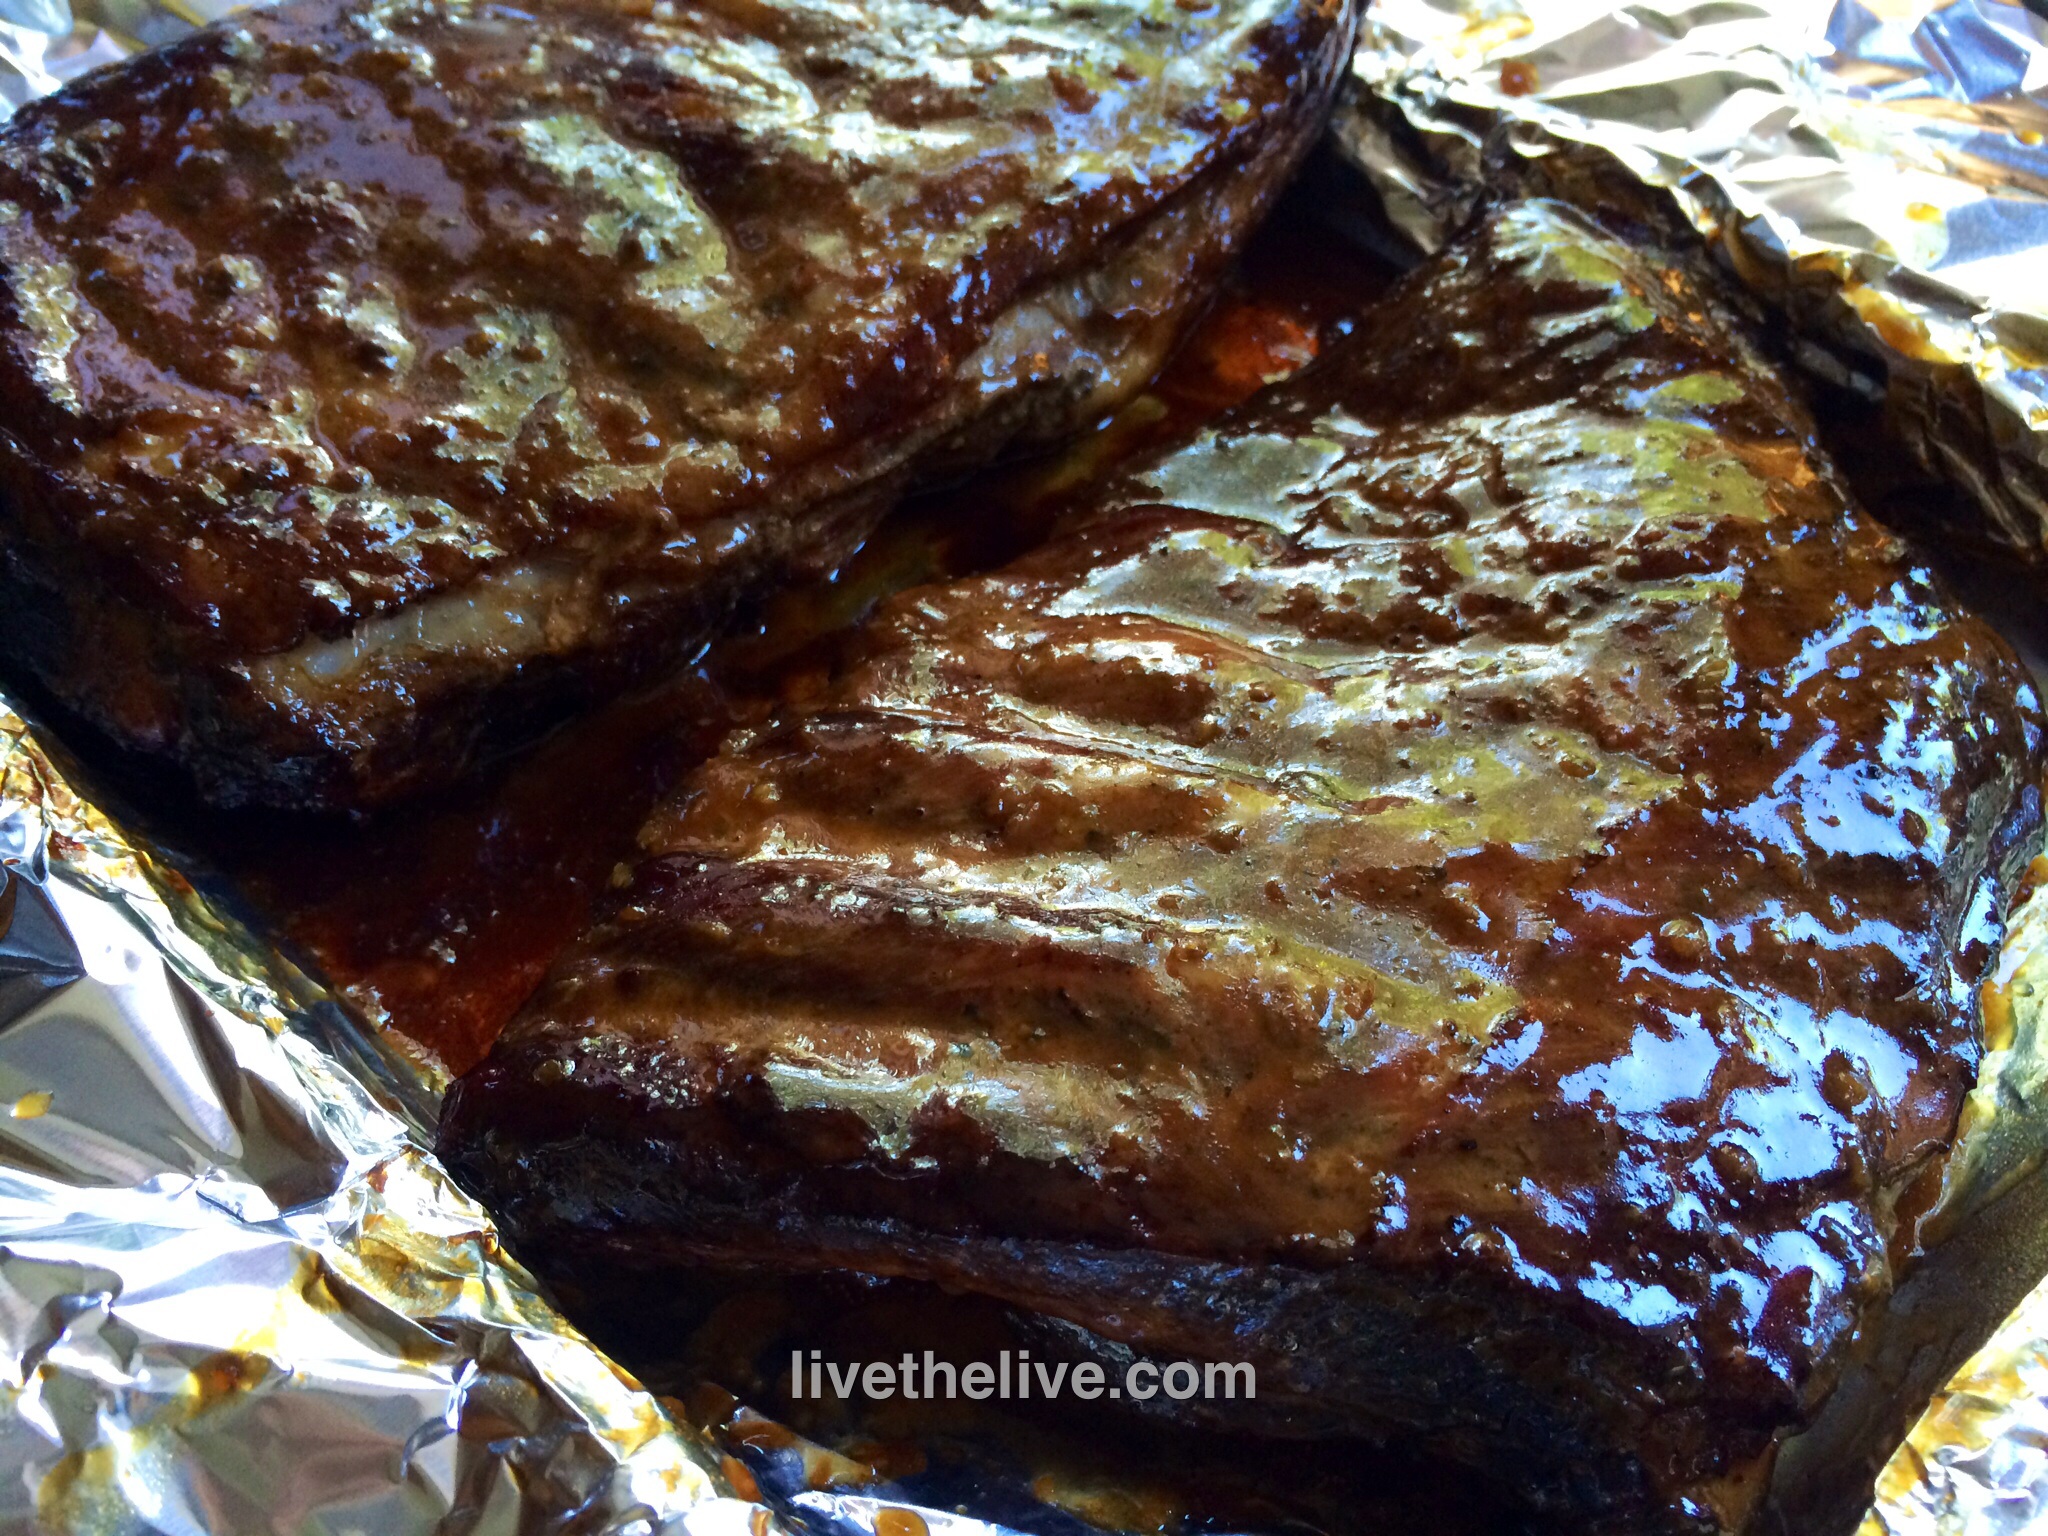
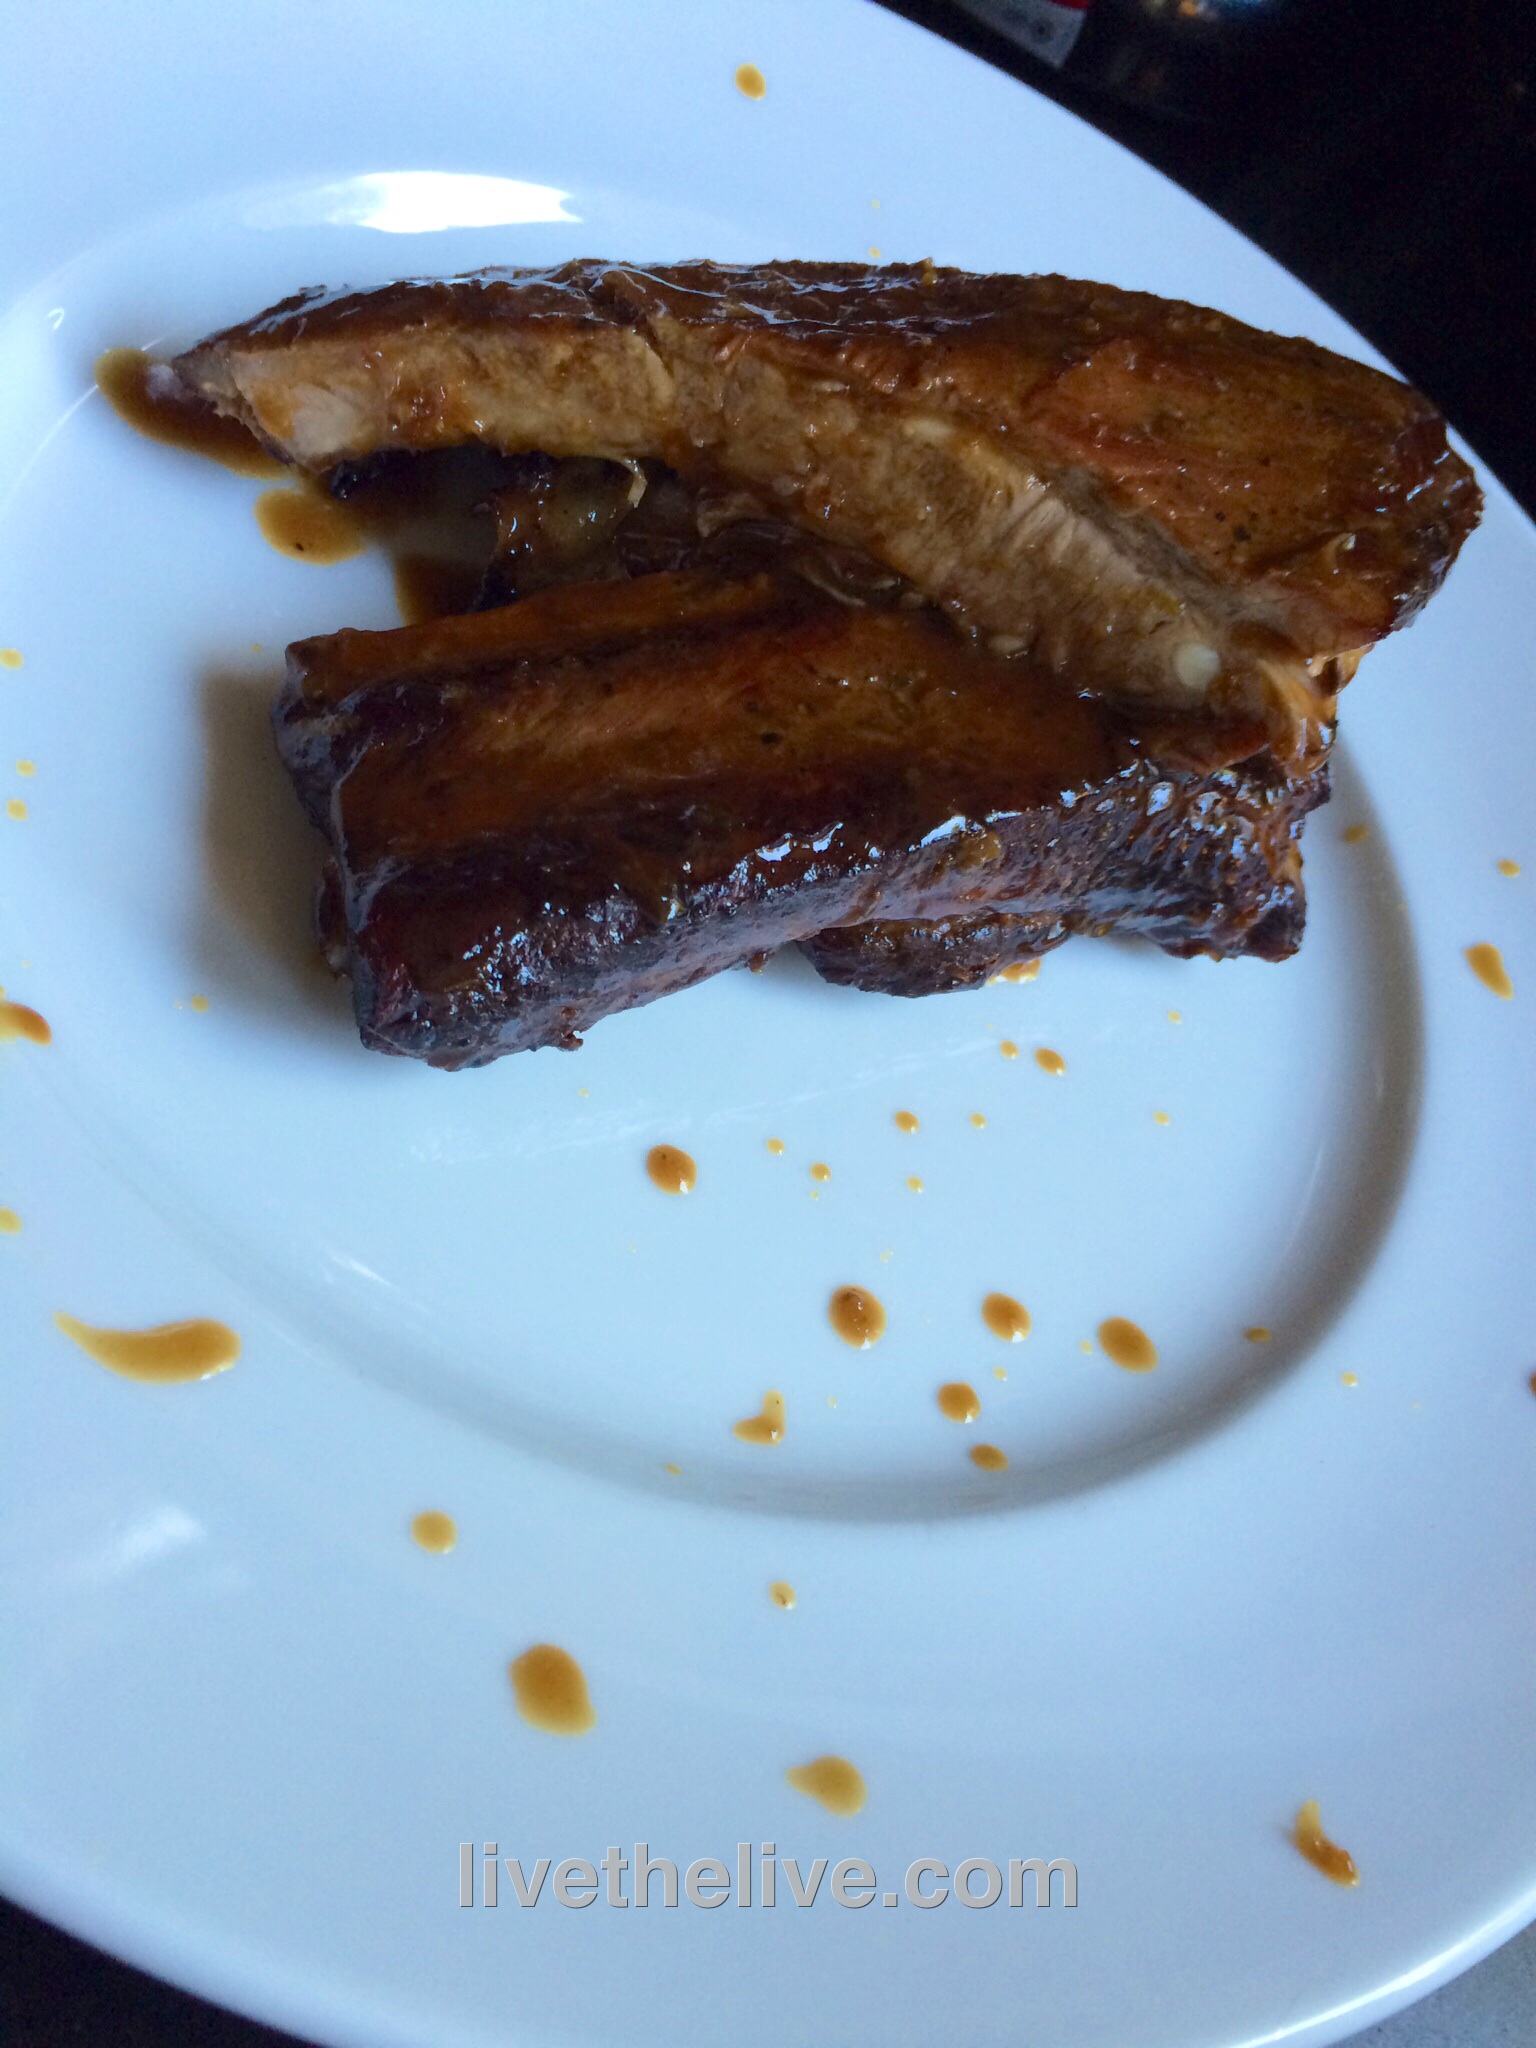
Since I’m busy tasting many bourbons these days, I’ve got some leftovers that may not make a great cocktail but would work great for a sauce. I had Maker’s Mark sitting around, so I came up with this sauce to use it up!

image

 Ingredients:

5 lbs St Louis style pork ribs

salt and pepper


For the sauce: 

1/4 cup honey

1/4 cup bourbon

zest and juice of 1 lime

zest and juice of 1 lemon

zest and juice of 1 orange

2 tablespoons Hoisin sauce

1 tablespoon Dijon mustard (I use Maille)

1 tablespoon soy sauce

2 teaspoons Worcestershire sauce

1 teaspoon chili oil

image

Season the ribs well with salt and pepper and cook in a smoker for 3 hours at 25o degrees, using hickory chips.

While ribs are smoking, combine sauce ingredients in a sauce pan, bring to a boil, then lower to medium heat and reduce the sauce by half until it thickens. Stir often, and don’t let the honey foam up and spill over the top.

Pre-heat oven at 250 degrees.

Remove ribs from the smoker and place in a sheet pan that is lined with aluminum foil, with enough foil to wrap around the ribs. Brush the ribs on all sides with the sauce, stacking no more than 2 sets of ribs on top of each other, and then wrap with foil.

Cook in the foil for 2 more hours, until tender.


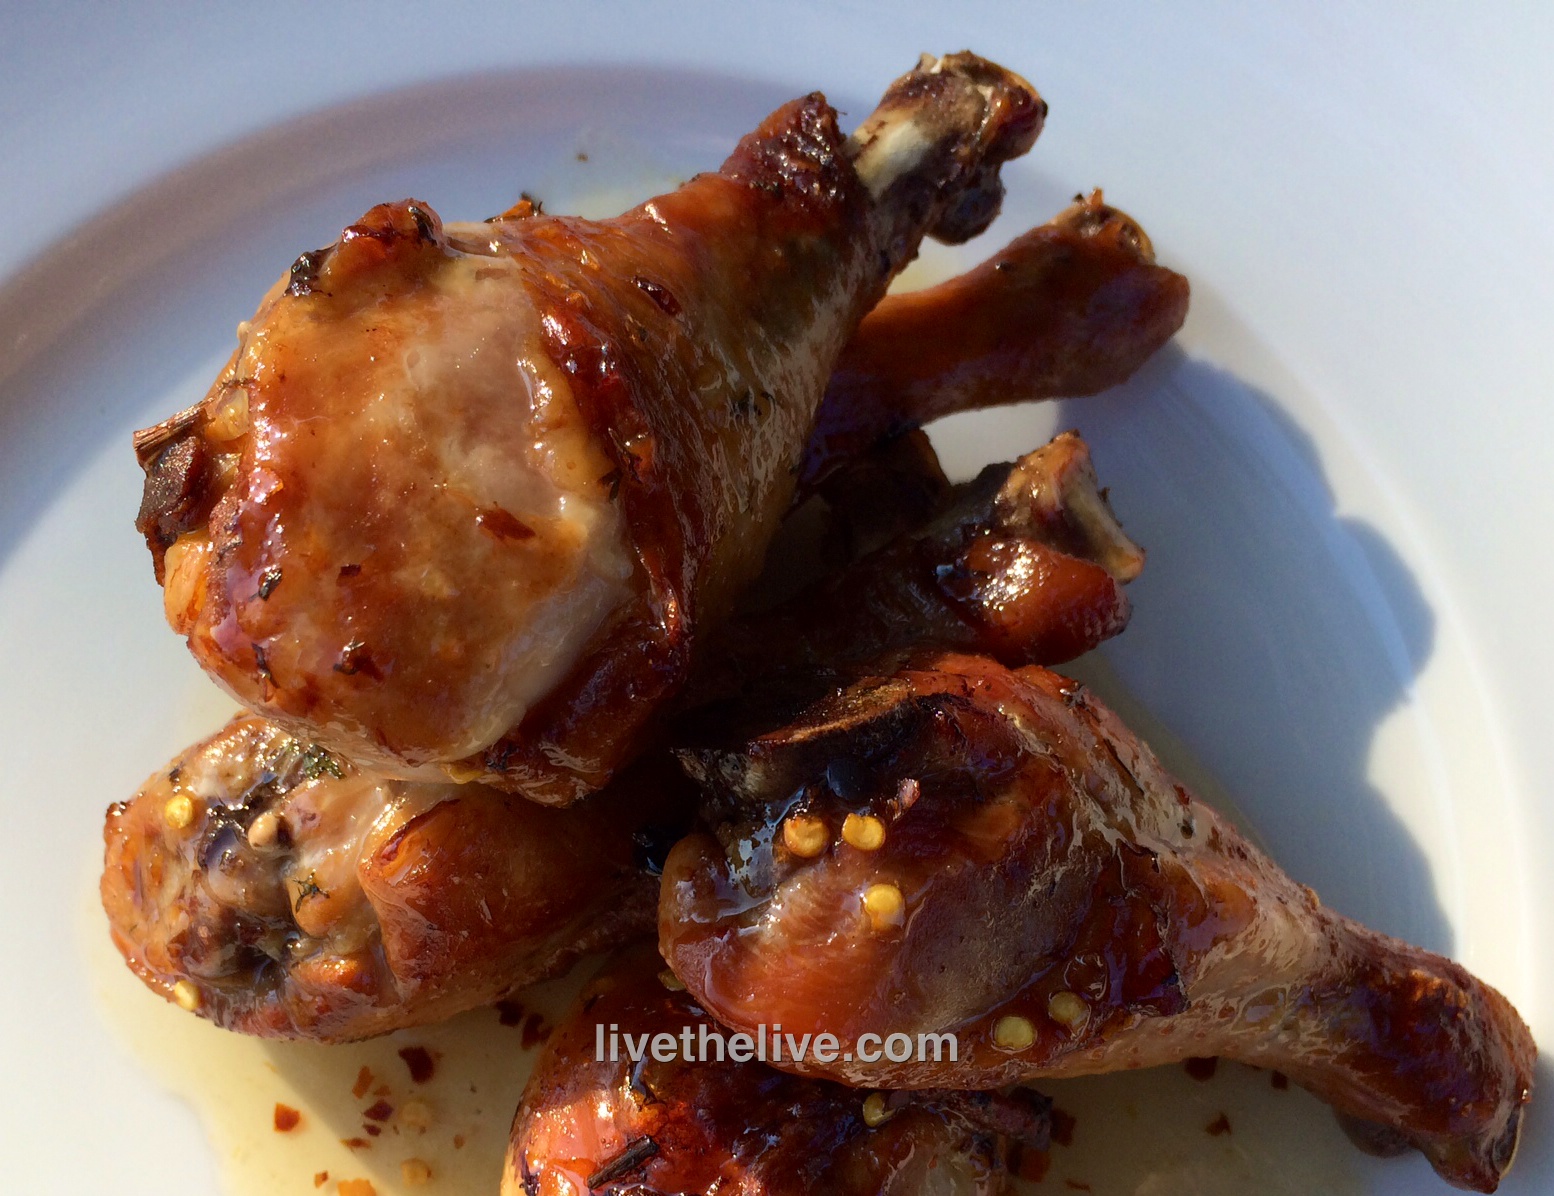
I love the flavors in Thai food…but I don’t enjoy extreme heat and my wife can’t deal with extreme garlic. So this is my more balanced version of a Thai grilled chicken dish…

thai chicken LTL


Ingredients:


3 lbs chicken pieces (I used drumsticks for this recipe)

2/3 cup soy sauce
1/2 cup fresh cilantro
2 tablespoons canola or peanut oil
2 garlic cloves, roughly chopped
1/2 teaspoon white pepper

1/2 cup sugar
1/4 cup white vinegar
1 teaspoon red pepper flakes or crushed dried chiles
1 teaspoon salt

Marinade: Combine soy sauce, cilantro, canola oil, granulated garlic and white pepper in a food processor and let it run. Place chicken pieces in a Ziploc bag and pour half of the marinade in. Save the other half for basting later. Seal the bag and let the chicken marinate overnight, or at least a few hours, squishing the bag around so that all the chicken gets marinated.

Sauce: In a saucepan, combine sugar, white vinegar, pepper flakes and salt. Bring to a boil and make sure the sugar dissolves. Remove from heat and let it cool to room temperature.

After marinating overnight, discard the used marinade in the Ziploc bag. Place chicken pieces over a hot hardwood fire or bake in an oven at 350, basting them with the leftover marinade until fully cooked. If the coal fire gets too hot, move the chicken to a cooler part of the grill to prevent burning. If using the oven, switch to the broiler at the end to give the chicken a nice char.

Serve with sweet pepper sauce drizzled on top.

Skip the necktie. If your dad’s a foodie, he wants something cool this year! All of these ideas have been rigorously tested by our panel of experts (OK, just me), and get a big thumbs up.

Digital Smoker: I’m a bit of a purist when it comes to grilling. I refuse to use a gas grill because I think there’s no difference between that and my kitchen stove. I use real hardwood charcoal, with real smoke and real flavor. But when it comes to smoking meats, basic smokers require constant maintenance so that the temperatures don’t fluctuate. With a 7-year-old daughter to take care of, that’s something I don’t have time for, especially if I’m cooking something low and slow for about 12 hours. So I have a digital smoker. You plug it in, set the time and temperature, and then periodically add wood chips through a side drawer to smoke the meat. You can literally set it and forget it. I have it cook through the night, so I wake up to a beautifully smoked slab of meat in the morning. Masterbuilt Electric Digital Smokehouse.

Cognac! How can you go wrong with booze for Father’s Day? But if you’re looking for something really special to give Dad (or your favorite morning DJ with a food blog), may I suggest Kelt XO. What makes Kelt XO special is that before bottling, they place the barrels of cognac on board ships that sail the world for months at a time. During this time, the cognac gently rocks back and forth in the barrels, slowly acquiring a smoothness you can’t find in other spirits. Each bottle even comes with a tag that tells you exactly what ports around the world your cognac has been to. At most high-end liquor stores.

jack daniels

Jack Daniels smoking chips: Whether you have a smoker or not, these chips will make anything you cook taste better. Made from the old oak barrels that they use to age Jack Daniels, you get a serious hit of whiskey in every bag…and in your food. Simply toss a handful of chips you’ve soaked in water for about a half hour, and they will infuse the food on your grill with flavor. You can also use them dry, on charcoal or gas grills.

Cookbook favorites: “Jamie at Home,” by Jamie Oliver (a great combination gardening/cookbook), “Charcuterie,” by Michael Ruhlman and Brian Polcyn (the best book on how to cure and smoke meats), “Barbecued Ribs, Smoked Butts, and Other Great Feeds,” by Jeanne Voltz (my absolute barbecue Bible!), and “Martin Yan’s Feast: The Best of Yan Can Cook” by Martin Yan (the authority on Asian cooking.)

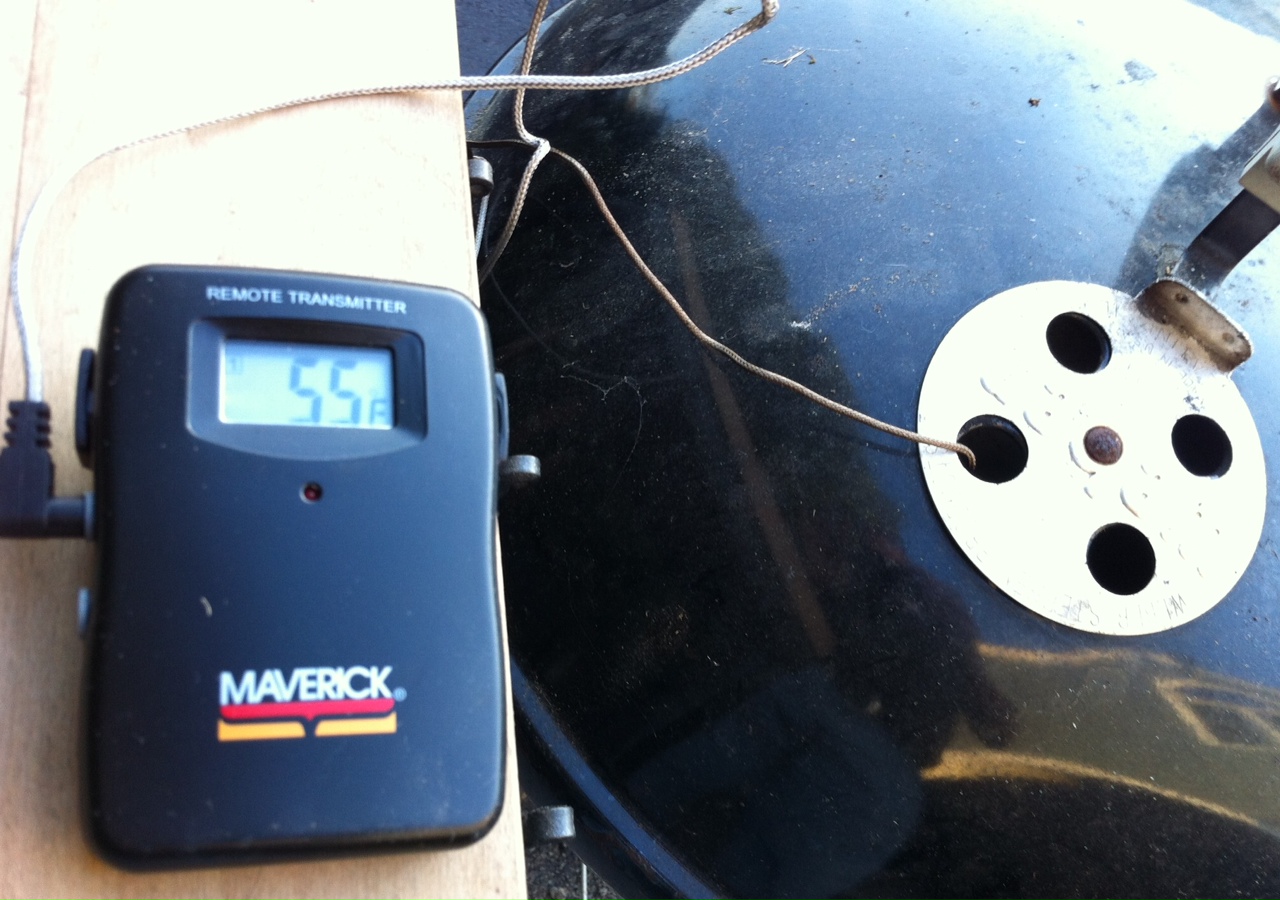
BBQ timer: Even someone who has barbecued all their lives runs the risk of burning or undercooking a roast or a large bird. Opening the grill and jabbing the meat with a thermometer several times causes the juices from the meat to run out, leaving it dry…and every time you open the grill, you lose precious heat. This is the better solution: You stick the needle into the roast or bird and leave it in there the entire time it cooks, so no juices leak out. You plug it into the monitor which then calls you when the meat is ready (from as far as 100 feet away!) You set the time or temperature, and then get to join your guests for the party. Redi-Check Remote Cooking Thermometer.

Smoking Gun: This is a fun toy. There are times when you don’t need a full-on smoker. All you want to do is smoke a small piece of fish or a hunk of cheese.  You simply take some of the finely ground wood chip powder (comes with the gun) and place it in the pipe-like bowl. Light it, and the Smoking Gun will blow that smoke through a hose into the Ziploc bag where your piece of fish is waiting for its magical transformation to smoky deliciousness. (Thanks to chef Rizwan Ahmed of the Hourglass Brasserie in Bristol, RI, who introduced me to this very cool device.)

smoking gun


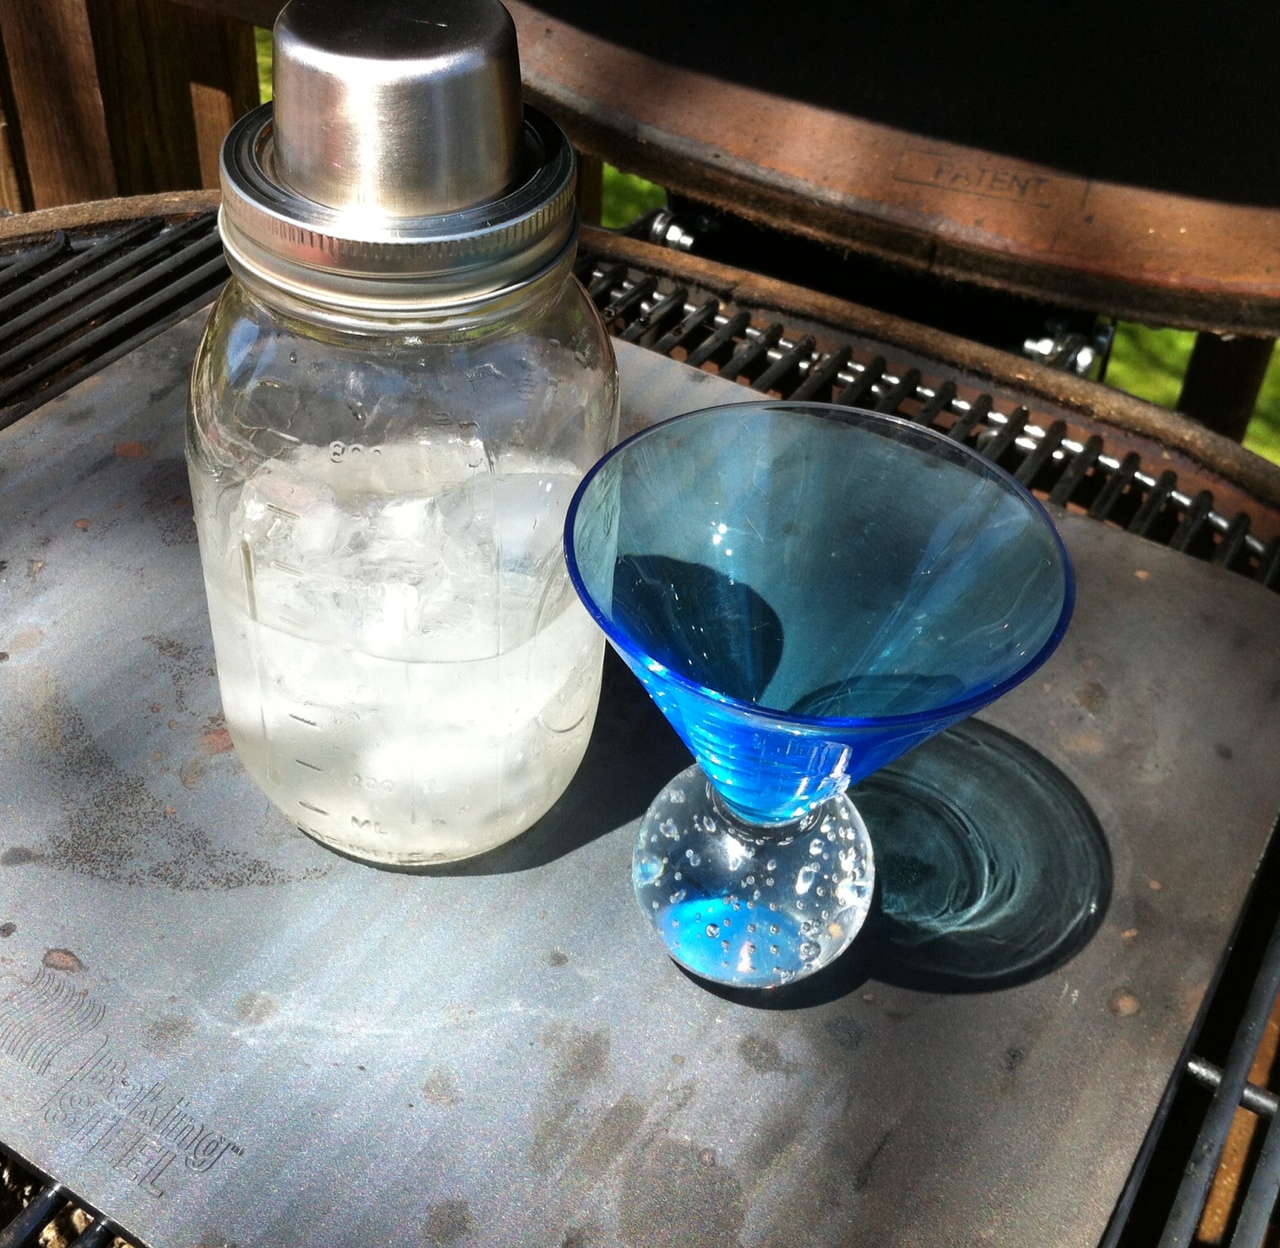
Mason jar cocktail shaker: A fun new way for Dad to make his martini. http://www.masonshaker.com

mason jar, baking steel

St. Patrick’s Day is about 3 weeks away…just in time to make your own corned beef!

It takes about 3 weeks to make corned beef, but it’s not difficult to do. Doing it yourself gives you a better quality product than that nasty slab from the supermarket that is full of chemicals and preservatives.

Corned beef has nothing to do with corn. ‘Corning’ is a technique for preserving raw meats for long periods by soaking it in salt brine. This method was used before the days of commercial refrigeration. Back then, the large salt kernels used in the brine were called “corns.”

Brining is a time-honored way of preserving and it prevents bacteria from growing. Both pastrami and corned beef are made by this method. Both corned beef and pastrami usually start with a brisket of beef. Corned beef is then cooked–usually boiled–and served. Pastrami is made when the brined meat is rubbed  with more spices and smoked to add extra flavor. So corned beef and pastrami are the same meat, just treated differently.

Saltpeter is an ingredient that has been used in brining beef for years. It adds the traditional red coloring to the corned beef and pastrami meat. But since saltpeter can also contain carcinogens, I leave it out. The meat may not be the usual bright red color, but the flavor and texture of the meat will not be affected.

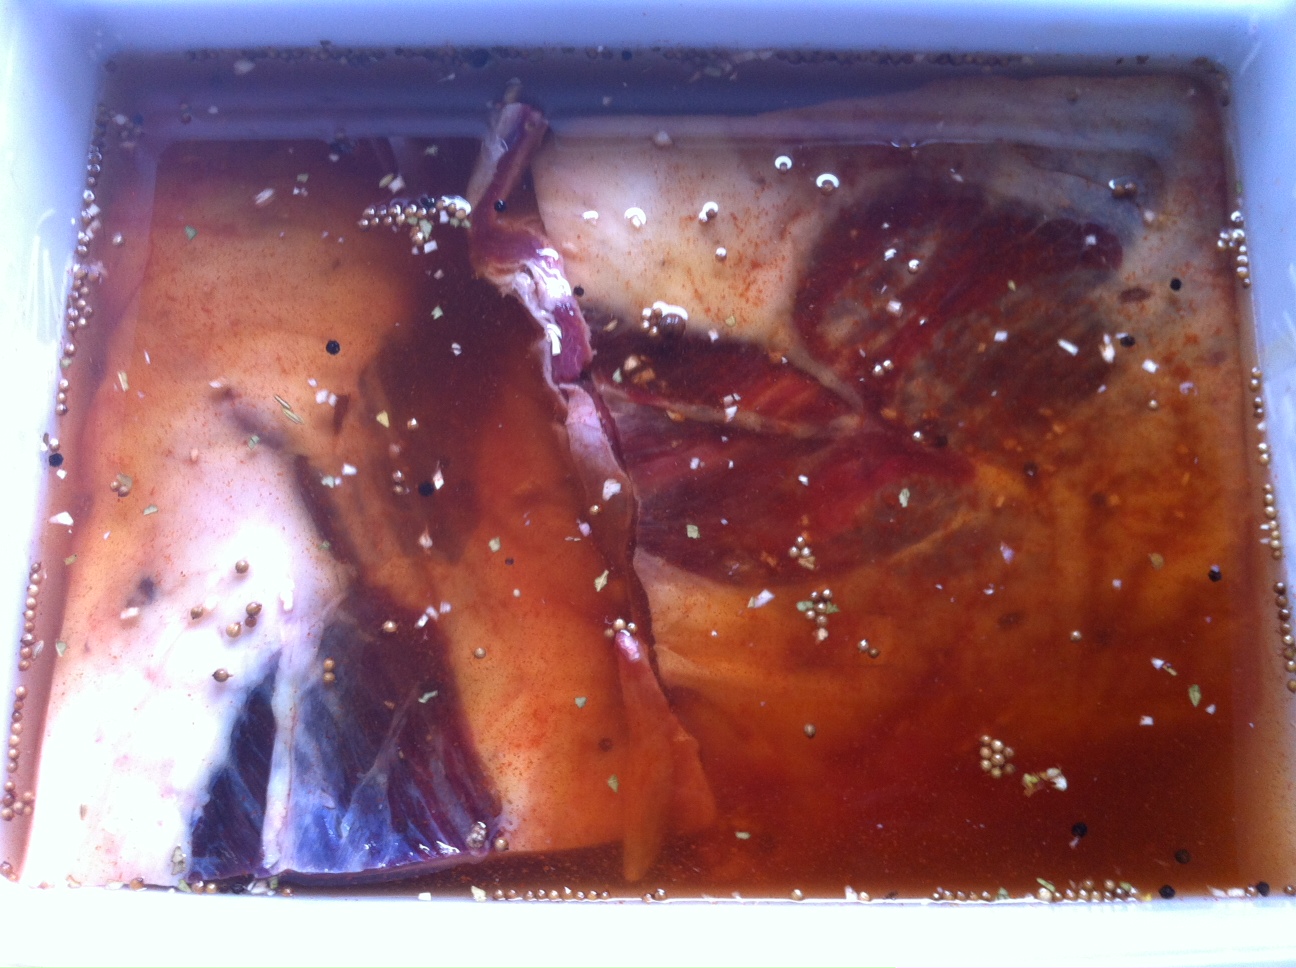
Brining the beef brisket

Brining the beef brisket

Step one: corned beef…

Ingredients:
beef brisket (about 8-10 pounds)
2 tsp. paprika
1/4 cup warm water
3 cloves of minced garlic
2 tablespoons sugar
1 tablespoon mixed pickling spices
3/4 cup salt
2 quarts water

Place the brisket in a large container made of non-reactive material, like glass or plastic.

In the 1/4 cup of warm water, dissolve the sugar, minced cloves, paprika and pickling spices.

Dissolve the 3/4 cup of salt in the 2 quarts of water. Pour in the sugar/garlic/paprika/pickling spices mix and stir everything together. Pour the mixture over the meat in the container. Make sure the meat is totally beneath the surface of the liquid. (You may need to weigh it down to do this.) Cover the container.

Refrigerate the container and contents for 3 weeks, turning the meat once or twice per week. At the end of the third week, remove the container from the refrigerator and take out the meat. Soak the meat in several changes of fresh cold water over a period of 24 hours to remove the excess salt.

At this point, if you want corned beef, prepare and cook it using your favorite recipe. But I’m all about the pastrami!

Step two: making Pastrami…

pastrami

Ingredients:

Brined and rinsed corned beef brisket from above recipe, patted dry with paper towels

1/4 cup Kosher salt

1/4 cup paprika

3 tablespoons coriander seeds

2 tablespoons black peppercorns

2 tablespoons yellow mustard seeds

1 tablespoon white peppercorns

3 tablespoons brown sugar

1 tablespoon granulated garlic

Combine coriander seeds, black and white peppercorns and mustard seeds in a spice grinder and grind coarsely. Place in a bowl. Add salt, paprika, brown sugar and granulated garlic. Mix well.

Rub the mix into the brisket well, covering all sides.

Heat smoker to 225 degrees and smoke for several hours using a less intense wood, like oak. When the internal temperature of the meat has reached 165 degrees, it’s done. It isn’t necessary to smoke pastrami as long as you would a regular brisket because the long brining time makes the meat tender.

It is very important that absolutely everything that comes in contact with the meat is very clean. (This includes your hands.) Also, make very sure that every inch of the meat reaches the 165 degrees before it is removed from the smoker. The corned beef is now pastrami.

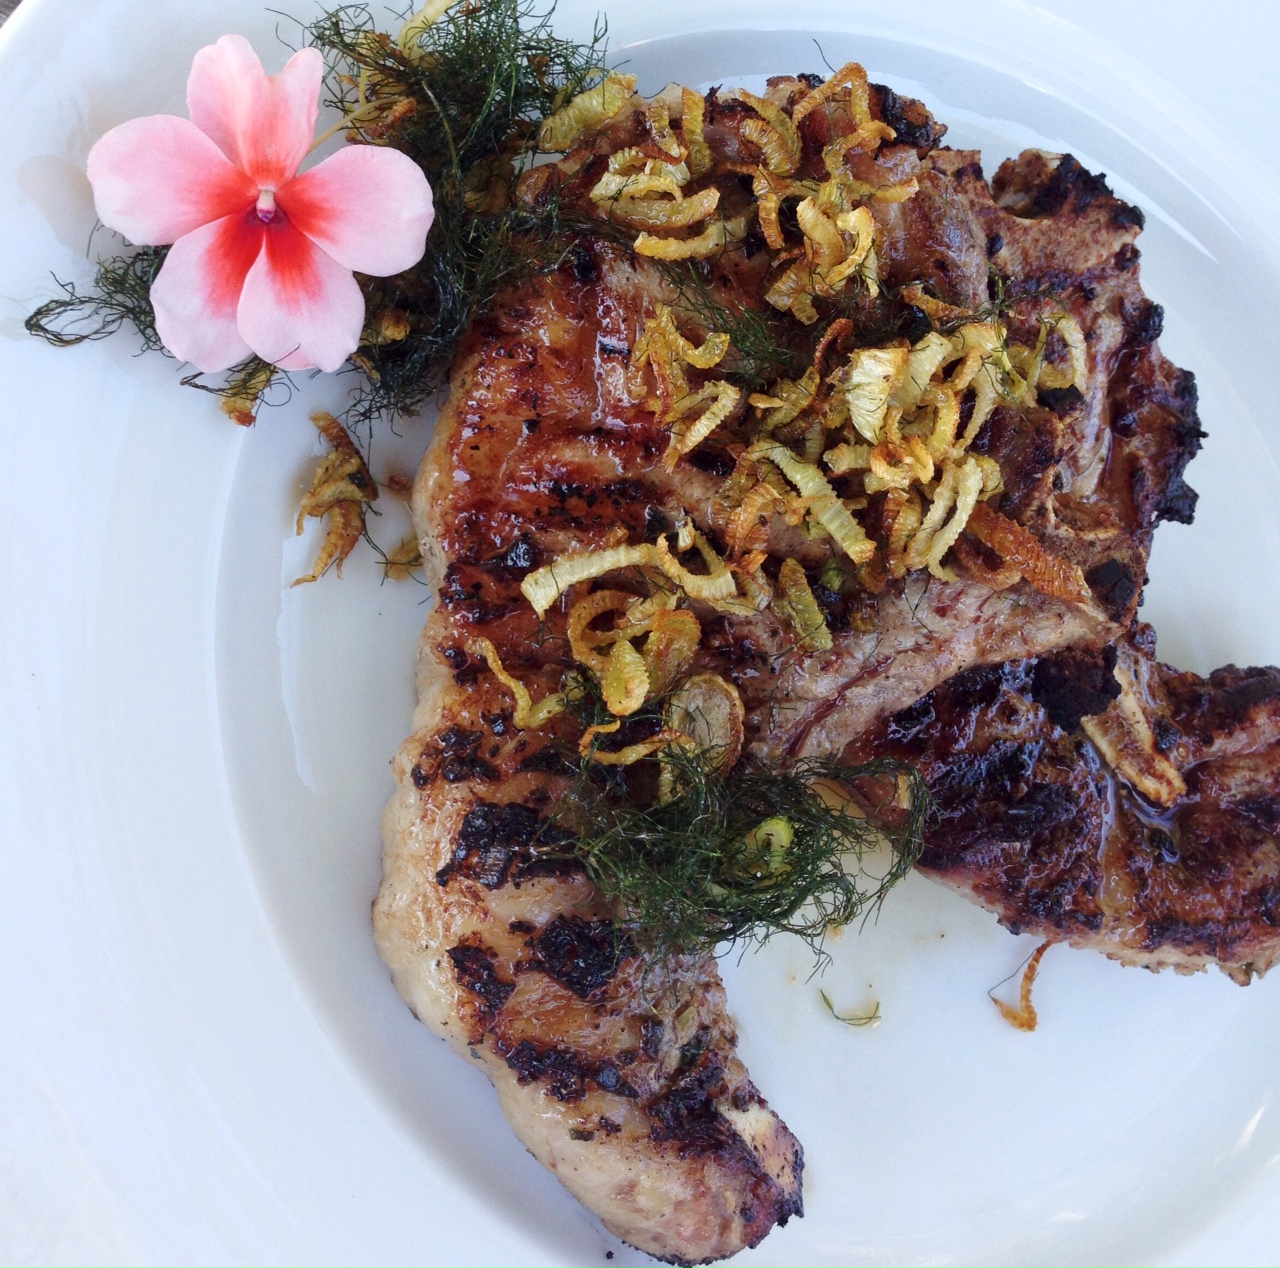
Inspired by a garden full of fennel and my fanatical love for all things pork, this recipe just happened this past fall. I use Berkshire heritage pork when possible, a far tastier and healthier choice over standard pork you find in a supermarket. I get it at: http://www.heritagepork.com.

pork chop fennel


Ingredients:


4 Berkshire pork chops

4 tablespoons finely chopped fennel bulb

2 teaspoons finely chopped fresh sage

4 teaspoons garlic salt

1 teaspoon ground black pepper

3 tablespoons extra virgin olive oil

extra fennel bulb and fennel fronds

extra olive oil, salt and pepper for sauteing


Combine the chopped fennel, sage, garlic salt, black pepper and olive oil in a bowl. Mix well and spread it all over the pork chops. Let them stand for an hour at room temperature.

Light a hot grill. Grill pork chops until done…with quality pork, that does not mean cook it to death!

Chop extra fennel bulb into thin strips about an inch long. Remove fennel fronds from their stems. Saute bulb strips in olive oil, salt and pepper until they are almost crisp. Toss in fennel fronds and cook until fronds and bulb strips are crisp.

Serve pork chops with crispy fennel and fronds on top.

The concept of a deep-fried turkey sounds pretty cool. But for me, it’s just too much damn work: finding a safe spot in the yard to blast the propane-fueled fryer so that you don’t burn your house down, standing outside and freezing your ass off while it fries, and then disposing of gallons of used oil at the end of it all. And making sure the oil is at the right temperature so you don’t get a scorched turkey on the outside and raw turkey on the inside. Sure, they now have indoor turkey fryers, but I’m not crazy about that idea, either.

I get great results by cooking my turkey in my Weber grill. The standard Weber allows you to cook up to a 15 lb. bird–big enough for my purposes–and it comes out crispy, smokey and delicious. If you’re afraid to try this for the first time at Thanksgiving when it really matters, wait a few months and buy a turkey when you have the craving and try it out.

The charcoal chimney with hot coals awaits.

Although I’ve stopped using charcoal briquettes a long time ago, and now strictly use natural hardwood charcoal, this recipe works best with Kingsford. The idea is for the coals to cook slowly and evenly. And never use lighter fluid…always start your fire with a few pieces of crumbled newspaper under a charcoal chimney.

Needed:

Weber grill, with the dome top

Kingsford charcoal briquettes (do not use Match Lite or other pre-soaked briquettes)

Heavy duty aluminum pan (disposable)

Ingredients:

Whole turkey, up to 15 lbs, thawed and previously brined (see my blog about brining a turkey)

Olive oil (to rub on turkey)

2 yellow onions, chopped

4 stalks of celery, chopped

½ lb (2 sticks) of unsalted butter, melted

1 tablespoon granulated garlic

1 tablespoon onion powder

2 tablespoons salt

1 tablespoon pepper

Spreading the coals away from the center of the grill.

If you want stuffing, make it separately and cook it separately. (A great recipe in my next blog.)

Light 8 to 10 lbs of charcoal in the grill…depending on the size of the turkey and how cold it is outside.

Remove the giblets from the turkey. Place the bird in the aluminum pan.

In a small bowl, mix granulated garlic, onion powder, salt and pepper Add any other seasonings you like.

Coarsely chop onions and celery. Place in a another bowl. Mix with the melted butter and 1/3 of the salt/pepper/garlic powder mixture. Place a small handful of this “stuffing” mixture in the neck cavity of the turkey. Place the rest in the body cavity (where the stuffing would usually go.) You can fasten the bird with turkey skewers if you like. This “stuffing” is strictly to flavor the turkey…you don’t eat it!

The rubbed, stuffed and seasoned bird.

Rub the outside of the entire turkey with the olive oil and sprinkle the rest of the garlic/onion/salt/pepper mixture on the outside of the bird. Make sure you get the bird on the bottom as well.

When the coals in the grill have ashed over, spread them to the outside edges of the Weber equally. Put the cooking grill rack in place. Place the aluminum pan with the turkey in the center of the grill, keeping it away from the direct heat of the coals. If using a meat thermometer, insert the probe into the thickest part of the breast, being careful not to hit the bone. Place the lid on the grill. (You may need to bend your pan a bit.) Open the vents on the bottom of the Weber as well as the lid. Important to get air circulating!

My meat thermometer calls me from as far as 100 feet away when the turkey reaches the optimum temperature that I pre-set. Time for a drink!

No basting is necessary.

Now here’s the tough part: DO NOT OPEN THE GRILL TO CHECK ON THE TURKEY! (If you must look, shine a flashlight into the vent holes on the lid to take a peek at the pop-up timer, if there is one.) The whole point is to keep the heat inside the kettle. You’ll know your turkey is done when no more smoke or heat rises from the grill, and the turkey inside stops making sizzling noises.

Remove the turkey and let it rest at least 15 minutes before carving.

Beautifully grilled, cooked to 180 degrees in less than 2 hours!

It takes about 3 weeks to make corned beef, but it’s not difficult to do. Doing it yourself gives you a better quality product than that nasty slab from the supermarket that is full of chemicals and preservatives.

Corned beef has nothing to do with corn. ‘Corning’ is a technique for preserving raw meats for long periods by soaking it in salt brine. This method was used before the days of commercial refrigeration. Back then, the large salt kernels used in the brine were called “corns.”

Brining is a time-honored way of preserving and it prevents bacteria from growing. Both pastrami and corned beef are made by this method. Both corned beef and pastrami usually start with a brisket of beef. Corned beef is then cooked–usually boiled–and served. Pastrami is made when the brined meat is rubbed  with more spices and smoked to add extra flavor. So corned beef and pastrami are the same meat, just treated differently.

Saltpeter is an ingredient that has been used in brining beef for years. It adds the traditional red coloring to the corned beef and pastrami meat. But since saltpeter can also contain carcinogens, I leave it out. The meat may not be the usual bright red color, but the flavor and texture of the meat will not be affected.

Brining the beef brisket

Brining the beef brisket

Step one: corned beef…

Ingredients:
beef brisket (about 8-10 pounds)
2 tsp. paprika
1/4 cup warm water
3 cloves of minced garlic
2 tablespoons sugar
1 tablespoon mixed pickling spices
3/4 cup salt
2 quarts water

Place the brisket in a large container made of non-reactive material, like glass or plastic.

In the 1/4 cup of warm water, dissolve the sugar, minced cloves, paprika and pickling spices.

Dissolve the 3/4 cup of salt in the 2 quarts of water. Pour in the sugar/garlic/paprika/pickling spices mix and stir everything together. Pour the mixture over the meat in the container. Make sure the meat is totally beneath the surface of the liquid. (You may need to weigh it down to do this.) Cover the container.

Refrigerate the container and contents for 3 weeks, turning the meat once or twice per week. At the end of the third week, remove the container from the refrigerator and take out the meat. Soak the meat in several changes of fresh cold water over a period of 24 hours to remove the excess salt.

At this point, if you want corned beef, prepare and cook it using your favorite recipe. But I’m all about the pastrami!

Step two: making Pastrami…

pastrami

Ingredients:

Brined and rinsed corned beef brisket from above recipe, patted dry with paper towels

1/4 cup Kosher salt

1/4 cup paprika

3 tablespoons coriander seeds

2 tablespoons black peppercorns

2 tablespoons yellow mustard seeds

1 tablespoon white peppercorns

3 tablespoons brown sugar

1 tablespoon granulated garlic

Combine coriander seeds, black and white peppercorns and mustard seeds in a spice grinder and grind coarsely. Place in a bowl. Add salt, paprika, brown sugar and granulated garlic. Mix well.

Rub the mix into the brisket well, covering all sides.

Heat smoker to 225 degrees and smoke for several hours using a less intense wood, like oak. When the internal temperature of the meat has reached 165 degrees, it’s done. It isn’t necessary to smoke pastrami as long as you would a regular brisket because the long brining time makes the meat tender.

It is very important that absolutely everything that comes in contact with the meat is very clean. (This includes your hands.) Also, make very sure that every inch of the meat reaches the 165 degrees before it is removed from the smoker. The corned beef is now pastrami.

“Cope” chops are the creation of my long-time radio buddy, Marc Coppola, who is heard here in Providence, RI mid-days at our sister station B-101, and on stations throughout the country. Cope and I started in radio at WBAB on Long Island back in the early 80’s. He had the afternoon drive shift, and I was on after him from 7 to midnight. After his show, Cope would remove a hibachi grill out of the trunk of his car, light some charcoal in the radio station parking lot, and he’d grill up the most amazing pork chops I’ve ever had. They were thin, but juicy and beautifully charred, with a wonderful saltiness. He called ’em Cope chops, and we’d eat them by the stack, wrapping the hot bone of the chop with a paper towel, and then just chowing down. It was a great memory, and one that I regularly re-live by grilling Cope chops at home even today.

After three decades, I’m not sure if my Cope chop recipe is the same as the original, but they are damn good and incredibly easy to make.

Ironically, for this recipe, I don’t go all out and spend big money on thick, expensive pork chops. I want them thin, fatty and with the bone in. The secret to the success of these chops is to cook them hot and fast, sealing in the juices.

Cope chops

Ingredients:

Thin-cut pork chops

Dry white wine (I use an unoaked inexpensive chardonnay, like Alice White)

Lawry’s seasoned salt

Place the pork chops in a flat bowl, and pour the chardonnay over the top, making sure you cover the chops with the wine. Let them marinate in the wine for at least an hour, flipping them over halfway through so that all sides get covered by the wine.

Light a hot hardwood charcoal fire.

Pour off the wine from the chops and discard. Place the chops on the hot grill and season the top with the Lawry’s seasoned salt. Once they’ve charred nicely, flip the chops over and season the other side. Grill until the chops are cooked all the way through, but not dry. Serve immediately.

In the past, whenever I reached for the smoker, it was always for a slab of meat: brisket, pork shoulder, ribs. I’m surprised it took me this long to finally smoke some fish. What have I been waiting for?

Brining and smoking fish, in this case a hunk of wild-caught Alaskan salmon, is really not difficult to do at all: you brine the fish in a simple salt, pepper and sugar solution for a few hours, let the hunk of fish dry, then throw it in a smoker for a couple of hours. It’s really that easy. This method is called hot smoking, not the cold smoking you often see described on packages of store-bought salmon. Cold smoking is a process that takes days and requires equipment that most homeowners don’t have, and don’t need.

About the fish: I’m not a fan of traditionally cooked or poached salmon. I like it raw or I like it smoked. I never buy Atlantic salmon or any other farm-raised salmon because of the way they raise them: in large pens out in the ocean, fed food pellets and antibiotics, over-crowded and diseased, polluting the waters around them with waste.

Wild-caught fish are just that: they eat their natural food sources. They are not crowded so they don’t need antibiotics. And you can tell the difference when you look at the beautiful bright orange flesh. Does the good stuff cost more? Of course. Worth every bit.

Though I try to make sure all the small bones have been removed from my fish, I like to keep the skin on the filet, because it helps hold it together in the smoker. I always keep the fish cold in the fridge until it is ready to be brined.

salmon

For the brine:

1 gallon water
1cup Kosher salt
1cup organic raw sugar
1/2 teaspoon freshly ground black pepper

Combine the ingredients in a large pitcher made of glass or plastic and refrigerate until very cold.

When the brine is cold, remove the fish from the fridge and place it skin down in a glass or plastic container that will hold the filet without folding it over. Carefully pour the brine over the fish and make sure the fish is covered completely with the brine. If the fish filet starts to float, place a dish on it to push it down and then put the lid over the container. Place the container back in the fridge and brine for anywhere from 6 to 12 hours. (I always go for less than more. I’d rather have less salty than too salty.)

Once the fish has been brined, remove it from the container and rinse it well under fresh water. Pat it dry with paper towels and place it where it will get air circulating all around it. I use a small rack that stands an inch over a sheet pan. If you leave the fish out at room temp, do it for no more than an hour. Otherwise, it can stay in the fridge for up to 3 hours.

As the fish dries, it will form a shiny coat on the surface called a pellicle. This will actually help the smoke molecules adhere to the fish.

Start up your smoker. I use a digital smoker that runs on electricity, so I pre-heat to 220 degrees. When the fish has dried, I place it in the middle of the smoker and then add hickory chips to the smoker. I smoke the fish for about 2 hours, until the internal temperature of the fish is about 140.

Once it is smoked, I let the fish cool to room temp before I wrap it tightly and place it in the fridge for storage. Eat it within a few days…that should not be a problem!

When I used to go to my favorite barbecue place and asked for a pulled pork sandwich, I didn’t realize just how much work went into making it. But now that I make my own, I have a whole lotta respect for those barbecue guys…

pulled pork

First, I get a hunka pork. The kind of pig I get matters to me, and so I buy a heritage breed, like Berkshire (also known as Kurobuta), from a farm that humanely raises them in an environment that is not only better for the pig, but ultimately better for my family and me as a result.

Going to a supermarket for pork is certainly what most people do, but the names of the cuts of meat can be a bit confusing. Despite its name, pork butt is not from the back-end of the pig. It’s the shoulder. And the pork butt (or pork shoulder) picnic is a lower cut of the same area. These cuts can also go by the following names: Boston shoulder roast, Boston butt, Boston roast, shoulder butt, and shoulder-blade roast. Whatever the name, these are all nicely marbled hunks of pork that usually weigh in anywhere from 6 to 8 lbs, and are easy to find. Bone in or boneless doesn’t matter.

Once I’ve got my slab, I need to season it. I’ve found that a simple rub is the best way to go for the sauce I’m going to use later. Here are the ingredients for the basic rub I use when roasting pork:

BASIC DRY RUB

Ingredients:

1/4 cup kosher salt

1/4 cup black pepper

1/4 cup paprika

¼ cup brown sugar

1 tablespoon granulated garlic

1 tablespoon onion powder

Place all the ingredients in a jar with a lid and shake it up to blend.

Once I’ve made the rub, I generously sprinkle it all over the pork, and rub it in really well. I have a digital smoker at home, which allows me to cook and smoke my pork butt all in one place. I place the pork butt on a rack, put a drip tray underneath it to catch the grease, and set the smoker for 200 degrees. I cook the pork at 200 degrees for about 6 to 8 hours, and then I add hickory chips to the smoker and smoke the butt at 200 degrees for at least another 2 hours. The marbled fat in the pork butt slowly melts over time and the pork becomes incredibly tender and flavorful.

I remove the pork butt from the smoker and let it rest, covered with aluminum foil, for at least 20 minutes before pulling the meat apart with a couple of forks, shredding it into beautiful meaty bits.

While the pork is cooking and smoking, there’s plenty of time to make two other very important parts of this recipe: a vinegar-based barbecue sauce, and the cole slaw.


BARBECUE SAUCE


Ingredients:

1 1/2 cups cider vinegar

1/2 cup ketchup

1 teaspoon salt

1/2 teaspoon cayenne pepper

1/8 teaspoon red pepper flakes

1 tablespoon granulated sugar

1/2 cup water

Combine all the ingredients in a saucepan. Bring to a boil, then simmer and stir until sugar is dissolved. Cool to room temp.


COLE SLAW

My unusual cole slaw recipe uses an interesting ingredient: pickle juice! Just a splash of juice from your favorite jar of pickles is all you need.


Ingredients:

1 package of cole slaw veggies

splash of pickle juice

1/4 cup mayonnaise (more to taste)

teaspoon celery seed (not salt)

salt and pepper

There are no real specific measurements for cole slaw, because I’ve found that some people like it dry, others wet…some peppery, some not. Play around with it and make it your own. I prefer a more mayonnaise-y cole slaw, and usually err on the wet side.

In a bowl, combine all the ingredients. Cover with plastic wrap and chill. When ready to use, re-mix, and taste for seasoning before using.


OK…time to make that sandwich!

I drizzle the barbecue sauce on the pulled pork and mix well…trying not to oversauce the pork! Then I take a nice amount of pork and place it on a freshly baked bun and then add the cole slaw on top. Yes…right on top of the pork! (That’s the way they do it in the Carolinas.)

Whether you go through all this trouble yourself or not, just remember that if you’re at a barbecue joint, someone else did. Whatever you pay for that pulled pork sandwich… it’s a bargain!