Archive for the ‘Food’ Category

What can I say? I was craving both dishes, so I combined them. I figured: if I love each one of them, I’d be crazy over both together!


image


Pasta
1/4 lb. bacon, finely chopped
1 onion, finely chopped
18 small clams, washed and purged*
1 teaspoon fresh oregano, finely chopped
1/4 cup white wine
Good quality olive oil
6 large garlic cloves, finely chopped
1/4 cup fresh parsley, finely chopped


In a large pot, salt some water and bring it to a boil. Cook the pasta until al dente.

In the bottom of another large pot on medium-high heat, fry the bacon until it’s crisp. Add the onions and sauté them until they’re translucent. Add the clams, oregano and wine, and cover the pot with a lid. Reduce the heat to medium. The clams are cooked when they open. Discard any unopened clams.

In a frying pan, heat the olive oil to medium. Add the chopped garlic and fry it until just crispy. Toss in the parsley and stir it to combine.

Place the pasta in a bowl or plate. Pour the clams and juice over the pasta. Pour the fried garlic and oil all over the clams.


*Purging clams: Clams can be pretty sandy and gritty, so it’s important not only to scrub the outside of the shell, but to purge them as well. Clams should be stored in a bowl in the fridge with a wet dish towel over them, never in water. Once you’re ready to use them, fill a bowl with water and add salt (think salty like ocean water) and a tablespoon of corn meal. Mix this around, then add the clams and let them sit in this solution in the fridge for a couple of hours. The clams will purge (clean themselves) out. Discard the liquid and rinse the clams before cooking.

It’s a Leap Year! This weekend, have a sip of the infamous Leap Year Cocktail.

This special drink was created in 1928 by Harry Craddock, who worked at the American Bar in London at that time.

FullSizeRender (2)


2 oz. gin (I use Hendrick’s)
1/2 oz. Grand Marnier
1/2 oz. sweet vermouth (I use Antica Formula)
1/4 oz. fresh lemon juice


Combine all the ingredients with ice in a cocktail shaker and shake vigorously for 30 seconds. Pour into a chilled martini glass and garnish with a twist of lemon.

Cheers!

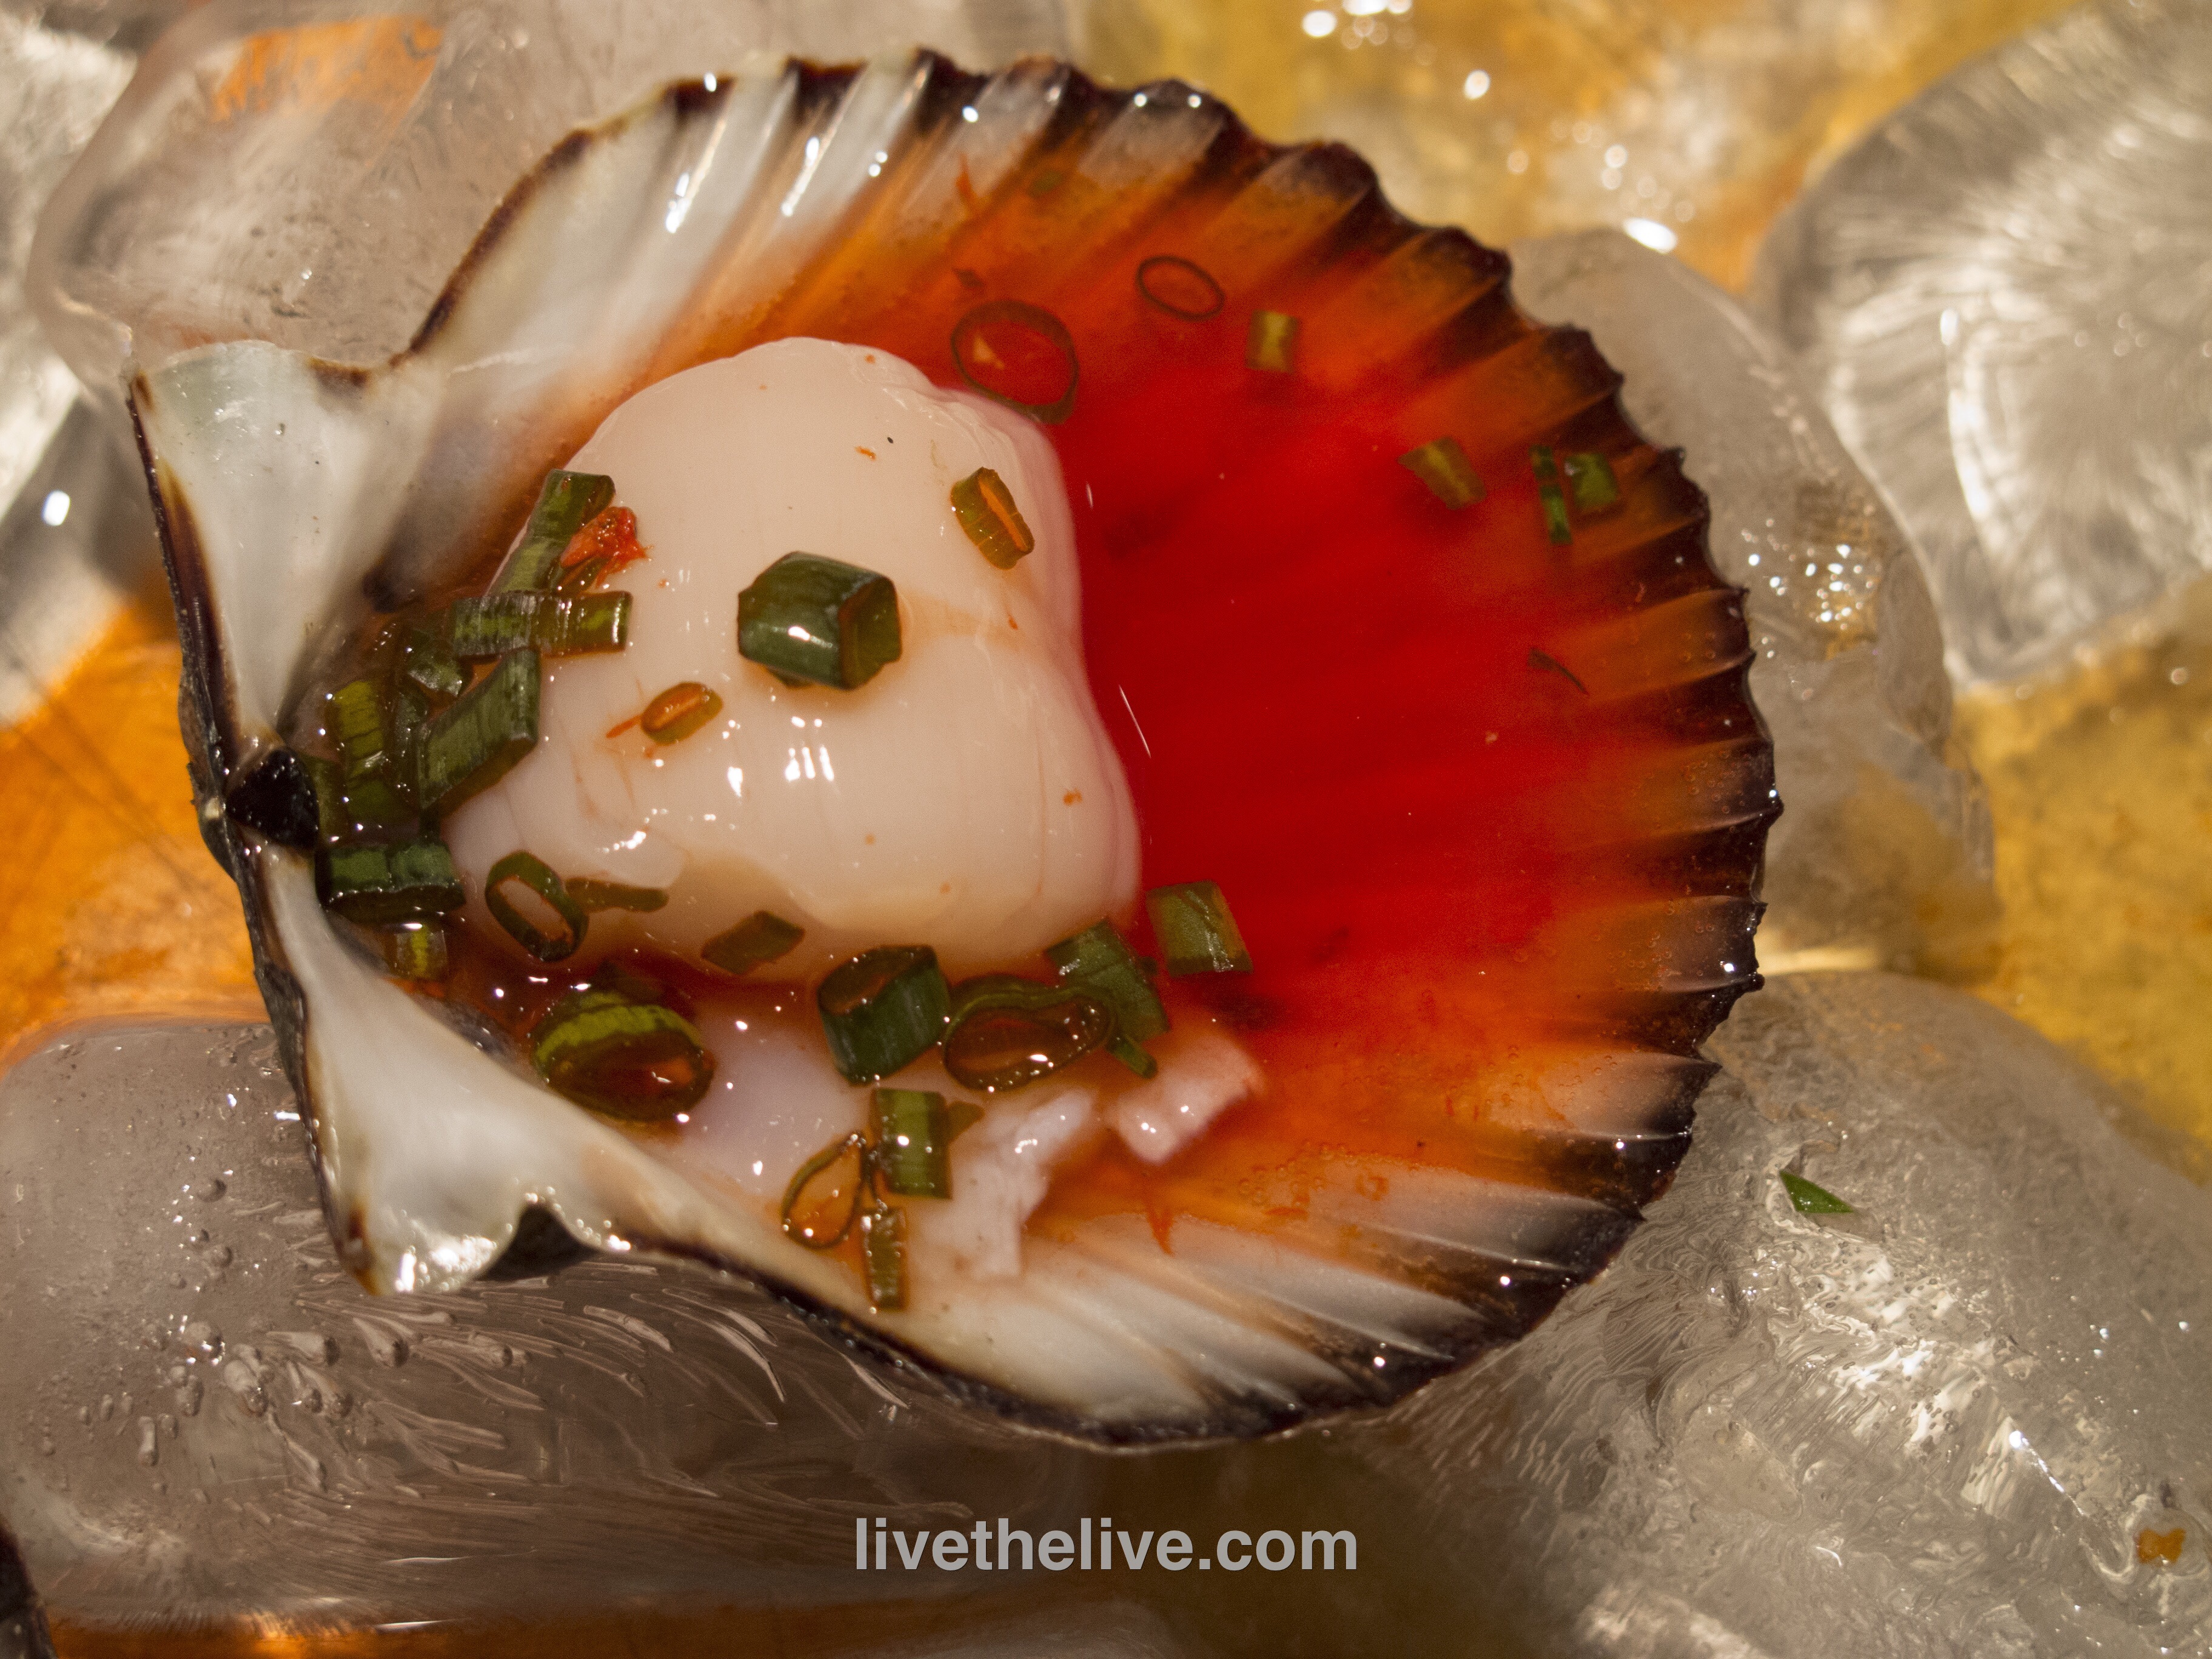
I was on a mission to find fresh mussels the other day, and in the process, stumbled upon fresh bay scallops, piled high on ice at a local farmers’ market. Unlike like the larger sea scallops or bomster scallops, bay scallops are small and sweet, about the size of a mini-marshmallow…hard to find and my absolute favorites.
 image
As far as I’m concerned, there is no better way to eat a fresh scallop than right out of the shell with just a little marinade on top, popping these beauties into my mouth literally as they’re still pulsing on the shell.
Scallops are a bit trickier to open and clean than clams or oysters (at least for me) but all it took was a little practice while sipping a Stoli Elit martini and I got the hang of it in no time.
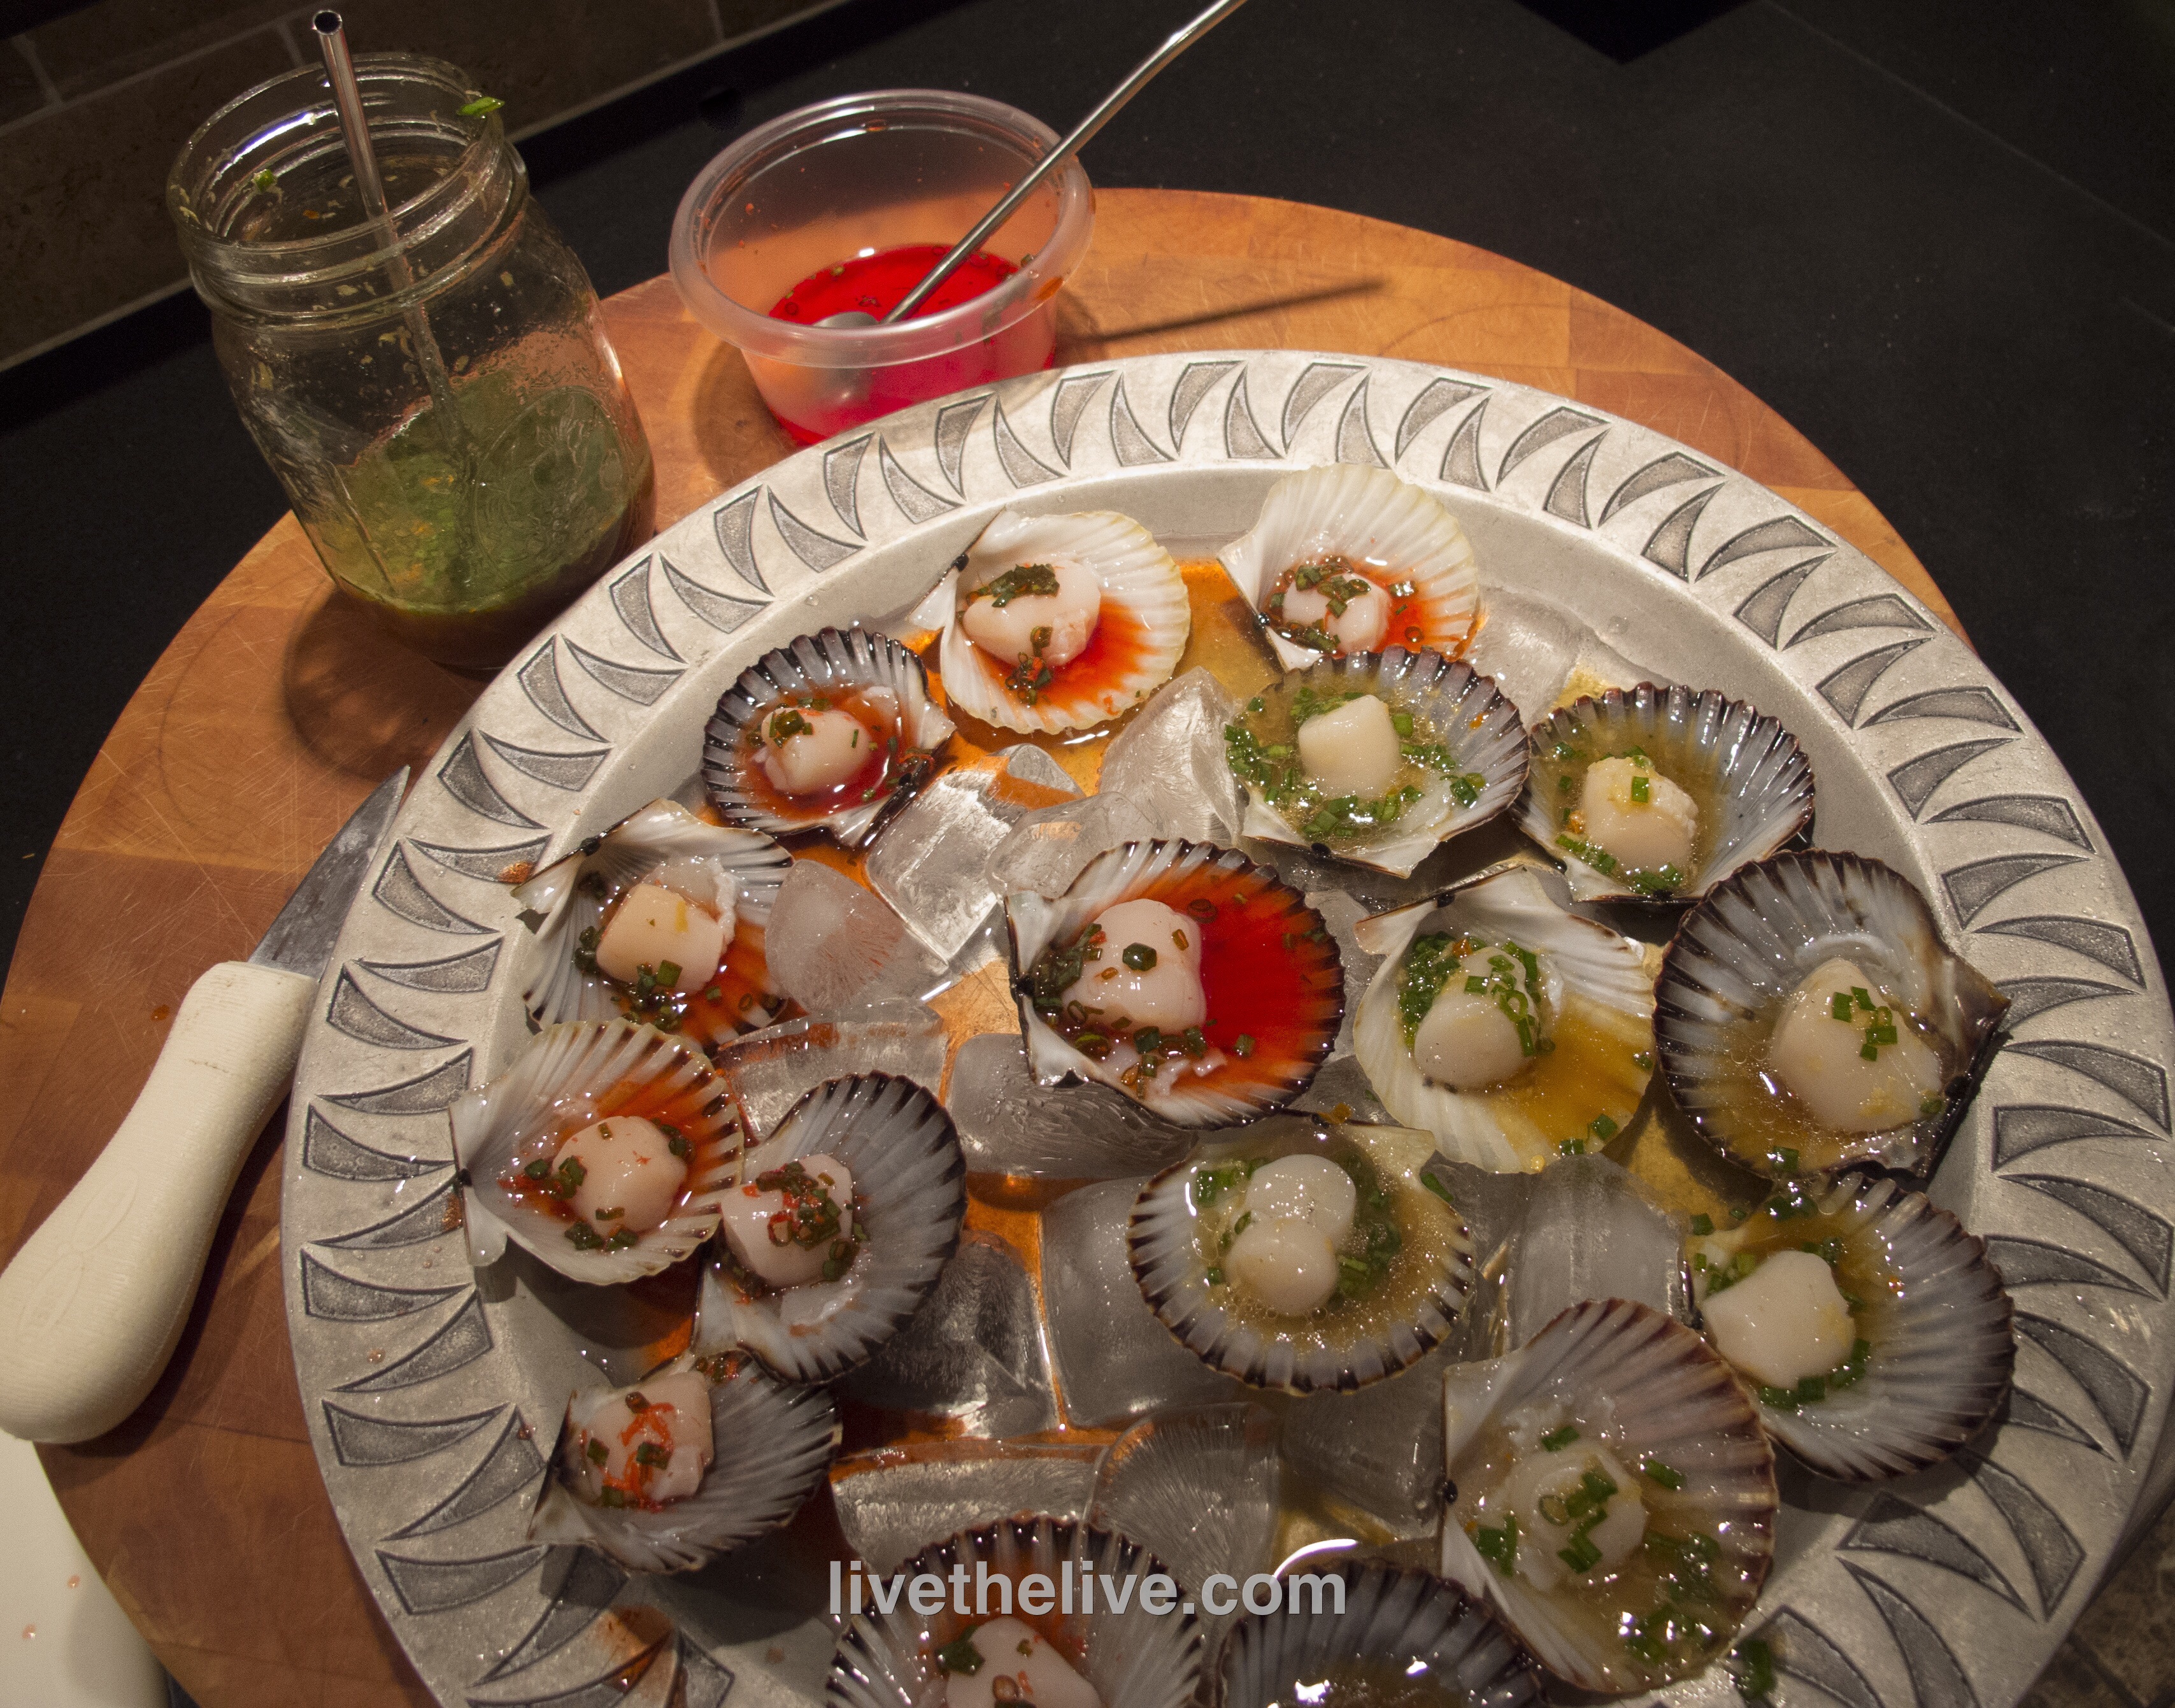
There are two marinades that I use when serving up raw scallops. The acidity in these marinades will cook the scallop a little, like in ceviche, though eating them raw is perfectly fine if they’re super-fresh.
“MILLS TAVERN” MARINADE
The first place I ever had a raw scallop was at Mills Tavern, a highly rated restaurant in Providence, RI. Freshly shucked scallops (in large flat shells) were served on ice with a tangy red marinade. I never got the recipe from the restaurant, but this is my version of that marinade.
3 tablespoons rice vinegar
2 tablespoons Grenadine
1/2 teaspoon fresh finely grated ginger
2 teaspoons finely chopped scallions
 Combine all the ingredients and chill before using.
A trick I learned from the folks at Wishing Stone Farm, where they grow their own ginger roots: keep the ginger stored in the freezer in a tightly sealed bag. Most of us don’t use ginger all that much, but we want fresh ginger when the recipe calls for it. By wrapping it tightly in plastic and storing it in the freezer, it’s ready to use any time. Simply take the ginger root out, and grate it finely–no need to peel the skin–while it’s still frozen. It will be almost powder like, and it will blend beautifully into any recipe you’re using. Then just put the rest back in the freezer.
 image
ALZ CEVICHE MARINADE
My marinade is closer to a basic ceviche, using 3 kinds of citrus and some Asian flavors.
1/4 cup freshly squeezed orange juice
1 1/2 tablespoons freshly squeezed lemon juice
1 1/2 tablespoons freshly squeezed lime juice
2 tablespoons soy sauce
1 tablespoon + 1 teaspoon peanut oil
1/2 teaspoon honey
1 1/2 teaspoons fresh finely grated ginger
2 tablespoons finely chopped scallion
2 small dried chili peppers, finely chopped
 Combine all the ingredients and chill before using.

image


Both marinades are gluten-free, as long as you use GF soy sauce. La Choy is an easy-to-find gluten-free brand.


It’s National Banana Bread Day!

This is one of my favorites because it not only tastes amazing, it freezes really well.

My original banana bread recipe blog is featured directly below. It’s awesome. But if you follow a gluten-free lifestyle, no worries. My gluten-free version of the recipe, at the bottom of the page, is so good, you won’t miss the wheat!
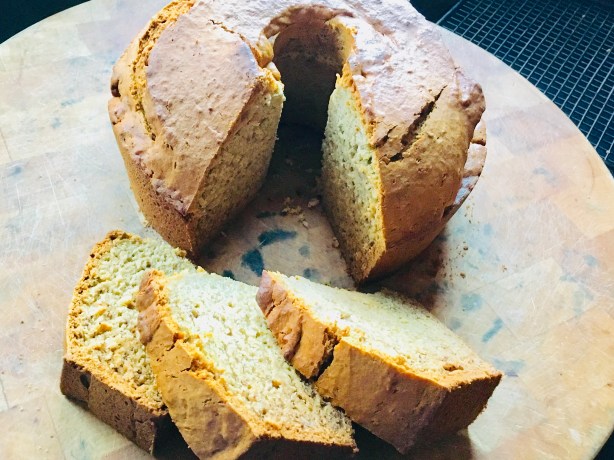
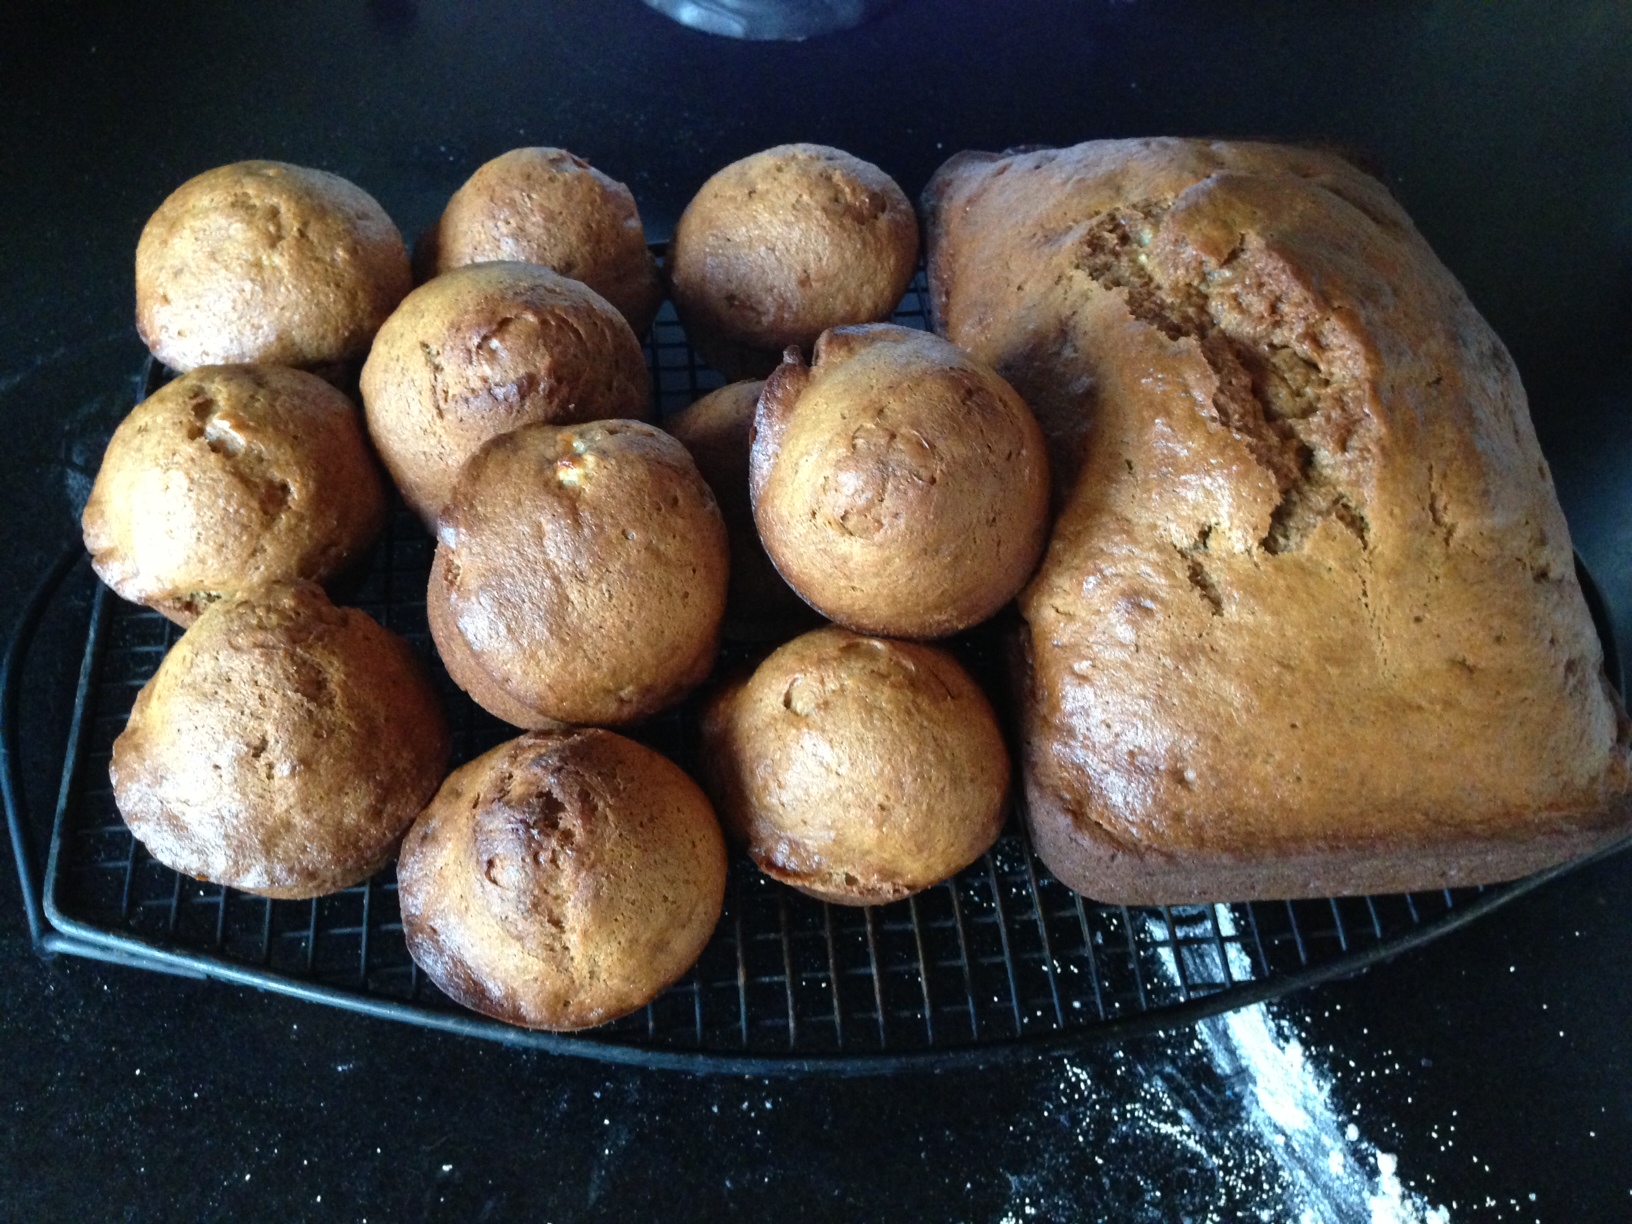
A gluten-free batch.

The original recipe…

What makes this banana bread special is that it uses whole wheat flour…less sugar…and no artificial extracts that make most banana breads taste like crap. It relies on very ripe bananas to give it its wonderful natural flavor.

It’s not always easy to get bananas to ripen exactly when you’re trying to make your banana bread recipe. So I buy a large bunch of bananas and let them get very ripe at room temperature. I then take 5 at a time (for this recipe), peel them, and place the bananas in a Ziploc bag in the freezer. When it’s time to make banana bread, I just pull one of those Ziplocs out of the freezer, let it thaw, and mash with a potato masher.

Since Roundup is a very common herbicide used on wheat, and its cancer-causing characteristics are widely known by now, I always use organic wheat for my baking recipes.

I use organic cane sugar instead of regular sugar when I have it. I don’t use vegetable oils, especially not canola, so I use healthier avocado oil or olive oil. Eggs are pastured when I can get ’em. Bananas are organic. And I rub the pans with coconut oil or I use an olive oil cooking spray.
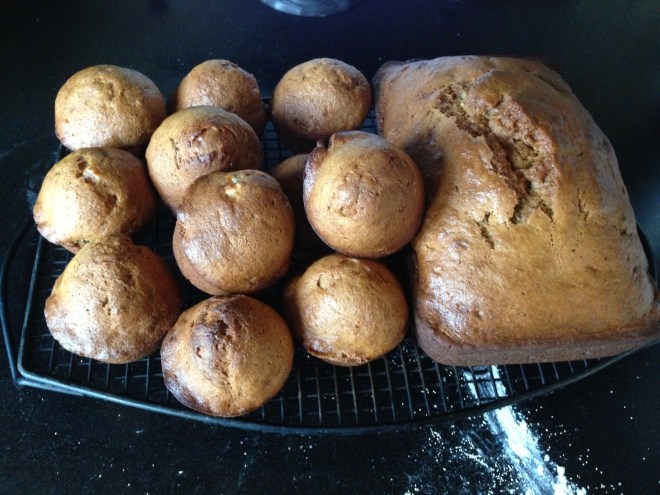
Nana bread blog

3 cups all-purpose flour
1/2 cup whole wheat flour
2 tsp baking soda
1/2 tsp salt
1 1/4 cup sugar
3/4 cup vegetable oil
2 eggs
5 medium-sized bananas, peeled and mashed
2 tsp real vanilla extract
Cooking spray

Pre-heat the oven to 350 degrees.

Combine the all-purpose flour, whole wheat flour, baking soda and salt in a medium bowl. Set it aside. (For a less rustic bread, simply substitute more all purpose flour for the whole wheat flour.)

Combine the sugar and oil in a mixing bowl and mix at medium speed for 2 minutes. (I use the whisk attachment.) Add the eggs, one at a time. Beat until the mixture is light and lemon colored.

With the mixer running at low-speed, add the flour mixture alternately with the bananas, beginning and ending with the flour mixture. Blend well after each addition. Add the vanilla extract and blend some more to mix.

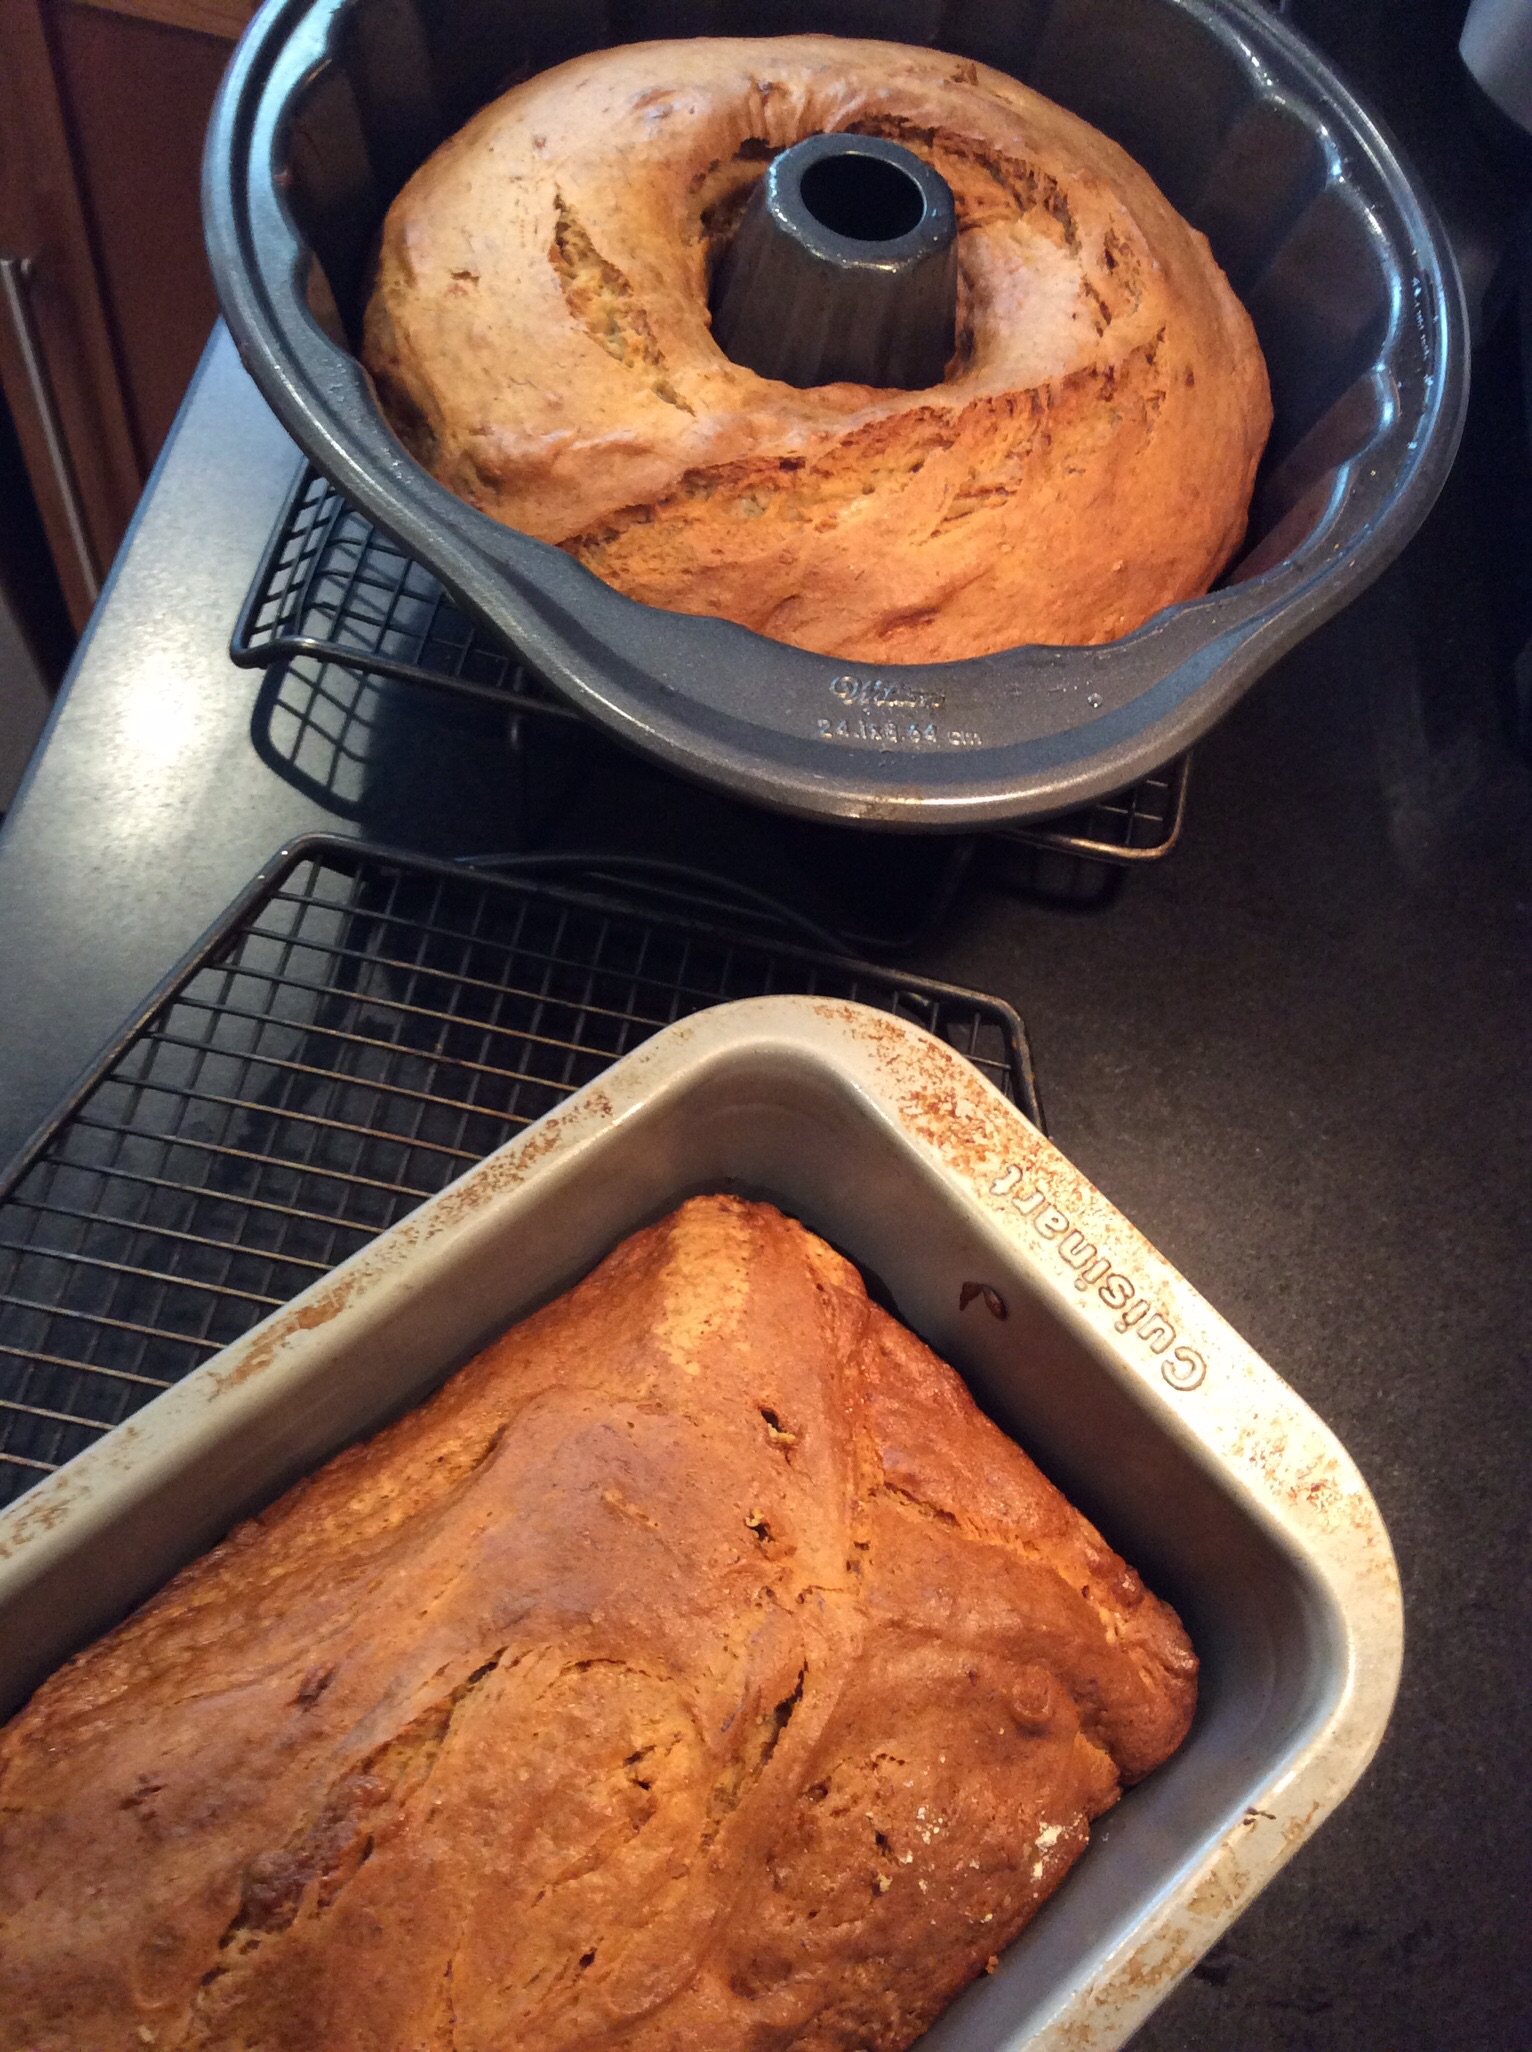
Pour the batter into 2 loaf pans that have been sprayed with cooking spray. Bake for 45 minutes or until a wooden pick inserted in the center comes out clean. Cool 15 minutes in the loaf pan on a wire rack. A bundt pan works as well.

Remove the loaves from the pans and let them cool completely on the wire rack before slicing.

image

The gluten-free recipe…

My go-to gluten-free flour is the brand called Cup 4 Cup. You can find it in most supermarkets. They also offer a more rustic version they call “Wholesome Flour,” which is made mostly of rice. I found that the two combined worked really well for a rustic, chewy texture much like whole wheat.

image

3 cups Cup4Cup all-purpose gluten-free flour
1 cup Cup4Cup Wholesome Flour
2 teaspoons baking soda
1/2 teaspoon salt
1 1/4 cup cane sugar
3/4 cup avocado or olive oil
2 eggs
5 medium-sized bananas, peeled and mashed
2 teaspoons real vanilla extract
coconut oil

Pre-heat the oven to 350 degrees.

Combine the flour, baking soda and salt in a bowl. Set aside.

Combine the sugar and oil in a mixing bowl and mix at medium speed for 2 minutes. (I use the whisk attachment.) Add the eggs, one at a time. Beat until the mixture is light and lemon colored.

With the mixer running at low-speed, add the flour mixture alternately with the bananas, beginning and ending with the flour mixture. Blend well after each addition. Add the vanilla extract and blend some more to mix.

Pour the batter into 2 loaf pans or one large bundt pan that have been rubbed with the coconut oil. Bake for 45–60 minutes or until a wooden toothpick inserted in the center comes out clean. Cool 15 minutes in the pan on a wire rack.

Remove the bread from the pan and let it cool completely on the wire rack before slicing.

Gluten-free and delicious!
A few years ago, we were invited to a very cool retro summer party: cocktails and appetizers from the 60’s, and everyone contributed to the music by bringing in their favorite songs on vinyl.

We were also asked to contribute to the apps, so I brought waffle chips with clam dip.


image

2 8-oz. packages cream cheese, softened
3 6-oz. cans of chopped clams, drained, liquid reserved from one can
1 tablespoon fresh lemon juice
2 teaspoons Worcestershire sauce
1/2 teaspoon salt
1/4 teaspoon black pepper

Combine all the ingredients, except the clam liquid, in a bowl and mix them well with a fork.

Add 1 tablespoon of the clam liquid and mix well. Keep adding the clam liquid until the dip reaches a consistency you like.

Serve with the potato chips.


image

It’s Fat Tuesday! Laissez les boss temps rouler!

Back in the 80’s, I worked at a radio station in Mobile, Alabama. My New York buddies thought I was crazy to move to the South, but that’s where the job was. When they realized that I was only a 2-hour ride from New Orleans, I wasn’t so crazy after all! What a great town. I spent every possible weekend there: the food, the music, the people…

When I moved to Rhode Island, I really missed all the fun of the Big Easy. So I decided to have a Mardi Gras party every year. I’d invite 80+ people, and I cooked all of the dishes myself. I made all the classics: red beans and rice, crawfish etouffe, gumbo, Cajun chicken (my own recipe), and, of course,  jambalaya.


image

For the seasoning mix:
2 bay leaves
1 teaspoon salt
1/2 teaspoon white pepper
1 teaspoon granulated garlic
1/4 teaspoon cayenne pepper
1/4 teaspoon black pepper


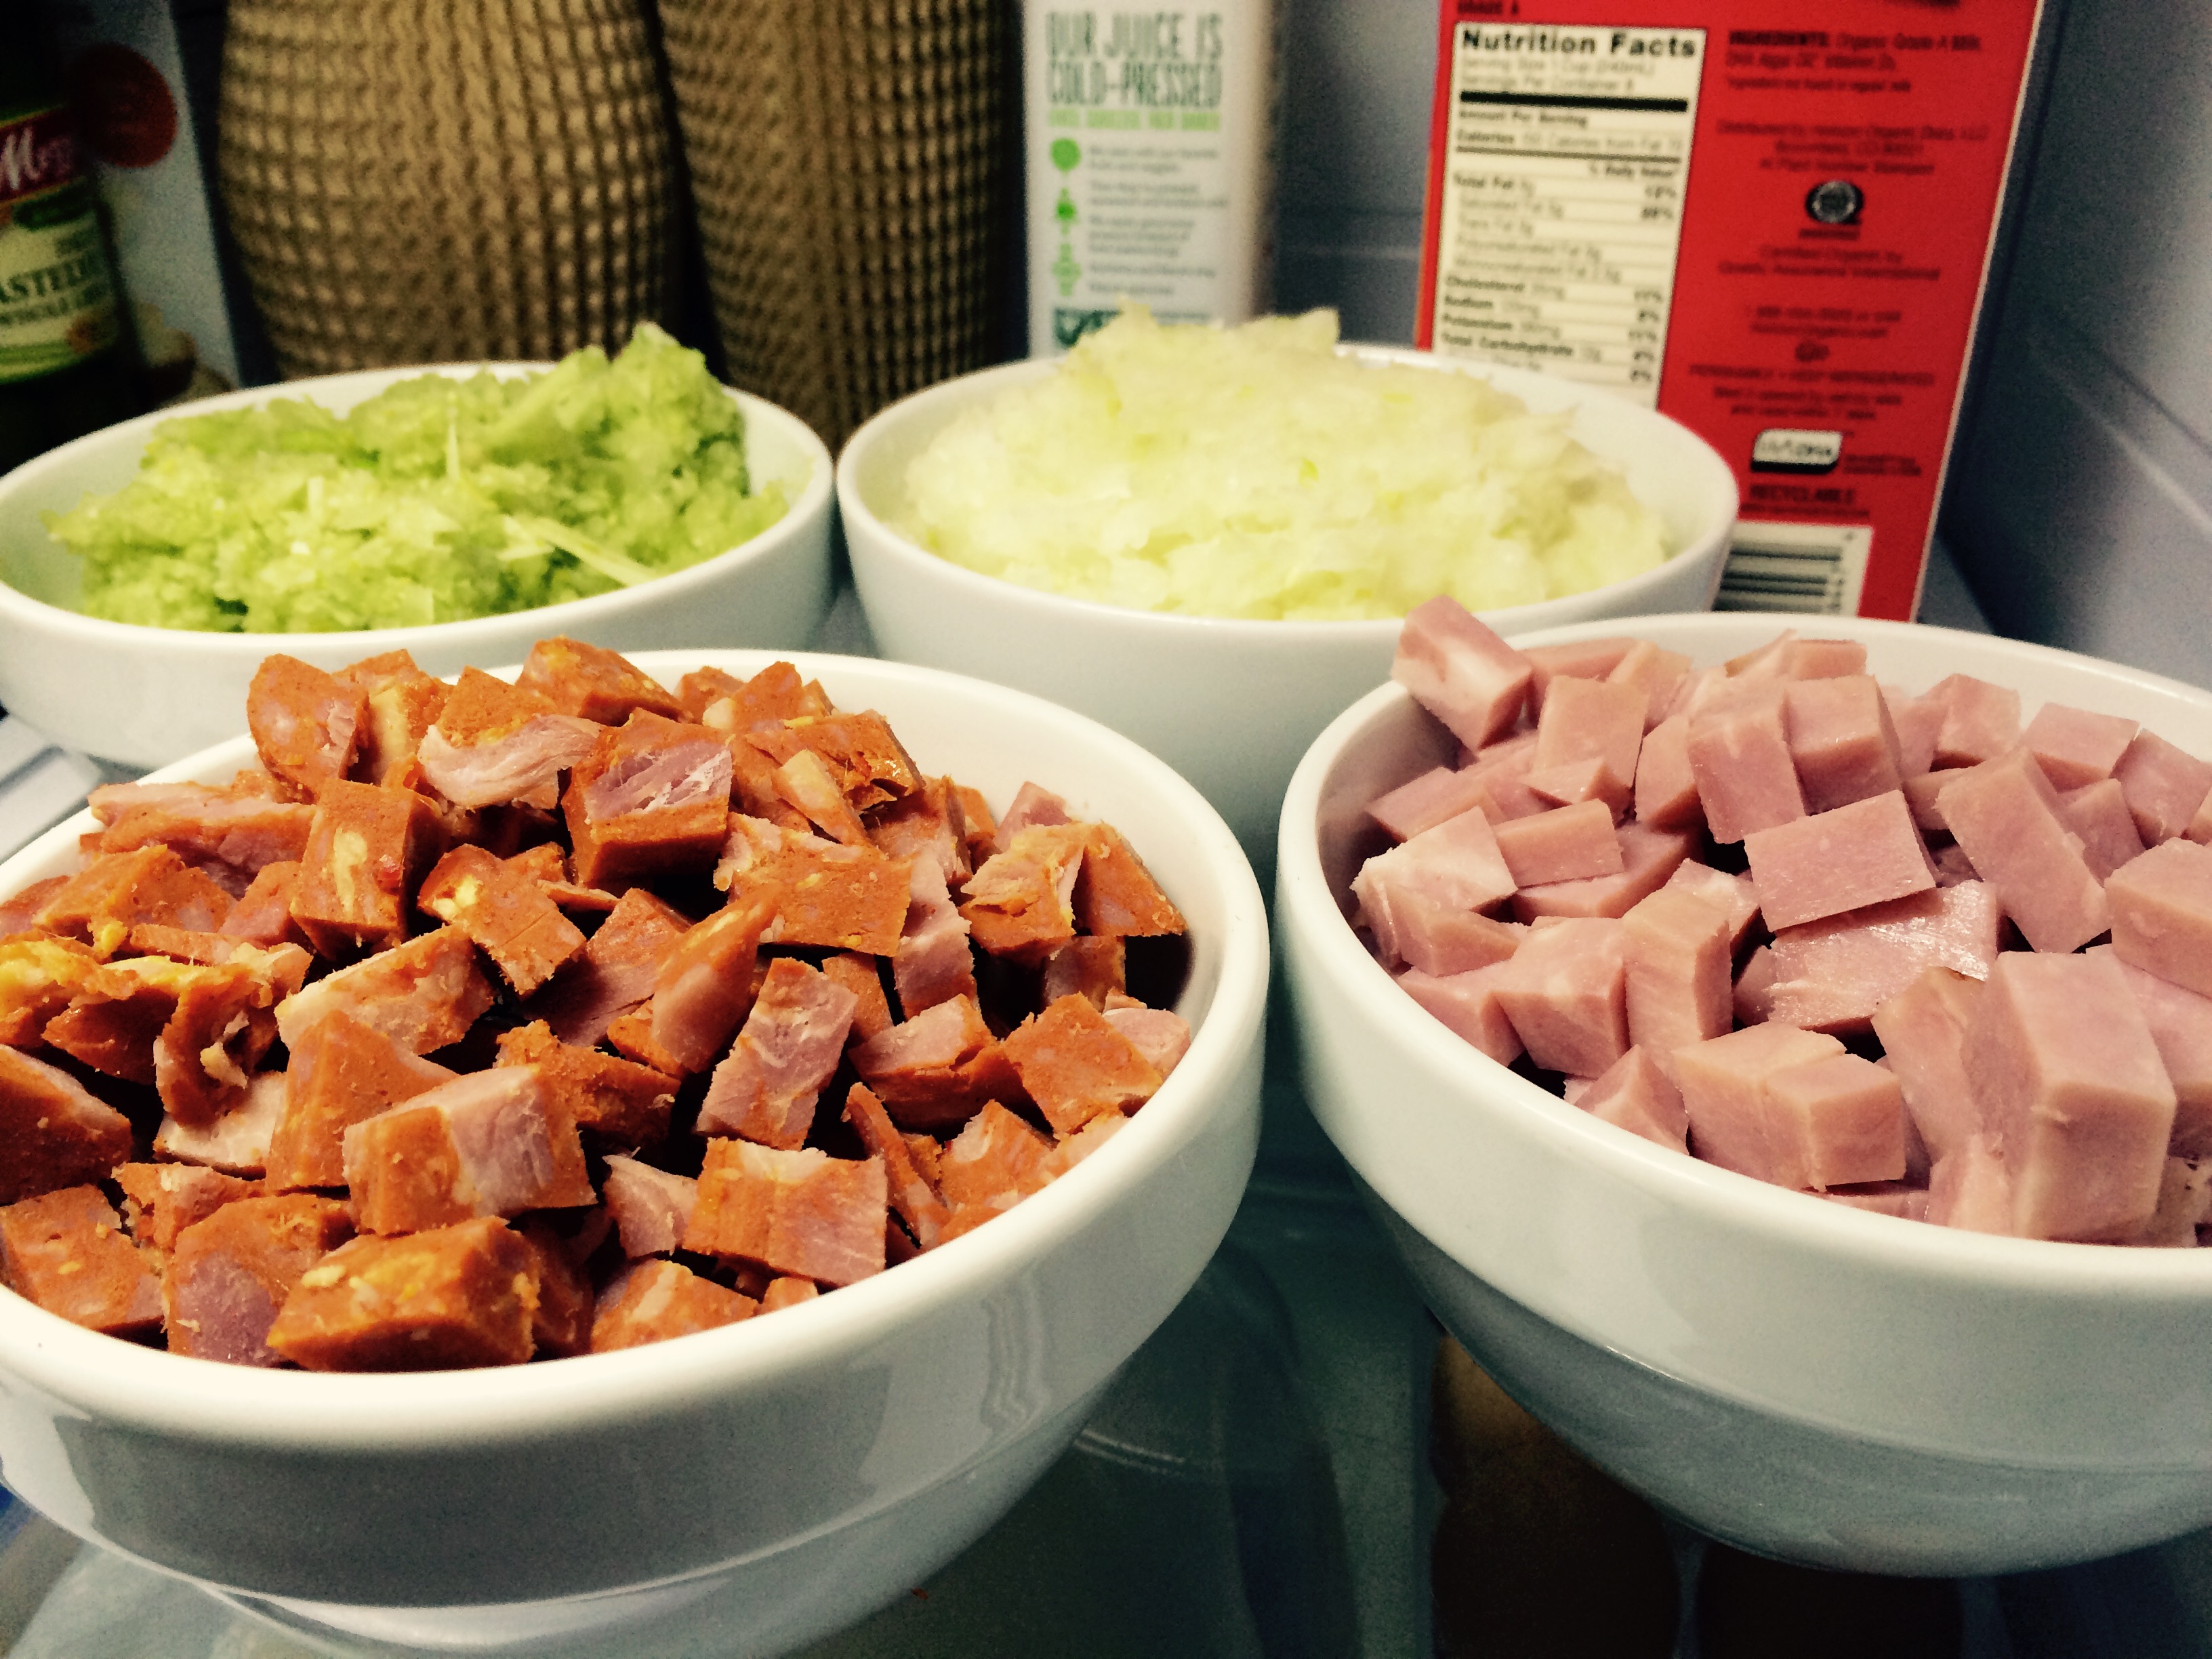
I find it easier to measure and chop all the ingredients before I start cooking.

I find it easier to measure and chop all the ingredients before I start cooking.


4 tablespoons olive oil
1 1/2 cups finely chopped onions, in all
1 1/2 cups finely chopped celery, in all
1 1/2 cups good quality chopped ham
1 1/2 cups chopped andouille sausage (Here in RI, I use local Portuguese chourico from Mello’s in Fall River, MA)
1 teaspoon cayenne pepper sauce (I use Frank’s Red Hot)
3/4 cup tomato sauce made from pureed whole tomatoes
2 cups uncooked rice (I like Texmati brown basmati rice)
3 cups chicken stock (preferably homemade)
1 lb. peeled and de-veined wild-caught American shrimp


image

Over medium-high heat, heat the olive oil in a large sauce pan. Add 3/4 cup of the onions and 3/4 cup of the celery. Cook until the onions are translucent.

Stir in the seasoning mix, then the chopped ham and the chourico, and then the cayenne pepper sauce. Cook until the onions are a dark brown, about 20 minutes, stirring constantly.

Add the remaining 3/4 cup of the onions and celery. Cook about 5 minutes.

Open a can of whole tomatoes and puree them in a food processor to make sauce. Add 3/4 cup of this and cook for about 5 minutes.

Stir in the rice, mixing well. Reduce the heat and simmer for about 12 minutes.

Add the chicken stock, stir well, and bring it all to a boil. Then reduce the heat and simmer, covered, over very low heat until the rice is tender but firm, about 15 minutes.

Remove the cover, toss in the shrimp, stir, then put the cover back on and cook for 5 minutes more.


Sometimes it’s hard to get wild-caught American shrimp at my local seafood store or supermarket. But for me, buying tiger shrimp or other Asian products is not an option. Once I learned about how they are farmed, I decided I’d never eat those shrimp again!

When I find wild-caught American shrimp locally, I buy extra to keep in the freezer. (The better supermarkets, like Whole Foods, have them.) For many years, I bought my shrimp online from http://www.cajungrocer.com. Not only will you find shrimp there, you’ll find many other Cajun classics: King cakes, Turduckens, andouille and alligator sausage, even live crawfish. And the price of their shrimp, even with shipping, is the same as the nasty Asian shrimp you buy in the store. Make some room in your freezer, order large to save, and stock up on the real deal!


Fat Tuesday is coming up! This is a great recipe to cook up if you’ve got friends coming over for the Super Bowl. Let’s do some Cajun-style cookin’! Poo-yah! I garonteee!

I lived in Mobile, Alabama, back in the late 80’s, and if you asked the locals, they’d quickly tell you that Mardi Gras originated in Mobile, not New Orleans.

Joe Caine paraded through the streets of Mobile dressed in a Native American costume in 1868, and is credited for our current way of observing the Mardi Gras celebration. Of course, it’s hard not to think of New Orleans when you hear the phrase “Mardi Gras,” and I spent many a weekend on the streets and bars of the Crescent City back in the mid-80’s…actually was part of a Mardi Gras parade one year.

It was then that I fell in love with Cajun food, and needed to learn how to cook it. I bought cookbooks by two of the greats: Justin Wilson and Paul Prudhomme. I learned about layers of seasoning, and often I’d use those ideas in my own dishes.

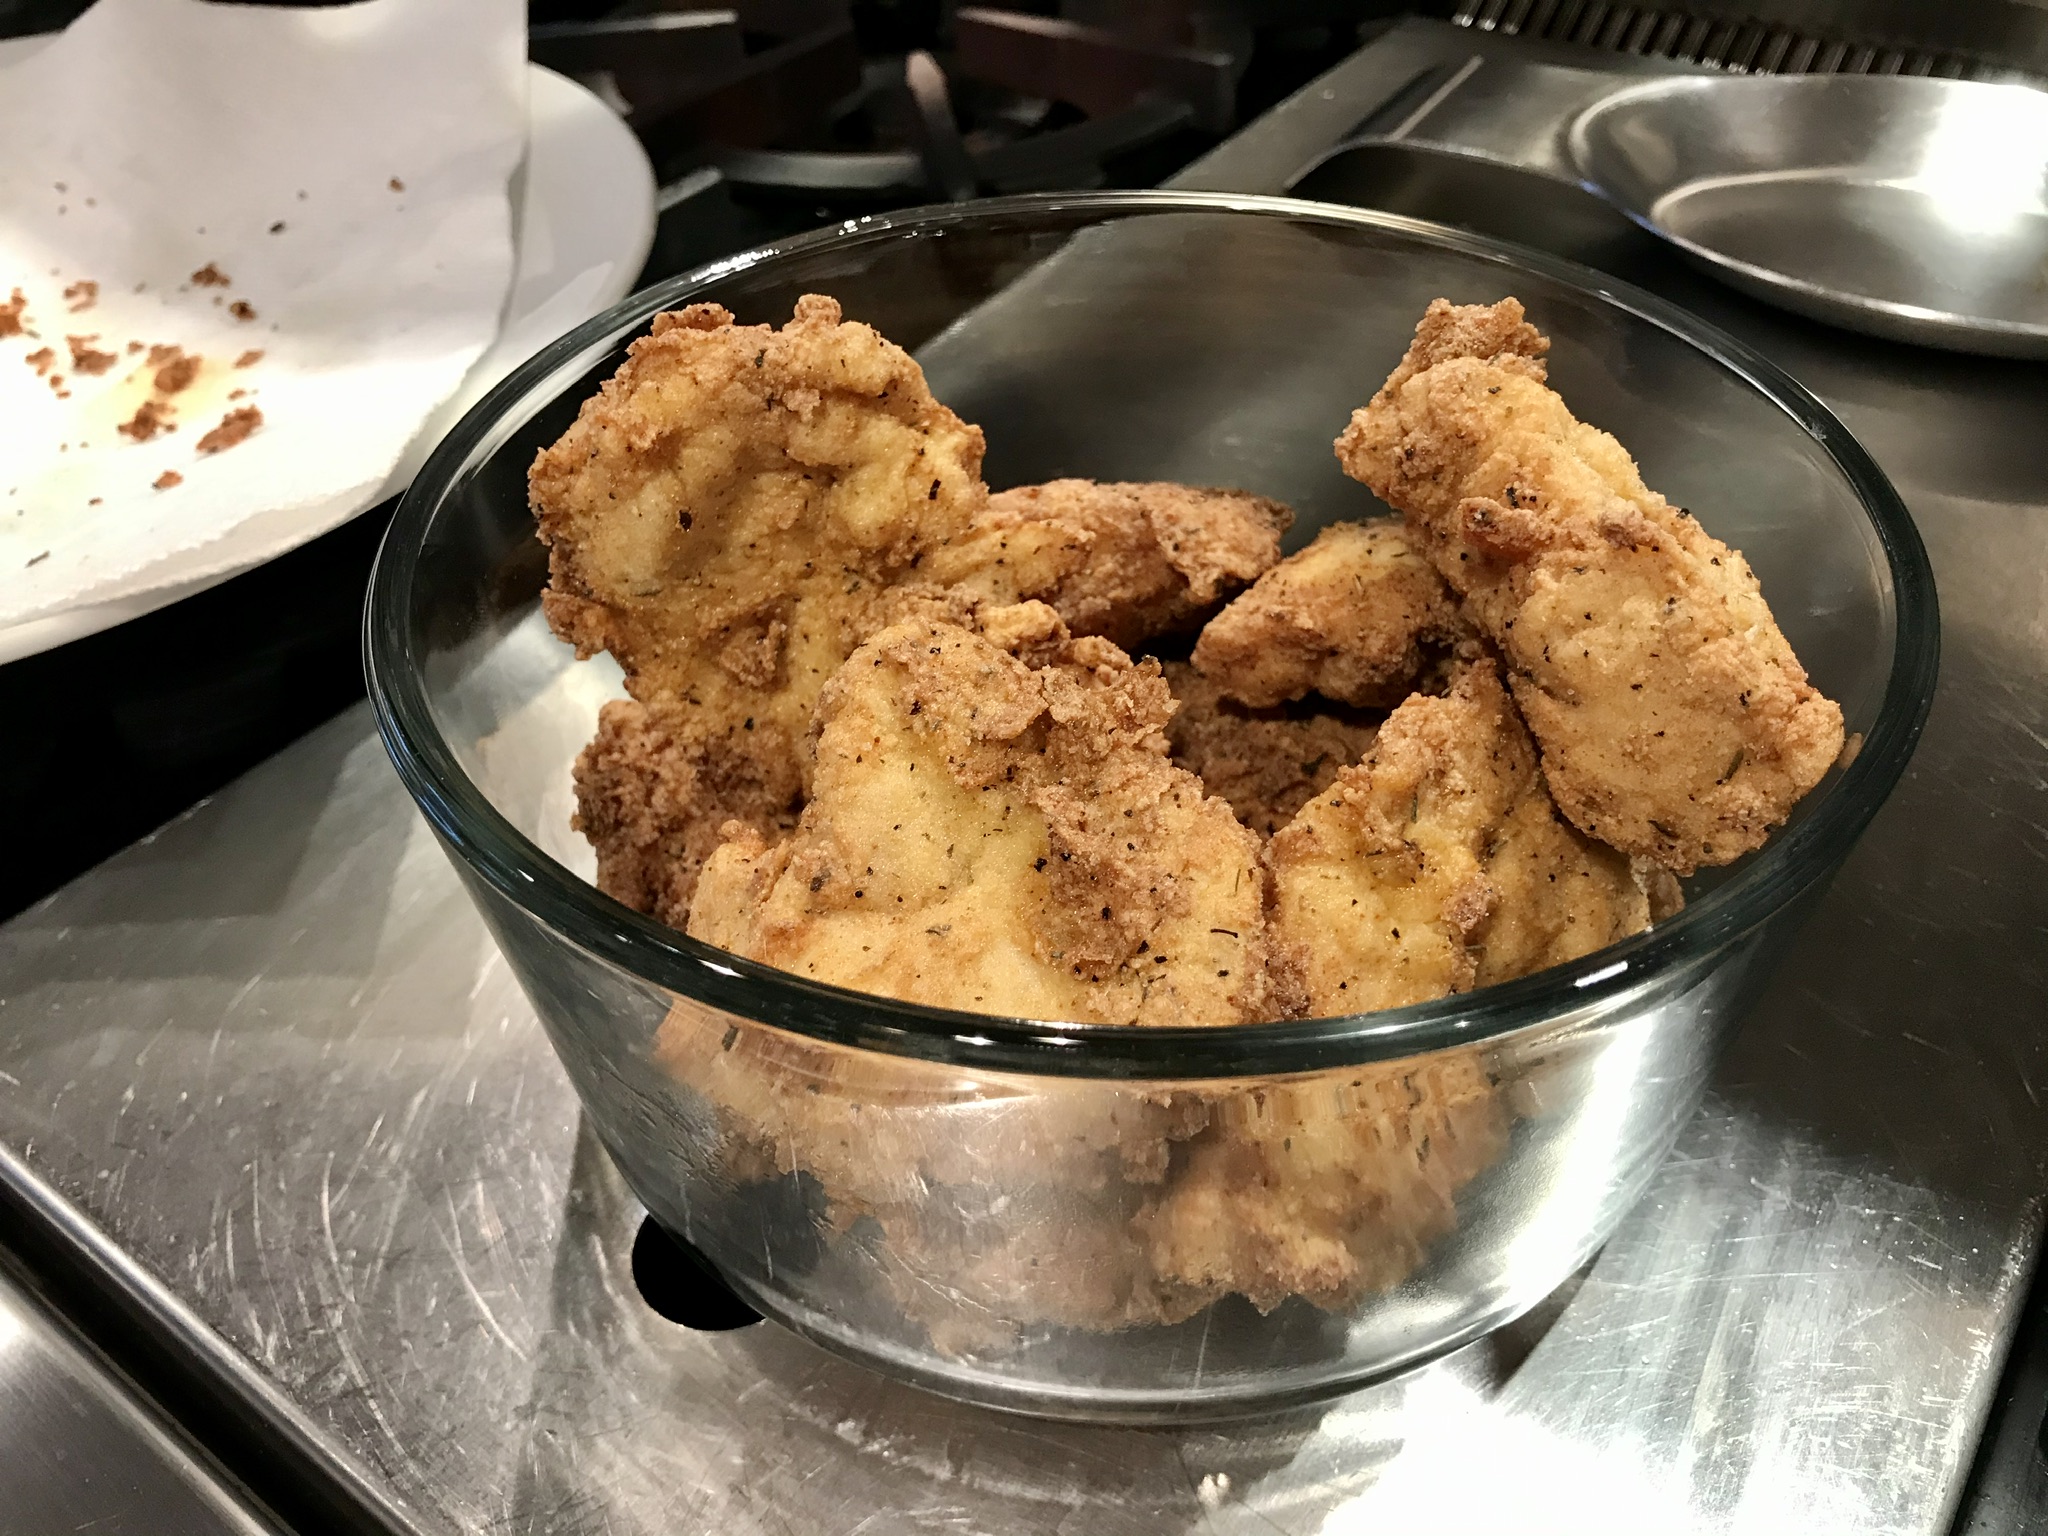
When I moved to Rhode Island in 1990, I had yearly Mardi Gras parties at my house, and I cooked massive batches of these Cajun chicken breasts, using a spice mix I honed from my cooking experiments.

Double-dipping in the seasoned flour is a messy step, but it makes them extra crunchy and flavorful.

You can make this recipe gluten-free, simply by using a GF flour instead of the all-purpose flour.


fullsizerender-8

1 cup all-purpose flour
1 tablespoon salt
1 1/2 teaspoons sweet paprika
1 teaspoon granulated onion
1 teaspoon granulated garlic
1 teaspoon basil
1/2 teaspoon black pepper
1/2 teaspoon dried thyme
1/4 teaspoon white pepper
1/4 teaspoon cayenne pepper
2 pounds boneless, skinless chicken breast
4 eggs
oil for frying (I like using a high smoke point oil like avocado or grape seed)

Cut the chicken breasts into manageable pieces, about 3″ square. If they’re too thick, slice them horizontally to make two thinner breasts. You want them about 1/4″ thick. A piece of chicken that’s too thick won’t cook all the way through. Plus, you want more crunchy crust per bite…trust me!

Combine the flour, salt, paprika, onion, garlic, basil, black pepper, thyme, white pepper, and cayenne in a bowl. Mix well.

Separate the 4 eggs, scrambling 2 eggs in each of 2 separate bowls. This keeps the first bowl “clean” and not gummed up with flour. You’ll see what I mean once you start, because it’s a bit messy. So, crack 2 eggs in the first bowl and the other 2 eggs in the second bowl. Scramble them up and put the bowls on either side of the seasoned flour bowl.

Pre-heat a pan of oil or a fryer to 350 degrees.

Dip the chicken in the first egg bowl and then the seasoned flour mixture. Shake off the excess flour and dip the chicken in the second egg bowl, making sure the flour is covered by egg. Then dip the chicken back into the flour for a second coat. I like to bread all of my chicken pieces before I start frying them so that I can get my hands clean for the next step.

Carefully place the chicken in the pan. Don’t overcrowd the pan. Work in batches. Fry the chicken until it’s cooked all the way through and golden brown. Drain on a wire rack or paper towels.


Nothing like a hot, fresh batch!


If you need to feed a crowd, just double or triple the recipe. I used to make a 10x batch for my Mardi Gras parties!


These are addictive!

I’ve had Clams Casino in many different forms. Back when I worked in Italian restaurants in New York, we would make a breadcrumb mixture, press it onto a freshly opened whole clam, and then place a small piece of bacon on top before it went into the oven. It was good, but the clam often stuck to the shell, and many people didn’t want to gulp down a whole clam like that.


Oyster knife (left) and a clam knife (right.) Different tools for different jobs.


When it was time for me to make my own recipe, I decided that I would chop the clams and mix them into the breadcrumb mix, so that every bite was the same.

2 tablespoons olive oil
1/3 cup finely chopped Vidalia or other sweet onion (about a 1/2 an onion)
2 garlic cloves, squeezed through a garlic press
1/3 cup dry white wine
1/3 cup unflavored bread crumbs
1 tablespoon fresh Italian parsley, finely chopped
1/2 teaspoon dried oregano
Freshly cracked black pepper
2 dozen medium sized clams
1/3 lb. bacon, cut in small squares to fit the clam shells
Heat the olive oil in a pan over medium heat. Add the onions, and sauté them until they’re translucent. Add the garlic, and cook for 10 seconds. Add the wine and simmer for a minute. Add the bread crumbs, and stir the mixture until it becomes thicker, like a paste. Add the parsley and oregano. Season with pepper. (There’s going to be plenty of salt in the clam juice and bacon, so no salt is needed.)

The bread crumb mixture.

Remove the pan from the heat and let it cool.
It’s time to open the clams. If you know how to do that, open them over a sieve with a bowl underneath so that the clam meats and juices are captured. Discard any broken shells, but save the good ones.
If you struggle with opening clams, this method makes it a little easier: Bring a large pot of water to boil, and drop the clams into it, about 10 at a time, for 30 seconds. Don’t let them open! Remove the clams with a slotted spoon and place them in a bowl to cool. Continue doing this in small batches until all the clams have been in the water. You’ll find this makes opening the clams much easier. Then proceed as above.
Once you’ve shucked all the clams, let the clam juice sit for a bit, so that any grit settles to the bottom of the bowl. Then pour off the clean clam juice and add it to your bread crumb mixture. (Don’t worry if it looks soggy at this point.)

Looking a little soggy, but that’s OK.

I like to hand chop the clam meats instead of using a food processor. You want tasty clam chunks, not too big, but not mush. Add the clams to the the bread crumb mix.
At this point, if the clam mix looks very soggy, simply add a little more bread crumb to dry it out.
Preheat the oven to 350 degrees.
Line a large baking sheet with foil. Separate the clam shell halves and wash them, making sure you don’t have any shell fragments left in the clam shell.  Fill them with the clam mixture, mounding them slightly, and placing each one on the baking sheet.

Clams and bacon…delicious!

Cut the bacon in small squares to fit the clam shells. Place a small piece of raw bacon on the top of each clam.
Bake until the clams are just cooked through, the topping is golden, and the bacon is cooked, about 30 minutes.

This makes a great appetizer, but it’s hard to just eat a few!

CHIMICHURRI

Posted: February 2, 2024 in beef, Food, grilling, marinade
Tags: , , , ,

Chimichurri is a garlicky, herby green sauce usually used with grilled meats. This pesto-like condiment originated in Argentina and is also commonly used in Nicaragua and Uruguay. Though some recipes include cilantro, many people insist the original is made only with parsley. To pack an extra punch, chimichurri also makes an excellent marinade for grilled meats.

My buddy, Lee, a chemist and avid chimichurri fan, is the inspiration for my version of this sauce. It’s incredibly easy to make. Just make sure to use fresh ingredients, and it’s always a good idea to wash all the veggies before using, even if you’re going organic.


chimi


1 bunch flat-leaf parsley, chopped
1/4 cup water
1 medium onion, chopped
3 cloves garlic, minced
3–4 tablespoons fresh oregano, leaves only (or 1 tablespoon dry)
1 tablespoon paprika
1 teaspoon crushed bay leaf
1 tablespoon coarse sea salt
1 teaspoon freshly ground black pepper
pinch red pepper flakes
1/4 cup red wine vinegar
1/2 cup extra virgin olive oil

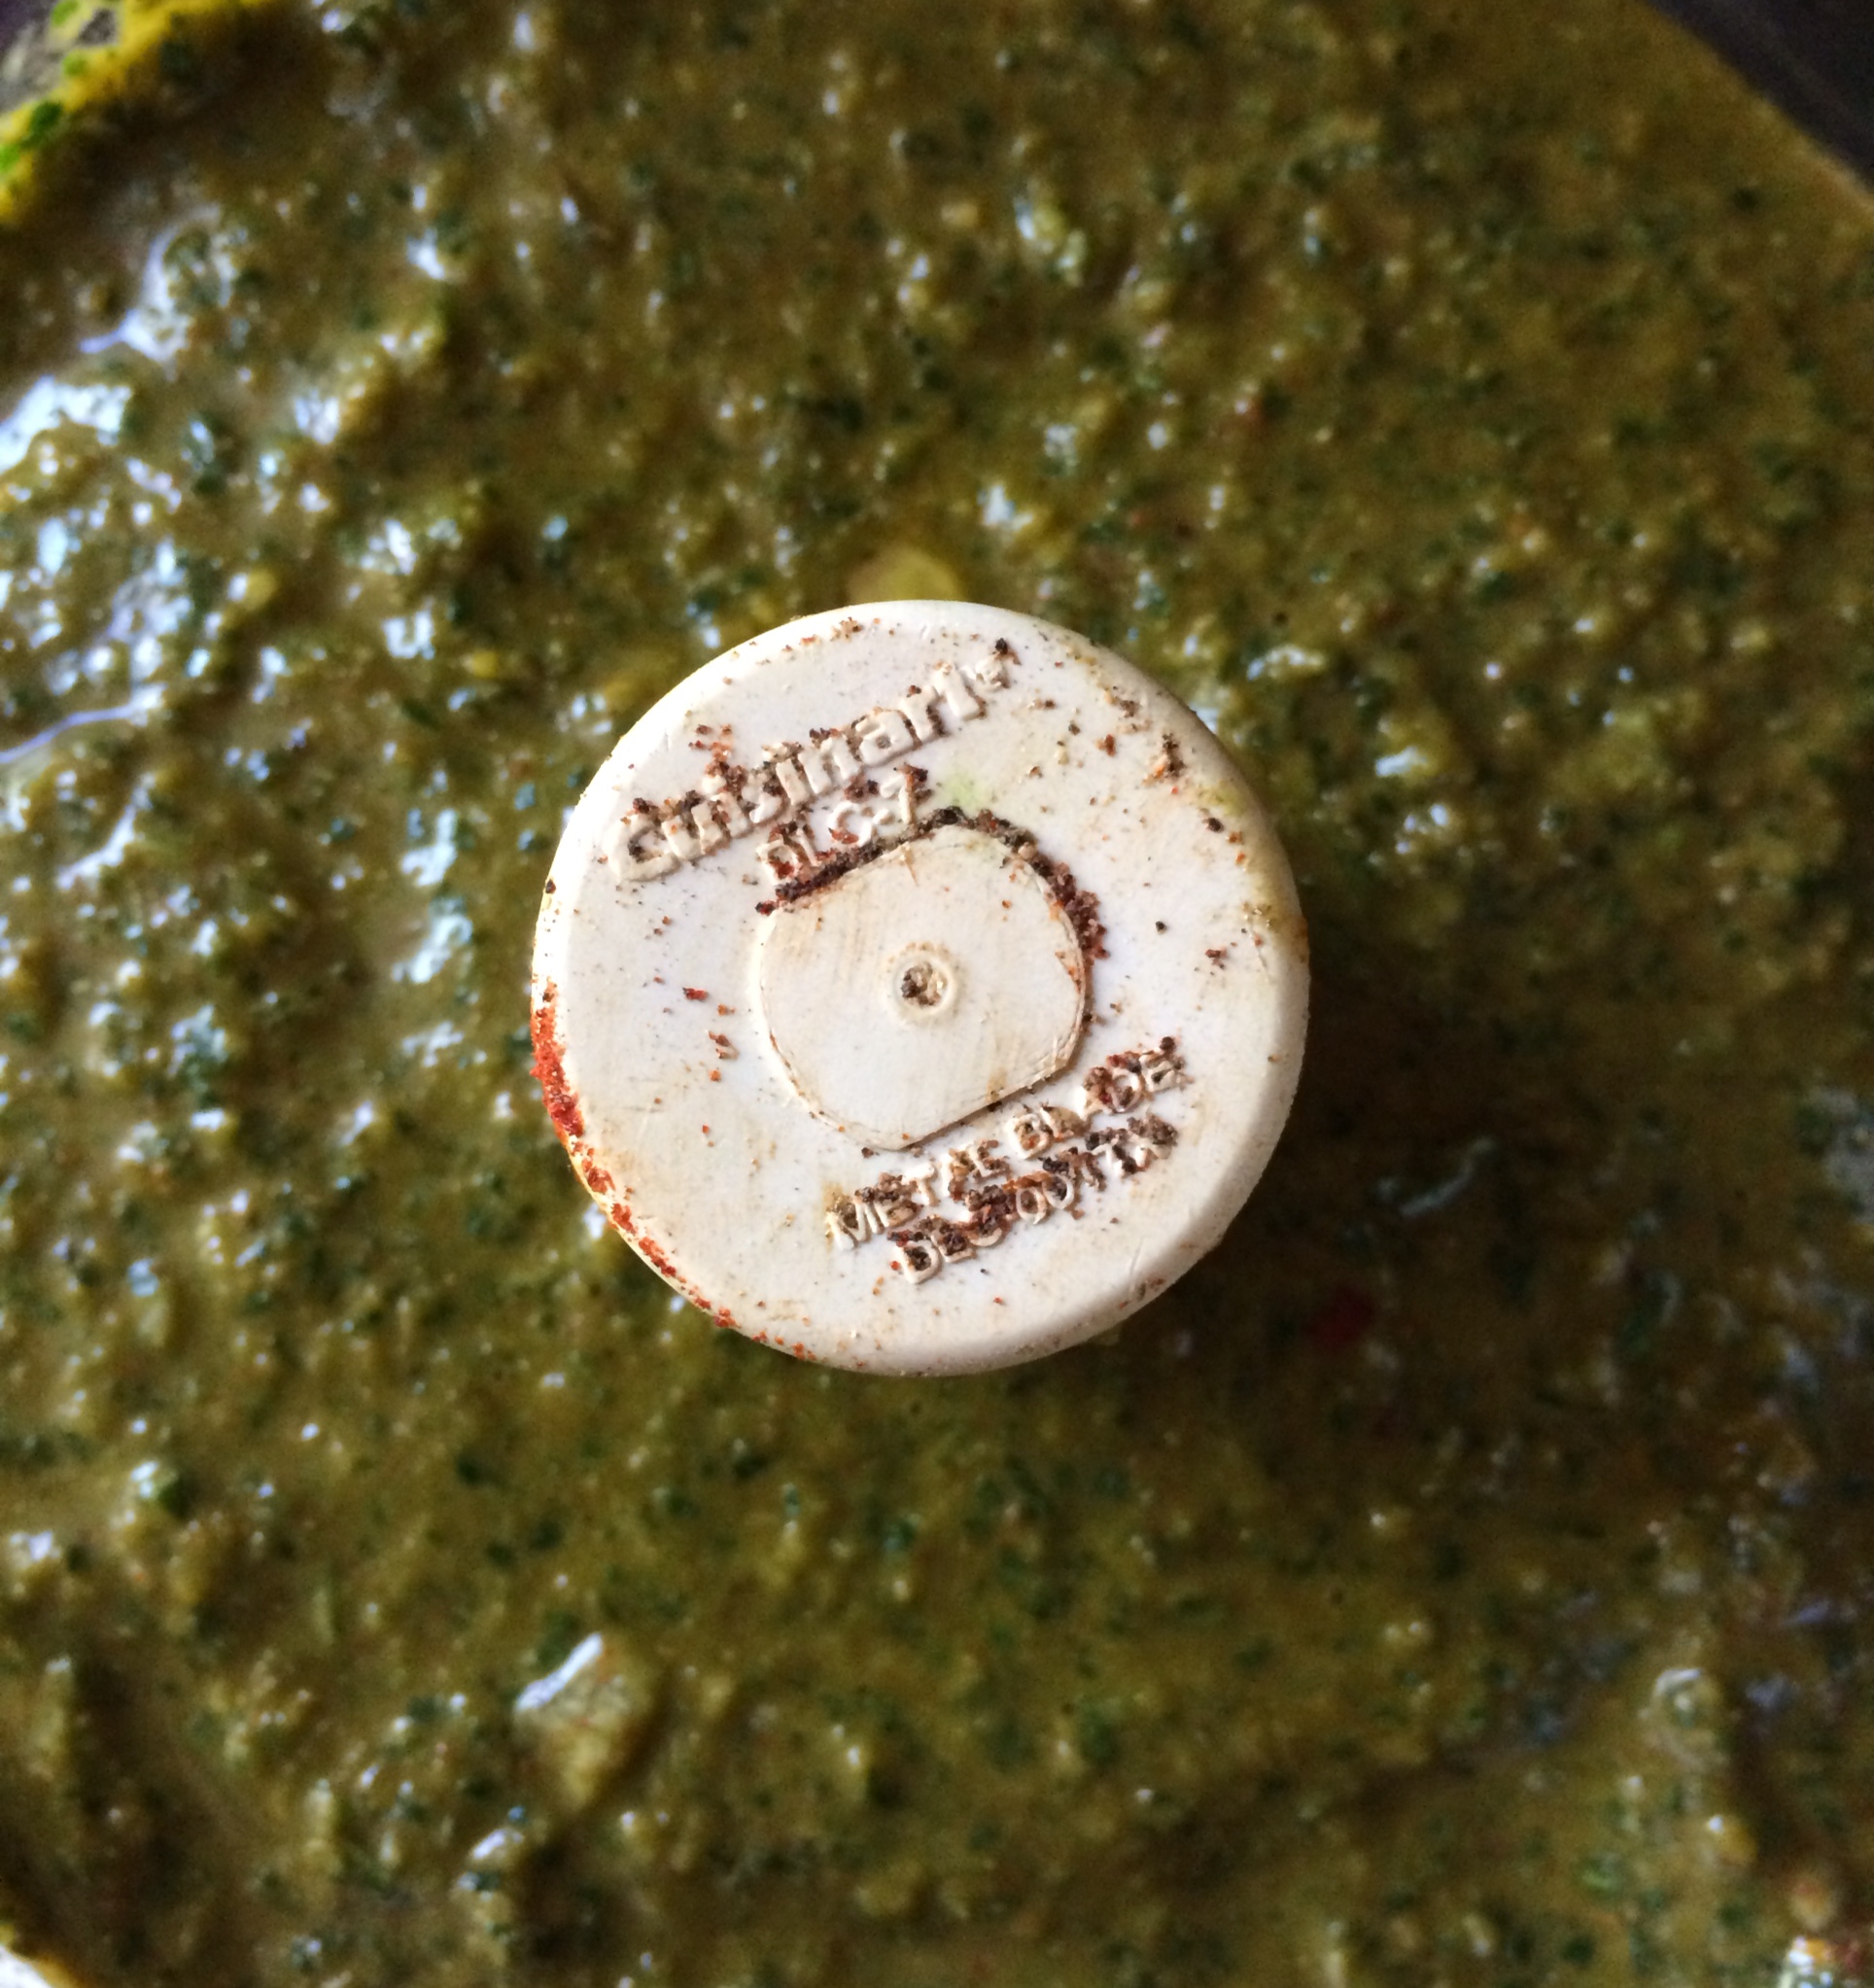
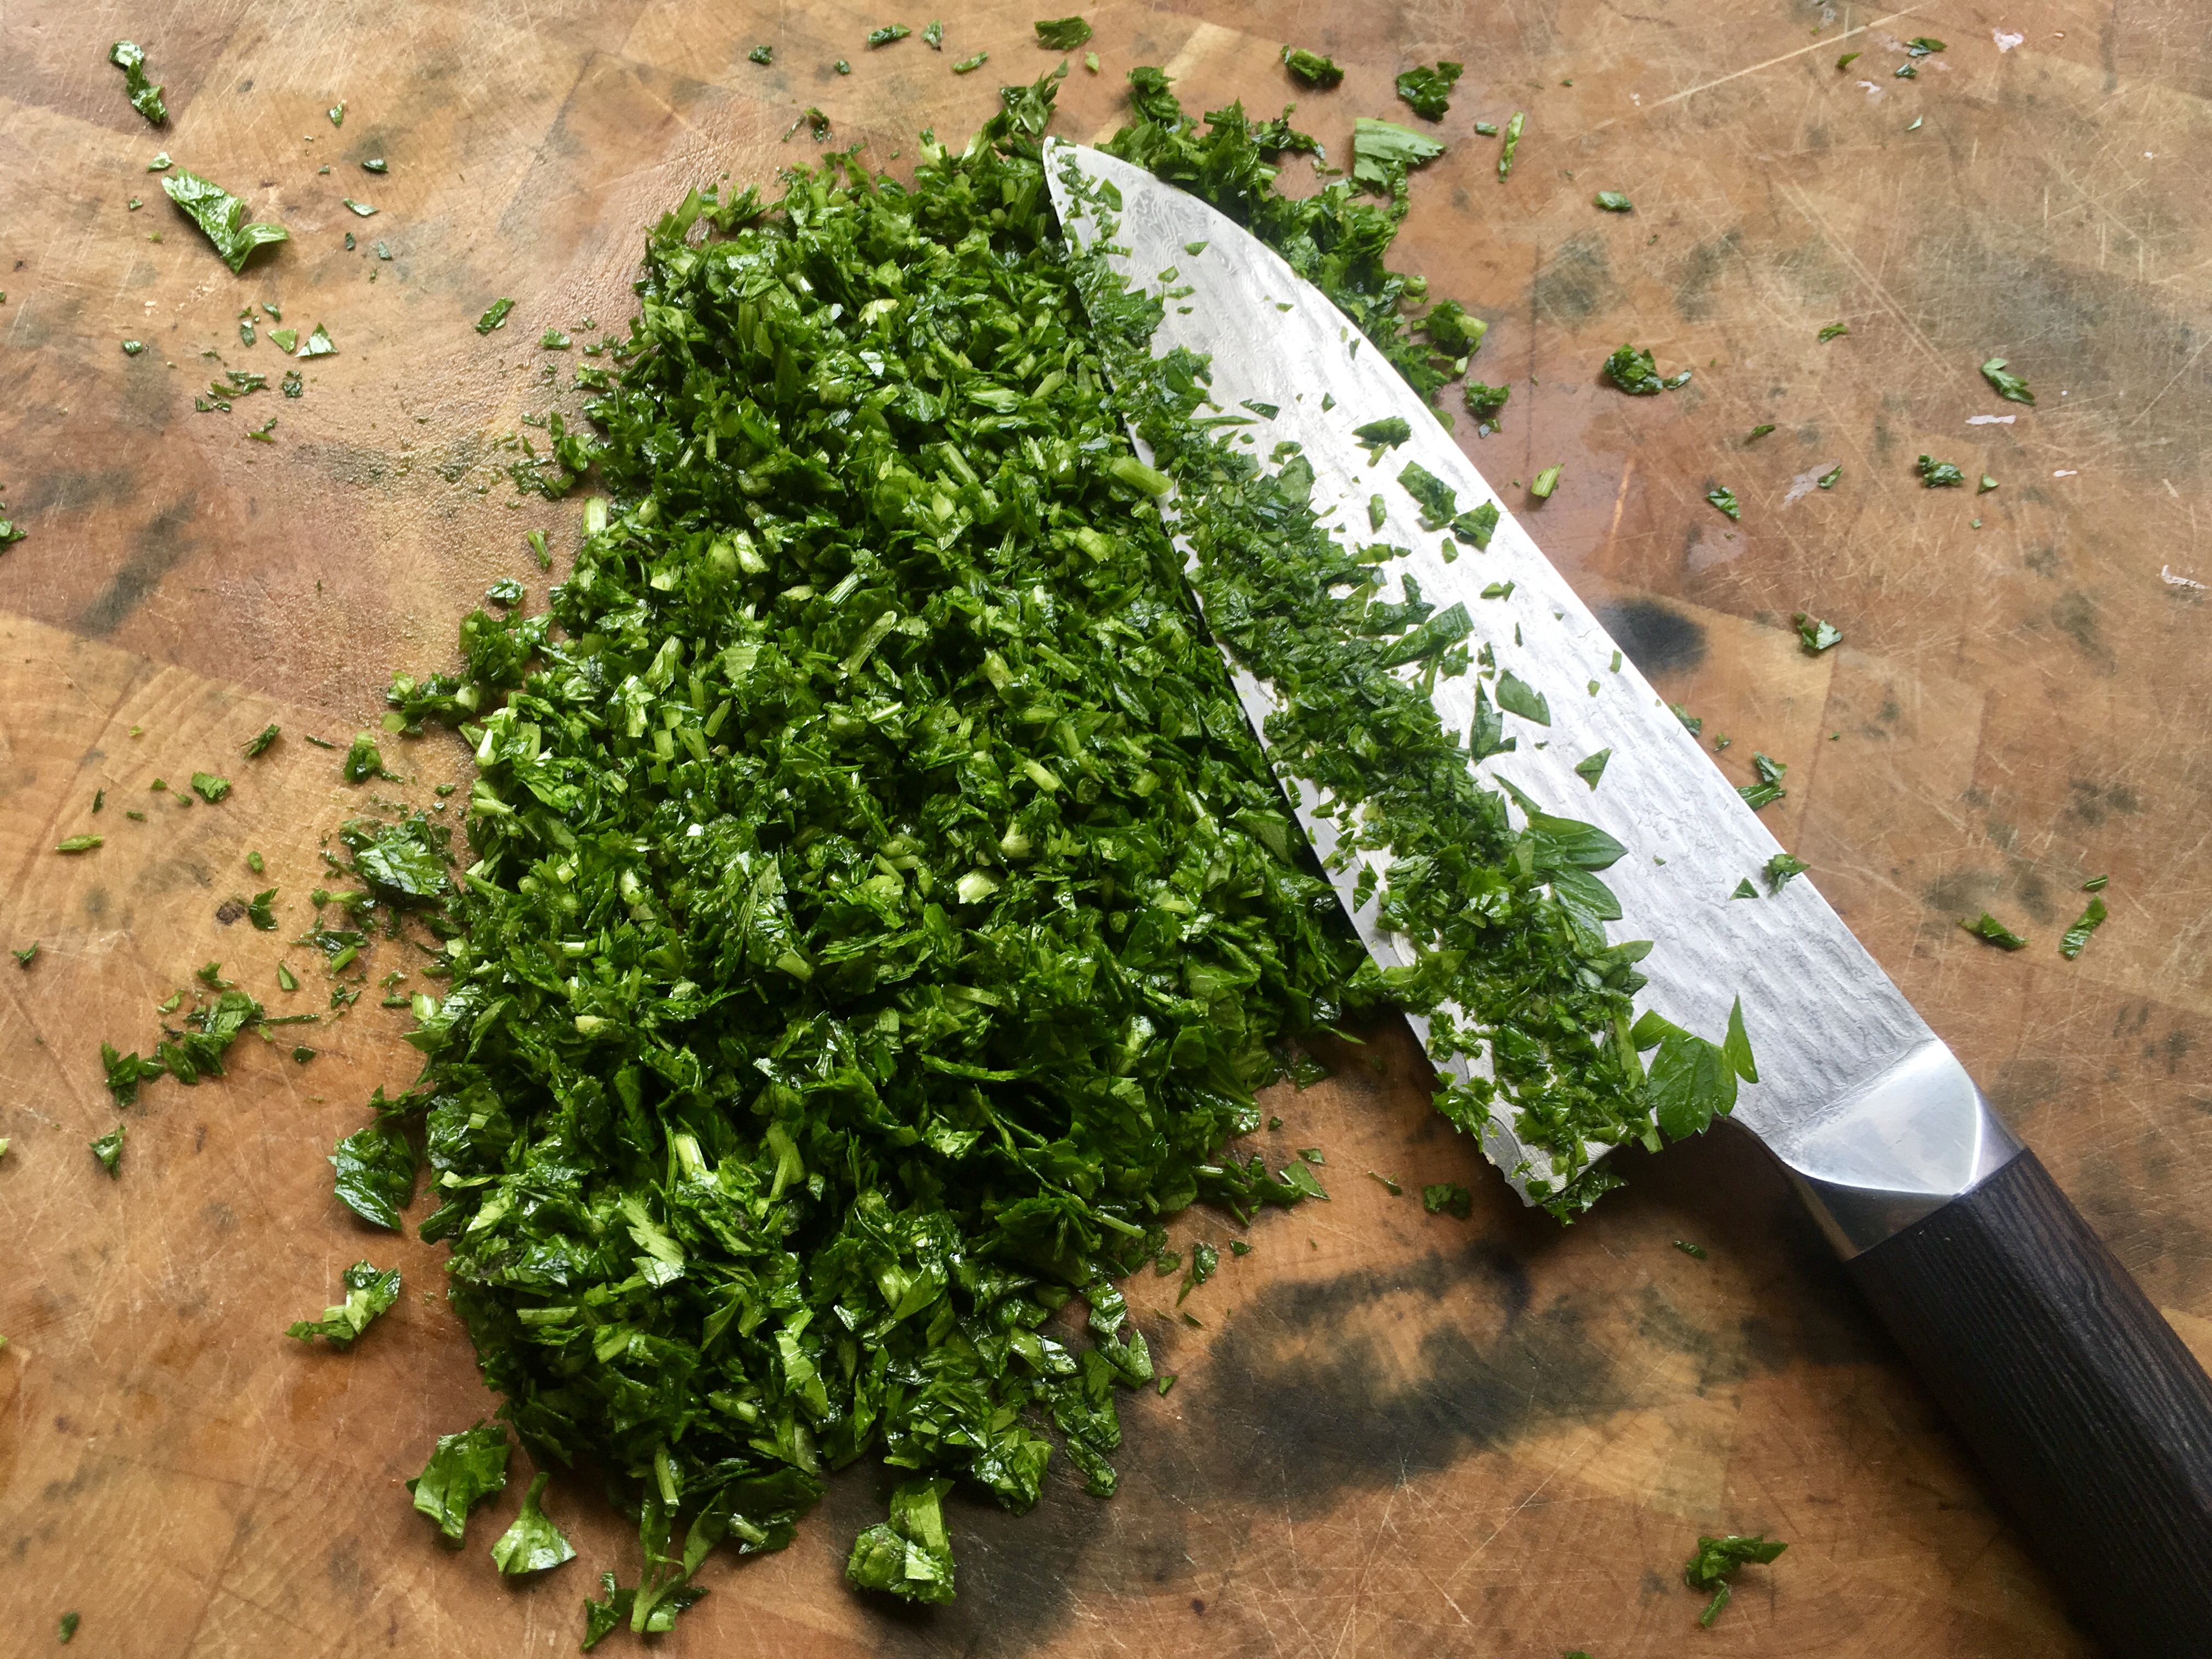
Place all the parsley and the water in a food processor and begin to chop, pulsing for a second at a time. When the parsley is in small pieces, stop pulsing and add the remaining ingredients, except the vinegar and olive oil. Start the processor on a full run now, and slowly pour in the vinegar, then the olive oil. Try not to make it too smooth…leave some tasty bits. Allow it to rest for at least 30 minutes, but overnight in the fridge is best.

I marinated 2 grass-fed beef ribeyes in chimichurri overnight, simply smearing the meat with the sauce, and placing the ribeyes in a resealable plastic bag in the fridge. The next day, I let the beef come to room temperature and I wiped the marinade off. I discarded the marinade, then I re-seasoned the beef with a little salt and pepper and pan seared them, finishing them in a 350-degree oven until medium-rare. A little dipping of fresh chimichurri on the side.


Grass-fed beef ribeyes with chimichurri

Grass-fed beef ribeyes with chimichurri


Lots of fresh parsley is key!


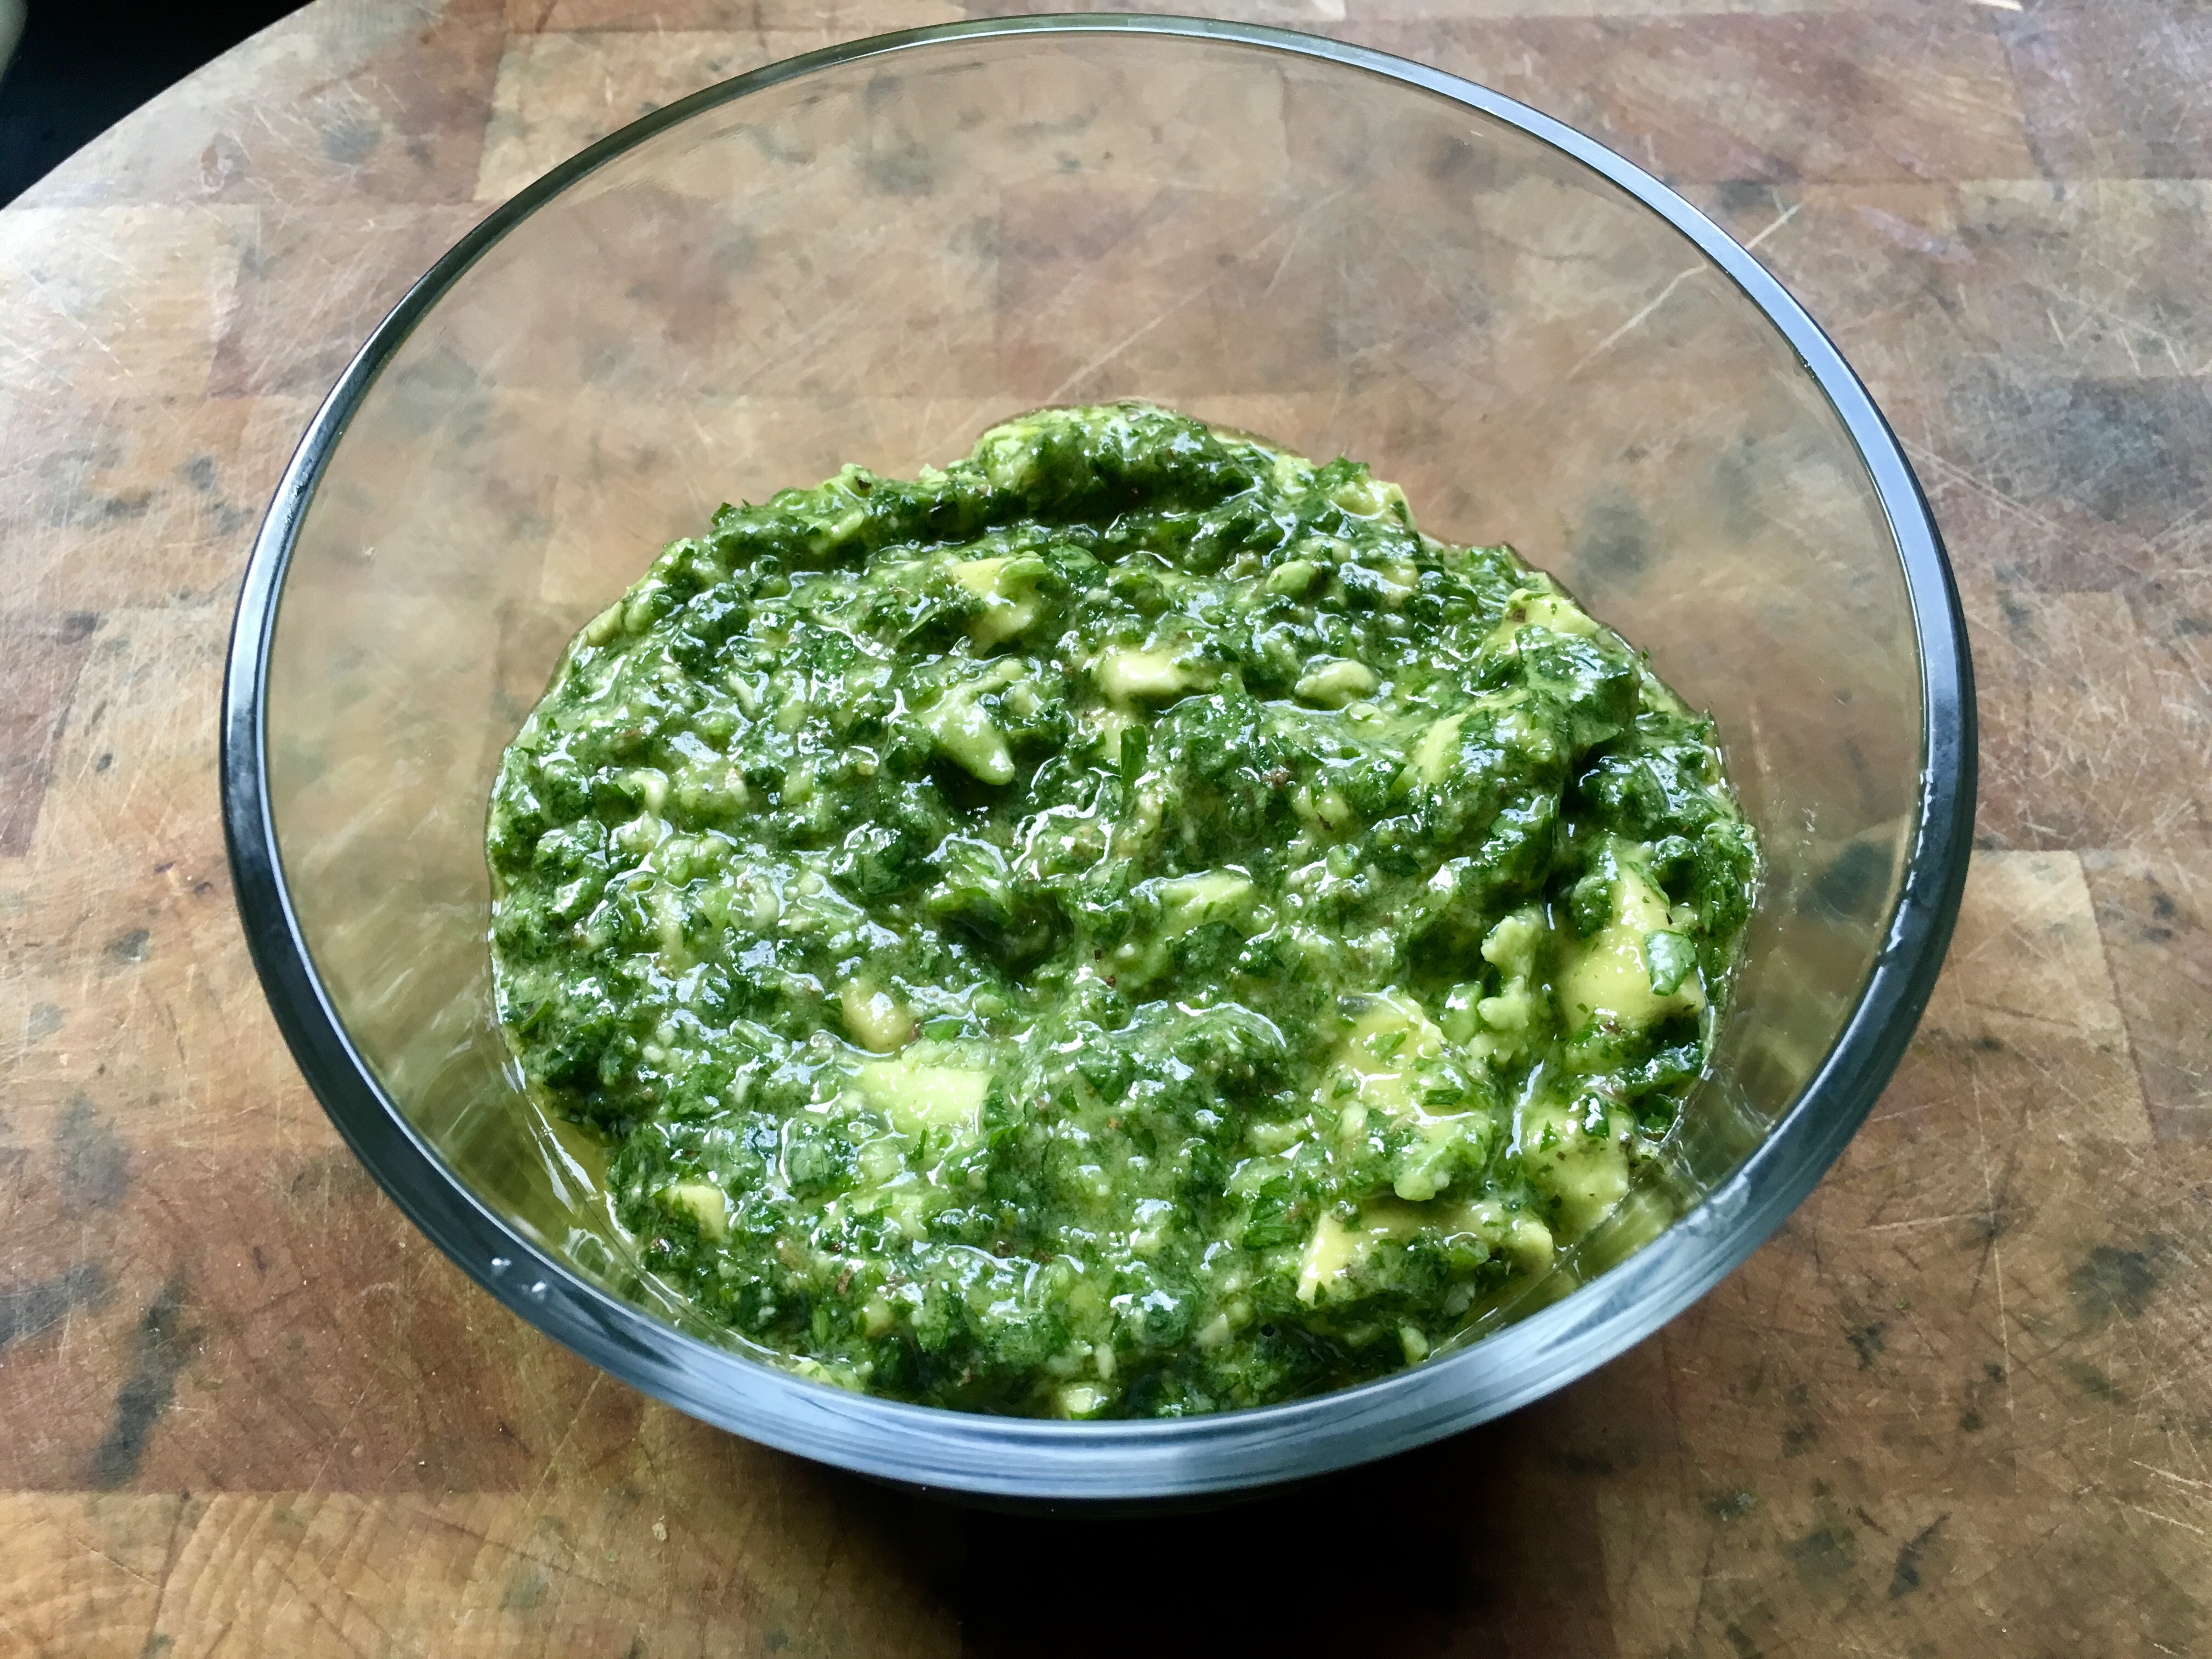
I recently saw a recipe that had some chimichurri ingredients but also included avocado, and thought: now that sounds tasty! It’s not the classic recipe, of course, but it is delicious! I can see this used as a dip for veggies or chips. The fresh lime juice keeps the avocado from browning.
 

1/3 cup extra virgin olive oil
1/4 cup fresh lime juice
1 garlic clove, minced
1 cup finely chopped parsley
1 tablespoon finely chopped oregano, or 1 teaspoon dry oregano
1 Hass avocado, peeled, pitted and diced
Kosher salt

In a medium bowl, whisk the olive oil with the lime juice, garlic and a pinch of salt. Stir in the parsley and oregano and let it stand at room temperature for 30 minutes. Fold in the avocado and season with salt.


Avocado “chimi.” Chunky and tasty.


This “chimi” can be refrigerated for up to 4 hours.

ASIAN NOODLES WITH PEANUT SAUCE

Posted: January 31, 2024 in Food, Recipes
Tags: , , , ,

There’s something about Asian noodle dishes that make them incredibly addictive. They’re great hot or cold, and easy to make at home. I store an arsenal of basic Asian ingredients in my pantry, so slapping this together is no effort at all. And if you don’t have Asian noodles around, chances are you’ve got a box of pasta, which works just as well.

Next time you’ve got a bunch of people coming over, cook a batch a few hours beforehand and let it come to room temperature. It’s great with anything, really. Grab a bag of frozen egg rolls or some potstickers, and you’ve got great munchies for your guests.

Adding boiled and chilled shrimp to these noodles makes it a cool meal. I usually double the sauce recipe when I do that.

If you need to go gluten-free, use GF pasta…and you can find gluten-free hoisin sauce in the Asian food section of most supermarkets.

Asian noodles

4 tablespoons creamy peanut butter
1 tablespoon hoisin sauce
2 teaspoons sesame oil
1 teaspoon Chinese chili garlic sauce (more, if you like it spicy!)
16 oz. package Chinese noodles or pasta

Combine the peanut butter, hoisin sauce, sesame oil, and chili garlic sauce in a bowl. Set it aside. I keep my peanut butter in the fridge once the jar is open, so sometimes it’s a bit thick. So I just zap it in the microwave for about 10 seconds to soften it up.

Boil the noodles or pasta until al dente. Drain it and place it in a large bowl.

Mix the noodles with the sauce.

Devour!